
How to Make Milkshake Candles
A tall glass, two creamy layers of scented wax, a fluffy whipped-wax swirl on top, a wax cherry, and a paper straw — the milkshake candle looks like it belongs on a diner counter, and it smells even better than it looks. This original tutorial walks you through layering, whipping, and decorating, plus strawberry, vanilla, and chocolate variations.
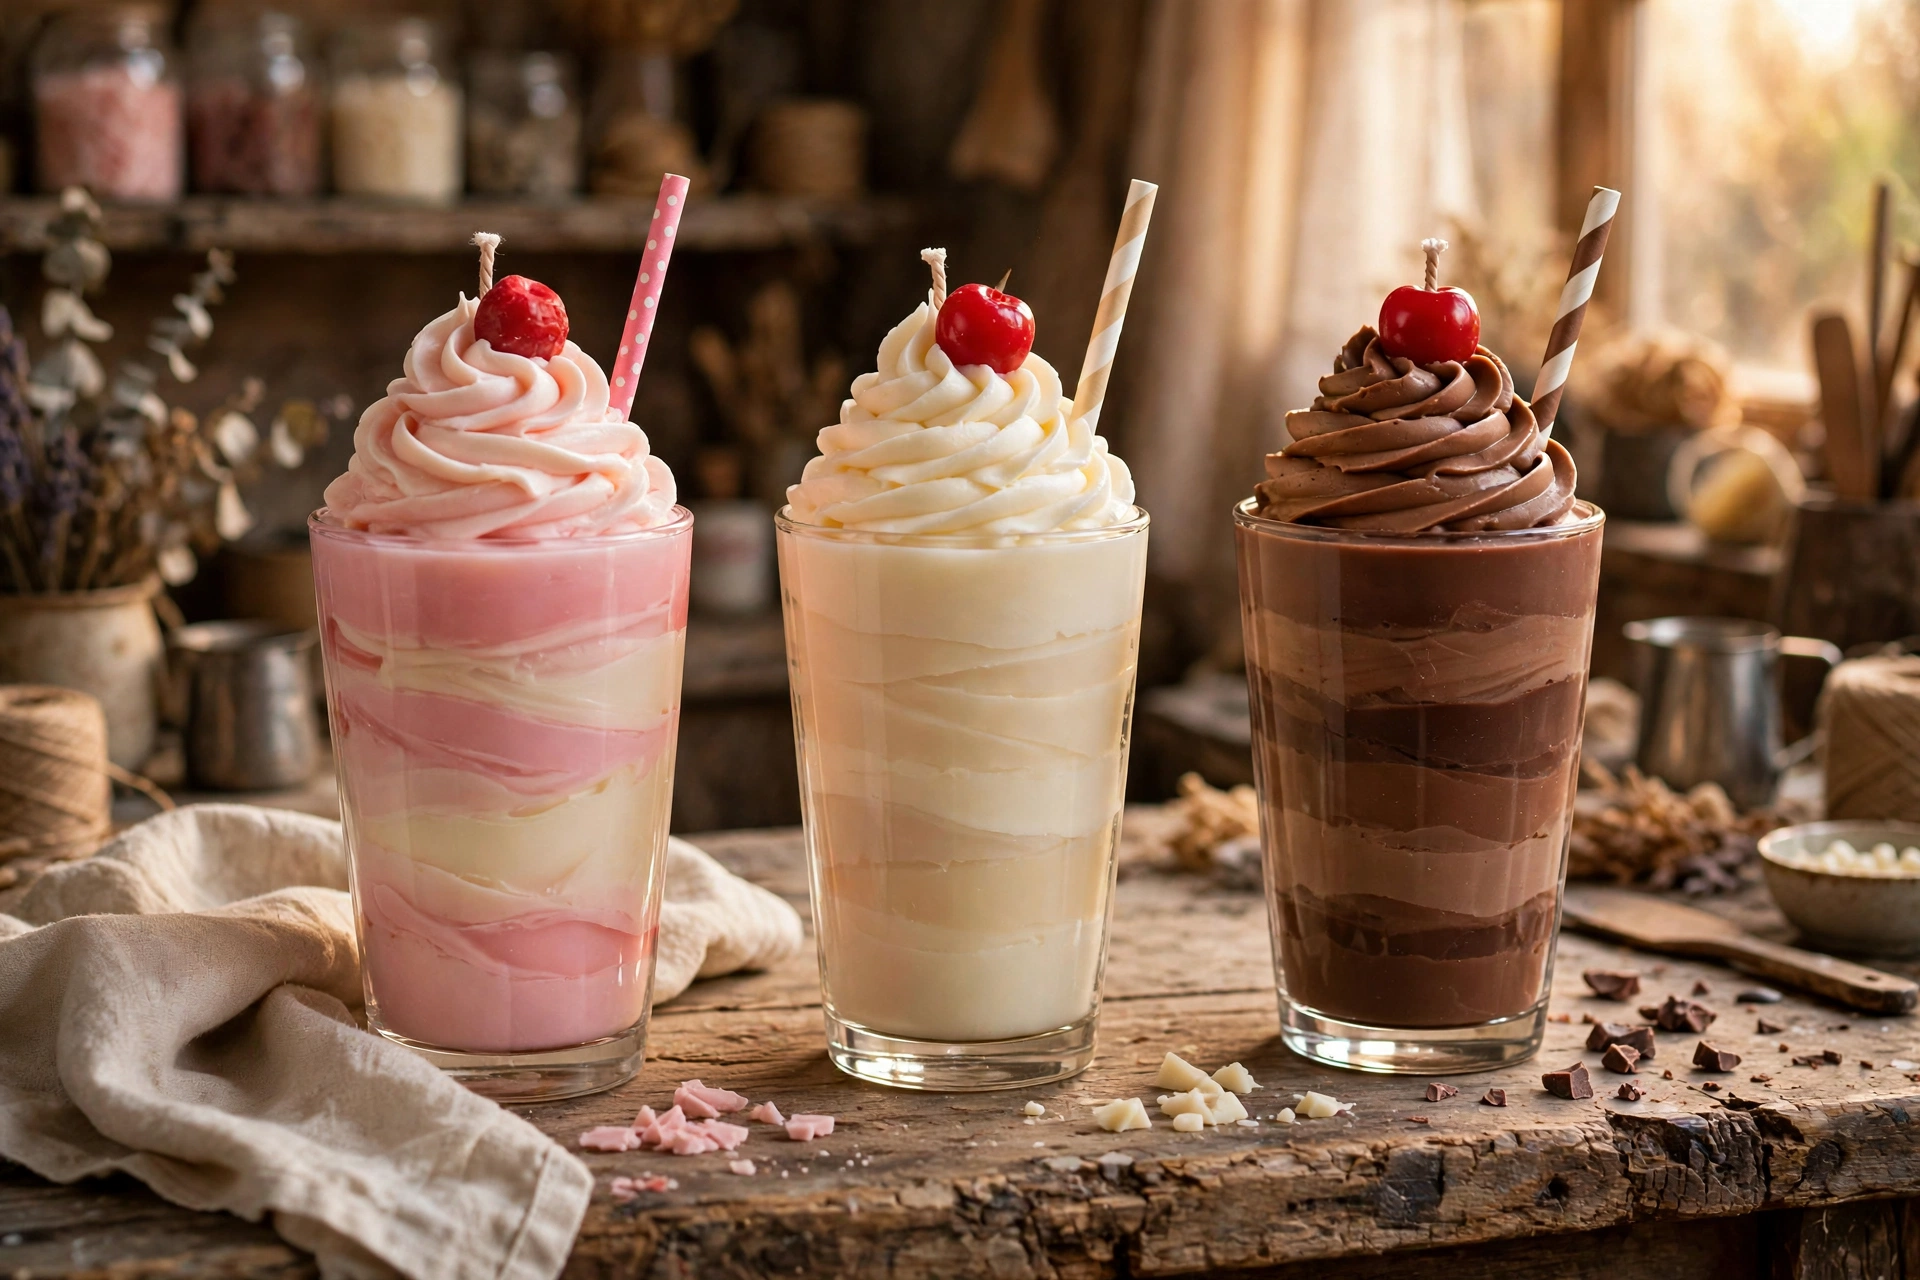
What makes a milkshake candle
The design has five pieces working together. A tall clear glass vessel shows off two-tone wax layers poured one at a time — think strawberry pink over cream. On top sits a piped whipped wax swirl that mimics whipped cream. Then the details: a wax cherry with a wax-syrup drizzle, and a real paper straw stuck in at an angle for the full diner look. Every layer is a normal scented container candle layer, so it burns like one — but the tall whipped top and the decorations change the burn, which is why the test burn at the end is non-negotiable.
What you’ll need
- Tall clear glass vessels (milkshake-style or highball tumblers work perfectly)
- Container wax — one batch for the layers, one softer batch for whipping (soy whips beautifully)
- Wicks sized for your vessel’s diameter (see wick sizing below)
- Candle fragrance oils (bakery or gourmand types suit the theme)
- Candle dye — pink, cream, and brown for the three variations
- Electric hand mixer (dedicated to wax — never share it with food)
- Piping bag and a large star piping tip
- Paper straws (for the decorative prop)
- Silicone cherry or round mold for the wax cherry embed
- Thermometer, pouring pitcher, digital scale, wick holders or clothespins
Wick sizing by principle
Milkshake glasses are tall and usually narrow, but the whipped top adds fuel the moment it melts down — so wick by principle, not by guess. Measure your glass’s inside diameter, consult your wick supplier’s sizing chart for your wax family as a starting point, then test burn your exact combination (wax, fragrance load, dye, and the full whipped top) and let the melt pool and flame tell you the answer. The tall topper makes the first burn run hotter than a flat candle in the same glass, so pour test versions and judge across two or three full burns before you commit to a wick for selling or gifting. Full method: how to choose the right wick and test burn.
Steps
1. Wick the glass and pour the bottom layer
Secure your wick centered in the tall glass with a wick holder. Melt your layer wax, add fragrance oil and dye at your wax’s usual temperatures, and stir thoroughly. Pour the bottom layer to about half the height of the glass — for a strawberry shake, this is the cream layer; for chocolate, pour the lighter tan layer first. Let this layer cool and firm up completely before moving on; a soft bottom layer and a hot top layer will swirl together and muddy the line.
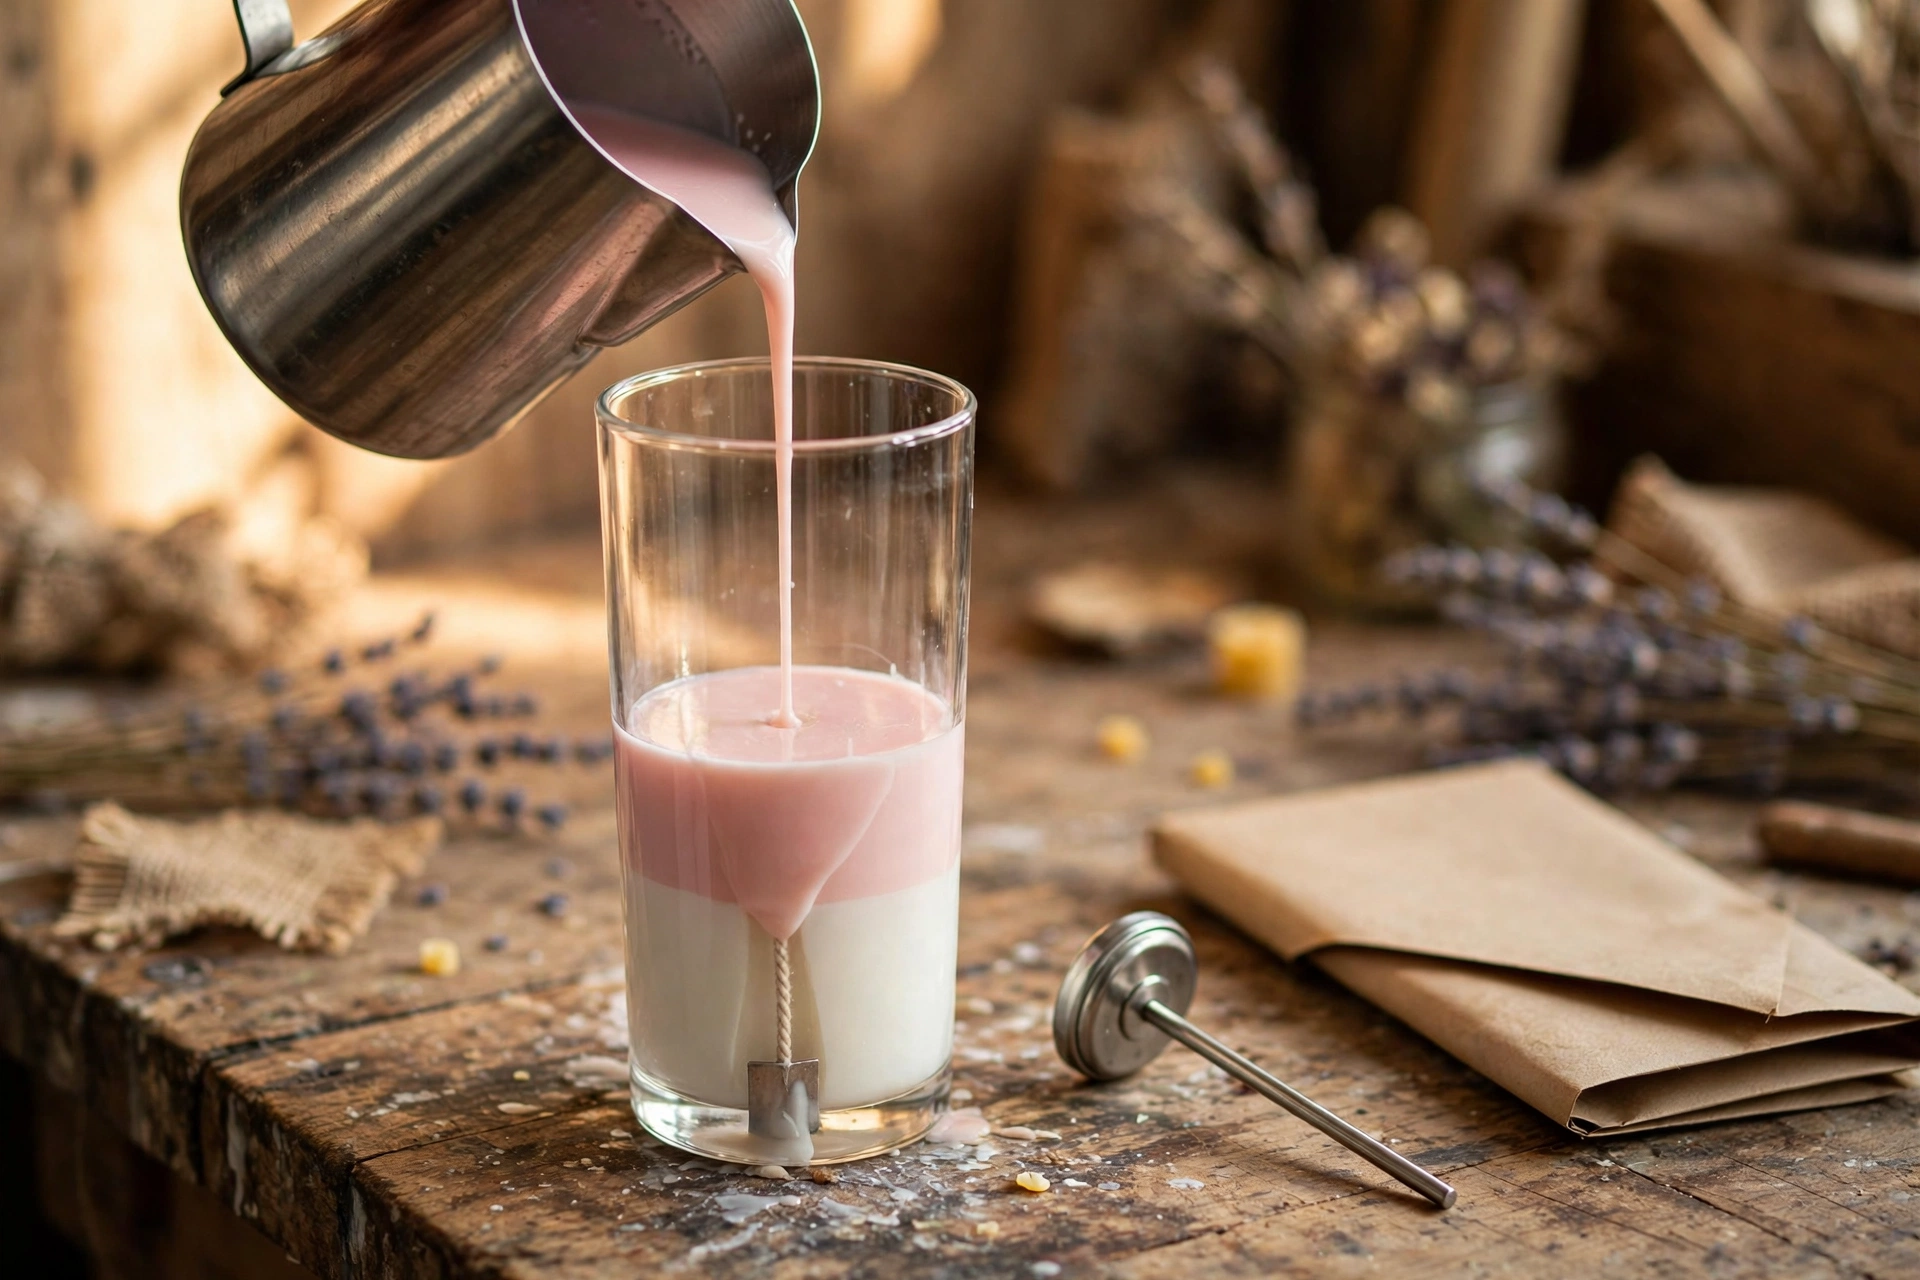
2. Pour the top layer
Once the bottom layer is fully set and at room temperature, melt your second color. Pour it cooler than usual — around 10–15°F below your normal pour temperature — and pour slowly over the back of a spoon or down the side of the glass. The cooler, gentler pour keeps the heat from re-melting the bottom layer’s surface, which is what keeps the line between the two colors crisp.
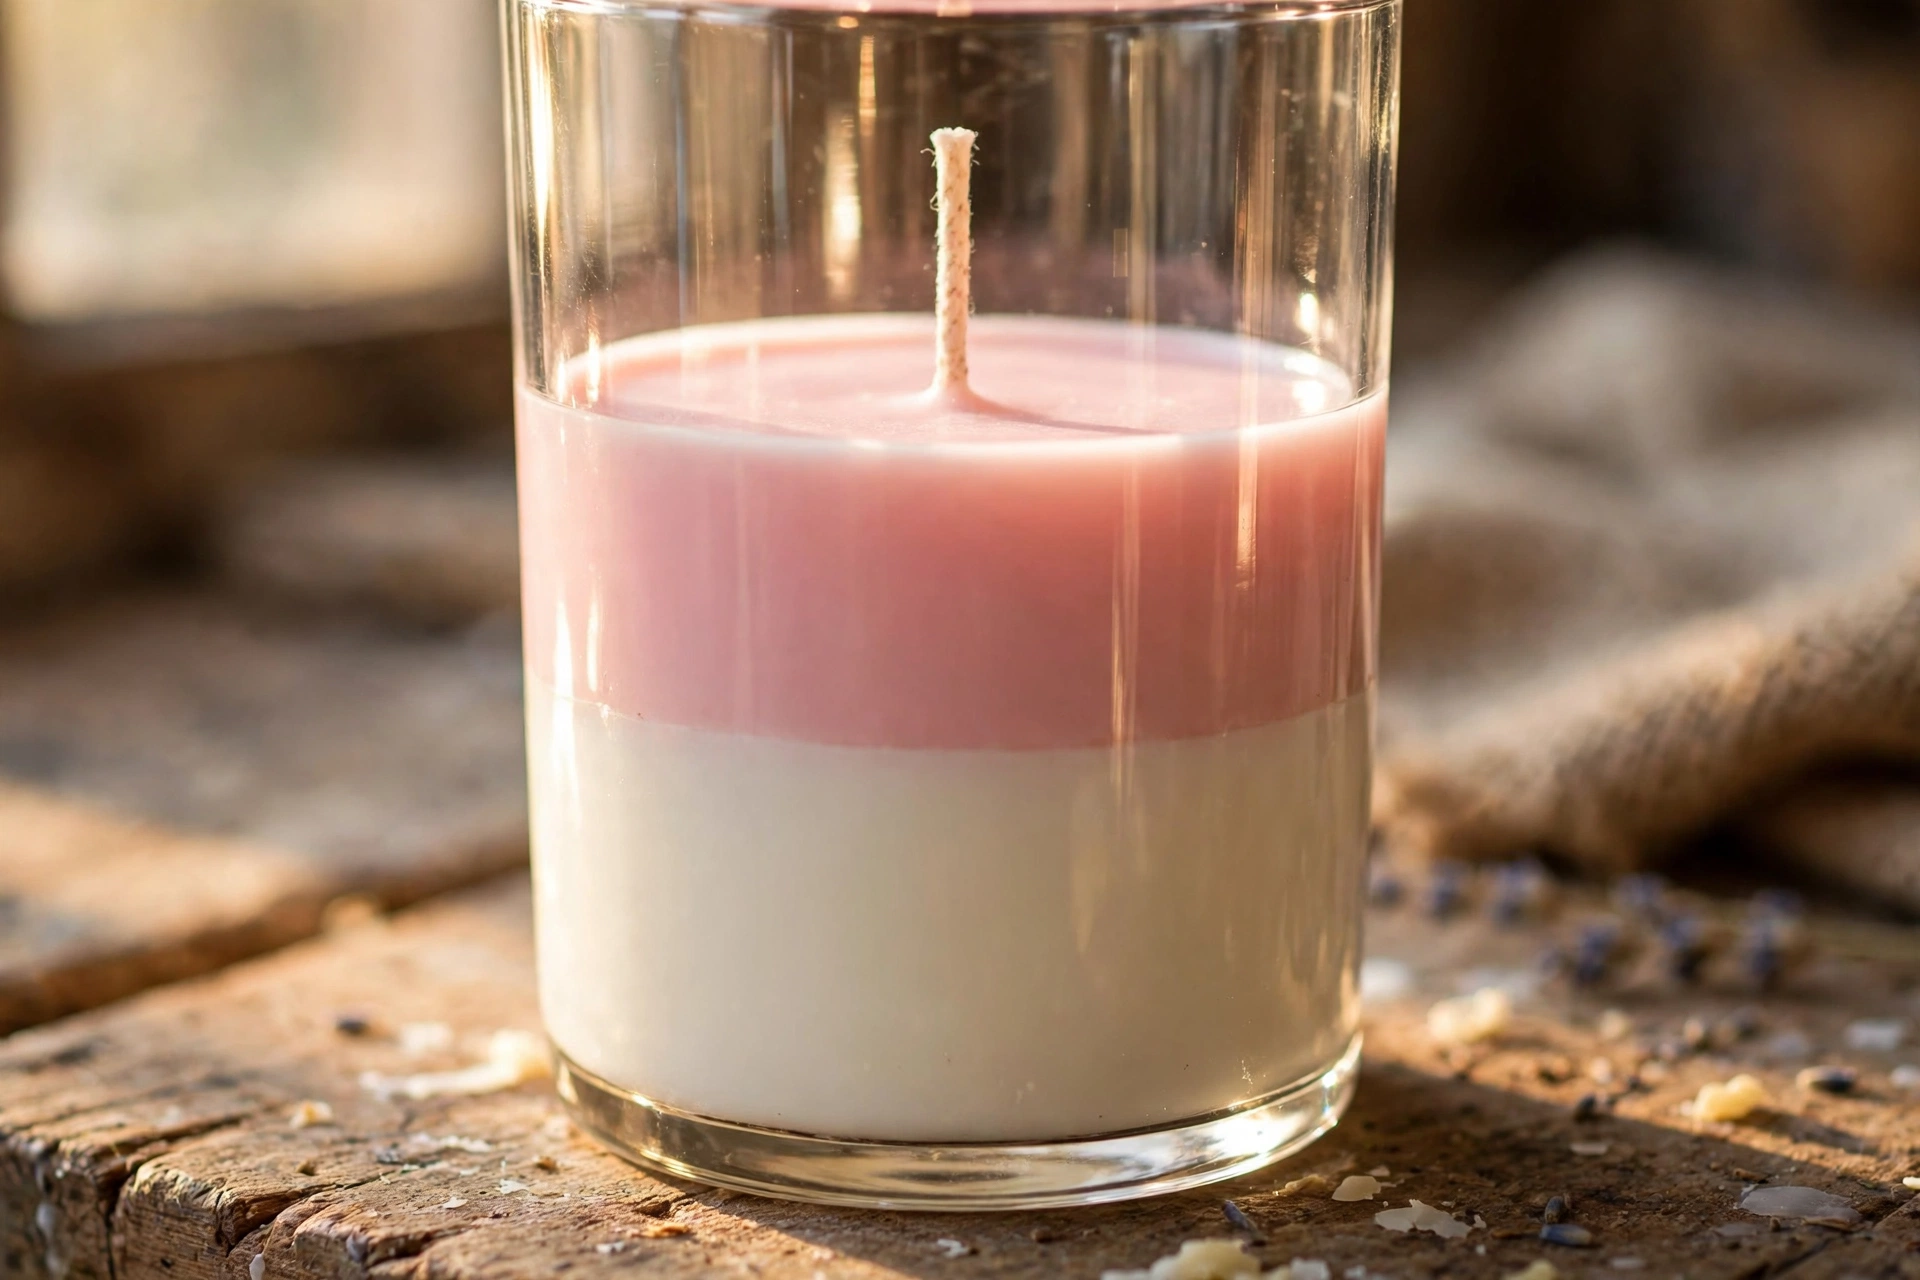
3. Whip the topping wax
Melt your softer whipping wax fully, then add fragrance oil and dye (white or matching the flavor) and stir well. Now let it cool, undisturbed, until it turns cloudy and starts thickening around the edges of the pitcher — for many soy waxes this happens around 100–110°F, but trust your eyes, not the number. Then beat it with the hand mixer until it turns pale, matte, and fluffy, and holds soft peaks like whipped cream.
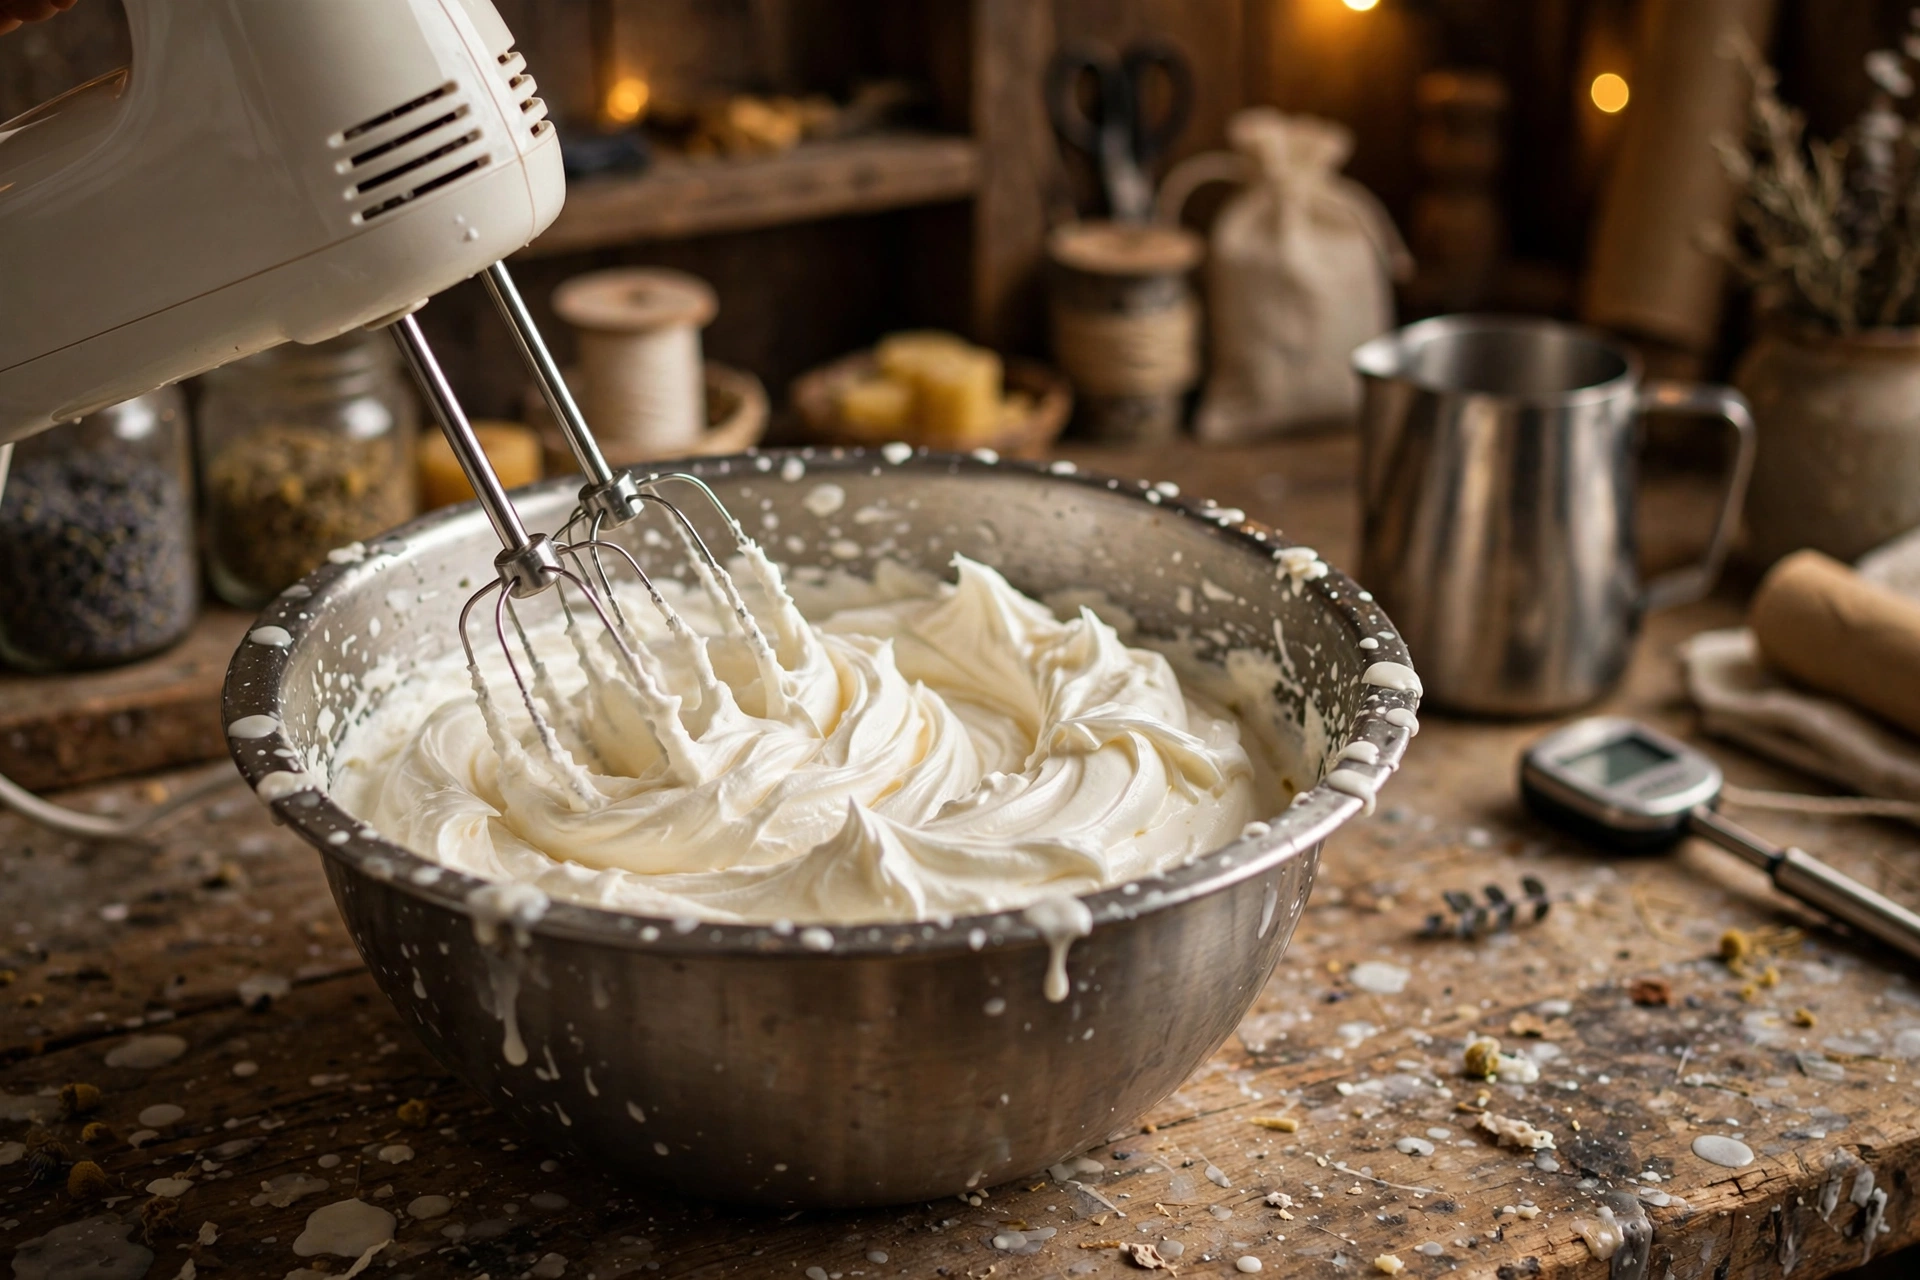
Too hot: glossy and runny, slides off the beaters — cool it longer. Too cold: stiff and grainy, breaks instead of piping — rewarm the bowl gently in warm water and whip again.
4. Pipe the whipped top
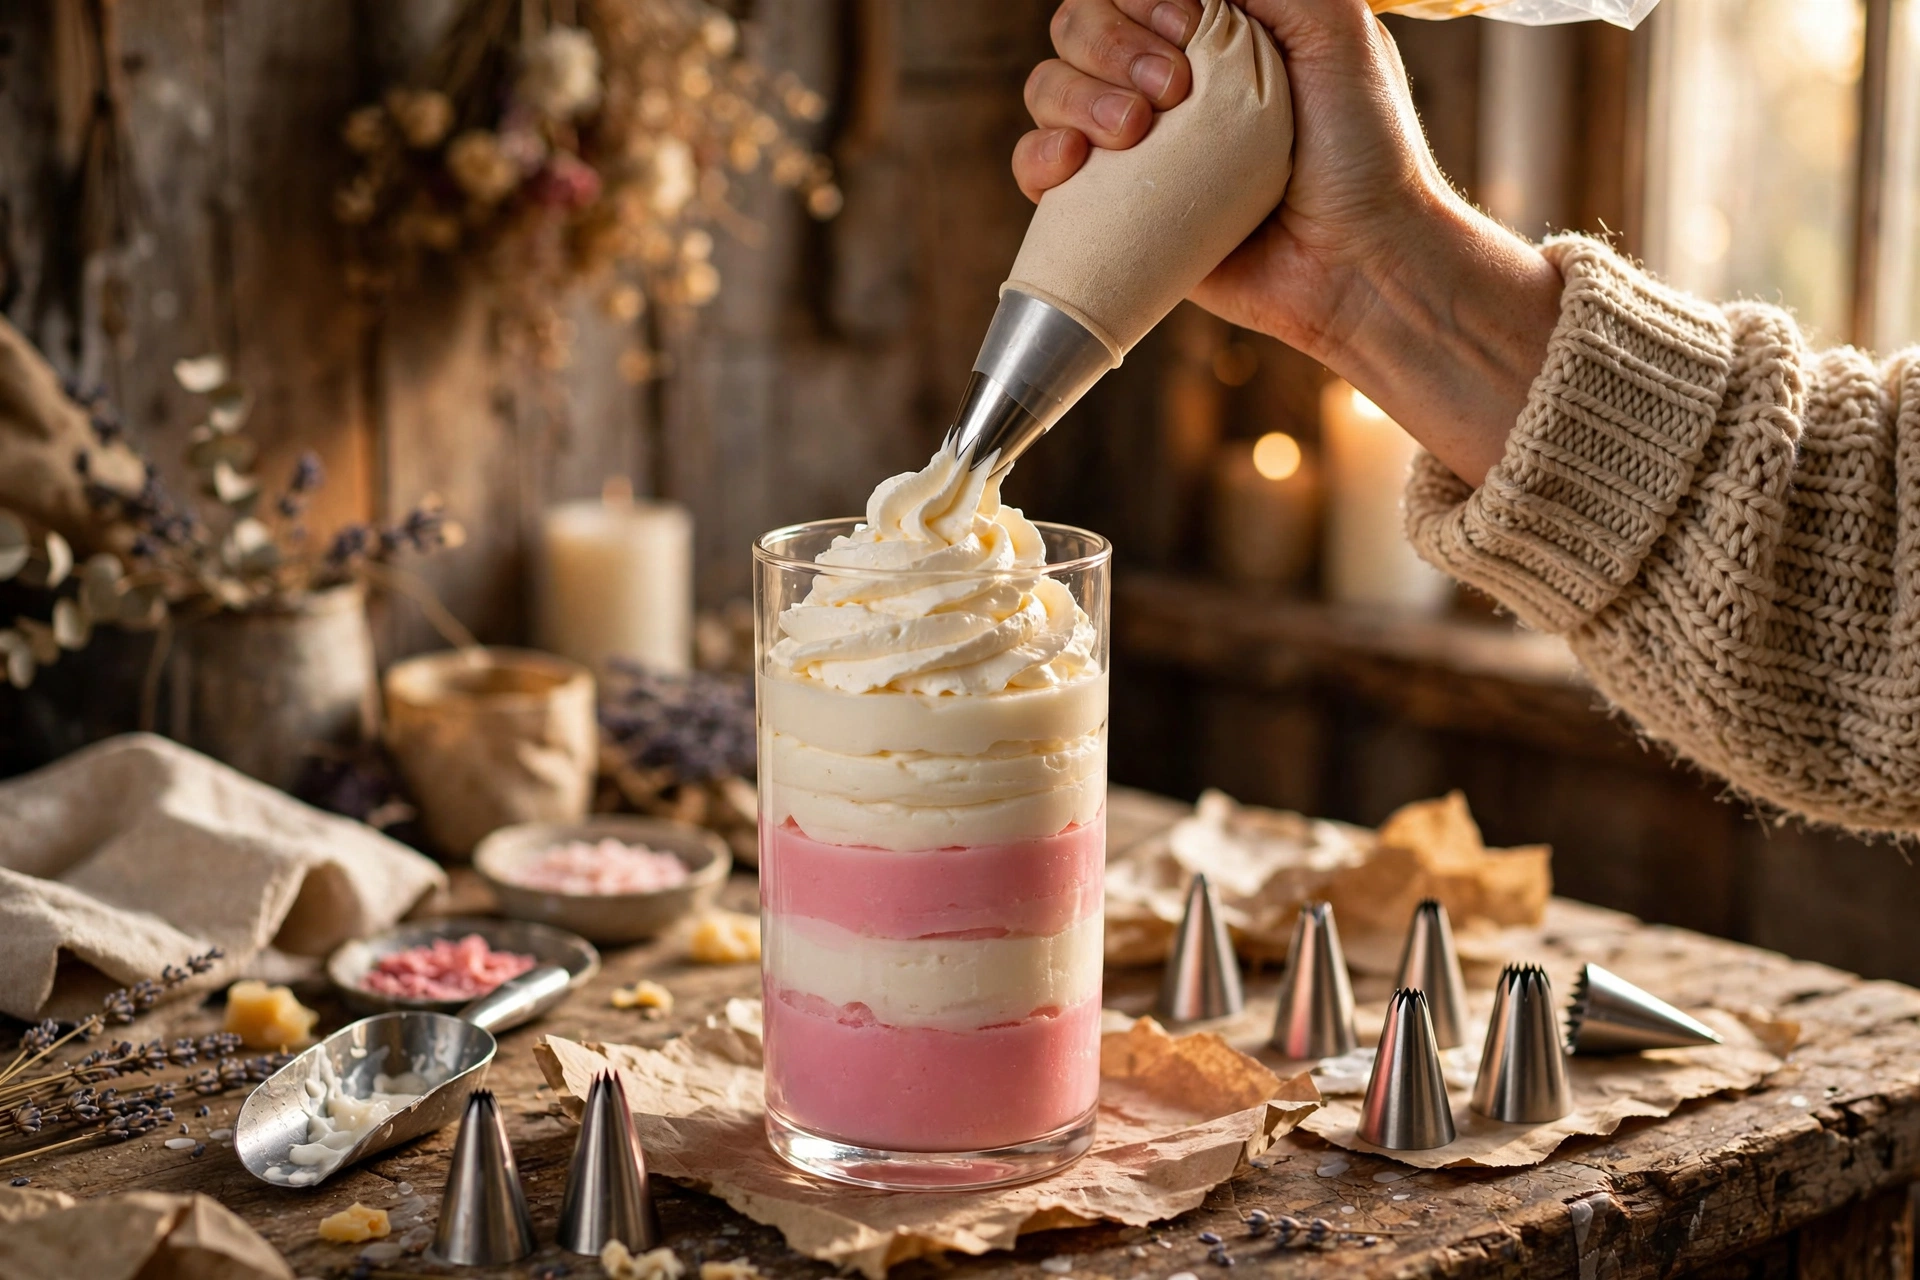
Make sure the layered candle is completely hardened and at room temperature. Spoon the whipped wax into a piping bag with a large star tip and pipe a tall swirl straight onto the top layer, starting at the outer edge and spiraling up to a peak — like soft-serve ice cream. Overlap the glass rim slightly so the swirl bonds to the glass edge.
5. Add the wax cherry and drizzle
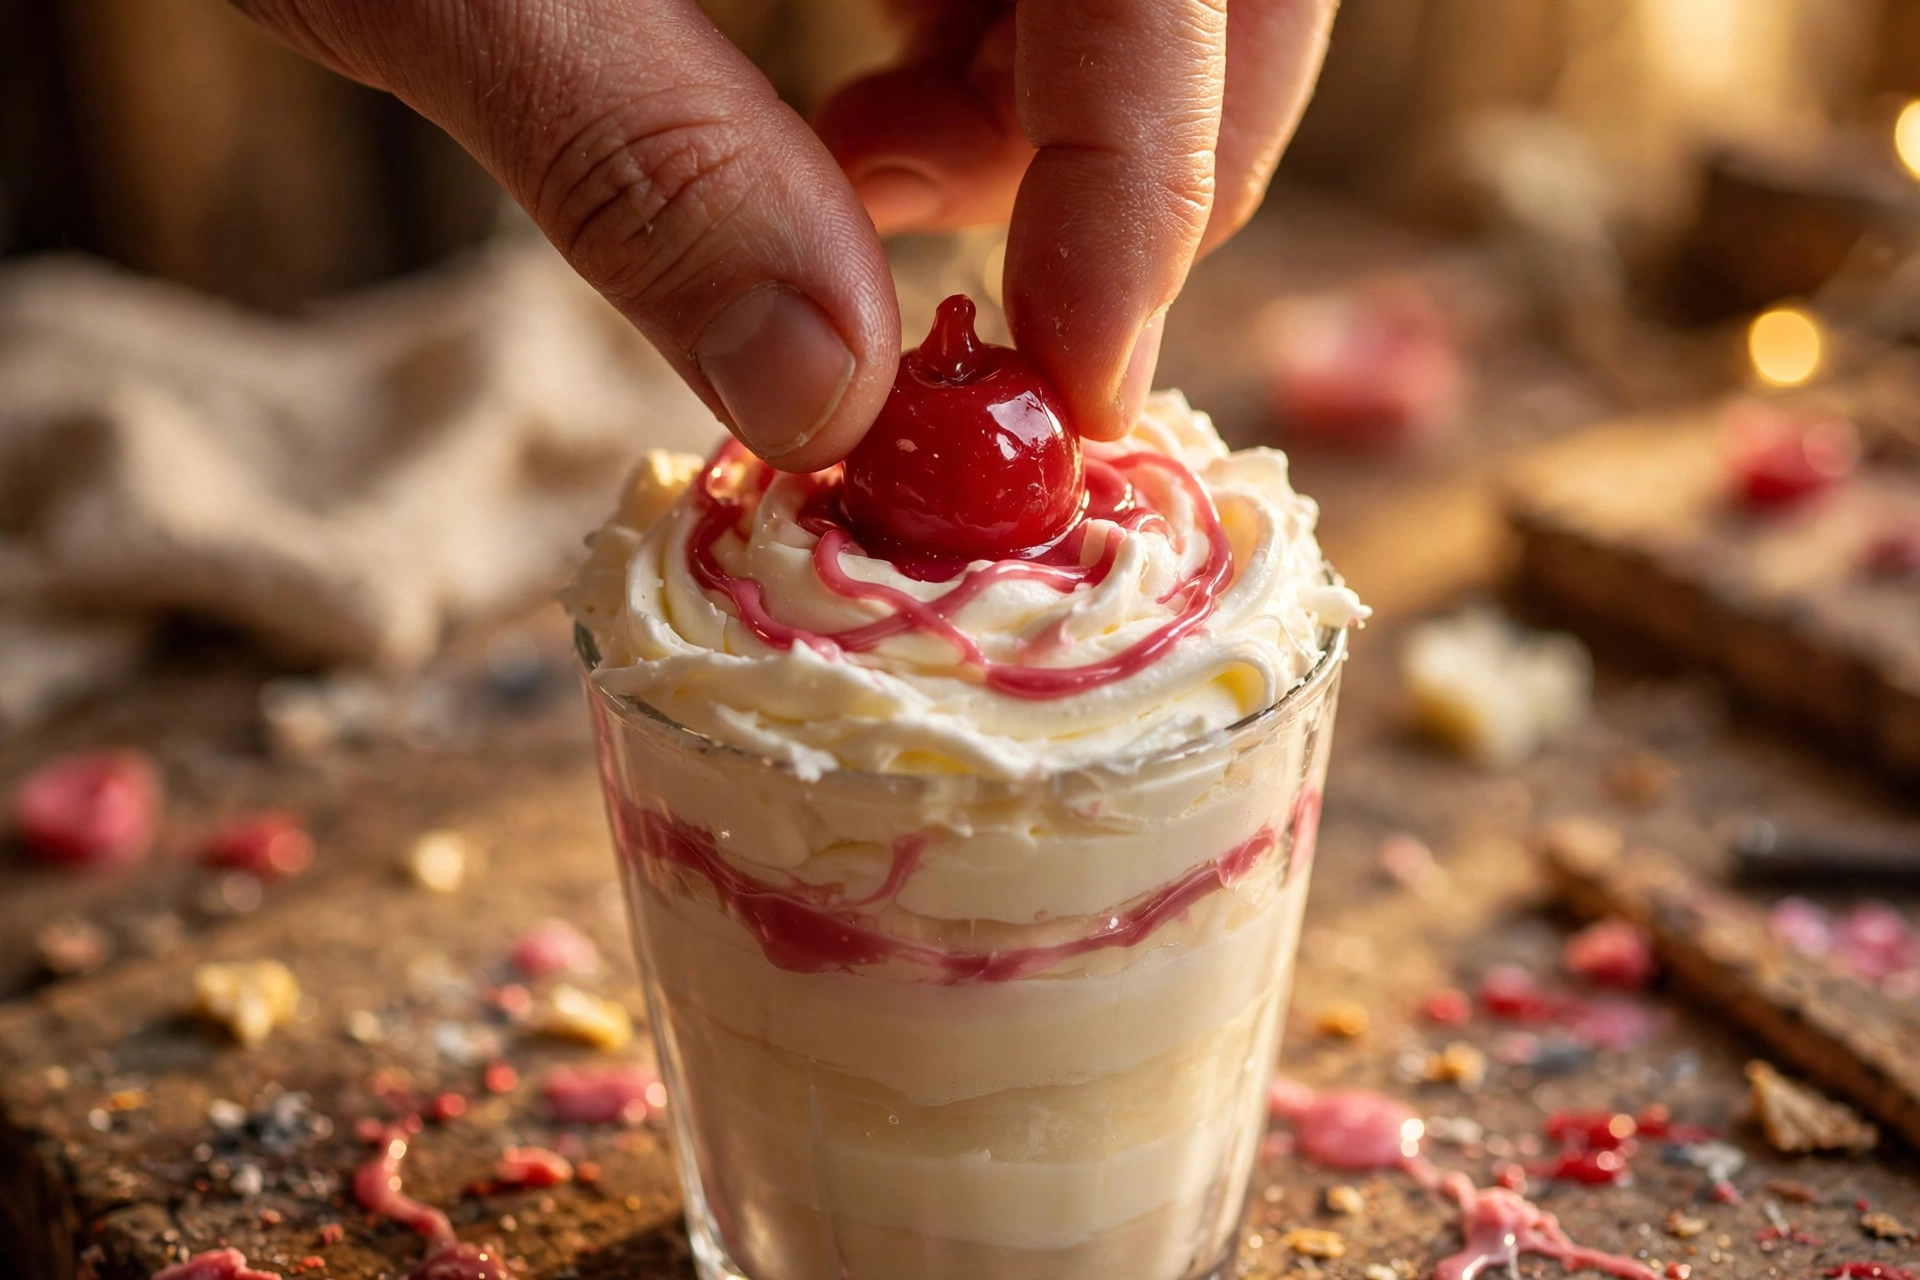
While the swirl is still soft, press a small red wax cherry (made in a silicone mold with red-dyed wax) gently into the top. Then drizzle: melt a spoonful of contrasting wax — darker pink or red “syrup” for strawberry, chocolate brown for the chocolate shake — and drizzle thin ribbons over the swirl with a spoon or a small squeeze bottle. Everything decorative must be wax, so it melts harmlessly into the pool.
6. Add the paper straw (decorative only)
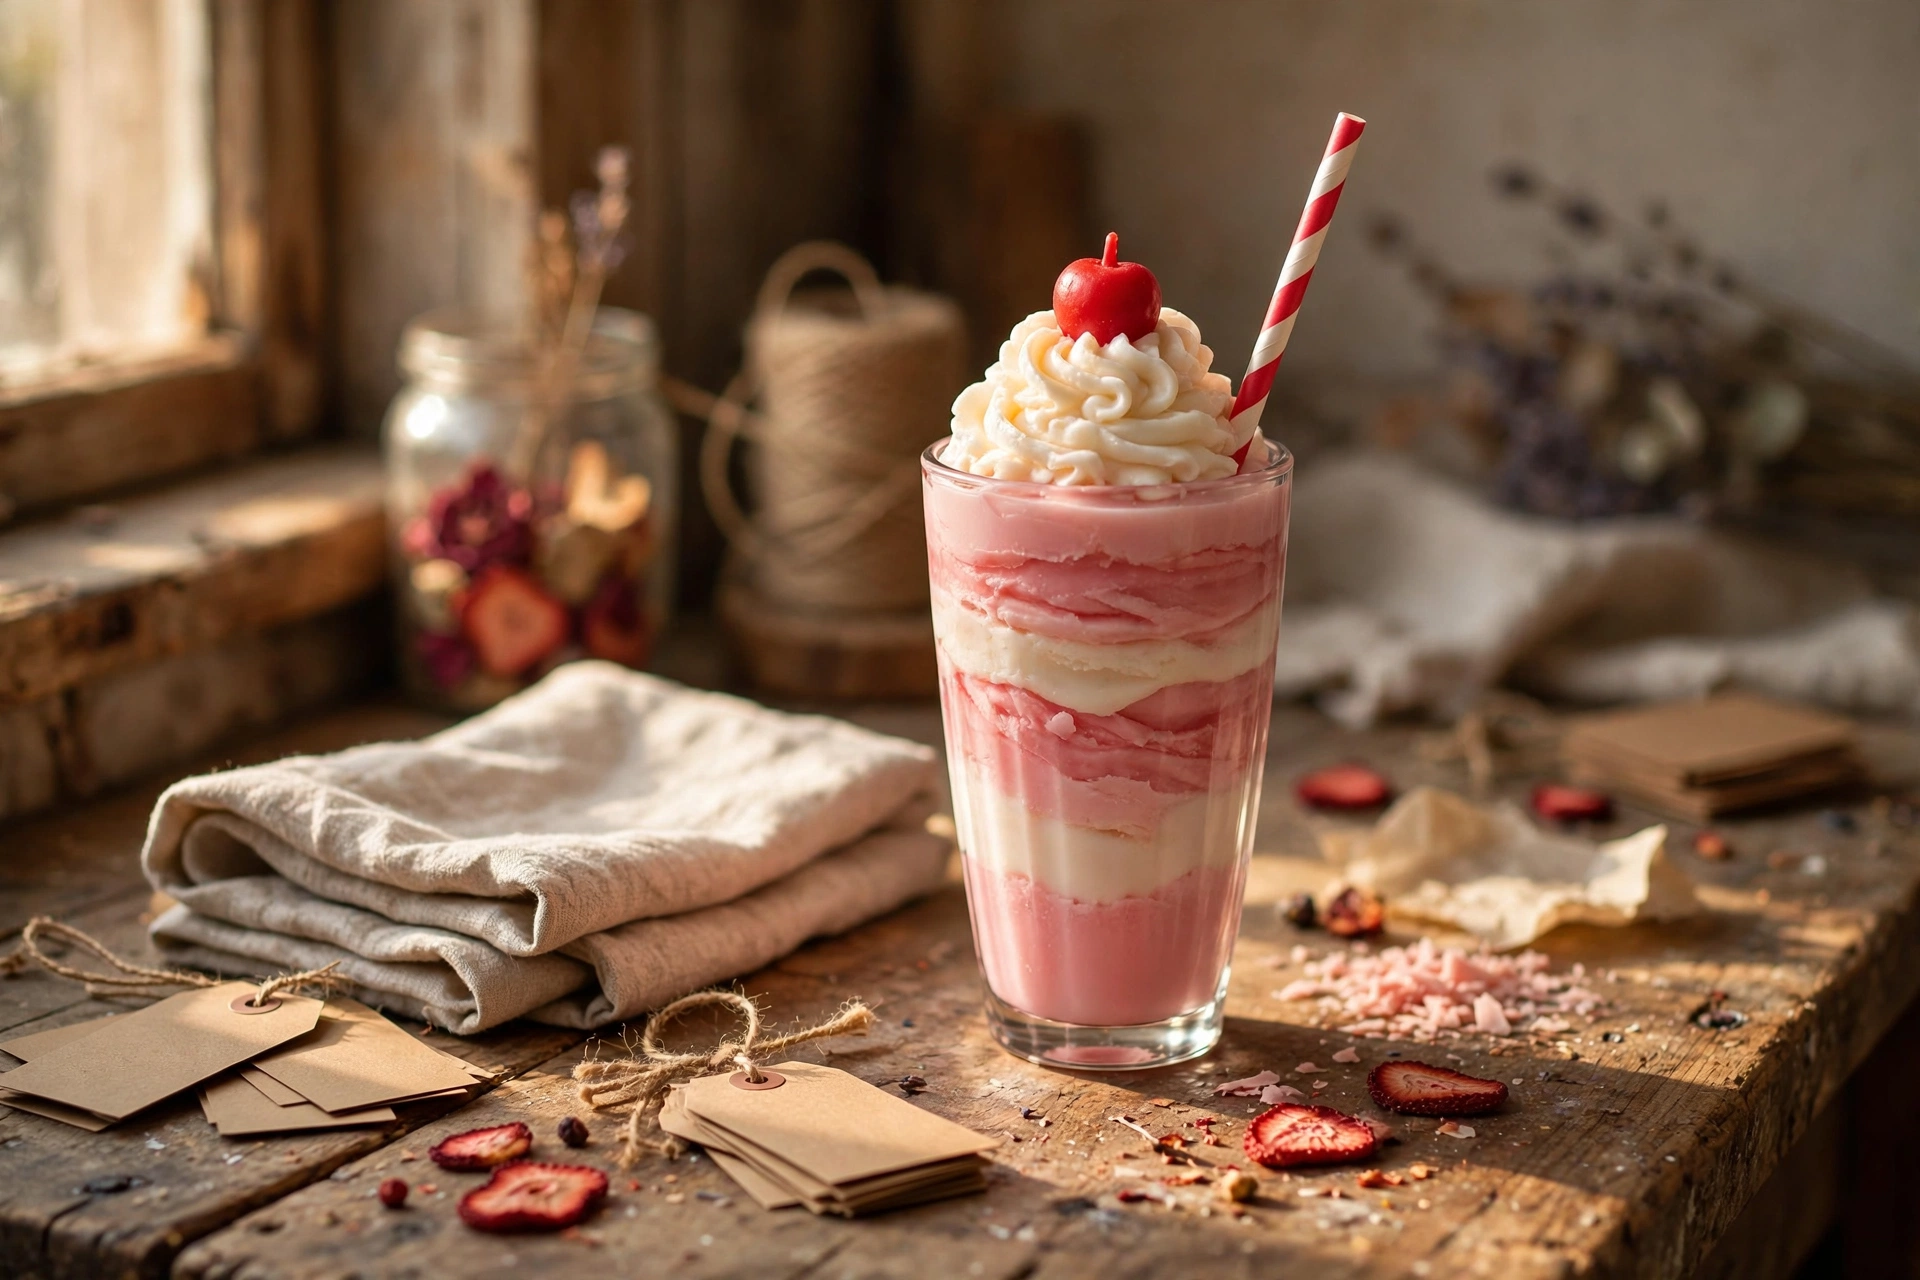
Once everything is set, slide a paper straw into the candle at a jaunty angle for the full milkshake look. The straw is a prop, not part of the candle: pull it out before lighting, and tell anyone who receives the candle to do the same. Paper burns — a straw left in during a burn is a fire hazard and will wreck your melt pool.
7. Cure, trim, and test burn
Cure like any container candle — about 7–14 days for soy-based waxes — so the fragrance fully develops through all the layers. Trim the wick to 1/4 inch, remove the paper straw, and test burn. Watch the first burn closely: the tall whipped top melts down and feeds the pool, so the first 2–3 hours run hotter than a flat candle in the same glass. Confirm an edge-to-edge melt pool, a steady flame, and no overheating of the glass across two or three full burns before you sell or gift a single one.
Flavor variations
One technique, endless diner menu. Keep the method identical and change only colors, scents, and drizzle:
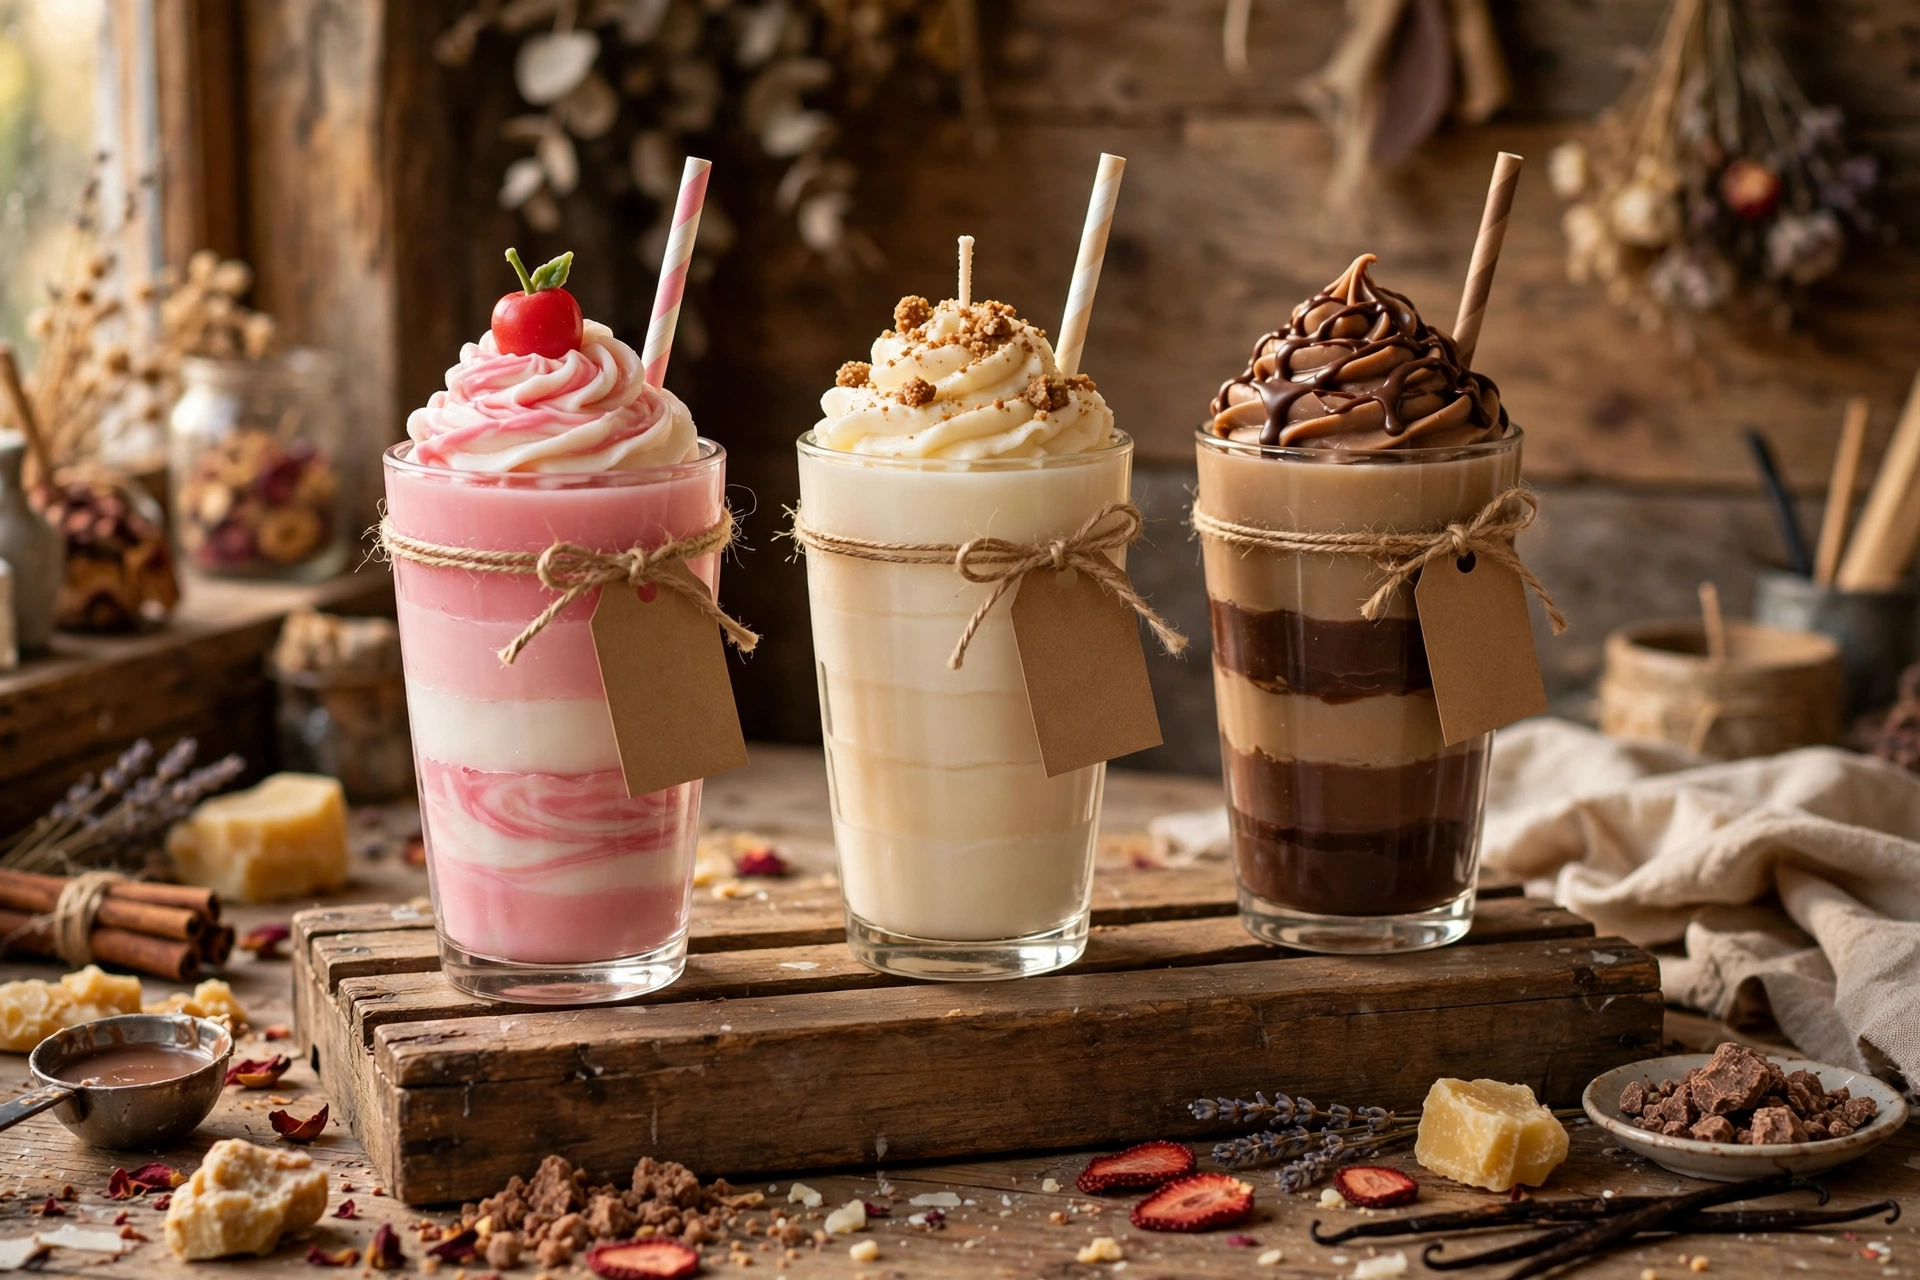
Strawberry: cream bottom layer, pastel pink top layer, white whipped top, red wax cherry, and a darker pink wax-syrup drizzle. Pair with a strawberry-cream or berries-and-cream style fragrance.
Vanilla: ivory bottom layer, warm cream top layer, white whipped top, a dusting of brown wax “cookie crumbs” (finely grated brown wax) instead of a cherry, and a caramel-toned drizzle. Vanilla bean or warm sugar fragrances fit perfectly.
Chocolate: dark brown bottom layer, lighter tan top layer, chocolate-tinted whipped top, chocolate-brown drizzle, and a wax cherry on top for the classic sundae-shake look. Chocolate fudge or mocha fragrances complete it.
Troubleshooting
Sweating (fragrance beads on the surface)? Usually too much fragrance oil for the wax, or the candle cooled too fast in a cold room. Confirm your fragrance load is within the wax’s rated percentage and let layers cool at room temperature away from drafts.
Cracked whipped top? The whipped wax cooled and contracted faster than the glass and base could accommodate — often from piping onto a chilled base or whipping too cold. Pipe onto a room-temperature base, whip at the soft-peak stage (not stiff), and let the finished candle cool slowly.
Weak scent throw? Nine times out of ten it’s the wick — a pool that never reaches edge to edge can’t lift enough fragrance. Also confirm the candle fully cured (scent strengthens during cure) and that every layer got its full fragrance load, stirred in at the right temperature.
Layers bleeding into each other? The top layer was poured too hot or onto a bottom layer that wasn’t fully set. Wait for a completely firm, room-temperature bottom layer and pour the top layer cooler, gently, down the side of the glass.
Whipped swirl slumps? It was whipped too warm or the room is too warm. Whip until true soft peaks hold on the beater, work in a cool room, and pipe immediately.
Gift presentation
Milkshake candles are built for gifting — lean into it. A kraft tag tied with twine that says “DO NOT EAT — milkshake candle” plus the scent name covers both the food-look warning and the branding in one move. Slip the paper straw in last, at the angle, right before wrapping. Tall cellophane bags made for bottles fit these glasses well; tie with ribbon and let the whipped top show through the top of the bag. If shipping, nestle the glass in tissue with the top protected — whipped swirls are sturdy once cured, but they don’t love being crushed.
Safety first
Standard candle rules, every time: never leave a burning candle unattended, trim the wick to 1/4 inch before every burn, keep burns to 4 hours or less, and burn on a heat-safe surface away from anything flammable. Two extras for milkshake candles:
They look like food. This is the big one. Keep finished milkshake candles out of reach of small children, and label them unmistakably — a tag or sticker that says “candle, do not eat” on every single one you sell or gift. Never display them where children play, and never store them near actual food where someone could grab the wrong one.
Remove the straw before burning, and test the tall top. Paper straws come out before the match comes out — every time, no exceptions. And because the whipped top adds fuel as it melts down, the first burn can run hot: never assume the wick that works in a flat candle in the same glass is right here. Test burn every flavor variation — different dyes and fragrance loads change the burn.
Next steps
New to wick testing? Start with how to choose the right wick and test burn your candles — it’s the single most important skill behind every tutorial here. Love the dessert look? The whipped wax dessert candle tutorial covers cupcake candles with the same piping technique. And if you’re selling these, the candle photography tutorial will make your milkshake flight stop thumbs.



