How to Make Whipped Wax Dessert Candles (Cupcake Candles)
Whipped wax dessert candles are one of the biggest trends in candlemaking right now — adorable cupcake-shaped candles with piped “frosting” swirls that look good enough to eat. They’re beginner-friendly, wildly giftable, and perfect for the holidays. Here’s how to whip, pipe, and decorate them.
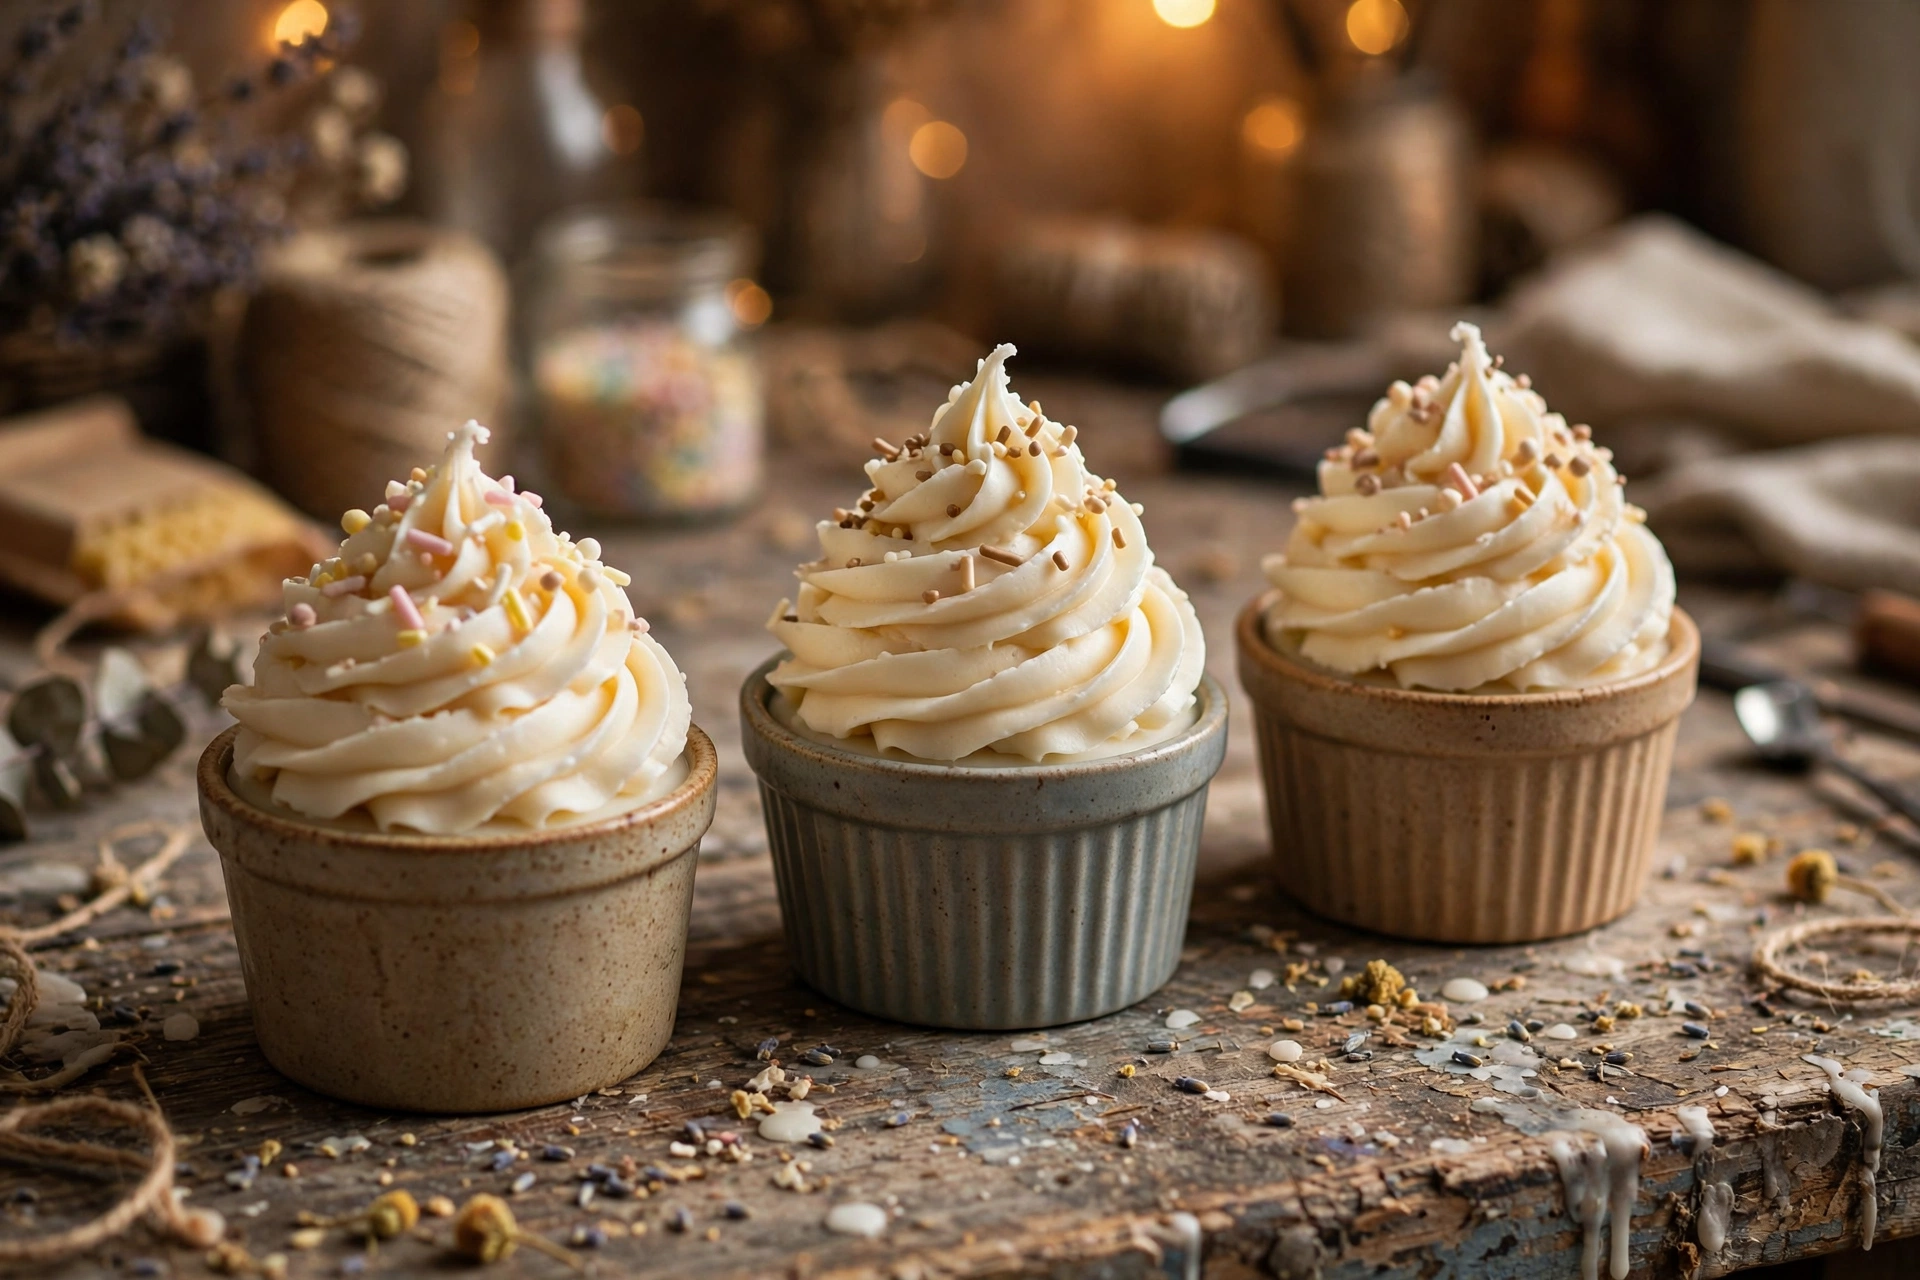
How whipped wax works
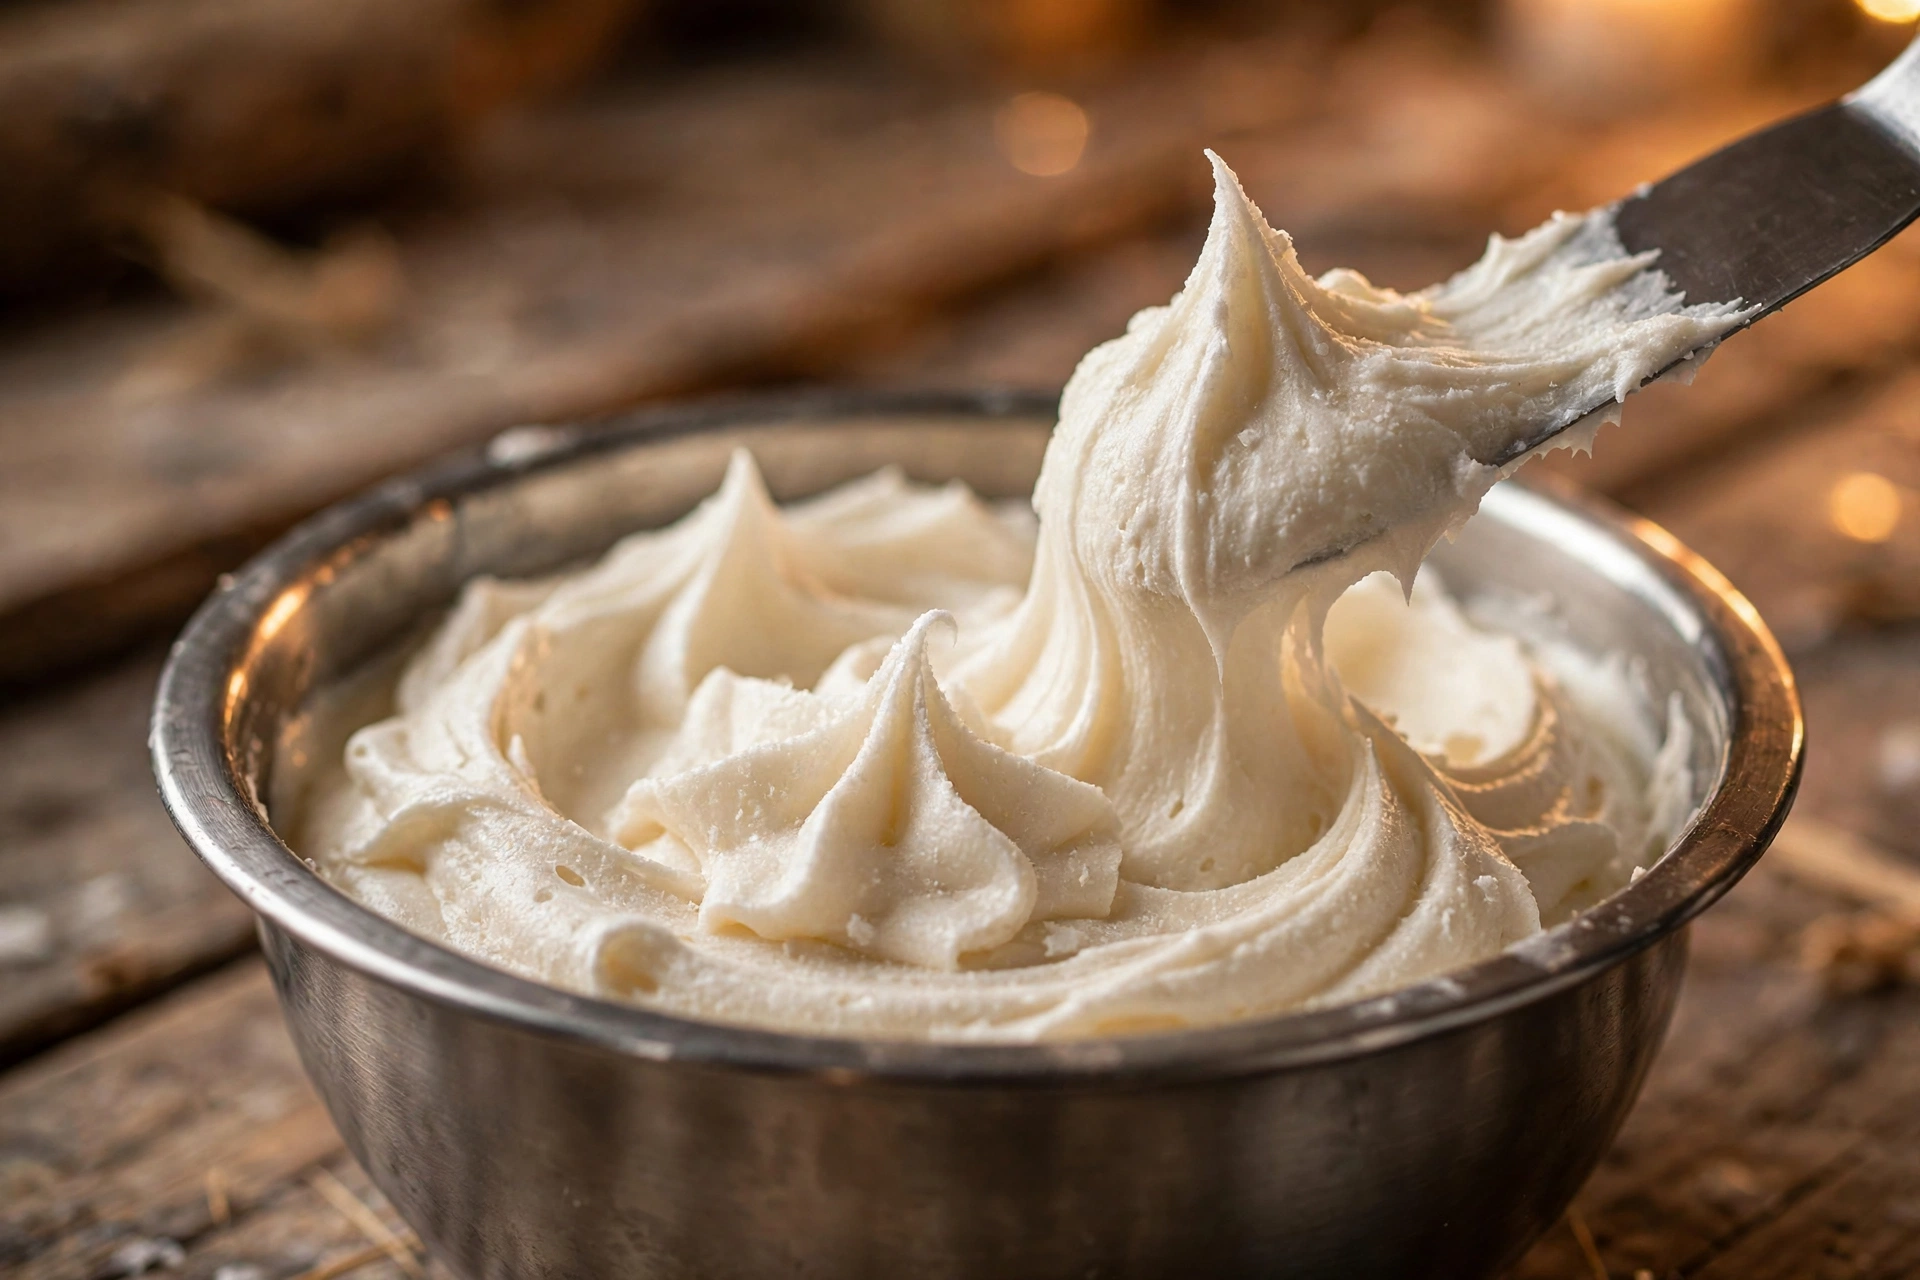
The secret is simple: melt your wax, let it cool until it just starts to thicken, then beat it with a mixer the way you’d whip buttercream frosting. The agitation traps tiny air bubbles and turns the wax into a fluffy, pipeable frosting that holds peaks. Temperature and consistency are everything — too hot and it stays liquid, too cold and it turns lumpy. You’re aiming for the moment it looks cloudy and thick around the edges of the pitcher, like soft butter.
What you’ll need
- Container wax for the base candle (“the cake”)
- A softer wax for whipping (container soy works well)
- Candle containers or mugs, and the right wicks for your vessel
- Fragrance oil made for candles, and candle dye or color (optional)
- Piping bags and large star piping tips
- Electric hand mixer (dedicated to wax — don’t share it with food)
- Thermometer, pouring pitcher, digital scale
- Wax-safe decorations: wax sprinkles, wax embeds, colored wax for drizzle
Steps
1. Pour and wick the base candle
Make your base candle exactly like a normal container candle: wick your mug or jar, melt your base wax, add fragrance and color at your wax’s usual temperatures, and pour. This is “the cake” under the frosting. Let it cool and harden completely before you pipe anything on top — piping onto a soft base melts the swirl from below.
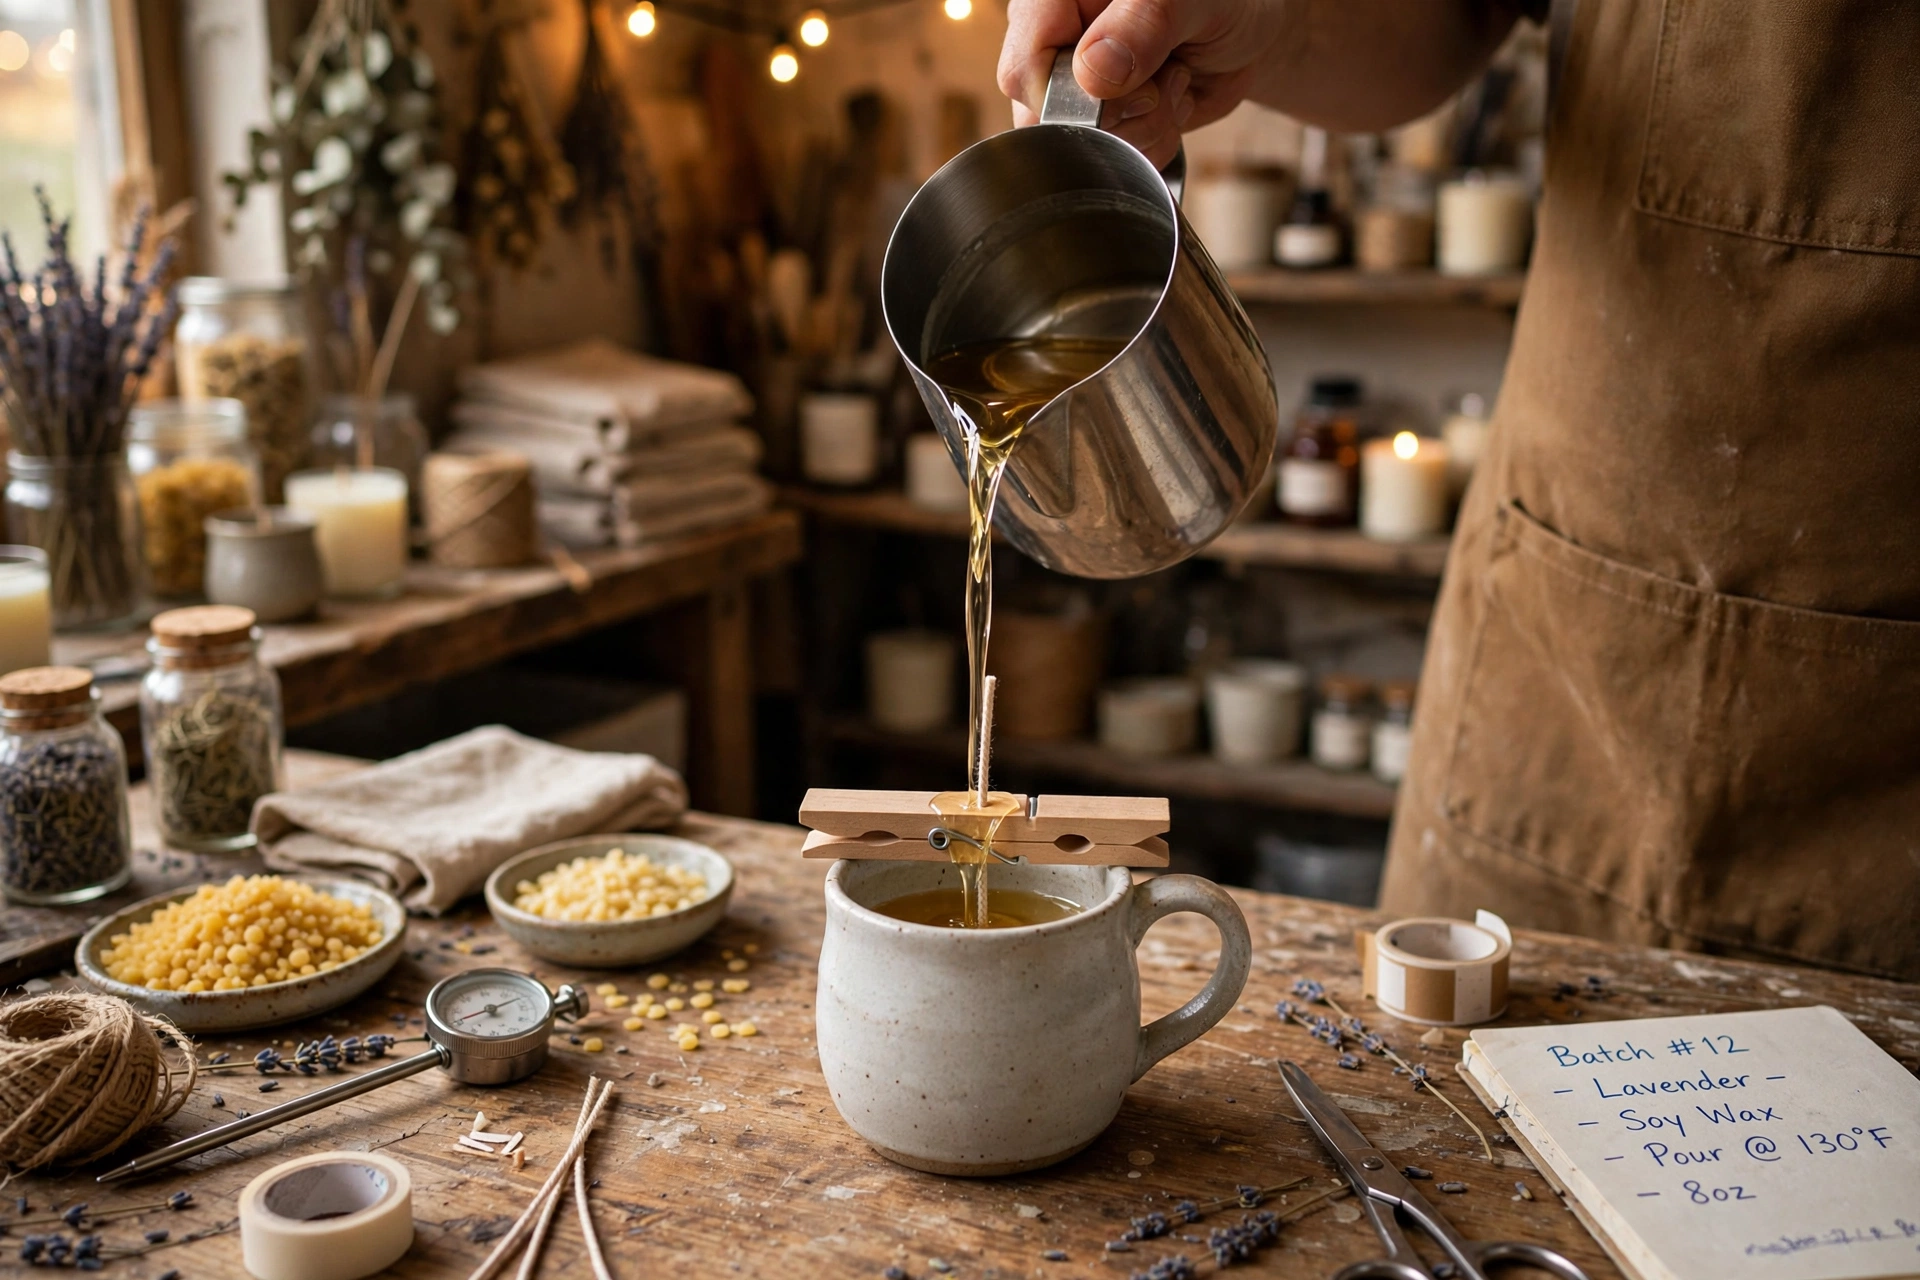
2. Melt, scent, and cool the topping wax
Melt your whipping wax fully, then add fragrance oil and dye and stir well, just as you would for a normal candle. Now the important part: let it cool, undisturbed, until it starts to turn cloudy and thicken around the edges of the pitcher. For many soy waxes this happens roughly around 100–110°F, but go by look and feel, not the number — every wax behaves differently.
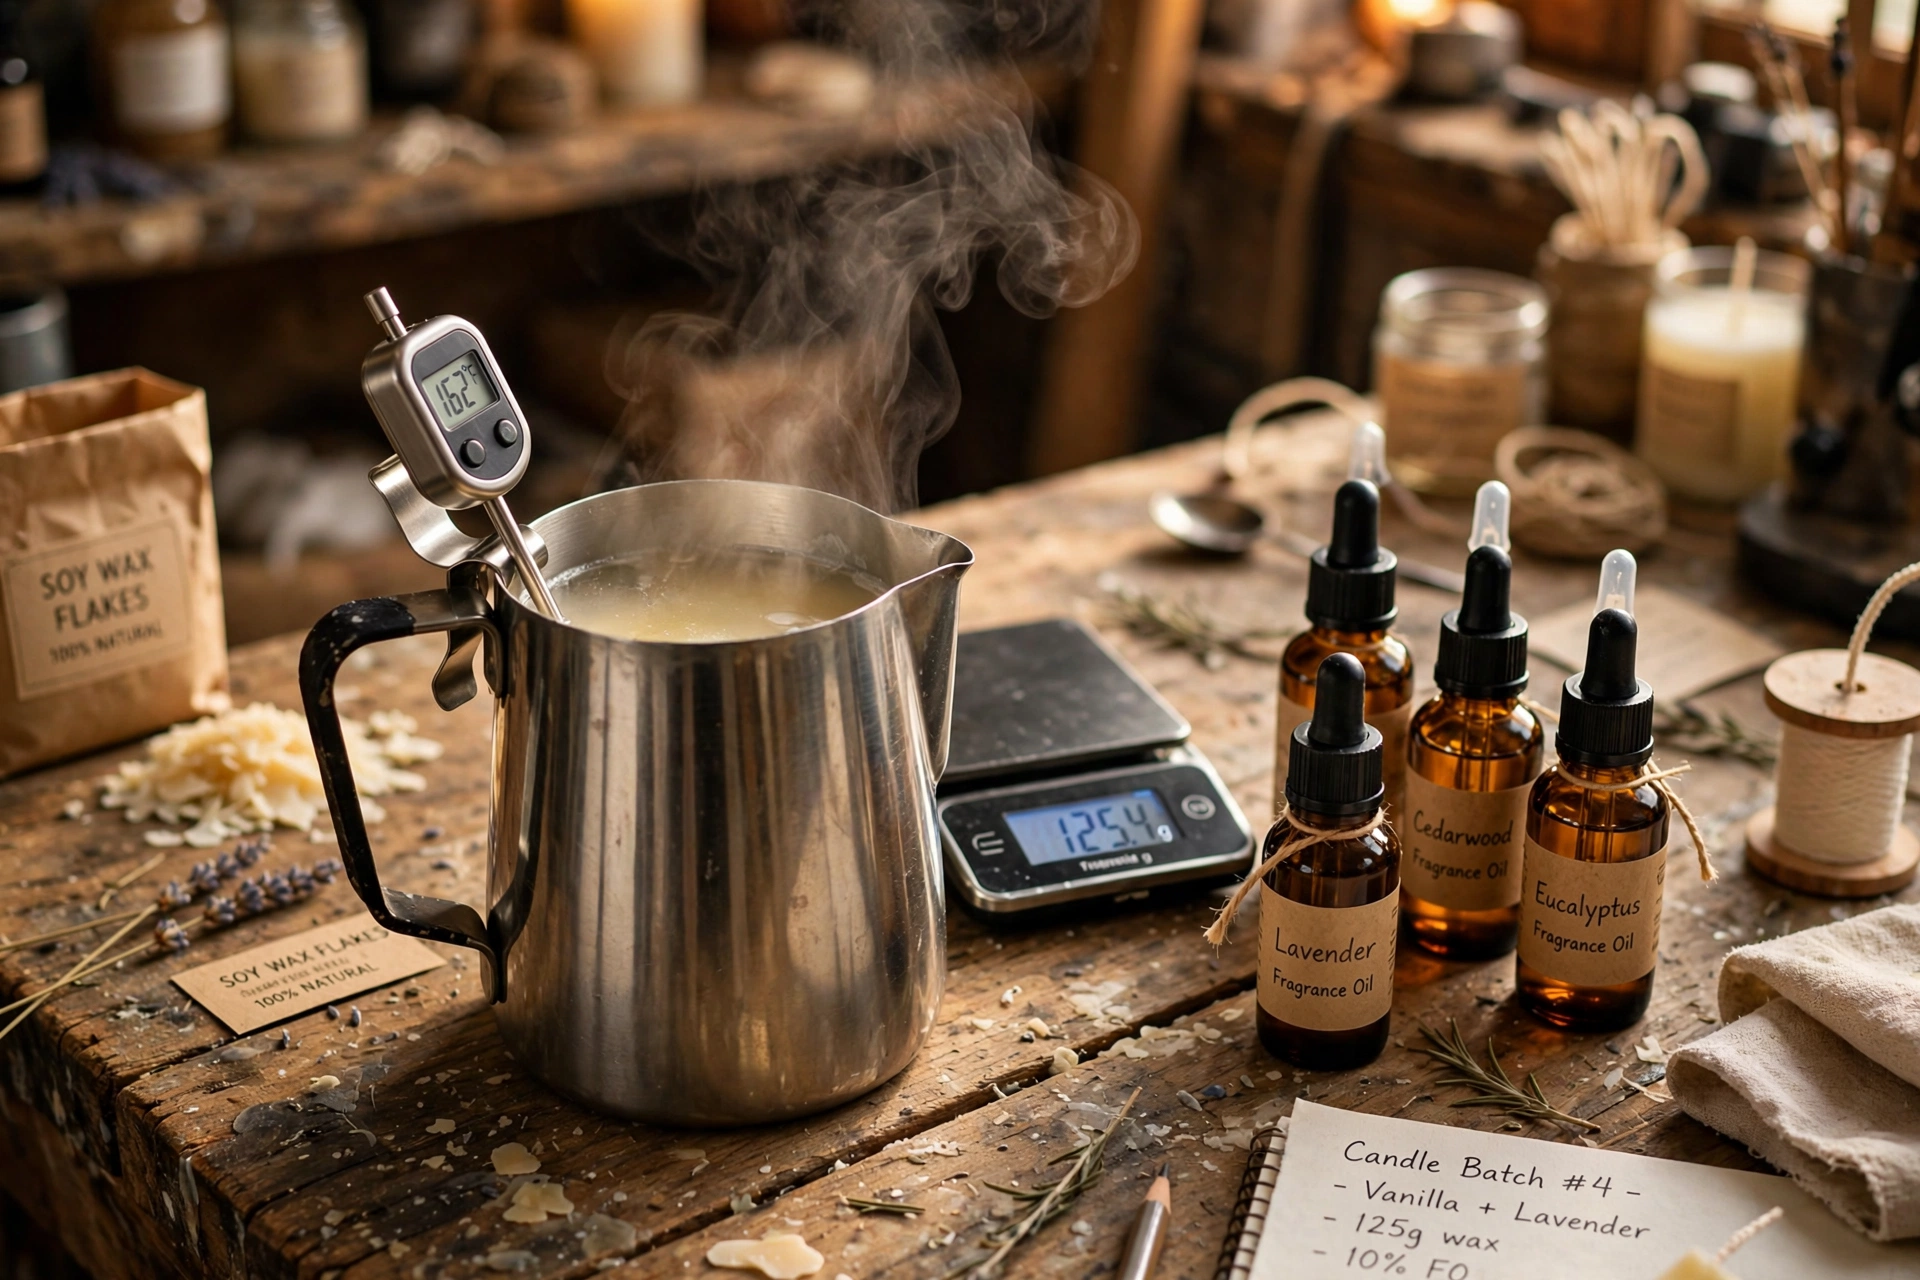
3. Whip to frosting consistency
Beat the cooled wax with your hand mixer until it turns pale, fluffy, and matte, and holds soft peaks when you lift the beaters — exactly like buttercream. This usually takes a few minutes.
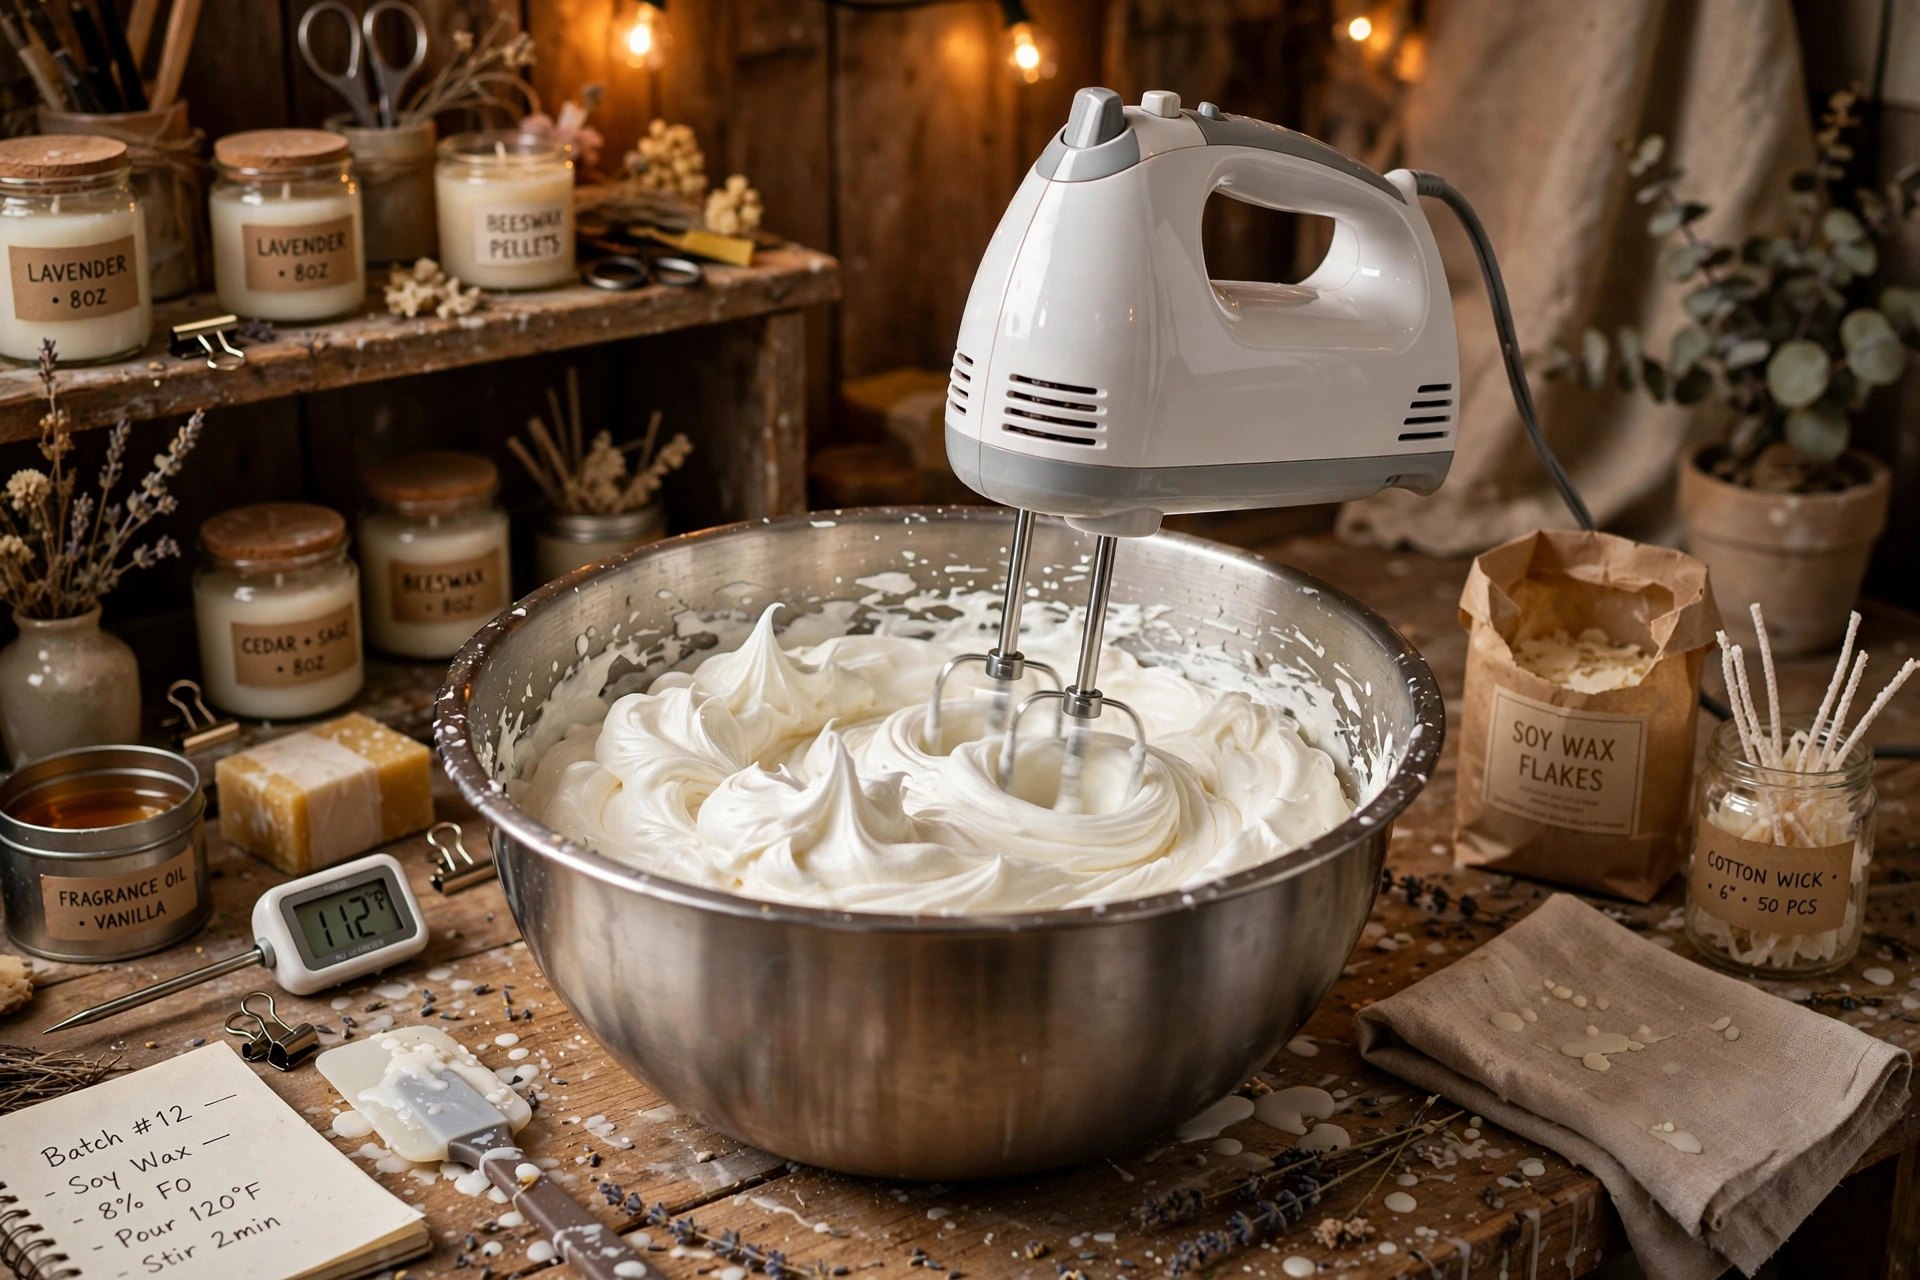
What perfect looks like: smooth, matte, holds a peak without slumping. Too hot: glossy and liquid, slides right off the beaters — let it cool longer. Too cold: stiff, lumpy, and grainy, breaks instead of piping — gently rewarm the bowl over warm water (not direct heat) and whip again.
4. Pipe the swirl
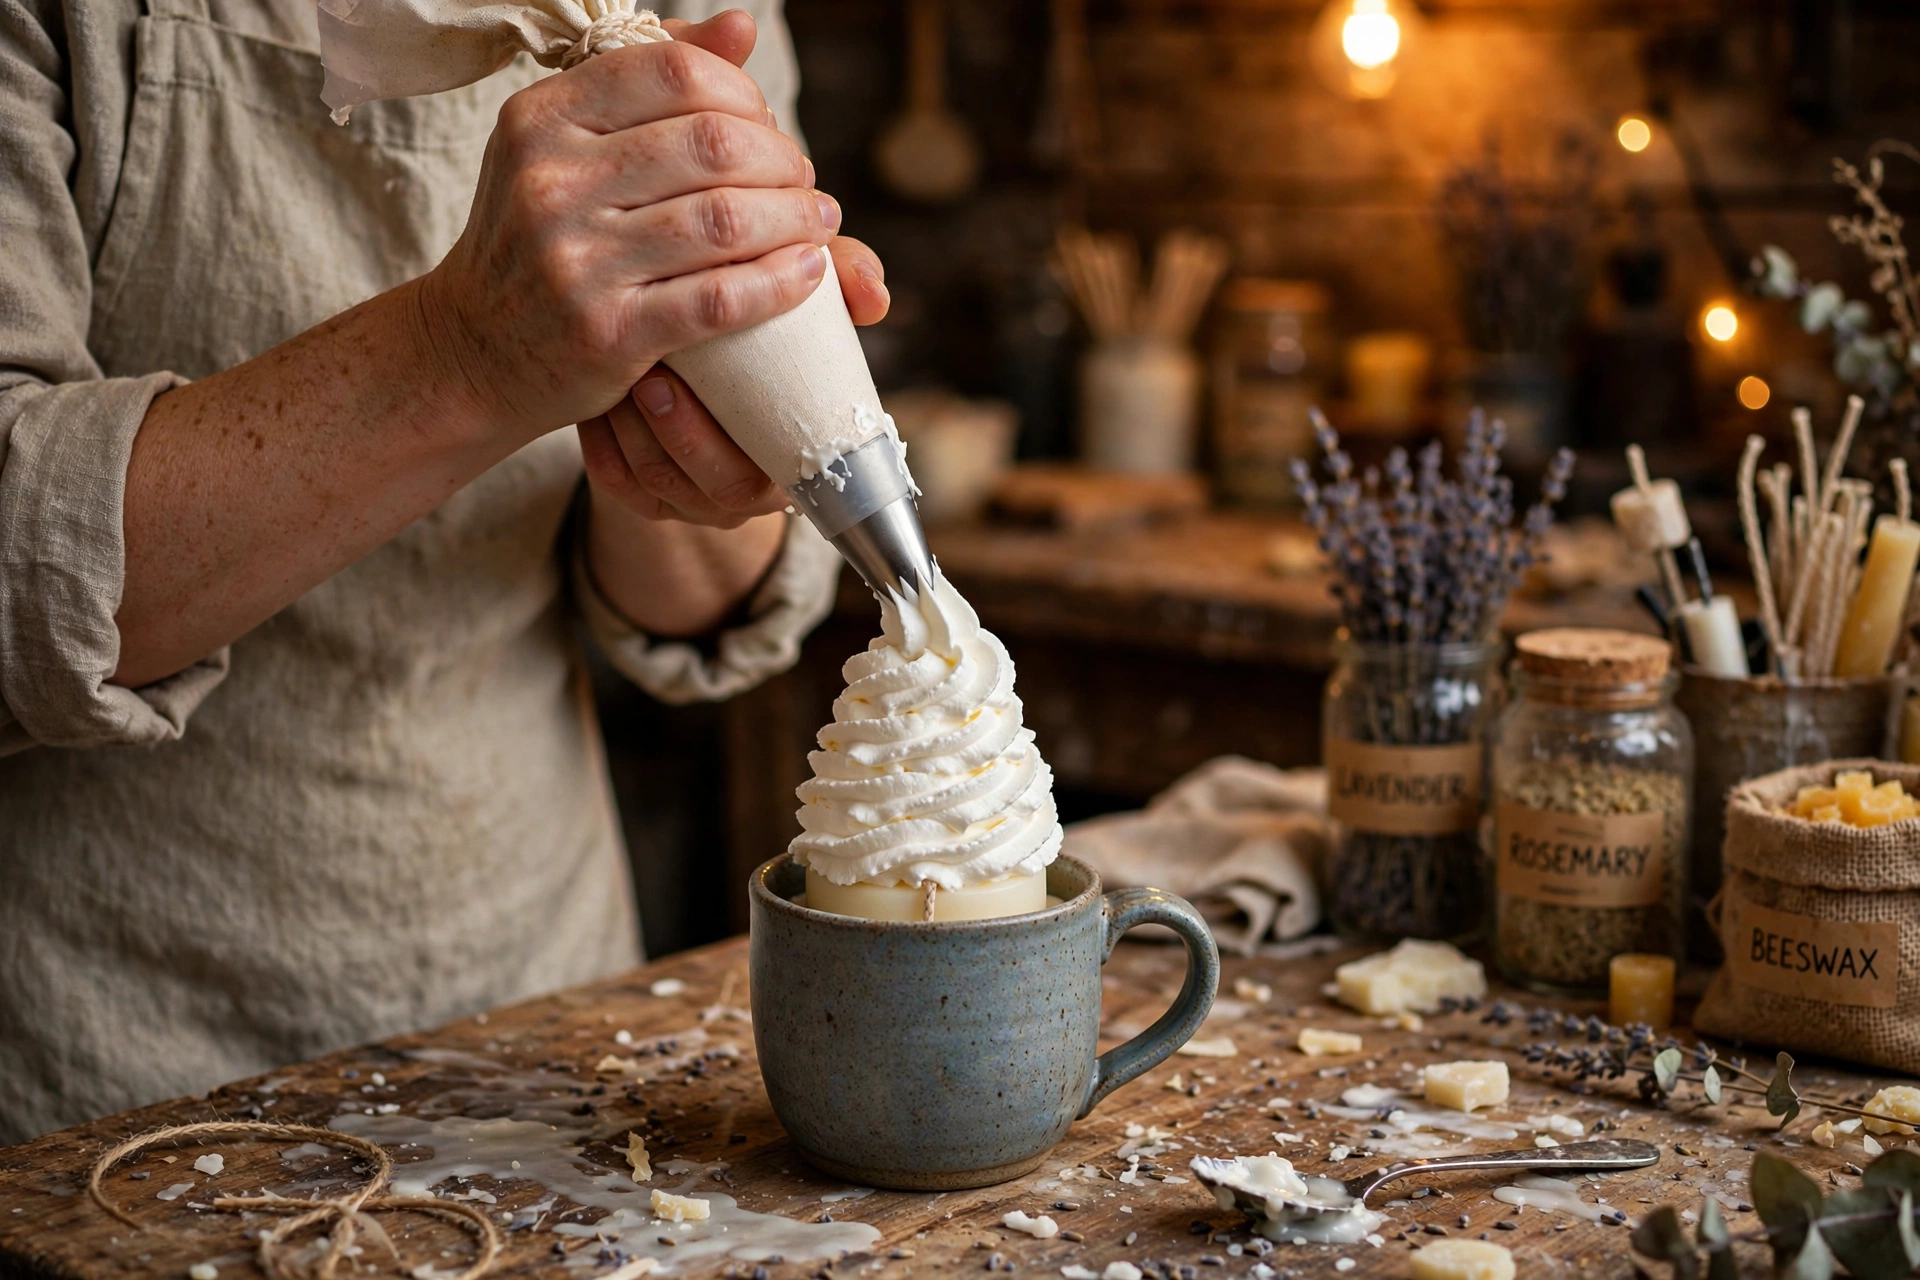
Spoon the whipped wax into a piping bag fitted with a large star tip. Starting at the outer edge of the base candle, pipe in a spiral, stacking upward to a peak — just like frosting a real cupcake. Work steadily; if the wax firms up in the bag, knead the bag gently to soften it.
5. Decorate — wax only
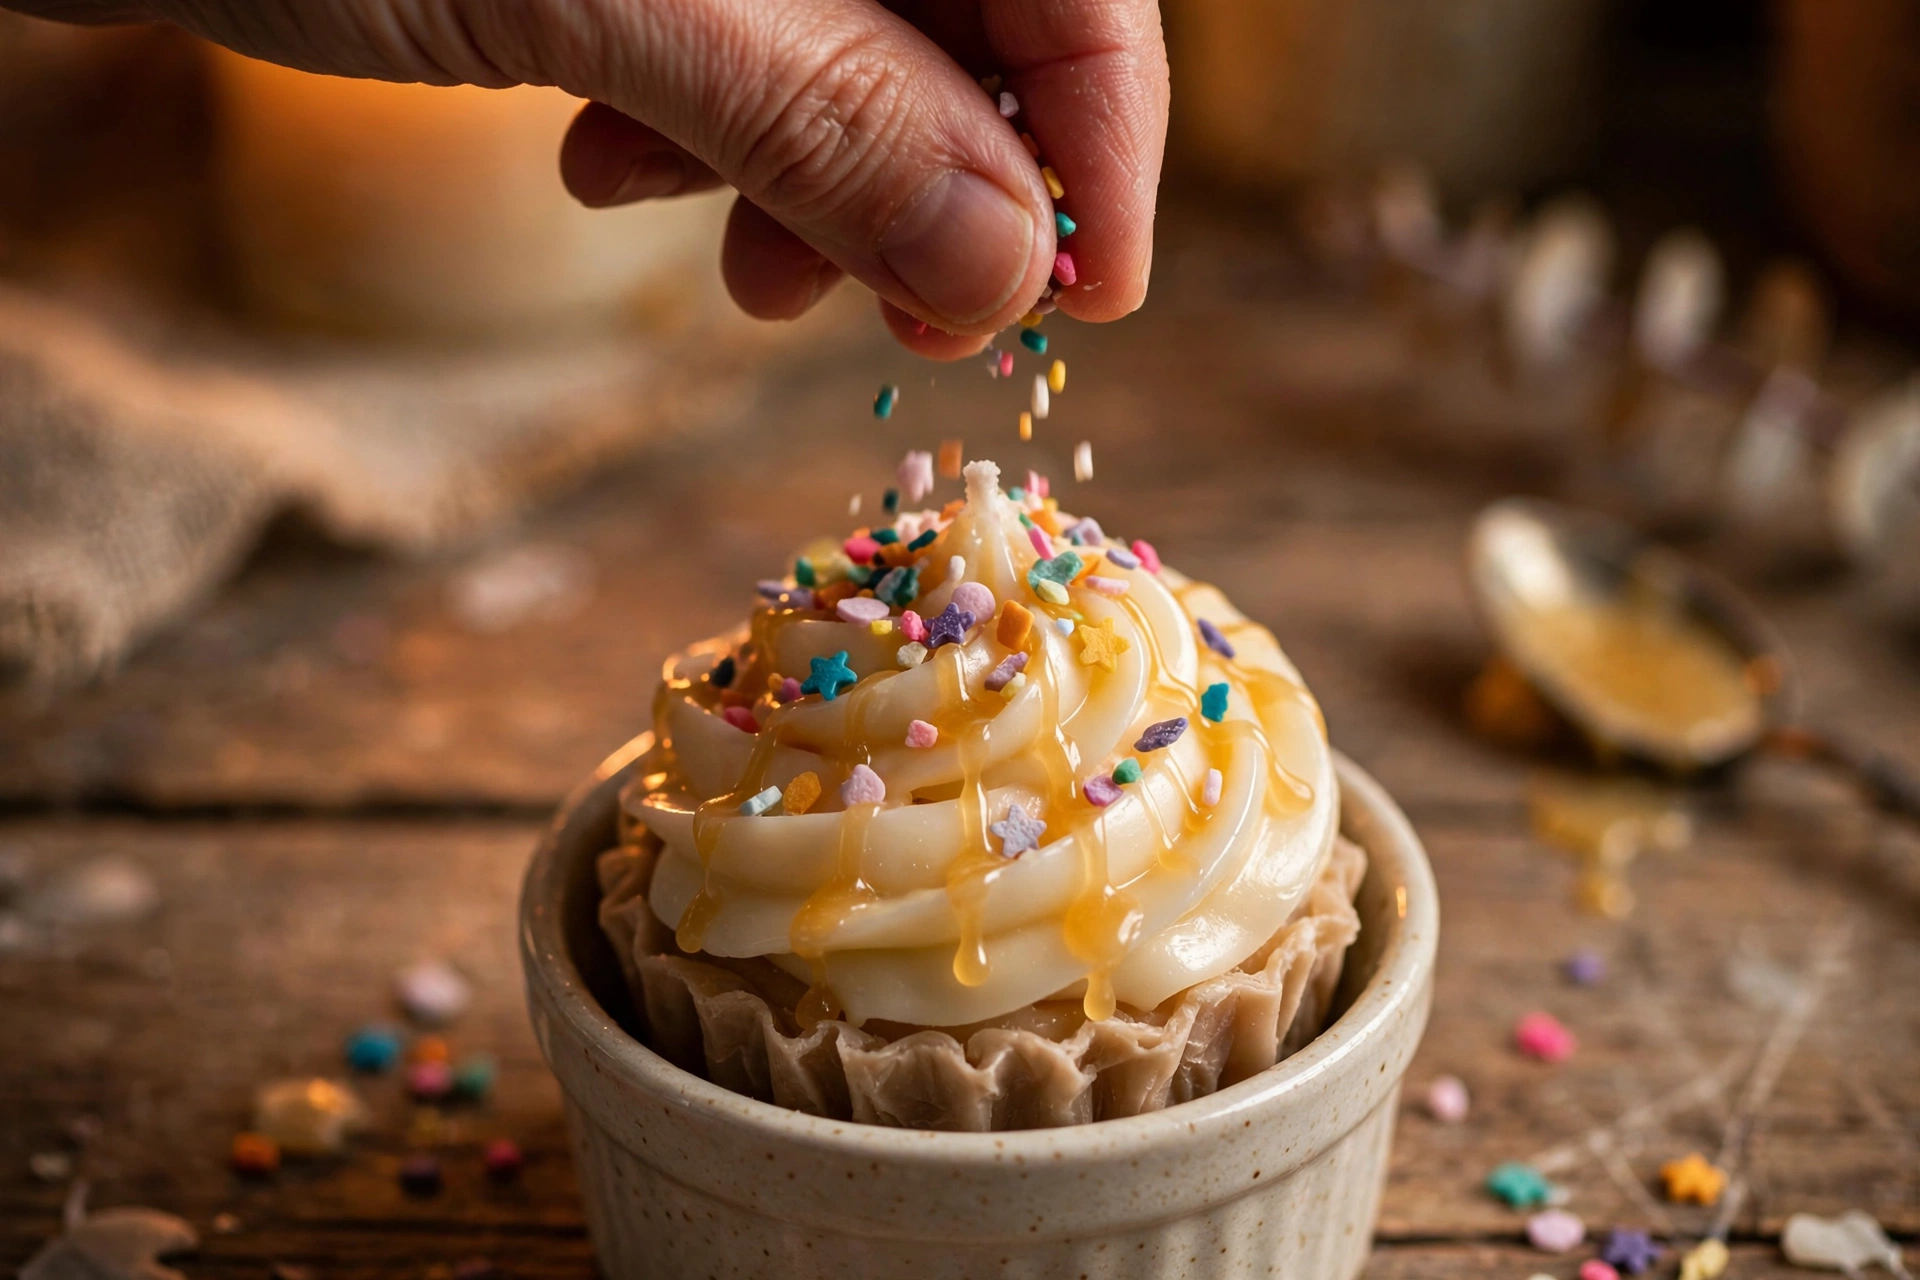
While the frosting is still soft, add your decorations: tiny wax sprinkles, small wax embeds (hearts, stars), or a thin drizzle of contrasting melted wax. Press embeds in gently so they anchor.
6. Cure, trim, and test burn
Let the finished candle cure like any other — about 7–14 days for soy-based waxes — so the scent fully develops. Trim the wick to 1/4 inch, then test burn it before selling or gifting. The tall frosting melts down into the pool as it burns, which changes the burn dynamics versus a flat-topped candle, so never skip the test.
Troubleshooting
Wax won’t hold peaks? It’s too hot. Let it cool longer until it clouds and thickens, then whip again.
Lumpy, grainy, won’t pipe? It’s too cold. Gently rewarm the bowl (warm water bath, not direct heat) until it softens, then re-whip.
Swirl collapses after piping? It was whipped too warm, or the base candle underneath was still soft. Whip cooler and always pipe onto a fully hardened base.
Frosting pulls away from the jar? The base shrank as it cooled and the frosting didn’t bond. Pipe while the base is at room temperature (not chilled), and make sure the swirl overlaps the jar edge slightly.
Weak scent in the whipped portion? Whipping can mute fragrance perception slightly. Make sure you added the full fragrance load to the topping wax and stirred thoroughly — and confirm with a cured test burn, since scent strengthens during cure.
Holiday variations
Once you’ve nailed the basic cupcake, the variations are endless — and they sell themselves at holiday markets:
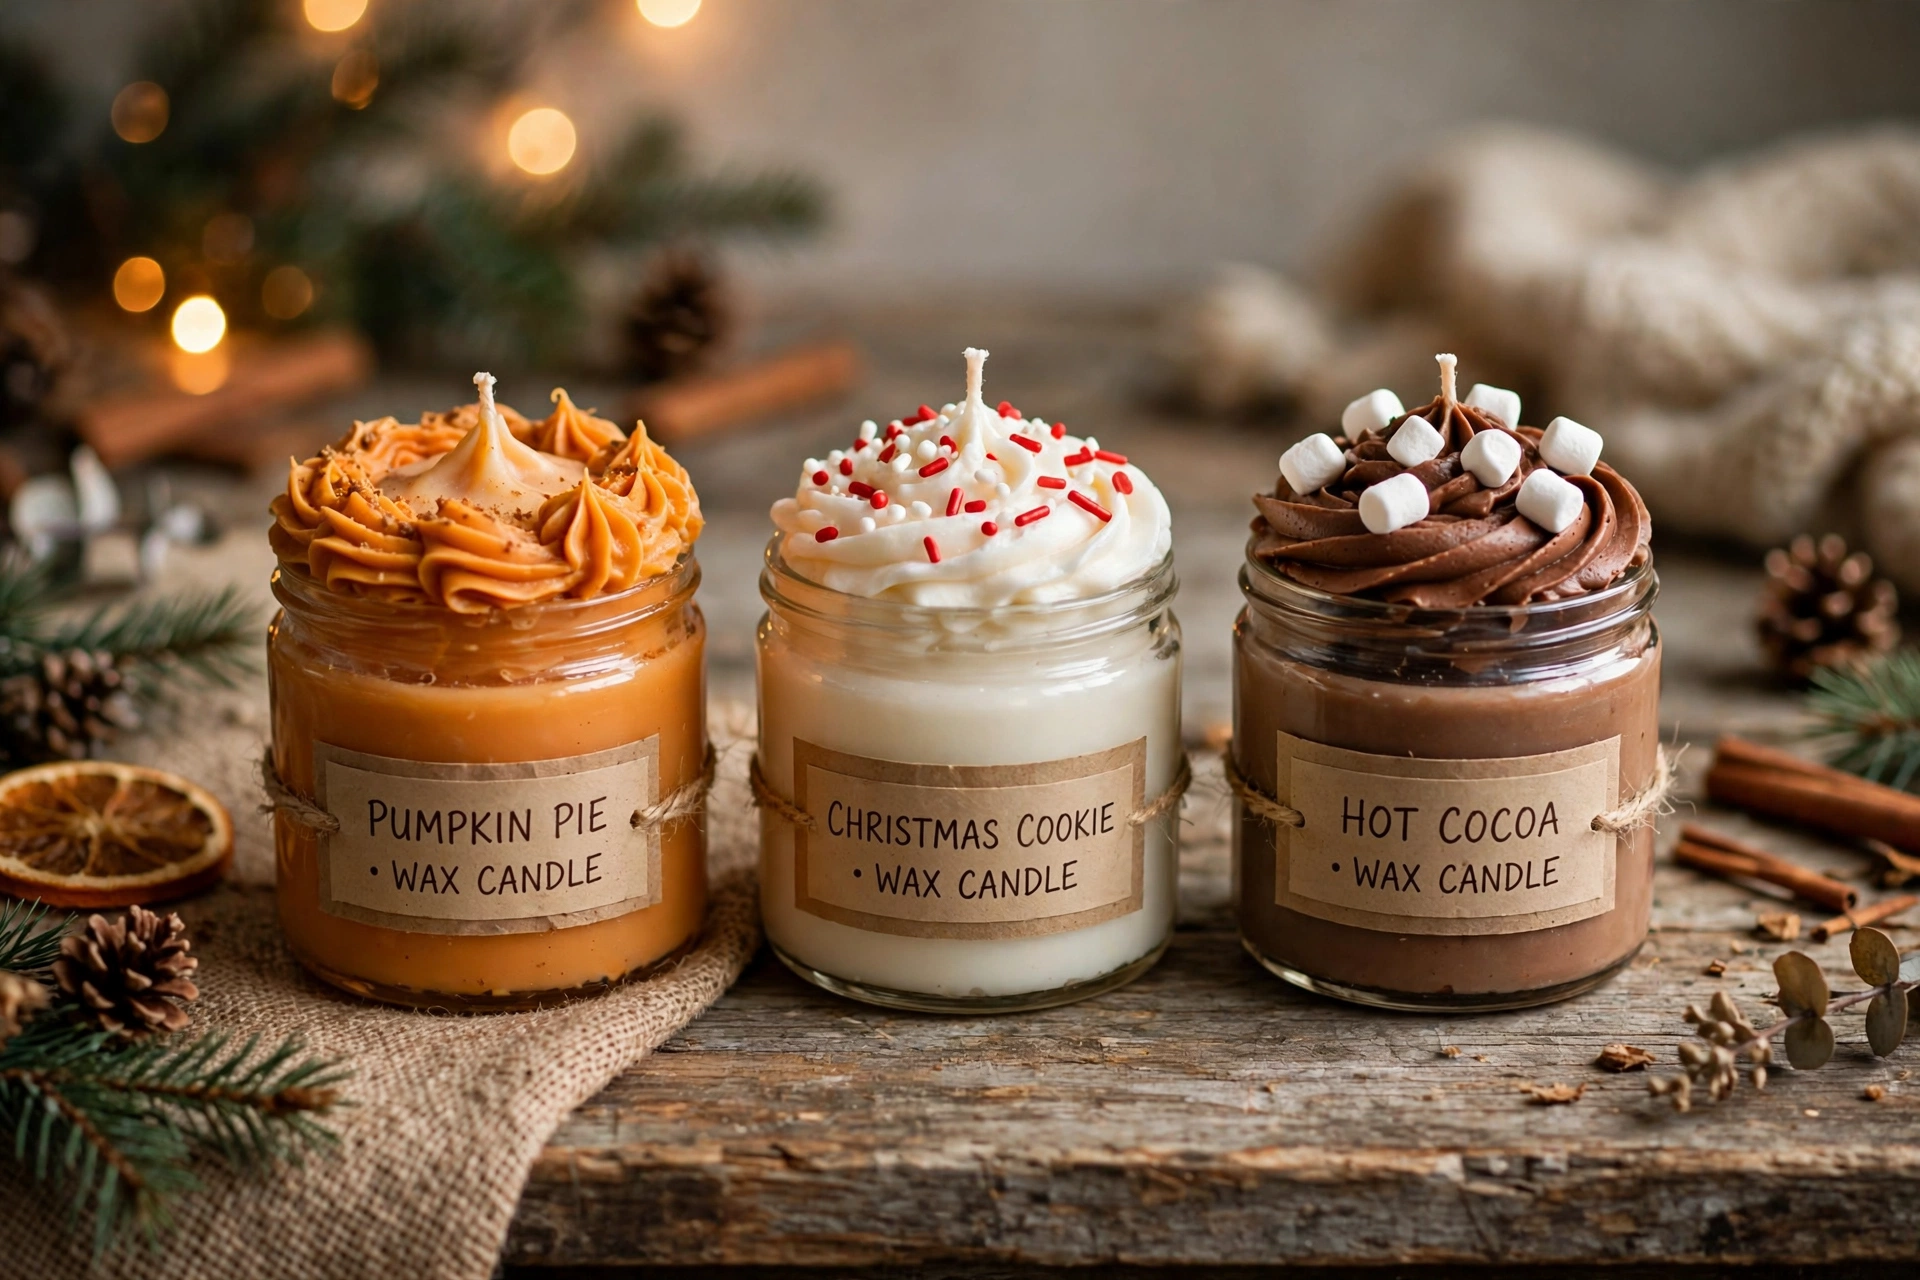
Pumpkin pie: warm orange-tinted frosting, a dusting of brown wax “cinnamon,” and a warm bakery fragrance.
Christmas cookie: white frosting with red-and-white wax sprinkles and a vanilla-sugar scent.
Hot cocoa: chocolate-brown frosting topped with tiny white wax “marshmallow” cubes.
Safety first
All the standard candle rules apply: never leave a burning candle unattended, trim the wick to 1/4 inch before every burn, and keep burns to 4 hours or less. Two extras for dessert candles:
They look like food. Keep finished dessert candles away from small children who might try to taste them, and consider a “do not eat” note on the label or packaging.
Tall frosting changes the burn. The swirl melts down and adds fuel to the melt pool, so the first burn can run hotter than a flat candle in the same jar. Test burn every new design — don’t assume the wick that worked for your regular container candle is right for the dessert version.
Next steps
Experimenting with dessert scents? See the fragrance blending tutorial for building bakery and gourmand blends. Want more advanced designs? The layered candle tutorial pairs beautifully with whipped tops. And since these photograph so well, the candle photography tutorial will help your listings stand out.