
How to Photograph Your Candles
People buy with their eyes first. A candle photographed in harsh kitchen light looks homemade; the same candle shot well looks like a brand. Here’s how to get there with gear you probably already own.
What you’ll need
- Your phone — modern phone cameras are plenty good enough
- A photo studio light box (the single biggest upgrade you can buy)
- White poster board or foam core as a sweep backdrop
- A small tripod or stack of books to steady the phone
- Props: dried flowers, linen, wood slices, coffee beans — keep it simple
Steps
1. Kill the overhead light
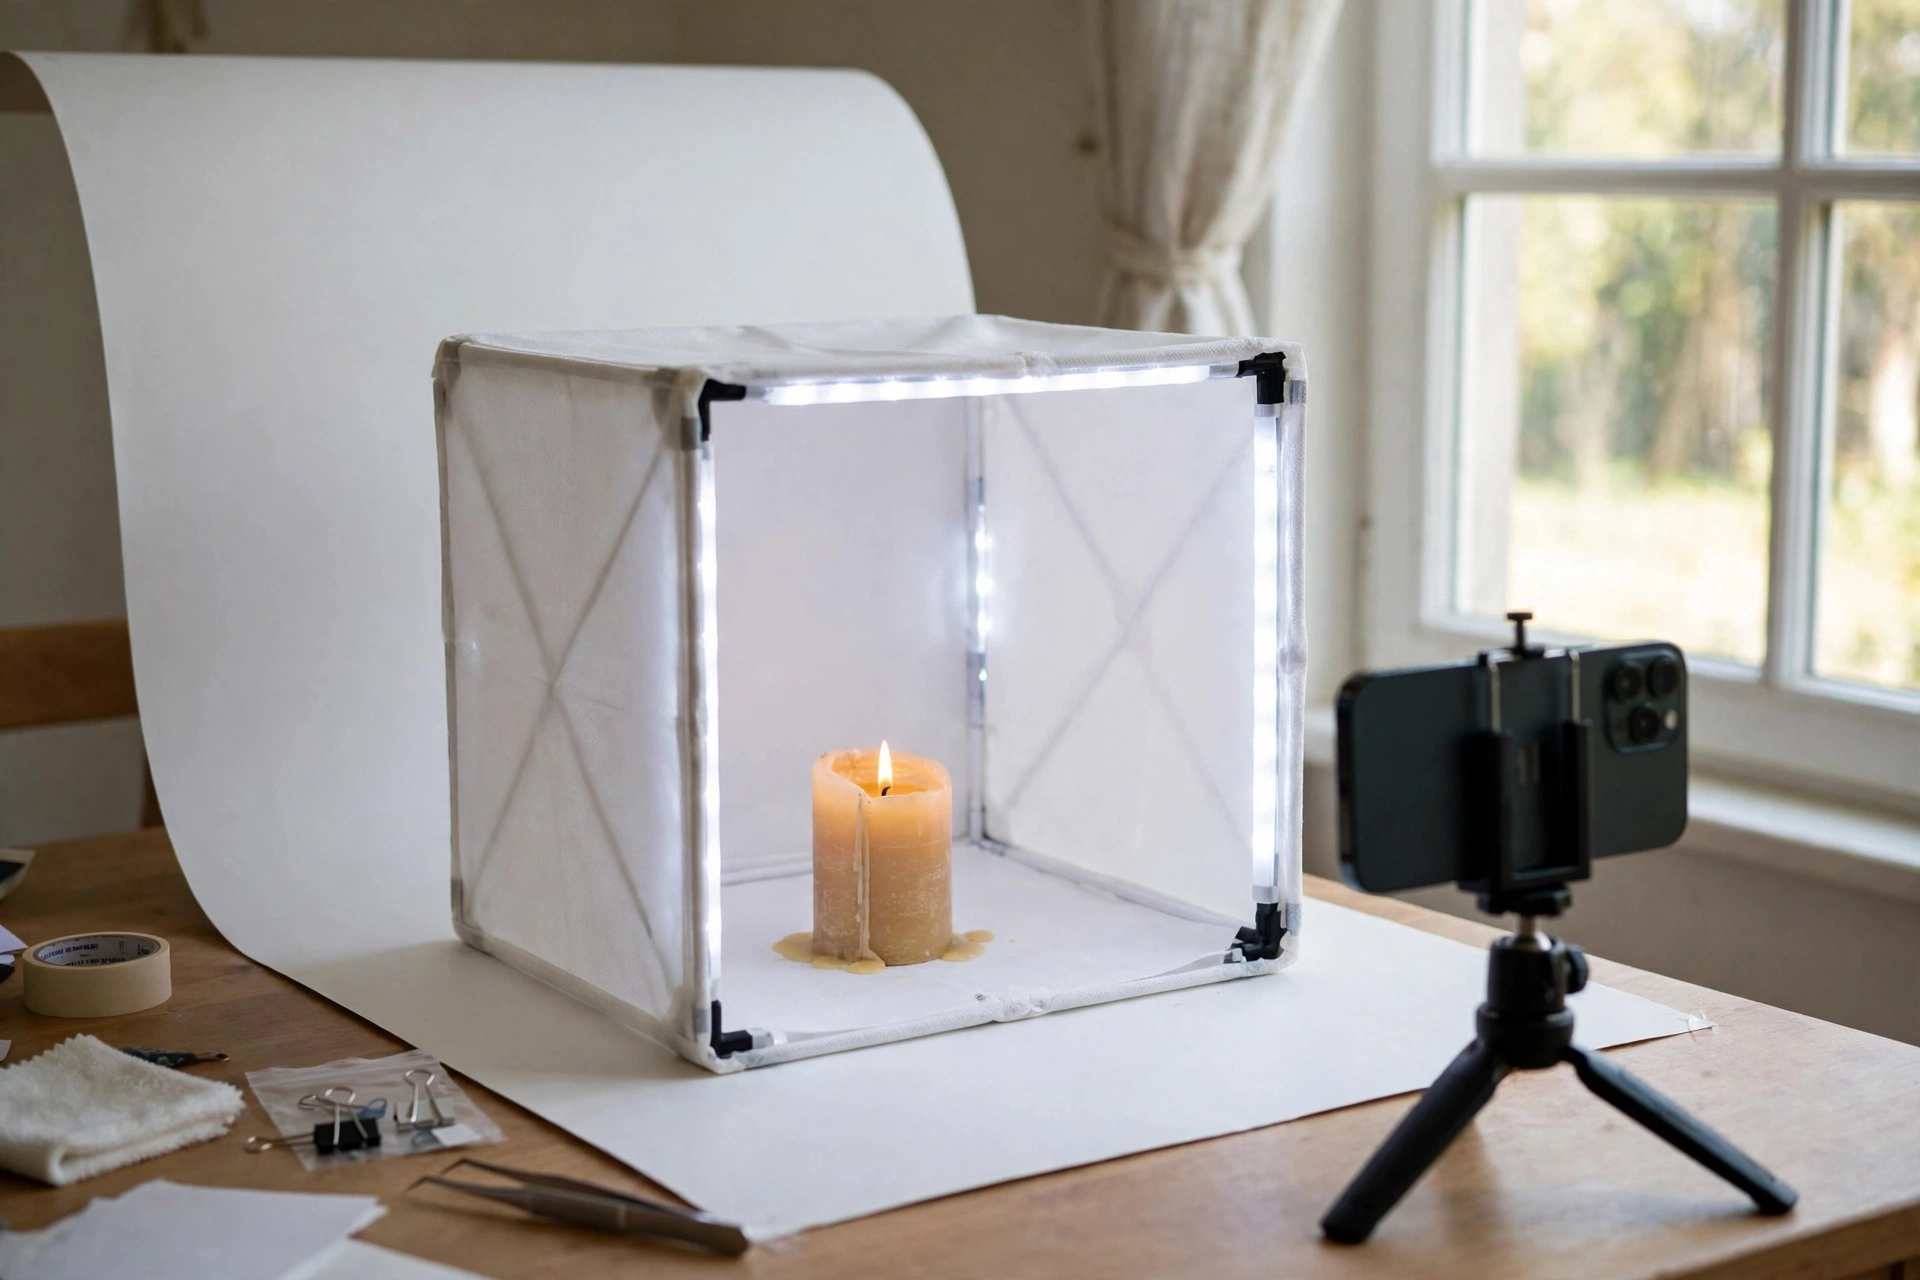
Turn off the room’s ceiling lights — they cast ugly yellow tones and harsh shadows. Work near a window for soft daylight, or inside a light box with its own LEDs. One light source beats three every time.
2. Build a clean backdrop
Curve a sheet of white poster board from flat surface up against a wall — no horizon line, no clutter. This “sweep” makes the candle float in clean space. Wipe the vessel first; the camera sees every fingerprint and dust speck you don’t.
3. Style it simply
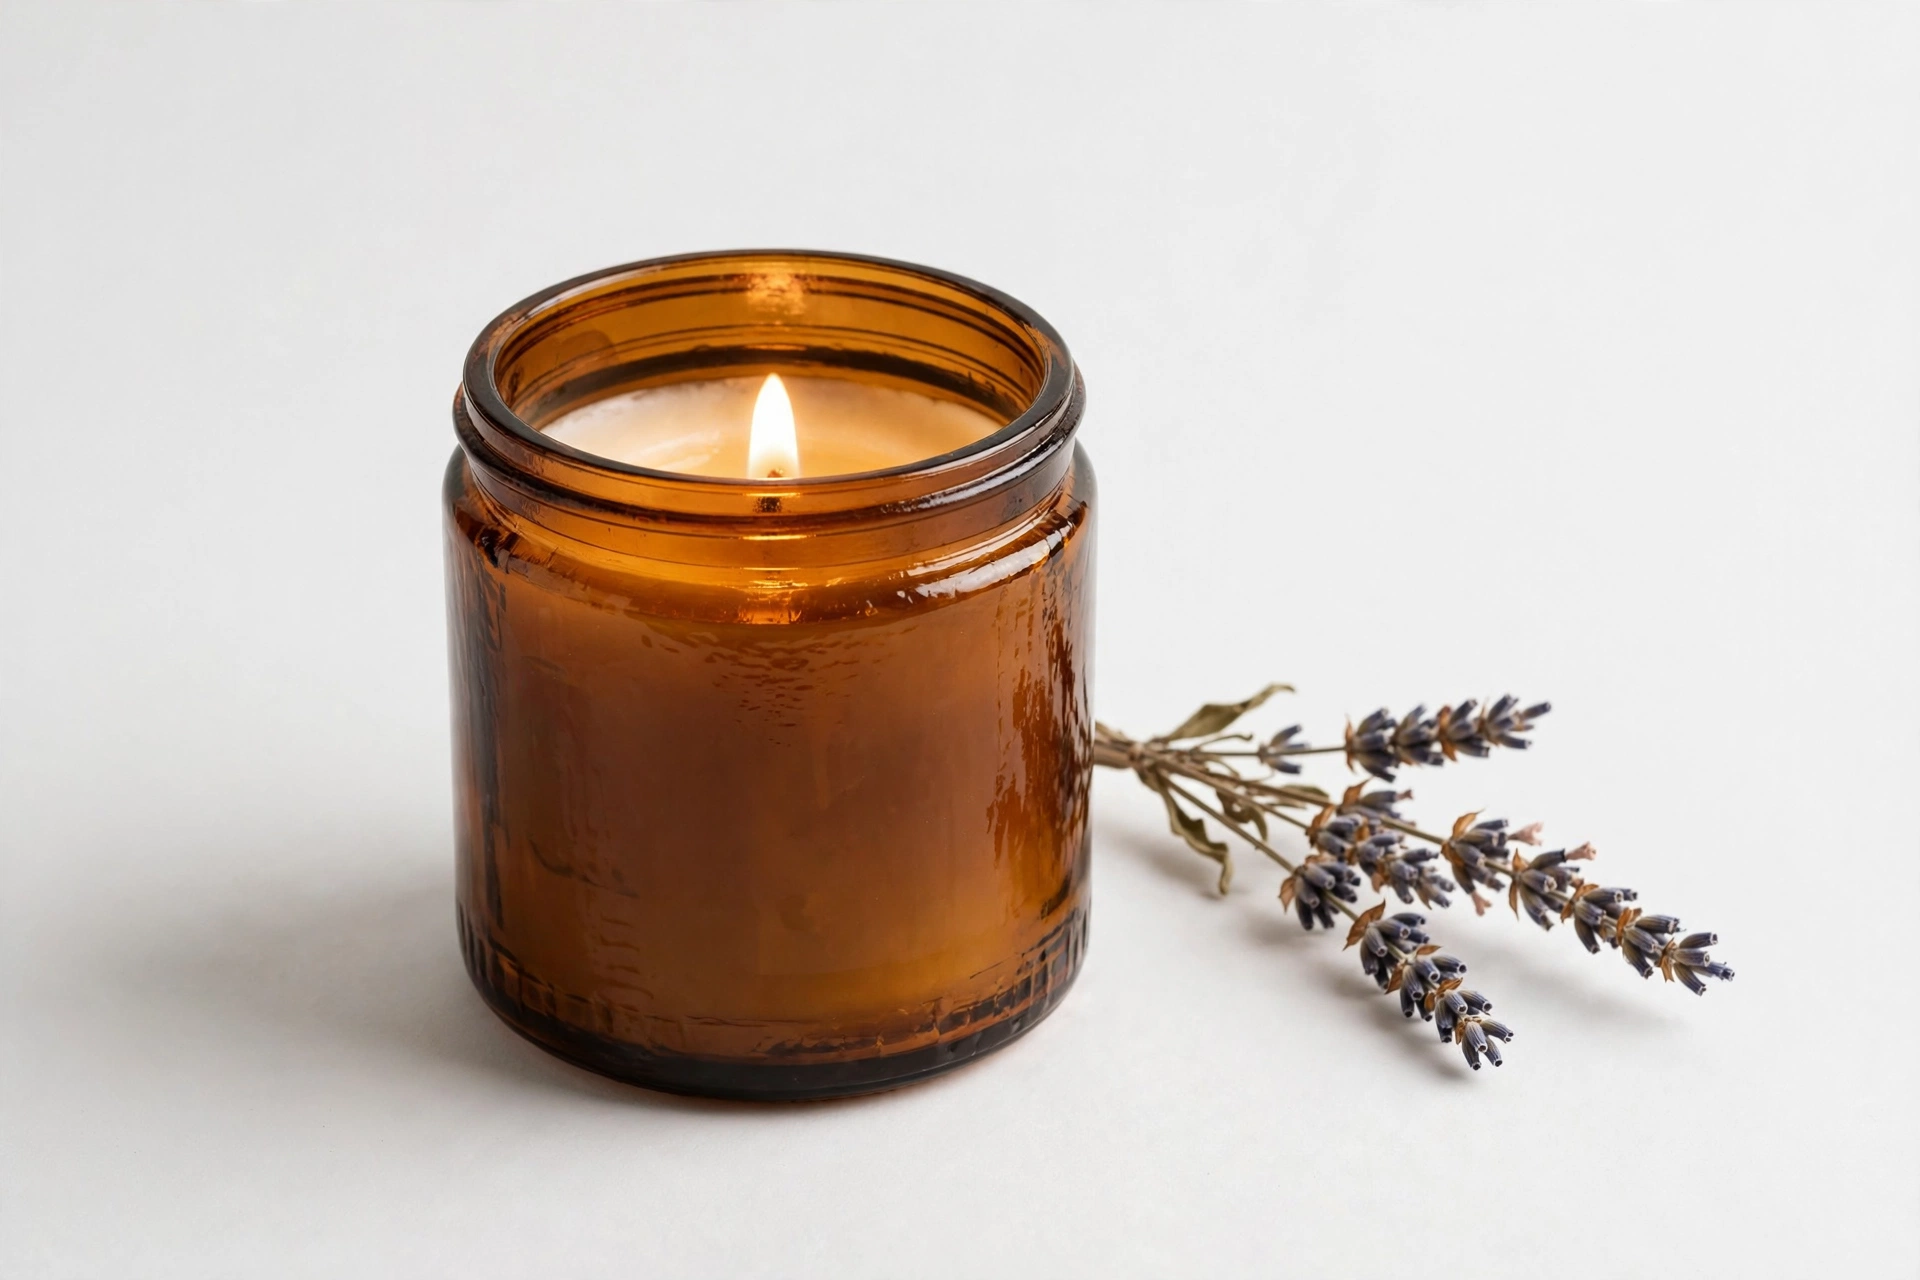
Add one or two props that hint at the scent — cinnamon sticks for a spice candle, dried lavender for floral. Then take half of them away. Beginners over-style; the candle should fill at least half the frame.
4. Shoot the flame separately
Lit-candle shots sell the dream, but flames are hard to expose correctly. Dim the room, tap your phone screen on the flame to lock exposure there, and shoot. Take your bright product shots unlit, then combine the best of both in your listing.

5. Edit lightly and stay consistent
Bump brightness and warmth slightly, straighten the horizon, crop tight. Then — this is the business part — use the same backdrop, same angle, and same edit on every product. A shop where every listing looks like it came from the same brand outsells a shop that looks like twelve different sellers.
This tutorial contains affiliate links. As an Amazon Associate I earn from qualifying purchases — it helps keep these tutorials free, at no extra cost to you.



