
How to Make Ice Cream Sundae Candles
Few things stop thumbs at a market stall like a candle that looks exactly like an ice cream sundae — rounded wax scoops stacked in a glass sundae cup, glossy chocolate drizzle, rainbow wax sprinkles, and a cherry on top. This tutorial shows you how to scoop, drizzle, and decorate a realistic sundae candle from scratch, using only wax-safe techniques.

How the build works
The whole trick is one principle: wax, worked at the right temperature, behaves like the dessert it is imitating. Warm wax pours like hot fudge. Firm, still-pliable wax scoops like softened ice cream. Cool wax shaves into curls like chocolate shavings. You are not faking dessert — you are finding the temperature where each wax technique mimics its real-world twin. Nothing here needs special equipment; a real ice cream scoop is the most specialized tool involved.
What you’ll need
- A glass sundae cup (heat-safe, like a real dessert cup) and the right wick for its diameter
- Container wax for the base candle, plus separate batches of tinted wax for scoops
- Fragrance oil made for candles (typical load: 6–10% of wax weight, within your wax’s rating), and candle dye or color (optional)
- A real ice cream scoop (dedicated to wax — don’t share it with food), a vegetable peeler, and a small steel pouring pitcher
- Thermometer, digital scale, parchment paper, wick holder or chopsticks
- Cooled sticks or sheets of colored wax for sprinkles; a small ball of red-tinted wax for the cherry
Steps
1. Wick and pour the base candle
Build the base exactly like a normal container candle: center your wick in the sundae cup, melt your base wax, add fragrance and color at your wax’s usual temperatures, and pour. The base is what the scoops sit on, so pour it about 1 inch below the rim — the scoops will fill the rest. Let it cool and harden completely before anything touches it.

2. Melt, scent, and firm the scoop wax
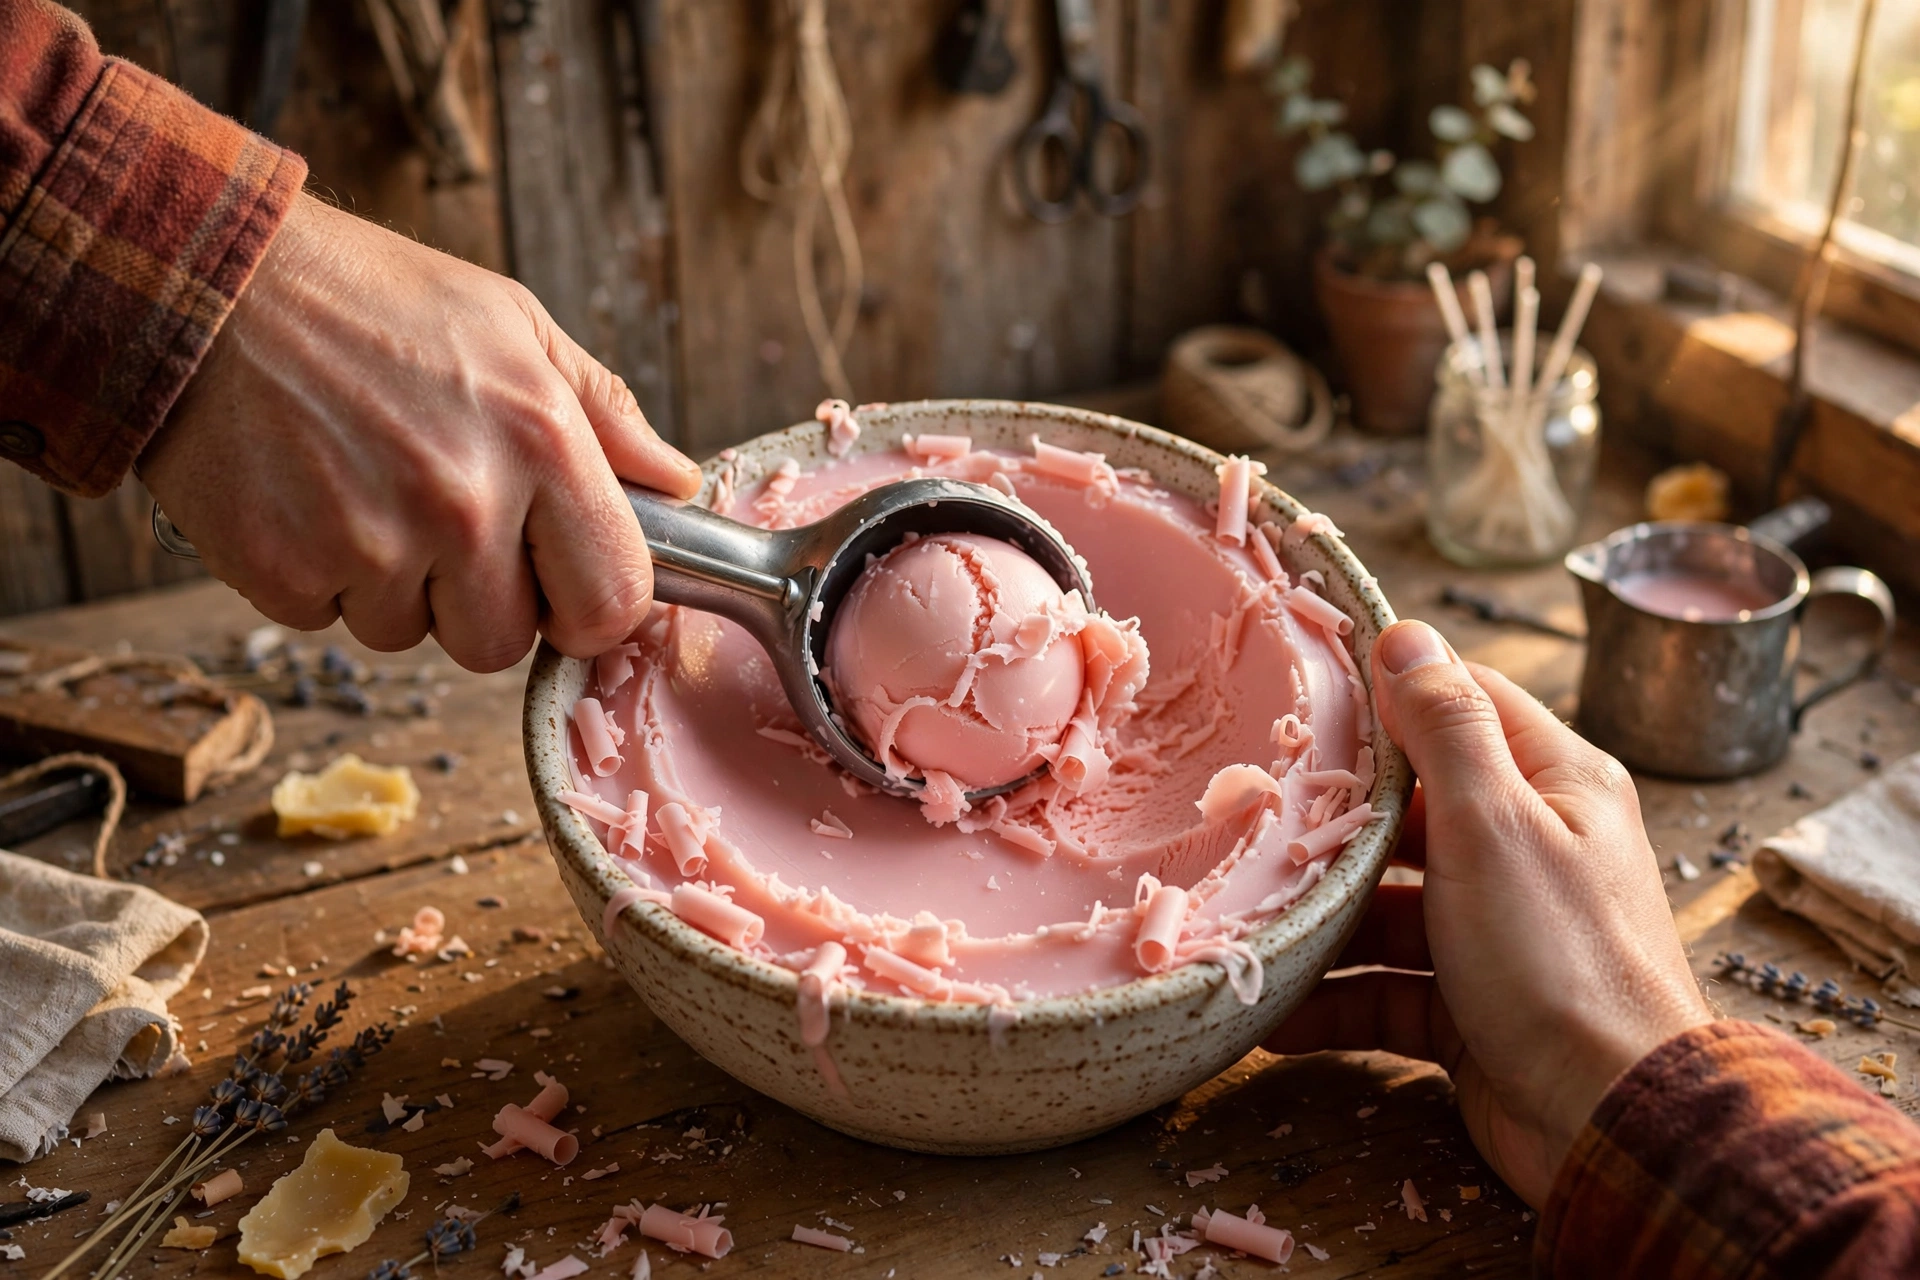
For each “flavor,” melt enough wax for one scoop, add fragrance oil and dye, and stir well. Then — and this is the part that matters — pour each batch into a shallow bowl and let it cool until it is firm but warm: cool enough to hold its shape when pressed, warm enough to yield to a spoon. Press the surface with a fingertip: it should dent without cracking. If it cracks, it’s too cool — rewarm the bowl gently. If it sticks to your finger and feels greasy, it’s too warm — wait longer.
3. Scoop the ice cream balls
Dip your ice cream scoop in warm water and shake it dry (this stops the wax from grabbing the scoop). Press the scoop into the firm wax at an angle, curve your wrist, and roll it out — exactly like scooping real ice cream. You want smooth, round balls with that classic ridged curl on top. If the wax crumbles, it’s too cool; if it smears flat, it’s too warm. Two or three practice scoops will dial in your batch’s sweet spot.
4. Assemble the sundae
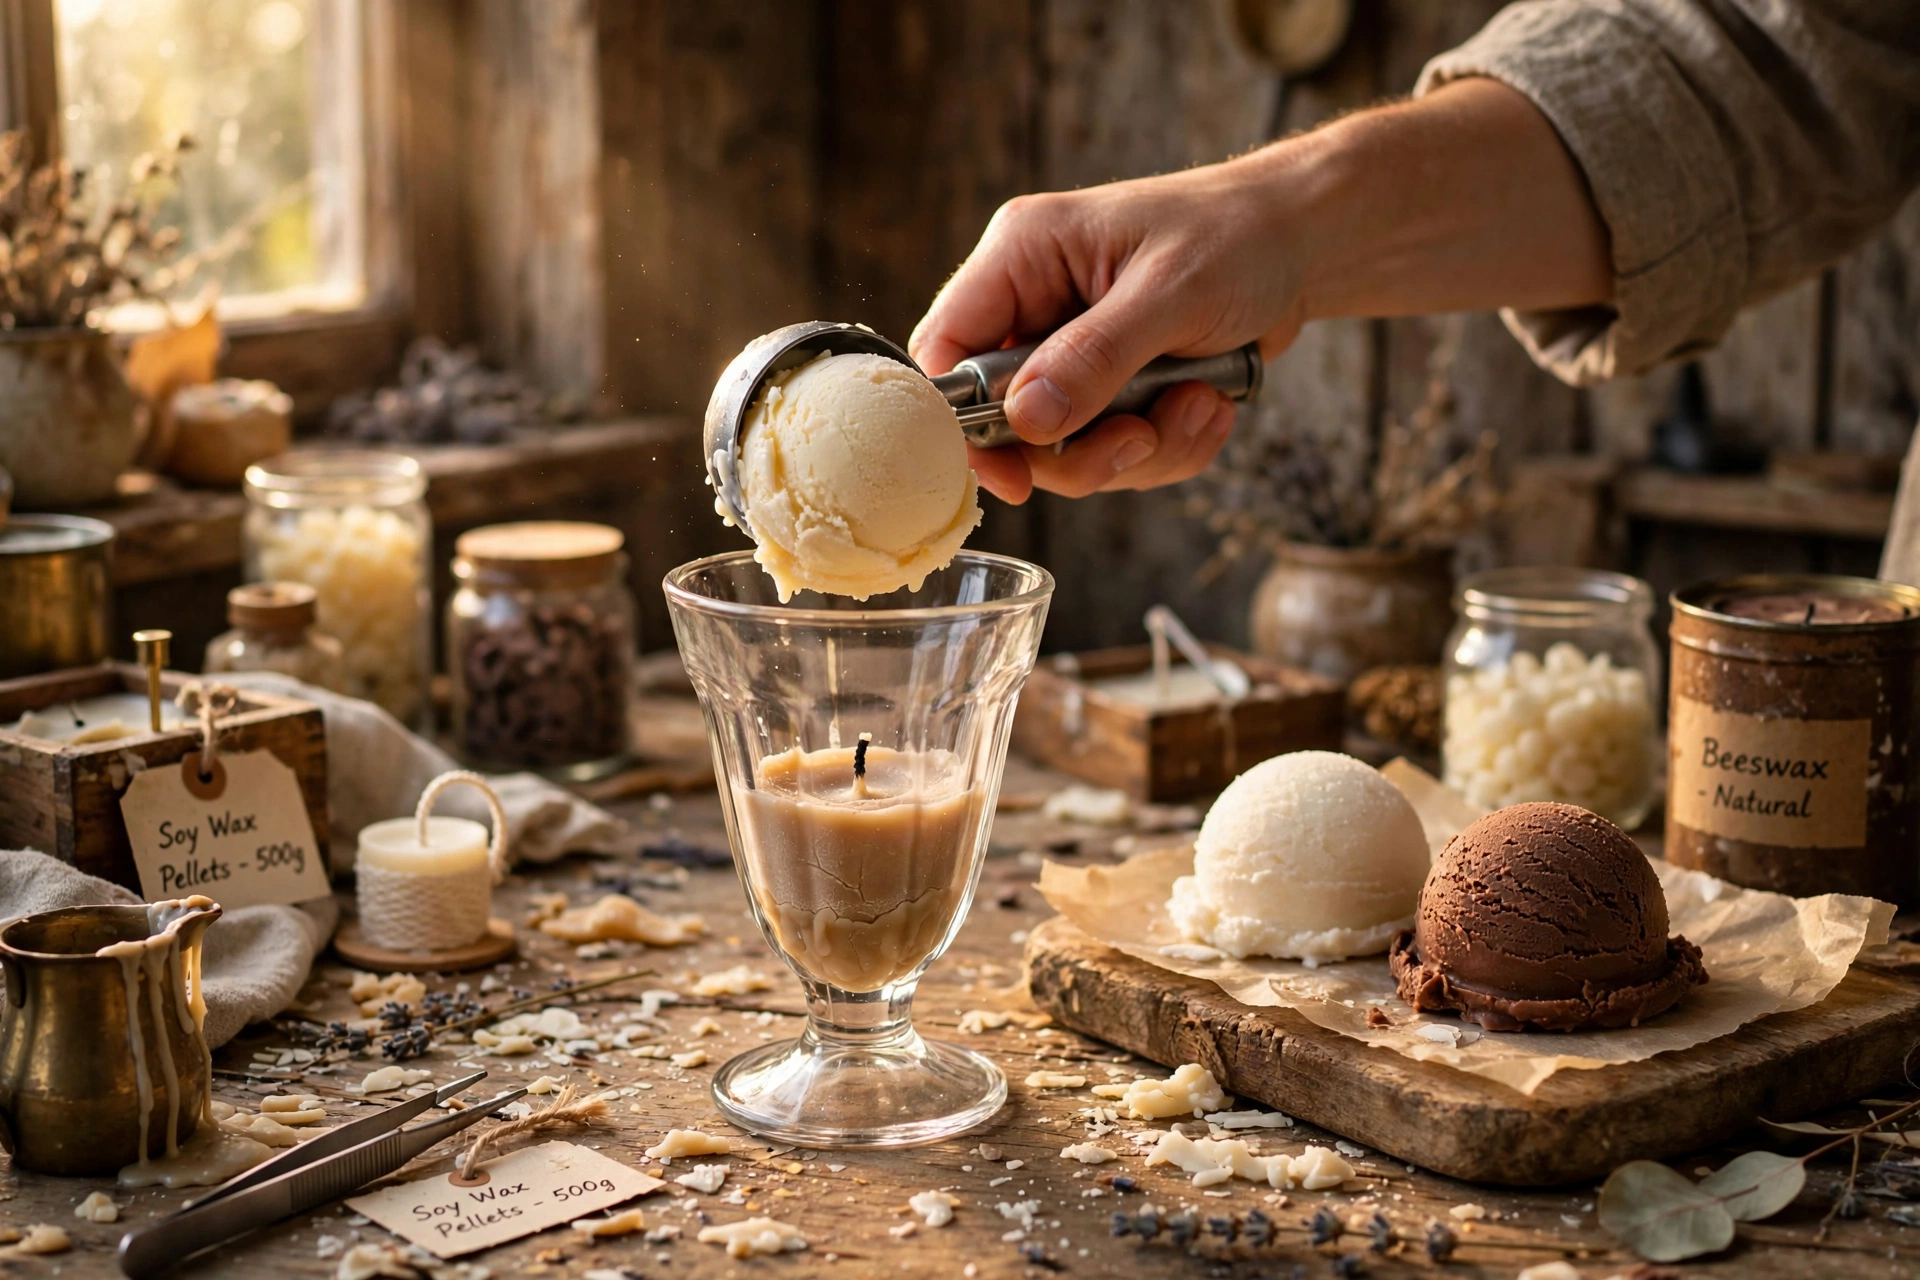
Place two scoops side by side on the hardened base, nestling them so they sit steady, then set the third scoop on top, tucked into the gap. Press each scoop in gently and give it a tiny twist — the twist bonds the scoop to the wax below it so it won’t roll off later. While the scoops are at room temperature they handle easily; if the room is warm and they start to slump, chill the assembled sundae in the fridge for 15 minutes to firm it up.
5. Pour the chocolate and caramel drizzle
Melt a small amount of dark brown wax (for chocolate) or golden-amber wax (for caramel) in your small pitcher. The drizzle pour works on the same principle as hot fudge: the wax should be fully liquid but cooling — pourable in a thin stream, but cool enough that it starts to set within seconds of landing. If it races off the scoops in rivulets, it’s too hot — wait and stir. If it blobs and won’t flow, it’s too cool — add a little more heat. Drizzle in slow zigzags across the tops of the scoops, letting it run just over the edges. Two thin passes beat one thick one every time.

6. Shave the wax sprinkles
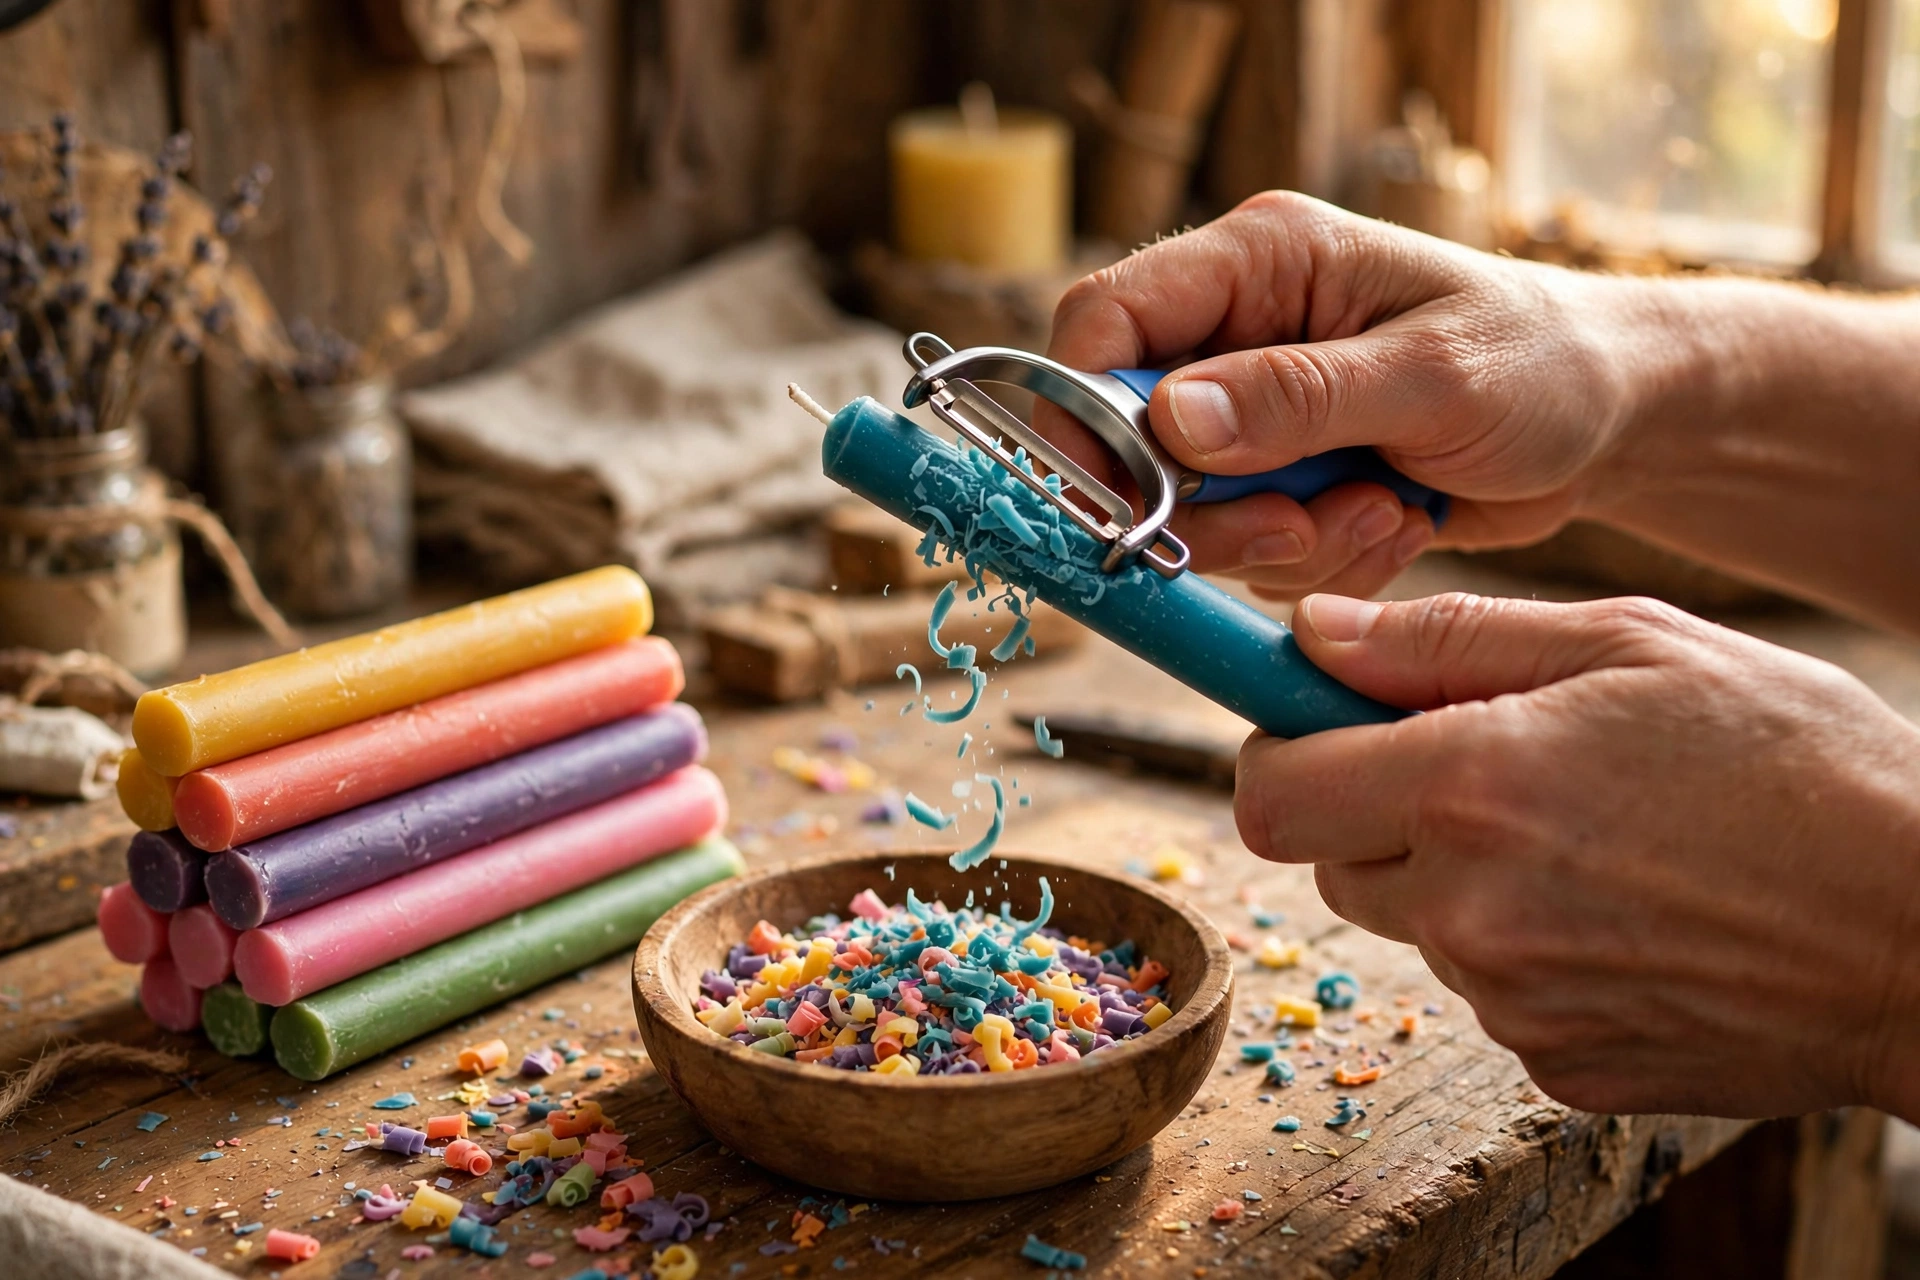
Take a fully cooled stick or sheet of colored wax and shave thin curls off it with the vegetable peeler, letting the curls fall onto parchment. Use three or four colors for a classic rainbow mix. Sprinkle the curls over the drizzled scoops while the drizzle is still tacky — that tack is your glue. Press the very biggest curls in gently so they anchor.
7. Crown it with a wax cherry
Roll a small ball of red-tinted wax between your palms — about the size of a real cherry — and shape a thin little stem from a scrap of darker wax, pressing it into the top. Set the cherry on the peak of the top scoop, giving it the same tiny twist you used on the scoops so it bonds. The cherry is the finishing touch that sells the whole illusion, so make it glossy: a drop of melted clear wax brushed over the surface and allowed to set gives it a wet-cherry shine.

8. Cure, test burn, and gift
Cure the finished sundae like any other candle — about 7–14 days for soy-based waxes — so the scent fully develops. Trim the wick to 1/4 inch, then test burn it before selling or gifting: the scoops, drizzle, and cherry all melt down into the pool on the first burns, which runs hotter than a flat candle in the same glass. Confirm a steady flame, an edge-to-edge melt pool, and no smoking across two or three full burns.
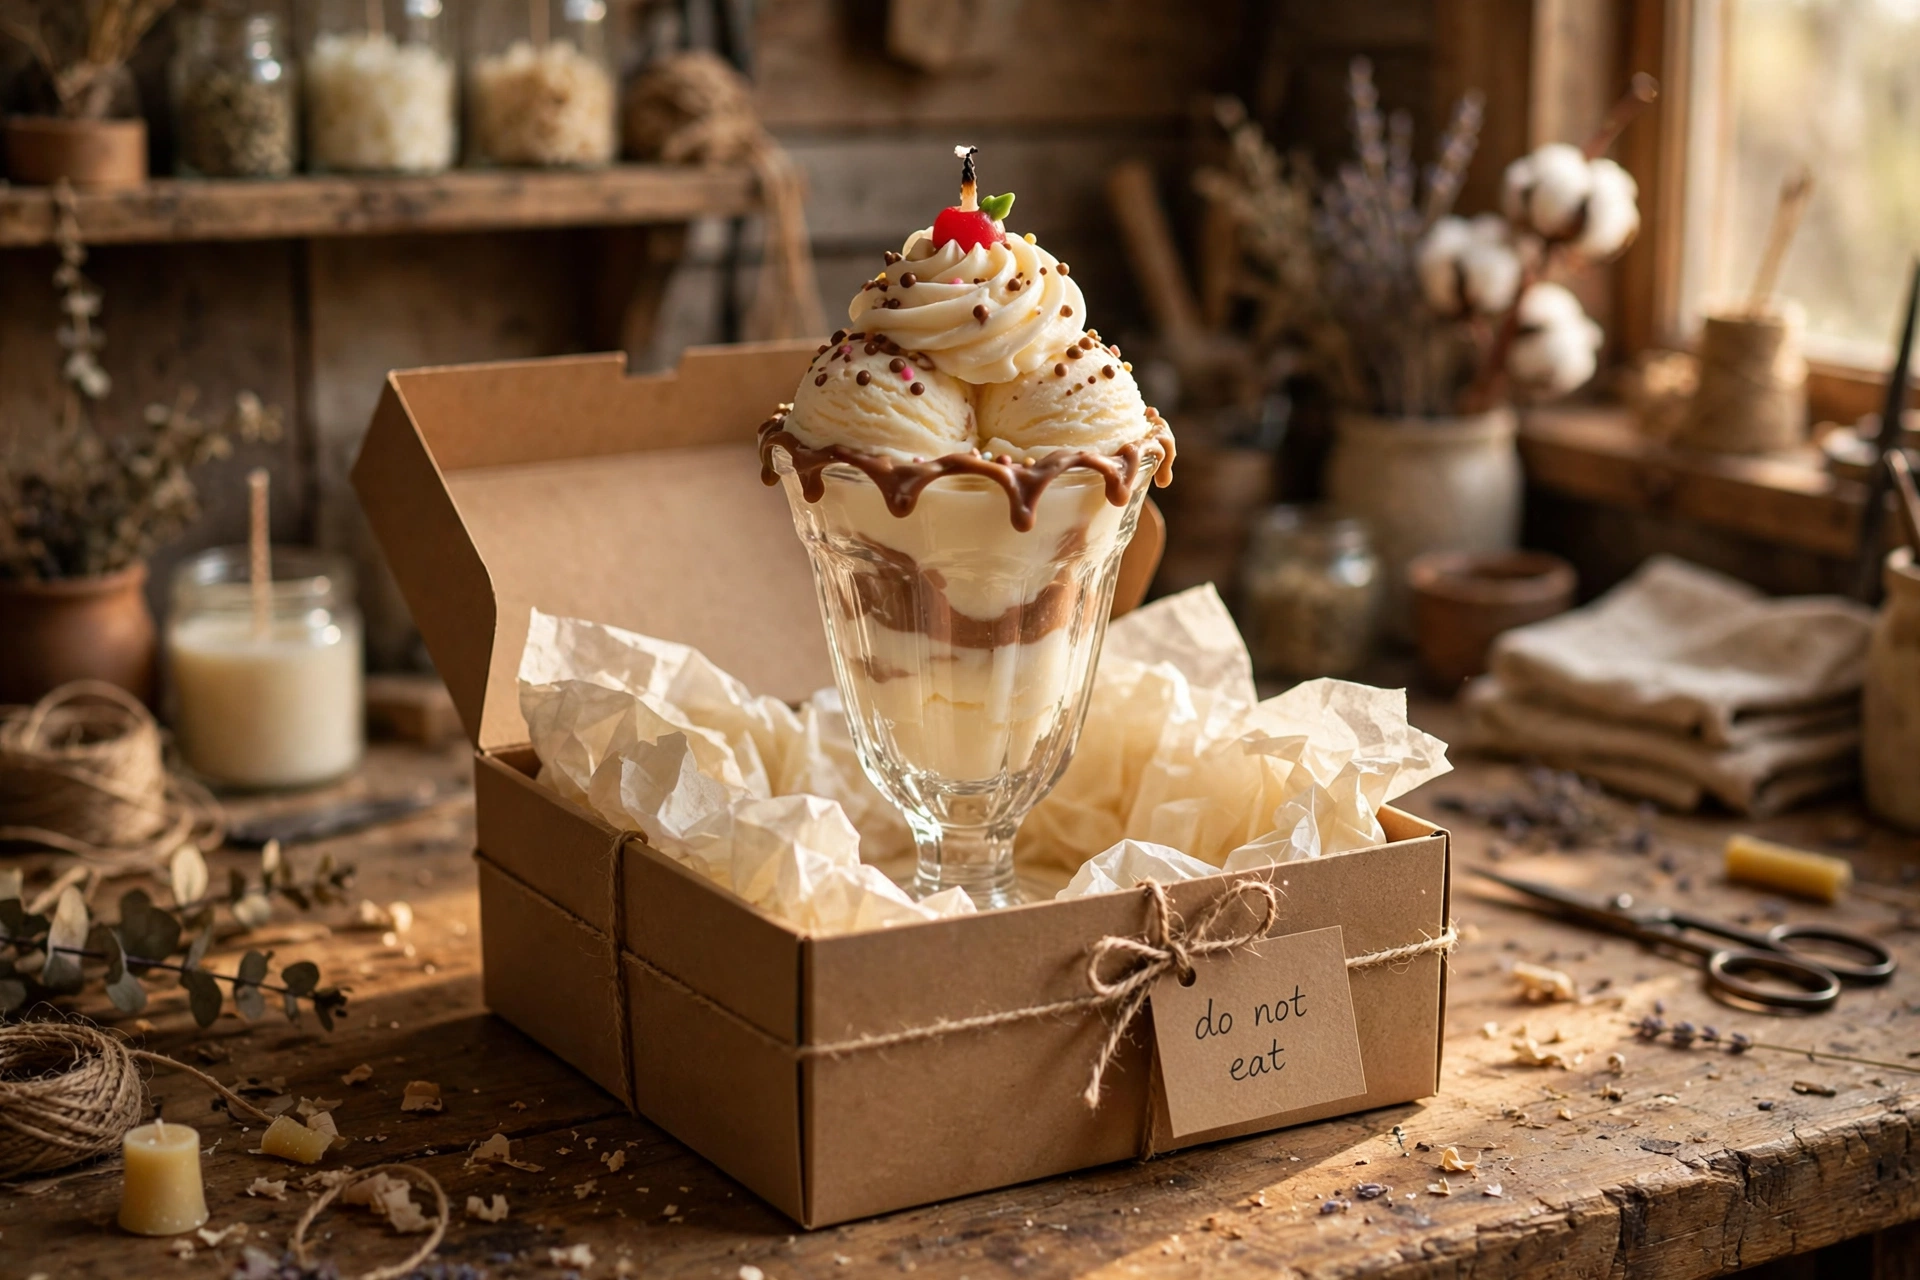
Gifting: Pack sundaes in a sturdy box with tissue — scoops can dent in transit. Tie on a “do not eat” tag with the candle’s scent name (e.g., “Vanilla Bean Sundae — do not eat”). Buyers and gift recipients consistently say the tag gets as many laughs as the candle itself, and it keeps the joke safe.
Troubleshooting
Scoops crumble instead of rolling? The wax is too cool. Warm the bowl gently (a warm-water bath, not direct heat) until a fingertip press dents instead of cracking, then scoop again.
Scoops smear flat or won’t hold shape? The wax is too warm. Let it cool longer — and chill your finished scoops in the fridge for 15 minutes before assembly if the room is hot.
Drizzle races off in thin rivulets? It’s too hot. Let the pitcher cool, stirring, until the stream thickens slightly — it should set within seconds of landing on the scoops.
Drizzle blobs and won’t flow? It’s too cool. Warm the pitcher gently until it pours in a thin, steady stream. Two thin passes look far better than one thick pour.
Sprinkle curls clump together? The curls are too warm or were shaved too thickly. Work with fully cooled wax sticks, shave thinner, and spread the curls on parchment to cool fully before sprinkling.
Cherry won’t stay on top? The drizzle underneath set before you placed it. Rewarm a tiny spot with a spoon dipped in hot water, press the cherry in, and hold for a few seconds while it bonds.
Weak scent? The scoops and toppings hold less fragrance than the base relative to their weight, but scent perception comes mostly from the melt pool. Make sure every wax batch got its full fragrance load (within your wax’s rating), cure the full 7–14 days, and confirm with a test burn — scent strengthens during cure.
Flavor variations
Once the technique is down, the sundae bar is open — new “flavors” are just new colors and scents on the same scoops:
Mint chip: pale green scoops with tiny dark wax “chips” pressed in, cool mint fragrance.
Neapolitan: one vanilla, one chocolate, one strawberry scoop side by side — the classic three-in-one.
Banana split: yellow scoops in a long oval glass with the candle wick between them, drizzle in two flavors.
Birthday cake: white scoops, heavy rainbow sprinkles, and a tall thin “candle” embed in place of the cherry.
Safety first
All the standard candle rules apply: never leave a burning candle unattended, trim the wick to 1/4 inch before every burn, keep burns to 4 hours or less, and burn only on a heat-safe surface. Three extras for sundae candles:
They look like real food. This is the big one. Keep finished sundae candles away from small children who might try to taste them, never store them near actual desserts, and put a “do not eat” note on the label or packaging. At markets, display them high or behind glass — an unlit sundae on a low table is too convincing.
Tall toppings change the burn. The scoops, drizzle, and cherry all melt down and add fuel to the melt pool, so the first burns run hotter than a flat candle in the same glass. Test burn every new design — never assume the wick from your plain container version transfers over.
Real tools, wax-only use. The ice cream scoop and vegetable peeler used for wax must be permanently dedicated to wax. Fragrance oils and dyes are not food-safe.
Next steps
If sundaes clicked for you, the whipped wax cupcake tutorial is the natural next build — same dessert-candle family, different technique. New to wick sizing? The wick selection and test burn tutorial walks through picking and proving the right wick. And since these photograph beautifully, the candle photography tutorial will help your listings stand out.



