
How to Make Donut Candles (Ring Candles with Glossy Wax Glaze)
Donut candles are the dessert candle that stops every thumb at a craft fair: a ring-shaped candle in warm dough tones, finished with a glossy poured glaze and tiny wax sprinkles. The technique is simpler than it looks — pour the ring, set the glaze, sprinkle while it’s wet — but the ring shape has its own rules for wicking and burning. Here’s how to make them right.

Why a ring shape changes the burn
A donut candle is a freestanding pillar with a hole in the middle, and that hole changes everything about how it burns. A normal pillar burns with one centered wick that creates a melt pool wider than the candle; a donut ring has the flame sitting in a channel of wax with a hollow center. The flame needs to be strong enough to melt the ring outward to the outer edge — but not so hot that it melts straight through the bottom or drips into the hole.
Wick through the ring. The wick runs vertically through the donut’s top surface, positioned on the ring band itself — not centered in the hole. Think of the ring’s circular band as a narrow container: your wick has to throw enough heat to melt wax on both sides of itself (toward the outer edge and toward the hole) without tunneling down the band like a straw. Start with your supplier’s sizing chart for a pillar of the same diameter as the donut’s outer edge, then test burn and adjust.
Test burn behavior of the hollow center. During the first burn, watch two things: (1) whether the melt pool reaches the outer edge of the ring without drilling straight down through the base, and (2) whether wax is pooling into the hole instead of staying in the ring channel. Wax draining into the hole starves the wick and looks messy — it usually means the wick is oversized or the ring walls are too thin. A donut a bit thicker through the band (about 3/4 to 1 inch of band width) is much easier to wick than a skinny delicate one.
What you’ll need
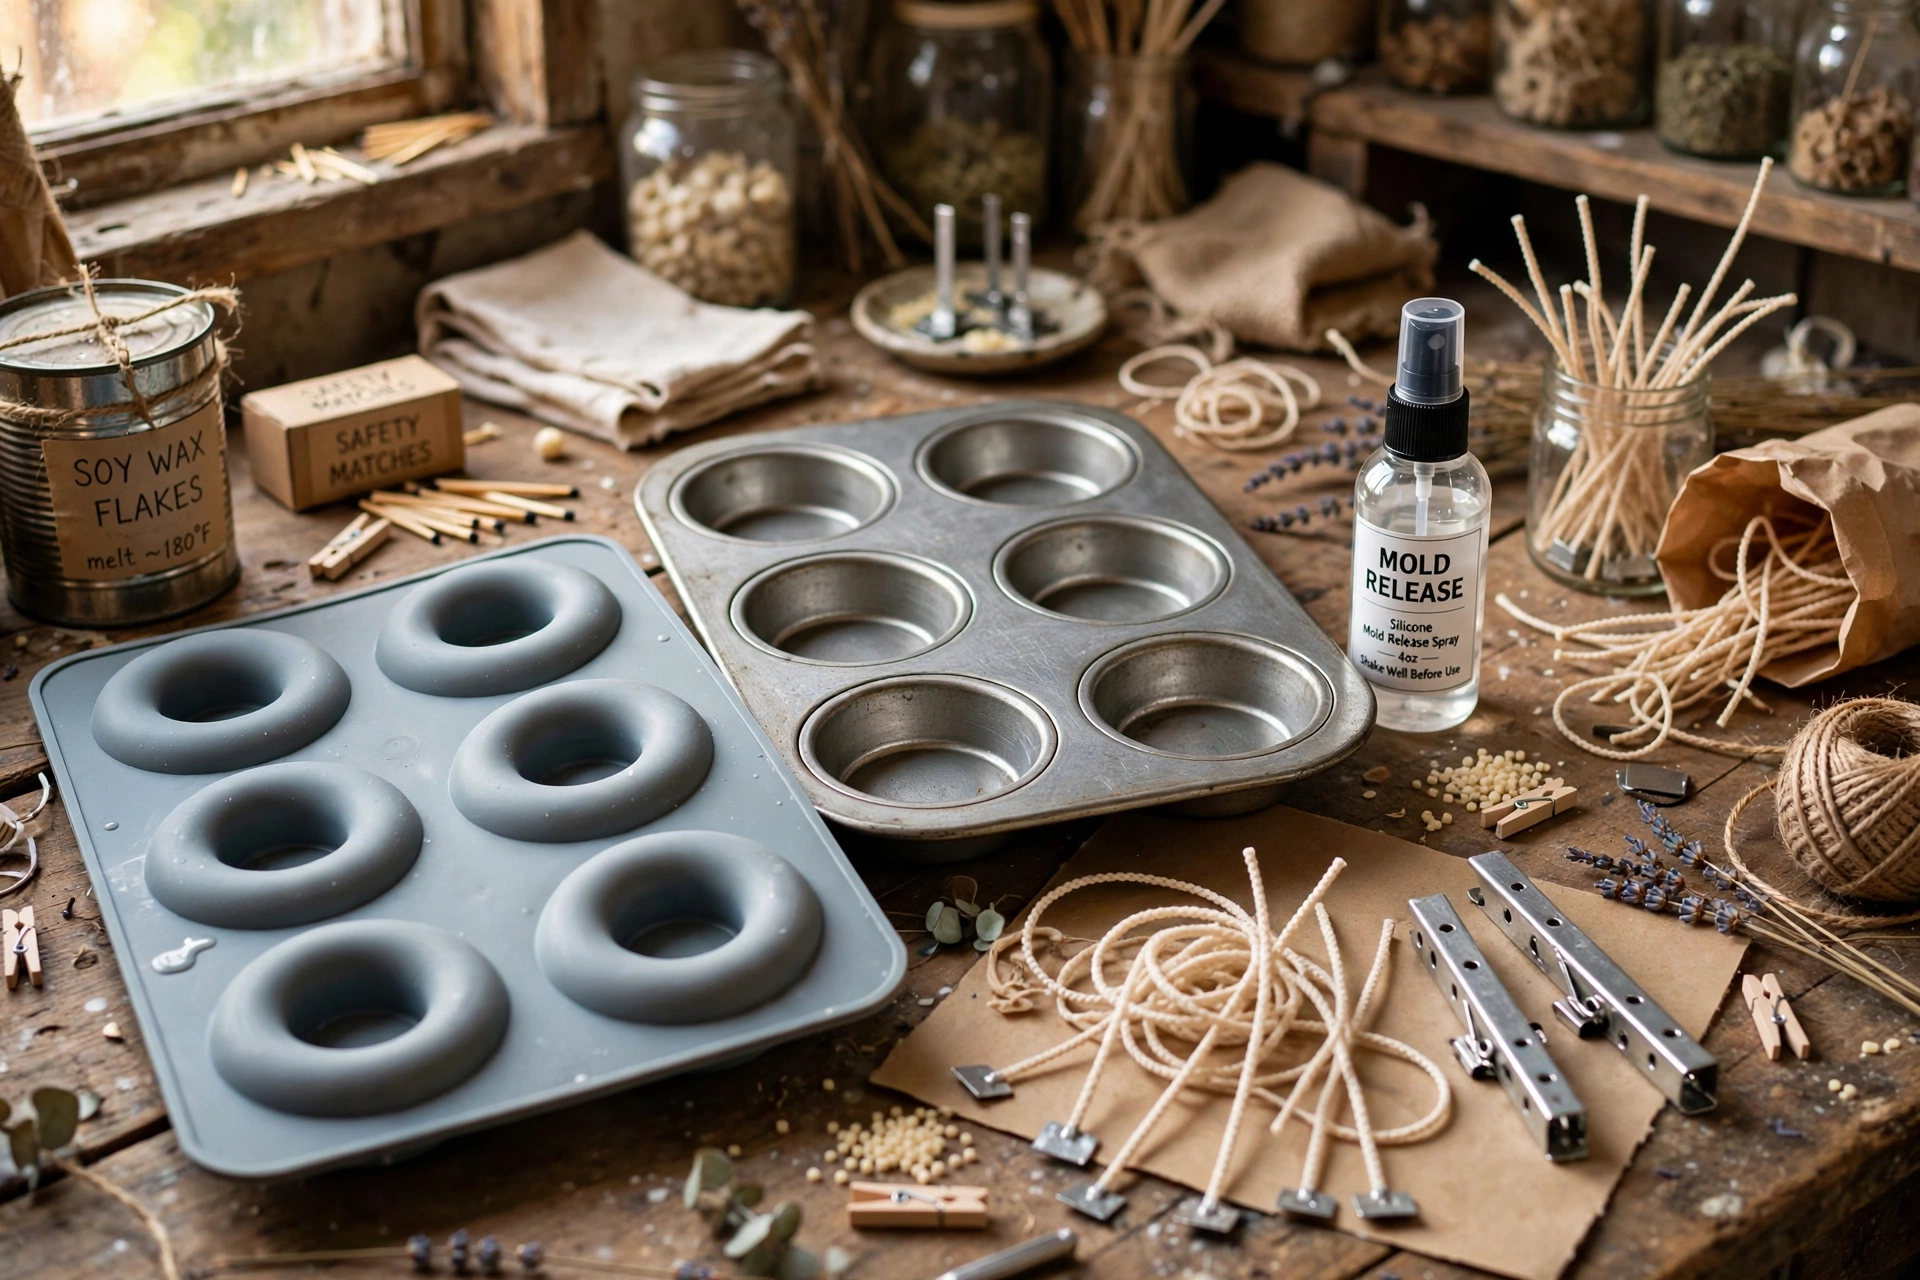
- Silicone donut mold (or a metal donut pan — release is easier from silicone)
- Pillar or mold wax — it needs to stand on its own once unmolded
- Candle wicks sized by principle: start from your supplier’s chart for a pillar of your donut’s outer diameter, and test burn to confirm
- Wick bars or a wick holder to keep the wick upright while pouring
- Fragrance oil made for candles (typical loads run 1–6% of wax weight, within your wax’s rating)
- Candle dye or color: warm dough tones for the base (tan, golden brown), plus glaze colors
- Mold release spray or a thin wipe of oil
- Pouring pitcher, thermometer, digital scale
- Wax sprinkles: thin wax shavings or curls (make your own by shaving cooled colored wax with a vegetable peeler)
- White mica or white wax dust for the powdered variation (optional)
- Piping bag with a large star tip (for the cruller variation)
- Wick trimmer, parchment paper, wire rack
Steps
1. Choose and prep the mold
Silicone donut molds are the easiest choice — flexible walls mean the ring pops out cleanly. A metal donut pan works too, but it needs a thorough coat of mold release or the ring will stick. Clean the mold, let it dry fully, and give it a very light spray of release. The mold should be at room temperature: a cold mold sets the wax too fast against the walls (leaving pocks and pits), and a warm one slows your set.
2. Wick the ring
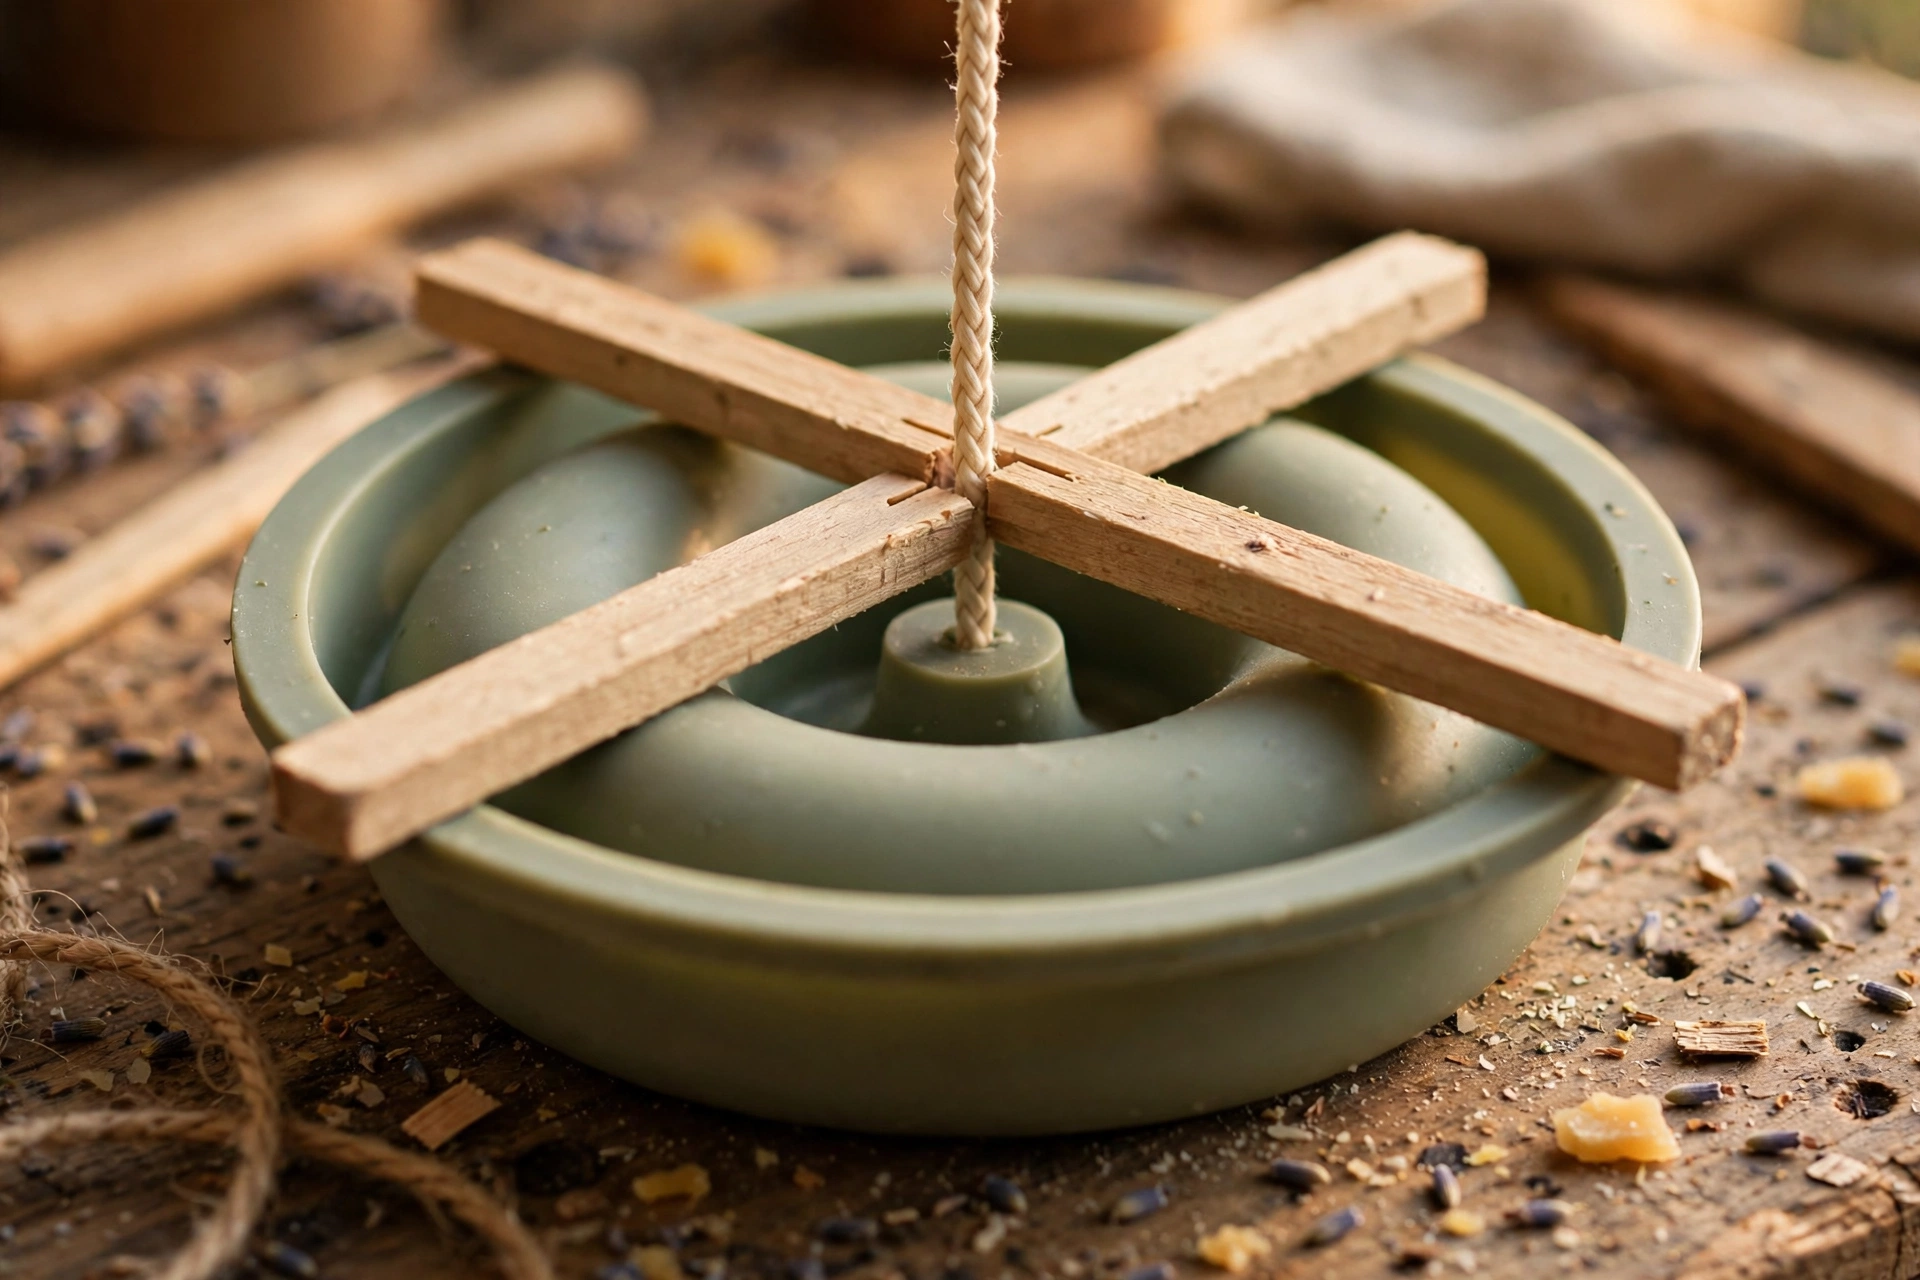
Thread your wick through the ring band so it stands vertically where the flame will sit on top of the donut — positioned on the wax band, not in the hole. Use crossed wick bars or a holder resting across the mold to keep it centered in the band and dead upright while you pour. A wick that leans even slightly will drift toward the outer edge or the hole as the wax sets, and a crooked wick in a ring is very hard to correct later.
3. Pour the donut base
Melt your mold wax fully, add fragrance oil and dough-toned dye, and stir well. Pour at your wax’s recommended temperature for molds (usually around 10–20 degrees above the set point — go by your supplier’s guidance, not a number from a video). Pour steadily into the cavity until the mold is filled level, leaving the wick undisturbed. Don’t jiggle or shake the mold — that disturbs the wick position.
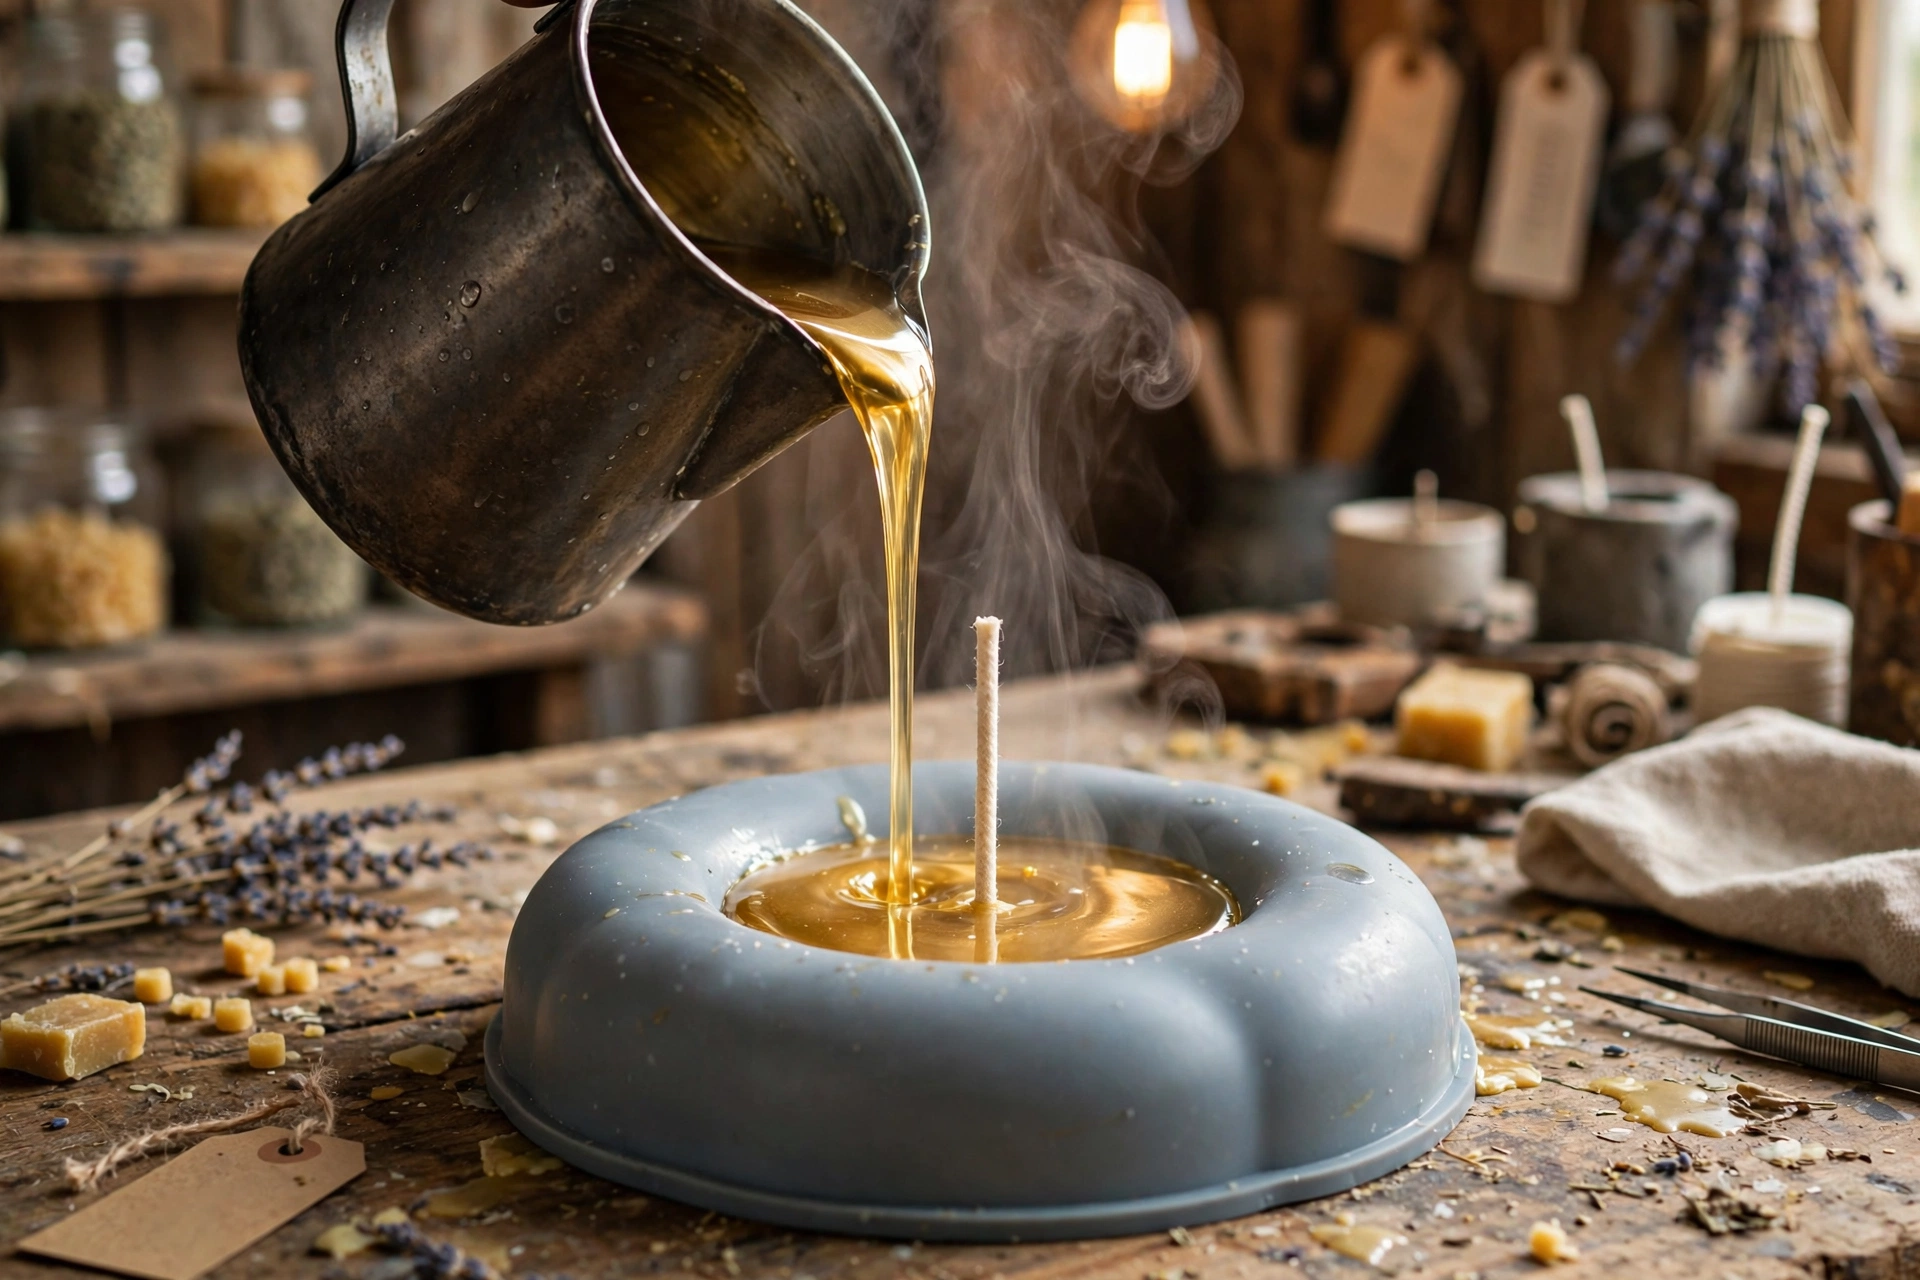
Let the donut cool and harden completely before you even think about unmolding. A ring pulled too early will warp, crack, or sag out of shape — and the glaze step needs a firm, cool surface. For most mold waxes this means several hours at room temperature; don’t rush it with the freezer, which causes cracking.
4. Unmold and clean up
Flex the silicone mold gently and ease the donut out. If it resists, let it set longer — never pry a mold candle out. Trim any flashing (thin wax fins along the mold seams) with a small sharp knife, and run a warm spoon around the base edge for a clean finish. Check that the wick is still centered in the band and upright; if it drifted, now is the time to notice.
5. Pour the glaze
The glaze is what sells the donut: a thin, glossy colored wax layer poured over the top of the set ring so it drips down the sides like real icing. Melt a small batch of your softer wax (a soft container wax works well here — it flows thin and dries glossy), tint it your glaze color, and pour it at a temperature where it flows freely but isn’t scorching hot — roughly 20–30 degrees above its melt point.
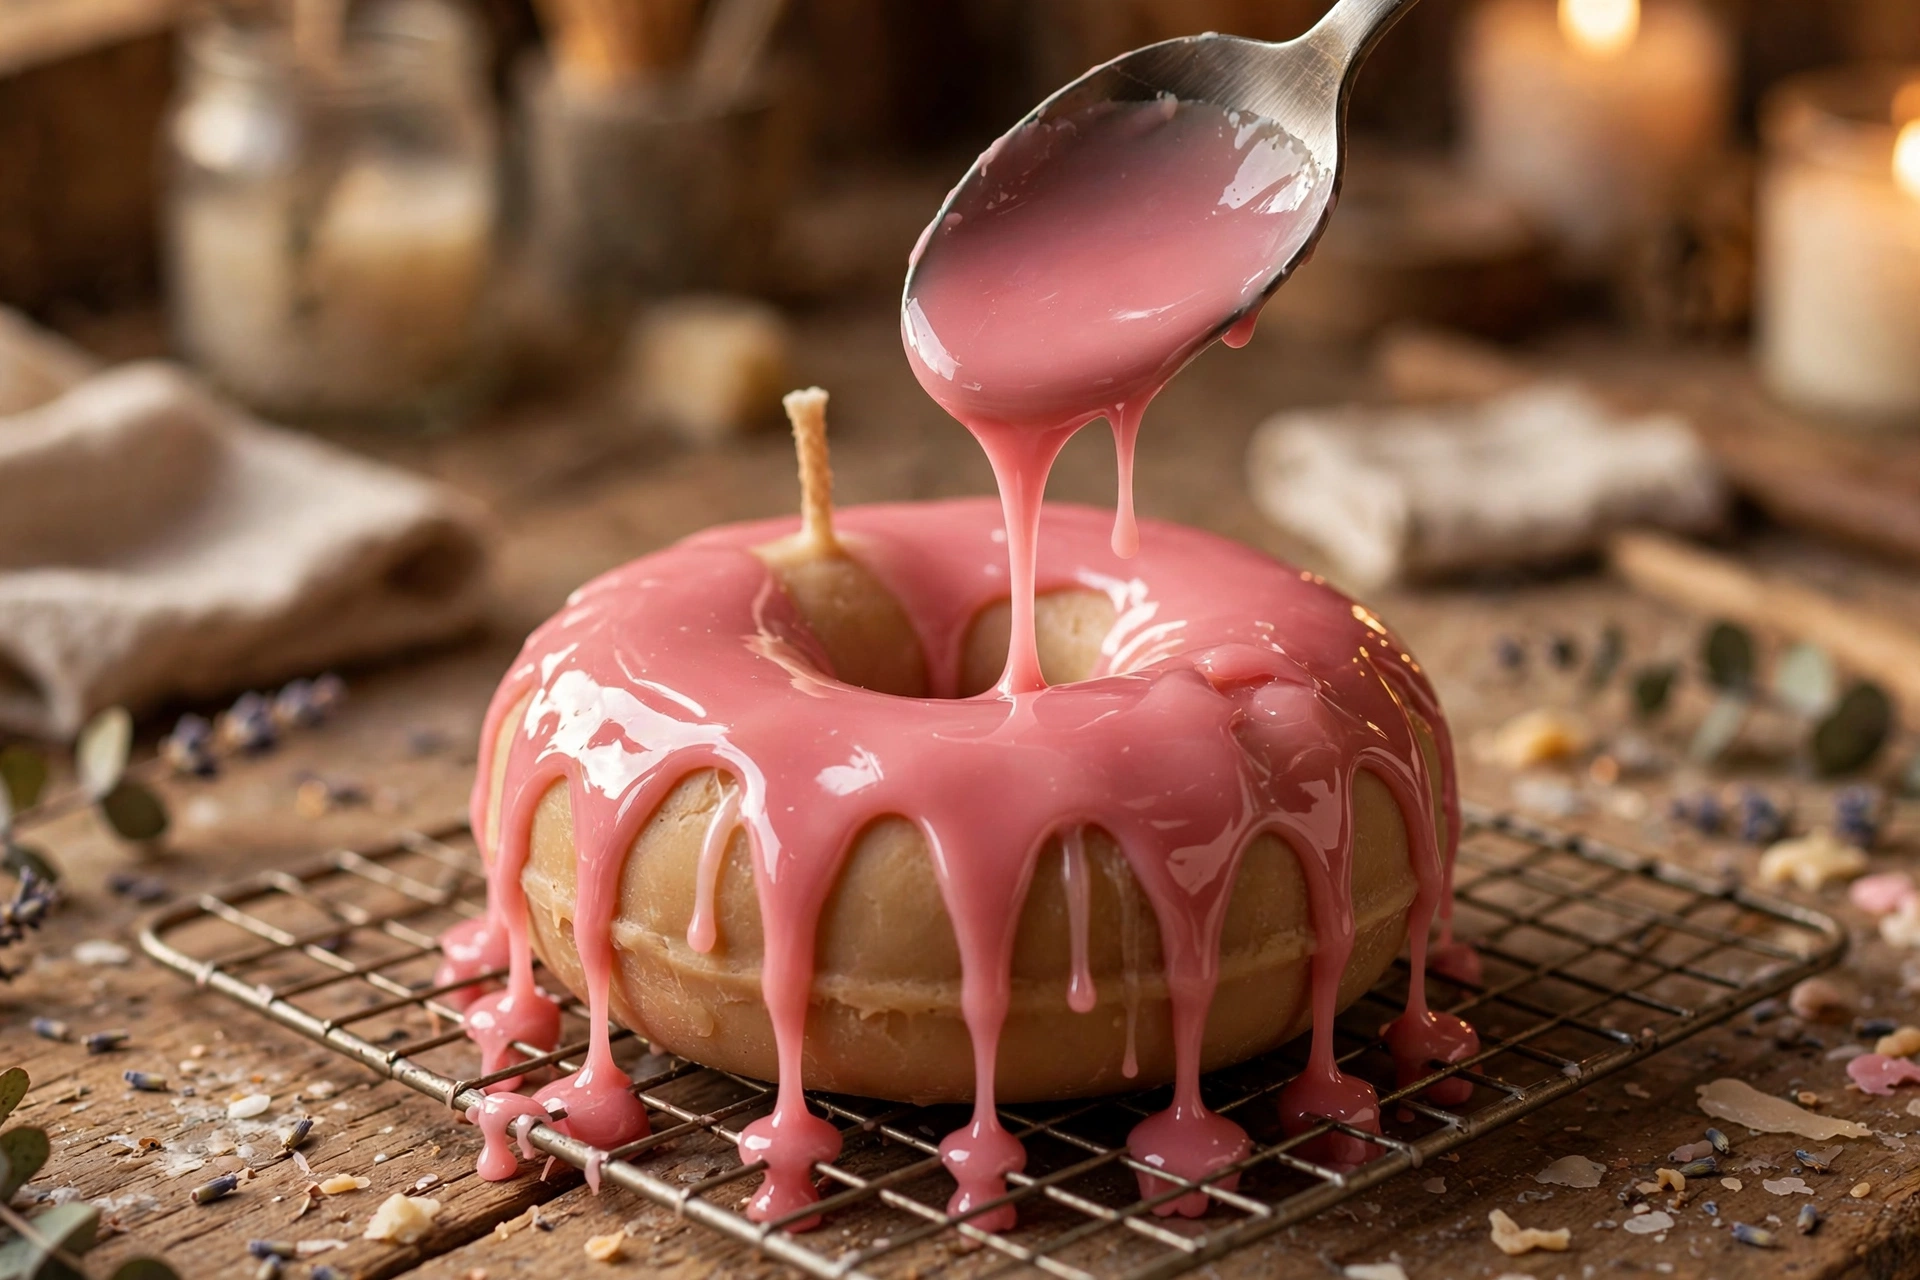
Set the donut on a wire rack over parchment paper, then spoon or drizzle the glaze over the top of the ring, letting it run down the outer and inner walls. One smooth pass is better than dabbing — repeated passes stir up the glaze and leave streaks. Work at a steady pace: the glaze sets within a minute or two.
6. Add wax sprinkles while the glaze is wet
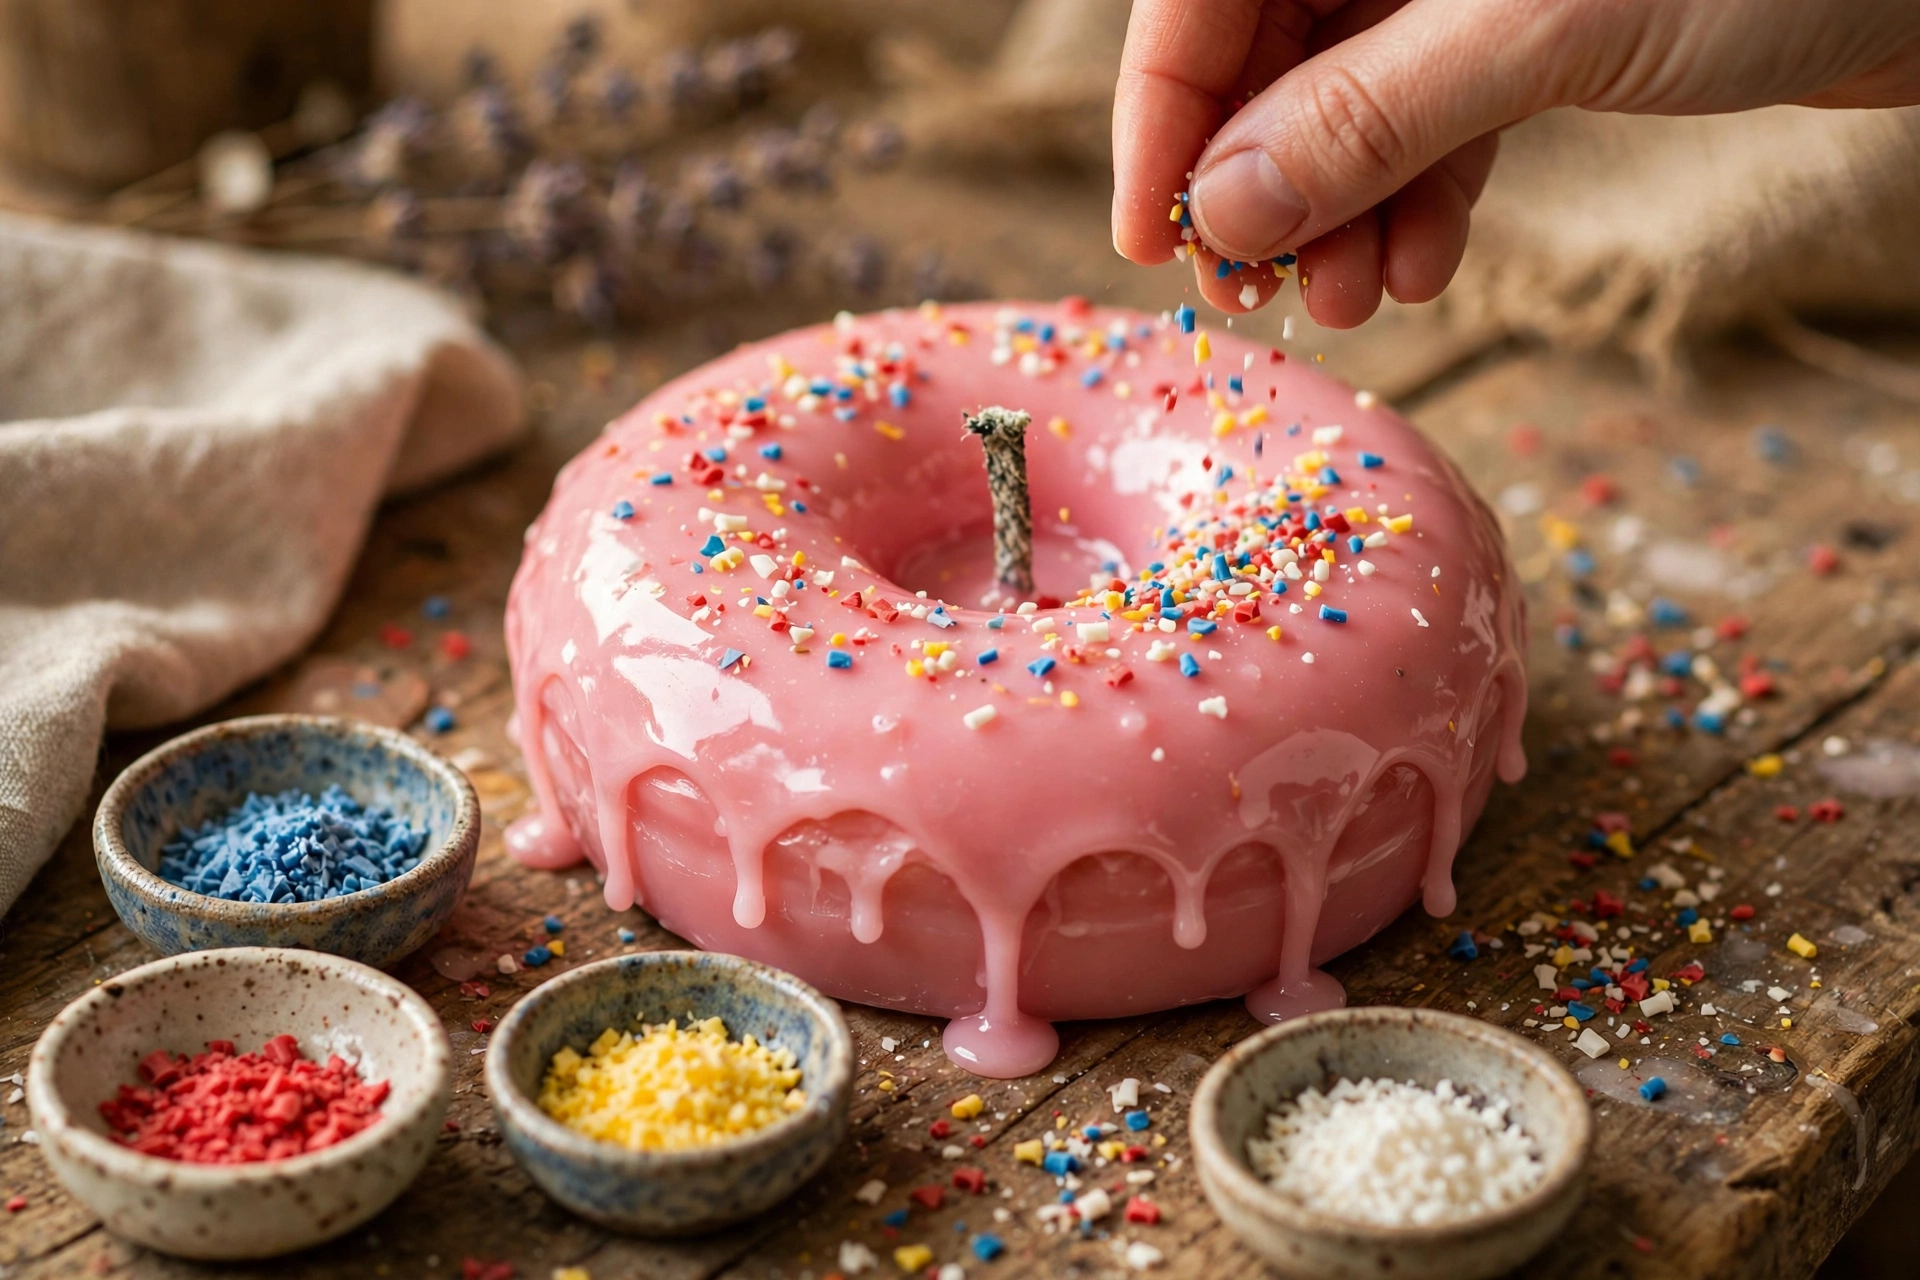
While the glaze is still tacky — within the first minute after pouring — scatter your wax sprinkles over the top. Tiny wax shavings and curls, cut from cooled colored wax with a vegetable peeler, look exactly like real jimmies. Press them in with the lightest touch; don’t push them through the glaze into the base.
7. Cure, trim, and test burn
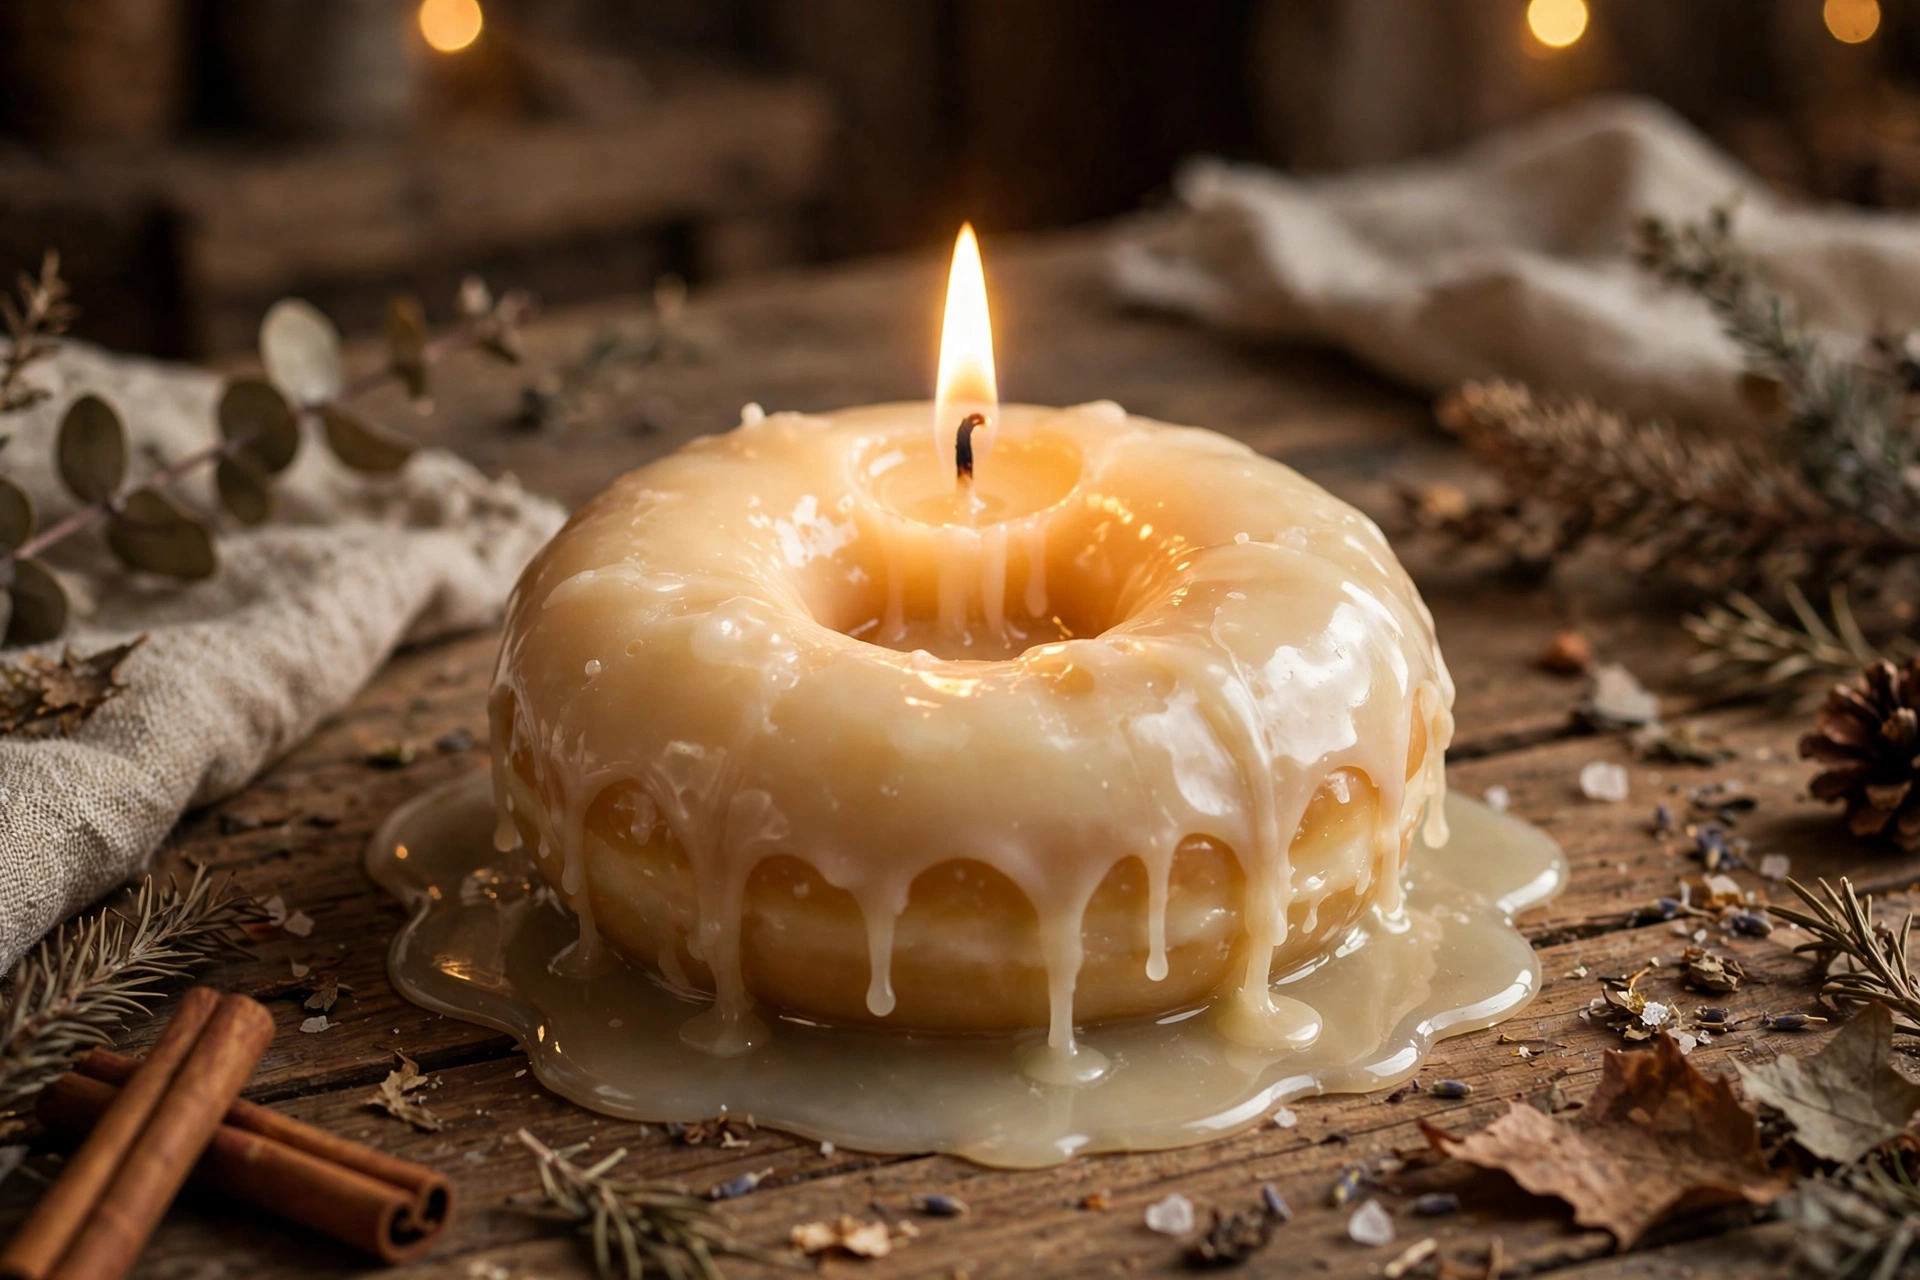
Let the glazed donut cure fully — about 7–14 days for most wax blends — so the fragrance develops and the glaze hardens. Trim the wick to 1/4 inch, then test burn it on a heat-safe plate or holder (the ring has no container, so a dish is mandatory). Watch the first burn closely: the melt pool should reach the outer edge of the ring band without drilling straight through the base or draining into the hole.
Troubleshooting
Glaze cracking as it cools? The glaze layer was too thick, or the base donut was too cold when the hot glaze hit it. Pour a thinner layer over a room-temperature donut, and don’t move the candle while the glaze sets.
Donut stuck in the mold? Too little release, or you unmolded too soon. Add a touch more release, give the wax the full cooling time, and let the mold return to room temperature between pours.
Tunneling down the ring band? The wick is too small for the band width, or the first burn was cut short. Wick up one step and let every first burn run until the melt pool reaches the outer edge.
Wax draining into the hole? Usually an oversized wick, or the wick sat too close to the inner wall. Wick down a size and re-center the wick in the band.
Glaze looks dull instead of glossy? It went on too cool, or the layer is too thin to self-level. Pour a fresh batch a few degrees warmer and make one smooth pass.
Flame sputters or drowns mid-burn? The melt pool is deeper than the band can handle — wick down, and make sure the glaze and sprinkles aren’t slumping into the pool. Heavy wax decoration near the wick changes the burn, so keep decorations toward the outer edge.
Variations
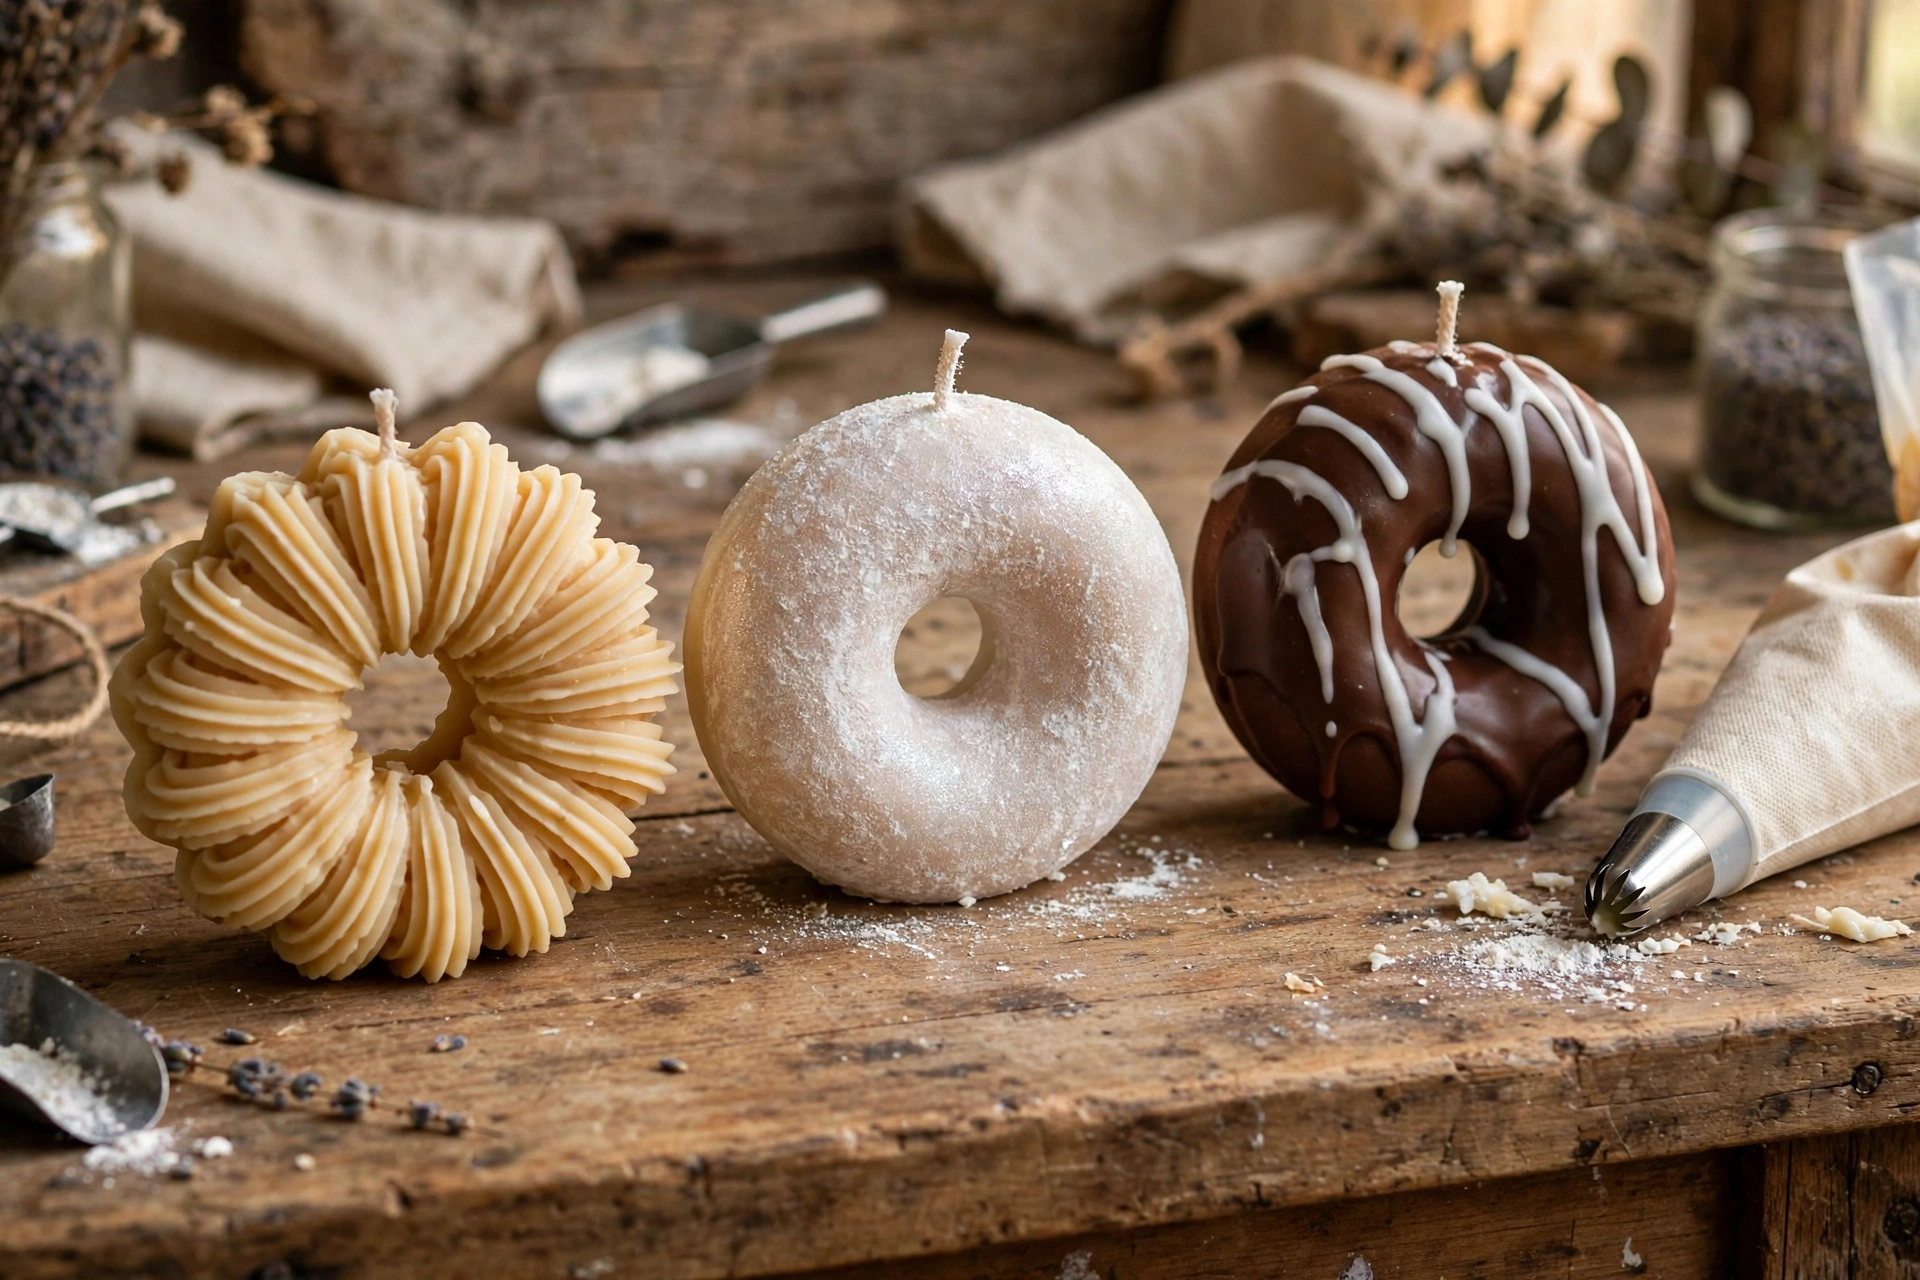
Once the classic glazed donut is dialed in, these three sell alongside it beautifully:
Cruller. After pouring the base wax, let it cool until it just starts to thicken — then pipe ridged lines over the top of the ring with a piping bag and large star tip, the same technique as the whipped wax dessert tutorial. The ridges read exactly like a French cruller once set. Glaze lightly afterward, or leave unglazed.
Powdered. Skip the glaze entirely. Once the donut is set and unmolded, dust the top generously with white mica using a soft brush, then tap off the excess. It reads as powdered sugar from a foot away — and it’s the fastest finish of the three.
Chocolate twist. Pour a chocolate-brown glaze, then while it’s still wet, drizzle thin lines of a lighter cream-colored wax across the top with a spoon or squeeze bottle. The two-tone swirl looks bakery-perfect in photos.
Safety first
They look like food. This is the big one for donut candles: a realistic donut shape, a glossy glaze, and colorful sprinkles will fool a small child — and honestly some adults at a glance. Store and display them out of children’s reach, never leave one where kids play, and put a “do not eat — this is a candle” note on the label or packaging. When photographing them, style with bakery props only if no children will see the photos unlit and unlabelled context.
Standard candle rules. Trim the wick to 1/4 inch before every burn, never leave a burning candle unattended, burn on a heat-safe dish (there’s no container), keep burns to 4 hours or less, and keep the candle away from drafts, pets, and anything flammable. The ring shape runs hotter than a flat pillar of the same wax — so the test burn matters even more here.
Packaging
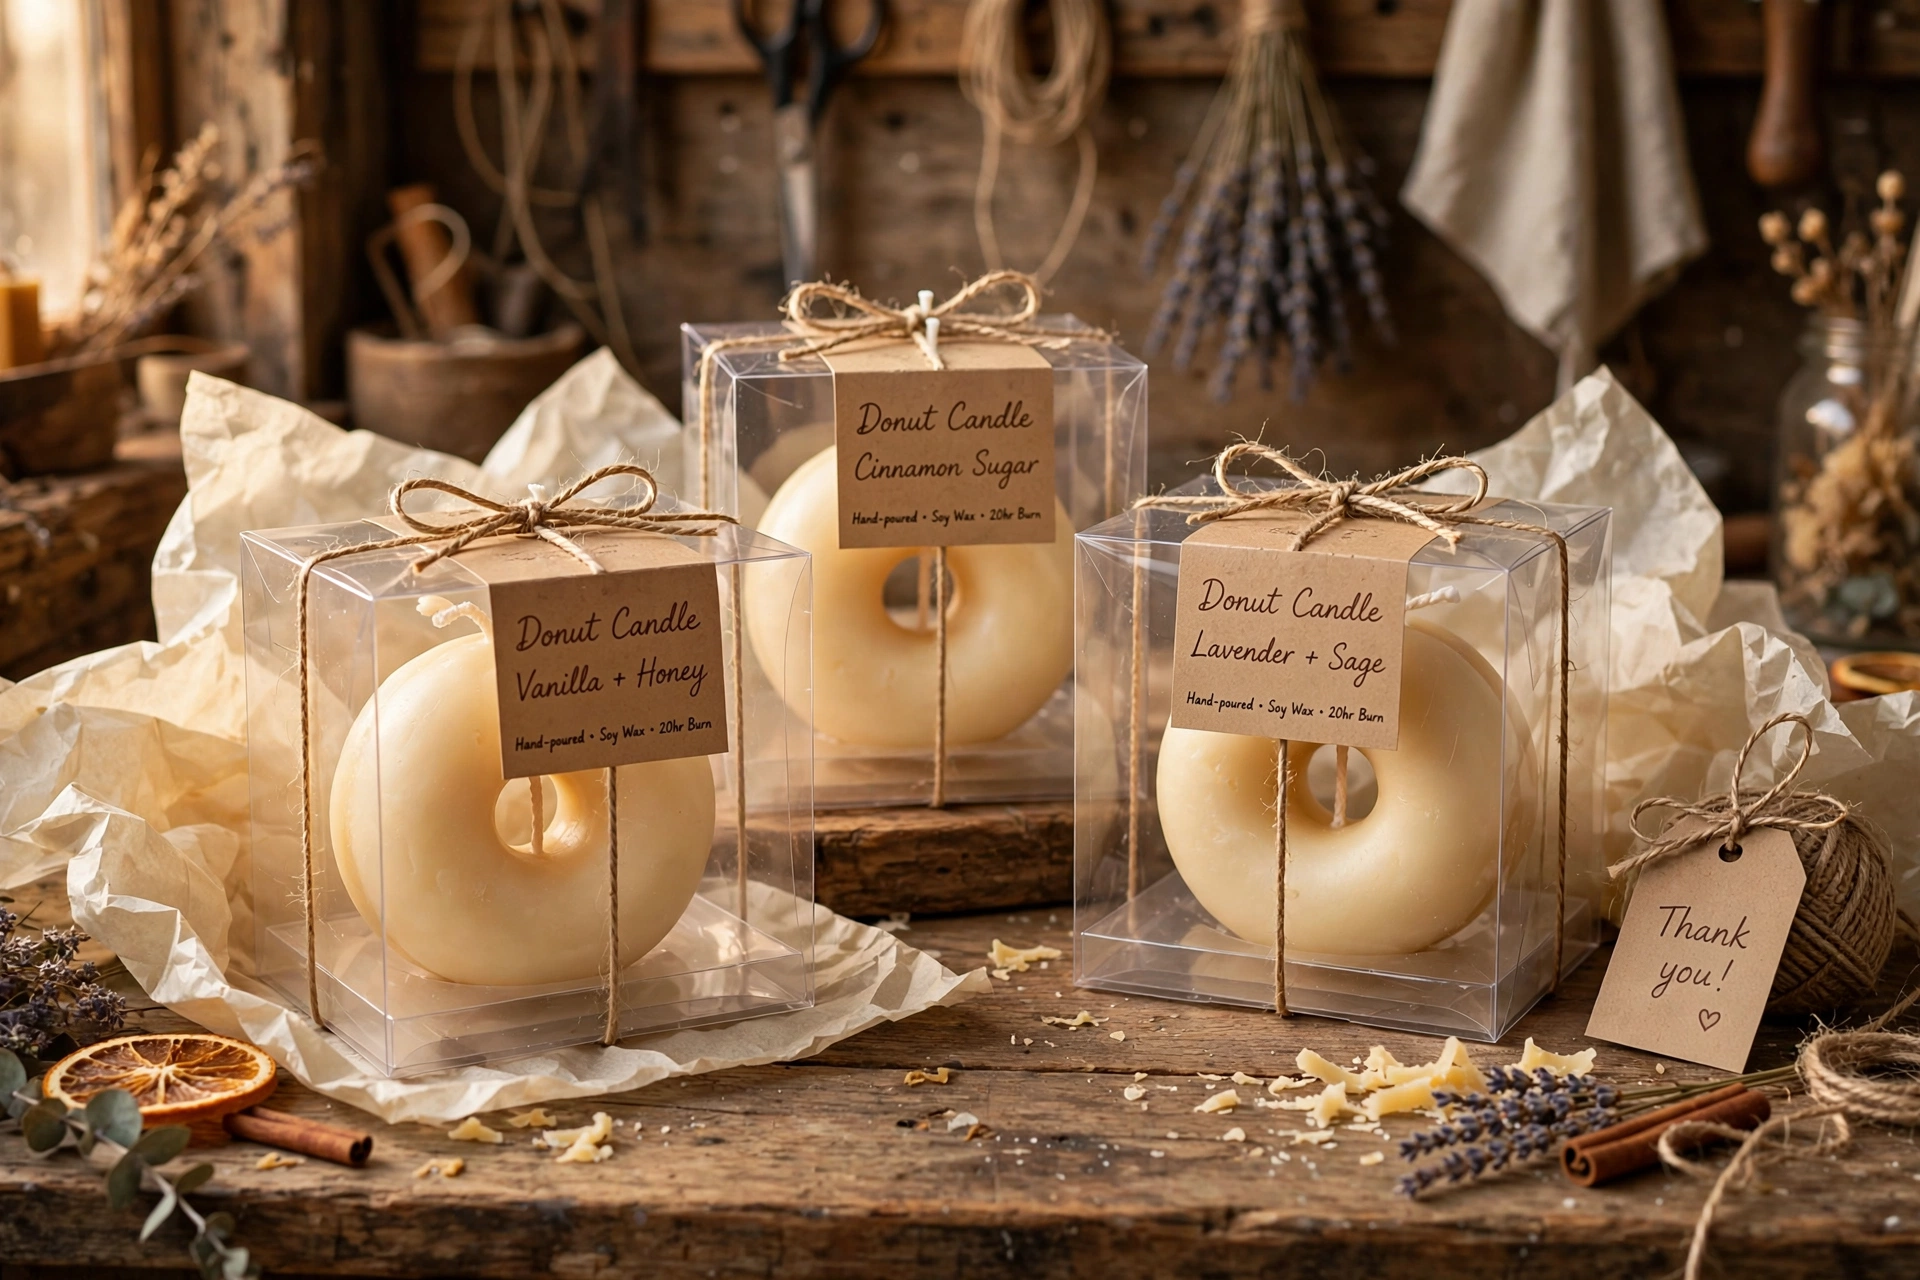
Donut candles are fragile around the glaze, so package them for protection first and looks second. Nestle each donut in tissue paper inside a clear gift box or a small bakery-style box — the box shows off the shape while keeping fingers (and dust) off the glaze. Add a kraft label with the scent name, a clear “candle — do not eat” line, and standard burning instructions. Slip the whole box into a padded mailer for shipping; the hole in the middle makes donuts surprisingly sturdy as long as nothing presses on the glazed top.
Next steps
Craving more dessert candles? The whipped wax dessert candle tutorial covers piped frosting swirls and holiday variations. Every new shape needs its own burn data — log yours with the free Burn Test Log tool. And since donut candles photograph so well, pair them with the fragrance blending tutorial to build bakery scents like vanilla glaze and cinnamon sugar.



