
How to Make Bubble Candles & Geometric Molded Candles
Scroll through any home-decor feed and you’ll spot them: bubble candles, ribbed pillars, and sculptural geometric candles that look like modern art. This home-decor trend has real staying power, and the good news is molded candles are one of the easiest pours you’ll ever do — no container, no wick-centering anxiety, just a mold, some pillar-blend wax, and a little patience.

Choosing your mold
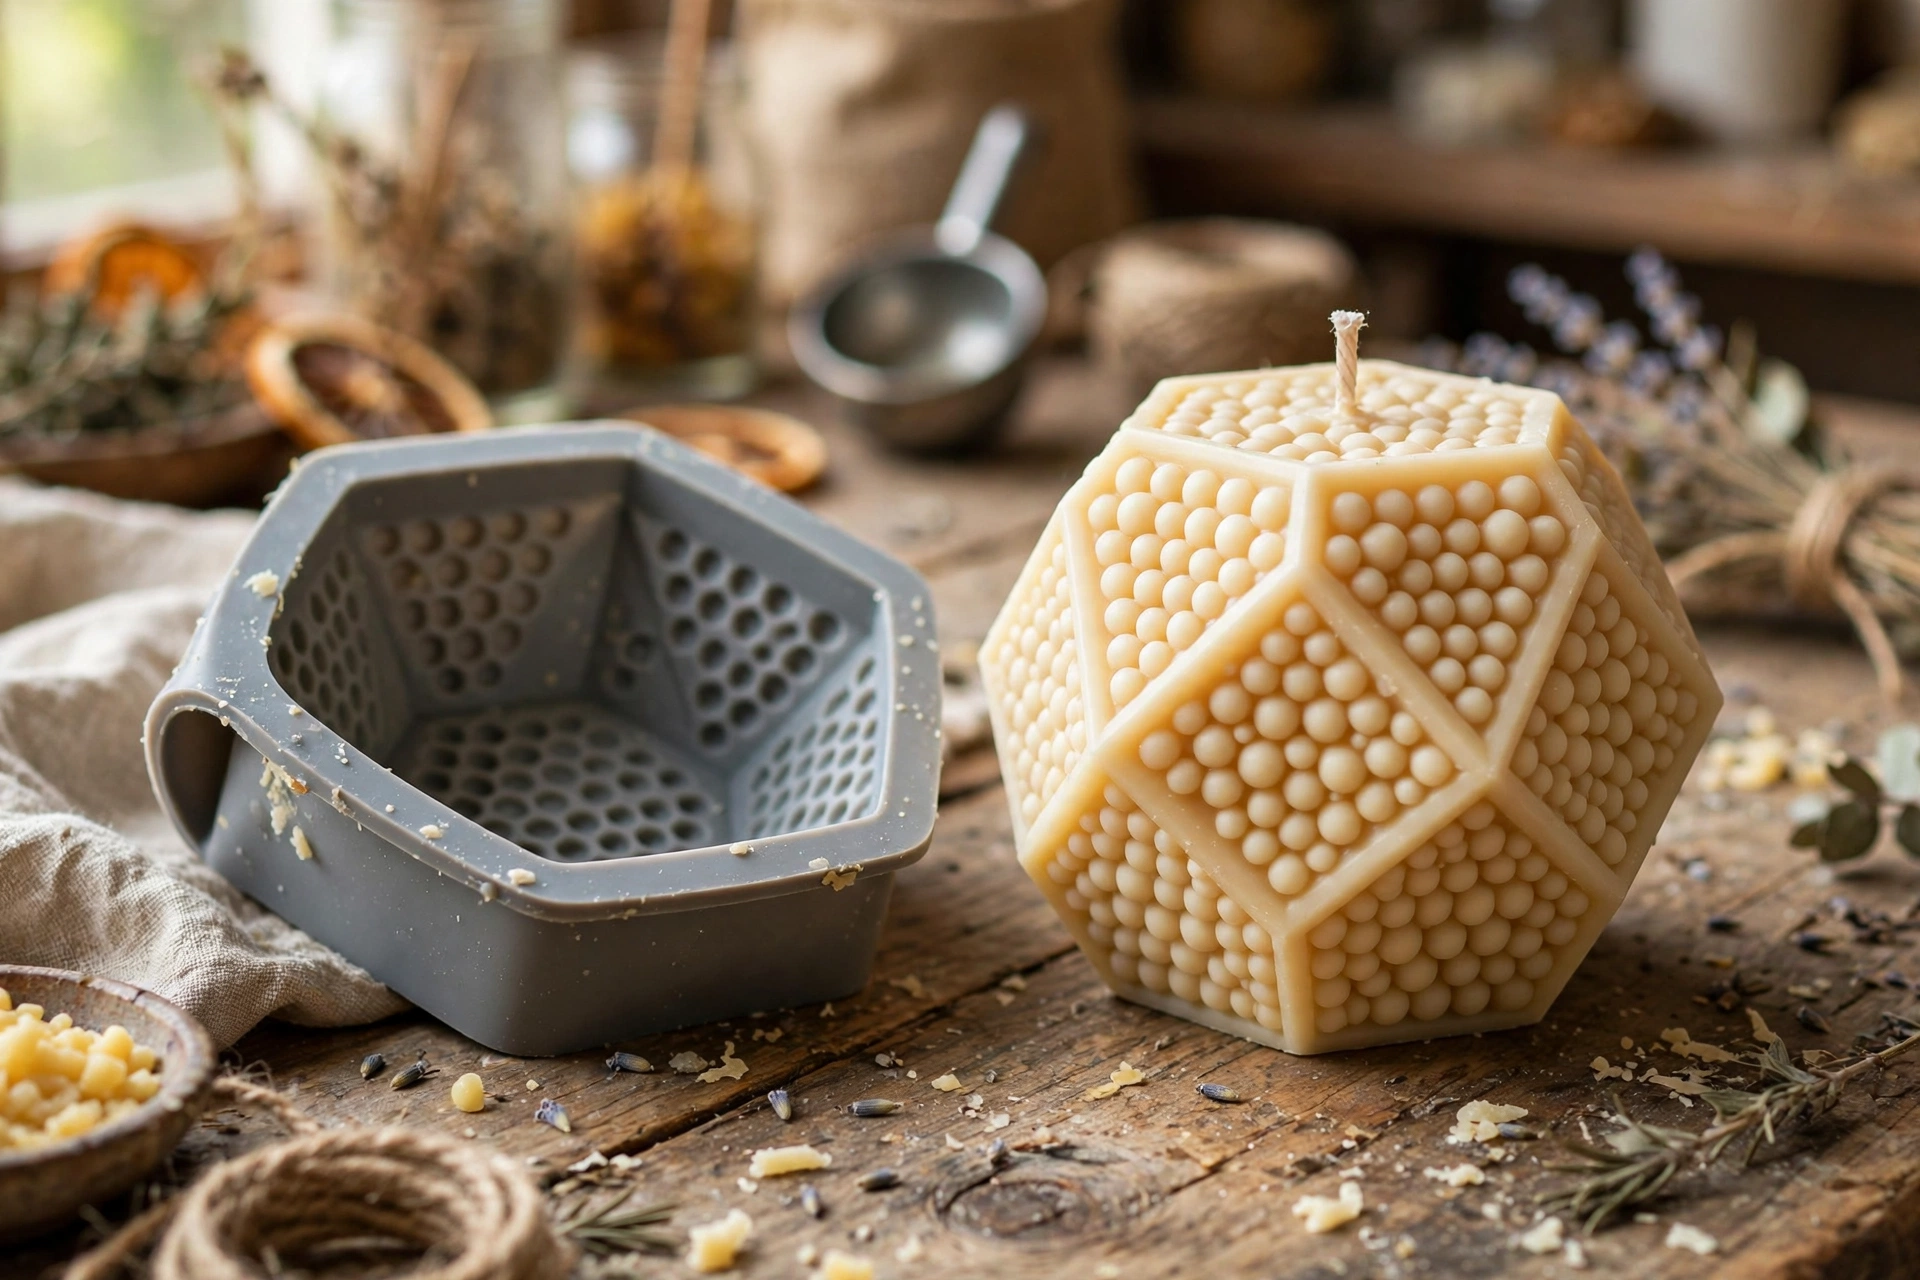
Silicone is the standard for molded candles. It flexes for easy release, survives thousands of pours, and captures fine detail — every bubble and crisp edge comes out clean. You have two ways to get one:
Buy a ready-made silicone mold. Bubble cube molds, spheres, ribbed pillars, arches, and geometric shapes are widely available. Check the mold’s material before you buy: it should be food-grade-style silicone rated well above your wax’s pouring temperature, with thick, flexible walls. A flimsy mold warps and leaks.
Make your own silicone mold. If you want a one-of-a-kind shape — a candle modeled on a real object, a custom geometric form — you can cast your own silicone mold at home. Our silicone mold tutorial walks through the whole process.
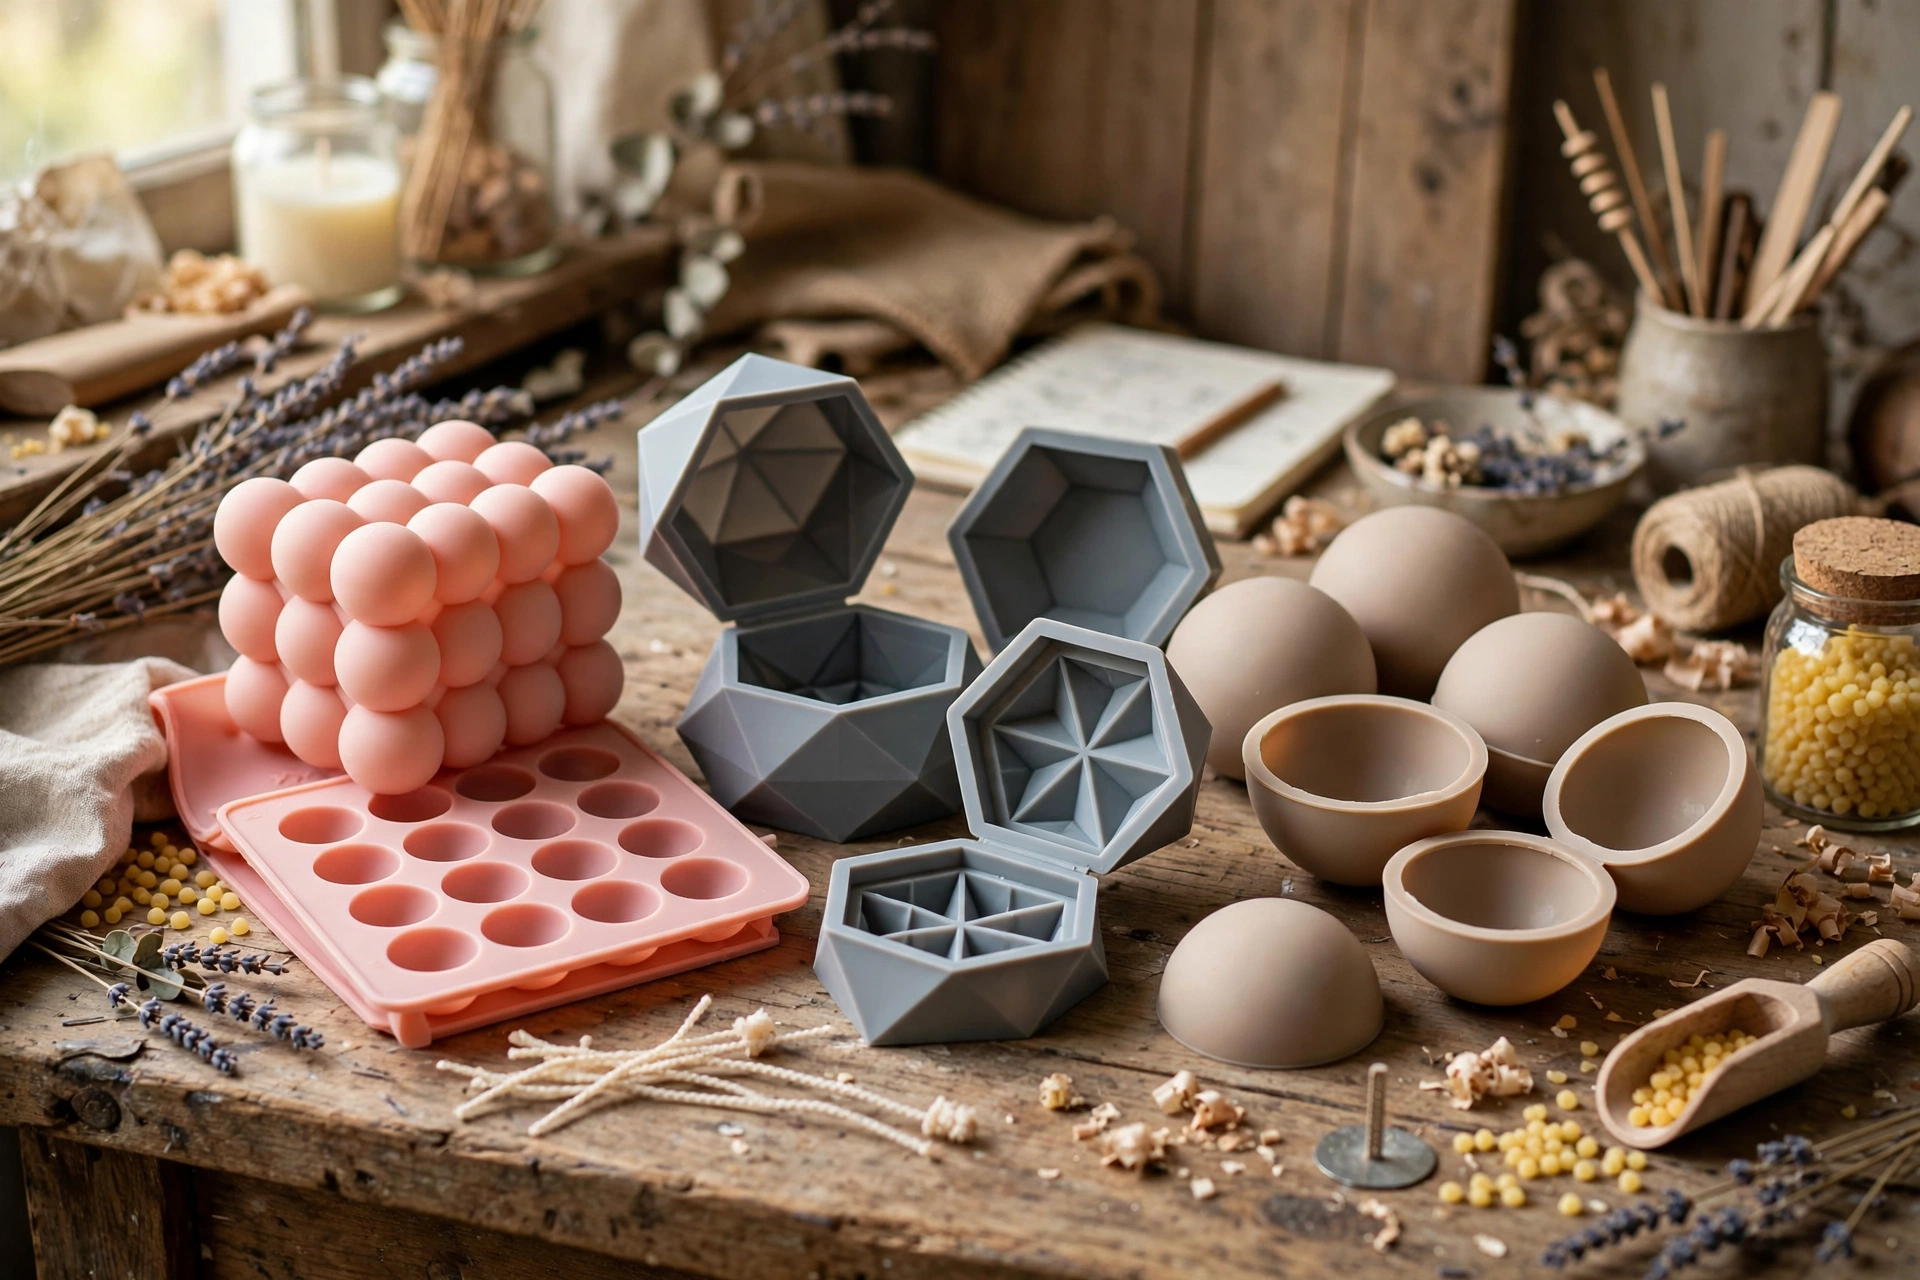
Wax choice for crisp molded candles
Container waxes are designed to cling to glass — the exact opposite of what you want in a mold. Molded candles want harder pillar blends: they shrink slightly as they cool, which helps them release from the mold, and they hold crisp edges and fine detail instead of softening into a blob at room temperature. A soft container wax will unmold sticky, bend in warm weather, and lose every sharp line your mold captured.
Harder waxes also resist frosting and surface bloom better on molded shapes. Match your pour temperature to your supplier’s recommendation for their pillar blend — pouring too hot shortens the working time and increases shrinkage defects.
What you’ll need
- Silicone mold (bubble, sphere, or geometric shape)
- Pillar-blend wax suited to molding
- Wick — plus a plan for how it gets centered (see step 2)
- Optional: mold release spray (light use only)
- Thermometer
- Pouring pitcher
- Mold sealant putty or hot glue (if your mold has a wick hole)
- A flat, draft-free surface for cooling
Steps: make your molded candle
1. Prep the mold — clean and bone dry
Wash new molds in warm soapy water and let them dry completely — any leftover water or soap film turns into surface defects on the finished candle. A quick wipe with a dry cloth catches lint and dust that would otherwise embed in the wax. A very light mist of mold release is optional; good silicone usually doesn’t need it, and too much release leaves a greasy film on the candle.
2. Wick it — thread the wick or plan the channel
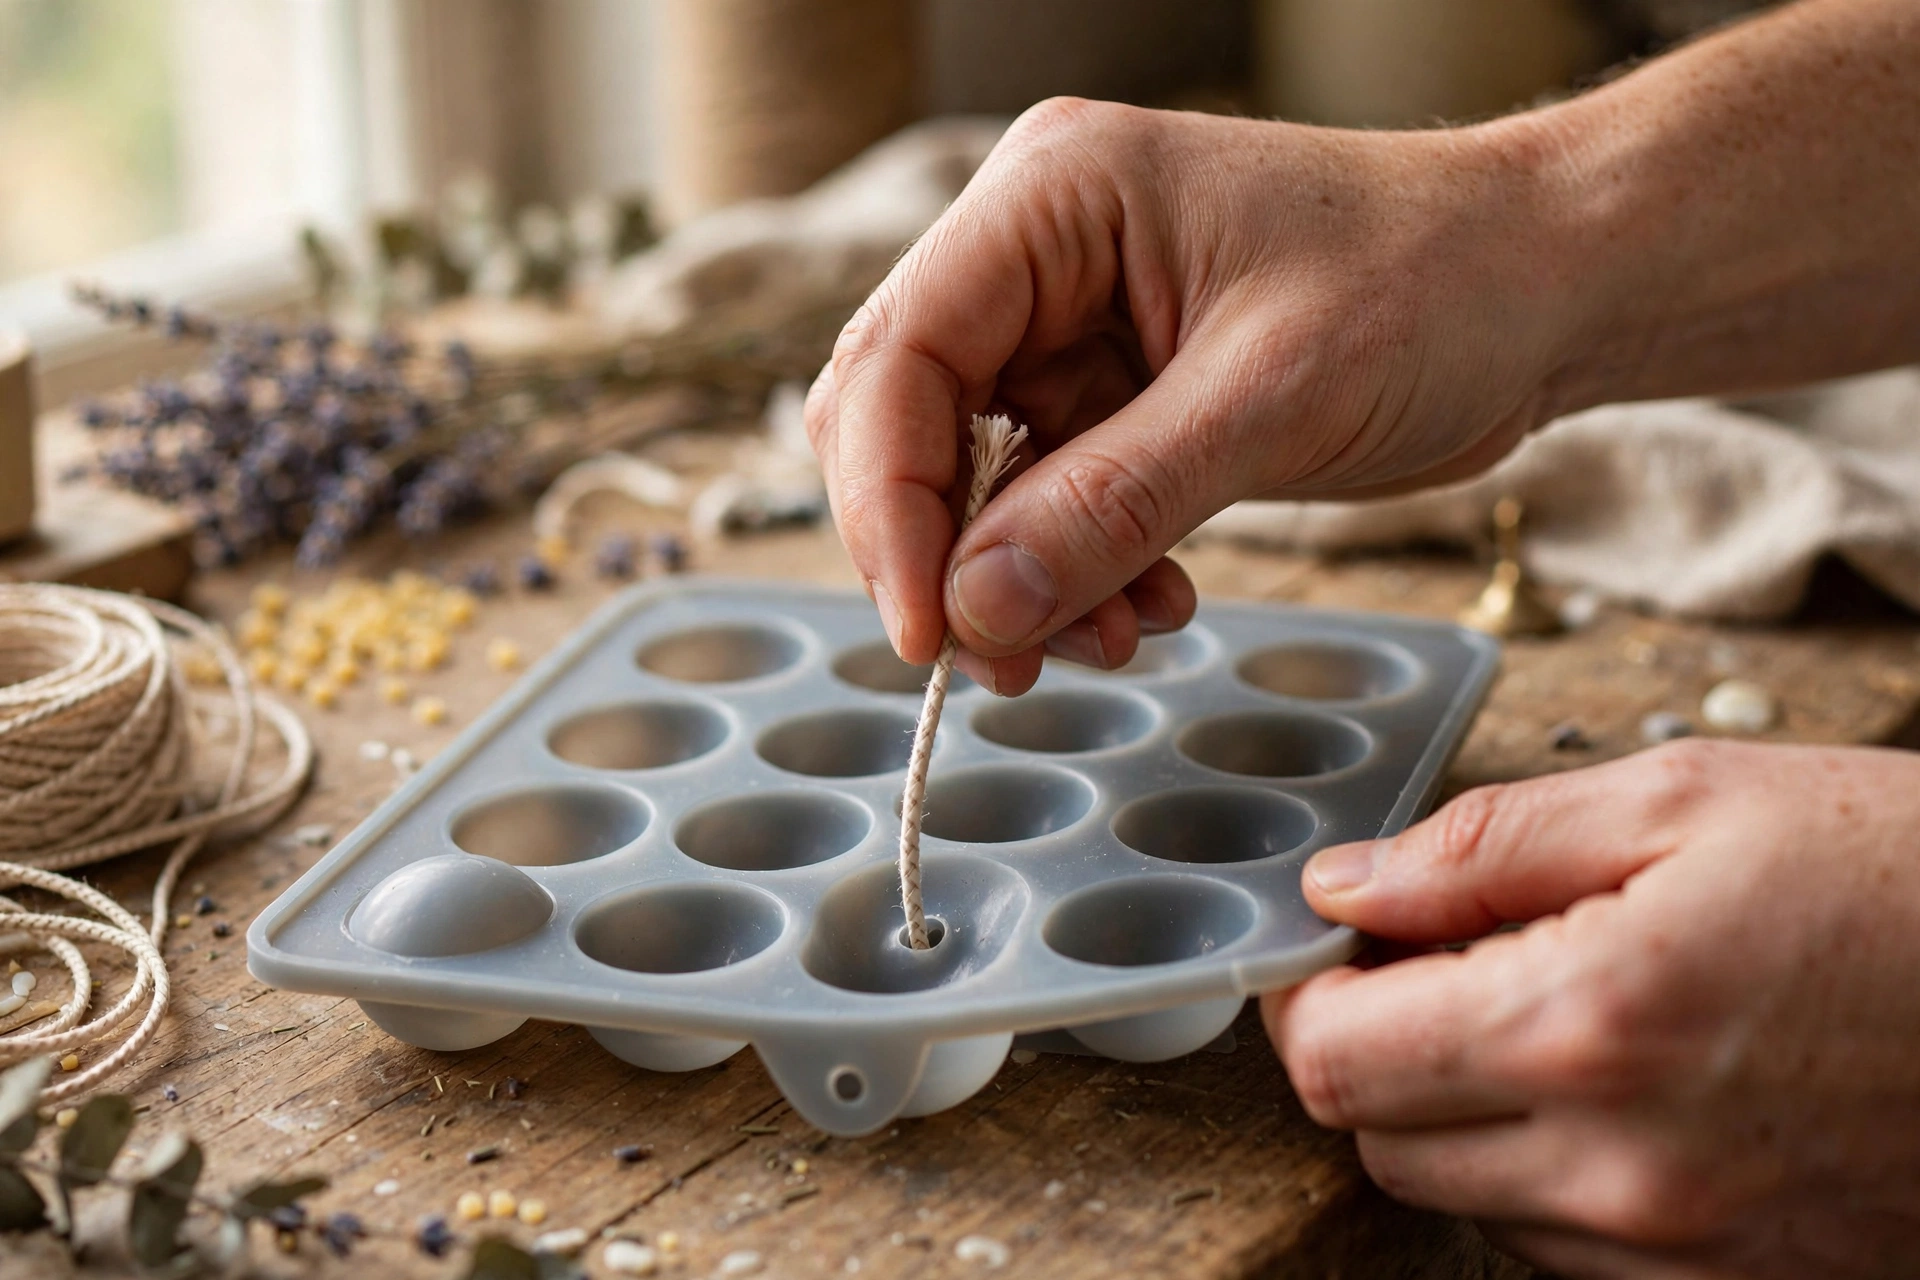
Molds handle wicks in one of two ways. If your mold has a small hole at the base, thread the wick through from the inside and seal the hole with putty or hot glue so no wax leaks out — give it a firm tug to check the seal before you pour. No wick hole? Plan to create the channel after the candle cools with a heated wick pin, as shown in our wick pin tutorial.
Which wick size? Defer to your supplier’s sizing chart for your wax family and the candle’s diameter, then prove it with a test burn — the same discipline as container candles. Molded candles burn a little differently (no jar to reflect heat), so never skip the test burn.
3. Pour slowly and tap out trapped air
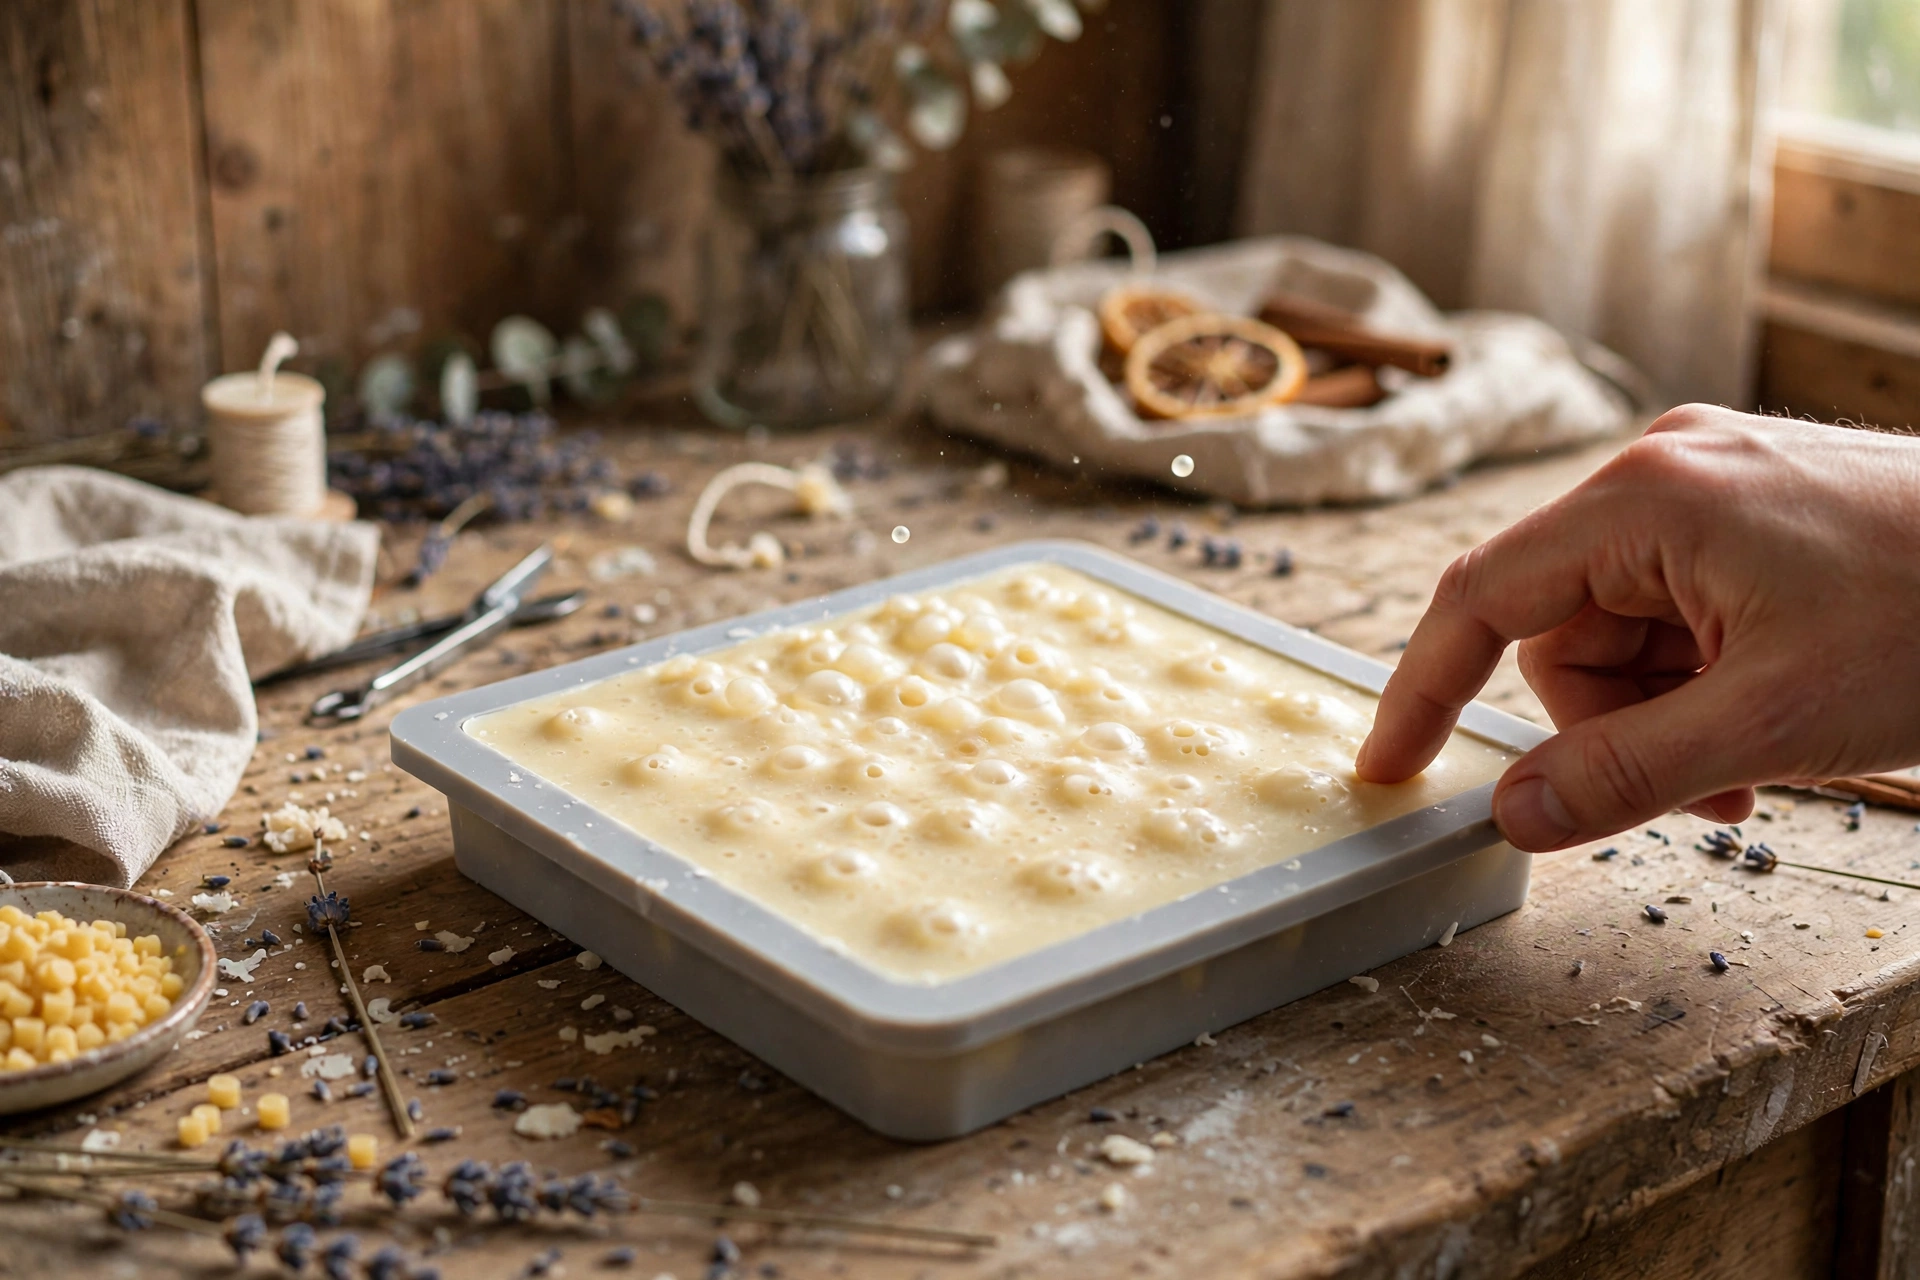
Pour the wax in a slow, steady stream — fast pouring is the number one cause of trapped air bubbles in the finished candle. As the mold fills, tap the sides of the mold gently with your fingertips. You’ll see tiny bubbles rise and pop at the surface. Keep tapping until no new bubbles appear.

4. Cool completely — no shortcuts
Set the filled mold somewhere flat and draft-free and leave it alone for several hours or overnight. This is the hardest step because it asks nothing of you — unmolding early, while the center is still warm, is the top cause of snapped bubbles, torn edges, and candles that come out in two pieces. Thick molded candles cool from the outside in, and the center stays liquid long after the surface looks set.
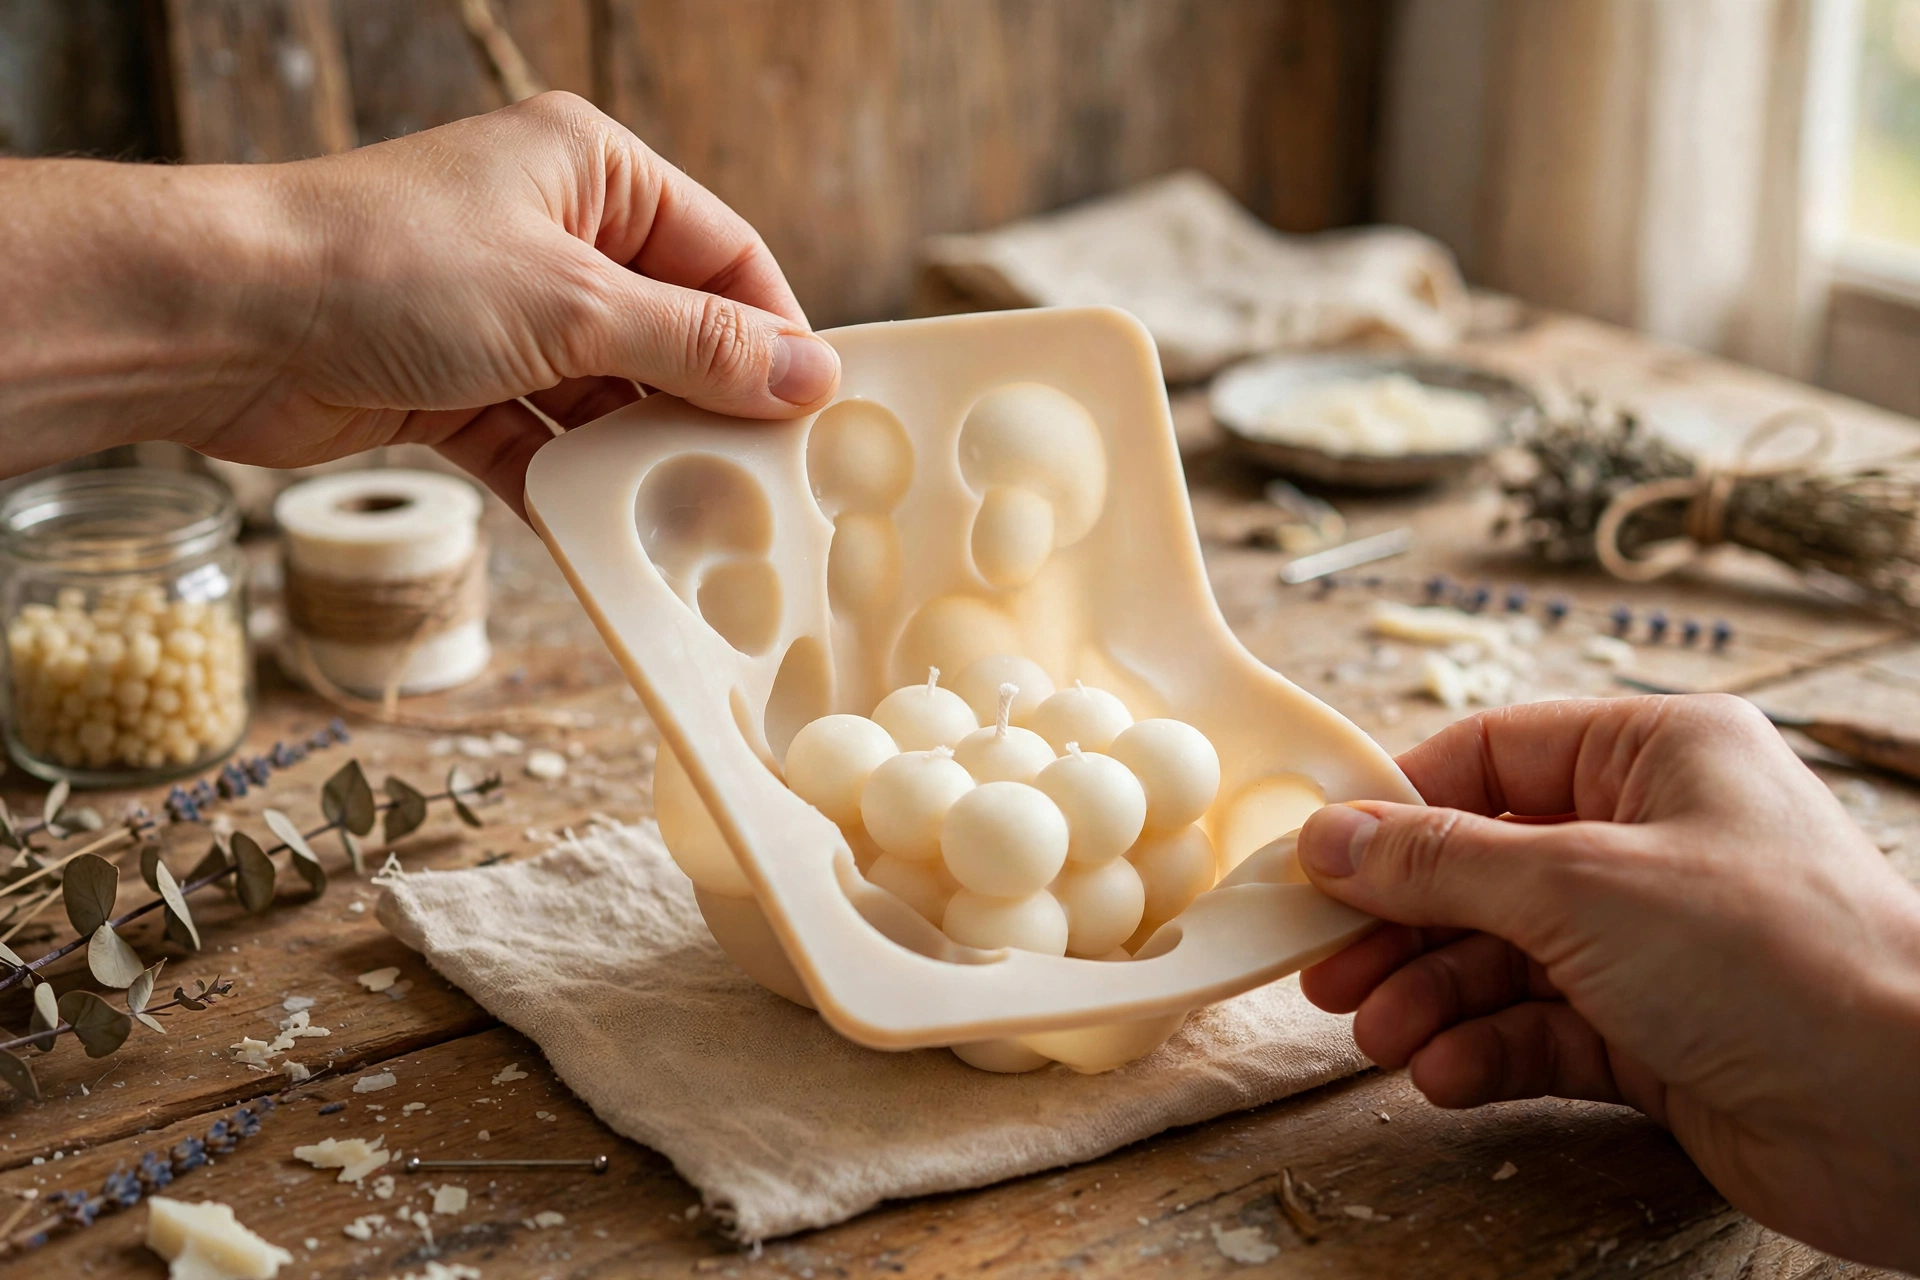
5. Unmold by flexing the silicone
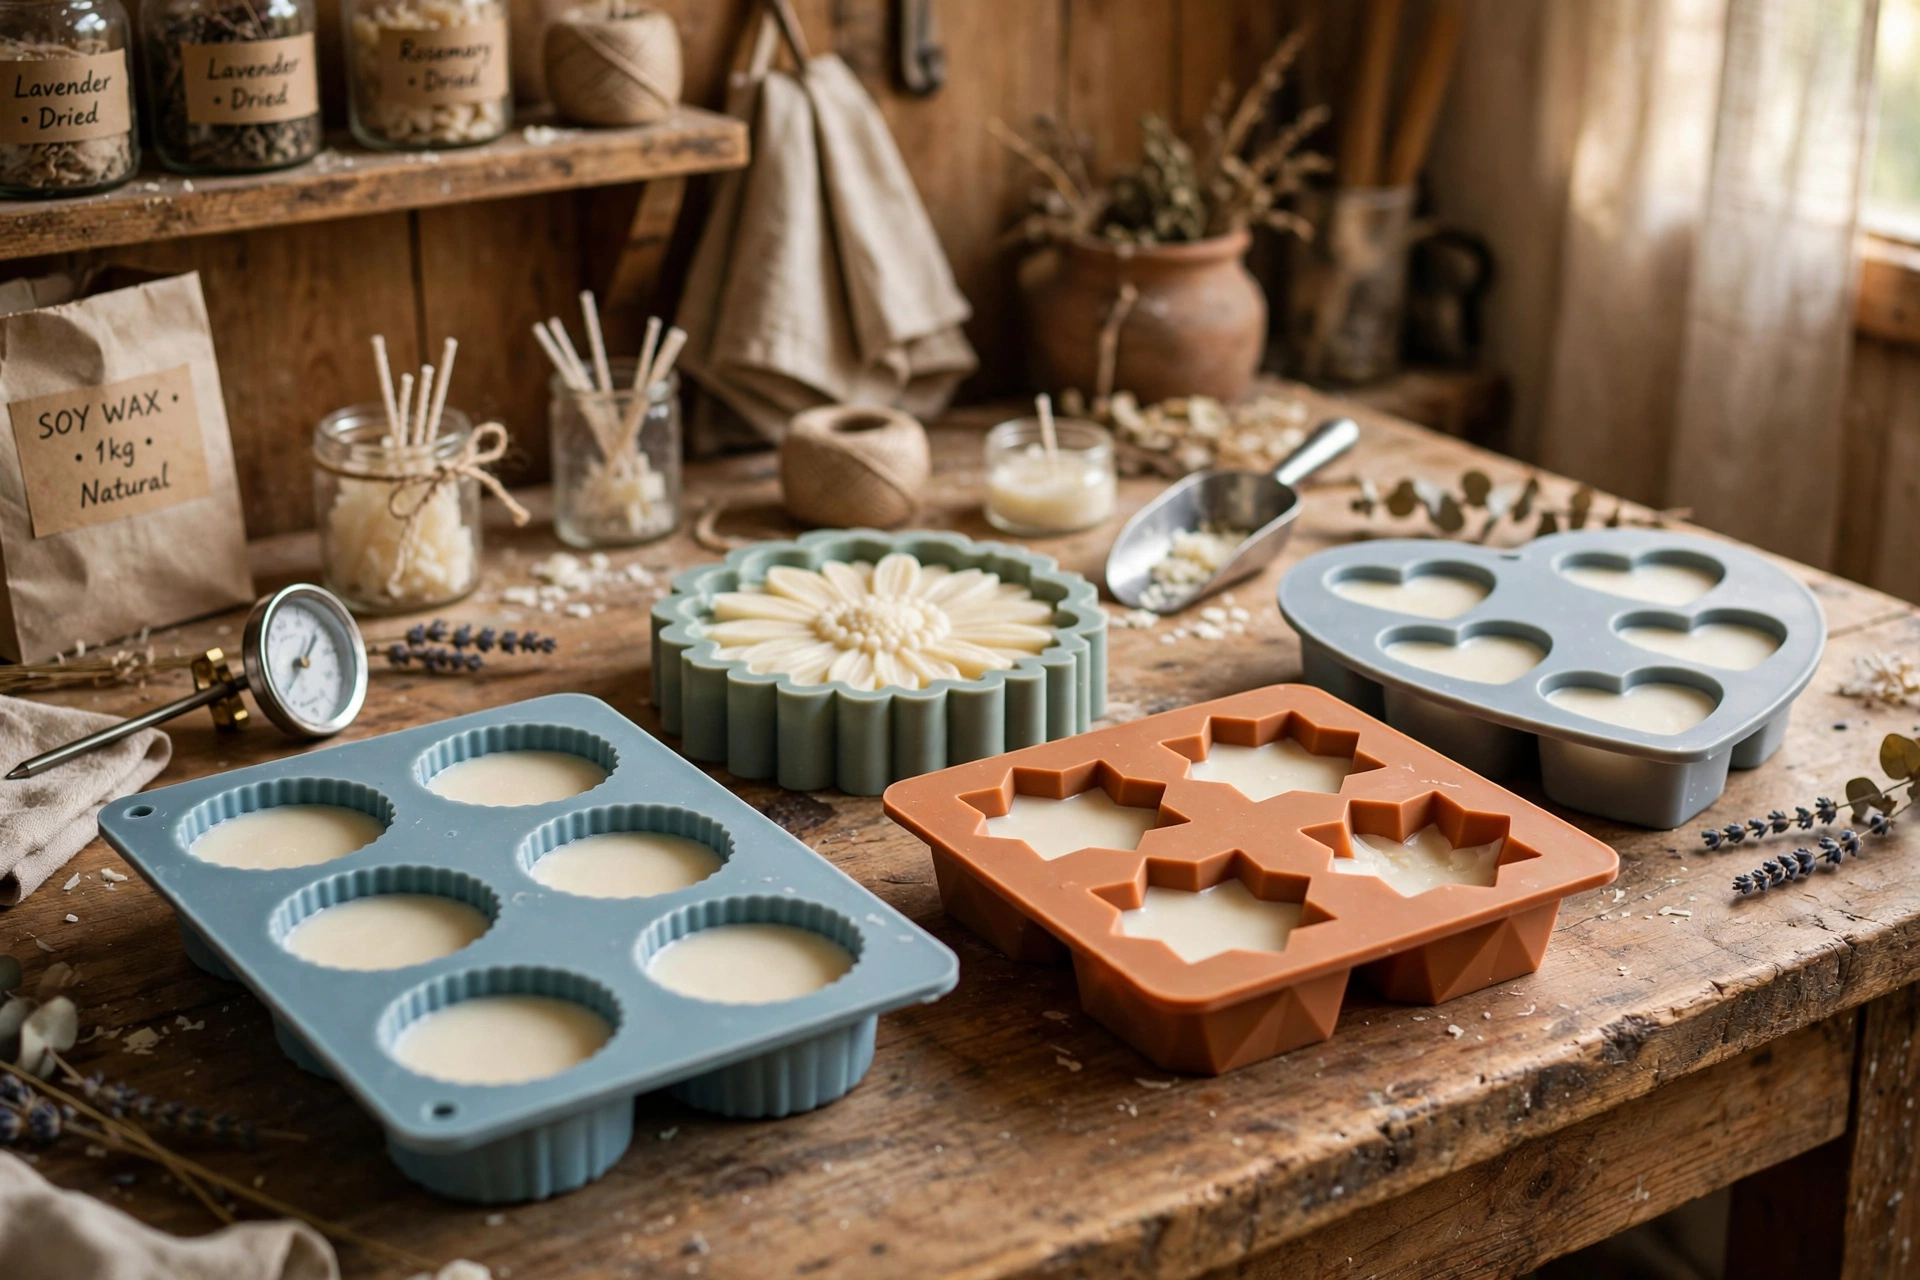
Once the candle is fully cool and firm, gently flex the silicone walls away from the wax, working around all sides. Ease the candle out slowly rather than yanking — let the mold peel off the candle, not the other way around. If it resists, it probably isn’t fully cool yet; give it another hour and try again.
6. Finish — trim, level, and test burn
Trim the wick to 1/4 inch. If the base is uneven, set the candle on a warm (not hot) flat surface for a few seconds to melt the bottom level, then stand it on a cool surface to set. Finally, test burn your exact wax-and-wick combination before selling or gifting — molded candles are still candles, and they still need proving.
Troubleshooting molded candles
Sinkholes. Wax shrinks as it cools, leaving a dip or hidden cavity around the wick. Poke a few relief holes around the wick once the surface sets, then do a second pour with reserve wax to fill them.
Shrinkage and wet spots. Cool slowly in a draft-free room at normal room temperature. Drafts and cold spots cool the outside faster than the inside, causing pull-away and blotchy wet spots.
Frosting. That white crystalline bloom is cosmetic, but on molded candles every inch is on display. Harder pillar waxes frost less, and slow, even cooling beats a quick chill every time.
Trapped air bubbles. Pour slower, pour down the side of the mold, and tap patiently until the bubbles stop rising. Bubbles that keep appearing usually mean the pour was too fast, not too slow.
Candle stuck in the mold. It’s almost always under-cooled — walk away for another hour. If it’s genuinely seized after full cooling, a brief 10–15 minutes in the freezer as a last resort shrinks the wax just enough to release; don’t make a habit of it.
For the full problem index with fixes, see our candle troubleshooting guide.
Next steps
Mastered the mold? The pillar candle tutorial covers free-standing candles poured in rigid molds. And since wick sizing is principle one for every candle you’ll ever make, work through the wick selection and test burn tutorial to prove your molded candles burn as good as they look.



