How to Make a Pillar Candle
Pillars stand on their own — no jar needed. The trick is using a harder wax and cooling it slowly so it releases cleanly from the mold.
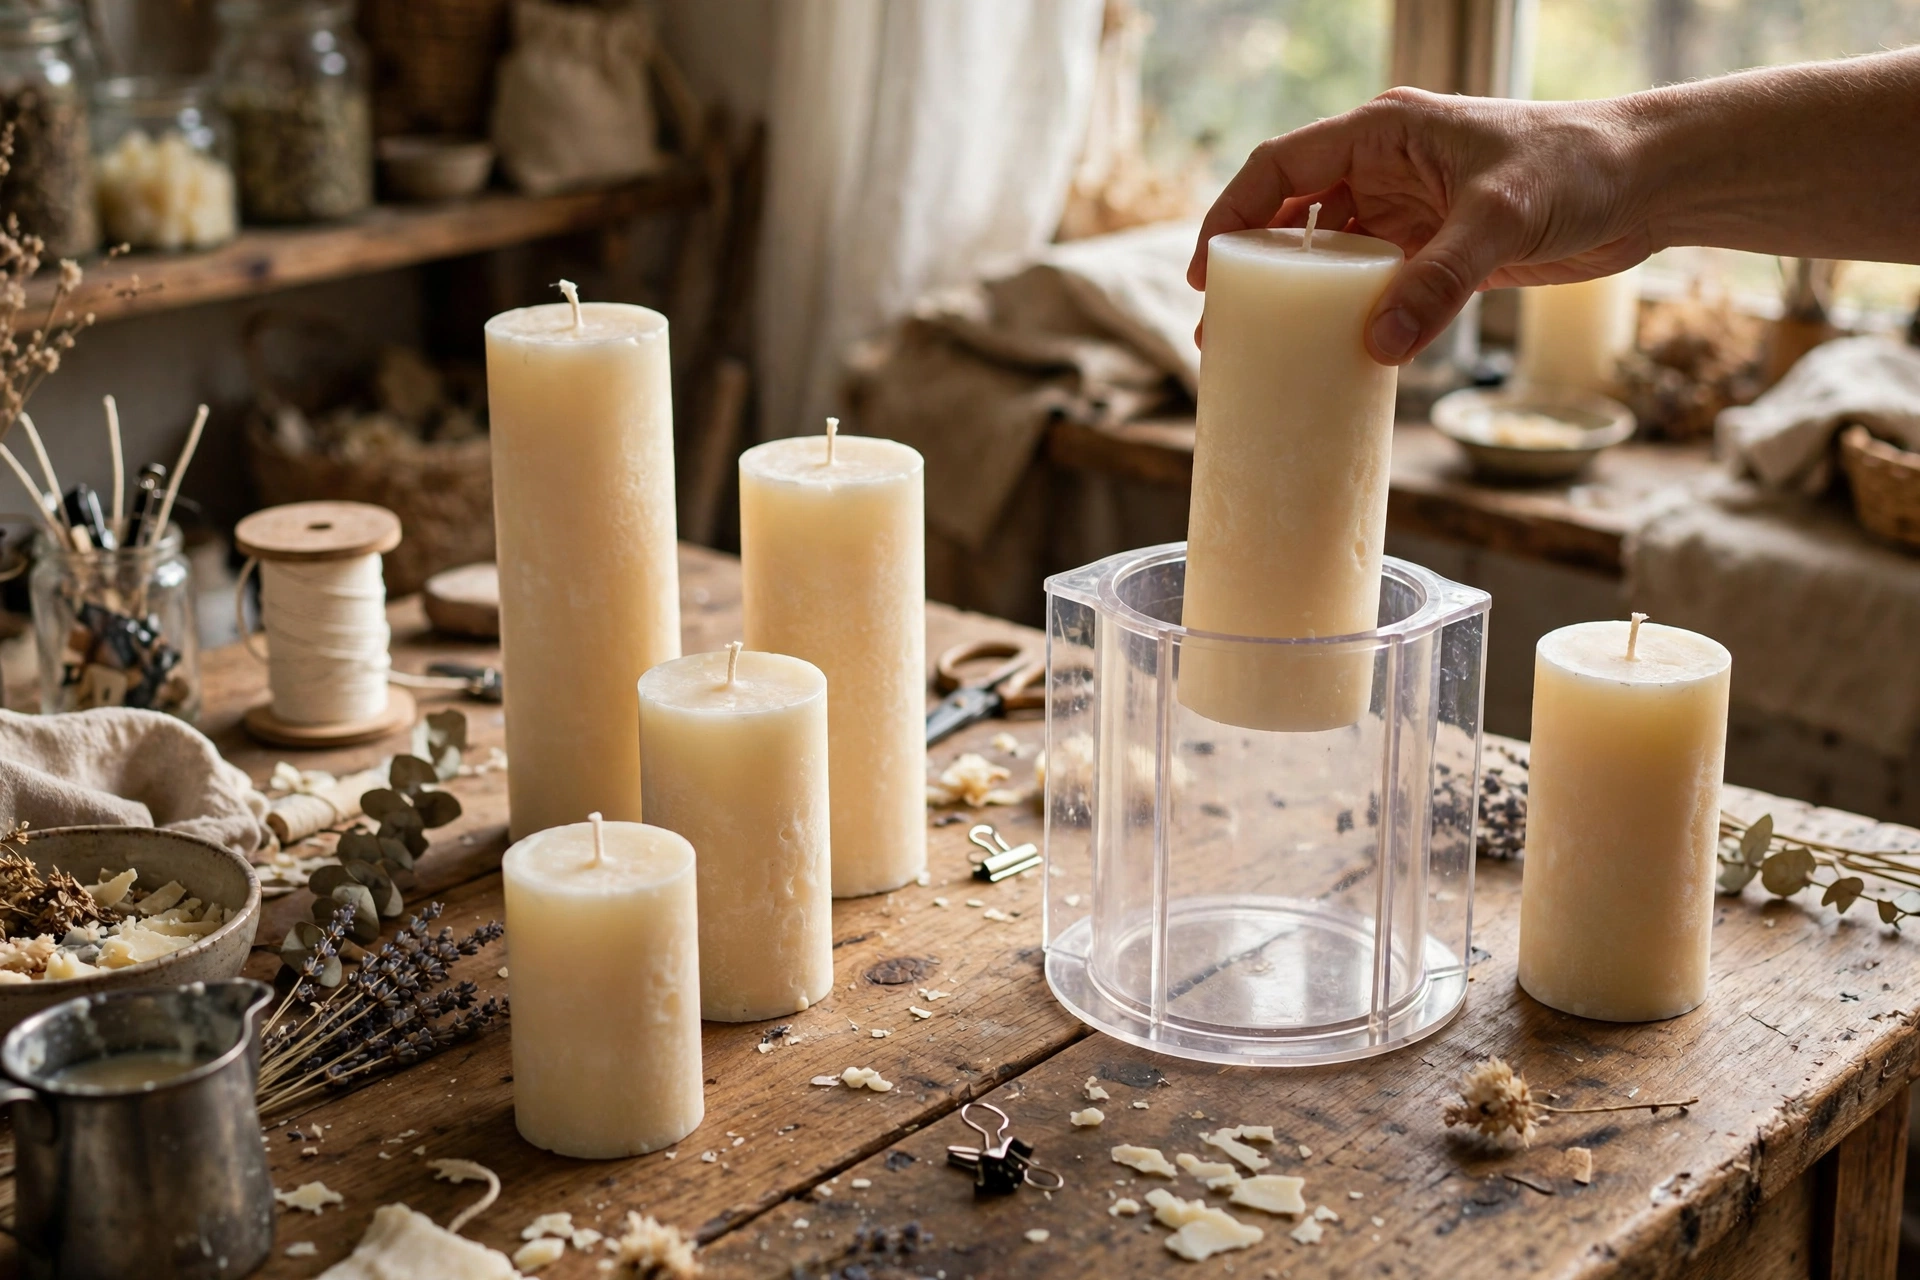
What you’ll need
- Pillar wax — a paraffin pillar blend, beeswax, or palm wax (do NOT use soft container soy; the candle won’t stand up)
- Pillar mold — polycarbonate or aluminum, sized to your candle
- Mold release spray
- Wick sized for your pillar’s diameter (see our wick selector)
- Wick pin or mold putty to seal the wick hole
- Fragrance oil (optional)
- Pouring pitcher, thermometer, and digital scale
Steps
1. Prep the mold
Spray the inside of the mold lightly with mold release and let it dry. Thread your wick through the hole in the bottom of the mold and seal around it with mold putty so wax can’t leak out. Center the wick at the top with a wick holder or pencil.
2. Weigh and melt the wax
Weigh your wax — don’t guess. Melt it to about 180–200°F depending on your wax (check the supplier’s spec sheet). Pillar waxes melt hotter than container waxes.

3. Add fragrance
If scenting, add fragrance oil at around 180°F and stir gently but thoroughly for a full 2 minutes. Pillar waxes typically hold 6–10% fragrance load.
4. Pour
Let the wax cool to about 160–170°F, then pour slowly into the mold in one steady stream. Fill to the top. (Not sure about temps for your wax? Check the wax temperature guide.)
5. Cool slowly and repour
This is the step people skip. Let the pillar cool at room temperature — never in the fridge, or it will crack. As it cools, poke 3–4 relief holes around the wick with a skewer to release trapped air, then do a second pour to fill the shrinkage cavity. You may need a third pour on wide pillars.
6. Unmold
Wait until the candle is completely cool and hard — at least 4–6 hours for a 3″ pillar, longer for bigger ones. Remove the putty, then gently push or slide the candle out of the mold.
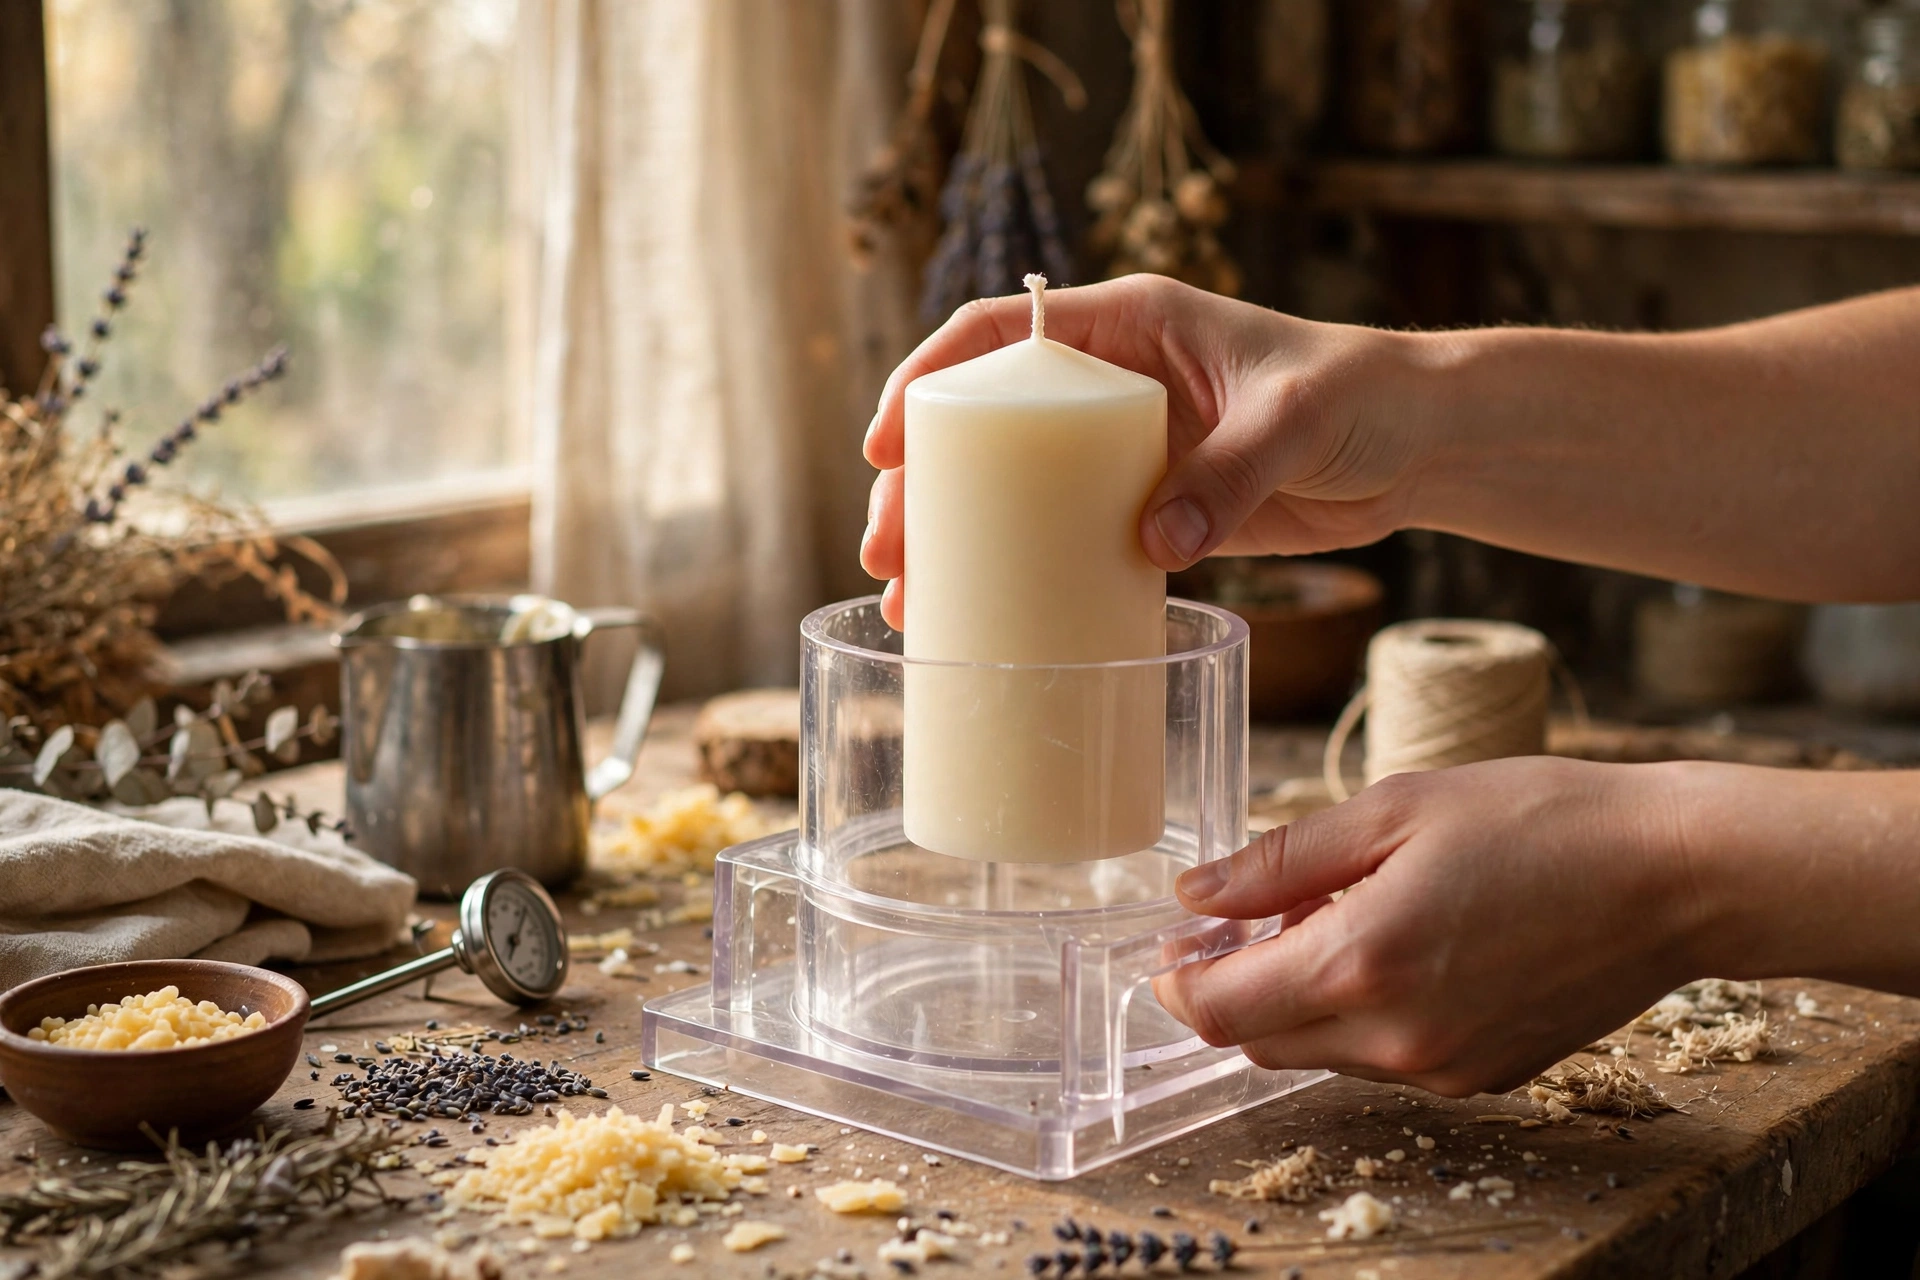
7. Trim, cure, and test
Trim the wick to 1/4 inch. Let the pillar cure for a few days (a week for scented), then do a full test burn. Pillars should form a tunnel of melted wax about 1/2 inch from the edge — the outer wall stays standing and catches the melt.
This tutorial contains affiliate links. As an Amazon Associate I earn from qualifying purchases — it helps keep these tutorials free, at no extra cost to you.