
How to Make Bath Salts (Easy DIY Recipe)
Bath salts are the simplest spa product you can make at home — no molding, no curing, no chemistry degree. Coarse salt, a little oil, scent, and color: stir it together and you have a gift-worthy soak in about fifteen minutes. This guide covers the classic epsom and sea salt base, how much oil and scent to actually use, and how to fix the three problems that ruin most homemade batches.
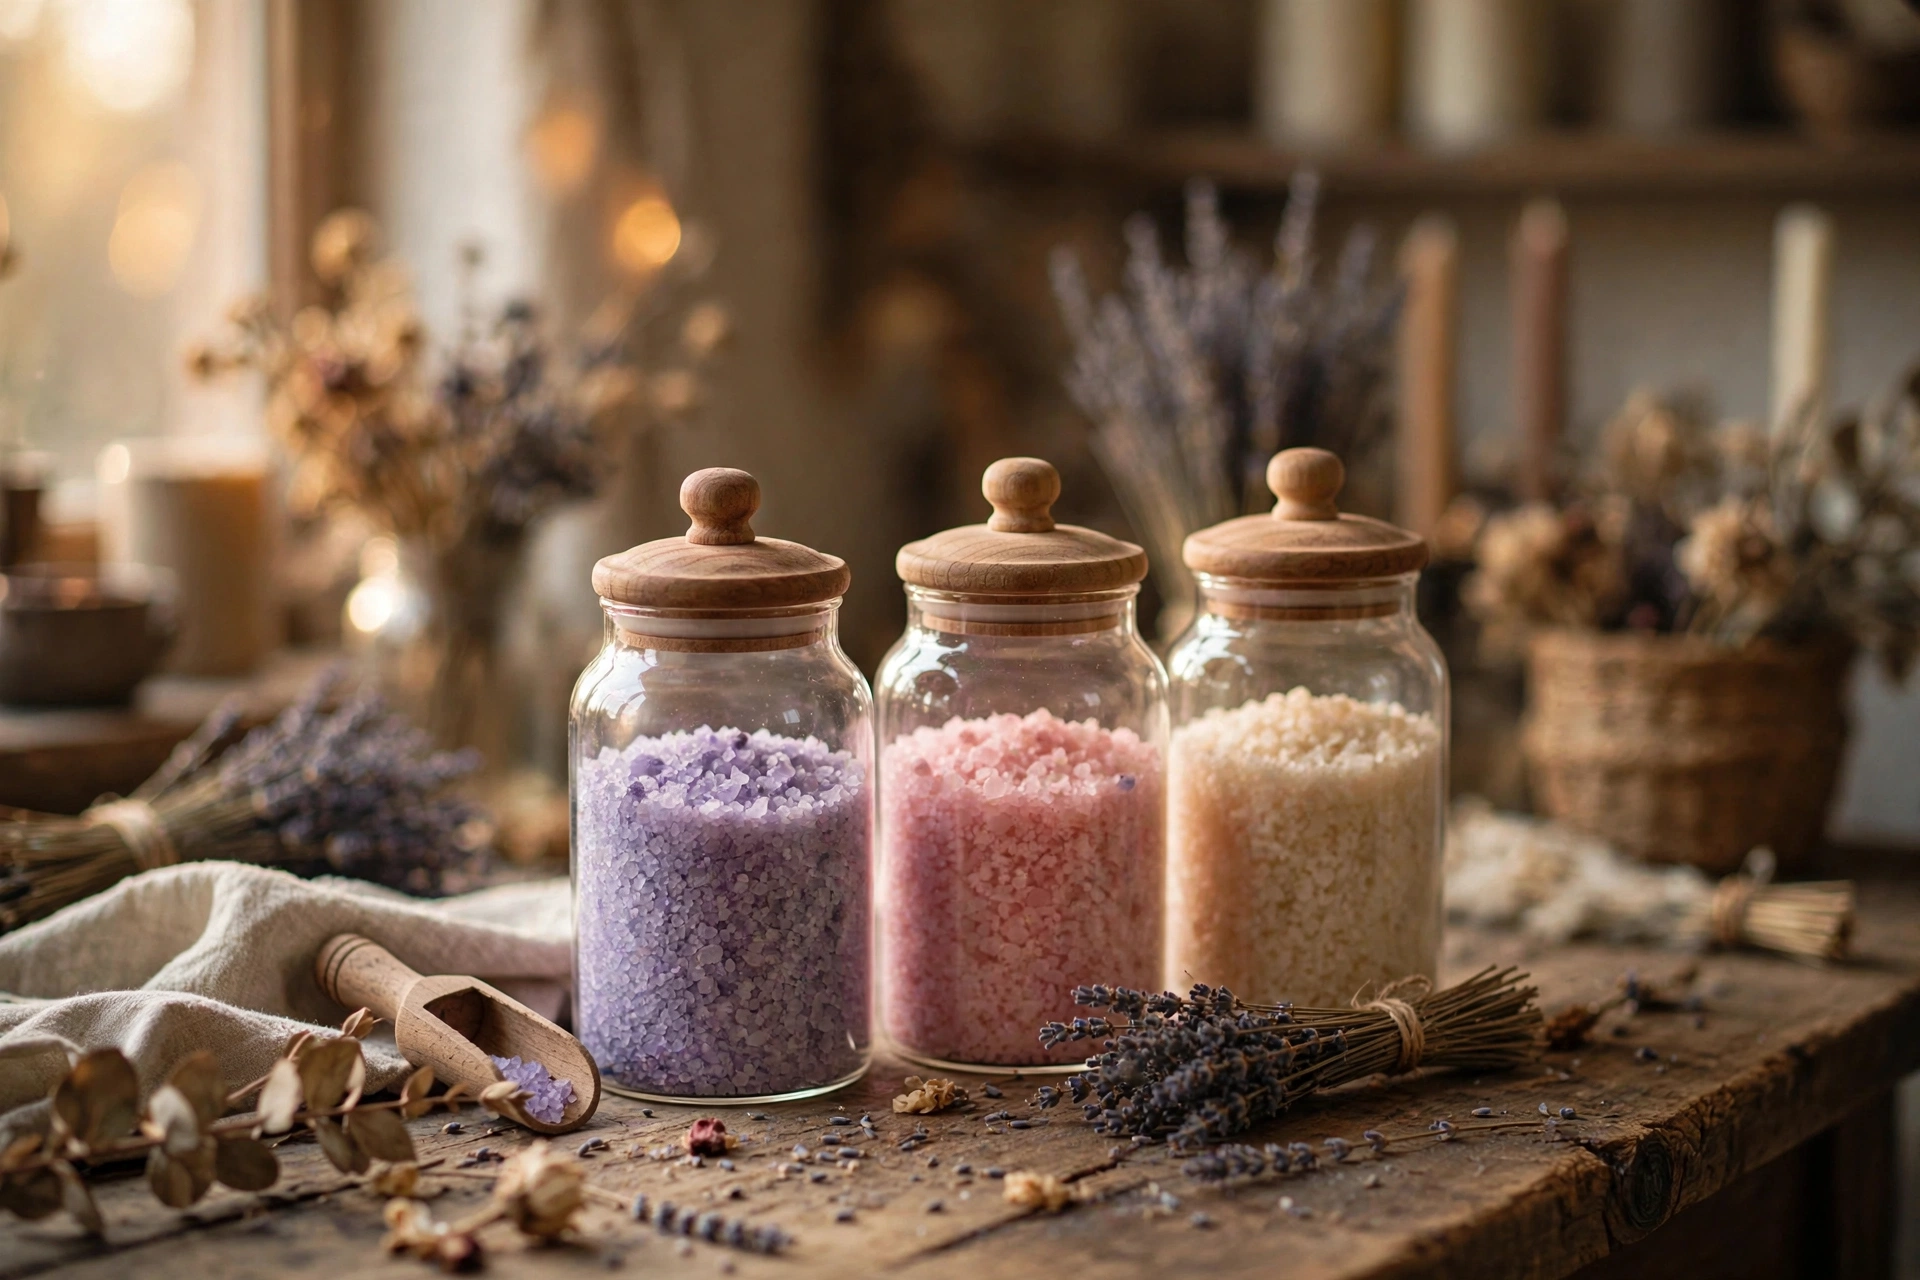
Why homemade beats store-bought
A bag of bath salts from a boutique shop is mostly salt with a whisper of scent — and a price tag that assumes you don’t know that. When you make your own, you control everything: the salt blend, the exact scent strength, whether there’s color, and how much skin-softening oil goes in. A single batch fills two or three gift jars, and the ingredient cost per jar is a fraction of retail. If you already make bath bombs, you own most of these ingredients already.
Know your ingredients
Epsom salt. The backbone of the recipe — coarse, inexpensive, and dissolves fast in hot water. Plain unscented epsom salt from the pharmacy or grocery store is perfect; don’t pay extra for pre-scented bags when you’re adding your own scent.
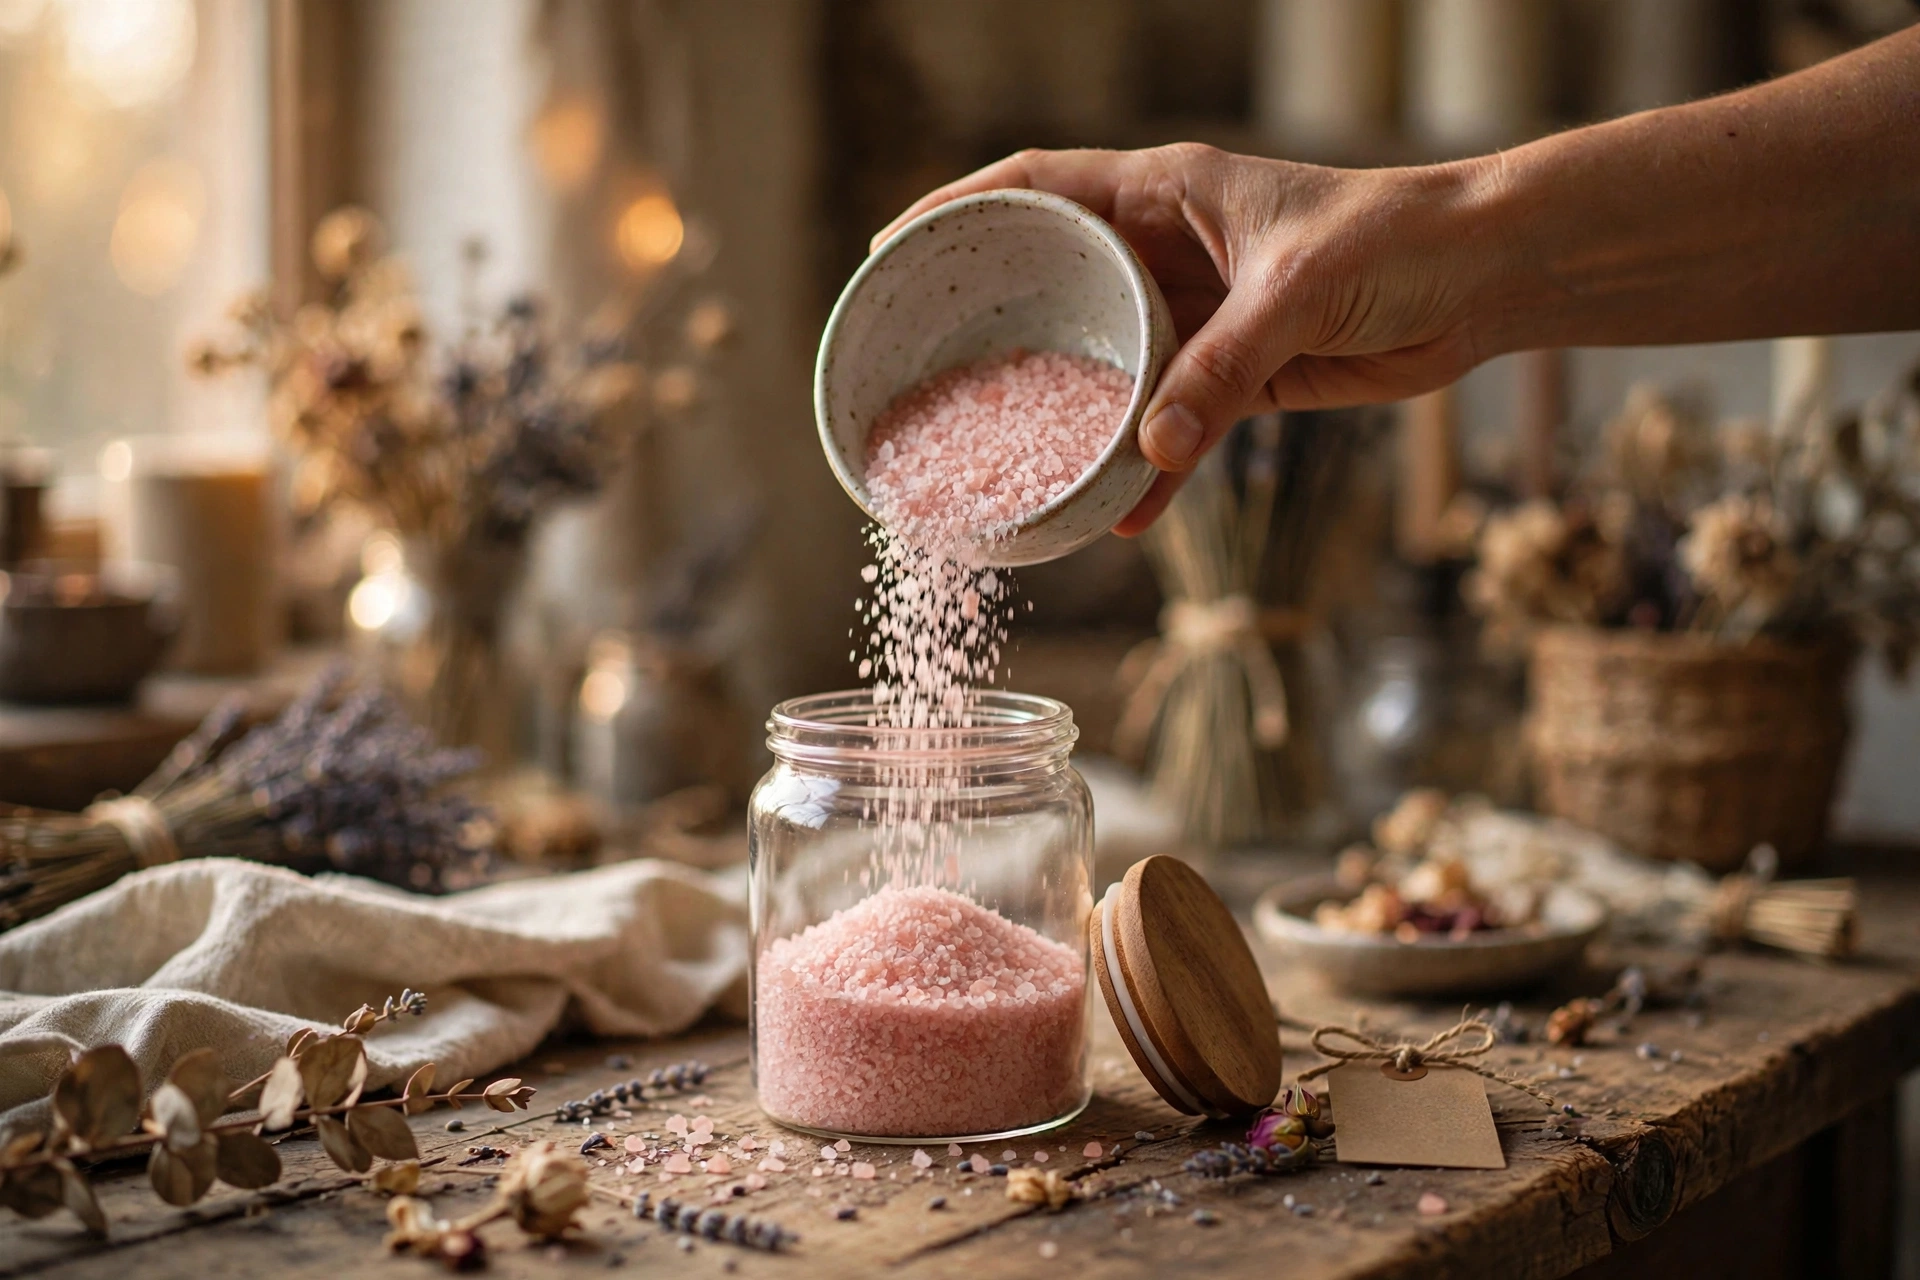
Coarse sea salt. Adds a different crystal texture and slower dissolve, which makes the soak feel more luxurious. Pink Himalayan salt works the same way and gives a natural blush color without any colorant.
Baking soda. A half cup per batch softens the water and leaves skin feeling silky instead of tight. It also helps the scent bloom in the steam.
Carrier oil. Sweet almond, jojoba, or fractionated coconut oil — a couple of tablespoons per batch keeps skin from drying out and helps the scent cling to the salt. This is a seasoning, not a main ingredient: too much oil turns the salts greasy and makes the tub dangerously slick.
Scent. Use essential oils or skin-safe fragrance oils at your supplier’s recommended usage rate for body products. Measure with a small spoon or pipette — free-pouring from the bottle is how batches end up overpowering. For scent-strength guidance, see our fragrance usage rates guide.
Natural colorants (optional). A pinch of mica powder gives soft pastel shades. Dried botanicals — lavender buds, rose petals, chamomile — look beautiful in the jar but come with a real downside, covered in the safety section below.
Base recipe (makes about 4 cups — fills 2 to 3 jars)
- 2 cups (480 g) epsom salt
- 1 cup (240 g) coarse sea salt or pink Himalayan salt
- 1/2 cup (110 g) baking soda
- 2 tablespoons carrier oil (sweet almond, jojoba, or fractionated coconut)
- 1 to 2 teaspoons essential oil or skin-safe fragrance oil (at your supplier’s usage rate)
- 1/2 to 1 teaspoon mica powder for color (optional)
- Dried lavender buds or rose petals (optional — see the safety note below first)
You’ll also want: a large mixing bowl, a whisk or wooden spoon, a small bowl for the wet ingredients, and clean dry jars with tight lids for storage.
Steps: mix, scent, color, jar
Step 1: Measure the dry ingredients
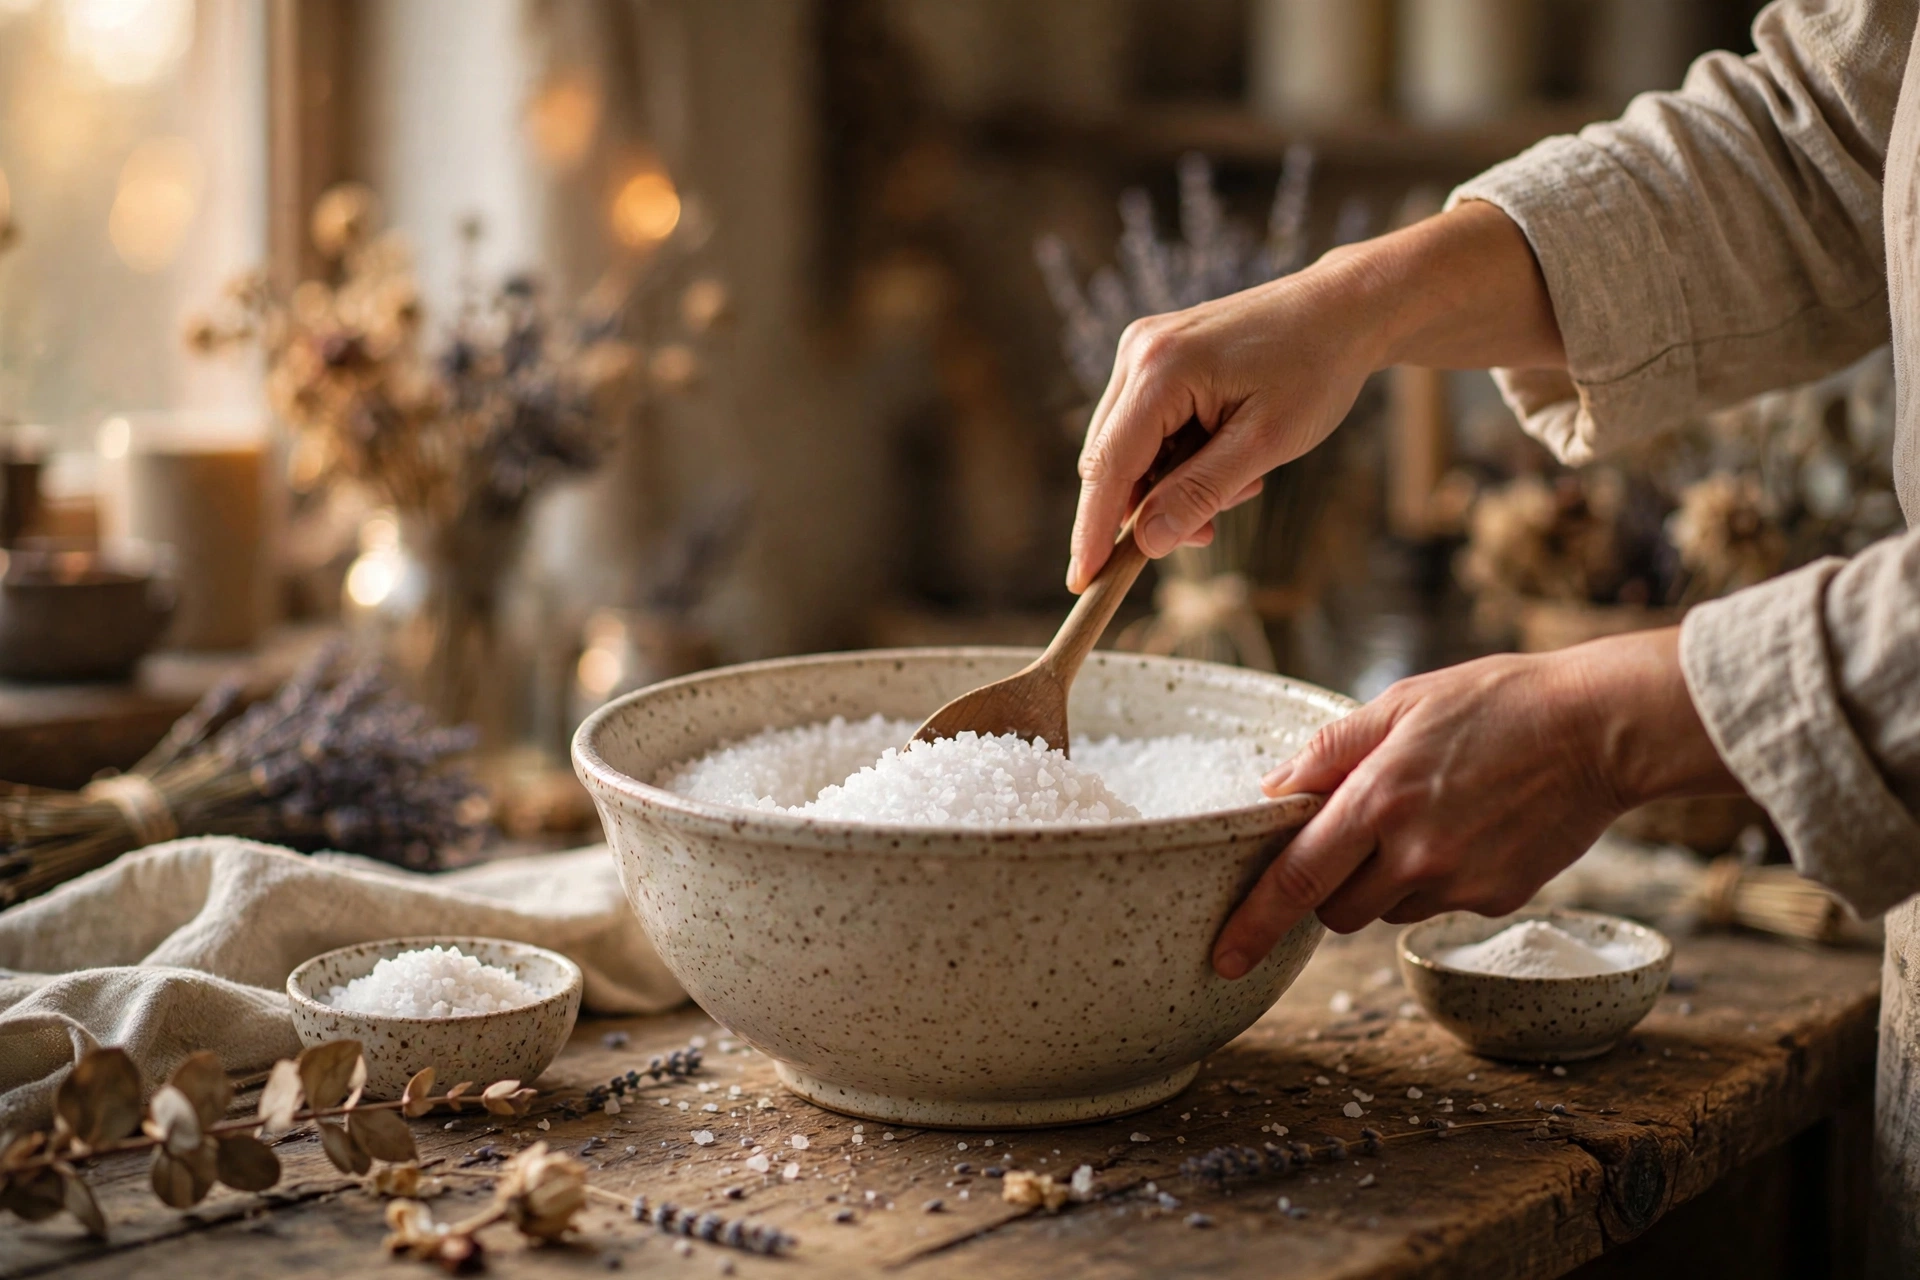
Weigh or measure the epsom salt, sea salt, and baking soda into your large mixing bowl. A kitchen scale gives the most consistent batches, but cup measures work fine here — bath salts are far more forgiving than bath bombs, since there’s no fizz reaction to protect. Break up any large clumps with the back of a spoon before you go further.
Step 2: Blend the dry mix
Whisk or stir the dry ingredients together until the texture looks uniform — the fine baking soda should disappear among the coarser salt crystals. This takes about a minute. An even dry base is what keeps the oil and scent from pooling in one spot later.
Step 3: Add the carrier oil and scent
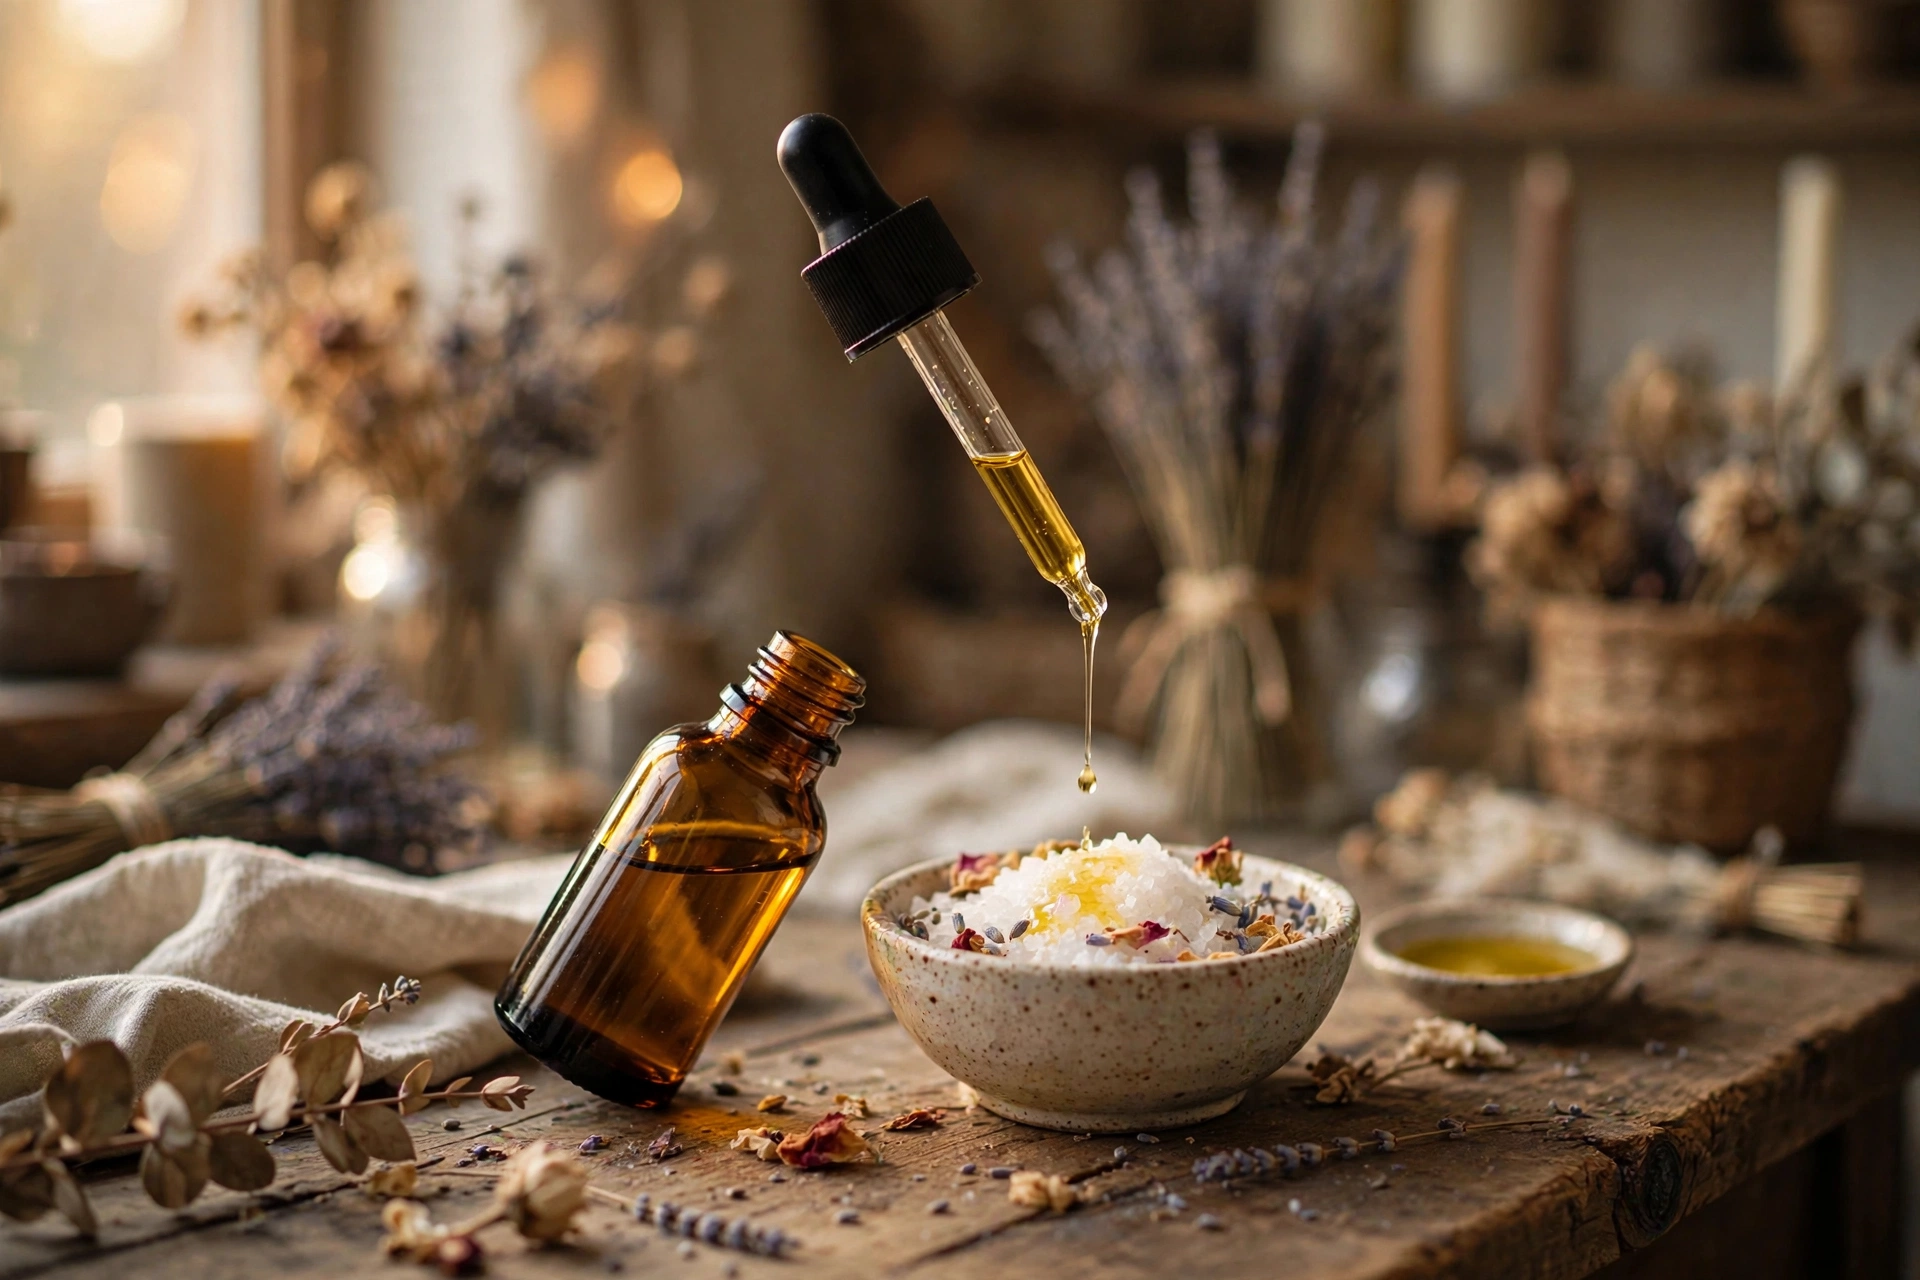
In your small bowl, stir the carrier oil and the essential or fragrance oil together until blended. Drizzle this mixture over the dry salts a little at a time, stirring constantly as you pour. Keep stirring until every crystal looks lightly and evenly coated — no dark damp patches, no dry pockets. If you see clumps forming, break them up with the spoon and keep mixing; they smooth out with a little patience.
Step 4: Add color (optional)
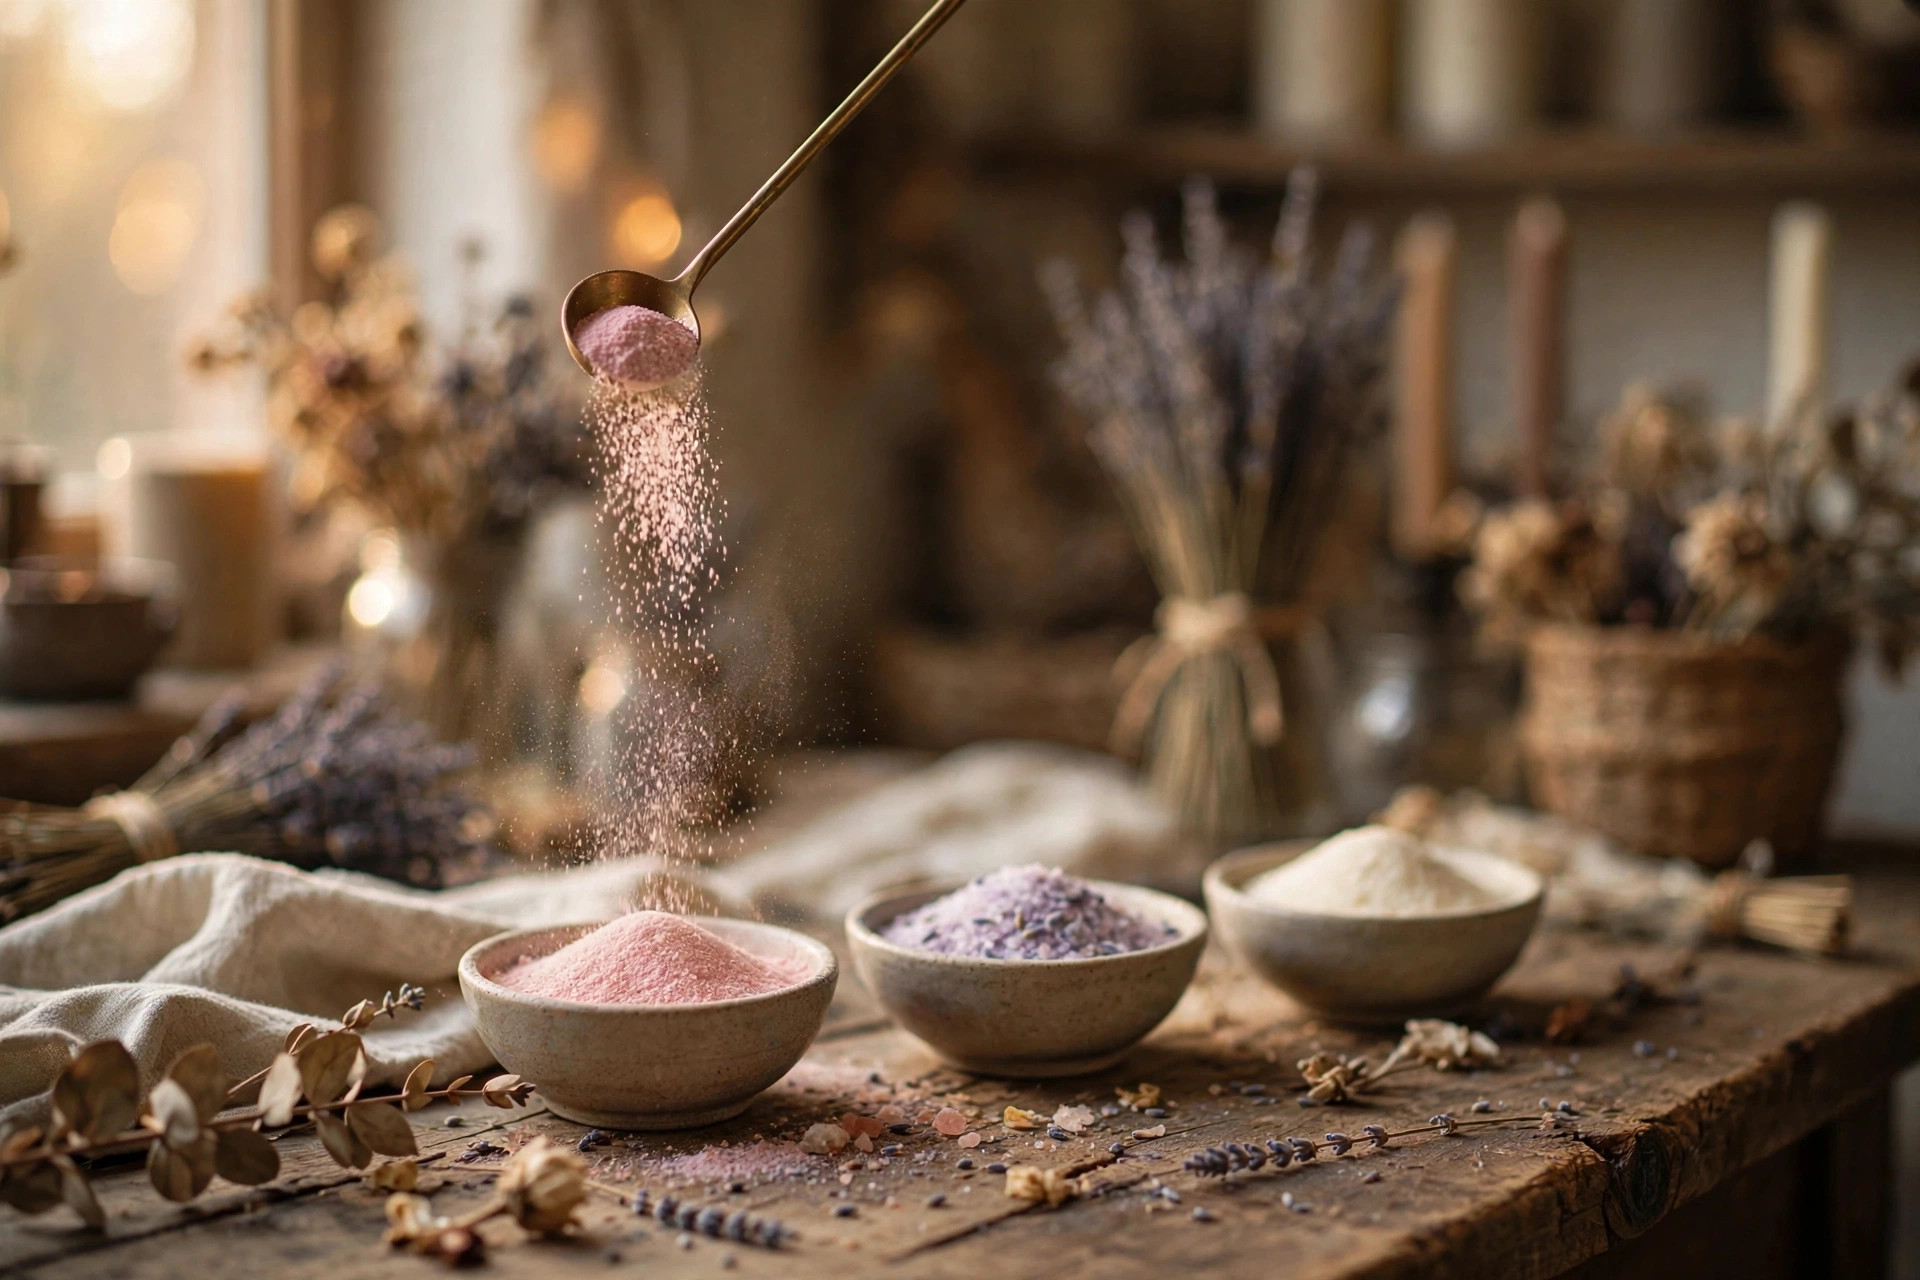
Sprinkle the mica powder over the mix and stir thoroughly until the color is completely even. What you see in the bowl is very close to the finished color in the jar. For a layered look, split the batch into two or three bowls, color each differently, and spoon them into the jar in alternating layers — it looks like sand art and takes an extra two minutes.
Step 5: Jar, label, and store
Spoon the finished salts into clean, completely dry jars and seal them tight. Moisture is the enemy — even a little humidity turns the salts into a solid brick over time. Store in a cool, dry spot (not the steamy bathroom shelf) and they’ll stay loose and fragrant for about six months. Label each jar with the scent, the date, and the ingredients — especially if you’re gifting.
What to do when something looks wrong
Clumping or hardening in the jar. Moisture got in — a damp spoon, a steamy storage spot, or a lid that didn’t seal. Break up small clumps with a fork; for a solid brick, the batch is still perfectly usable, just less pretty. Prevent it next time with bone-dry jars, tight lids, and storage away from the shower. A food-safe silica packet tucked in the jar helps in humid climates.
Scent fades after a few weeks. Two usual causes: you under-scented (scent perception in the jar is weaker than in hot bathwater, so batches often smell “subtle” before they ever get used — trust the recipe amount), or the jar isn’t airtight and the volatile scent compounds are escaping. Essential oils fade faster than fragrance oils; if longevity matters, fragrance oils blended for body products hold up better.
Oil pooling at the bottom of the jar. Too much oil, or it wasn’t mixed evenly. Stir the batch again to redistribute, and cut back to two tablespoons next time. Pooling oil also means a slicker tub — rinse the jar’s worth with extra care and warn recipients.
Color looks blotchy. The mica went in after the oil, or wasn’t stirred long enough. Always add color to the dry mix before the oil when you can — dry-blended color distributes far more evenly.
Next steps
If you enjoyed the mixing and scenting side of this recipe, our bath bomb tutorial takes the same ingredients into fizzing, molded territory — with the full science of what makes a bomb hold together and actually fizz. And for scent-strength rules across every body product you make, the fragrance usage rates guide explains exactly how much scent is safe for each product type.



