How to Make Bath Bombs (That Actually Fizz)
Ask any maker and you’ll hear the same two complaints: the bath bombs fall apart, or they sink to the bottom of the tub and fizz like a sad whisper. Most tutorials hand you a recipe and wish you luck. This one explains the science behind the fizz, the exact texture to look for, and every fix for every way a batch can go wrong — so your first batch turns out like someone who has been making them for years.
Why most bath bomb tutorials fail
A bath bomb is a tiny chemistry experiment you hold in your hand. It only works when three things line up: the right ratio of fizz chemicals, the right amount of liquid (just enough, never too much), and enough pressure in the mold to hold it all together. Most tutorials fail because they gloss over all three. They tell you to “add water until it feels right” — but if you’ve never made one, what does “right” feel like? And they rarely explain that the fizz reaction starts the moment your dry mix meets water, so every drop you add during mixing is fizz you are spending before the bomb ever reaches a tub.
This tutorial is built differently. You’ll learn why each step matters, what the mix should look and feel like at each stage, and how to rescue a batch at every point. Let’s make some that actually fizz.
The science of fizz
The fizz comes from two ingredients: baking soda (a base) and citric acid (an acid). Kept dry, they sit side by side peacefully for months. The moment water touches them, they react — releasing carbon dioxide bubbles, which is the fizz you see. A standard, well-tested ratio is 2 parts baking soda to 1 part citric acid by weight. That ratio gives you a vigorous, satisfying fizz without leaving excess unreacted powder.
Two things quietly kill fizz, and most failed batches come down to one of them:
Too much oil. Carrier oils and melted butters coat the baking soda and citric acid particles, forming a thin film that water can’t easily reach. A small amount of oil gives you silky bath water and happy skin. A heavy hand gives you a greasy ball that sinks and barely bubbles. The rule: oil is a seasoning, not an ingredient — use small amounts only.
Water during mixing. Every drop of water you add while mixing pre-triggers the fizz reaction right there in the bowl. A little is necessary to get the mix to hold together; too much and the reaction spends itself before you ever mold the bomb. That’s why experienced makers favor fast-evaporating liquids like rubbing alcohol over water — the less liquid reaction time, the more fizz saved for the tub.
Know your ingredients
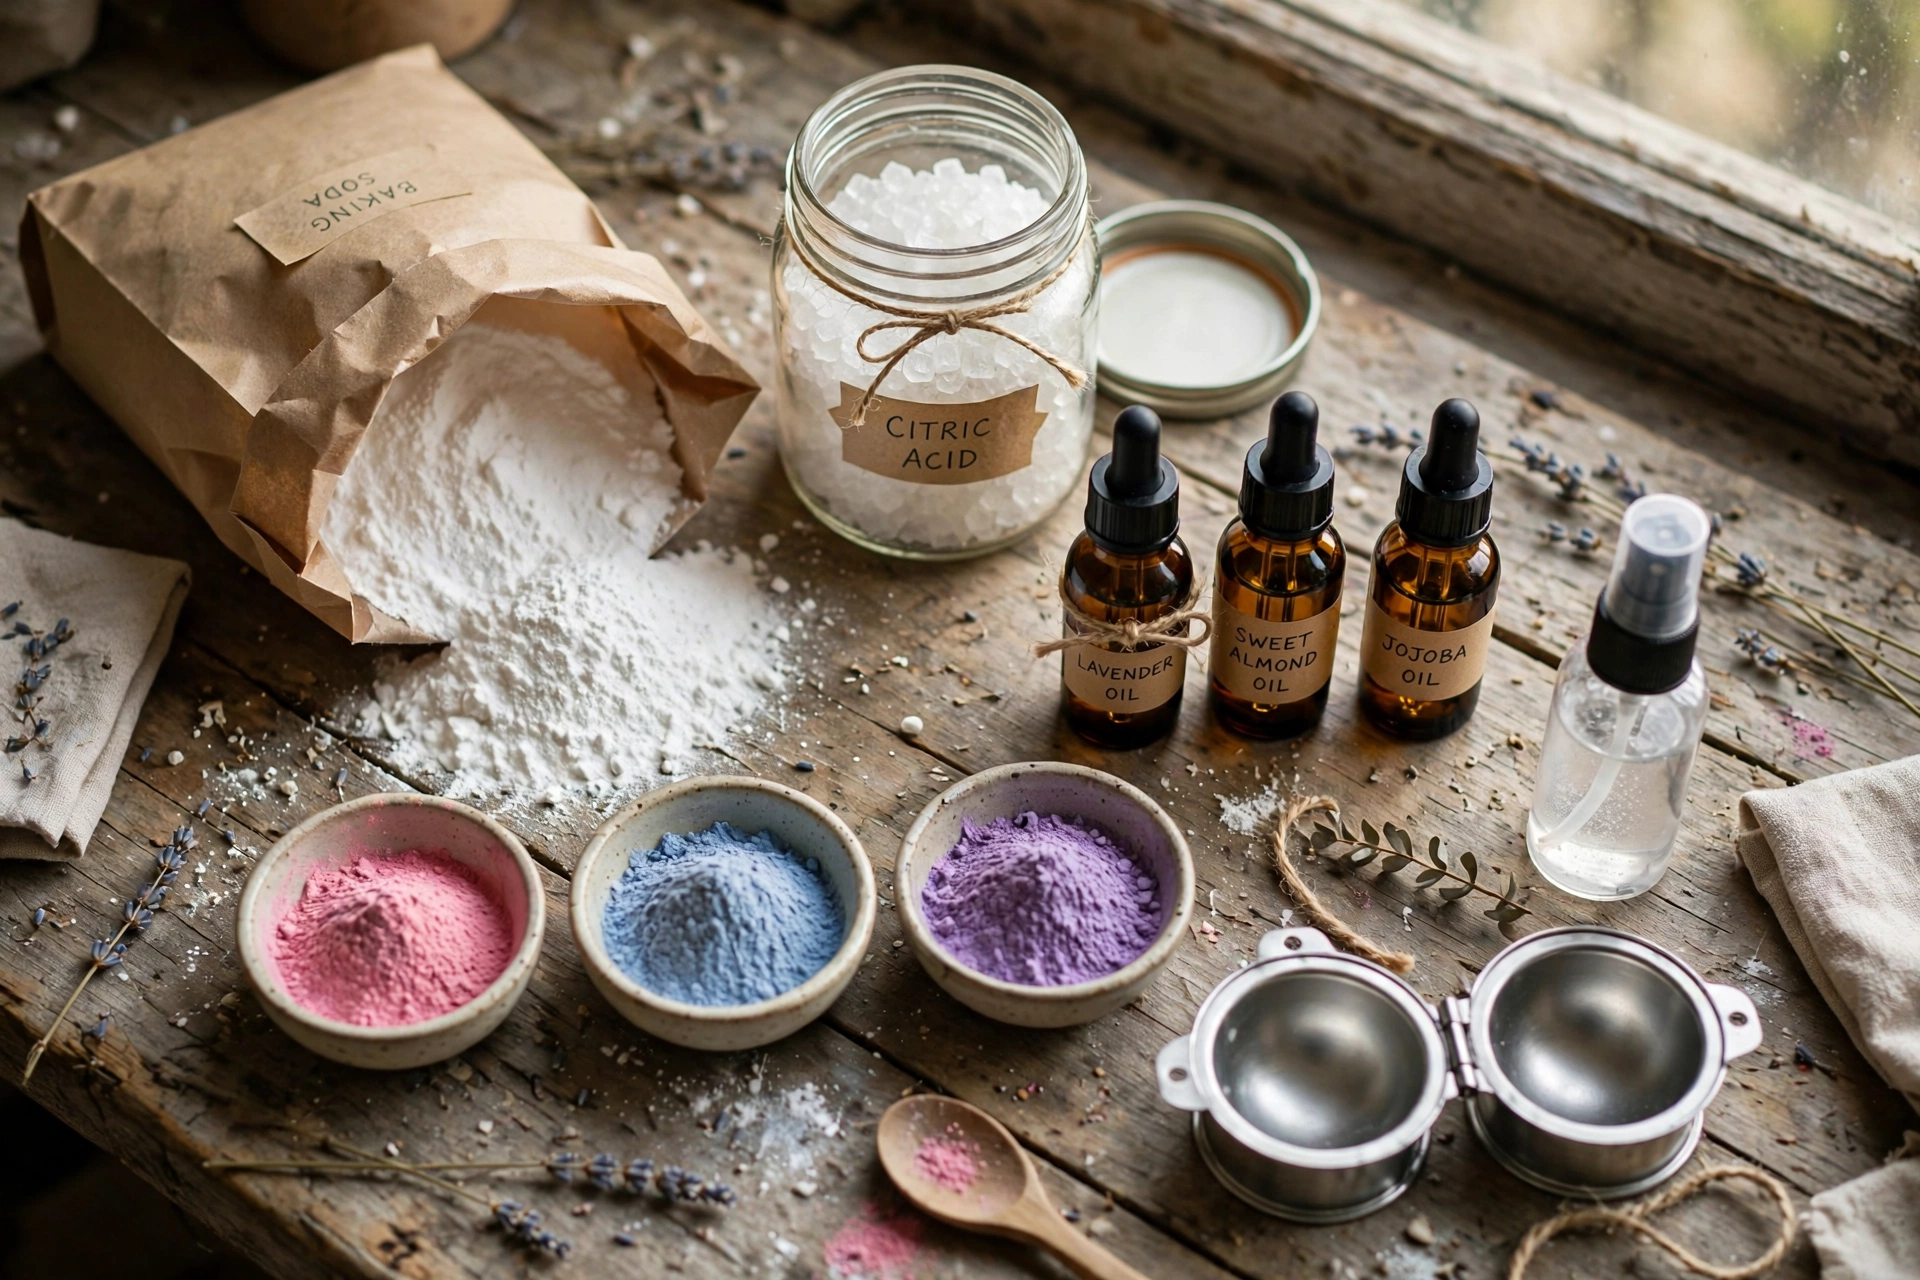
Baking soda. The base of the fizz reaction and the bulk of your bomb. Plain grocery-store baking soda is perfect — nothing fancy needed. Make sure it’s fresh and free-flowing; if the box has been sitting open in the fridge for a year absorbing odors, open a fresh one.
Citric acid. The acid half of the reaction, and the most temperamental ingredient in the bowl. It pulls moisture straight out of the air, and damp citric acid means weak fizz and a shorter shelf life. Store it in an airtight container — sealed jar, zipped bag, whatever keeps the air out — and only open it when you’re ready to mix.
Carrier oils and butters. A little coconut oil, sweet almond oil, or shea butter gives the bath water a silky feel and leaves skin soft. “A little” is the operative phrase — roughly one tablespoon per two cups of dry mix. More oil doesn’t mean more luxury; it means less fizz, a slippery tub, and bombs that never harden properly. Melt solid butters gently and let them cool slightly before adding — hot oil can trigger early fizzing.
SLSA (optional). Sodium lauryl sulfoacetate is a gentle, coconut-derived foaming powder that turns your fizz into foamy, bubble-bath-style froth. A teaspoon or two per batch is plenty. It’s a fine dry powder, so wear a dust mask when measuring it — breathing any fine powder isn’t pleasant.
Kaolin clay (optional). A soft white clay that adds hardness and a smooth, polished feel to finished bombs. A tablespoon or two per batch helps bombs survive shipping and gift bags. It also slightly mutes bright colors, so add a touch more colorant if you’re using it.
Cornstarch (optional filler). Slows the fizz reaction down a little, which actually stretches the fizzing show in the tub — and it makes the water feel silky. A couple of tablespoons per batch. It’s the cheapest ingredient in the bowl and completely optional.
Colorants: an honest breakdown
Color is where bath bomb tutorials get vague, so here’s the straight story. There are two families, and they do very different things.
Micas are mineral-based shimmer powders. They give beautiful surface color on the finished bomb — swirls, sparkles, that artisan look. But in the bath, mica mostly washes off the surface and settles; the bath water itself gets only a subtle tint. The upside: micas almost never stain tubs. If you’re worried about staining, mica is the safe choice.
Dyes and lakes (bath-safe water-soluble dyes, and lake pigments that dissolve in the oil phase) actually tint the bath water vivid colors. Gorgeous — but here’s the honest part: they can stain tubs, washcloths, and grout, especially dark or saturated shades. If you use them, start light — lighter is always safer — and test your first batch in your own tub so you know what you’re giving away. When gifting or selling, tell people honestly what to expect. Nobody minds a little color; everybody minds a surprise they have to scrub off.
Scents
Use skin-safe fragrance oils or essential oils, at your supplier’s recommended usage rate for leave-on body products — never more. “More scent” is not the goal here; the oil contributes to the greasy-fizz-killer problem, and skin safety matters when someone soaks in it. Measure with a small spoon or pipette rather than free-pouring from the bottle. If you want your bombs to smell stronger in the tub, make the scent blend pleasant rather than strong — scent perception in warm bathwater is powerful on its own.
Binders: witch hazel vs. rubbing alcohol vs. water
The binder is the small amount of liquid you spritz in to make the mix clump and hold. Your choice matters more than most tutorials admit:
91% isopropyl (rubbing) alcohol. The best choice for beginners. It evaporates extremely fast, which means it barely has time to trigger the fizz reaction before it’s gone. Put it in a fine-mist spray bottle and spritz lightly.
Witch hazel. The classic traditional choice, and it works — but it’s mostly water, so it triggers more fizz during mixing than alcohol does. If you use it, spritz very sparingly and work quickly.
Plain water. Technically works, but it’s the riskiest option: every drop starts the reaction immediately. If you use water, use the absolute minimum, work fast, and expect to lose some fizz. For your first batches, stick with 91% rubbing alcohol.
Base recipe (makes 4–6 medium bombs)
- 1 cup (220 g) baking soda
- 1/2 cup (110 g) citric acid
- 1/4 cup (30 g) cornstarch
- 2 tablespoons kaolin clay (optional, for harder bombs)
- 1 teaspoon mica powder for color (or bath-safe dye at your supplier’s rate)
- 1 tablespoon carrier oil or melted butter (coconut, sweet almond, shea — any one)
- 1–2 teaspoons skin-safe fragrance oil or essential oil (at supplier’s usage rate)
- 91% isopropyl alcohol in a fine-mist spray bottle (binder)
You’ll also want: a sieve or sifter, a large mixing bowl, a whisk, a small bowl for the wet ingredients, two-piece round molds (or your clean hands), and a wire rack for drying.
Steps: mixing, molding, drying
1. Sift the dry ingredients
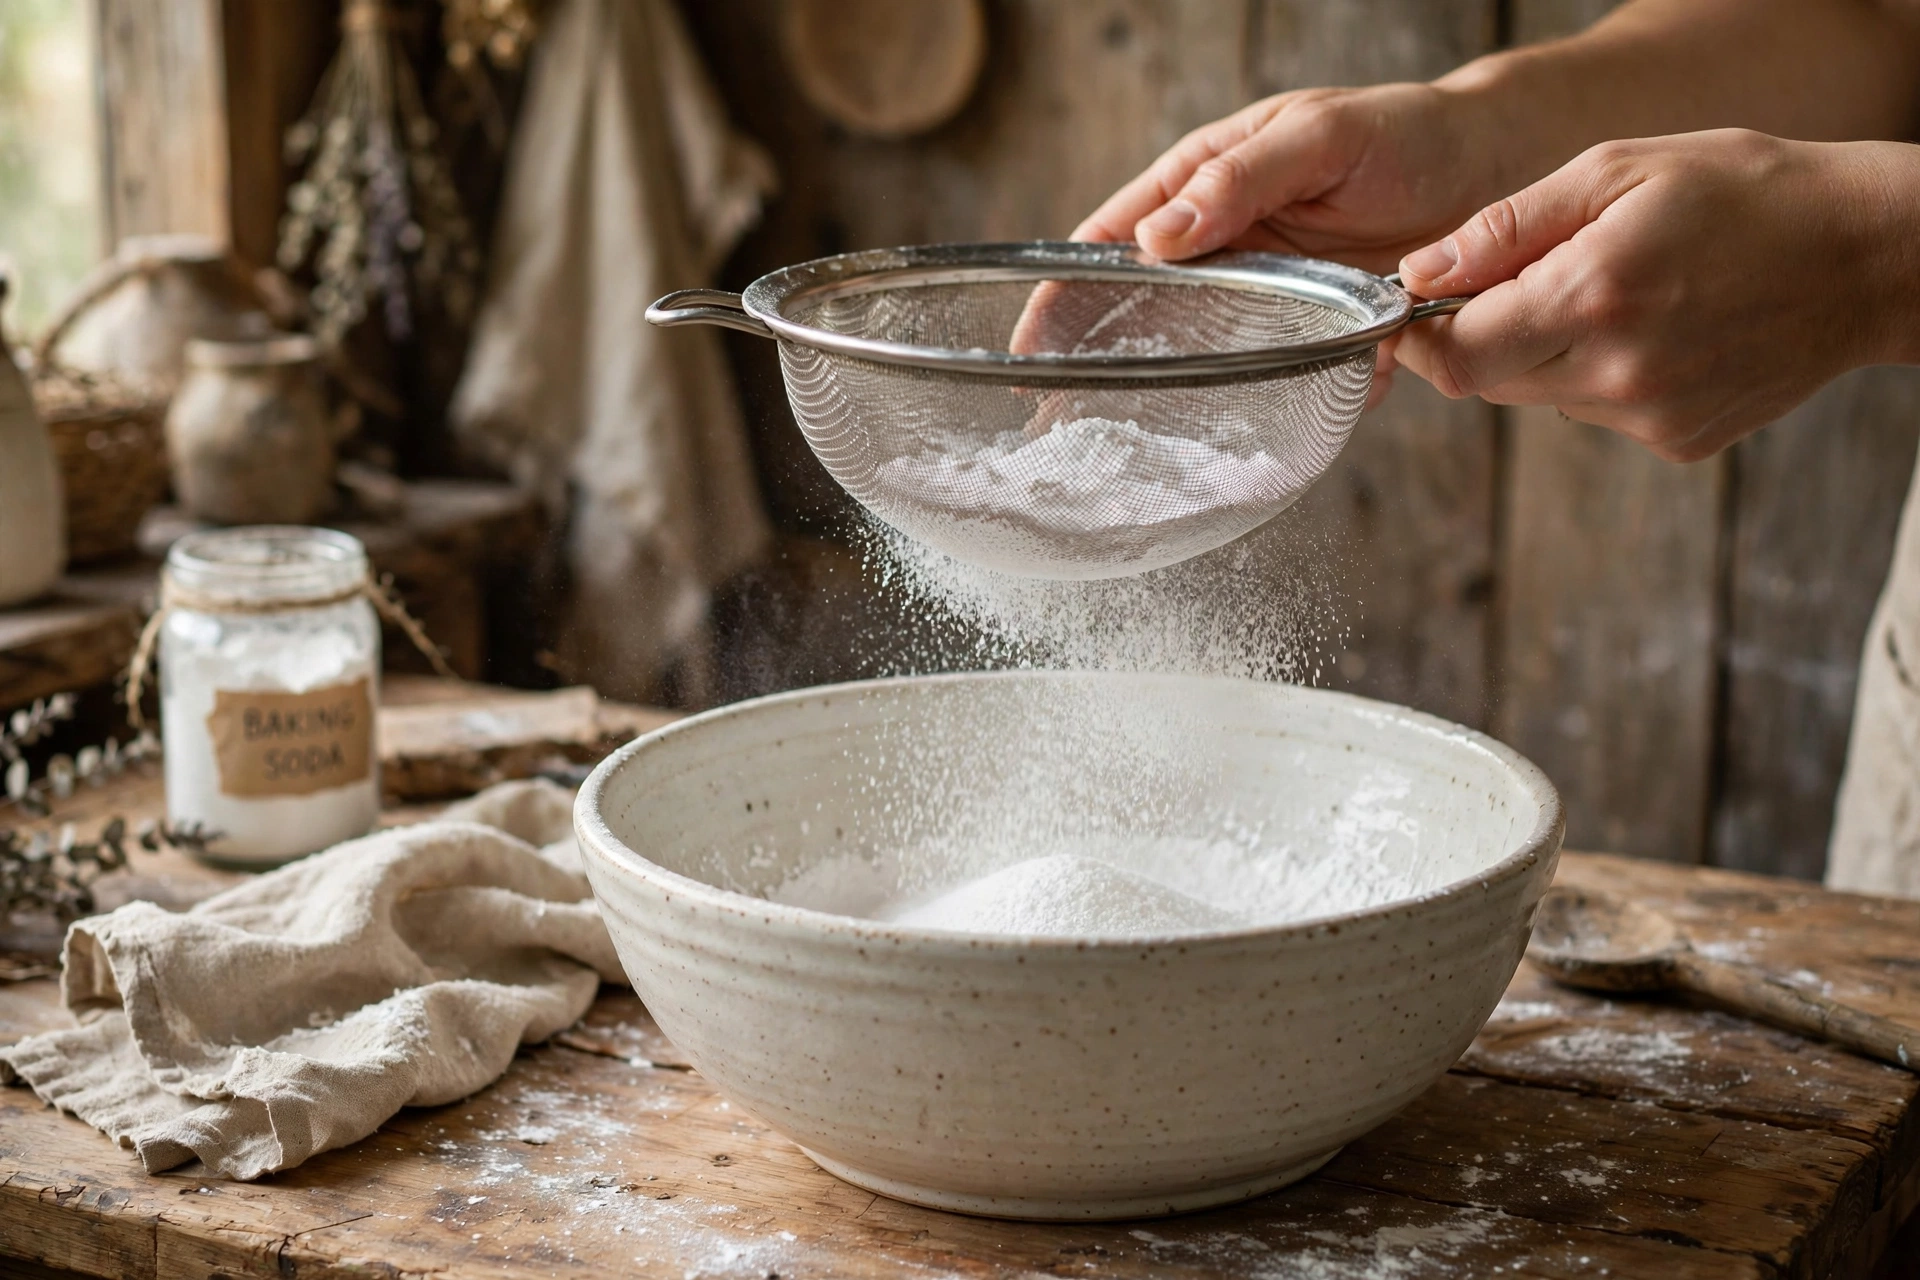
Combine the baking soda, citric acid, cornstarch, and kaolin clay (if using) in a sieve and sift everything into your large mixing bowl. Sifting breaks up lumps and aerates the powder so it blends evenly — unsifted mix leaves white pockets in the finished bomb and uneven fizz.
2. Whisk the color through the dry mix
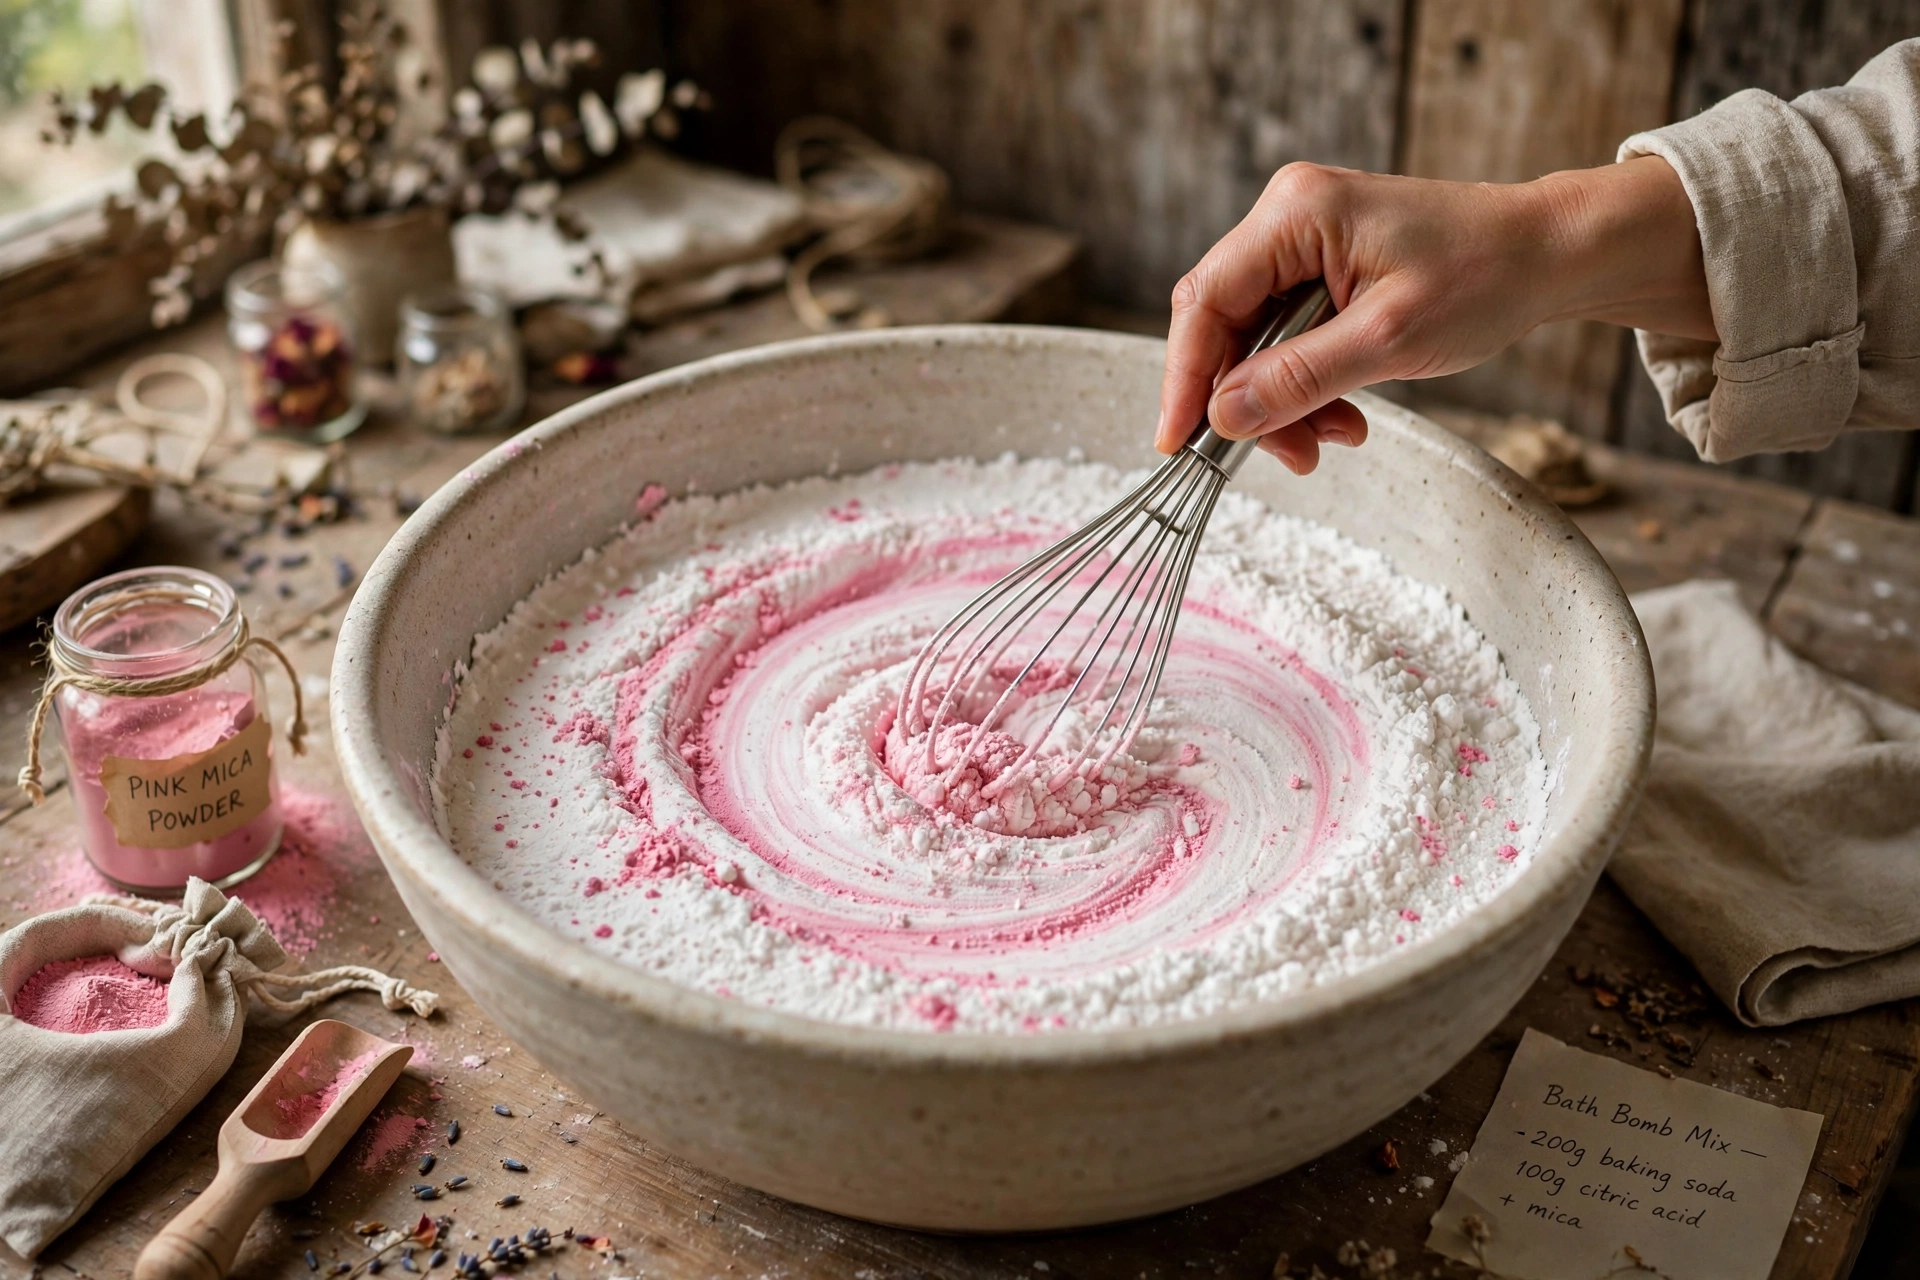
Add your mica (or dye) to the dry mix now, before any liquid appears. Whisk thoroughly until the color is completely even — no streaks, no pale patches. This is the moment to judge your shade: what you see in the bowl is very close to the finished bomb’s color.
3. Combine the wet ingredients separately
In your small bowl, stir together the oil and the fragrance oil until blended. Then drizzle this mixture over the dry ingredients a little at a time, whisking constantly as you pour. The goal is to distribute the oil before it can pool anywhere — pools of oil make greasy spots and dead zones with no fizz. Whisk until the mix looks uniform and there are no dark damp clumps.
4. Spritz the binder and check the wet-sand texture
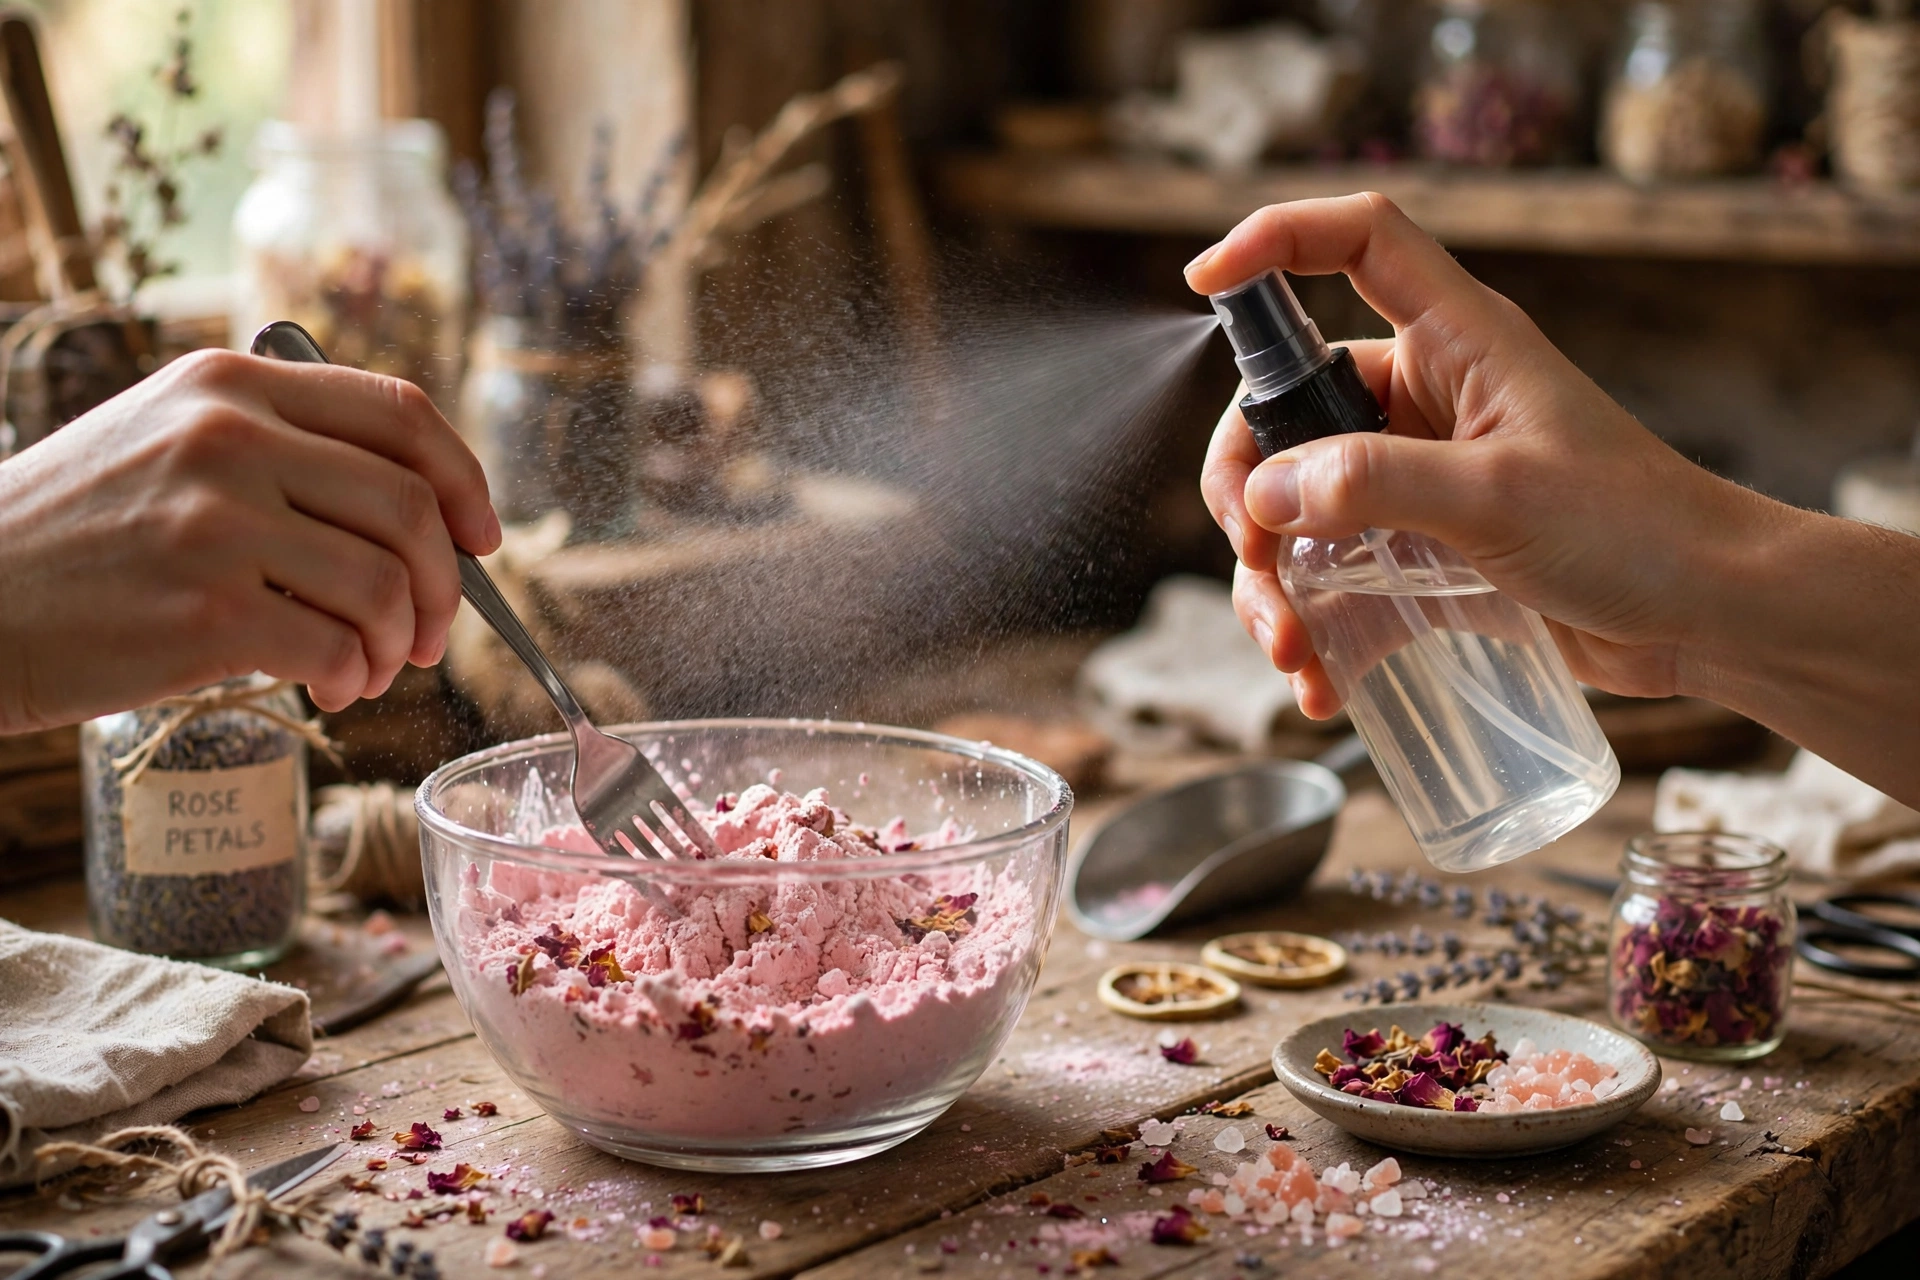
Here’s the critical step. Spritz the rubbing alcohol over the mix — 5 to 10 light spritzes — tossing the mix with a fork between spritzes so no spot gets soaked. Then do the wet-sand test: squeeze a handful of the mix in your fist. It should clump together and hold its shape like wet sand. Press it and it keeps the shape; poke it and it crumbles slightly. That’s perfect.
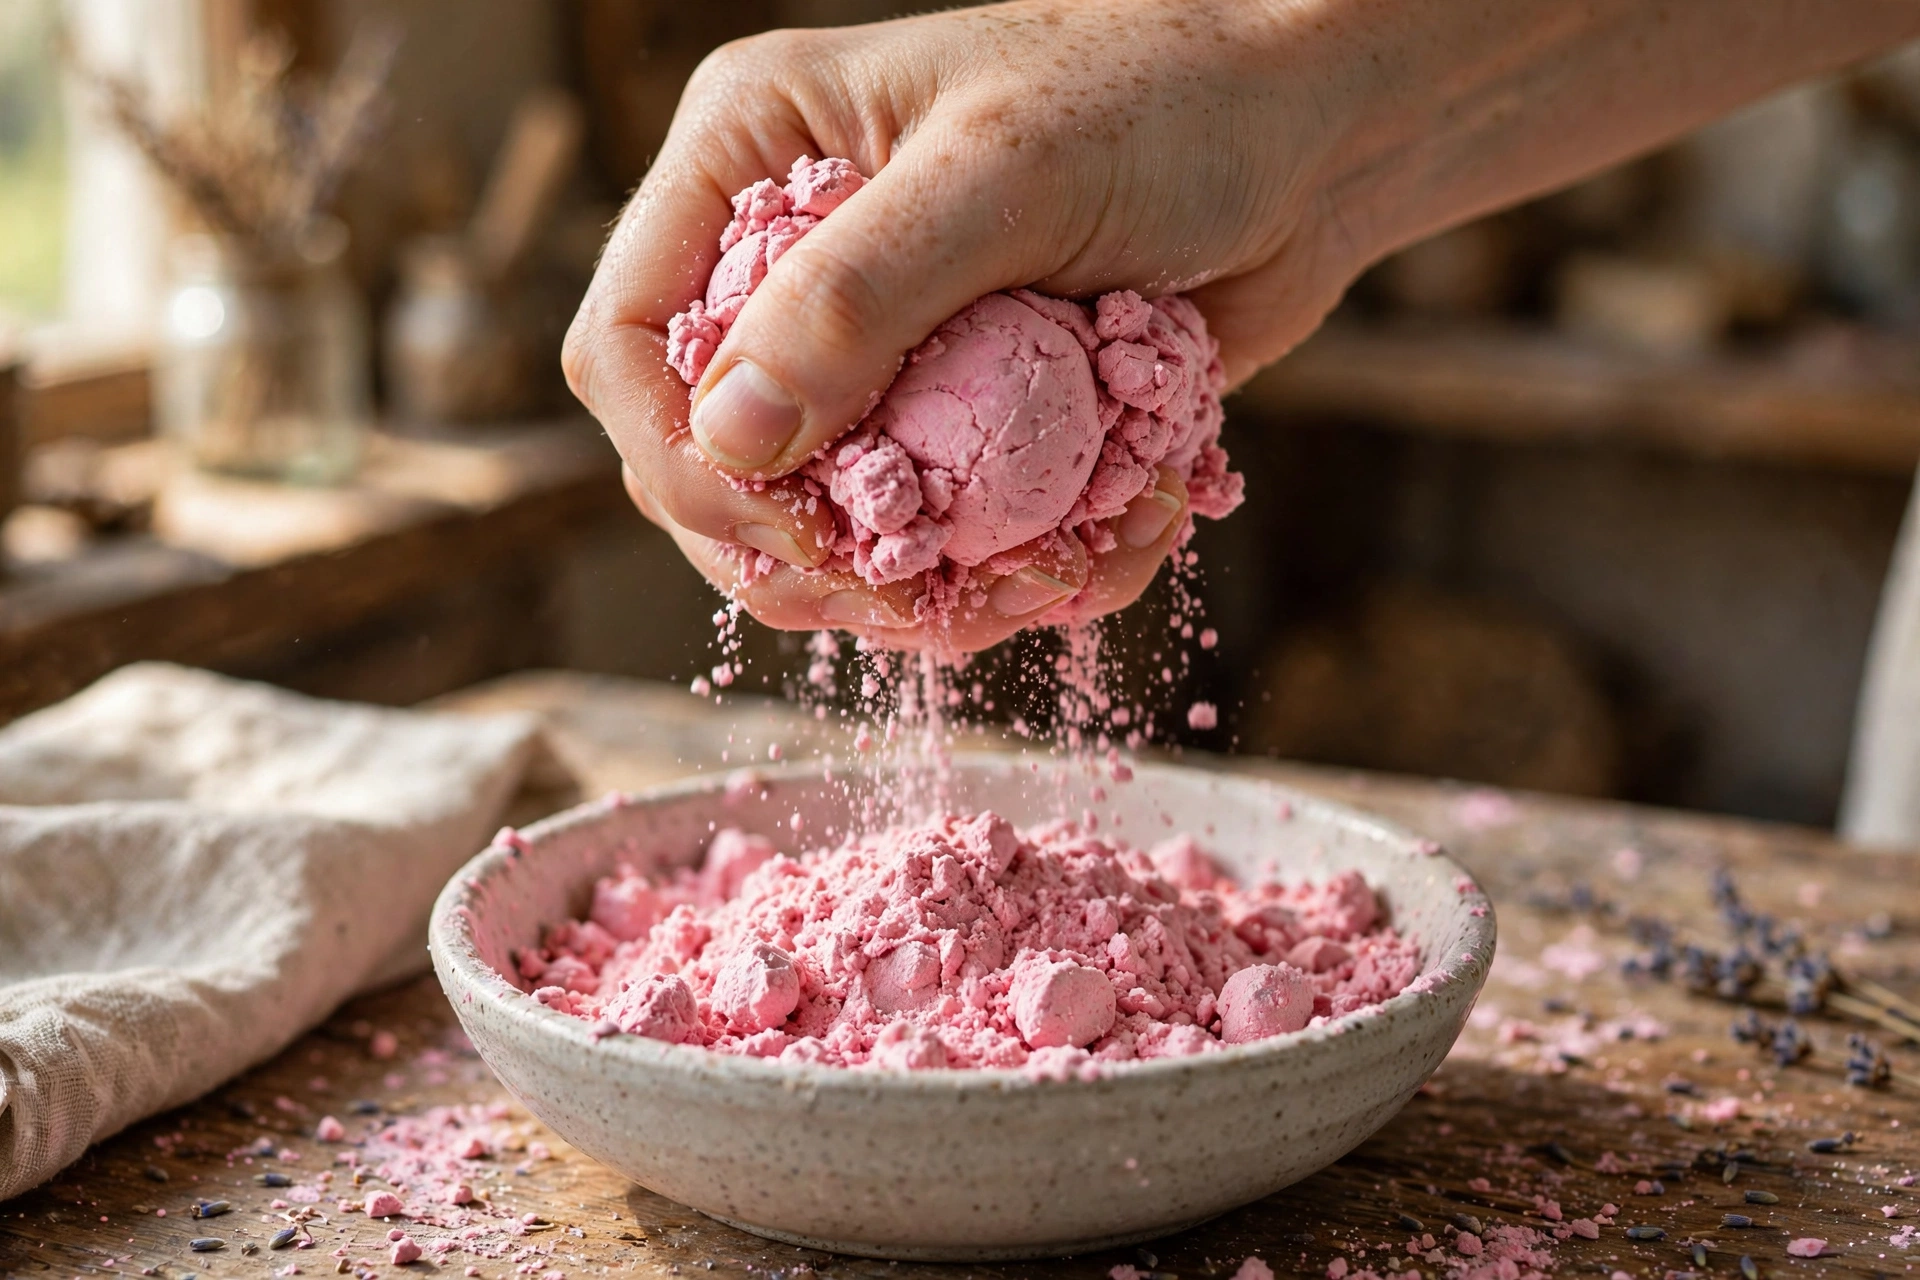
Too crumbly and won’t hold? It needs more spritzing — a few more sprays, toss, and test again. Patience here beats flooding the bowl.
Dripping wet, or fizzing and crackling in the bowl? Too wet — you’ve triggered the reaction early. It can’t be un-triggered, but you can still mold the batch quickly and it’ll make perfectly fine bombs, just with less dramatic fizz. Next batch, spritz less.
5. Press and mold
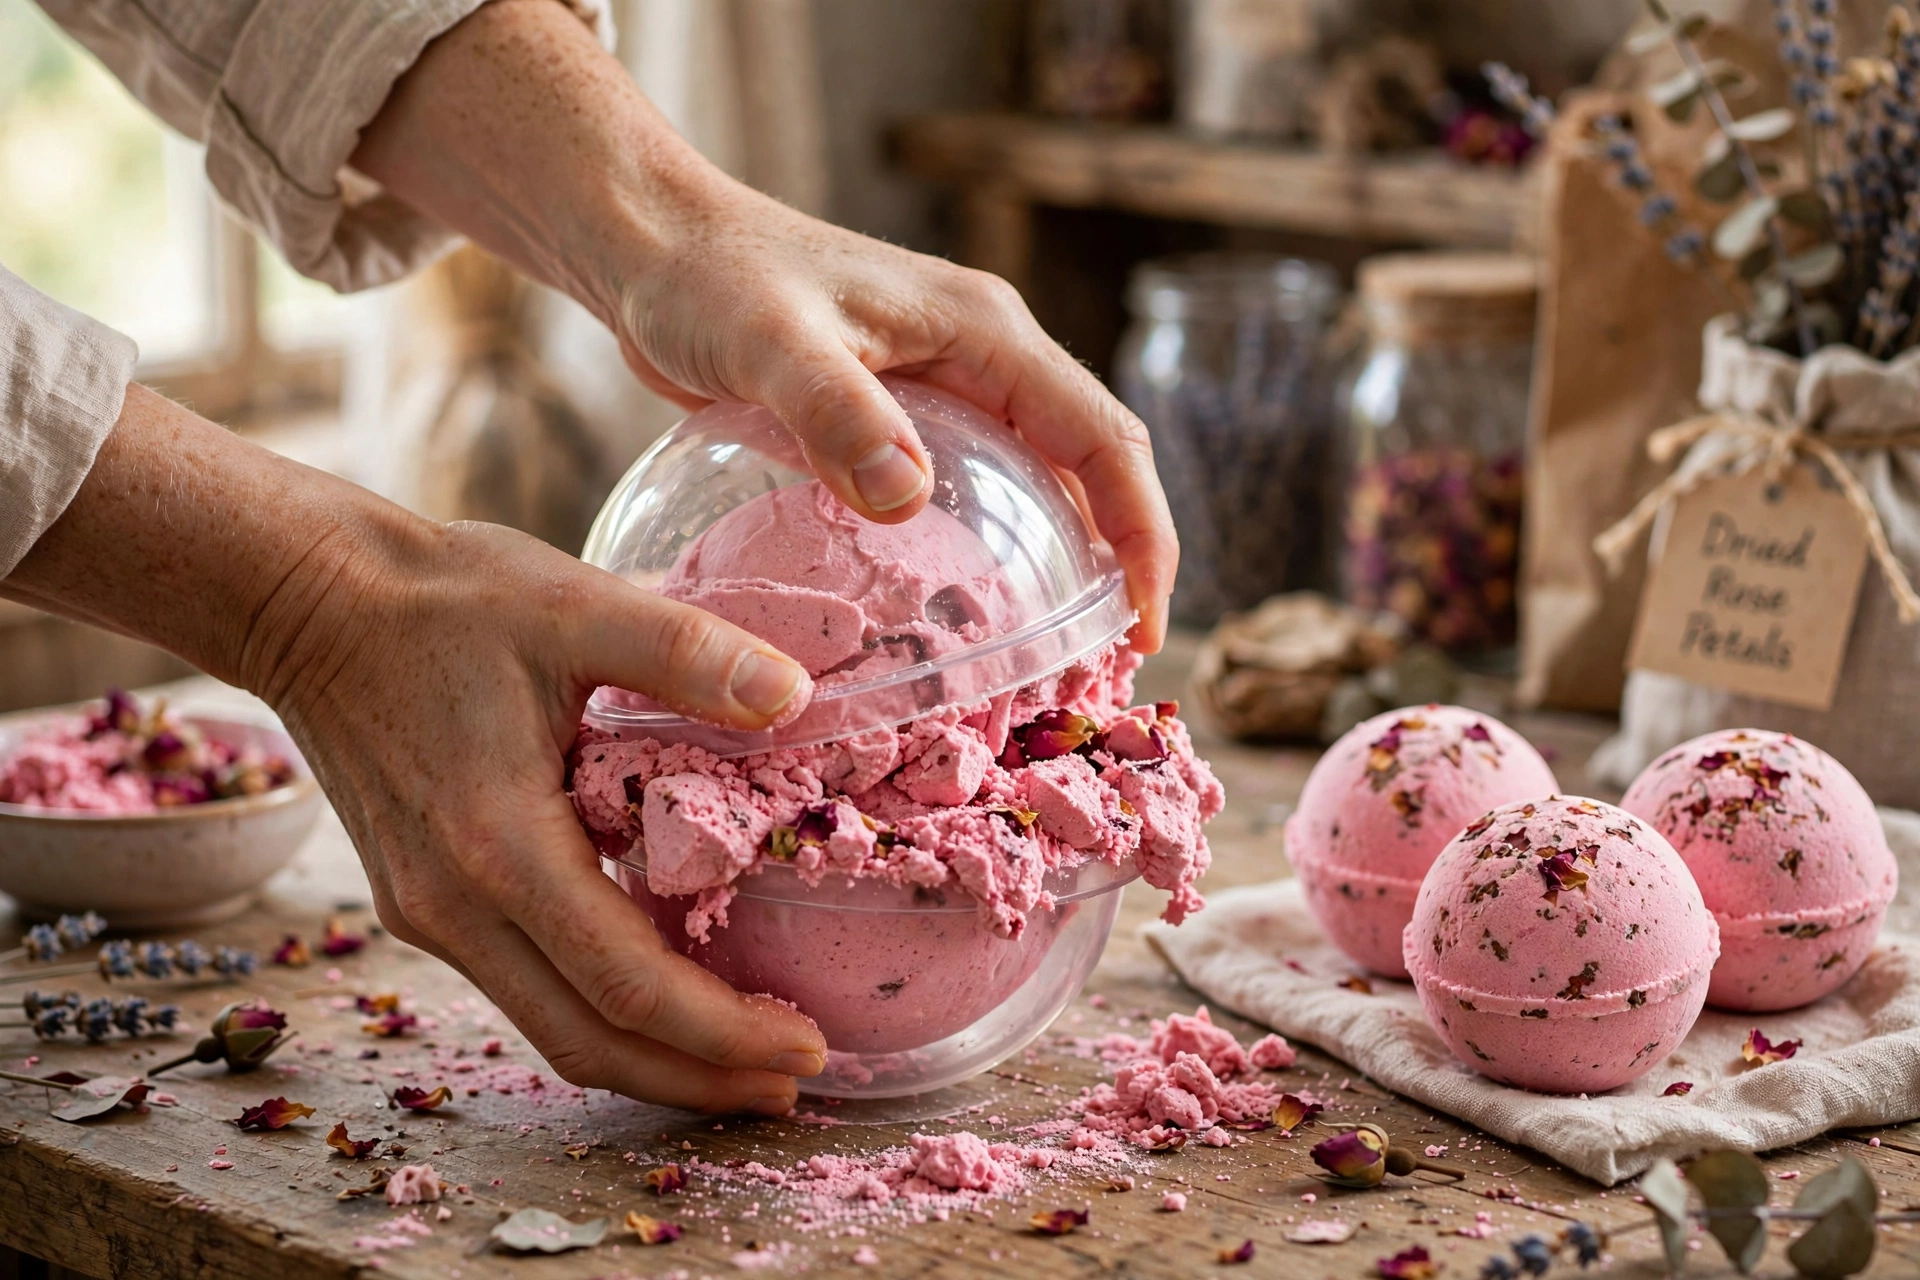
You have two options. Hand-pressed balls: scoop a handful of mix and press it firmly into a tight ball between your palms, compressing hard. Simple, rustic, and great for kids’ batches. Two-piece round molds: overfill both halves — heap the mix above the rim of each — then press the halves firmly together with a slight twist. The overfill is what makes the bomb dense and solid; skimp here and the bomb falls apart later. Tap the outside of the mold gently and lift it off.
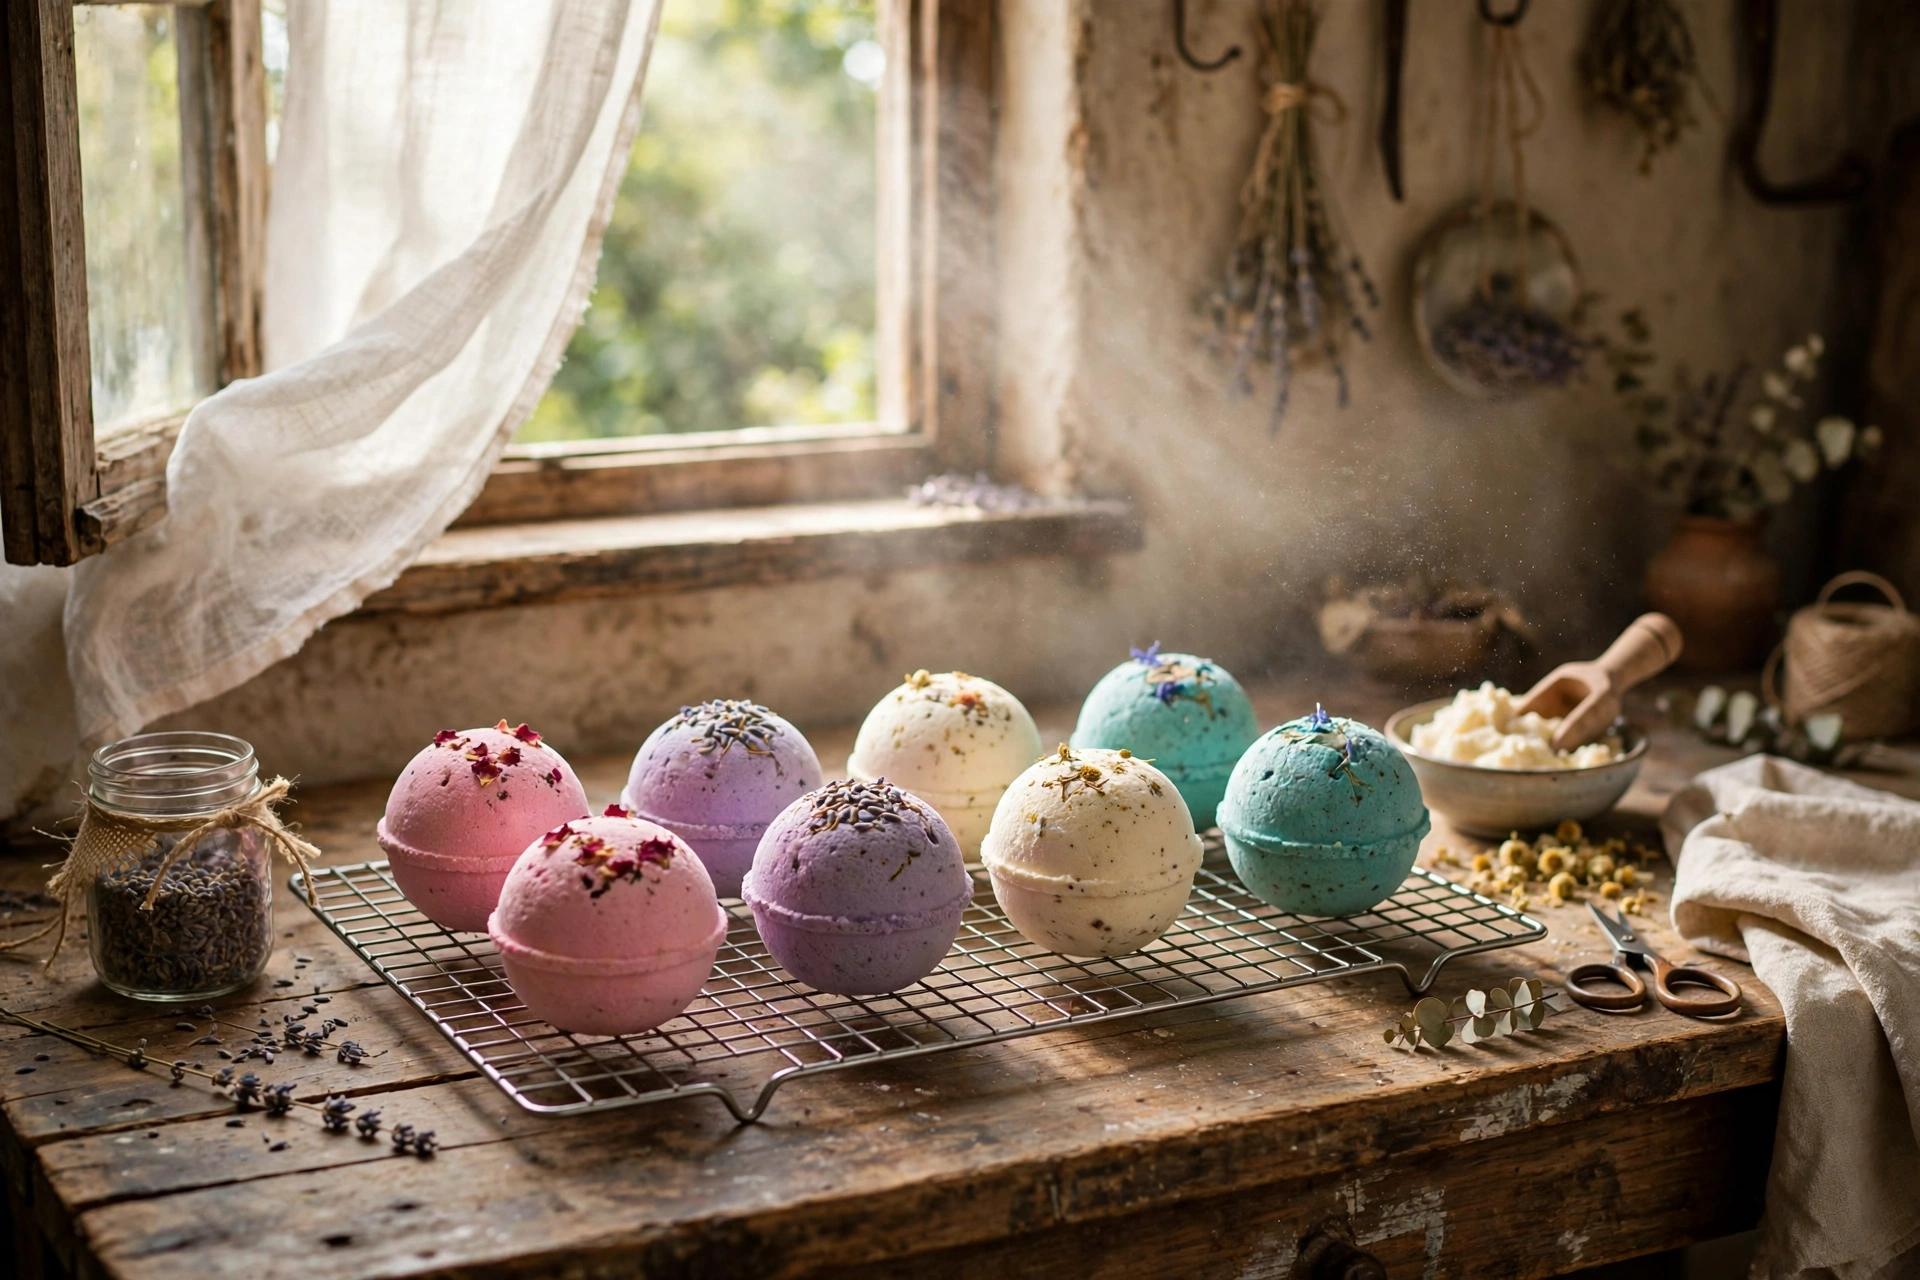
6. Dry 24–48 hours
Set the bombs on a wire rack in a dry spot with good airflow — a spare room, a shelf near (not on) a vent, anywhere dry. Humidity is the enemy of drying bath bombs: moisture in the air gets absorbed by the citric acid and softens the surface, causing crumbling and those wart-like bumps you’ll read about below. If your climate is humid, a dehumidified room or a fan blowing nearby (not directly at) the bombs helps enormously. After 24–48 hours they should feel rock-hard and sound hollow-ish when tapped.
Troubleshooting: every way it can go wrong
Bombs crumble or fall apart (the #1 question). Almost always one of four things: the mix was too dry (you under-spritzed — it must pass the wet-sand test), the molds were under-filled (overfill both halves and press hard with a twist), you kept tossing the mix after spritzing until it loosened up (once it clumps, mold immediately), or you mixed on a humid day (moisture in the air works against you; wait for a dry day or run a dehumidifier).
Bombs don’t fizz in the tub. Check three suspects: too much oil coating the particles (cut back to a tablespoon per batch), old or damp citric acid (it absorbs air moisture — store it airtight and replace if it’s been open for months), or too much water during mixing (every spritz of water pre-triggers the reaction; switch to 91% rubbing alcohol).
Cracking while drying. They dried too fast — usually from heat (a radiator, a sunny windowsill) or a fan blasting directly at them. The outside hardens while the inside is still shrinking, and it splits. Dry them in a dry room-temperature spot with gentle airflow nearby, not aimed at them.
Flat spots on one side. The bomb rested on a flat surface while soft. Dry them on a wire rack, rest them on cupcake liners, or do what many makers do and set them on an egg crate so air circulates all around. Rotate them once halfway through drying.
Wart-like bumps on the surface. That’s the citric acid absorbing humidity from the air and pushing little nodules through the surface. It means the drying spot was too humid — and it means you should wrap the bombs airtight the moment they’re dry, because they’ll keep absorbing moisture sitting out.
Bath water barely tints. You used mica, which mostly colors the bomb’s surface rather than the water. For vivid bath water, switch to a bath-safe dye or lake pigment — and re-read the staining warning above: start light and test in your own tub first.
Tub staining. Too much dye or lake. Cut the amount dramatically, switch to mica for the color, or reserve bold dye colors for bombs you use yourself. And always be honest with gift recipients about what to expect.
Decorative variants
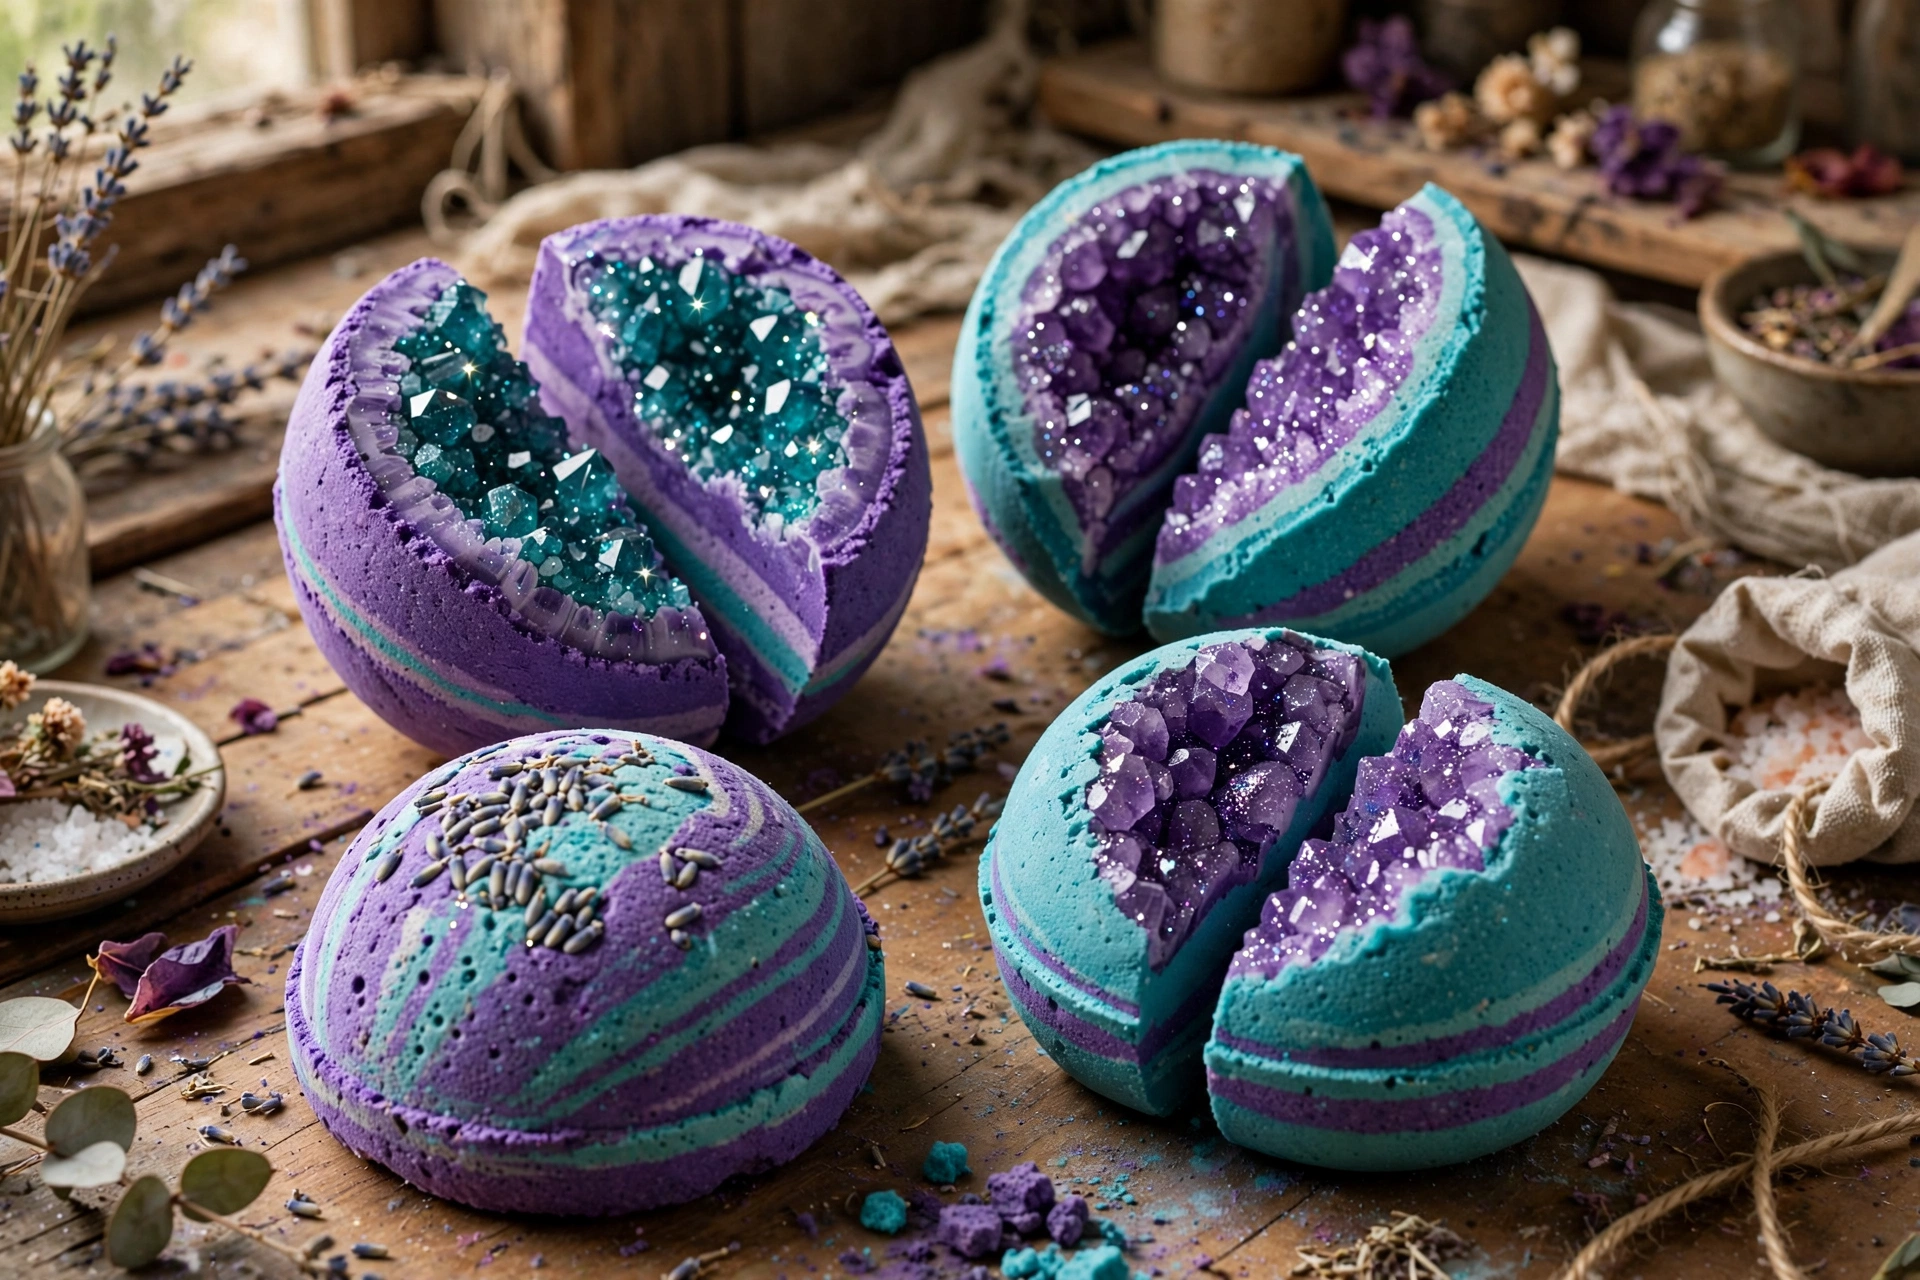
Geode bath bombs. Make two or three batches of mix in different colors (deep purple, teal, and cream is a classic). Press a layer of one color into each mold half, then a layer of another, pressing firmly between layers so they knit together. Before closing the mold, press a cluster of small embeds — little chunks of contrasting-colored mix pressed firmly into nuggets — into the top dome so they look like a crystal cluster. The result looks like a cracked-open geode.
Painted bombs. Let your bombs dry completely first. Mix a pinch of mica with a few drops of rubbing alcohol to make a thin “paint,” and brush designs — swirls, dots, constellations — onto the dry surface with a small food-safe brush. The alcohol evaporates in seconds, leaving the mica design behind. Seal painted bombs in airtight wrap promptly; the paint layer is delicate until protected.
For more soap-side decoration and fix-it techniques, see our soap troubleshooting guide.
Packaging and storage for gifting
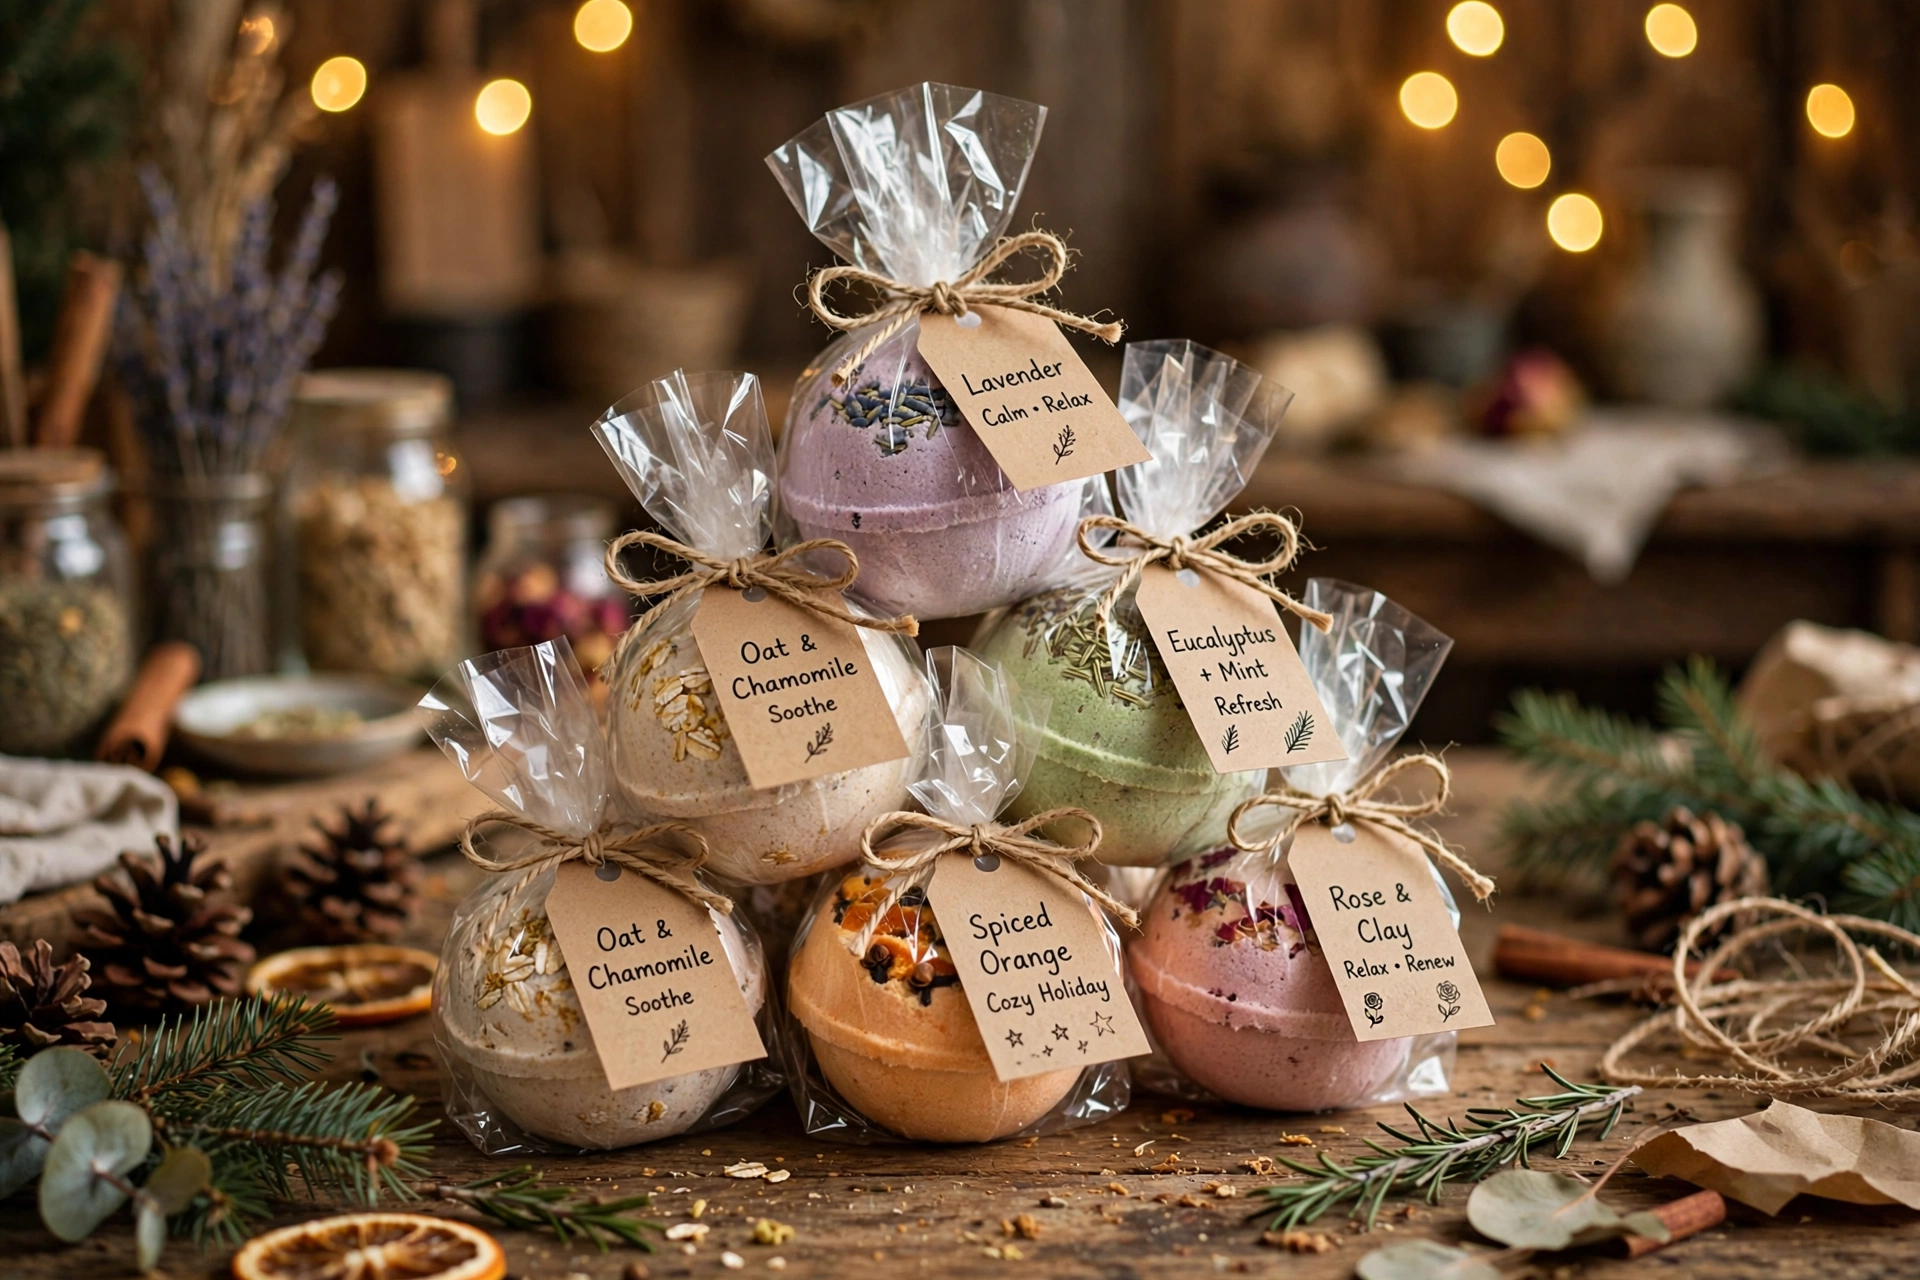
Bath bombs are a gift-giving powerhouse — especially in the holiday season — but only if they arrive bone dry and looking the way you made them. The rule is simple: keep them away from air and moisture from the moment they’re dry.
Shrink wrap each bomb individually (a heat gun on low or a hair dryer works) for the most professional look and the best moisture protection. Airtight cello bags tied with ribbon are a close second and easier if you don’t have a heat gun. For gift sets with multiple bombs, tuck in a silica gel packet — the little “do not eat” pouches — to absorb any trapped humidity.
Label honestly. Include the ingredient list, the scent, a “best used within 6 months” note, and — if you used dyes — a gentle heads-up that vivid colors may tint the tub and to rinse after. A kraft tag tied with twine costs pennies and makes a handmade bomb feel like a boutique product.
FAQ
How long do bath bombs last? About 6 months stored dry in airtight packaging. After that the fizz gets weaker as the citric acid slowly absorbs ambient moisture, even sealed. Make holiday gift batches in November, not August.
Can I use the fragrance oils I already have for soap? Yes, as long as they’re skin-safe and you stay at or below your supplier’s recommended usage rate for bath/body products. The same bottle often works for both — just double-check the rate, since soap and bath-bomb limits can differ.
Are they safe for jetted tubs? Be cautious. Oils and butters can leave residue in jets and plumbing, and some tub manufacturers specifically warn against bath additives. Check your tub manufacturer’s guidance first — and when gifting, mention that jetted-tub owners should check theirs.
Can kids use them? Yes with two precautions: do a patch test first (dissolve a small piece in a bowl of warm water and soak a hand for a few minutes), and keep kids’ batches mild — light scent, mica instead of dye, no strong essential oils. Skip glitter entirely for young kids; it gets everywhere and nobody thanks you.
Next steps
Start logging your batches — recipe, humidity, spritz count, results. Our free Soap Batch Record printable works perfectly for bath bombs too: just swap the soap fields for your dry and wet ingredients. And if you’re branching into melt-and-pour or cold process soap next, the soap troubleshooting guide covers every fix you’ll need.