
How to Make Froot Loop Cereal Bowl Candles
A bowl of rainbow cereal loops floating in cold milk — as a candle. This is one of the most eye-catching dessert candles you can make: a real ceramic cereal bowl filled with creamy white “milk” wax, studded with bright handmade wax loops. Shoppers stop, stare, and pick it up at markets. The build has three parts — the loops, the milk, and the assembly — and each one is simpler than it looks. Here’s the full method.
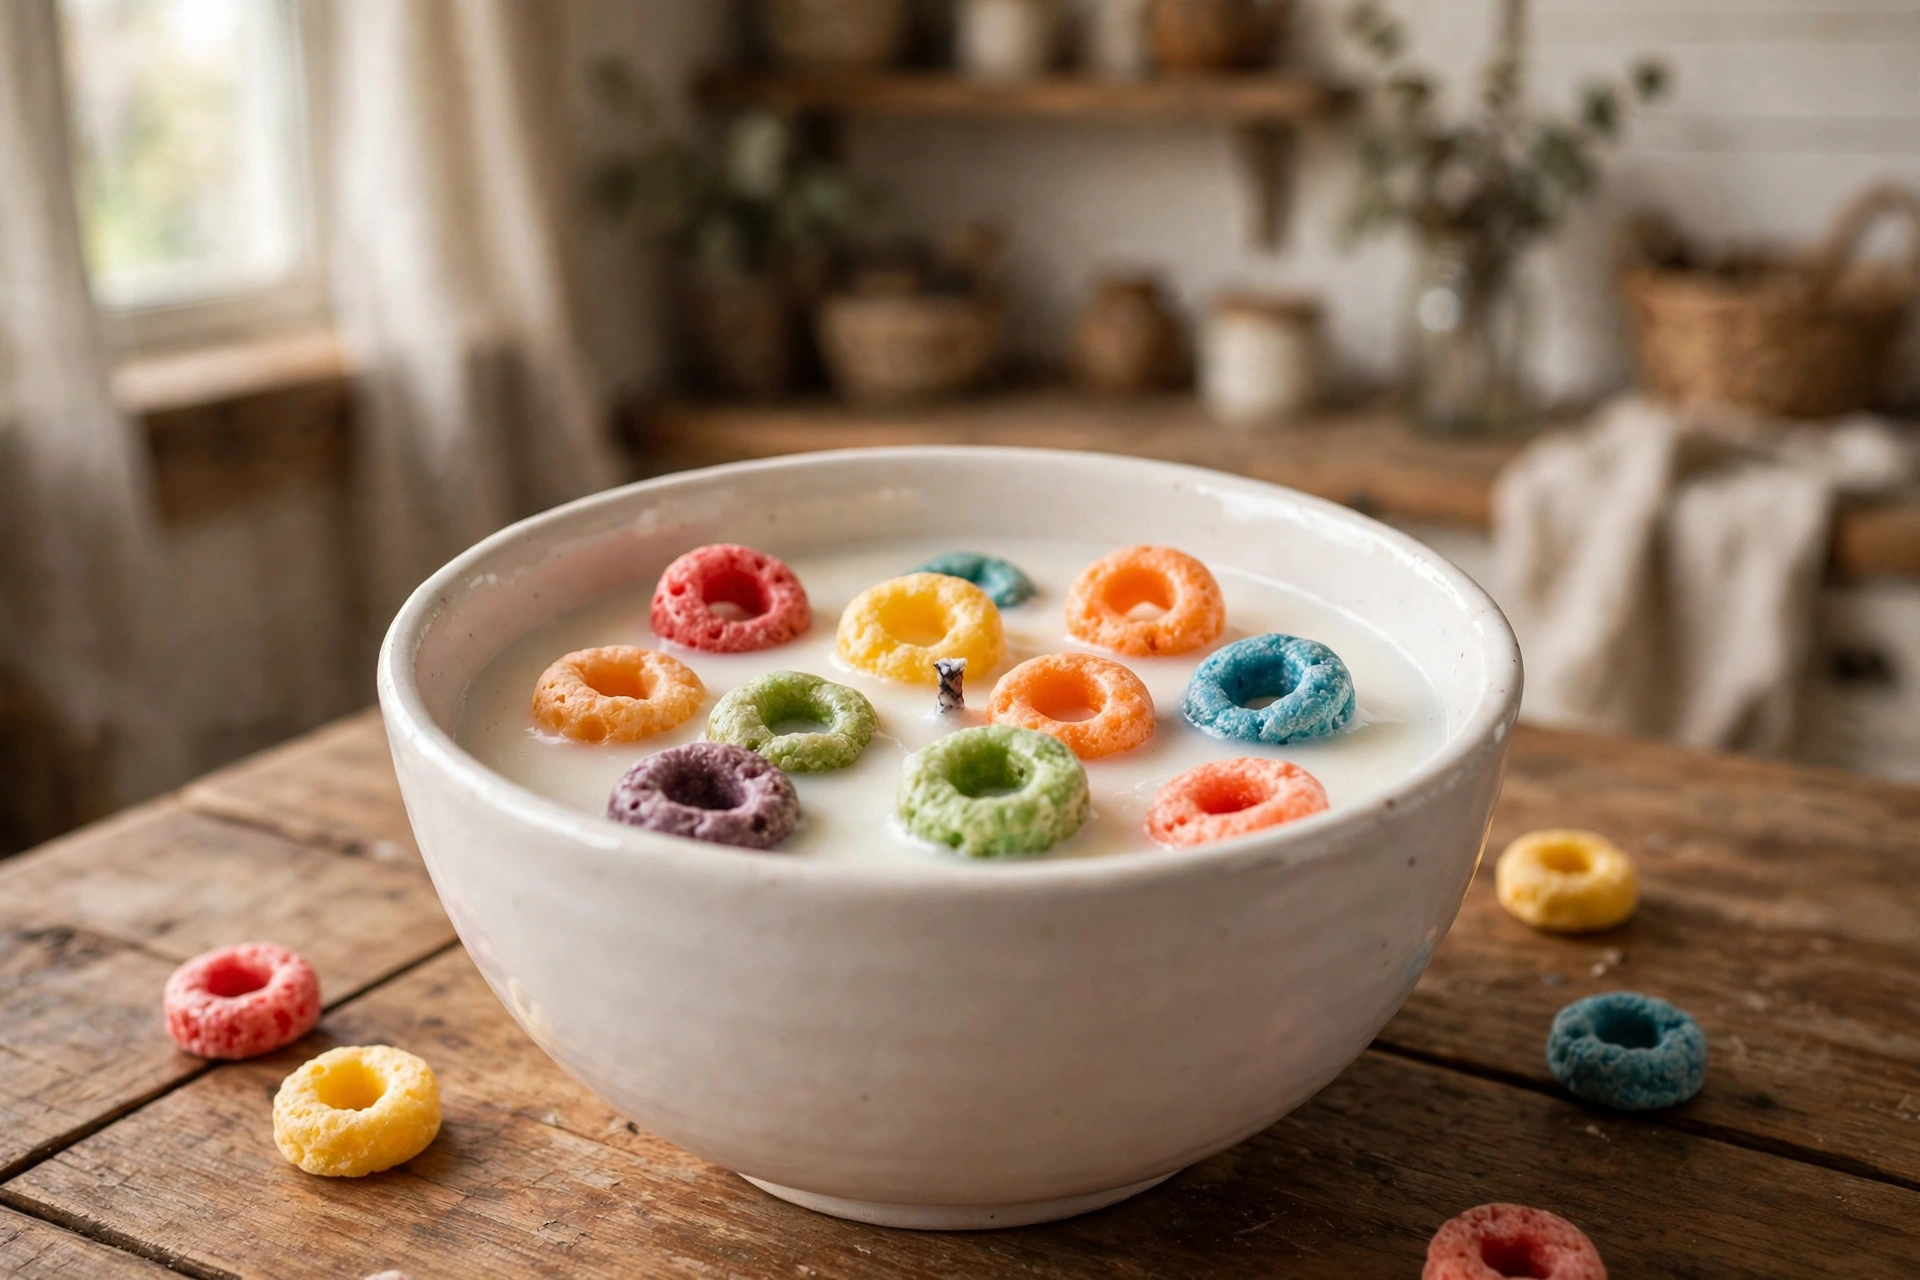
Why a cereal bowl changes the burn
A cereal bowl is a wide, shallow container — typically 4 to 5 inches across but only 2 to 3 inches deep. That shape behaves very differently from a standard jar. The wide surface needs enough heat to melt edge to edge, but the shallow depth means the flame sits close to the wax surface the whole burn, so the melt pool forms fast and runs hot.
Wick by principle, not by recipe. Start from your wick supplier’s sizing chart using the bowl’s inside diameter measured at the wax line. A 4-inch bowl usually wants either one large wick (a wide wood wick looks great here and suits the rustic vibe) or two smaller cotton wicks spaced apart. Shallow bowls are prone to the flame sitting in its own deep melt pool, so wick down if the flame dances or the pool gets deeper than about half an inch — and always run a full test burn before selling or gifting. For the complete method, see our wick selection and test burn tutorial.
What you’ll need
- Ceramic cereal bowl — white, oven-safe, no cracks or crazing (a standard 4–5 inch bowl; white ceramic cereal bowls on Amazon are inexpensive in sets)
- Container wax for the “milk” — a creamy soy container wax gives the most realistic opaque white; about 8–12 oz depending on bowl size
- Harder wax for the loops — pillar wax or paraffin tart wax holds crisp ring shapes (loops made from soft container wax deform when you press them in)
- Candle wick(s) sized to the bowl’s diameter — start from your supplier’s chart and test burn; wood wicks suit this project well
- Wick sticker and wick bar or holder to keep the wick centered and upright
- Fruity cereal fragrance oil made for candles (typical loads run 1–6% of wax weight, within your wax’s rating)
- Liquid candle dye in six bright colors: red, orange, yellow, green, blue, purple — plus white dye or colorant if your “milk” wax needs brightening
- Piping bag with a small round tip or a clean work surface for rolling — for shaping the loops
- Pouring pitcher, clip-on thermometer, and a digital scale
- Parchment paper and a small baking sheet for the loops
- Tweezers for placing loops precisely
- “Do not eat — candle” labels or kraft tags for the finished bowl
Part 1: Make the Froot Loop embeds
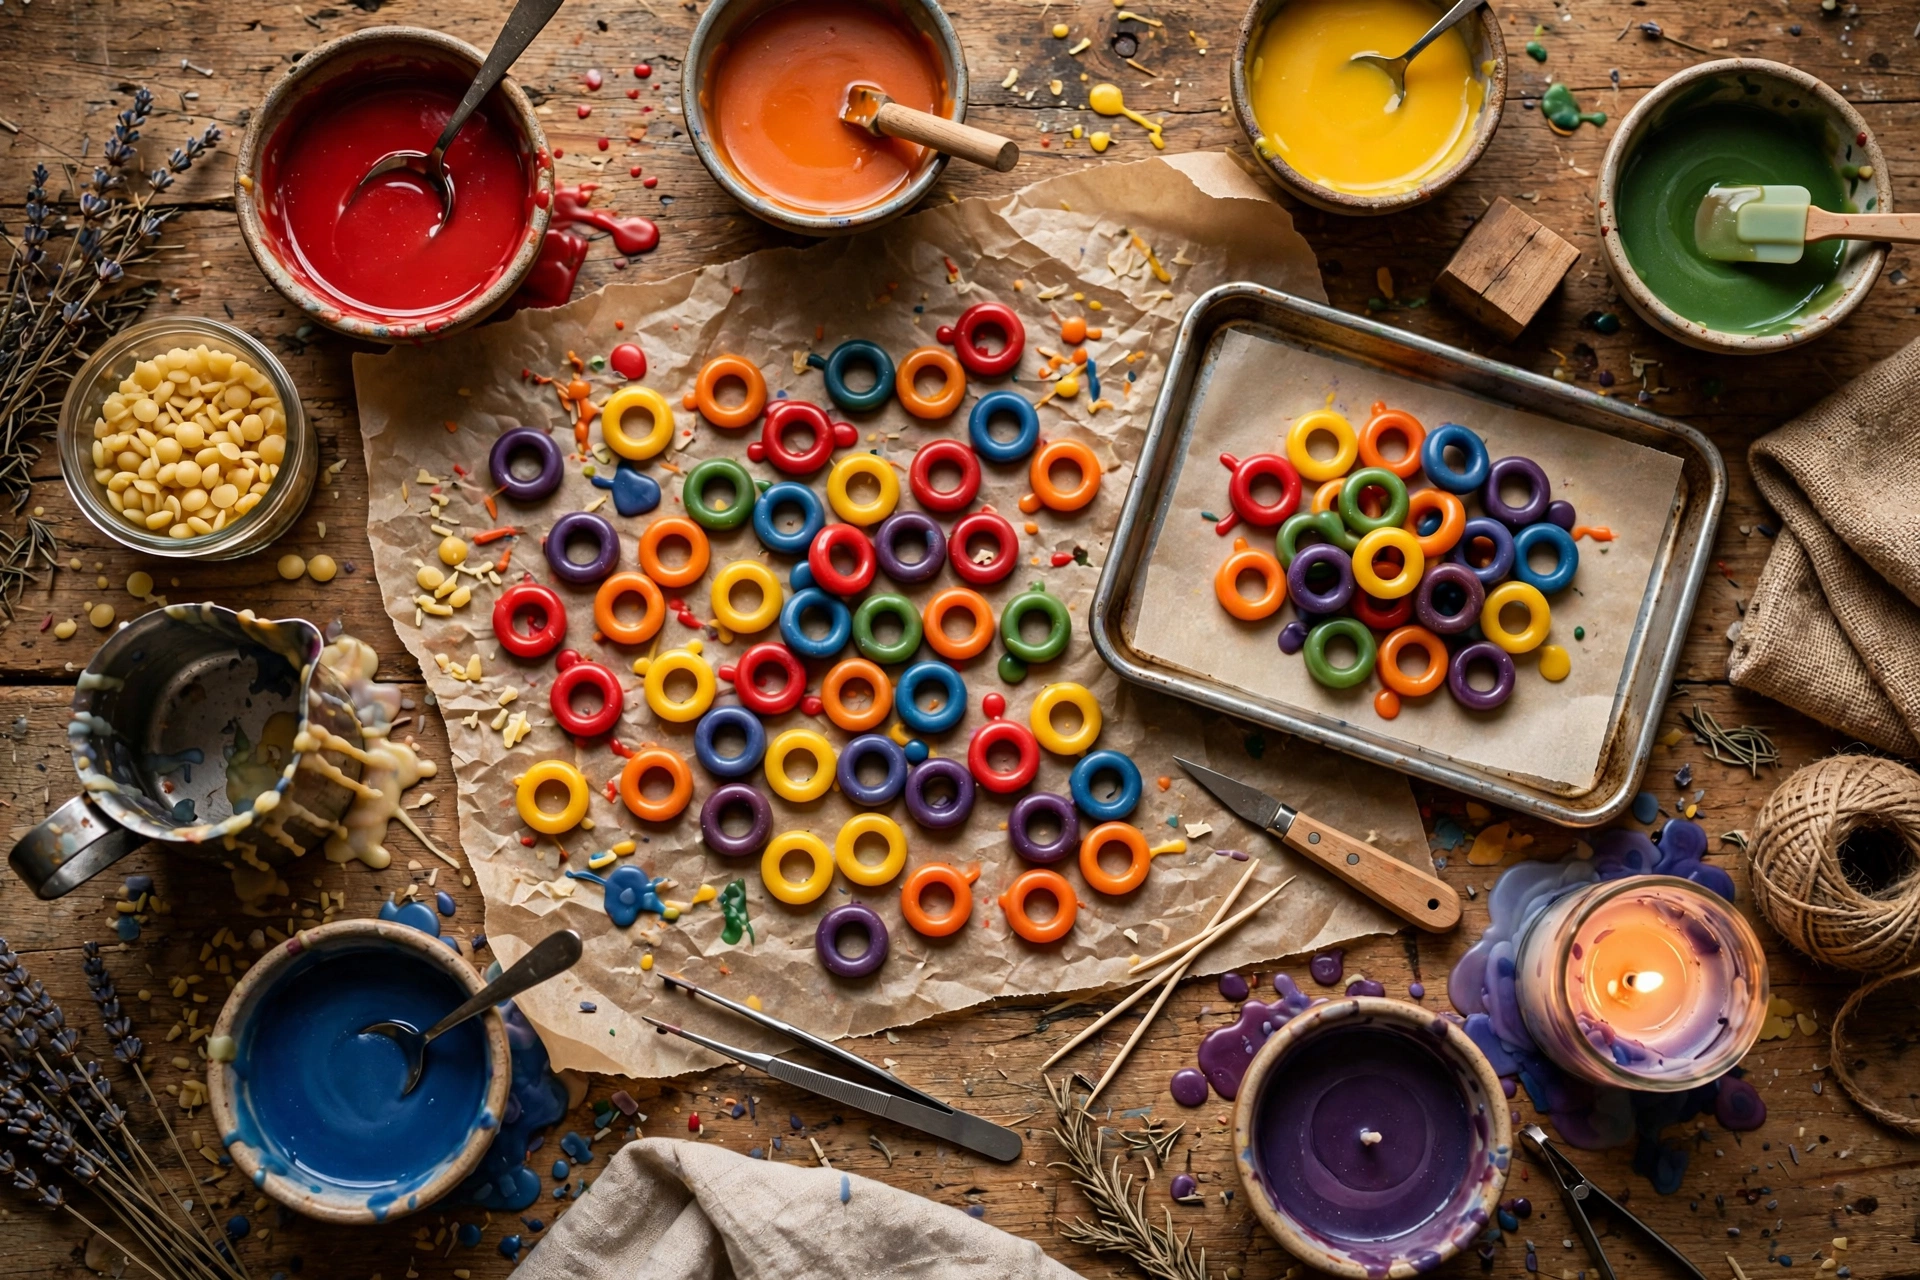
The loops are the star of the show, so make them first — they need to be fully hard before assembly day. Real Froot Loops are about half an inch across; scale yours to roughly 1/2 to 3/4 inch rings so they read correctly against the bowl.
1. Melt and color small batches
Melt your harder loop wax (pillar or tart wax) and split it into six small heat-safe cups — one per color. Add liquid candle dye to each and stir well: red, orange, yellow, green, blue, purple. Go bold — pale loops look washed out next to the white milk. Keep each cup warm (a candle warmer or a low oven works) so the wax stays fluid while you shape.
2. Pipe or roll the rings
You have two good shaping methods — pick whichever feels easier:
Piping (fastest): Load a piping bag fitted with a small round tip, pipe continuous rings about 1/2 to 3/4 inch across onto parchment-lined baking sheets. Let the ends just touch so each ring closes.
Roll and join (most uniform): Let a spoonful of colored wax cool until it’s pliable like clay, roll a thin snake about 1/4 inch thick, then curl it into a ring and pinch the ends together. This gives the most even, cereal-like loops.
Make more than you need — around 15 to 20 loops per bowl. You’ll lose a few to breakage, and extras let you audition the color mix before committing.
3. Harden completely
Leave the loops undisturbed until fully hard and cool to the touch — at least an hour at room temperature. Test one by pressing it gently: it should feel firm with no give. Soft loops will deform when you press them into the warm milk wax later, which ruins the crisp cereal look.
Part 2: Pour the realistic “milk”
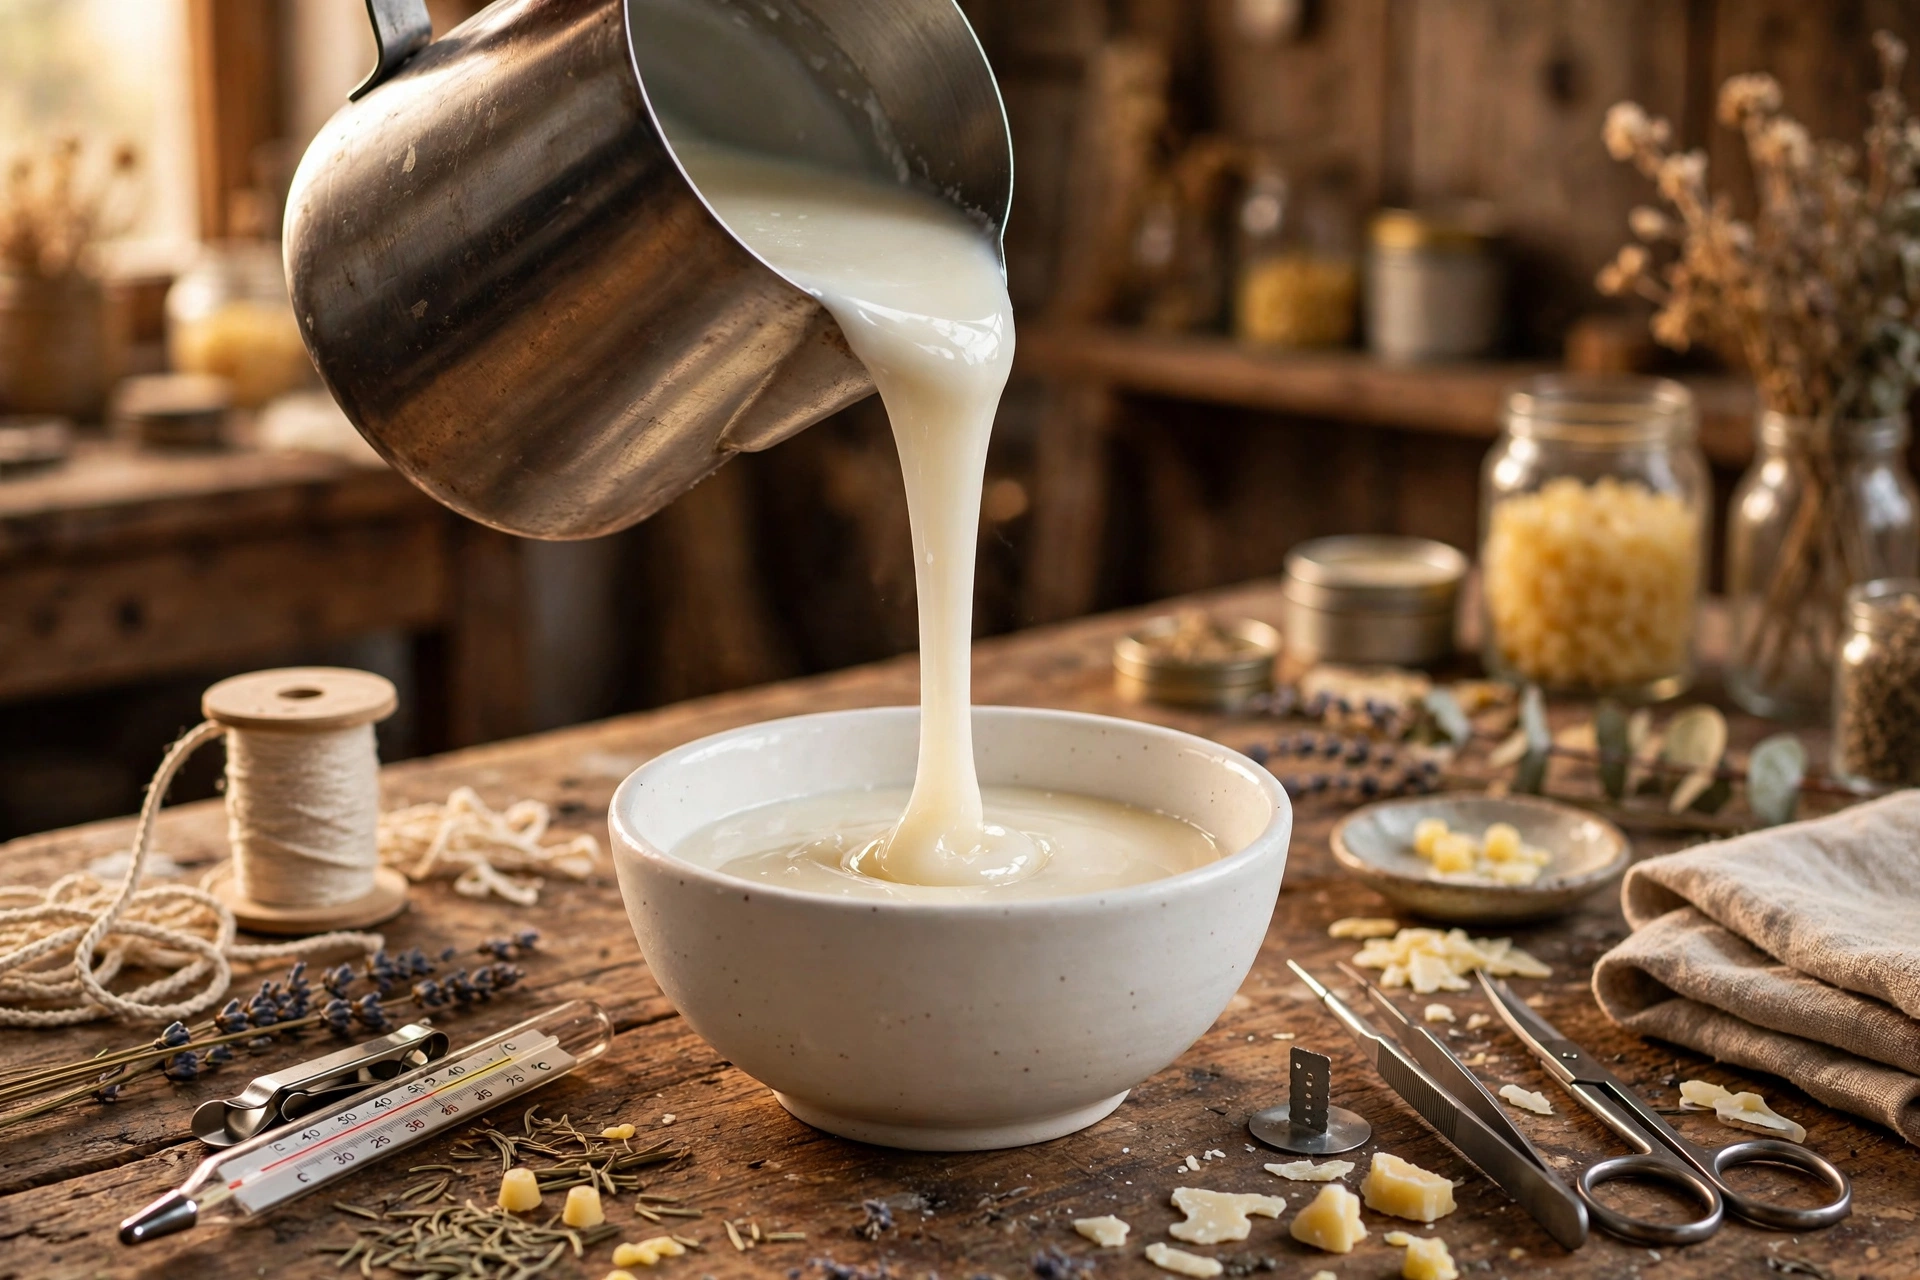
The milk is just container wax poured to a smooth, creamy, opaque white finish. The trick is all in the wax choice and pour temperature — you want it to look like cold milk, not translucent or yellowed.
4. Prep the bowl and set the wick
Wash and thoroughly dry the ceramic bowl — any moisture causes sputtering and poor adhesion. Center your wick with a wick sticker on the bottom of the bowl and hold it upright with a wick bar across the rim. If you’re using two wicks, space them evenly on a centered line, each at least an inch from the bowl wall.
5. Melt, scent, and whiten the milk wax
Melt your soy container wax to about 185°F, then stir in fruity cereal fragrance oil at your wax’s recommended load (most makers use 6–10% for a strong bakery-fruit throw, staying within the wax’s maximum). If your wax sets up more cream or ivory than milk-white, stir in white candle dye now — a bright opaque white is what sells the illusion.
6. Pour at the right temperature
Let the wax cool to around 135–145°F, then pour slowly into the bowl in one steady stream, filling to about half an inch below the rim. Pouring soy too hot gives you a rough, cratered top; pouring in this range gives the smooth creamy surface that looks like milk. Don’t move the bowl while it sets.
Part 3: Assemble the cereal bowl
Timing is everything here. The loops need to sit in the milk — half-submerged like real floating cereal — not sit on top of it like decorations, and not sink out of sight.
7. Place the loops at the right moment
Watch the milk surface as it cools. When a thin skin forms but the wax underneath is still soft — usually 30 to 60 minutes after pouring, depending on room temperature — it’s time. Working quickly with tweezers, press each loop gently into the surface so about half of it sits below the wax line. Vary the colors randomly, tilt a few at angles, and cluster some in pairs like real cereal clumps.
Keep a clear zone around the wick(s): no loops within an inch of any flame. Loops near the wick will melt into the pool on the first burn.
8. Finish, cure, and label
Let the bowl cool completely undisturbed for at least 4 hours, then trim the wick to 1/4 inch. Cure the candle the full recommended time for your wax (typically 7–14 days for soy) before the first burn — scent throw needs the cure even in a novelty candle. Tie on a kraft tag that says “Candle — do not eat” along with the scent name and standard burning instructions.
Tips for maximum realism
| Detail | What sells it |
|---|---|
| Loop colors | Match real cereal: red, orange, yellow, green, blue, purple — all six, saturated and bright |
| Loop size | 1/2 to 3/4 inch rings; oversized loops break the illusion instantly |
| Milk color | Bright opaque white — cream or ivory reads as “old milk” |
| Placement | Half-submerged, random angles, a few touching — never in neat rows |
| Bowl | Plain white ceramic; patterns and colors fight the cereal for attention |
| Wick | Centered and trimmed short so it doesn’t visually dominate the bowl |
Troubleshooting
Loops melting into the milk? The milk was too hot when you placed them, or the loop wax is too soft. Place only after a skin forms, and make loops from hard pillar or tart wax — never soft container wax.
Loops sinking out of sight? You placed them while the wax was still fully liquid. Wait for the skin stage described in step 7 — the surface should dent, not splash, when touched lightly.
Milk surface rough or cratered? Poured too hot, or the bowl was moved during cooling. Repour the top layer, or smooth it with a heat gun on low held 6 inches away, moving constantly.
Colors bleeding between loops? Loops weren’t fully hard when handled, or dye wasn’t fully bound. Let loops harden a full hour minimum, and stir dye thoroughly into fully melted wax.
Wick drowning in the wide bowl? The wick is undersized for the diameter, or loops slumped into the pool. Wick up one step per your supplier’s chart, keep decorations an inch from the flame, and test burn every new bowl size.
Milk looks yellow, not white? Natural soy darkens with some fragrance oils, especially vanilla-heavy ones. Add white dye, or switch to a fruit-forward fragrance without vanilla notes.
Variations
Once the cereal-bowl method is dialed in, the same three-part technique makes a whole breakfast lineup:
Honey Nut Cheerios. Roll loops in warm honey-tan wax instead of bright colors. One color, same ring technique — faster to make and just as convincing.
Cocoa Puffs. Skip the rings: roll small chocolate-brown wax balls instead. Use a cocoa or chocolate fudge fragrance oil and the same white milk base.
Lucky Charms. The advanced version — pipe the classic marshmallow shapes (stars, hearts, moons, clovers) in pastel colors from firm wax and mix them with plain oat-colored rings. Fiddly, but it’s the one people photograph.
Safety first
They look like food. This is the big one: a realistic bowl of colorful cereal in milk will fool a small child — and plenty of adults at a glance. Store and display finished bowls out of children’s reach, never leave one where kids play, and put a “do not eat — this is a candle” note on every label and tag. When photographing them, style with breakfast props only if no children will encounter the photos without context.
Standard candle rules. Trim the wick to 1/4 inch before every burn, never leave a burning candle unattended, keep burns to 4 hours or less, and keep the bowl away from drafts, pets, curtains, and anything flammable. Wide shallow bowls develop their full melt pool fast — don’t walk away during the first hour of the first burn.
Label it right. Every bowl needs a proper warning label with the standard candle burning instructions. Generate a compliant one sized for your packaging with our candle warning label generator.
Packaging
The bowl is the container, so packaging is about protection and presentation. Wrap the finished bowl in clear cellophane and tie it with twine or ribbon — shoppers can see the cereal while the loops stay dust-free and unhandled. Tuck the kraft “do not eat” tag under the twine where it’s impossible to miss. For shipping, nestle the wrapped bowl in packing paper inside a sturdy box with at least two inches of cushioning on all sides; ceramic bowls are heavier than they look and crack if they shift.
Next steps
Want more dessert candles? The whipped wax dessert candle tutorial covers piped frosting swirls, and the milkshake candle tutorial uses the same embed thinking in a tall glass. Every new vessel needs its own burn data — log yours with the free Burn Test Log tool. And since cereal bowls photograph so well, pair them with the fragrance blending tutorial to build custom bakery-fruit scents.



