
How to Make Waffle Candles with Syrup
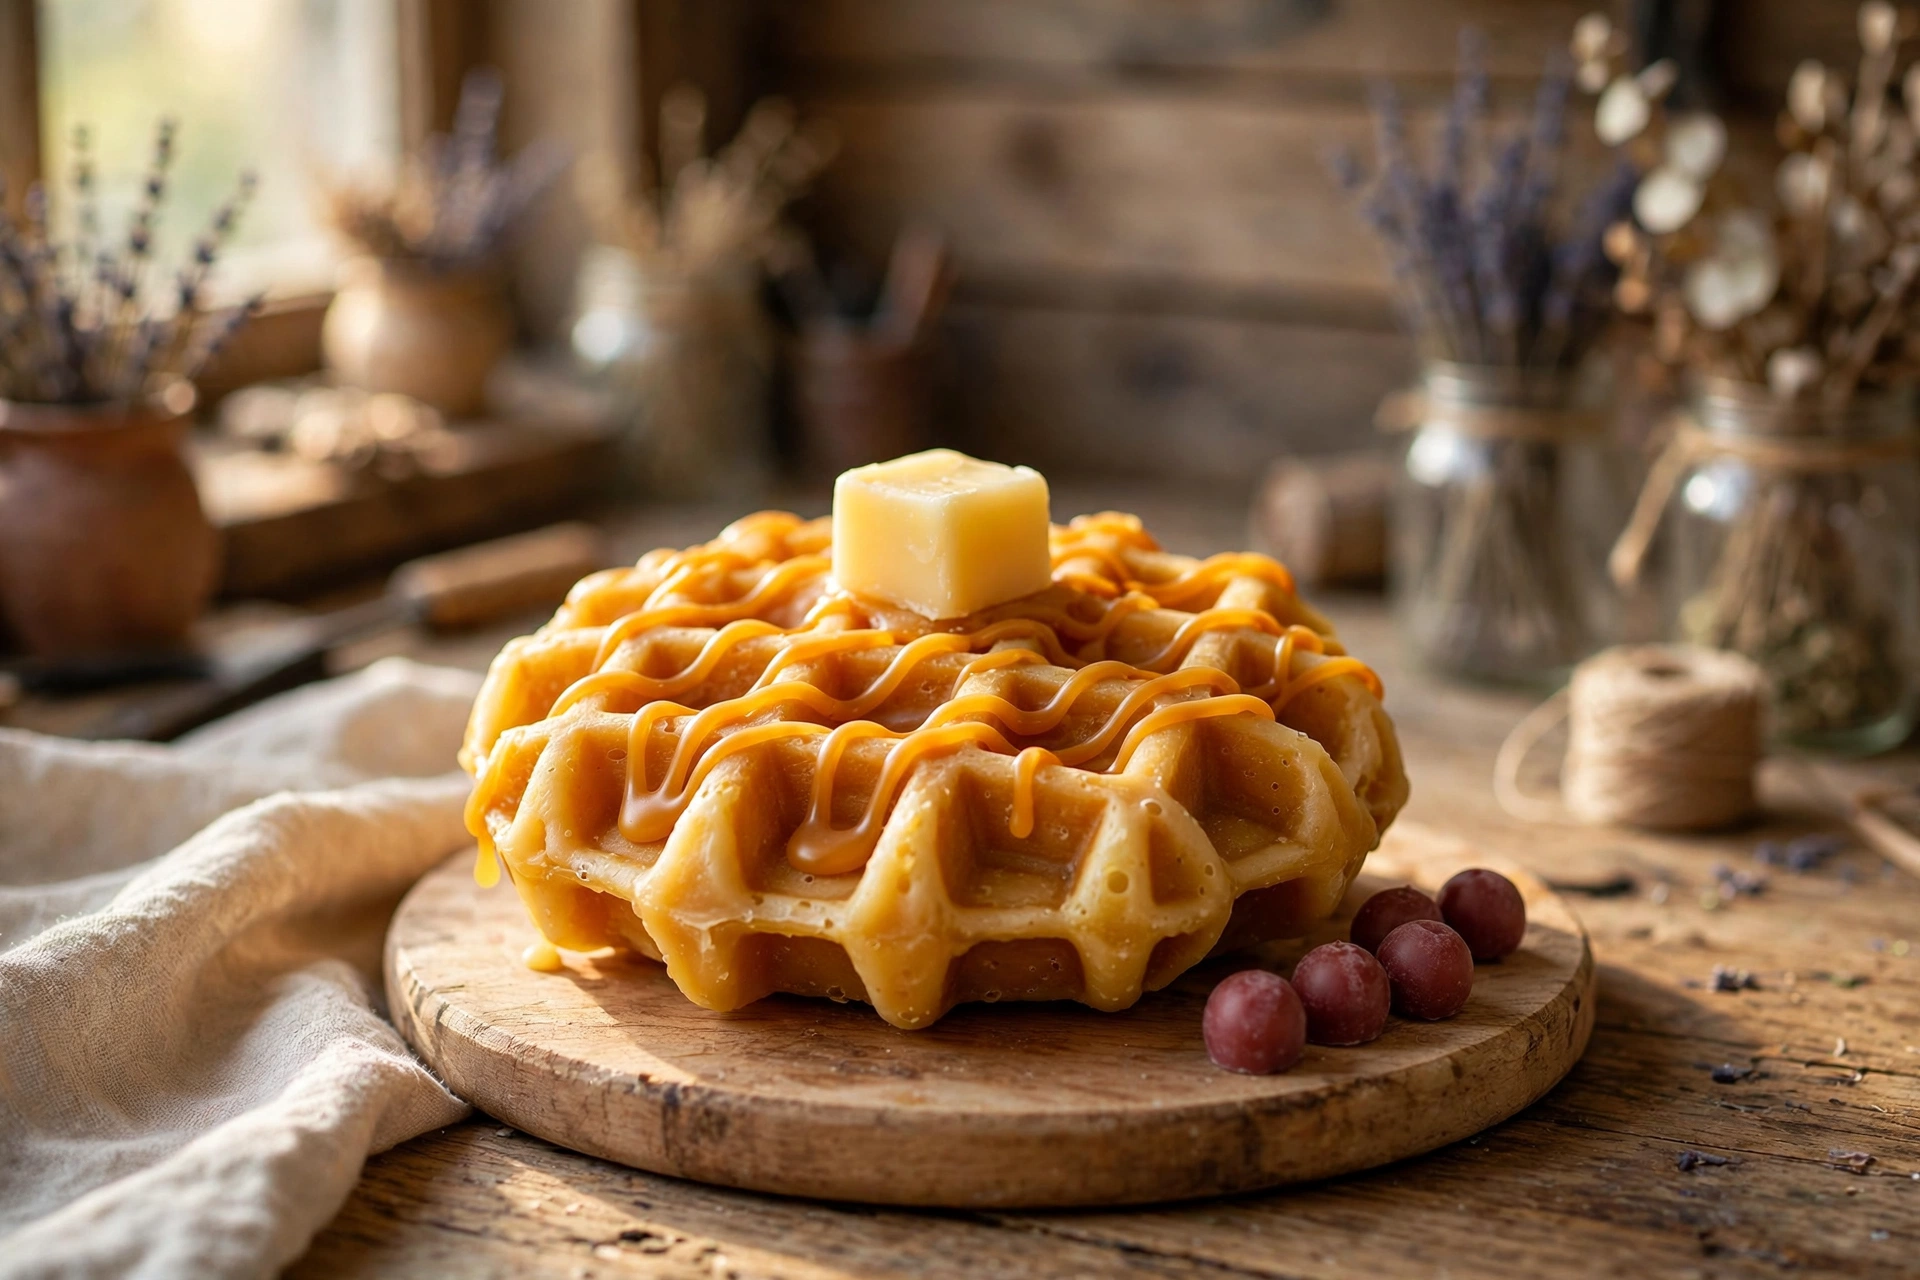
Breakfast you can light. A waffle candle is a golden molded-wax waffle finished with a warm amber syrup drizzle, a melting-look butter pat, and optional wax berries, served up on a small wooden board. It is a molded-wax technique any beginner can learn, and it makes a knockout brunch-themed gift.
How a waffle candle works
Three techniques stack up to make this candle. First, the molded waffle: wax poured into a silicone waffle mold, using a firm mold-friendly wax that holds the crisp grid detail instead of a soft container wax that would blur it. Second, the wick plan: a waffle is wide and flat, so the wick needs a deliberate approach, either threaded straight through the waffle or carried by a small companion base candle underneath. Third, the syrup drizzle: a second, cooler pour of amber-tinted wax, drizzled in ribbons over the grid so it sits on top instead of pooling flat. Butter-pat and berry embeds go on while the drizzle is warm so they bond in.
What you will need
- Round silicone waffle mold, dedicated to wax (never shared with food)
- Firm mold-friendly wax for the waffle (pillar or tart wax holds detail best)
- Candle dye or liquid color in golden yellow and amber
- Fragrance oil made for candles, a bakery or gourmand scent suits the theme
- Primed cotton wick, sized by principle (see step 4)
- Wick needle or long metal skewer, and a wick trimmer
- Small wooden serving board or heat-safe plate for presentation
- Pouring pitcher, small spouted pitcher or spoon for drizzling, thermometer, digital scale
- Small shallow tray or silicone sheet for the butter-pat slab
- Small berry mold or extra firm wax for hand-rolled berries (optional)
- Silicone-safe mold release spray (optional)
Steps
1. Pick a mold and the right wax
Choose a round waffle mold with a deep grid, deeper grids read as waffle from across the room. Dedicate the mold to wax from day one. For the wax, reach for a firm pillar or tart wax: it releases from silicone with crisp edges, stands up at room temperature, and keeps the grid sharp. A soft container wax will give you rounded, blurry squares and a waffle that slumps.
2. Melt, scent, color, and pour the waffle
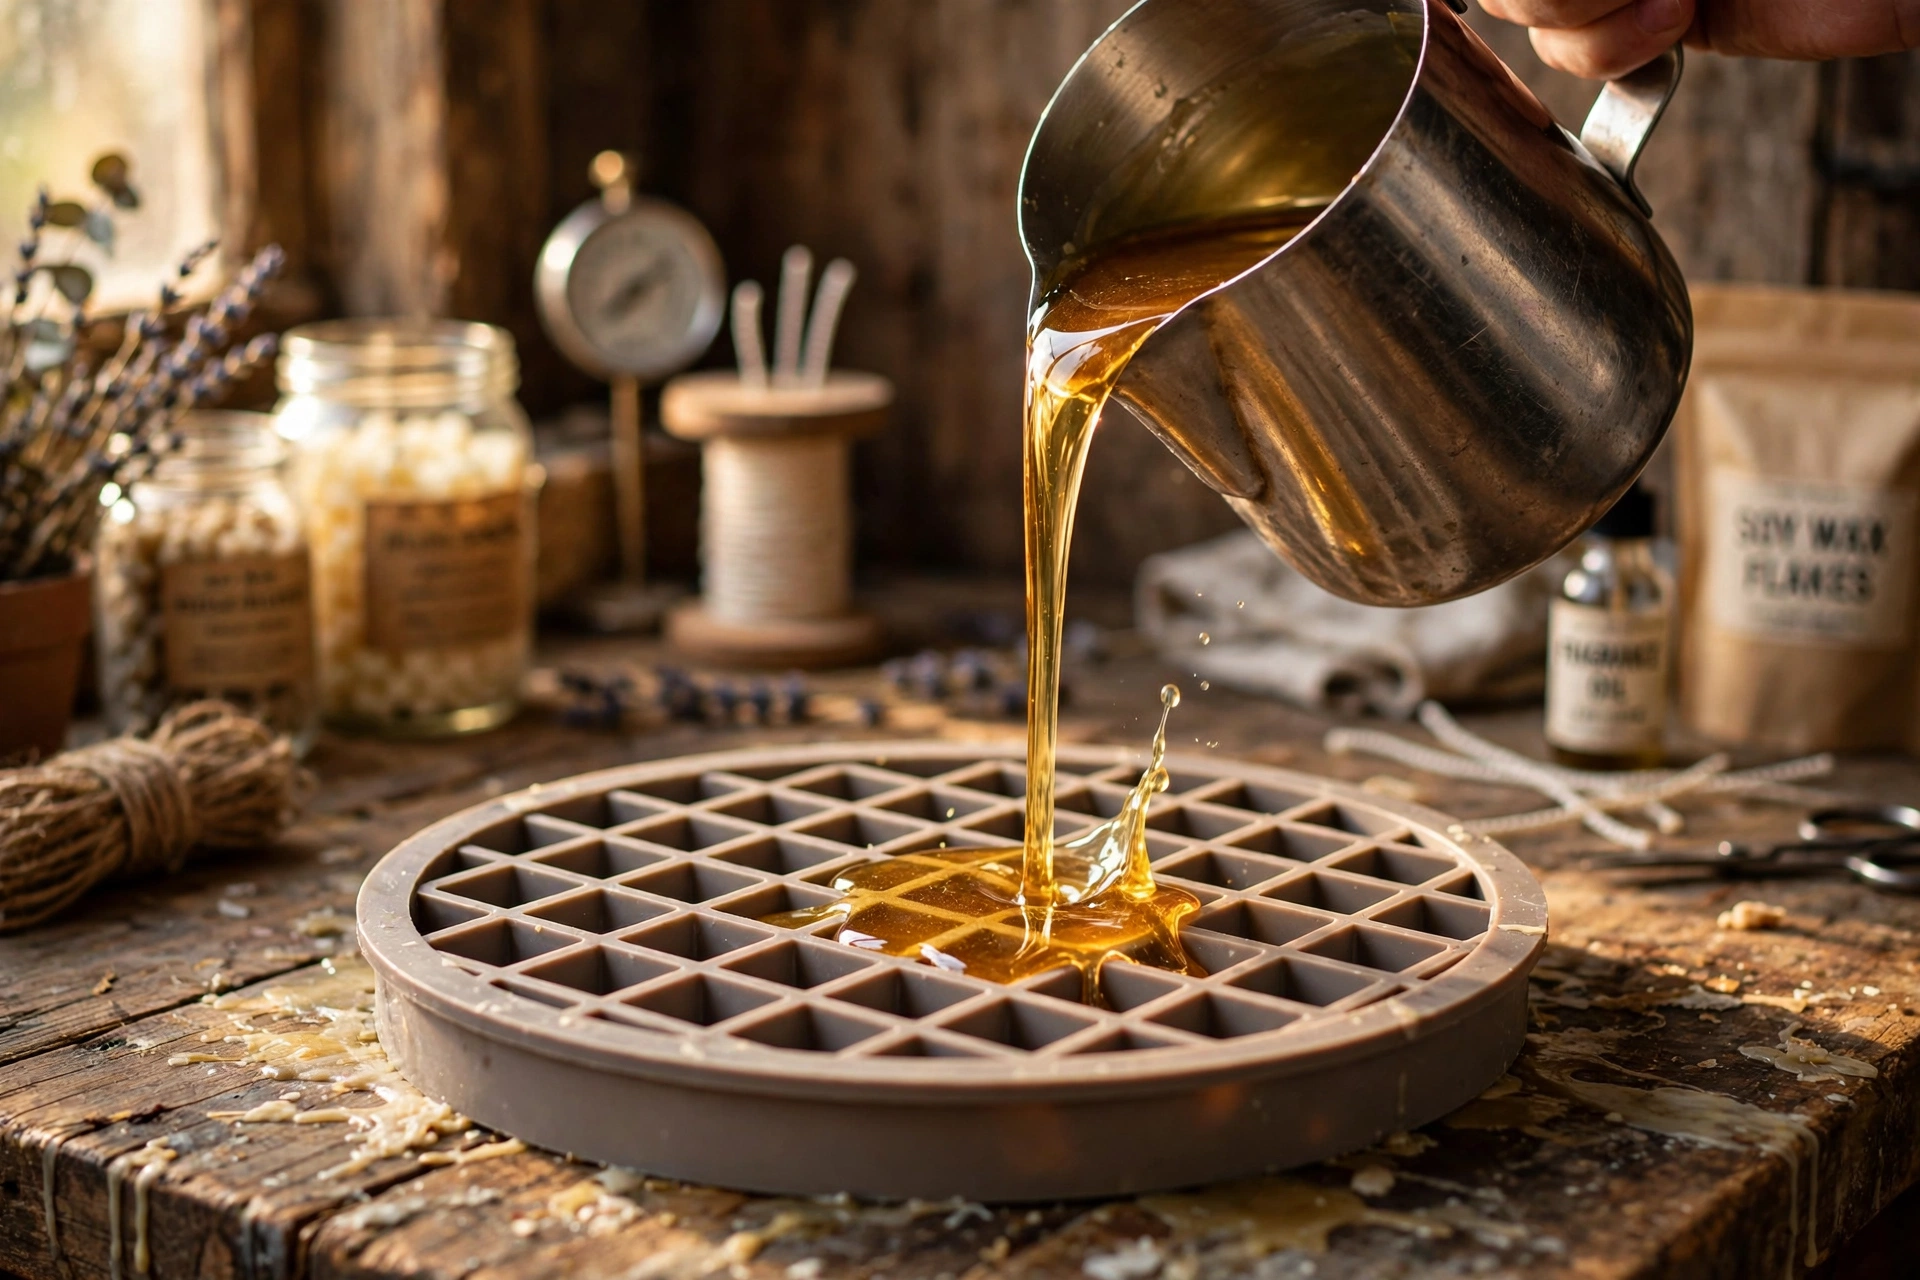
Melt your mold wax fully, then add fragrance oil within the rated load and stir well, most mold waxes take a moderate load, so follow the wax guidance rather than guessing. Color it a warm golden with a small amount of candle dye; you can always add more, so start light. Pour slightly cooler than your hottest pour: a cooler pour sets the surface against the mold faster and captures the grid detail, while still being fluid enough to fill every corner. Fill just to the mold top edge, an overfilled waffle bakes up thick and burns unevenly.
3. Cool fully and unmold for crisp detail
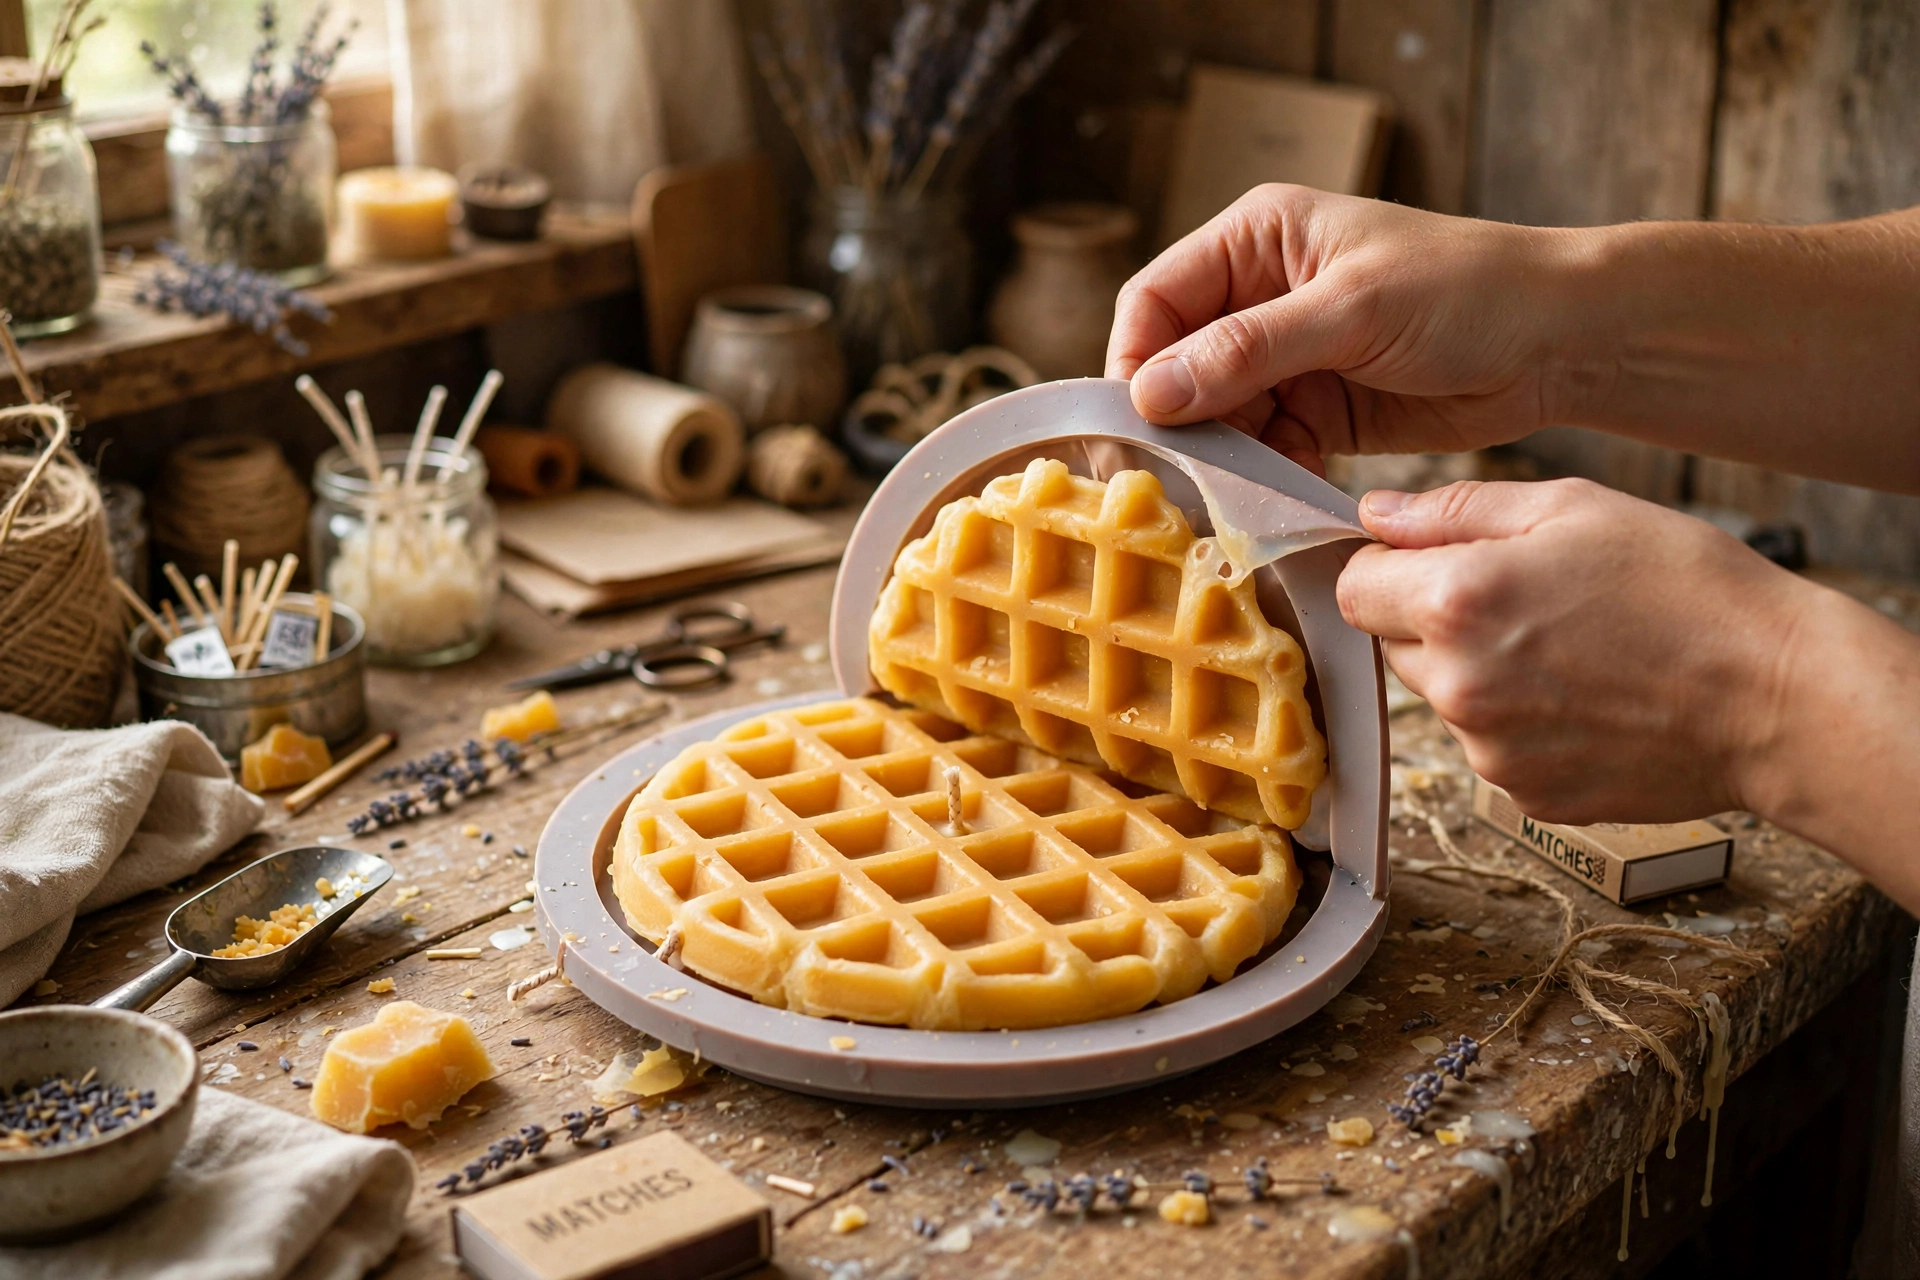
Let the waffle harden completely at room temperature, then give it a short freezer stint (15 to 20 minutes) to firm it up for a clean release. Flex the silicone away from the wax rather than pulling the waffle out of the mold, peeling the mold back keeps the grid edges sharp.
4. Set the wick through the flat shape
A wide, flat shape needs a deliberate wick plan. Two approaches both work:
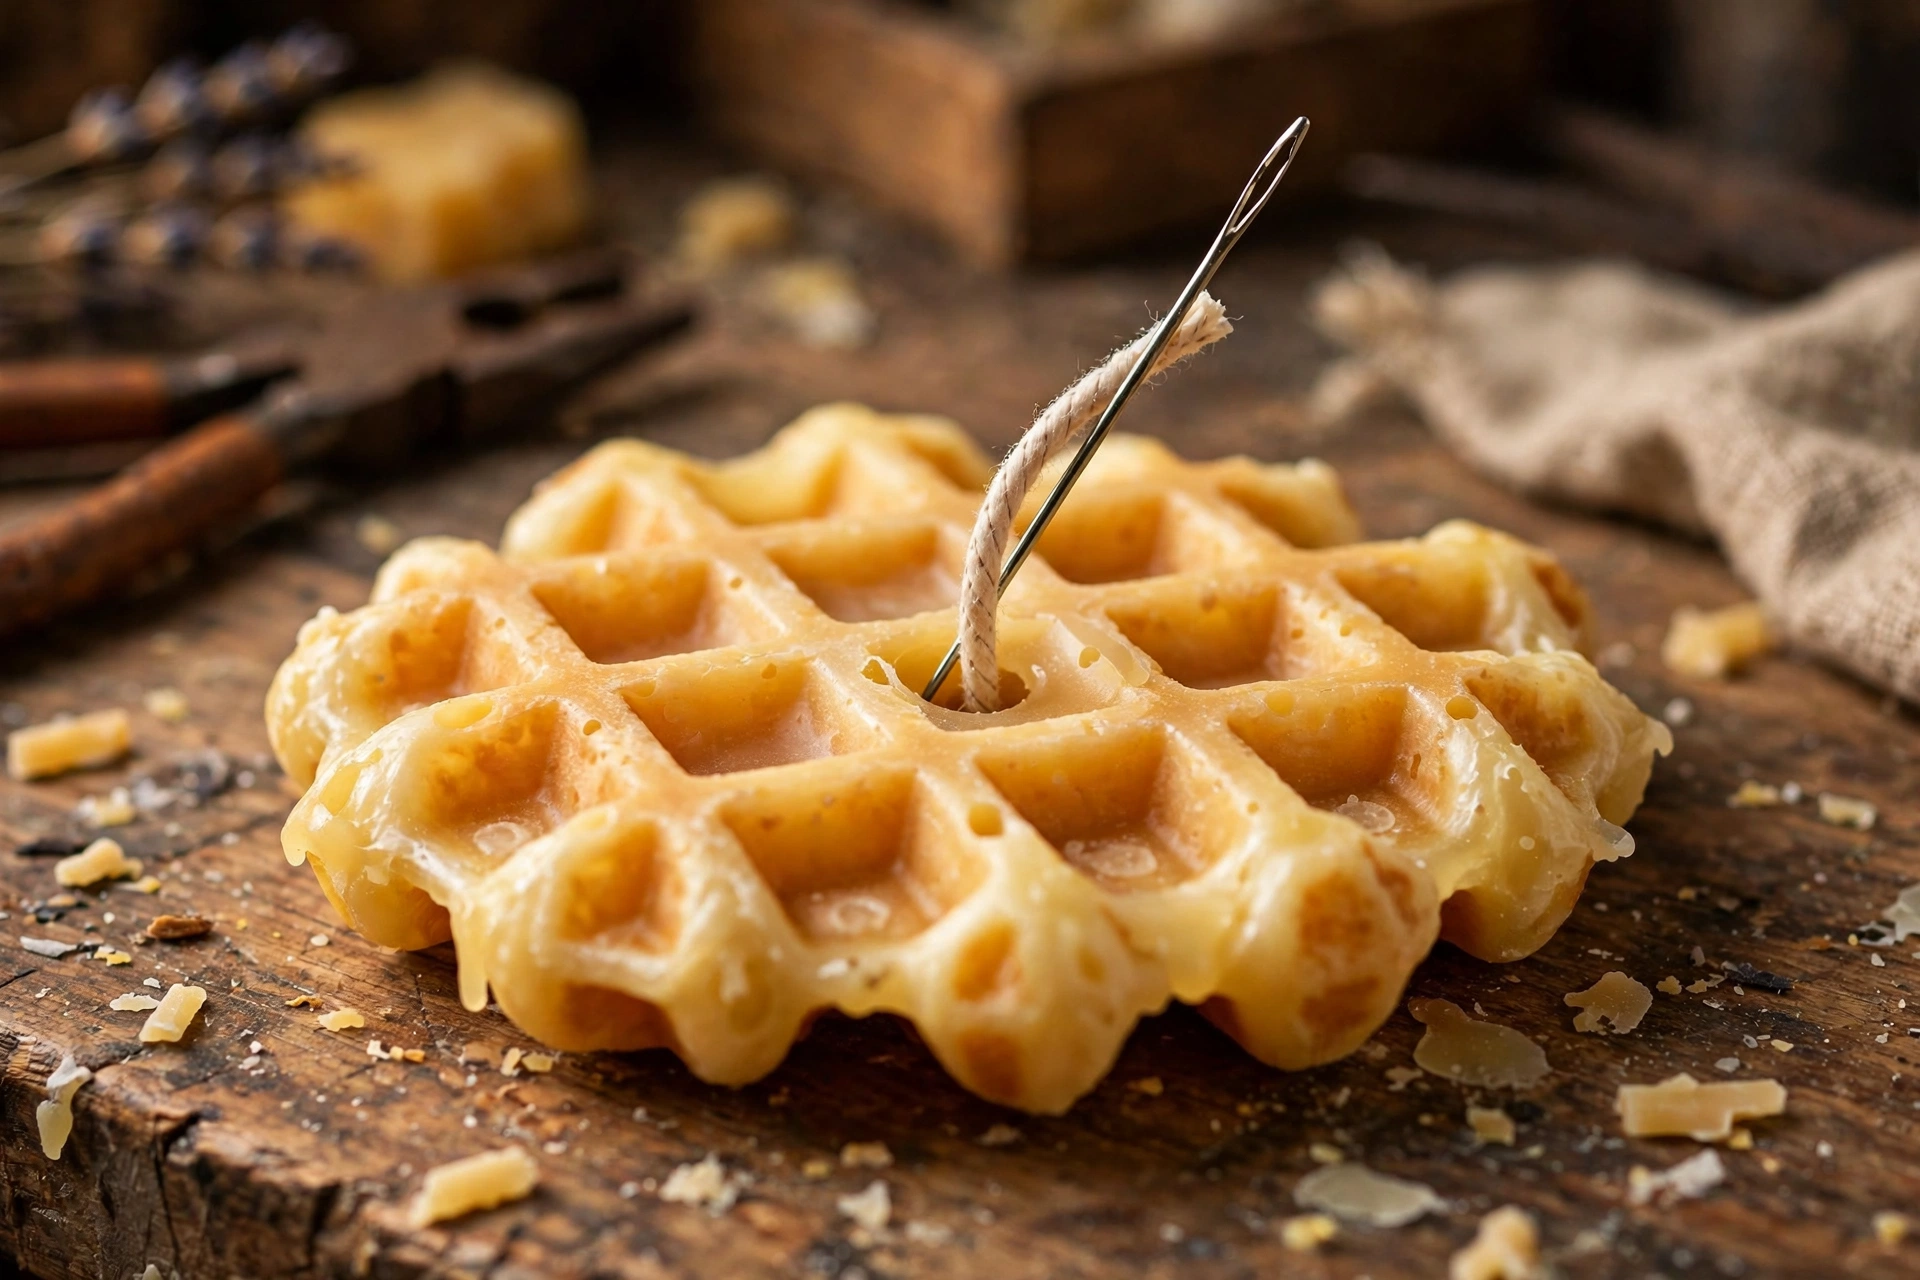
Through-wick (simplest). With the wax waffle at room temperature, push a primed wick down through the center of the waffle with a wick needle, leaving about 1/4 inch standing above the top. Dab melted wax around the exit point underneath to seal it so the wick cannot slip.
Companion base. Pour a short, wide base candle and seat the waffle on its surface while the base is still warm. The base carries the wick and the melt pool; the waffle becomes the decorative top. This is the sturdier choice for gifts that will travel.
Sizing by principle: start with your wick supplier sizing chart, using the waffle width as the diameter, then prove it with test burns, because flat novelty shapes do not behave like container candles. Full method: How to Choose the Right Wick and Test Burn Your Candles.
5. Make the butter-pat embed
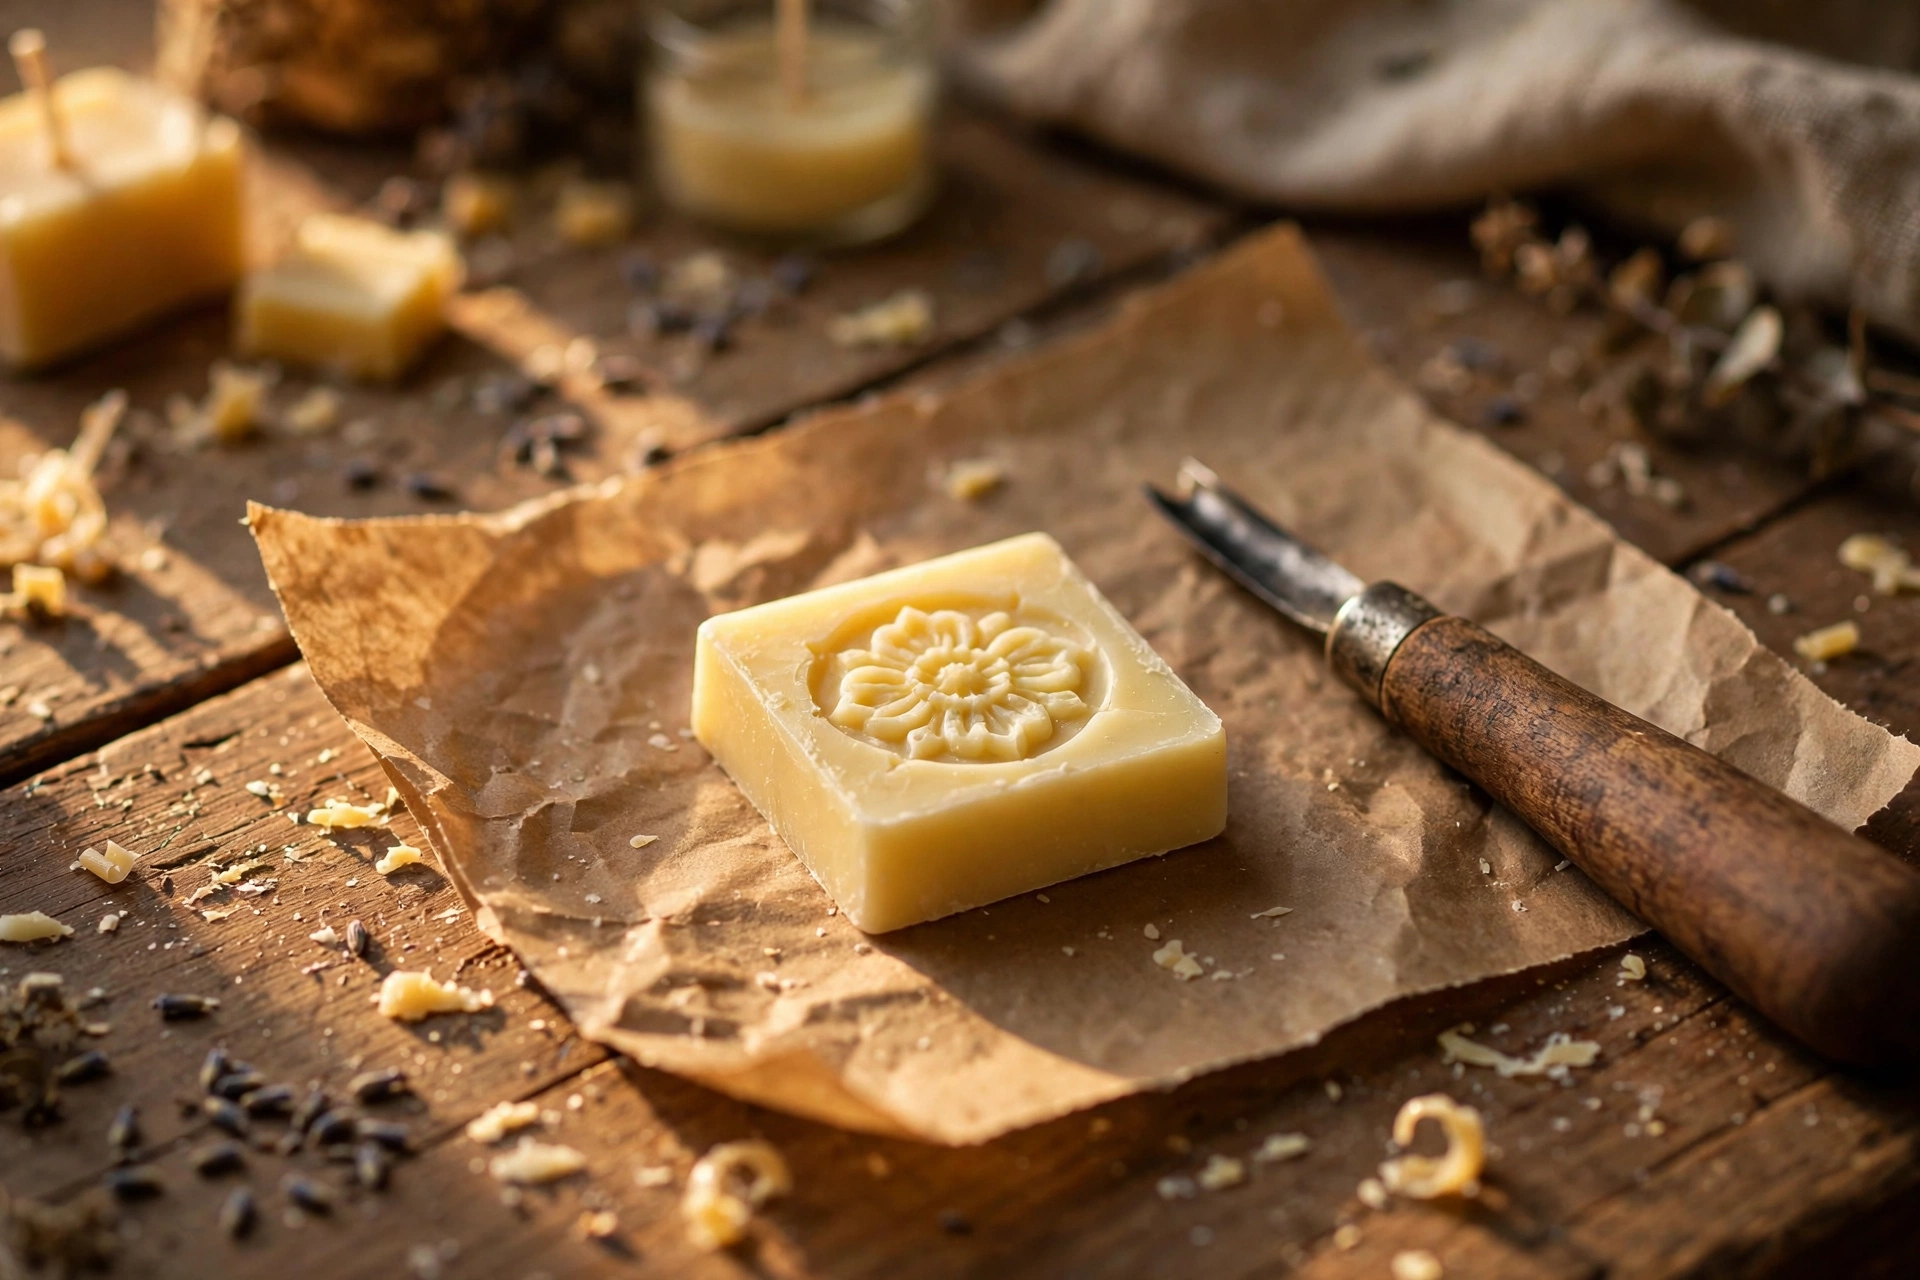
Pour a thin slab (about 1/4 inch thick) of pale-yellow wax into a small shallow tray or onto a silicone sheet. Once it is firm, cut a small square, your butter pat. Slightly imperfect edges look more like real butter, so do not fuss over straight lines.
6. Pour the warm syrup drizzle
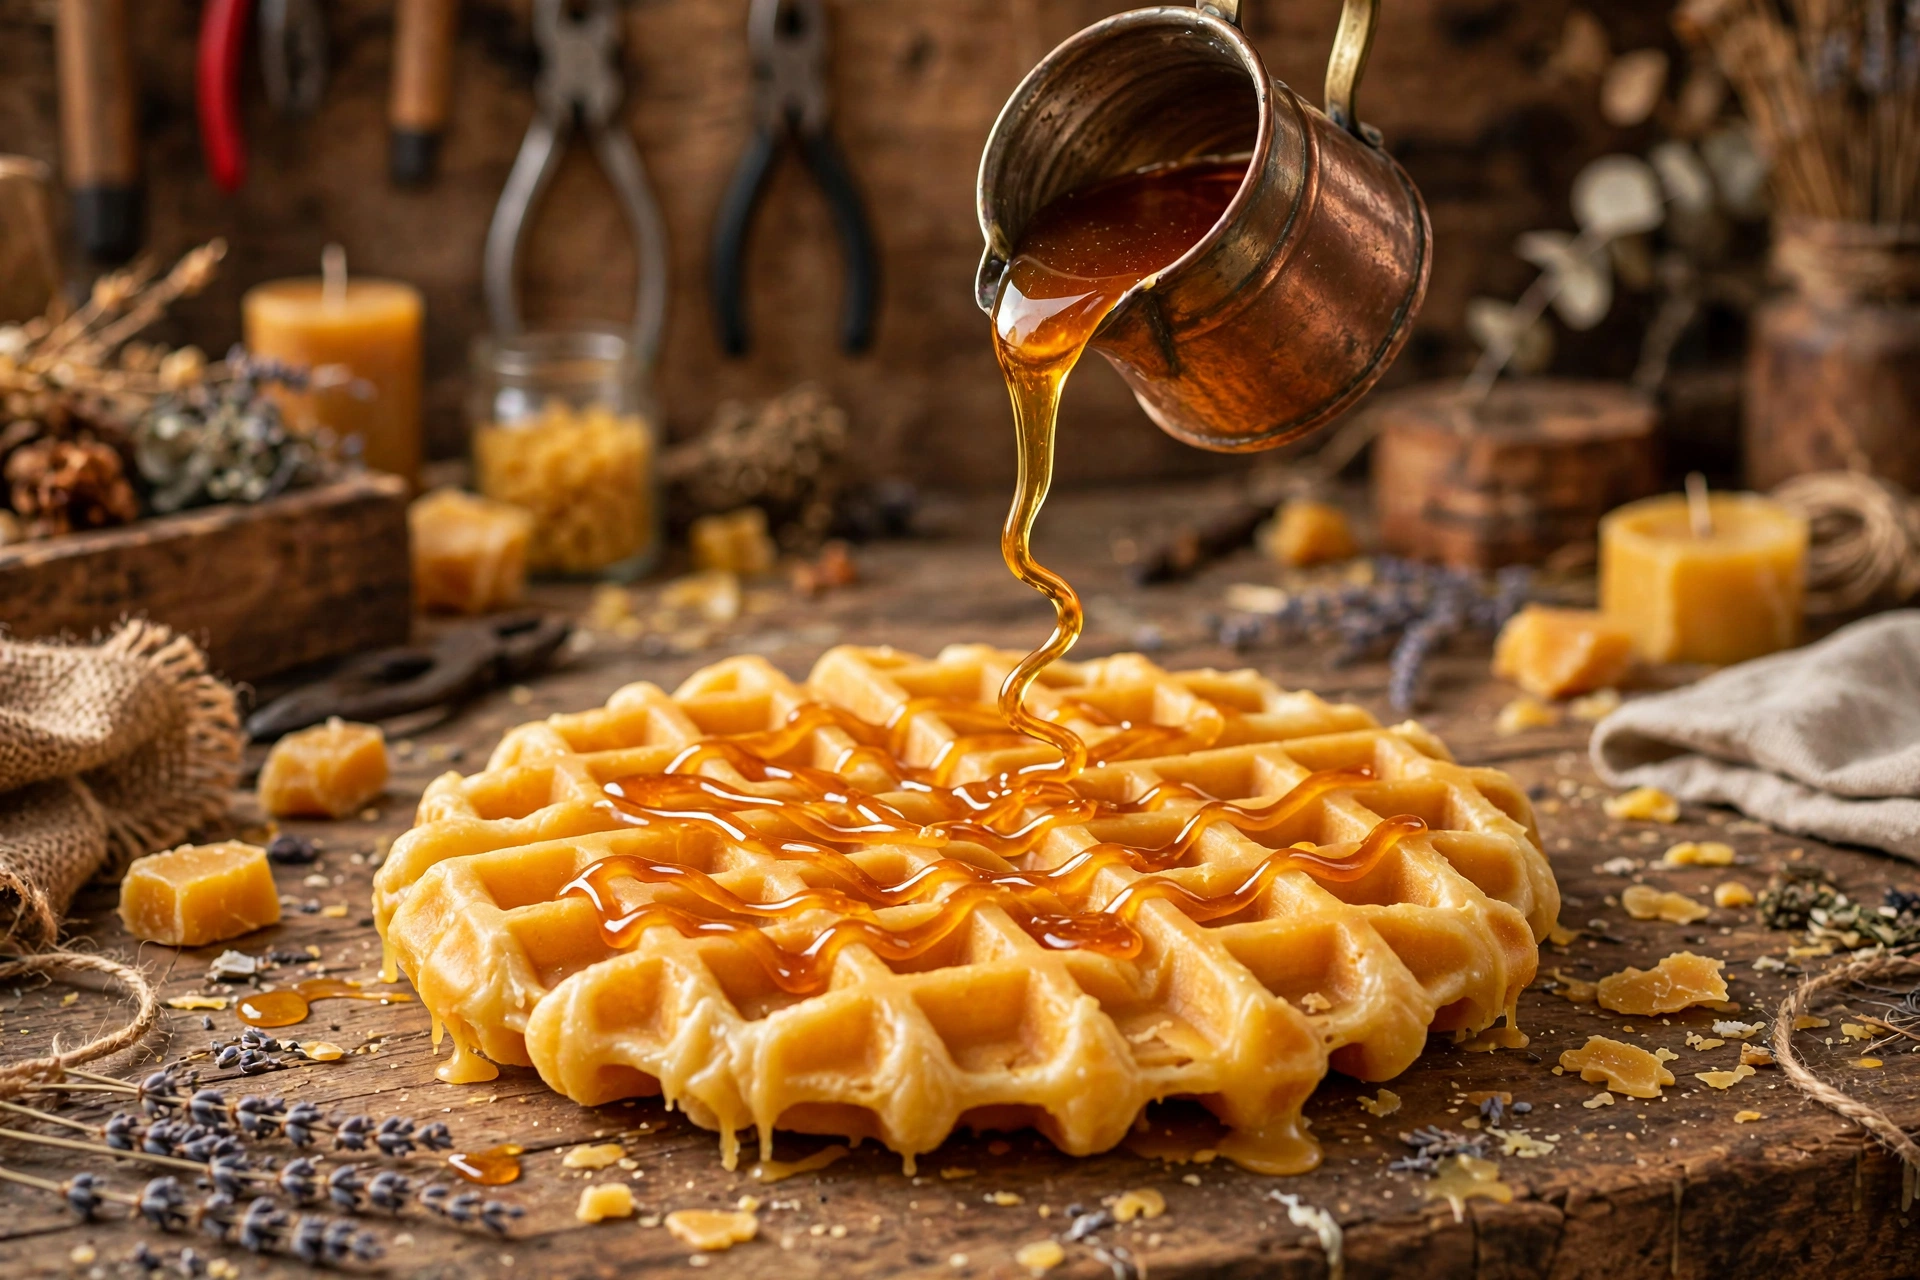
Melt a small amount of wax and tint it amber with candle dye, think maple syrup, not caramel candy. Here is the key: pour it cooler than the waffle pour. Warm enough to flow, cool enough to sit on the grid as ribbons instead of melting into a flat pool or sinking into the wax below. Use a small spouted pitcher or a spoon and zigzag across the grid, letting a little drip over the edge for that fresh-from-the-griddle look.
7. Set the butter pat and berries
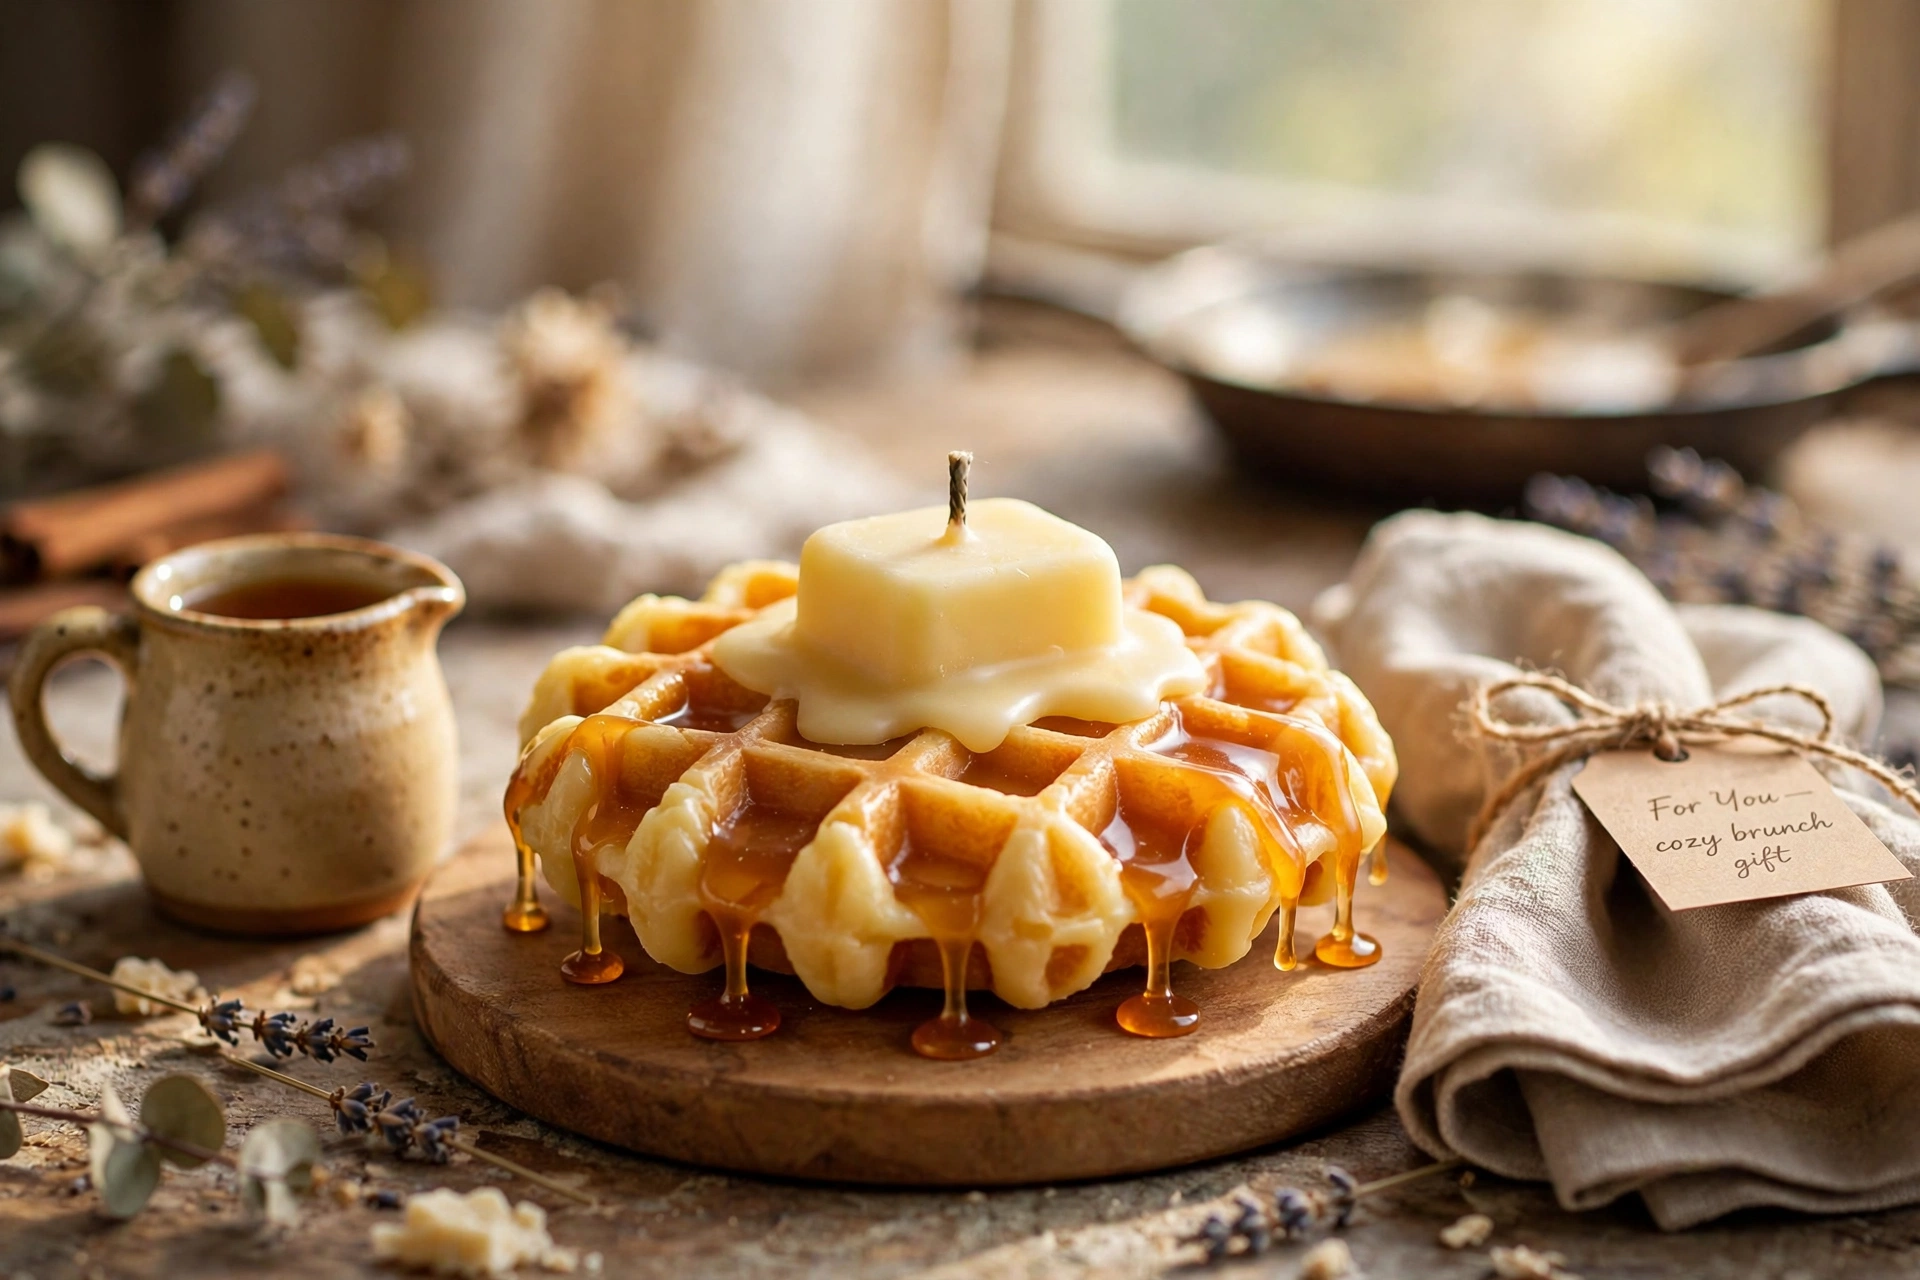
While the drizzle is still warm and tacky, press the butter pat into the center so it bonds as everything sets. Nestle in optional wax berries, tiny rounds from a small mold, or hand-rolled balls of firm wax, pressing them gently into the warm drizzle.

8. Plate it on the wooden serving board
Set the finished waffle on a small wooden serving board, that is the whole presentation, and it is what makes this candle gift-ready. For gifting, slip the boarded candle into a clear bag tied with twine and add a tag that reads Candle, do not eat. Style photos with brunch props like a syrup jug or linen napkin, but keep food props away from any lit candle.
9. Cure and test burn the novelty shape
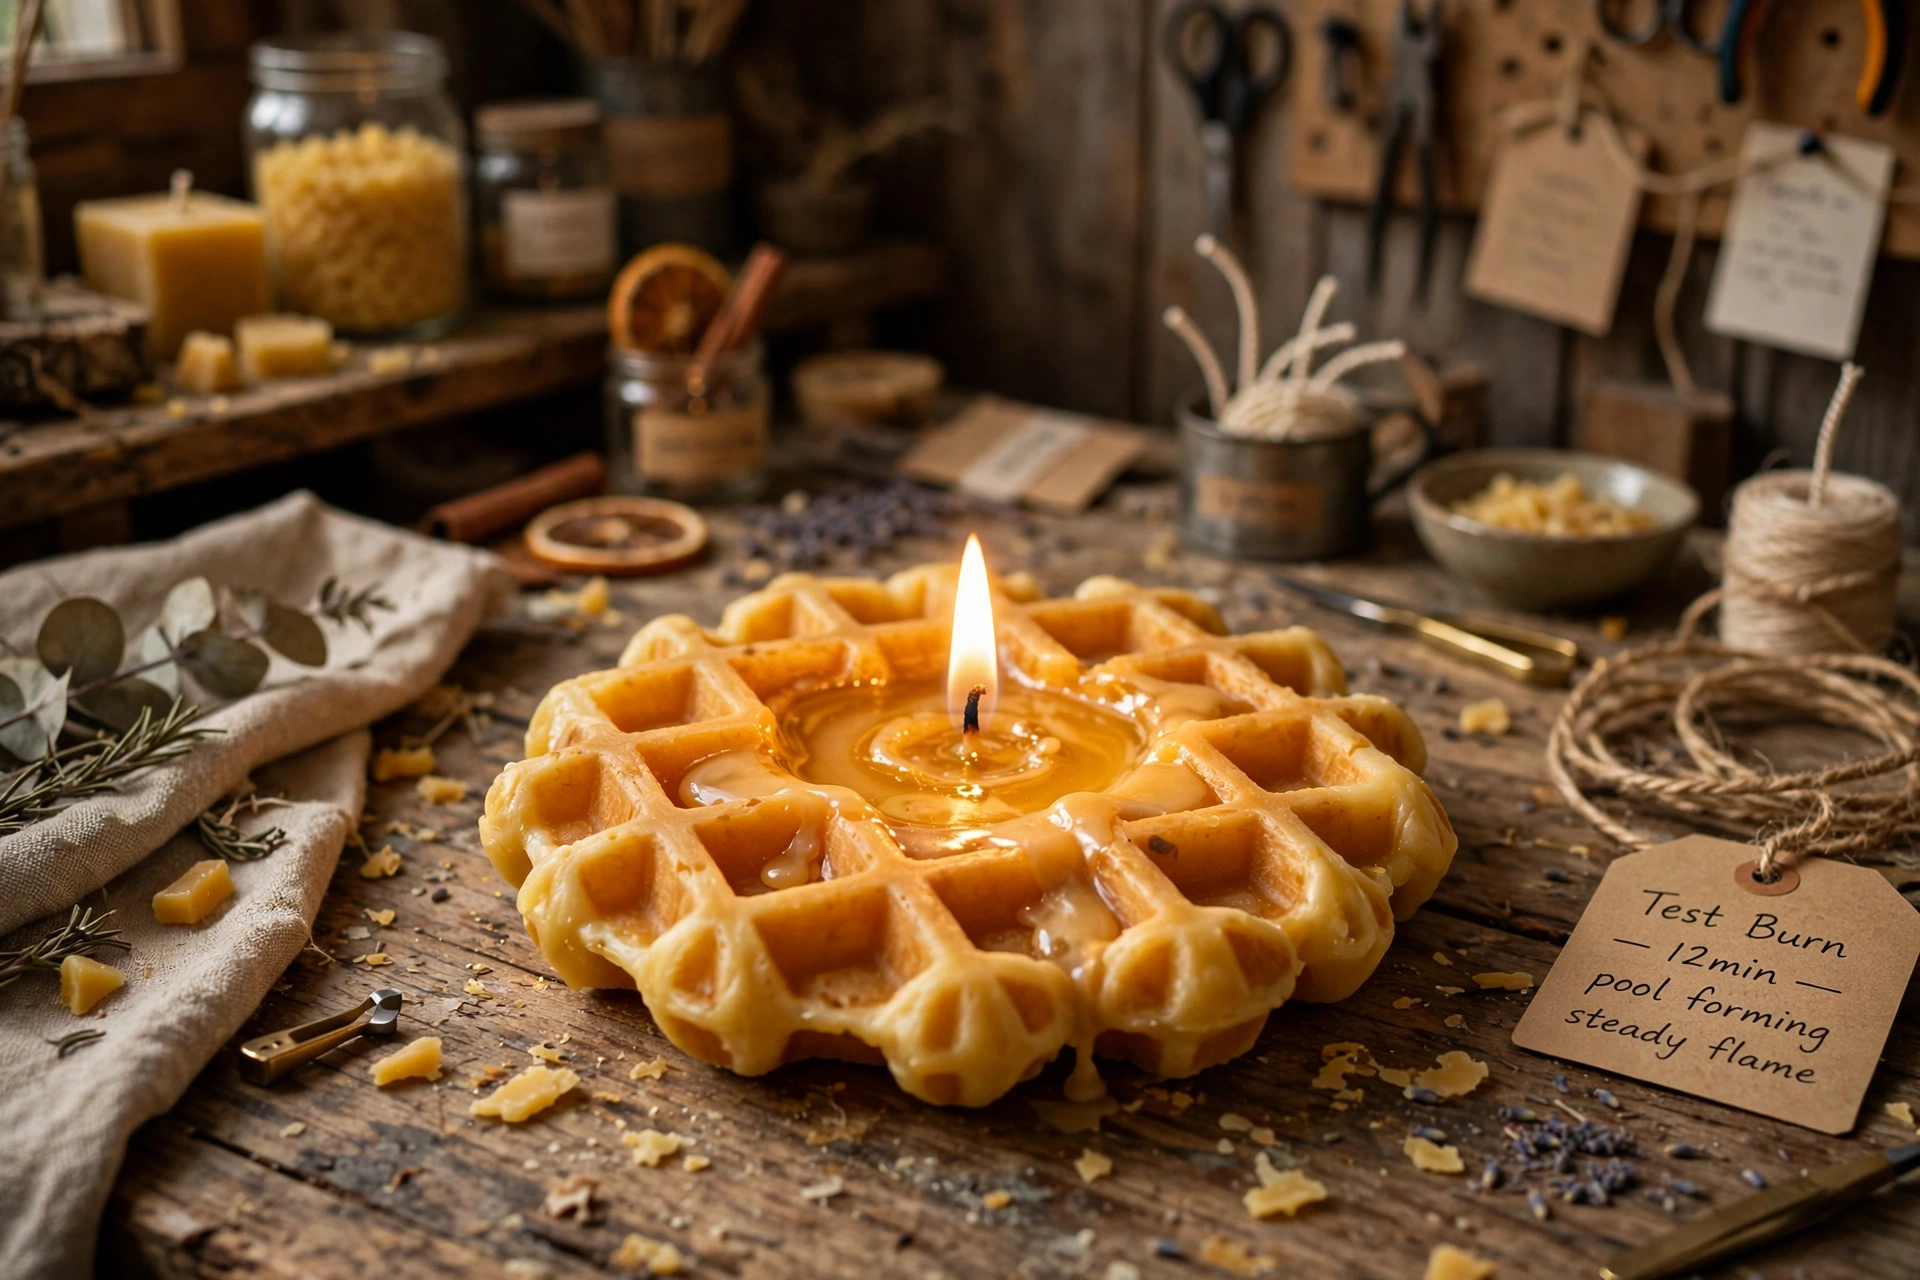
Cure the finished candle like any other, follow the wax guidance (roughly 7 to 14 days for soy-based waxes) so the scent fully develops. Then test burn it on a heat-safe dish for two or three full cycles. Flat shapes spread the melt pool wide and shallow, so watch the first burn closely: the flame should stay steady and the pool should stay controlled, not flood the board.
Troubleshooting
Blurry or rounded grid detail? The waffle was unmolded too warm, or the wax was too soft. Use a firmer mold wax, cool fully at room temperature, and finish with a freezer chill.
Waffle stuck in the mold? It needs more chill time. Next round, try a light mold-release spritz before pouring.
Drizzle pooled flat instead of ribbons? The drizzle wax was too hot. Pour it cooler and test one ribbon on parchment first.
Drizzle blobs and will not flow? Too cool, rewarm gently until it ribbons off the spoon.
Flame drowns or the candle tunnels on the first burn? The wick is too small for the wide, flat shape. Wick up a size and retest, flat shapes generally need more wick than a container of the same wax.
Butter pat slides off? It was set after the drizzle hardened. Press embeds in while the drizzle is warm and tacky, or dab a little melted wax underneath as glue.
Soot or smoking? The wick is too large or too long. Trim to 1/4 inch before every burn, and wick down a size if it still smokes when trimmed.
Cracks in the waffle? Poured too hot or cooled too fast in a draft. Pour cooler and cool at room temperature away from vents and open windows.
Variations
Once the technique clicks, the waffle becomes a canvas:
Chocolate waffle: brown-tinted wax with a darker chocolate drizzle and a cream-colored butter pat.
Strawberry waffle: golden waffle with a pink-red drizzle and extra red wax berries.
Brunch gift set: pair the candle with a separate, clearly labeled jar of real maple syrup, the food stays in its own jar, never attached to the candle.
Safety first
All the standard candle rules apply: trim the wick to 1/4 inch before every burn, never leave a burning candle unattended, keep burns to 4 hours or less, burn on a heat-safe surface away from drafts, kids, and pets. Two extras for this project:
It looks like breakfast. Keep finished waffle candles out of reach of small children and anyone who might mistake them for food. Label the candle and its packaging clearly and never leave one where kids can grab it, lit or unlit.
Flat novelty shapes burn differently. The wide, shallow melt pool and the melting grid change the burn dynamics versus a container candle, so never skip the test burn.
Next steps
Dialing in the wick? See How to Choose the Right Wick and Test Burn Your Candles for the full test-burn method. Building a dessert-candle lineup? The whipped wax dessert candle tutorial pairs beautifully with this one. Choosing the scent? See the fragrance blending tutorial for building bakery and gourmand blends.



