
How to Make Latte Candles (Layered Coffee Candles in a Mug)
A latte candle is a layered coffee-lover’s daydream poured into a real ceramic mug: a dark espresso layer, a creamy milk layer, a fluffy whipped-cream top dusted with “cocoa” and finished with a caramel drizzle. Two pouring skills — layered pours and whipped wax — combine into one showpiece that looks incredible in photos and smells like your favorite coffee shop. Here’s the whole build, start to finish.
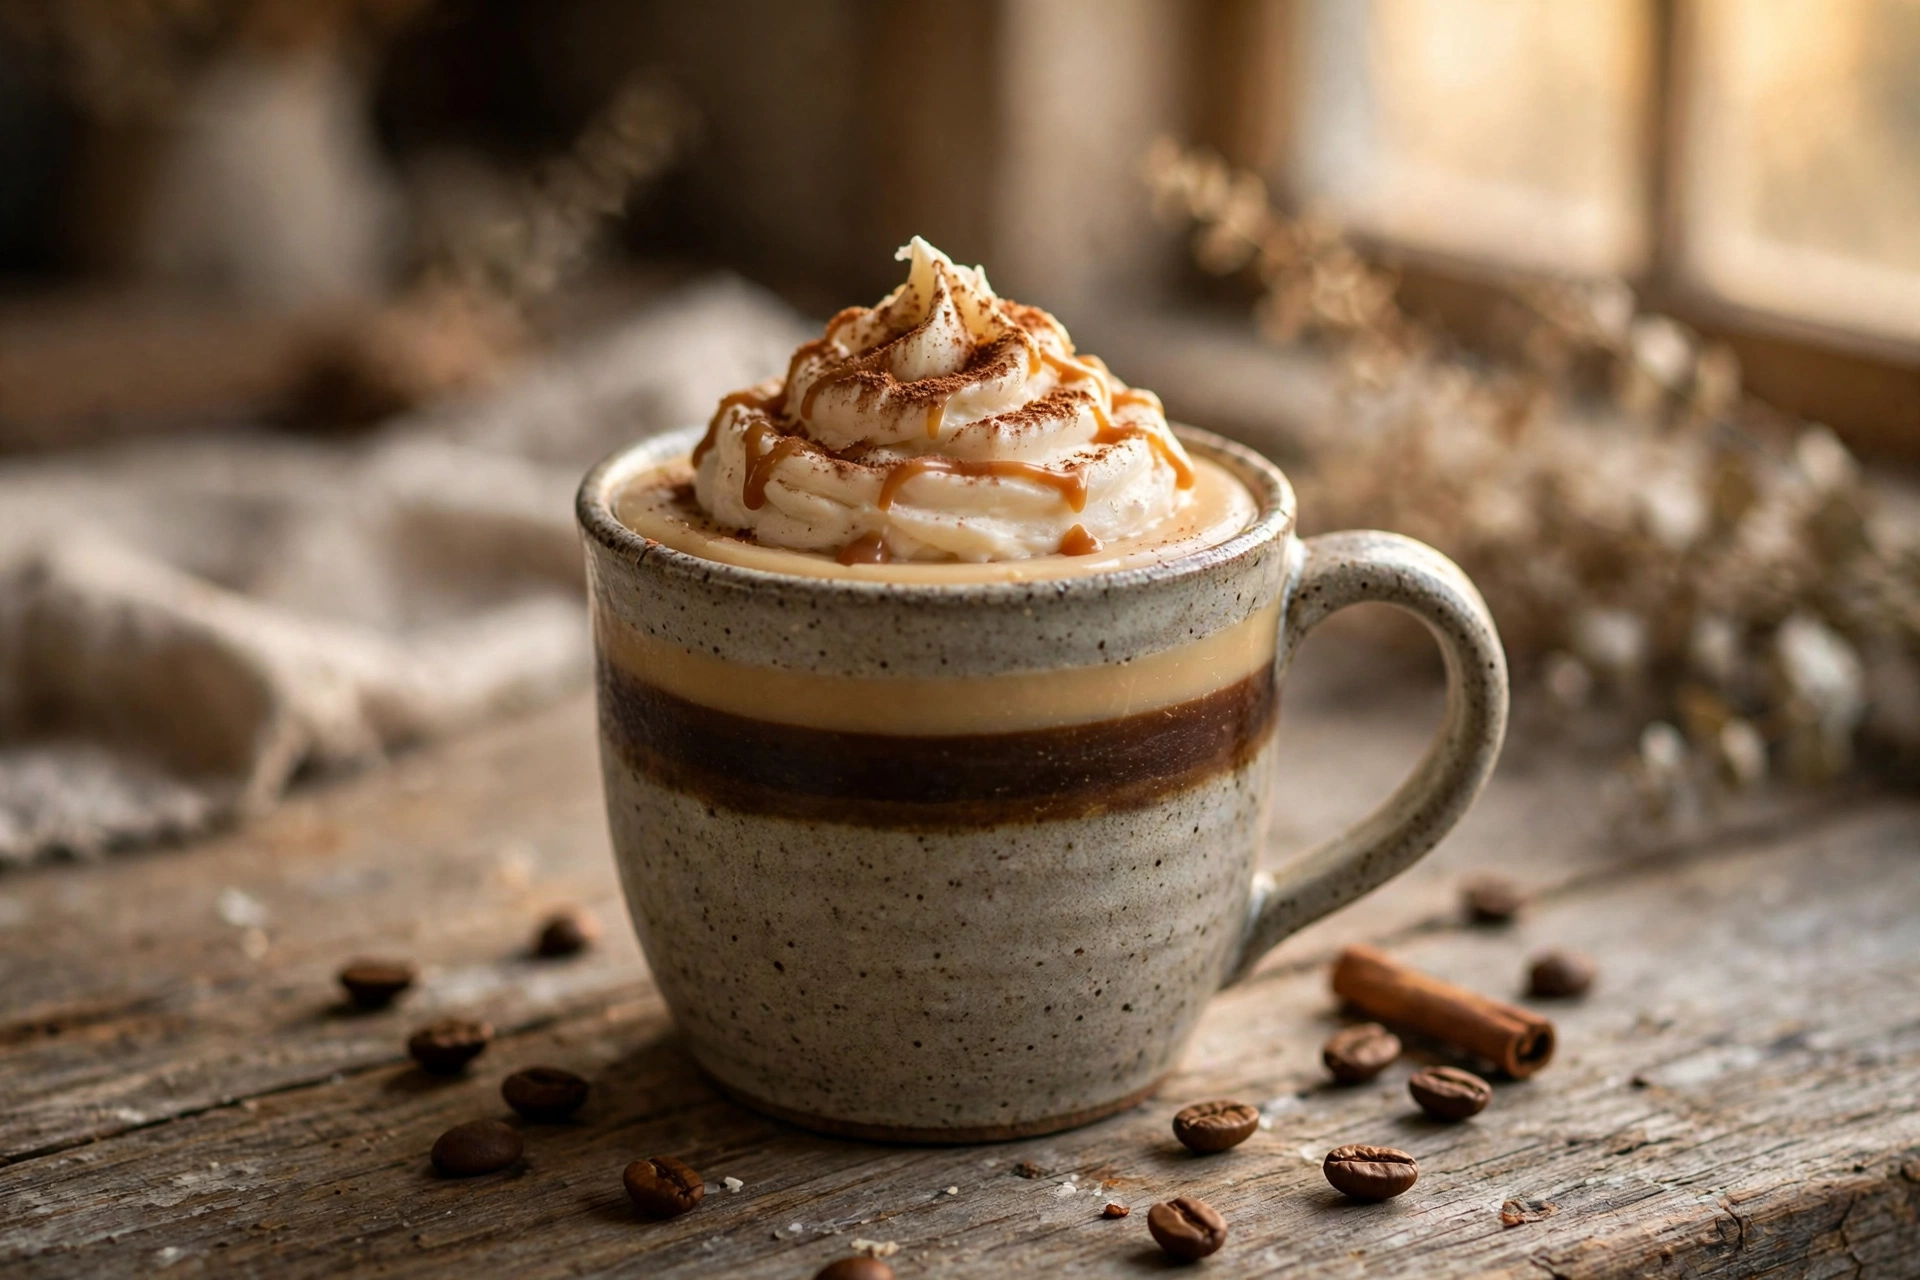
Why a mug, and why layers
A ceramic mug does two jobs at once: it sells the illusion (this is supposed to look like a latte you’d actually order), and it gives you a straight-sided vessel that shows off your layers beautifully through the top surface. Layering is simply pouring one color of wax over another at the right moment — too hot and the colors bleed together, cool enough and they stack into crisp, distinct bands. The espresso-to-milk gradient here comes from three things: dark dye on the bottom pour, light dye (or no dye) on the top pour, and patience between pours.
What you’ll need
- A heat-safe ceramic mug (see the mug safety notes below) and the right wick for its diameter
- Container wax — one batch covers all layers, so melt it all at once
- Candle-safe brown dye (liquid or chips) for the espresso and milk layers
- Fragrance oil made for candles — coffee, vanilla, or caramel notes suit this design best
- Brown mica powder (for the “cocoa” dusting) and a small sieve
- Electric hand mixer (dedicated to wax — don’t share it with food)
- Thermometer, pouring pitcher, digital scale, spoon
- Wick stickers or holders to center the wick
Mug heat-safety: read this before you pour
Not every mug survives candle duty. Use a mug with thick, even walls and no hairline cracks — inspect it closely in good light, including around the handle joint and base. Thin, delicate, or cracked ceramics can crack under the heat of a burning candle or the thermal shock of a hot pour. Glazed stoneware or sturdy pottery mugs are your best bet; avoid very thin porcelain or novelty mugs with hollow handles.
Wick sizing by principle
A mug burns like any other container of the same diameter: the wick has to melt edge to edge without overheating the ceramic. Measure the inside diameter of the mug at its widest point, note your wax type, then start from your wick supplier’s sizing chart for that diameter and wax family. The chart is a starting point, not an answer — heavy fragrance loads and the tall whipped top both change the burn, so always prove the wick with a full test burn of your exact combination. See our wick selection and test burn tutorial for the complete method.
Steps
1. Prep the mug and set the wick
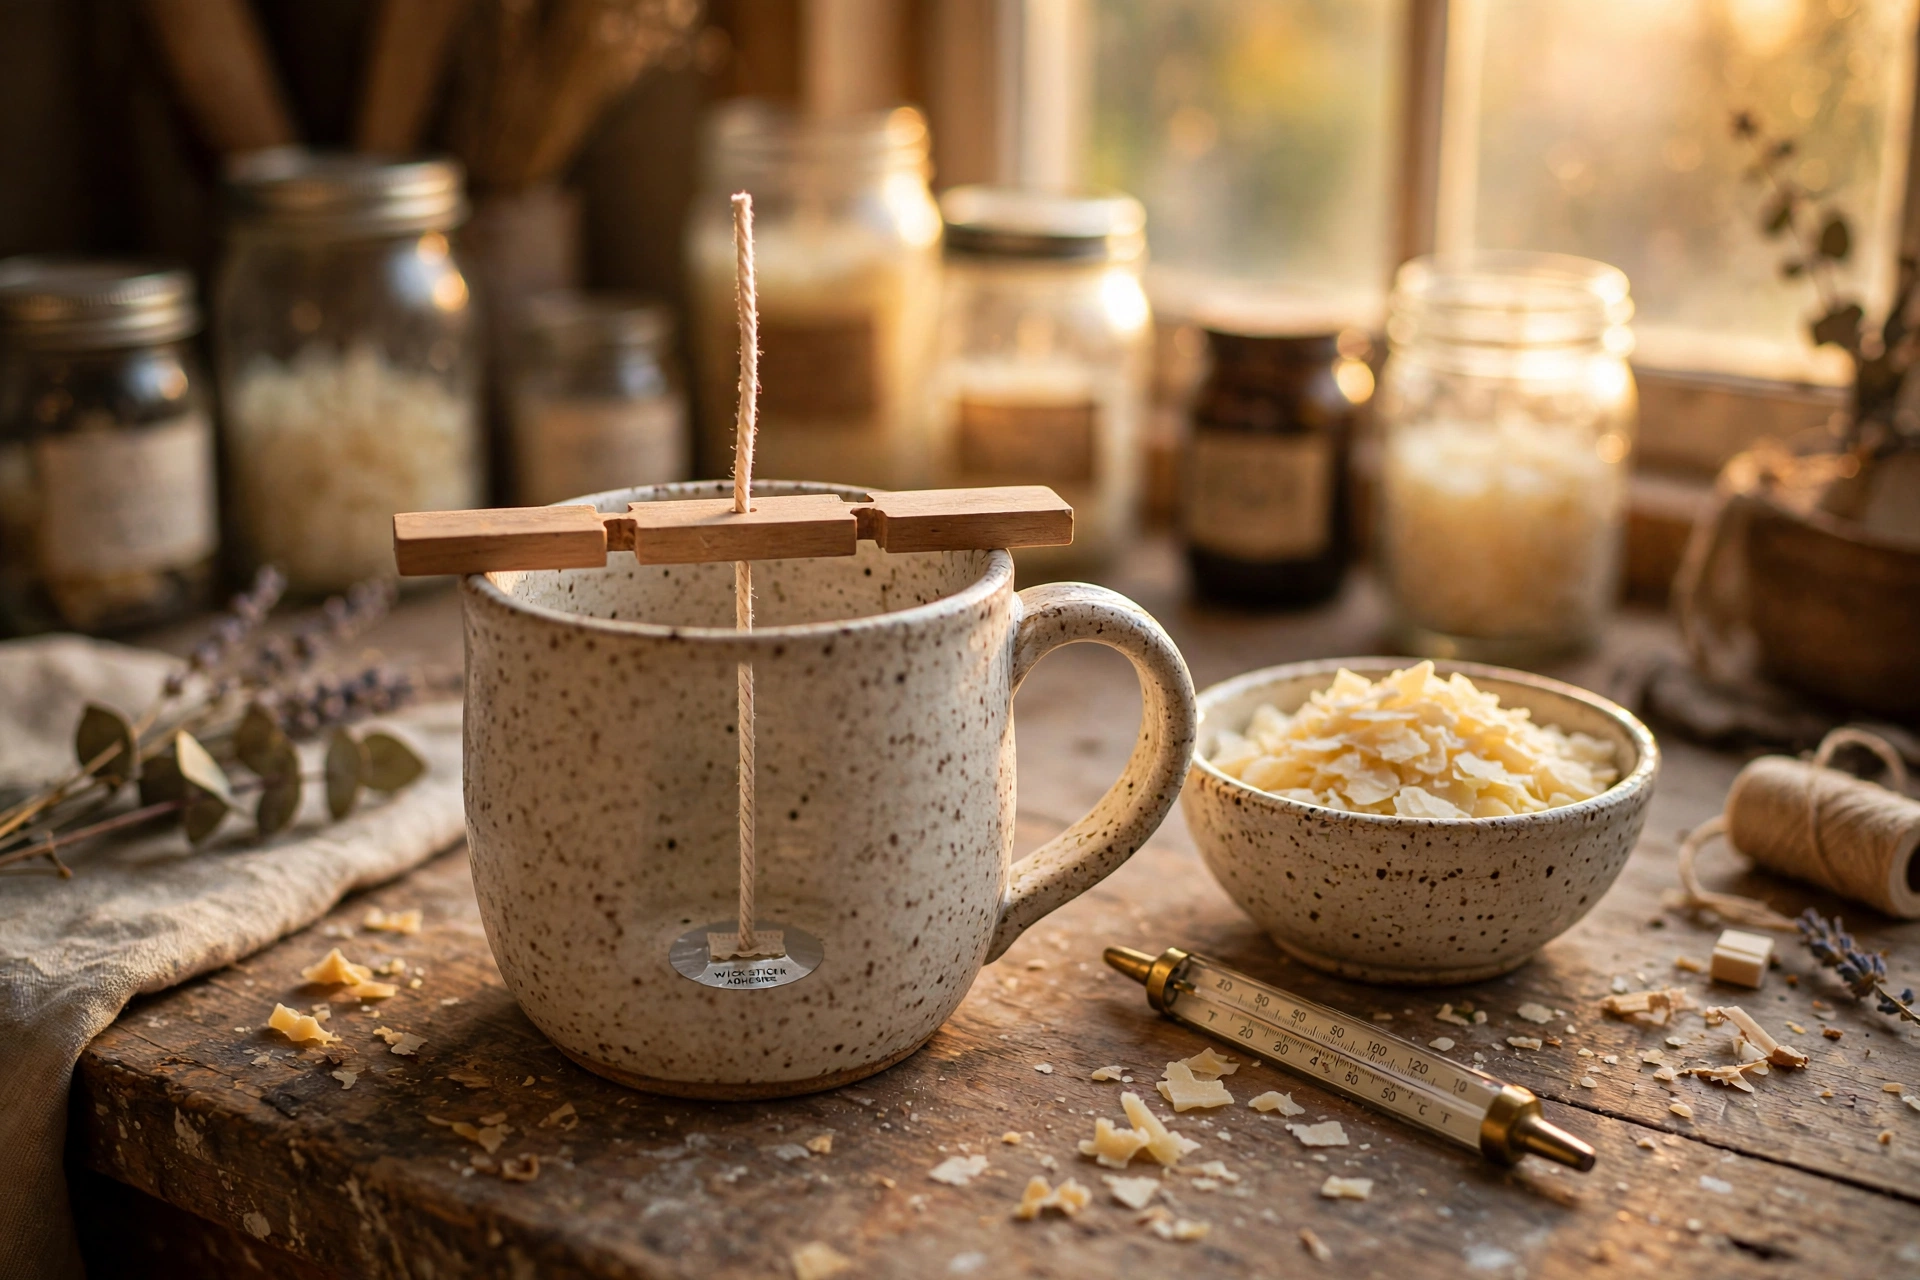
Inspect the mug for cracks, pre-warm it with warm tap water, and dry it completely. Secure the wick dead-center with a wick sticker and hold it upright with a wick holder or two pencils resting across the rim. The wick needs to be centered for the whipped top to melt down evenly later.
2. Pour the espresso layer
Melt your full batch of container wax. Divide off roughly one-third, add fragrance oil at your wax’s usual temperature, then stir in brown dye until it looks like strong espresso. Pour this layer into the mug at your normal pouring temperature. This is the bottom third of the “latte.”
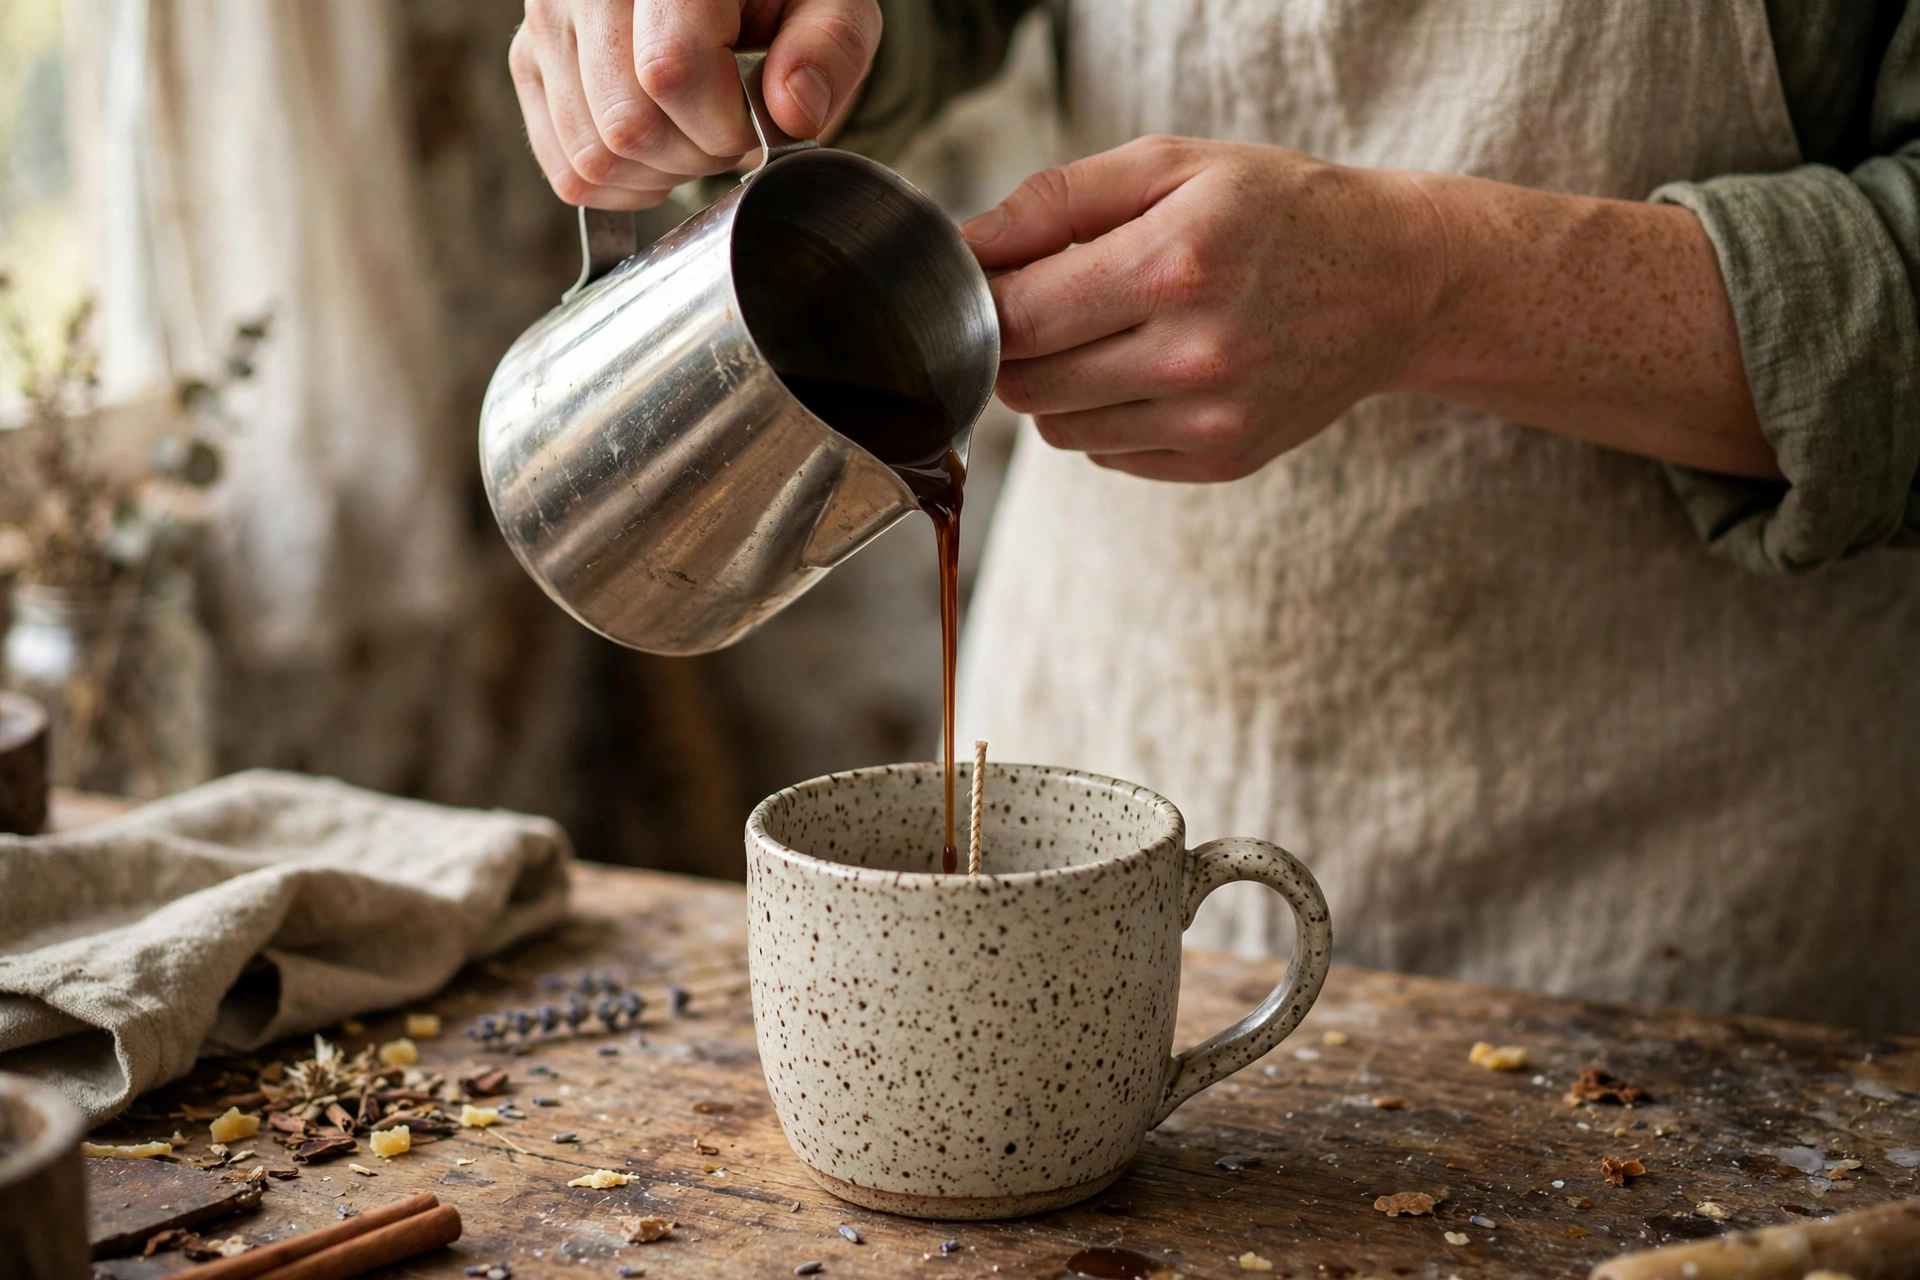
Now wait. Let the espresso layer cool and set until it’s firm to a light fingertip touch and no longer glossy — this is what keeps the next layer from melting through it. That patience is the entire secret of layering.
3. Pour the milk layer
Take another portion of your melted wax — about half of what remains — and add only a light touch of the same brown dye so it reads as creamy coffee-with-milk. Let it cool a few degrees below your normal pour temperature (cooler pours bleed less), then pour it gently over the back of a spoon held just above the espresso layer. The spoon breaks the pour’s force so it floats onto the set layer instead of punching through.
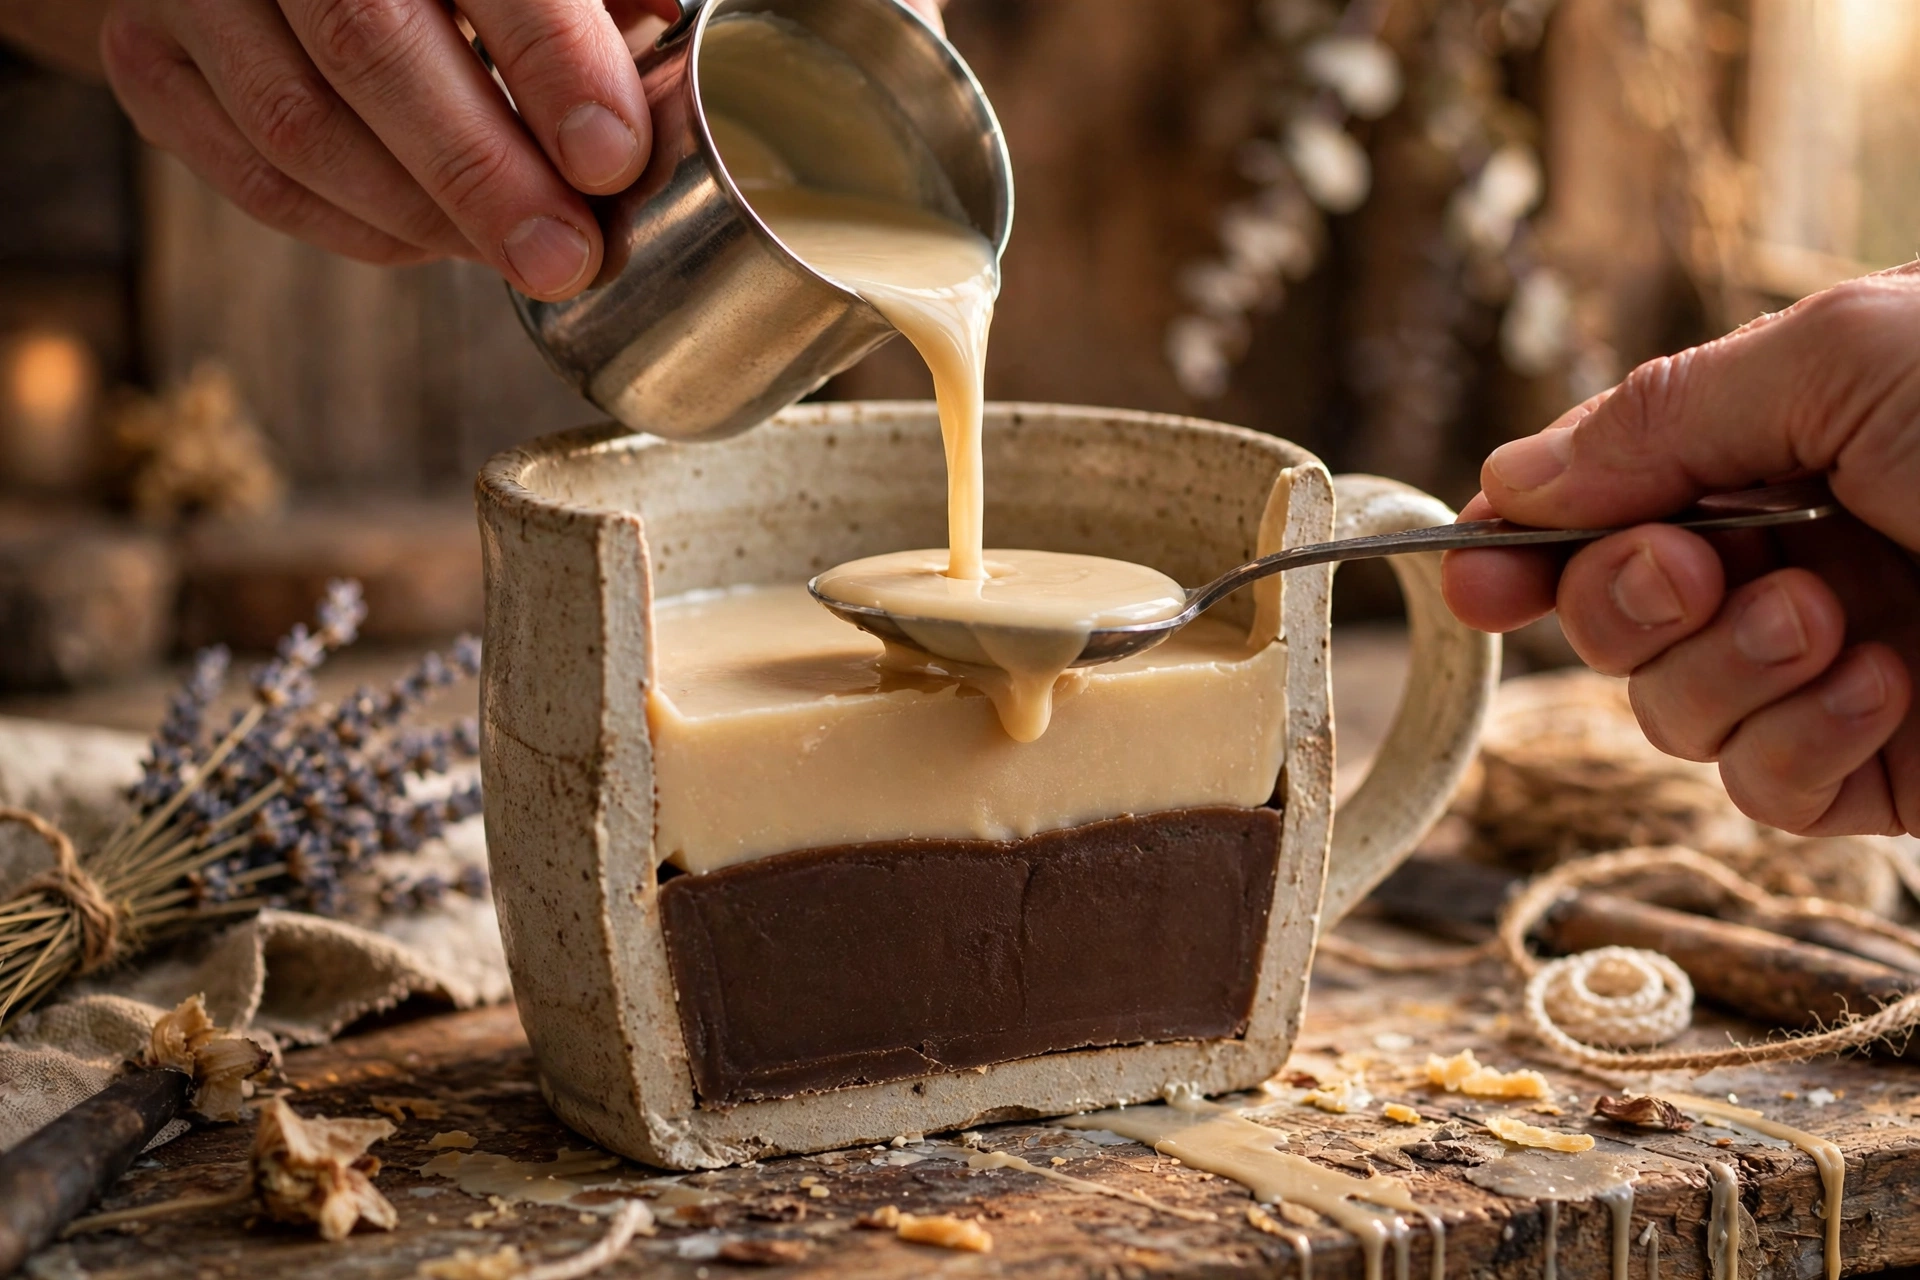
Leave about 1 inch of headspace below the rim — the whipped dollop needs room to sit tall. Let this layer set firm before moving on.
4. Whip the “cream” and add the dollop
Melt your remaining wax, add fragrance oil, and leave it undyed or tinted the faintest cream. Cool it undisturbed until it turns cloudy and thickens around the edges of the pitcher — for many container waxes that’s roughly around 100–110°F, but go by look, not the number. Then beat it with your hand mixer until it’s pale, matte, and holds soft peaks, exactly like buttercream frosting.
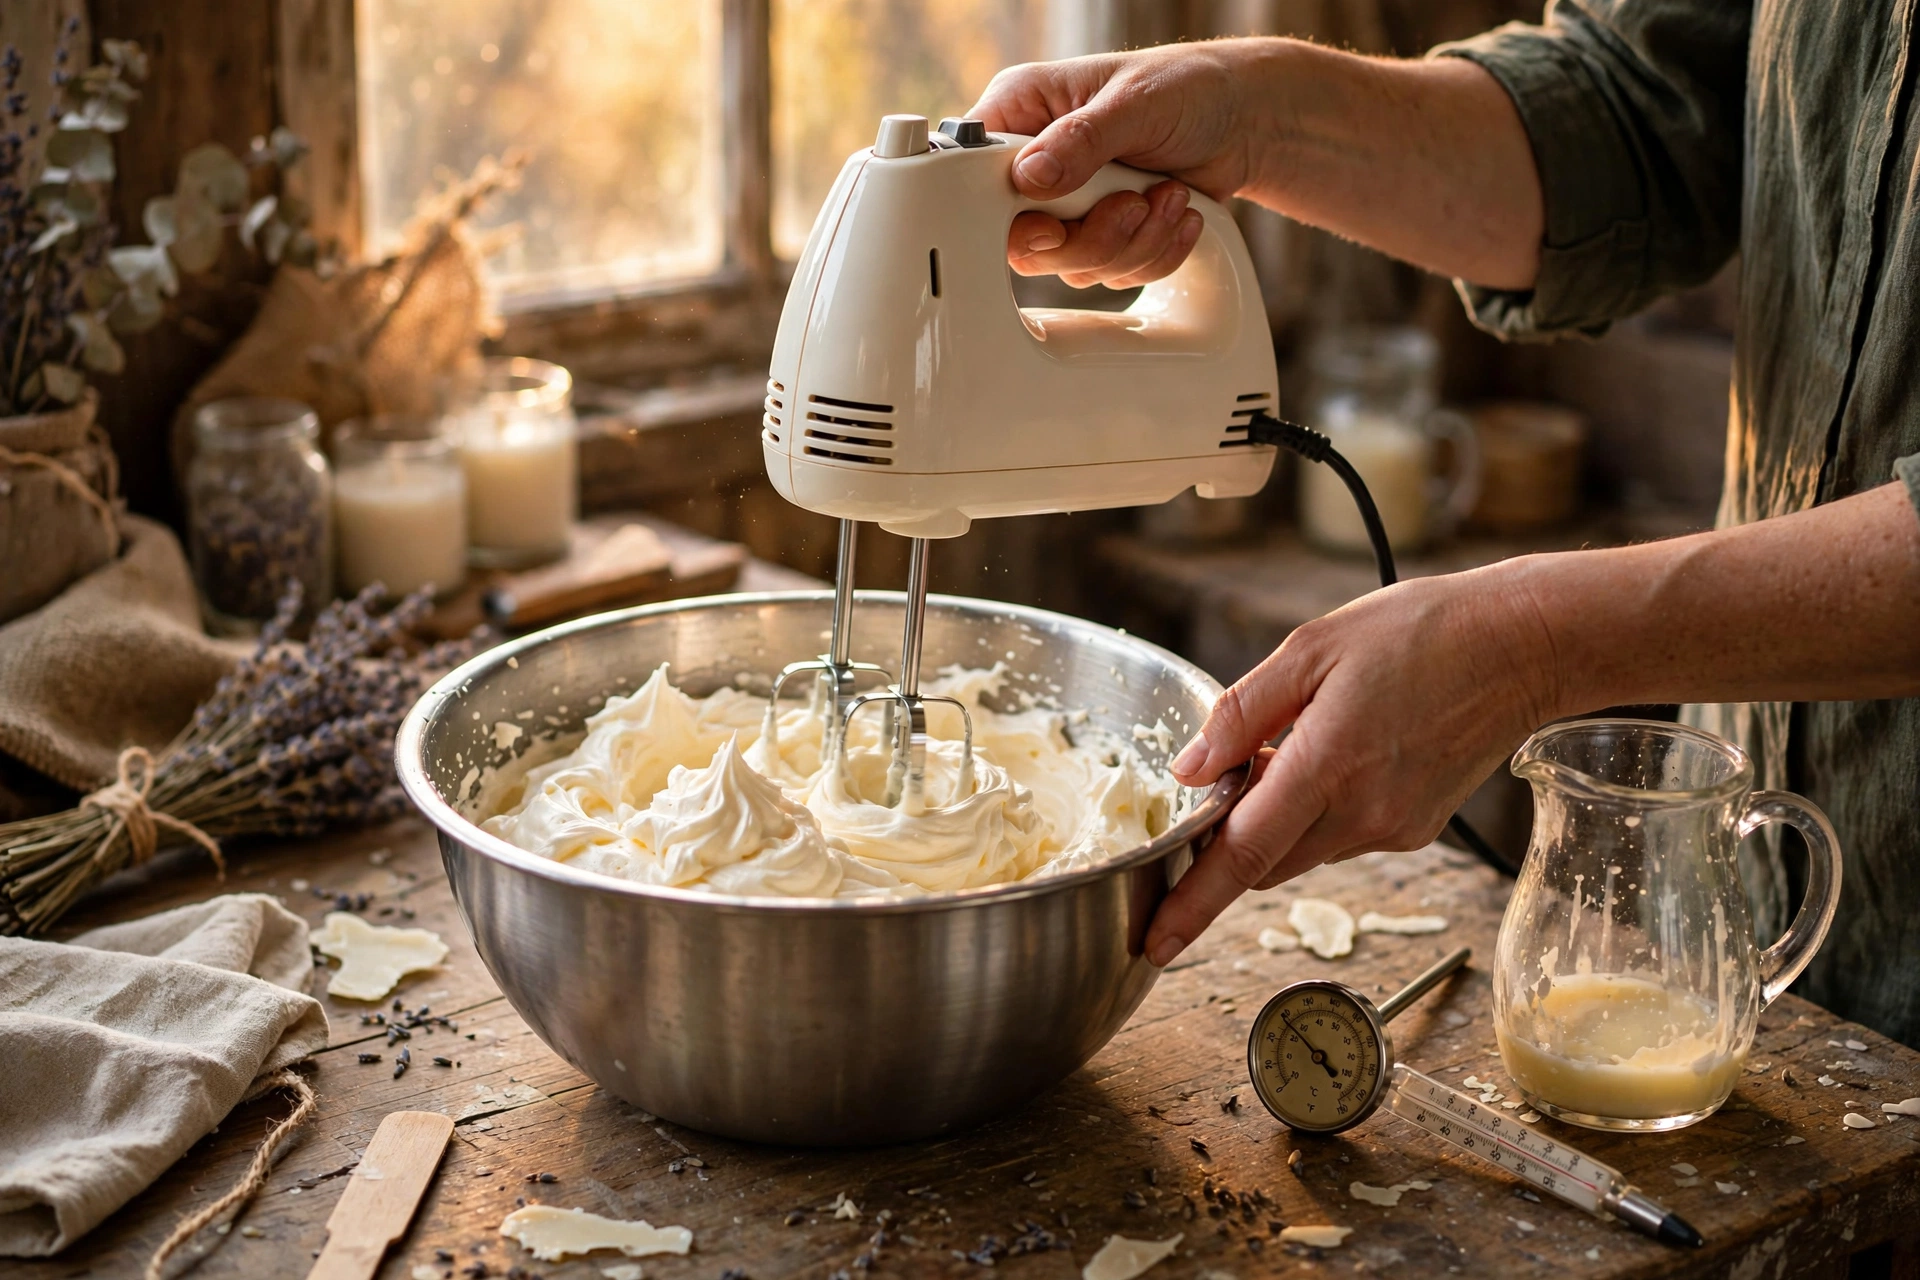
Work quickly: spoon generous dollops of the whipped wax onto the set milk layer with a spoon or piping bag, mounding it higher in the center like real whipped cream. Press it gently against the wick so it anchors, and overlap the mug edge slightly so it bonds to the layer below.
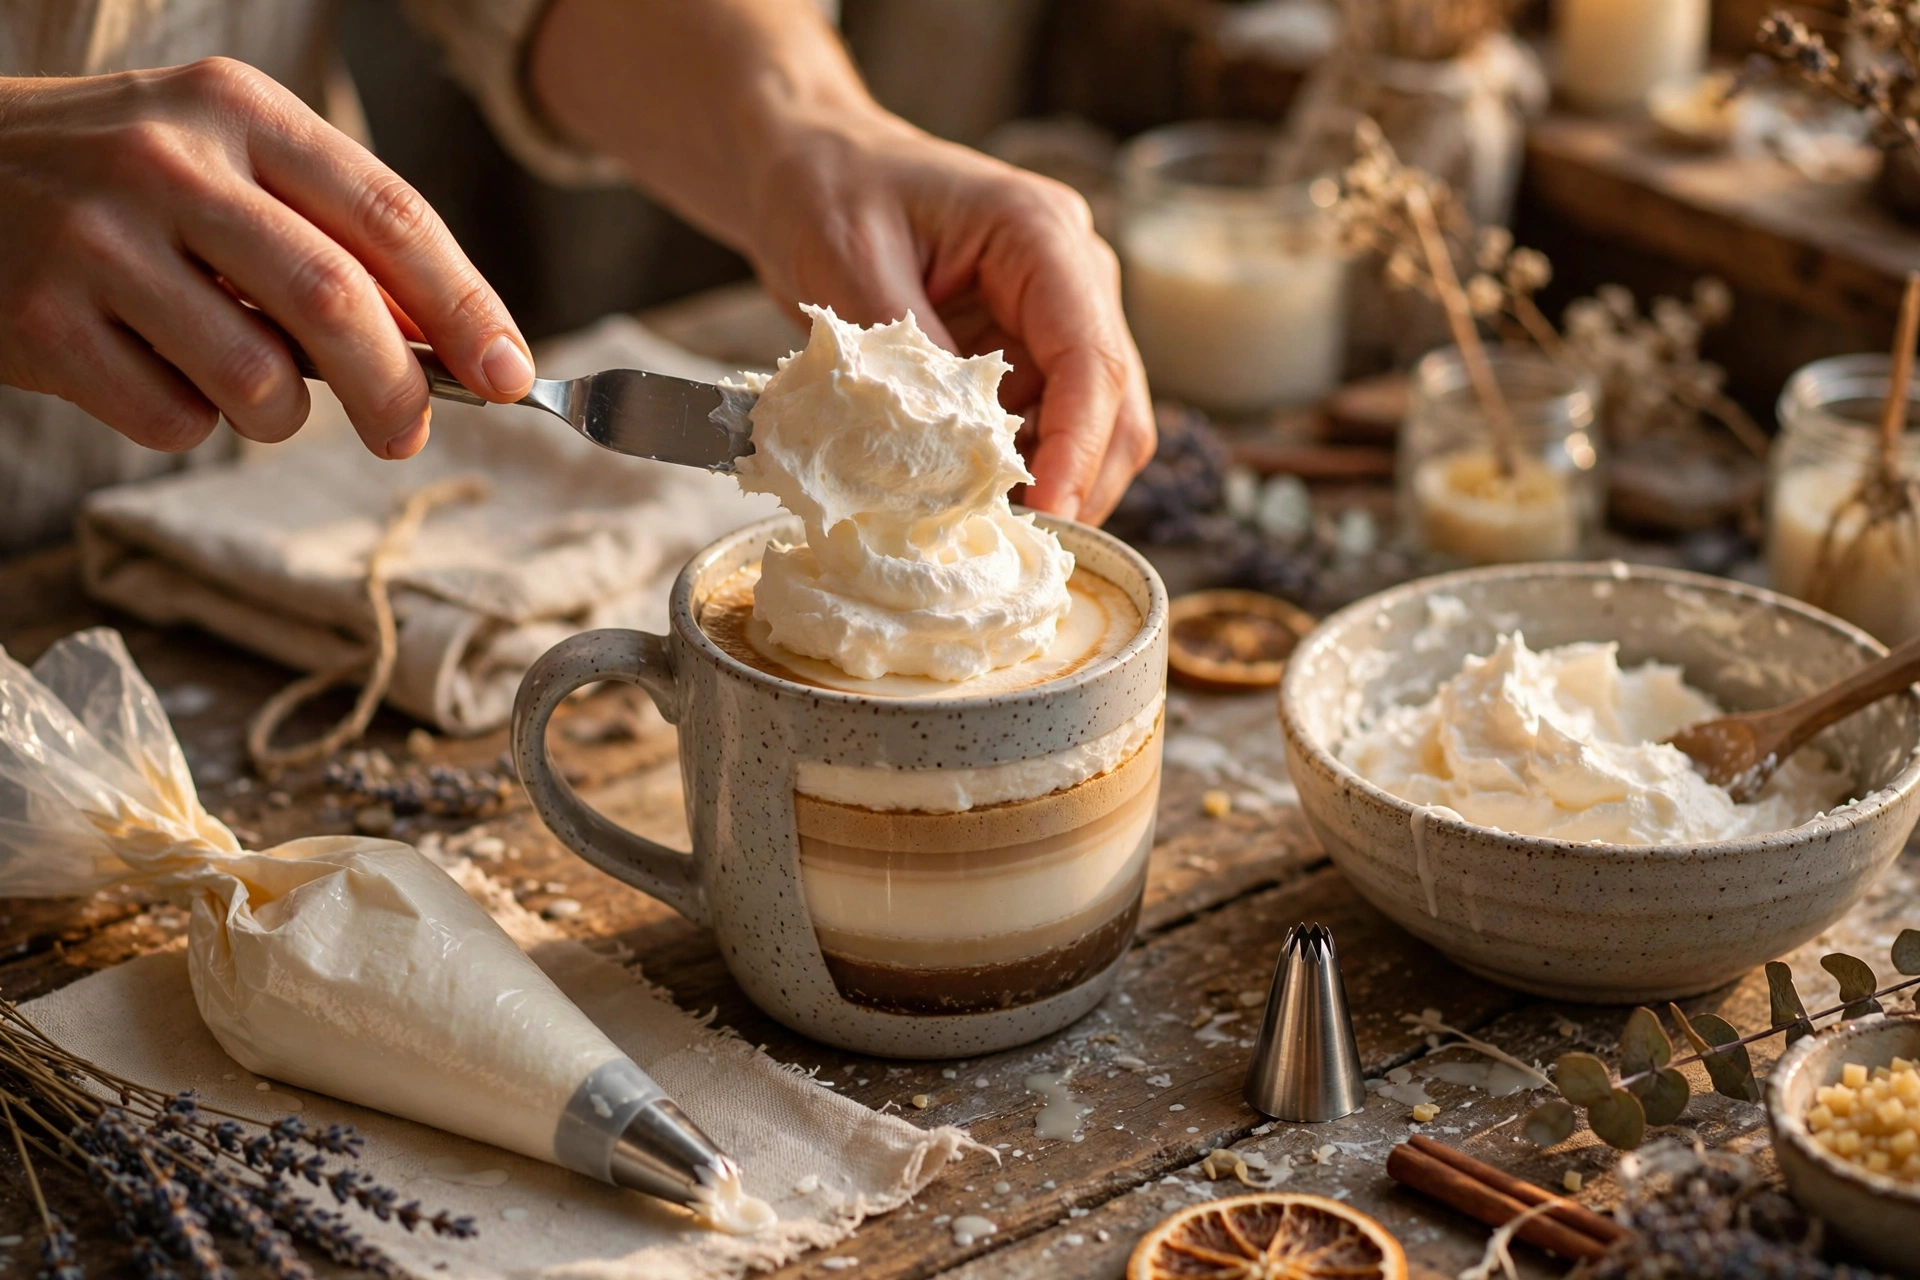
5. Cocoa dusting and caramel drizzle
While the whipped top is still soft, sift a light dusting of brown mica powder over it through a small sieve — just a whisper, the way cocoa powder sits on a real latte. Then melt a tablespoon or two of wax tinted a warm amber and drizzle it in thin zigzags across the top with the tip of a spoon.
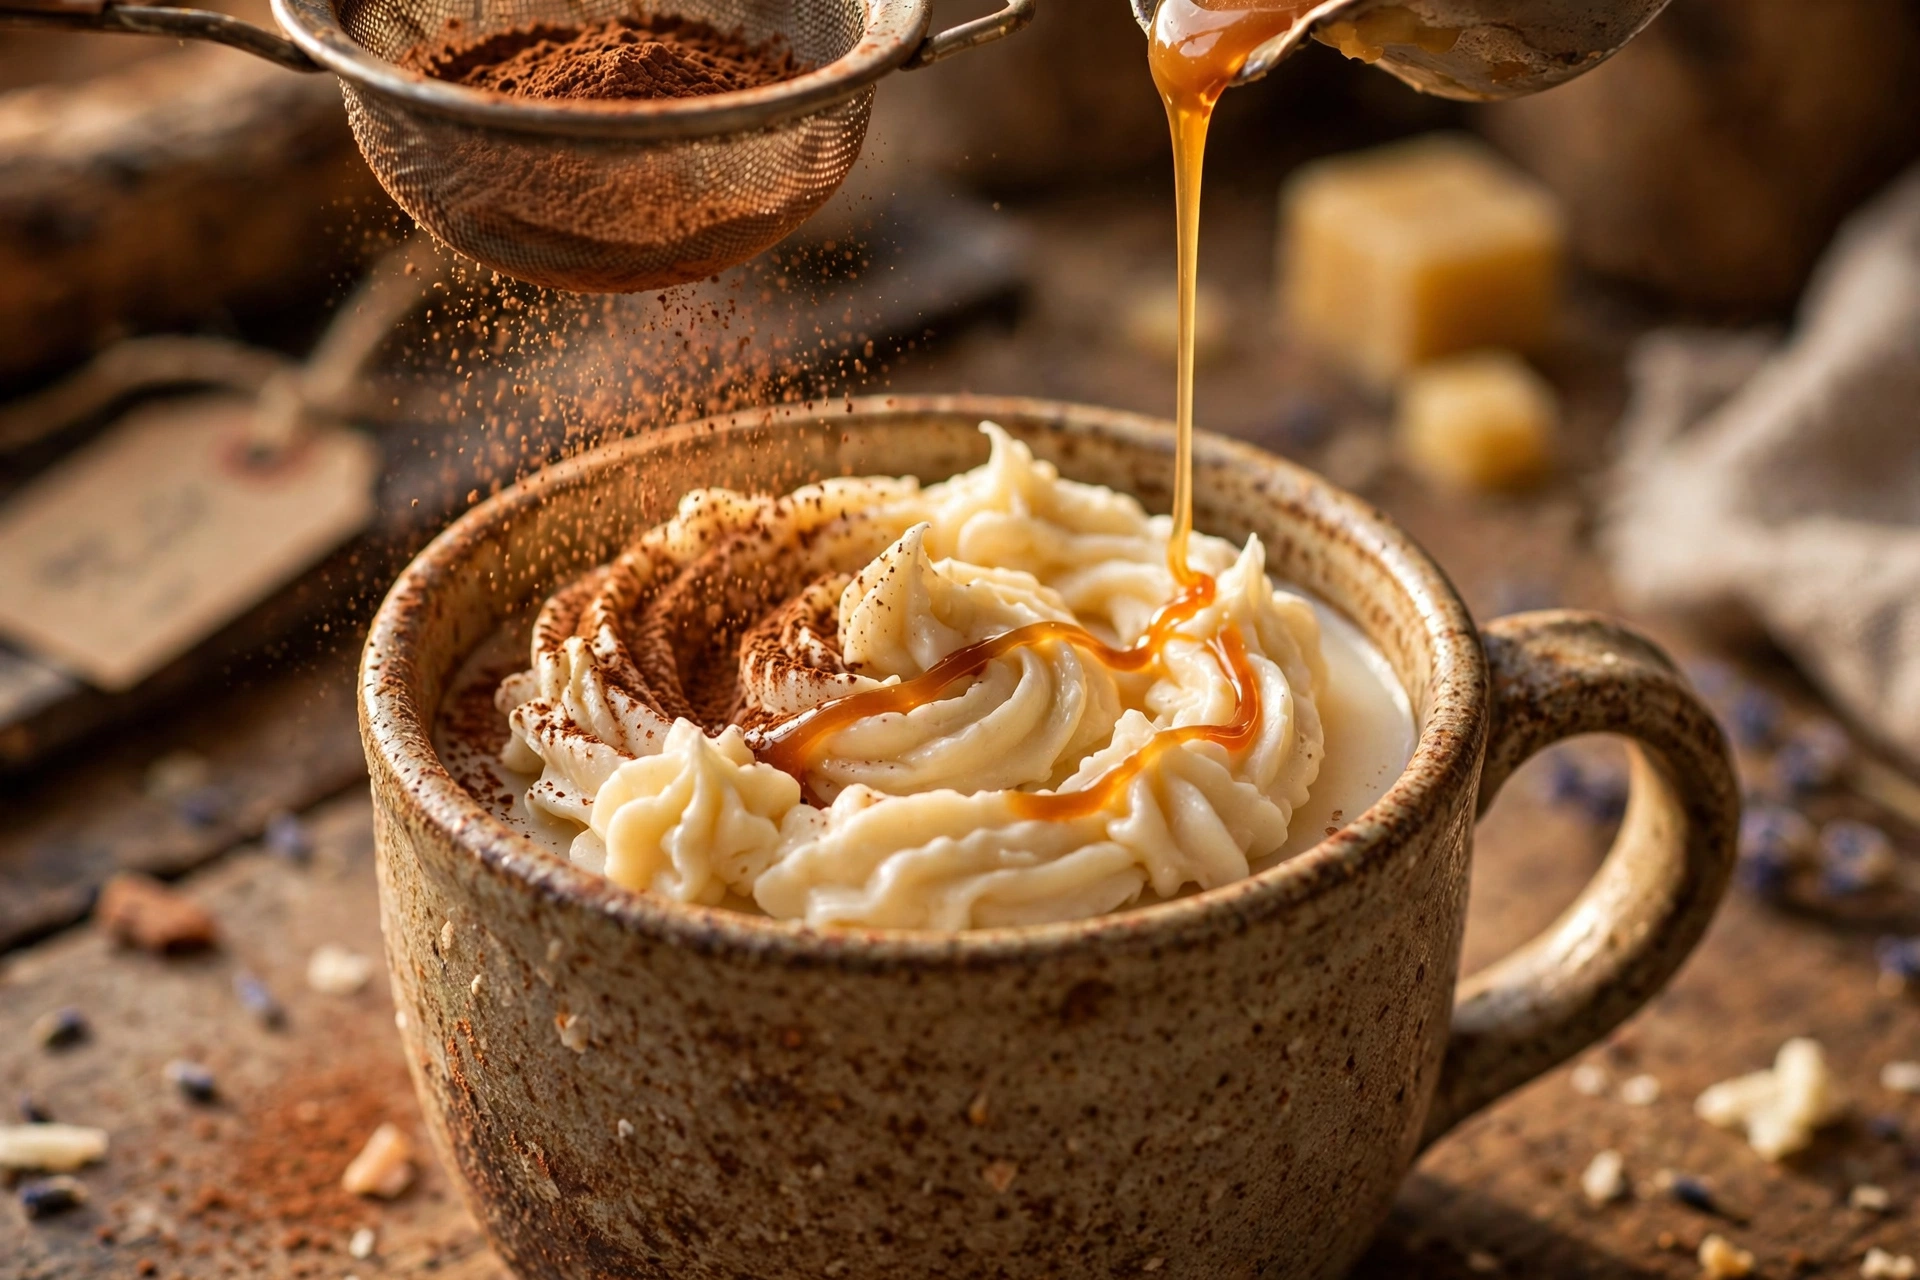
6. Cure and test burn
Let the finished candle cure like any other — about 7–14 days for soy-based waxes — so the scent fully develops. Then trim the wick to 1/4 inch and test burn it all the way through before selling or gifting. The whipped top melts down into the pool during the first burn, which runs hotter than a flat-topped candle, and the mug handles heat differently than glass — so never skip the test burn on this design.
Variations
Once the technique is yours, the menu writes itself:
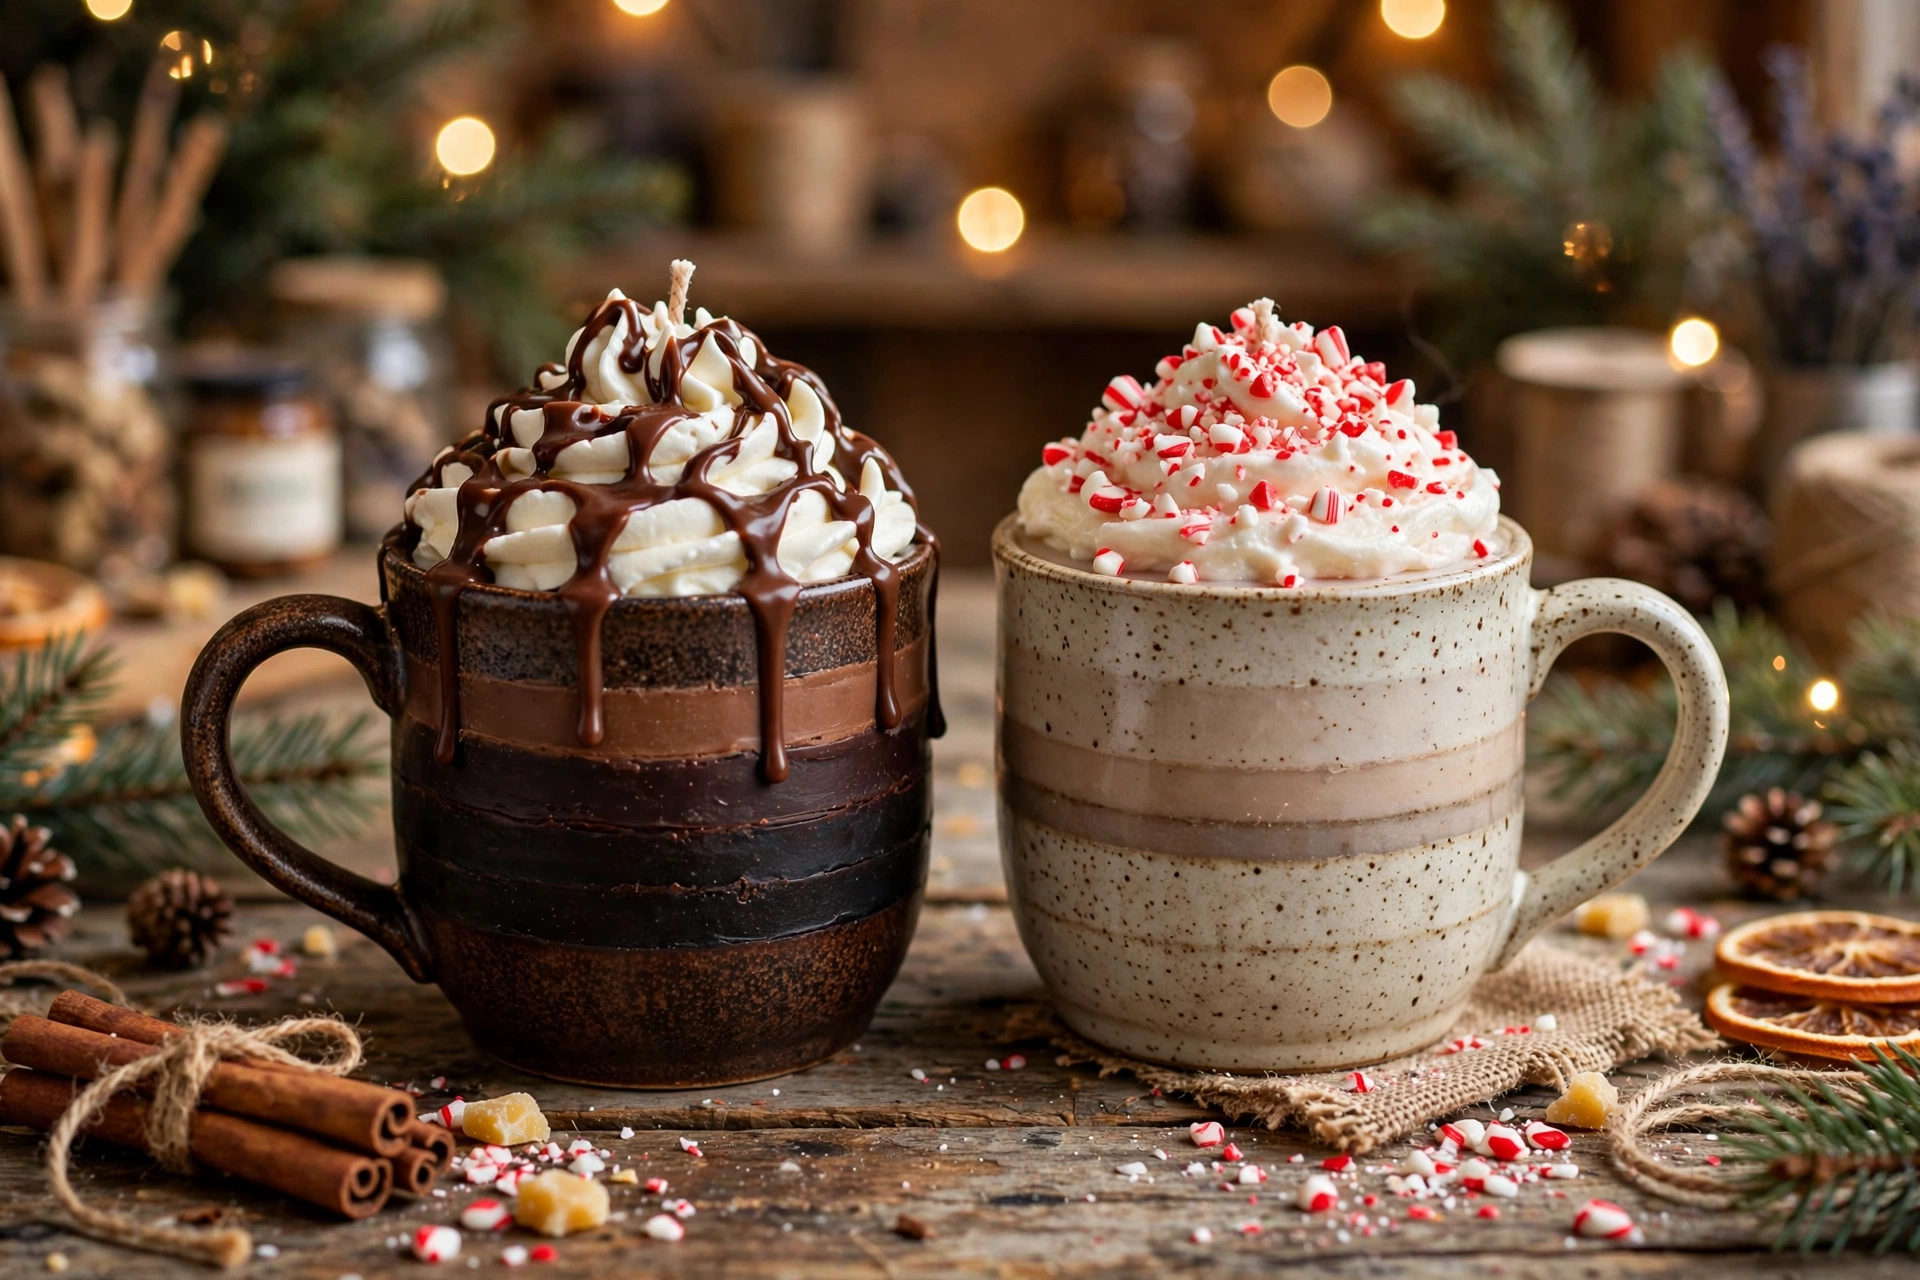
Mocha: Take both layers darker — deep chocolate brown for the espresso layer, cocoa brown for the milk layer — and swap the caramel drizzle for a chocolate-brown drizzle. Pairs with chocolate or chocolate-vanilla fragrance.
Peppermint mocha (holiday): Build the mocha version, then sprinkle tiny red-and-white wax chips over the whipped top like crushed candy cane. Make the chips yourself: pour a thin sheet of red-tinted wax and a thin sheet of white wax on parchment, let them harden, and shatter them into small pieces. Peppermint or peppermint-vanilla fragrance completes it.
Troubleshooting
Layers bled together? Either the bottom layer wasn’t firm enough, or the top layer was poured too hot. Wait until the bottom layer is fully firm and pour the next layer a few degrees cooler — always over the back of a spoon.
Whipped top melted flat? It was whipped too warm, or spooned onto a warm milk layer. Whip cooler (cloudy and thick, not just slightly cooled) and only top a fully hardened layer.
Mug cracked? Pouring too-hot wax into a cold mug, or a mug that already had a hairline crack. Pre-warm the mug every time, inspect it first, and discard any mug that crazes or cracks — don’t try to salvage it.
Relief pour needed? If the milk layer sank around the wick as it cooled, pour a thin matching layer of milk-colored wax at a low temperature to level it before whipping.
Wick drowning after the dollop? The whipped top added more fuel than the wick can handle. Trim the dollop lower, and re-test with a wick one step up — test burns on the exact finished design, not the flat candle, are what count.
Gift presentation
Latte candles make outstanding gifts because the mug is part of the present. Slide the mug into a clear cellophane bag, tie it with twine and a small “not food / do not eat” tag, and tuck in a packet of real coffee or a cinnamon stick beside it. The tag matters — anyone receiving this should know at a glance that the “whipped cream” is wax.
Safety first
All the standard rules apply: trim the wick to 1/4 inch before every burn, never leave a burning candle unattended, keep burns to 4 hours or less, and keep the candle away from drafts, pets, and children. Three extras for latte candles:
They look like food. A mug candle can fool anyone — keep finished latte candles away from small children and anyone who might mistake them for a drink, label them clearly as non-edible, and never leave one where kids can reach.
The whipped top changes the burn. The dollop melts down and adds fuel to the melt pool, so the first burn runs hotter than a flat candle in the same mug. Test burn the finished design — don’t assume the wick that worked for a plain pour is right here.
Ceramic holds heat. A thick mug stays hot longer than a thin glass jar. Let the candle cool fully before handling the mug, and stop burning when about 1/2 inch of wax remains so the wick tab never heats the bare ceramic.
Next steps
New to wick testing? Our wick selection and test burn tutorial walks through sizing for any vessel, including mugs. Log every test with the free Burn Test Log tool. Want more dessert-style projects? See whipped wax dessert candles, and our fragrance blending tutorial for building coffeehouse and bakery scent blends.



