
Tropical Cocktail Candles: Piña Colada in a Hurricane Glass
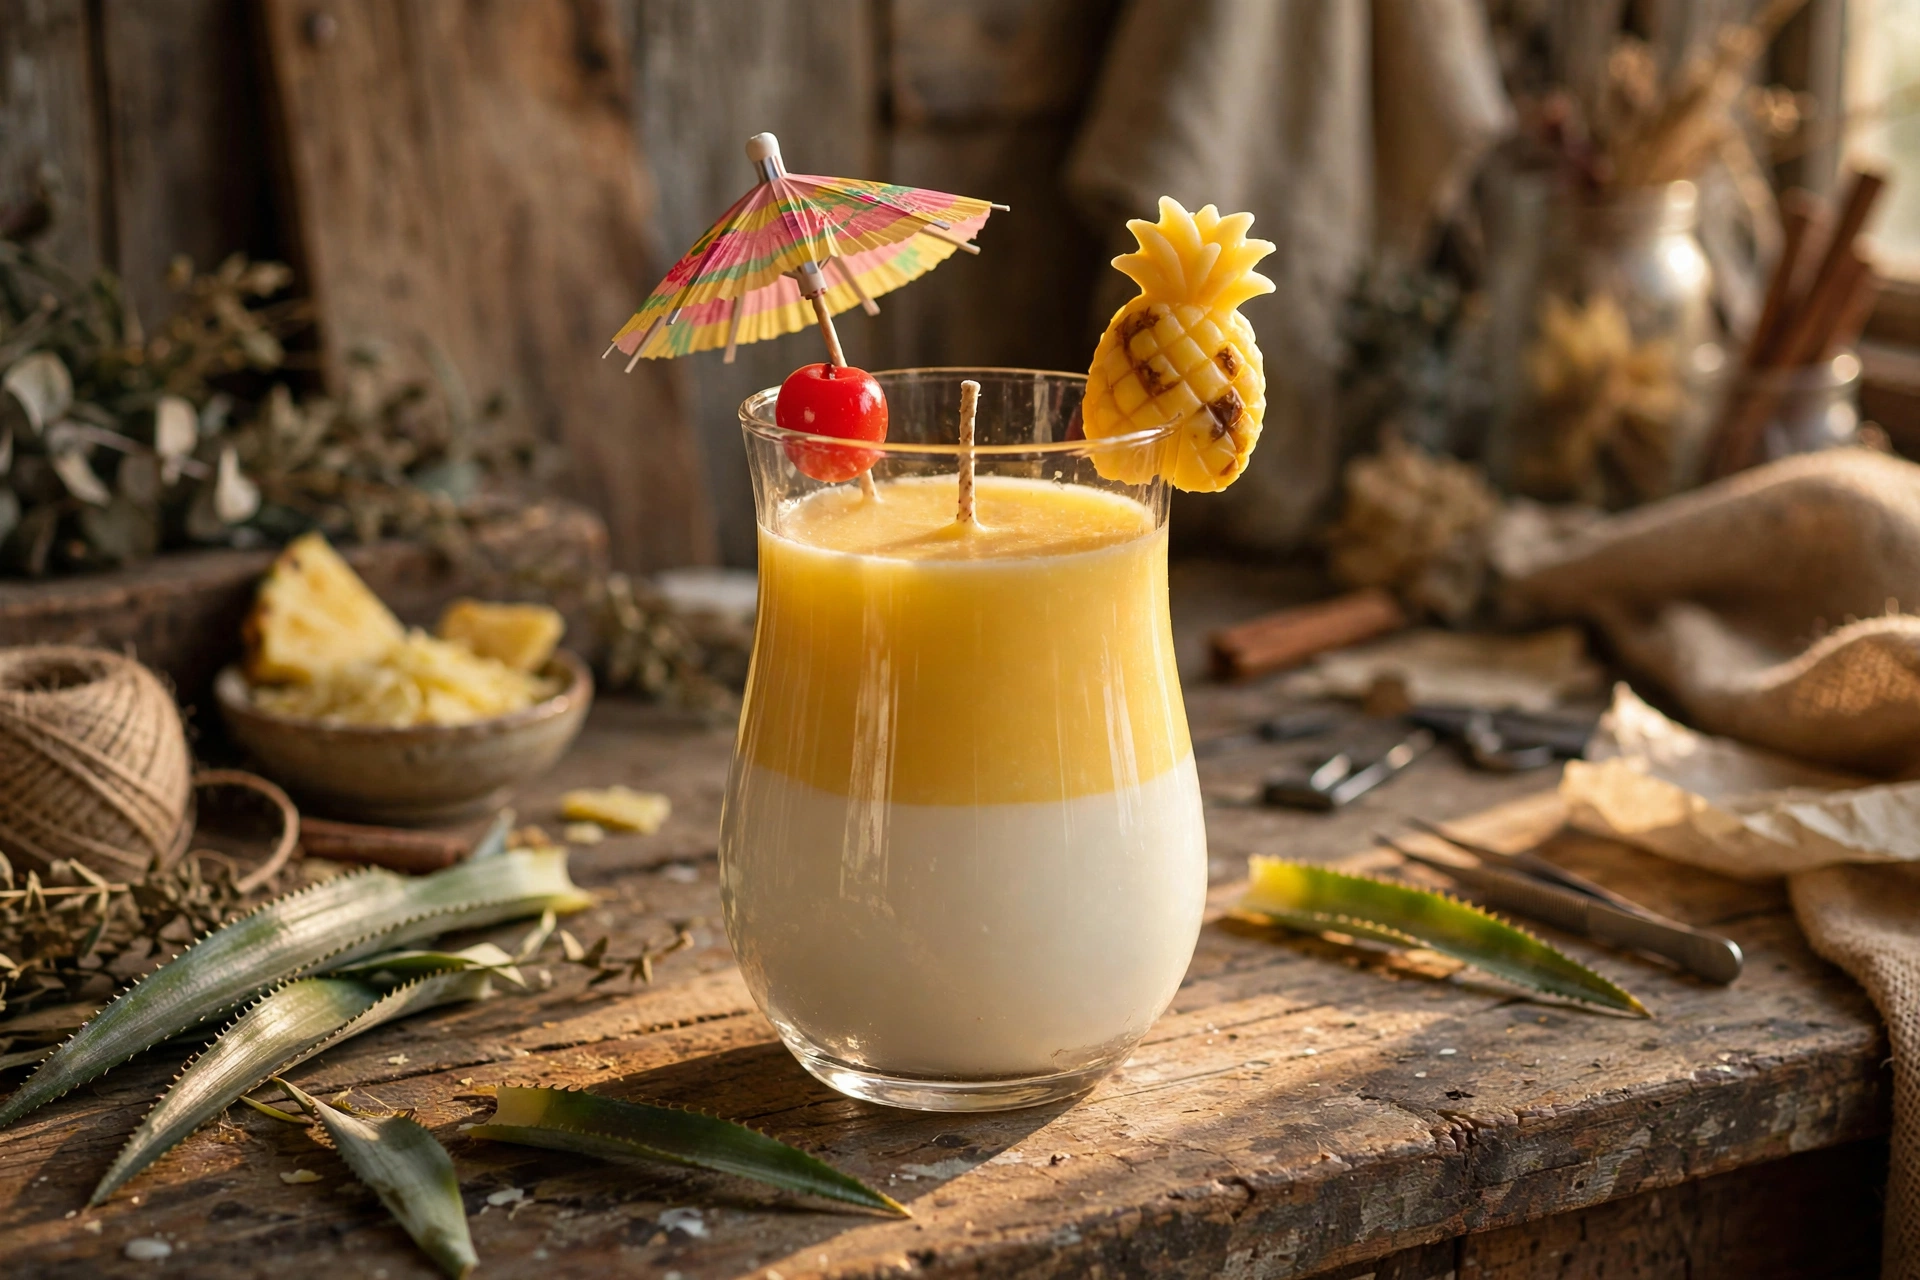
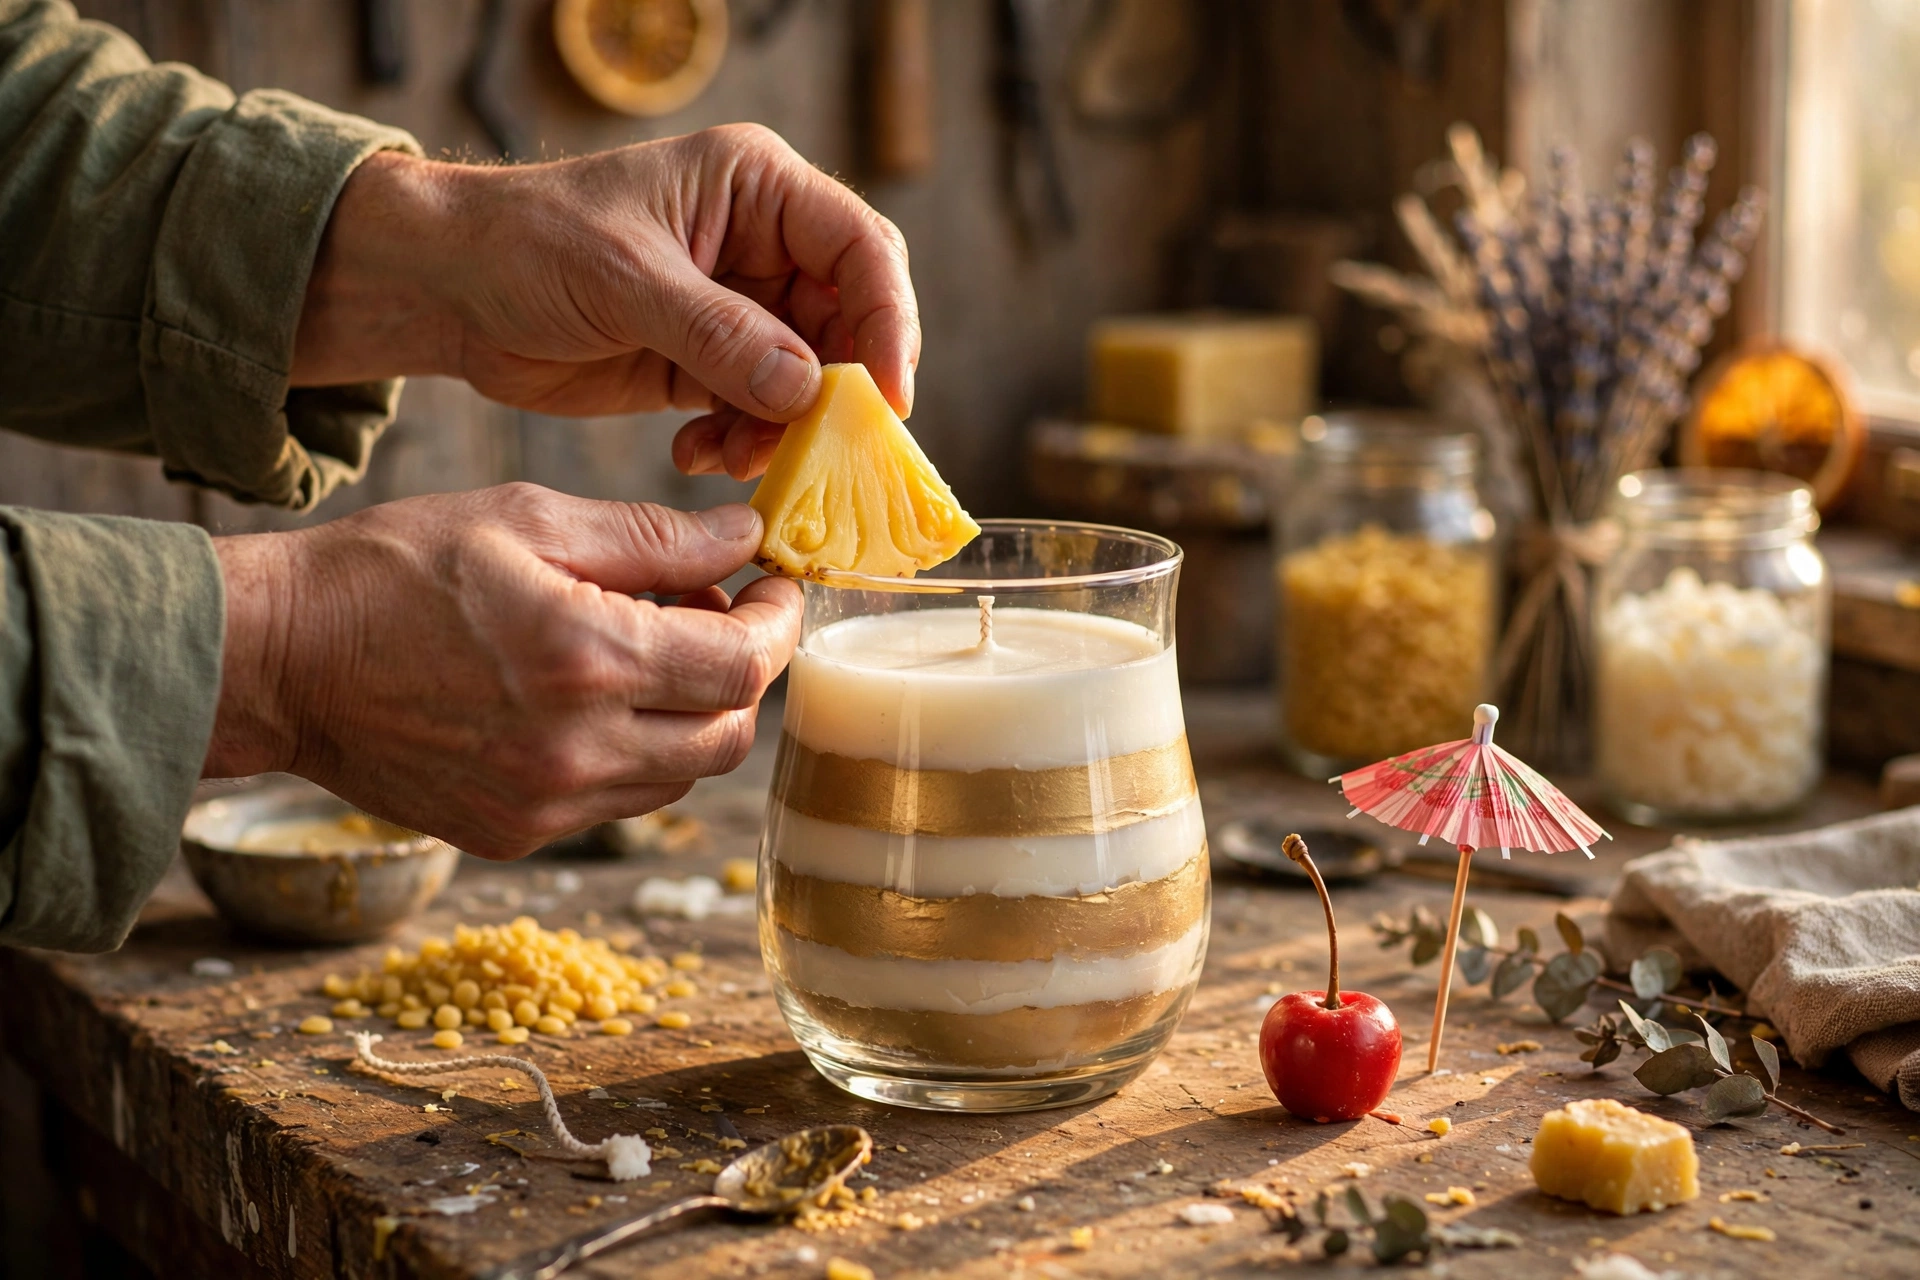
Layered coconut-and-pineapple wax, a wax pineapple wedge on the rim, a wax cherry, and a paper cocktail umbrella — these tropical cocktail candles look like the drinks menu at a beach bar. They’re simpler than they look: one two-layer pour technique, a few wax garnishes you make yourself, and they’re summer-party ready.
How layered cocktail candles work
A layered candle is just a normal container candle poured in stages. You pour the first color, let it set until it’s firm but still warm to the touch, then pour the next color on top. The timing is the whole trick: pour too soon and the colors bleed into each other; wait until it’s stone cold and the layers can separate later. A firm-but-warm previous layer bonds cleanly with the new pour, giving you that crisp cocktail look.
What you’ll need
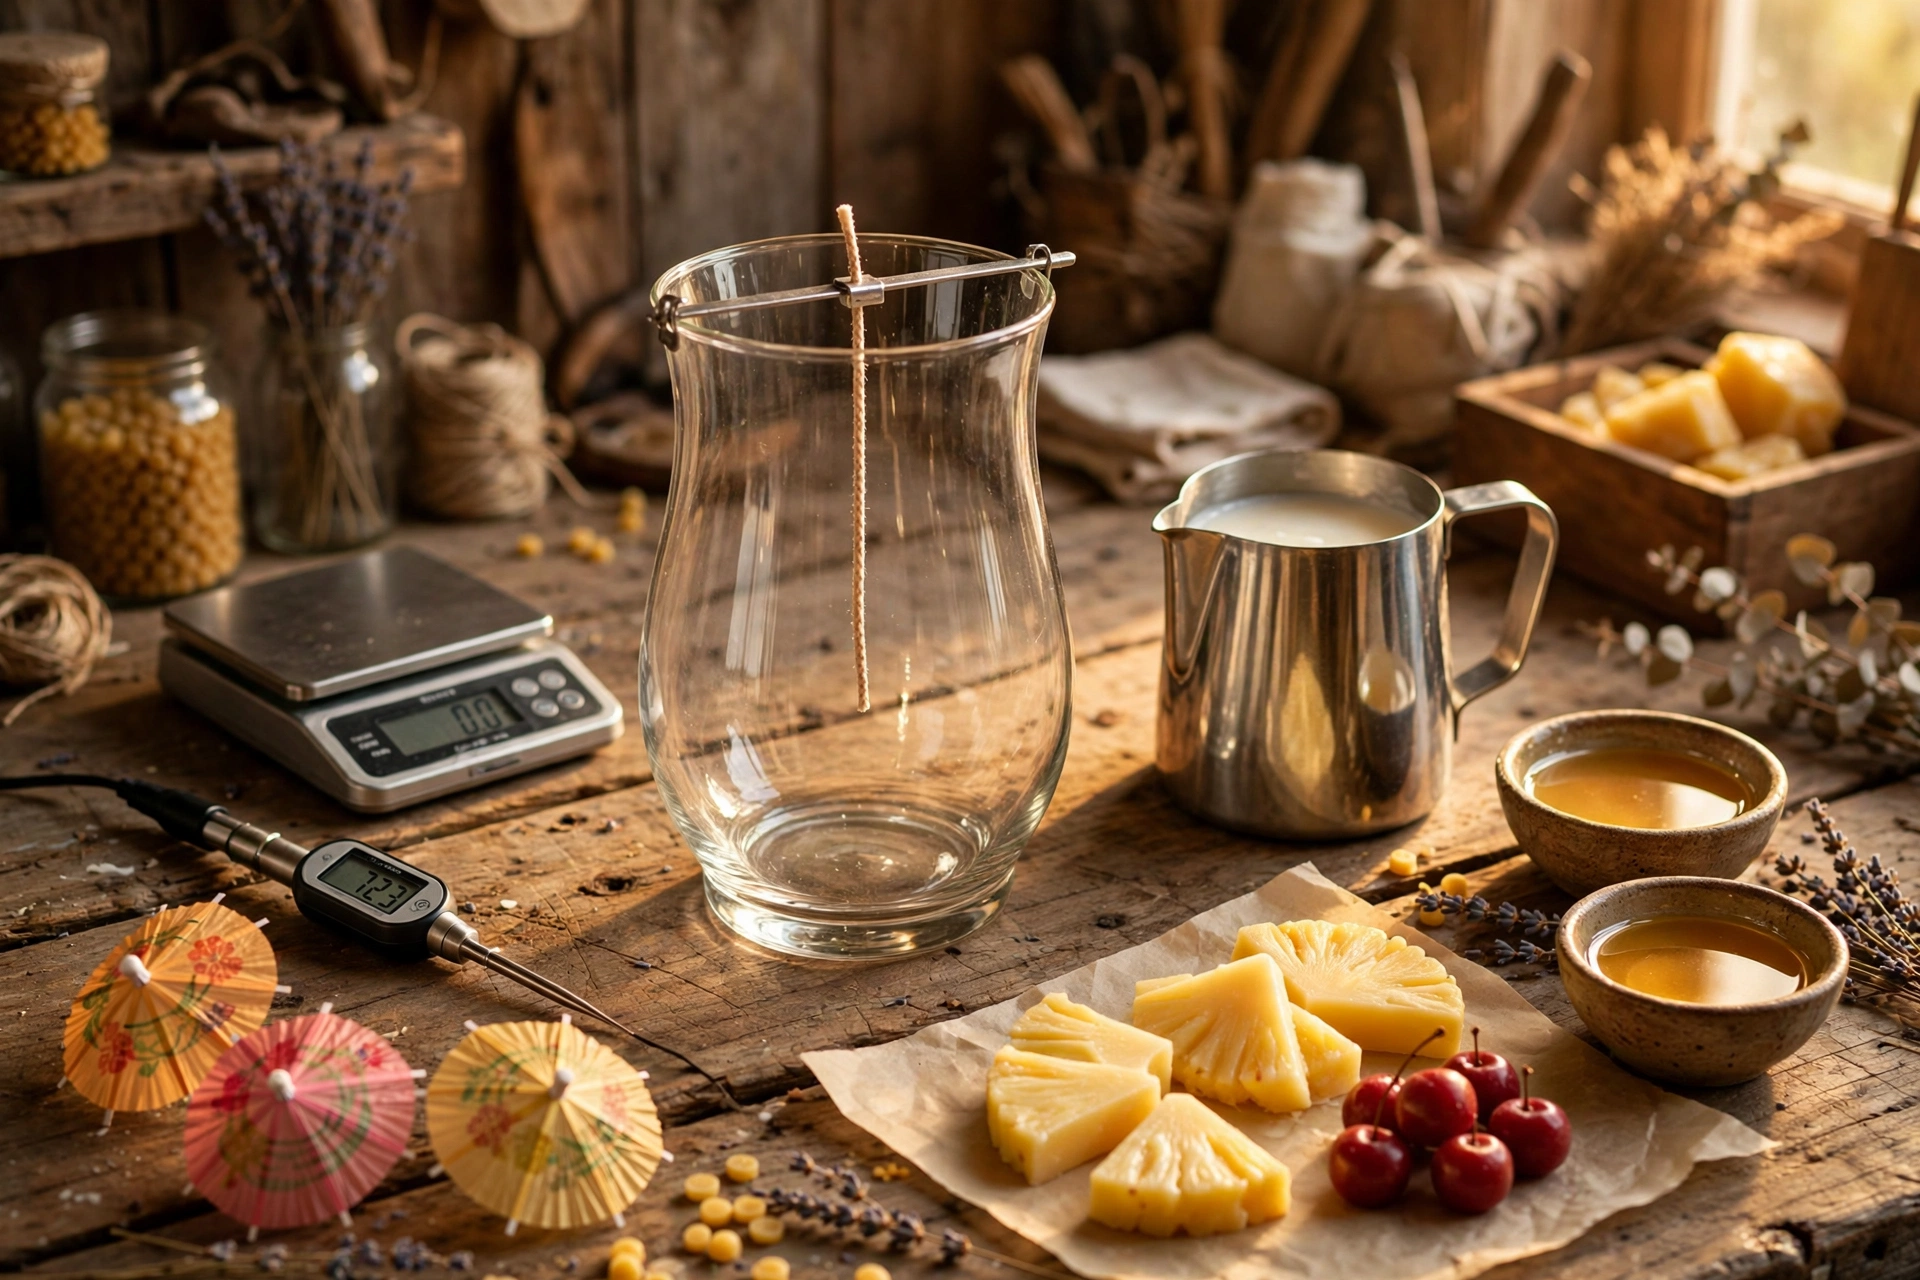
- A heat-safe hurricane glass or similar thick-walled cocktail-style glass
- Container wax, split into two batches (one cream/white, one golden yellow)
- Wicks sized for a wide vessel — see the wick note below
- Wick stickers or holders and a wick centering device
- Fragrance oil made for candles, at your wax’s recommended percentage load
- Candle dye or color — white/cream and golden yellow, blended by color percentage
- A small amount of red wax and green wax for garnishes (or dye your own batch)
- Small silicone molds or a knife and parchment for shaping wax garnishes
- Paper cocktail umbrellas and decorative picks — for photos only, removed before burning
- Thermometer, pouring pitchers, digital scale
Wick sizing for a wide glass
Hurricane glasses are wide — and wide vessels are where wick sizing matters most. Measure the inside diameter at the widest point of the glass. Then read your wick supplier’s sizing chart for your wax family and vessel diameter, and treat the chart as a starting point. Very wide glasses may need a larger wick or even multiple wicks. You prove the answer the same way every professional chandler does: with test burns. Pour test candles with your exact wax, fragrance load, and dye combination, then check for an edge-to-edge melt pool within 2–4 hours, a steady 1-inch flame, and no mushrooming or soot. See the full method in our wick selection and test burn tutorial.
Steps
1. Wick the hurricane glass
Secure your wick(s) in the center of the glass with a wick sticker or holder, and keep them centered with a wick holder bar across the rim. Centered wicks matter doubly here — in a wide glass, an off-center wick leaves un-melted wax along one wall and can overheat the glass on the other side.
2. Pour the coconut layer (creamy white)
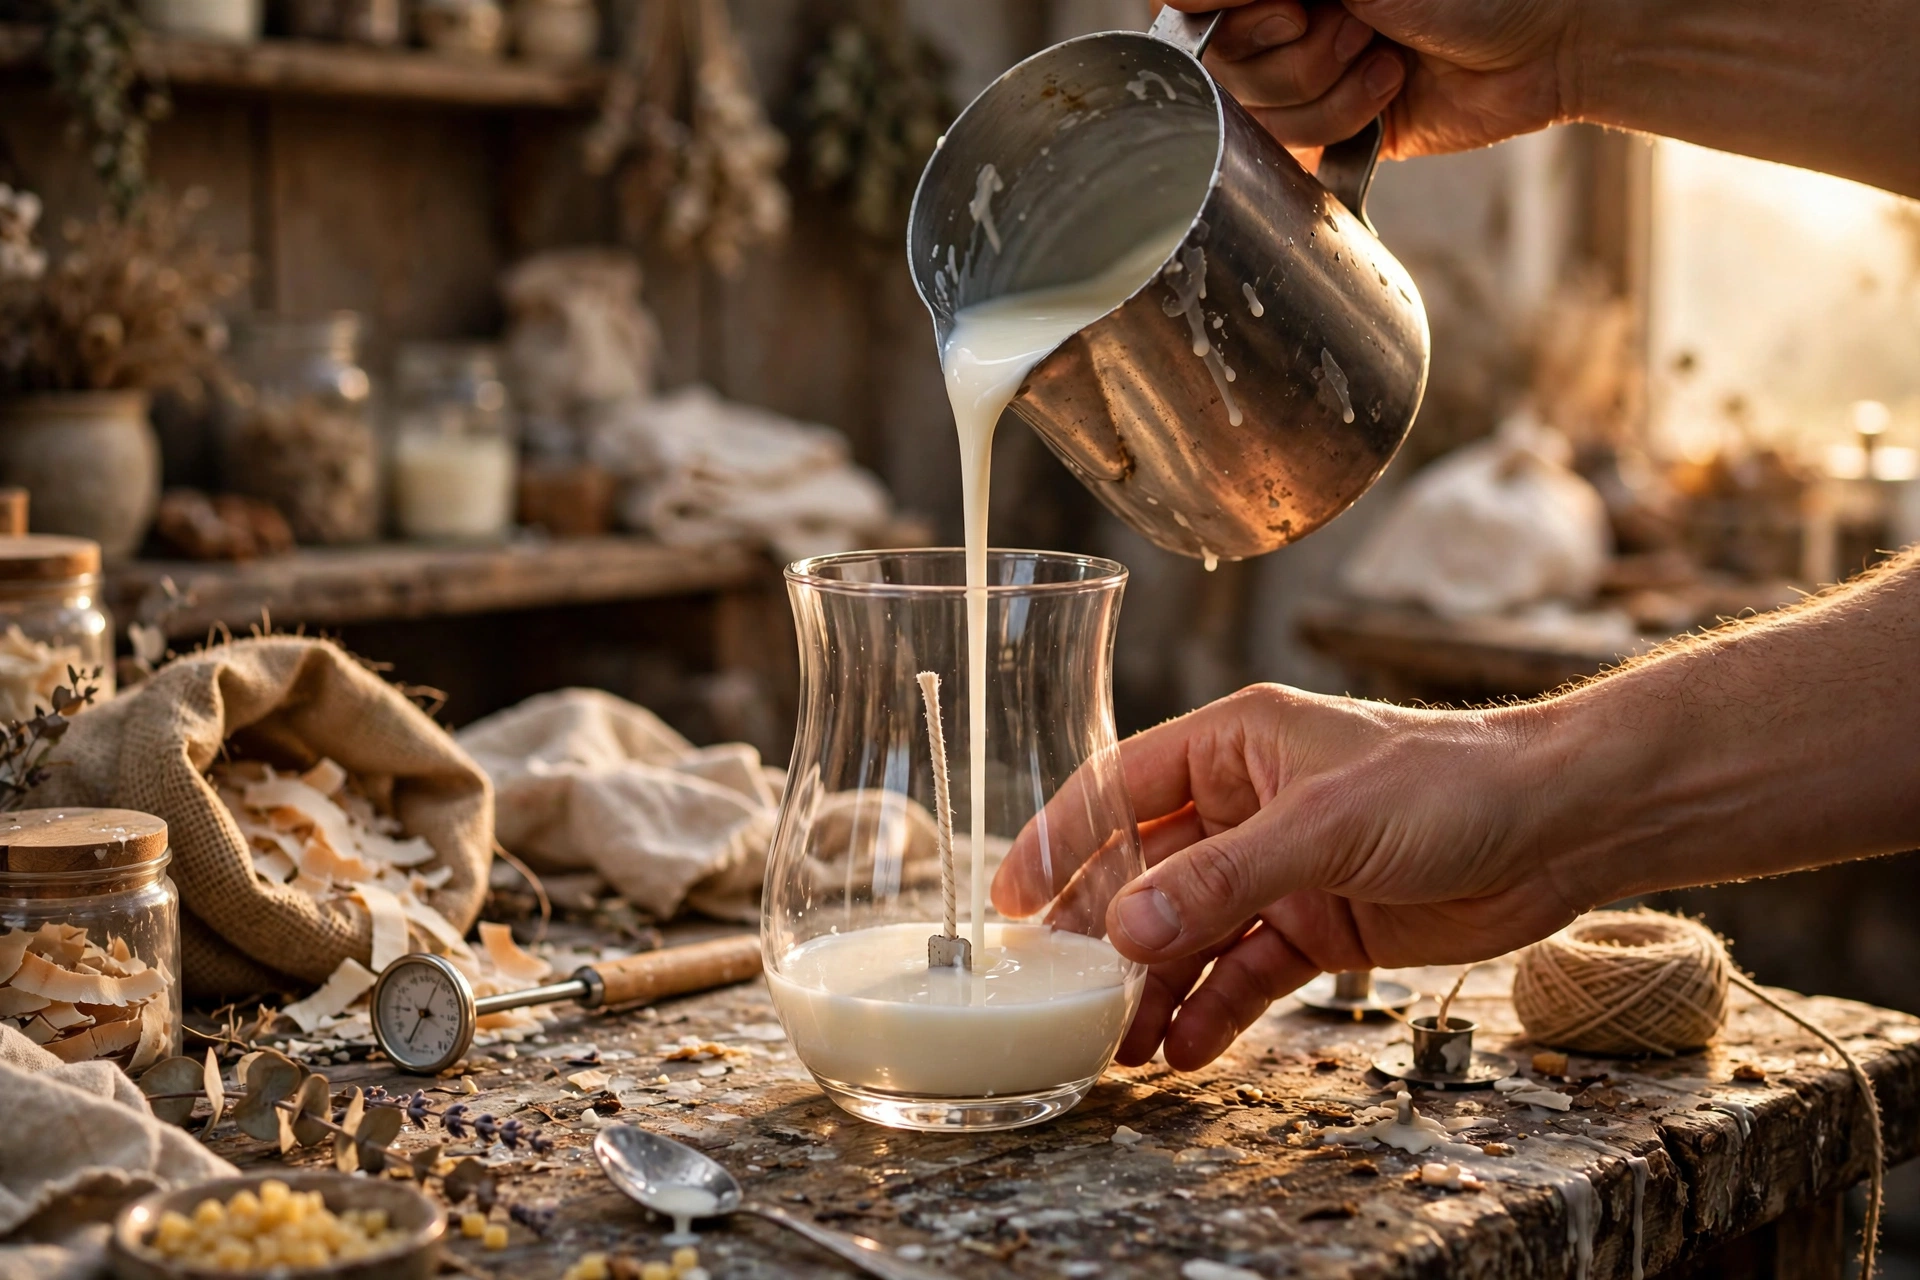
Melt your wax, add fragrance at your wax’s usual addition temperature, and dye the batch creamy white. Fill the glass to about half of your planned wax height and pour. Let this layer set until it’s firm and opaque but still slightly warm to the touch — typically a few hours at room temperature.
3. Pour the pineapple layer (golden yellow)
Melt your second batch and dye it golden yellow, scenting it the same way. Let it cool a bit below the first layer’s original pour temperature — a cooler second pour is the single best defense against bleeding, because hot wax melts the top of the layer below and the colors swirl together.
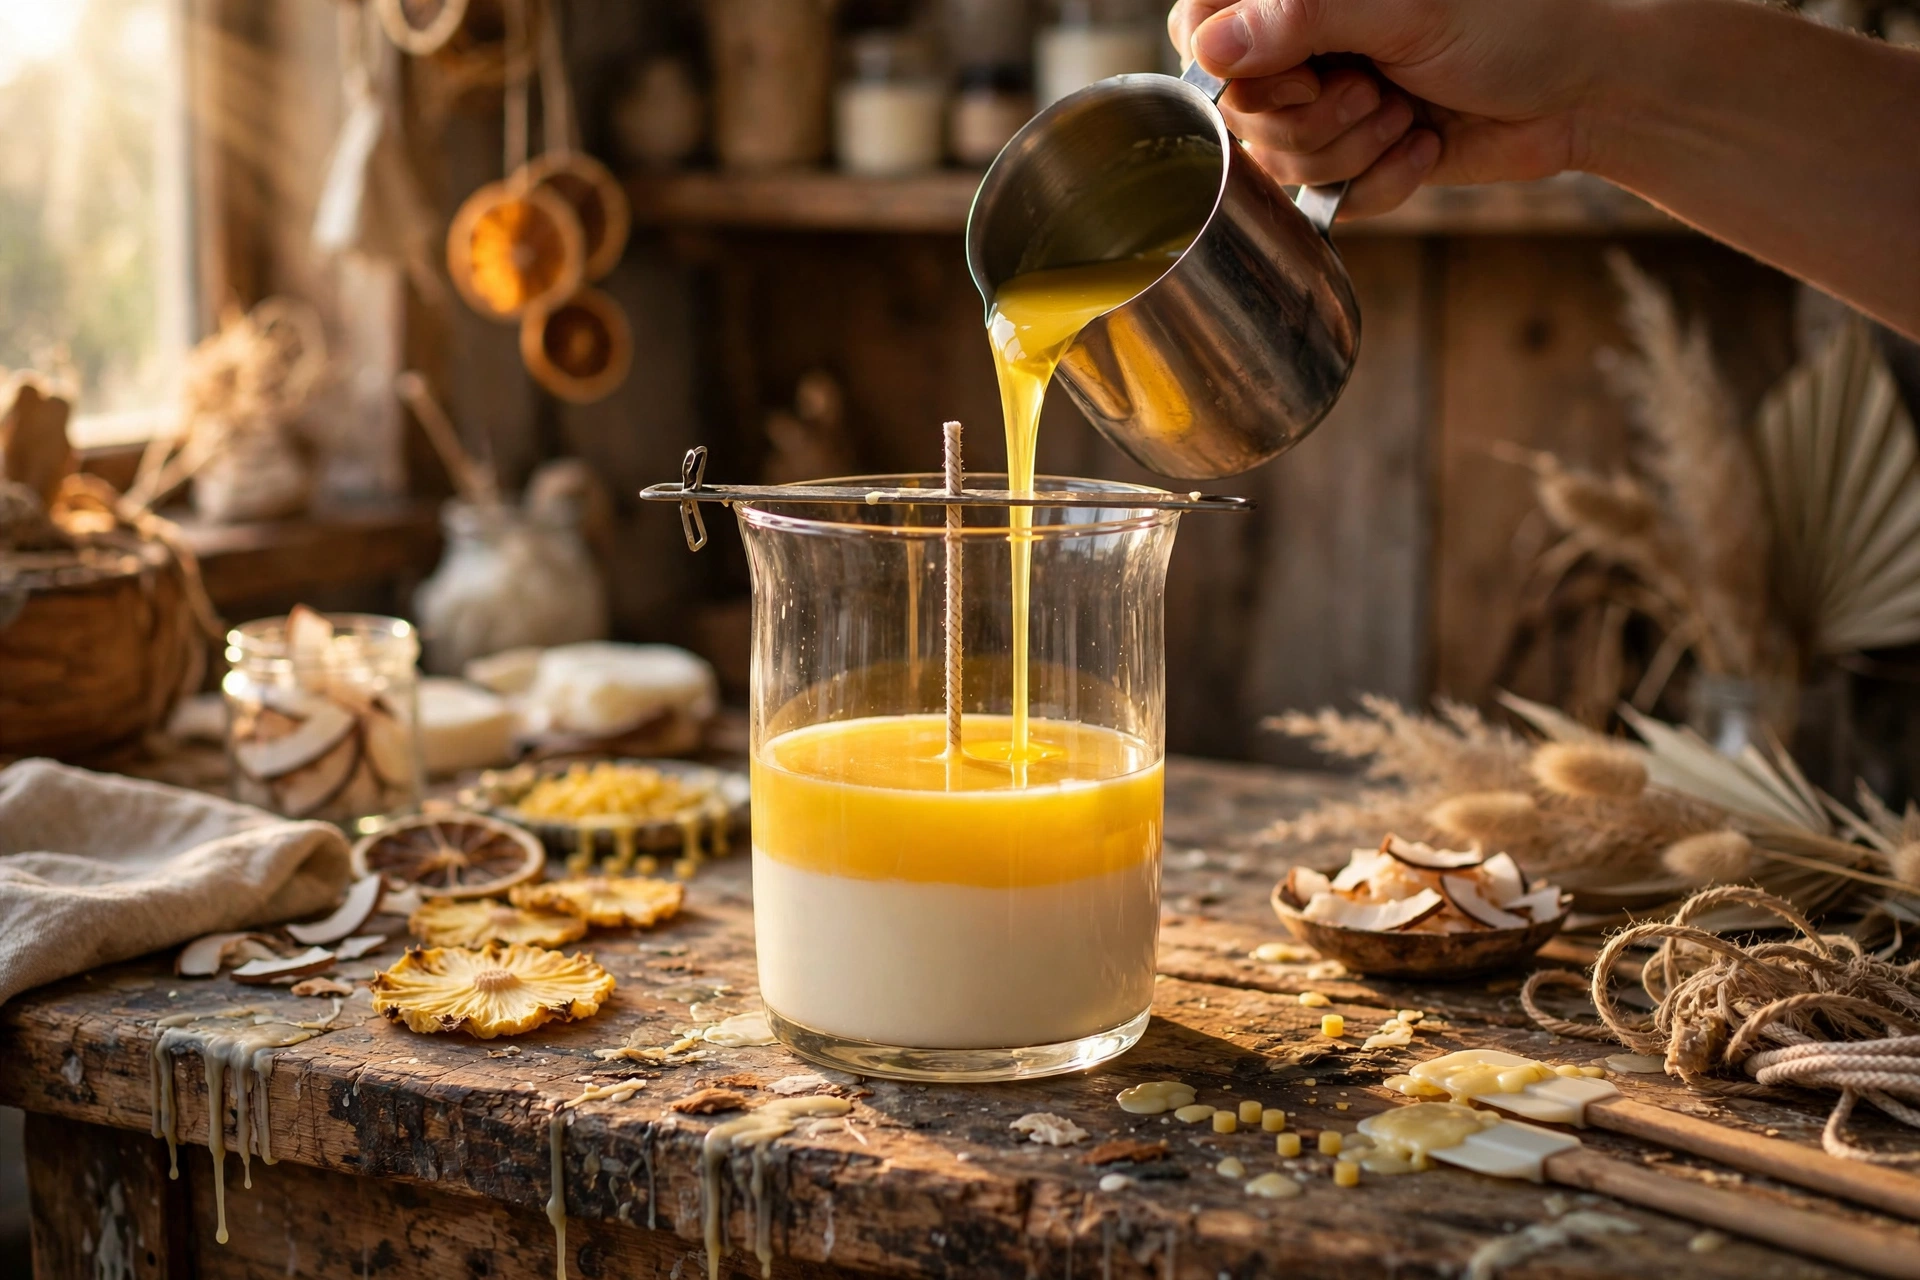
Check the first layer: it should be firm to a light fingertip touch, with no liquid spots, and still faintly warm. Pour the golden layer slowly over the back of a spoon or down the side of the glass so it lands gently instead of punching through the surface below. Fill to about 1/2 inch below the rim — the garnishes need headroom.
4. Shape the wax garnishes
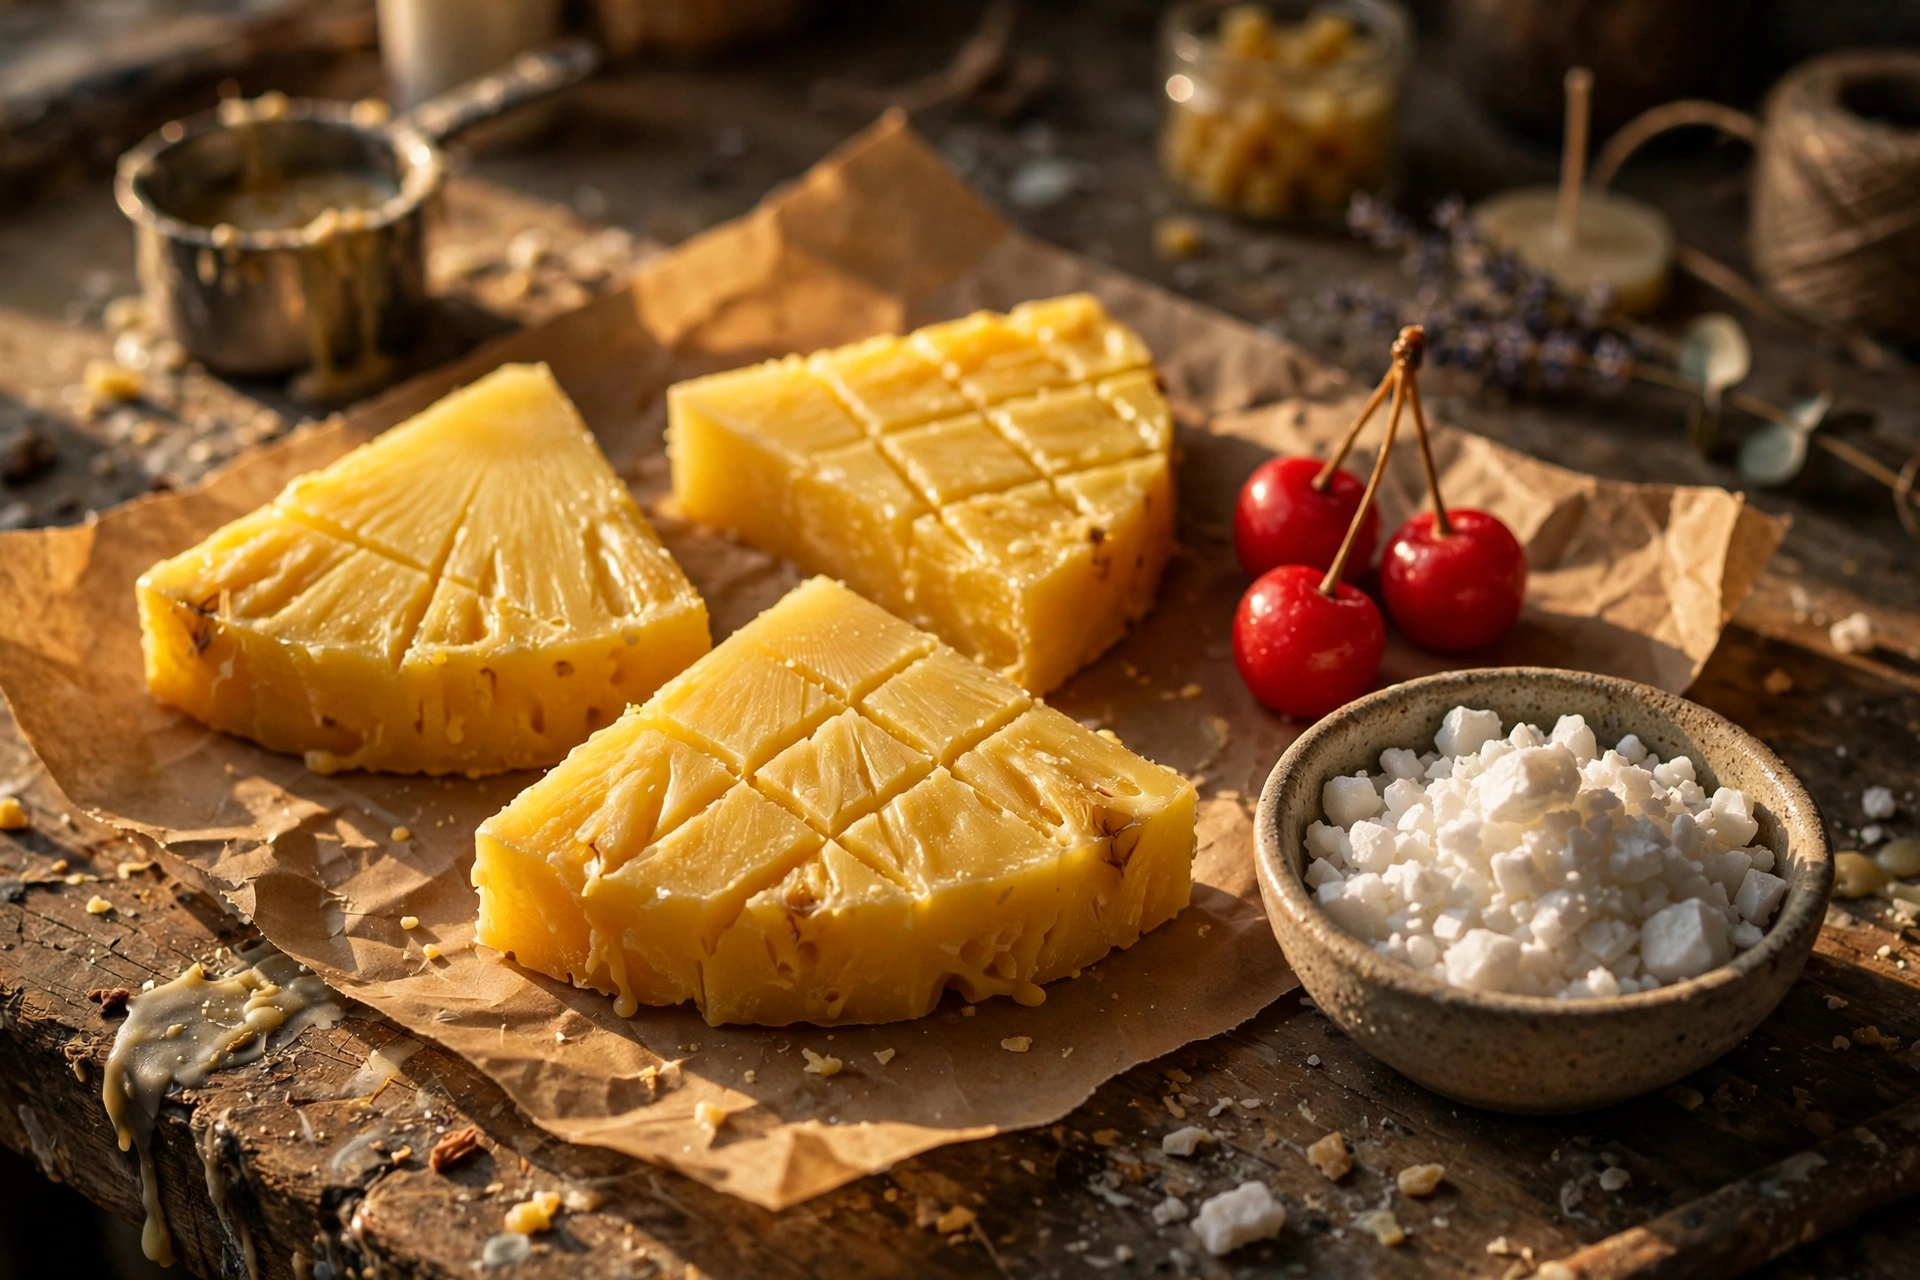
While the candle cools, make your garnishes from plain wax — nothing that isn’t wax. Pineapple wedge: pour a thin sheet of golden wax onto parchment, let it firm up, and cut small triangles. Score a crosshatch pattern on each triangle with a knife tip to mimic pineapple flesh. Wax cherry: roll a small ball of red wax between warm palms (or use a tiny round silicone mold) and pinch a small wax stem on top.
5. Decorate the rim — and know what gets removed
Once the top layer is fully set, arrange your garnishes: perch the wax pineapple wedge on the rim so it hangs like a real drink garnish, and nestle the wax cherry beside it or on the surface. Push garnishes in just enough to anchor — a dab of warm wax underneath acts as glue.
6. Cure, trim, and test burn
Let the candle cure like any other — 7–14 days for soy-based waxes so the scent fully develops. Trim the wick to 1/4 inch, then test burn before selling or gifting. Watch for wide-glass tunneling: the melt pool must reach edge to edge within 2–4 hours. If wax hangs un-melted more than about 1/2 inch from the wall after 4 hours, wick up and test again.
Troubleshooting
Layers bleeding into each other? The second pour was too hot, or the first layer wasn’t firm enough. Pour the upper layer cooler, and wait until the lower layer is firm-but-warm before pouring over it.
Layers separating after cooling? The first layer went stone cold before the second pour, so the waxes never bonded. Aim for firm and slightly warm — that tacky surface is what lets the layers fuse.
Garnish melting into the wax? It was placed on a warm surface. Always decorate only after the top layer is fully set and cool.
Tunneling in the wide glass? The wick is too small for the diameter. Wick up (or try two wicks), and make sure the first burn goes edge to edge — short first burns are the most common cause of tunneling.
Wax pulling away from the glass walls? The glass cooled the wax too fast, or the pour was too cool. Warm the glass slightly before pouring and keep the room free of drafts.
Weak scent? Layers dilute nothing — check that you added the full fragrance percentage to each batch, and confirm the candle fully cured before judging scent throw.
Variations
Once the two-layer pour is in your hands, the cocktail menu opens up:
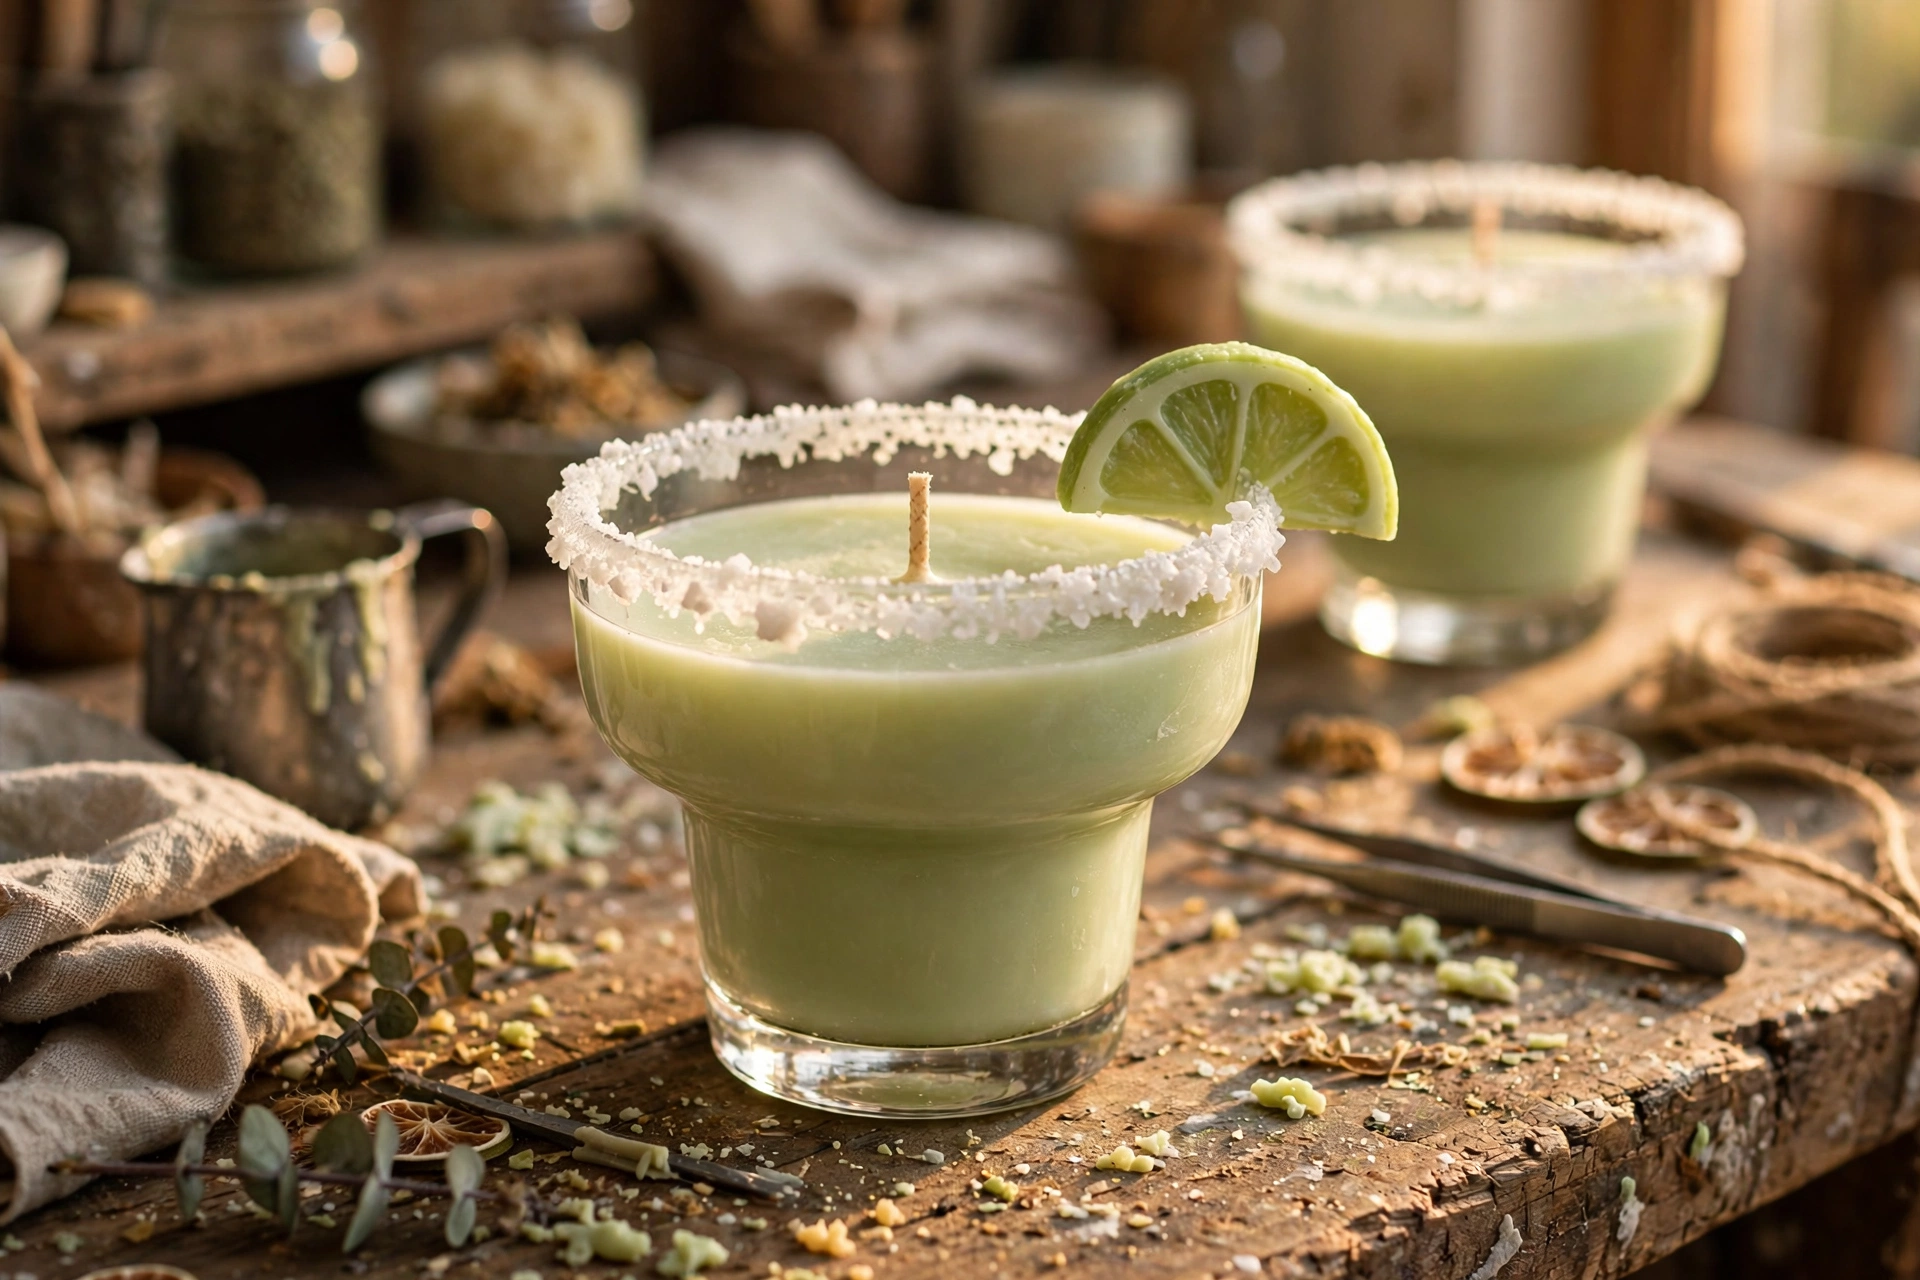
Margarita. One pale-green layer. While the top is still tacky, press coarse white wax crystals (chopped firm wax) around the rim for a salted-rim look, and perch a small green wax lime wedge on the glass edge. Same garnish principle, completely different drink.
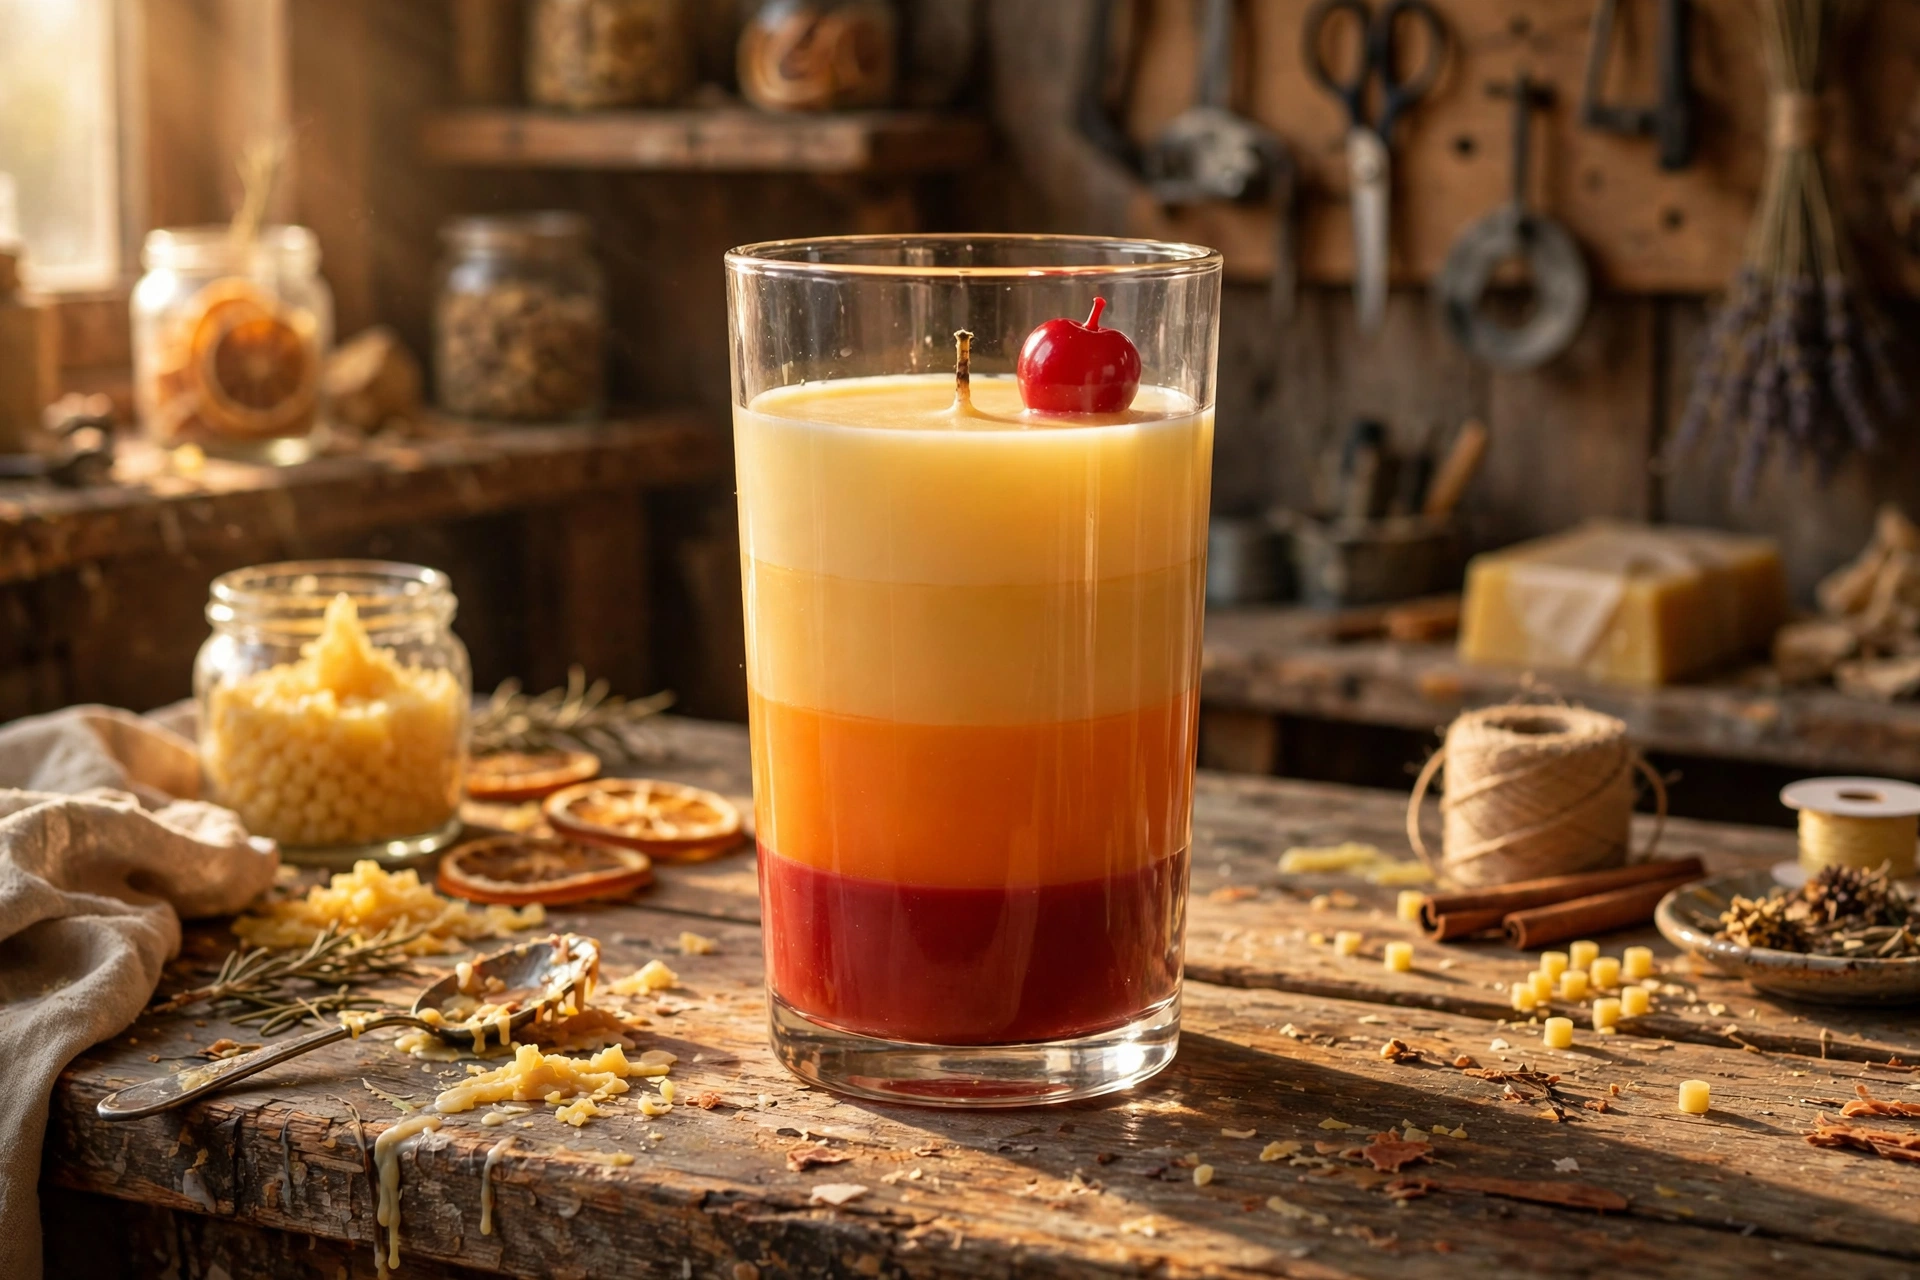
Sunrise. A three-layer gradient: red on the bottom, orange in the middle, golden yellow on top. Use the same firm-but-warm timing between layers, pouring each one slightly cooler than the last. Finish with a red wax cherry. It reads instantly as a tequila sunrise.
Safety first
All the standard candle rules apply: never leave a burning candle unattended, trim the wick to 1/4 inch before every burn, keep burns to 4 hours or less, and keep burning candles away from drafts, pets, and anything flammable. For cocktail candles, add these:
They look like food. Keep finished cocktail candles away from small children who might try to taste them — and from anyone who might pick one up thinking it’s a real drink. Label every candle clearly (“candle — do not eat”), and store display stock out of kids’ reach.
Remove all non-wax props before lighting. Paper umbrellas, cocktail picks, straws, ribbons — anything that isn’t wax comes off before the match comes out. Put it on the label so buyers do it too.
Wide glass, watch the heat. During test burns, check that the glass never gets too hot to touch comfortably. If it does, wick down — overheated glass can crack, especially thinner drinkware that was never made for candles.
Next steps
New to multi-layer pours? Our layered candle tutorial covers gradient and stripe techniques in depth. Widening your vessel lineup? Revisit the wick selection and test burn tutorial before you pour your first wide-glass batch. And since cocktail candles are made for the camera, pair them with real fruit and glassware (unlit) for listing photos that practically pour themselves.



