
How to Make Tealights & Votives (The Cheapest Way to Start)
If you want to try candlemaking before committing to jars, thermometers full of wax, and a pile of equipment, start here. Tealights and votives cost pennies per candle, pour in minutes, and teach you the exact same skills — melting, fragrance blending, wicking, pouring — as a full-size container candle. This is the perfect first pour.
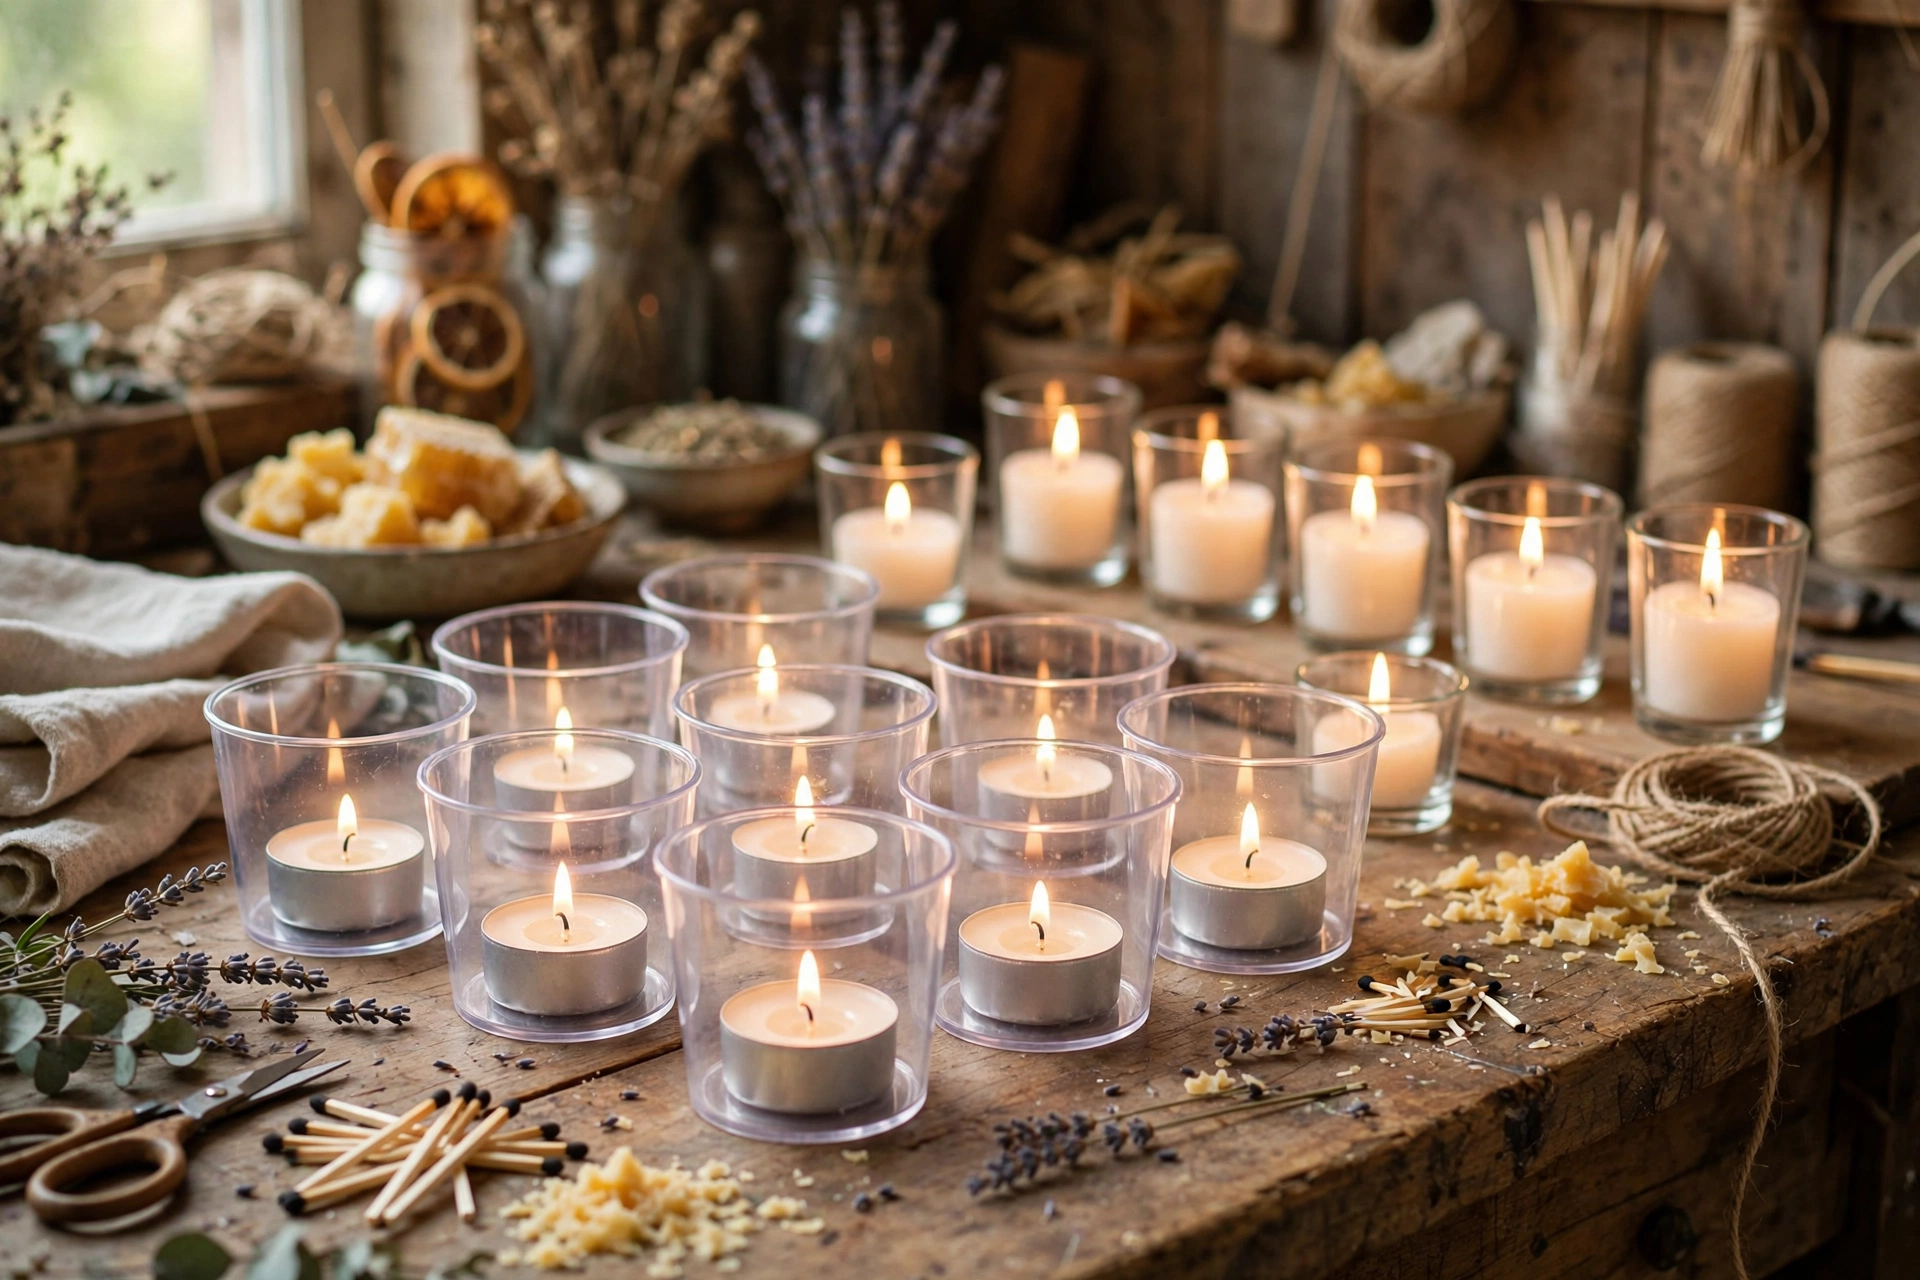
Tealights vs. votives: what’s the difference?
They look similar, but they’re built differently — and it matters for how you burn them.
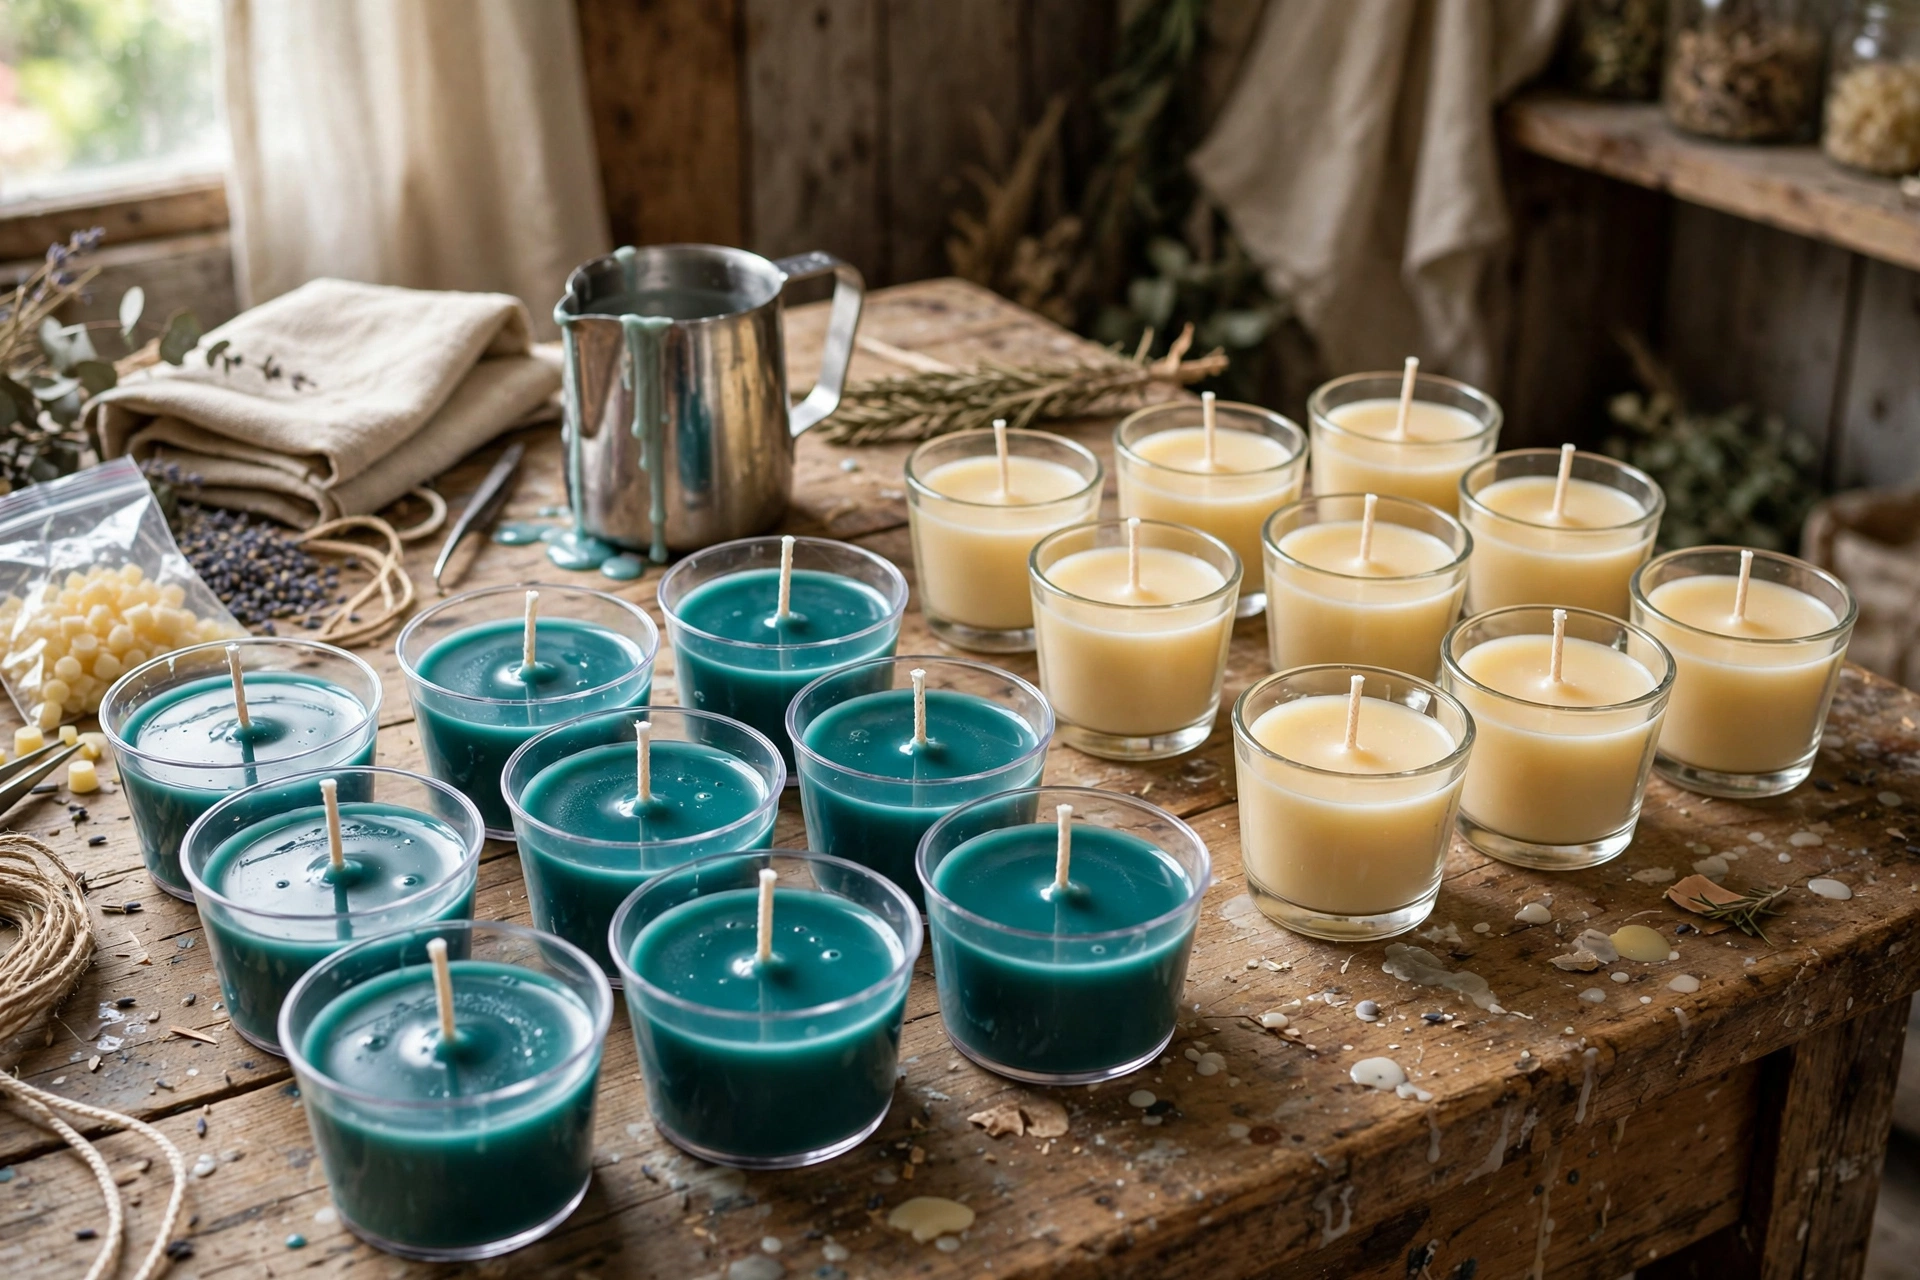
Tealights burn in their own cups. The little polycarbonate cup holds the melted wax, so a tealight is self-contained — pop it into any heat-safe holder and light it. The cup is part of the candle.
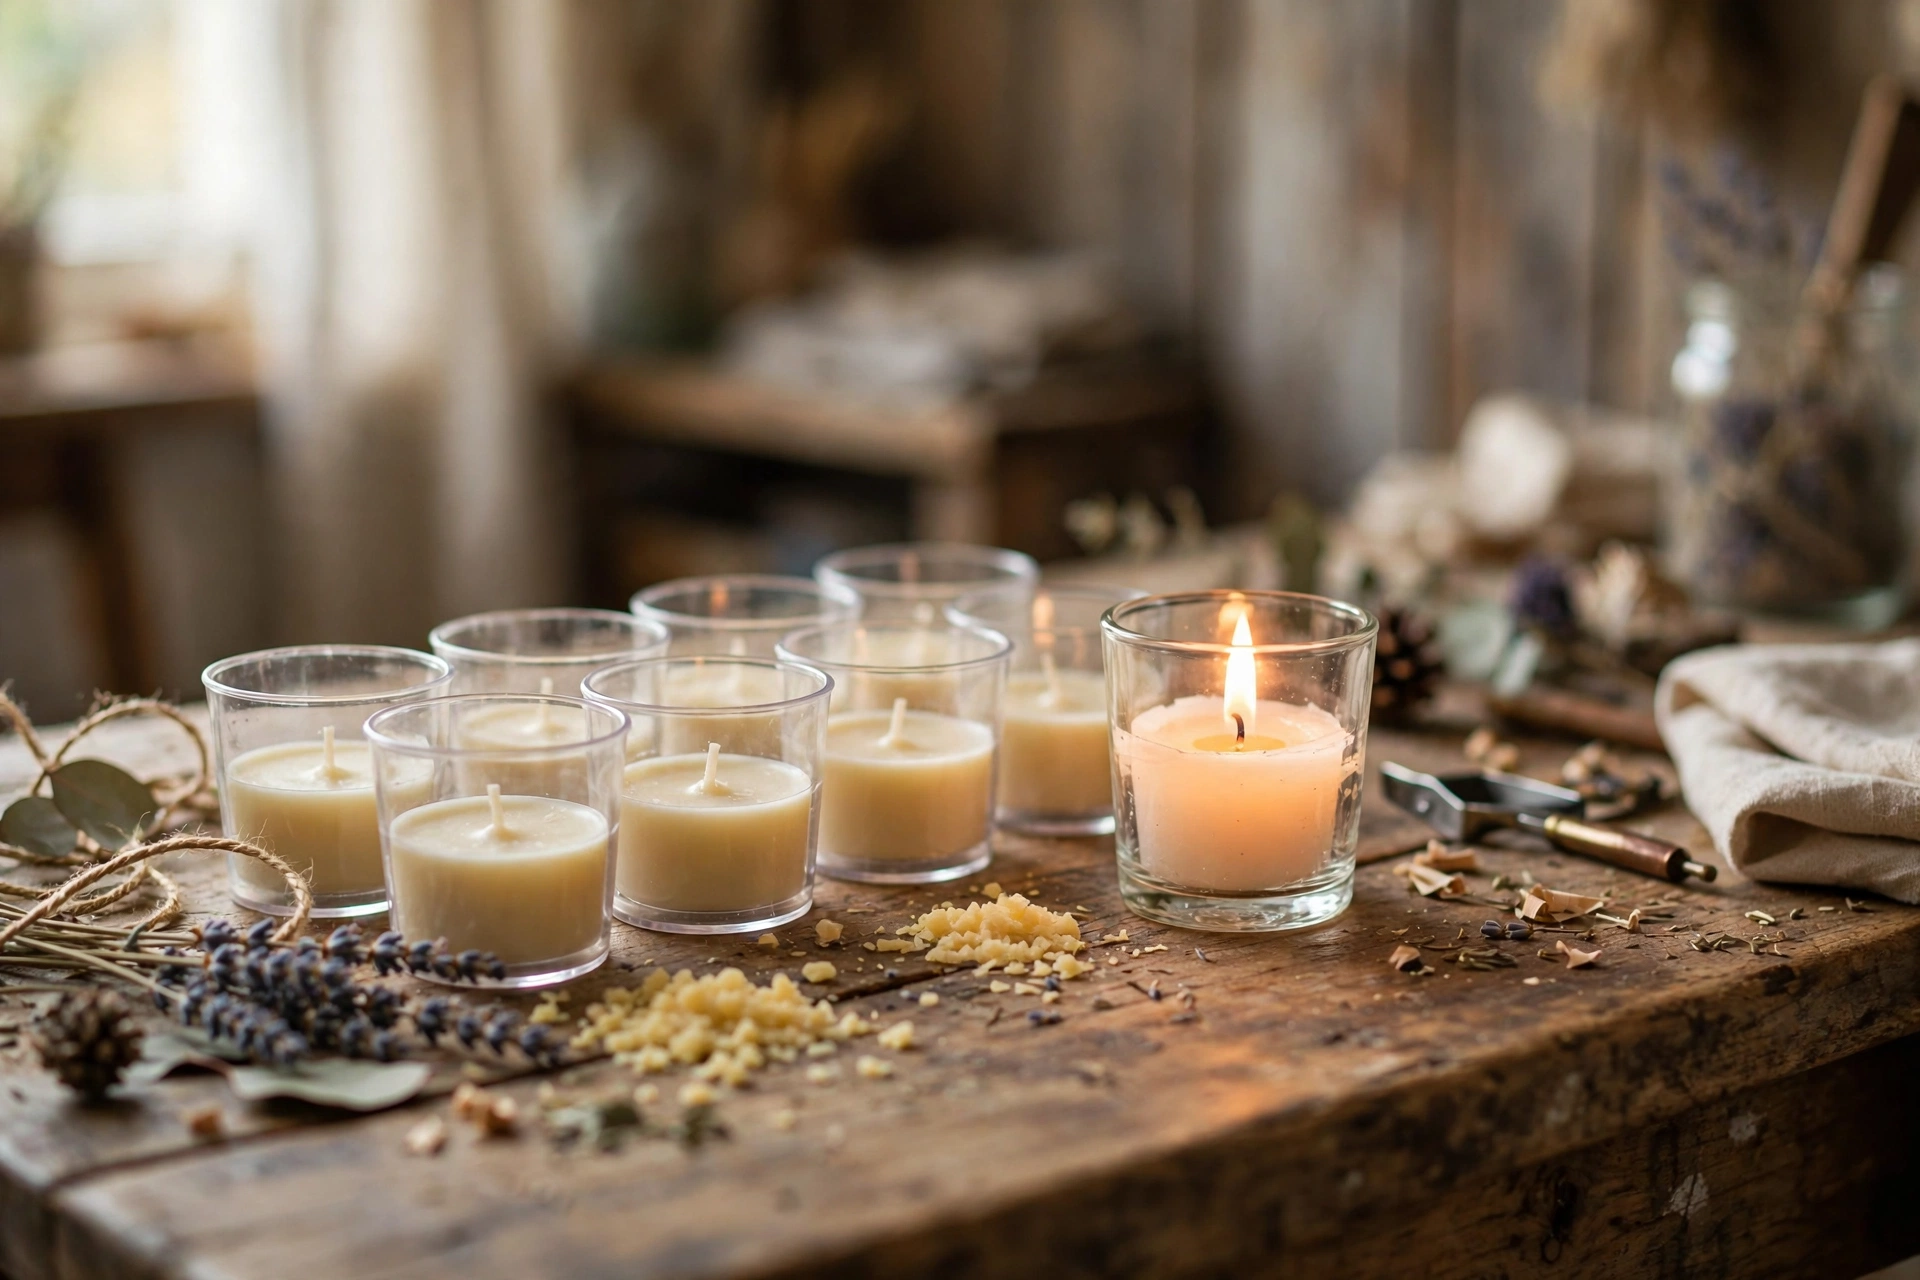
Votives need a holder. A votive candle is poured as a small freestanding cylinder, but it melts into a puddle as it burns — so it must sit inside a glass votive holder to contain the liquid wax. Never burn a votive outside a holder.
What you’ll need
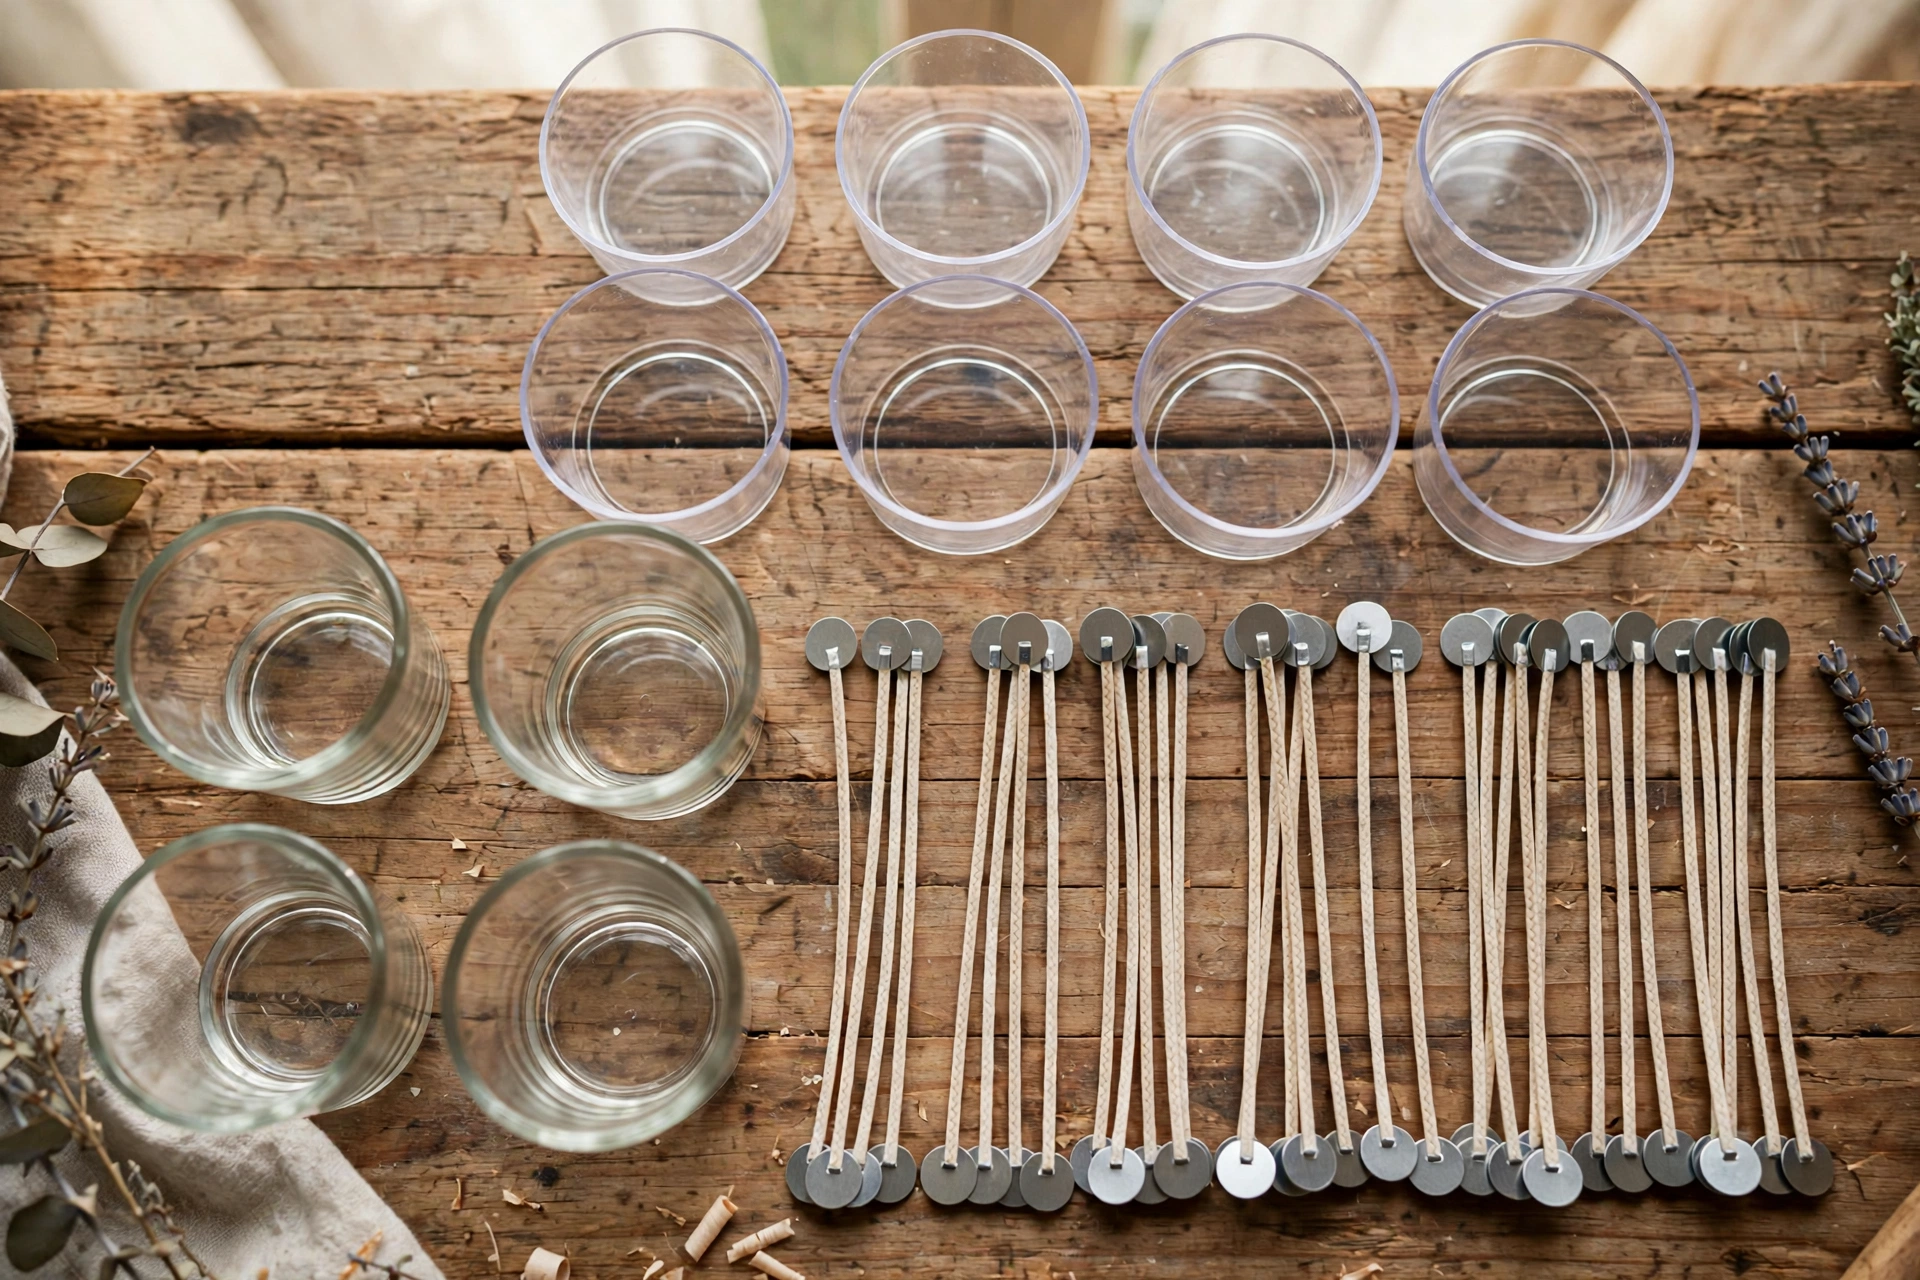
- Polycarbonate tealight cups
- Glass votive holders (and a small mold or extra cups to shape votives, if you want them freestanding)
- Pre-tabbed wicks — sized for tealights and votives per your supplier’s sizing chart
- Adhesive wick stickers or wick stick-ums (generic double-sided adhesive dots)
- Container wax (soy, paraffin, or a blend — whatever you plan to use for jars)
- Fragrance oil, dosed within your wax’s recommended load
- Candle dye or color chips (optional)
- Thermometer
- Pouring pitcher
- Wick trimmer or scissors
Steps: pouring tealights and votives
1. Set up your cups and stick the wicks
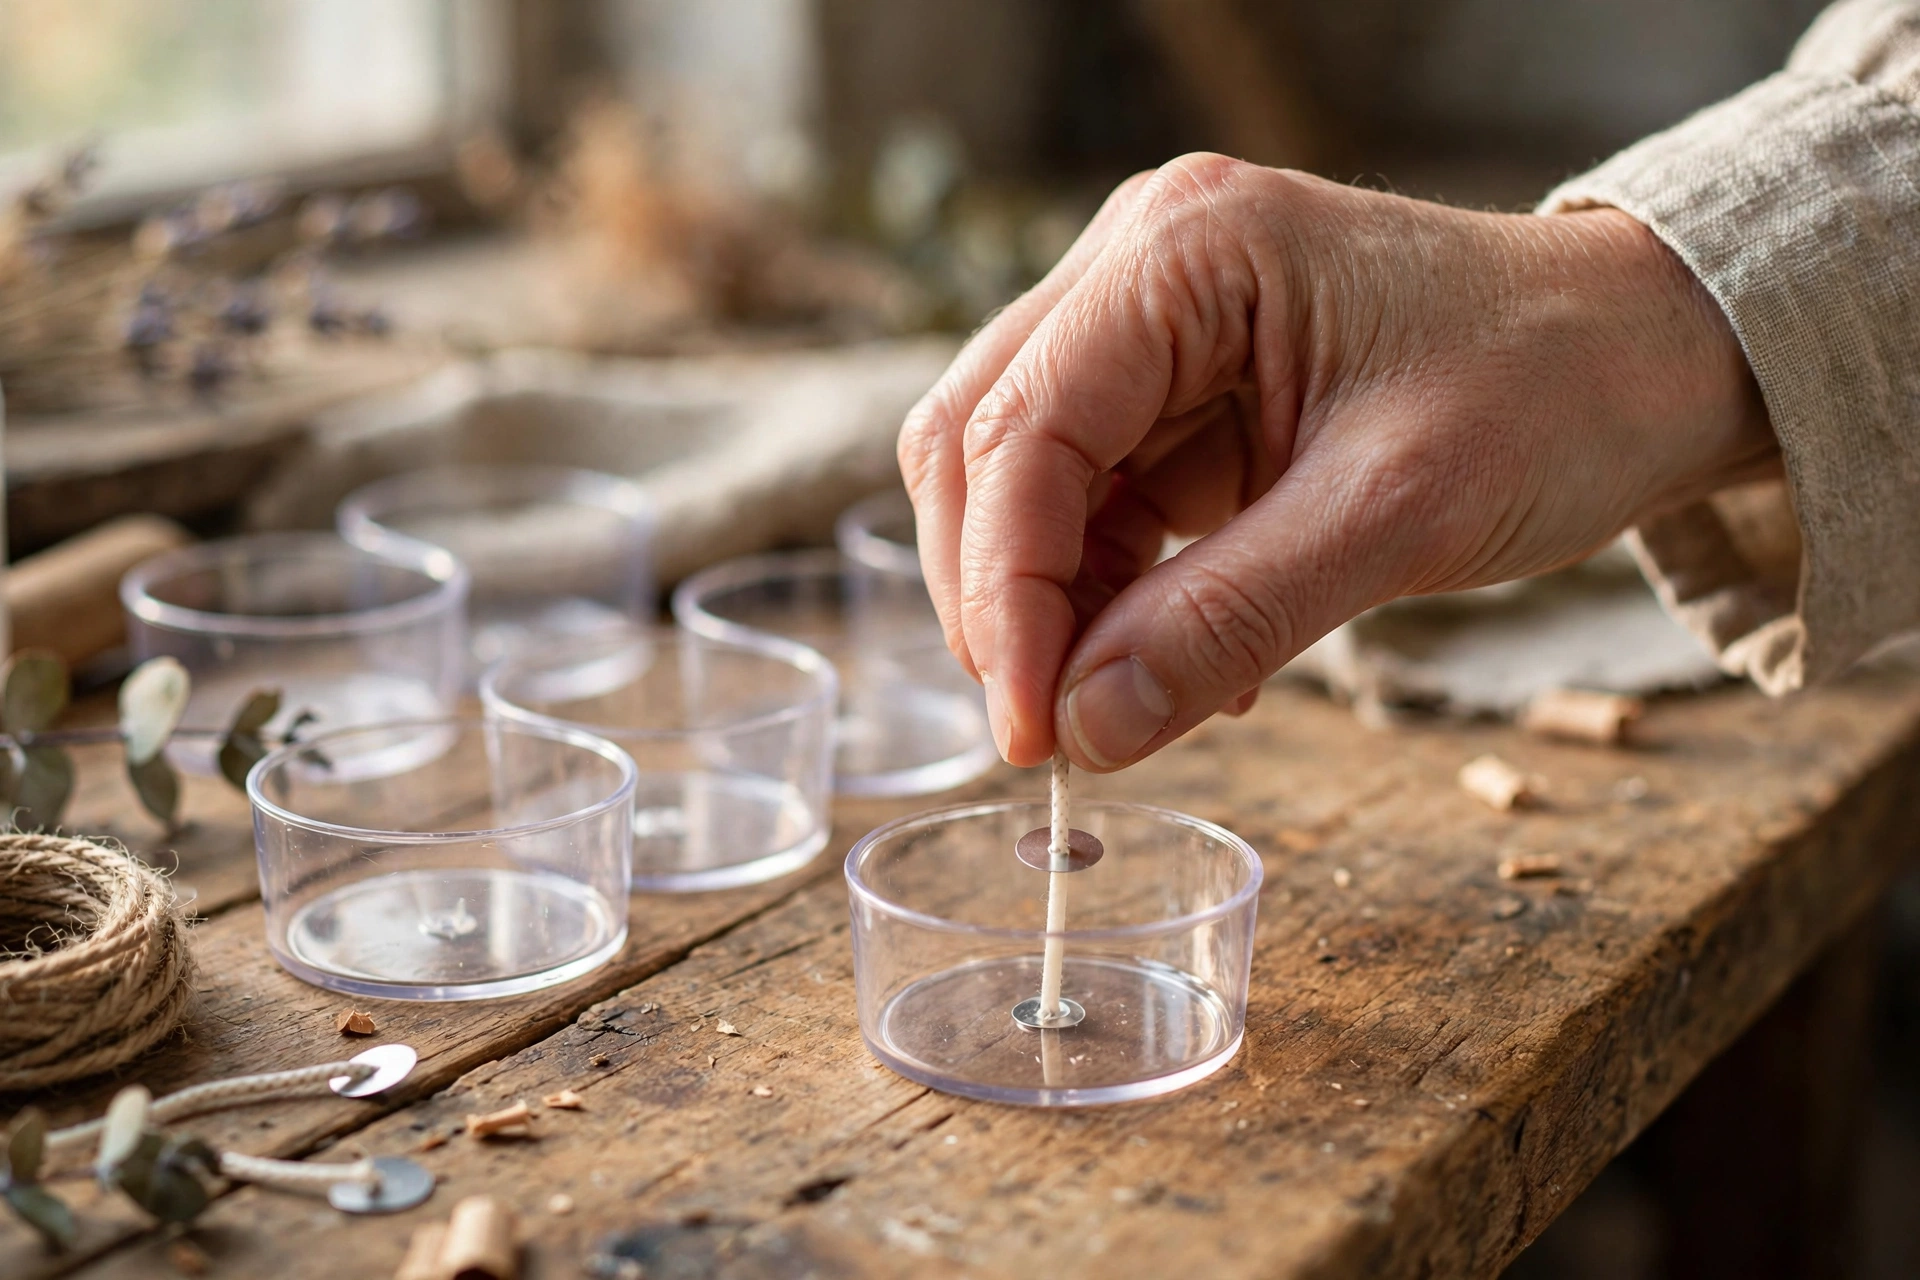
Line up your tealight cups (and votive holders) on a flat, heat-safe surface. Peel an adhesive wick sticker onto the metal tab of each pre-tabbed wick, then press the tab firmly into the center of each cup. Take a second to eyeball centering — the wick should stand straight up, not lean.
2. Melt the wax and add fragrance and color
Melt your wax in the pouring pitcher over gentle heat and bring it to the temperature your wax supplier recommends for adding fragrance. Stir in your fragrance oil — measured by weight — and stir slowly and steadily for a full two minutes so it binds fully with the wax. Add dye now if you’re using it. Then let the wax cool to your wax’s recommended pour temperature before you pour.
3. Pour at the right fill level
Pour slowly and steadily, keeping the stream centered so you don’t knock the wicks over. Tealights: fill nearly to the top of the cup — the wax shrinks as it cools, and an underfilled tealight looks unfinished. Votives: fill to a standard level with a little headspace at the top of the holder, the same way you’d fill any container candle.

4. Re-center the wicks while the wax is soft
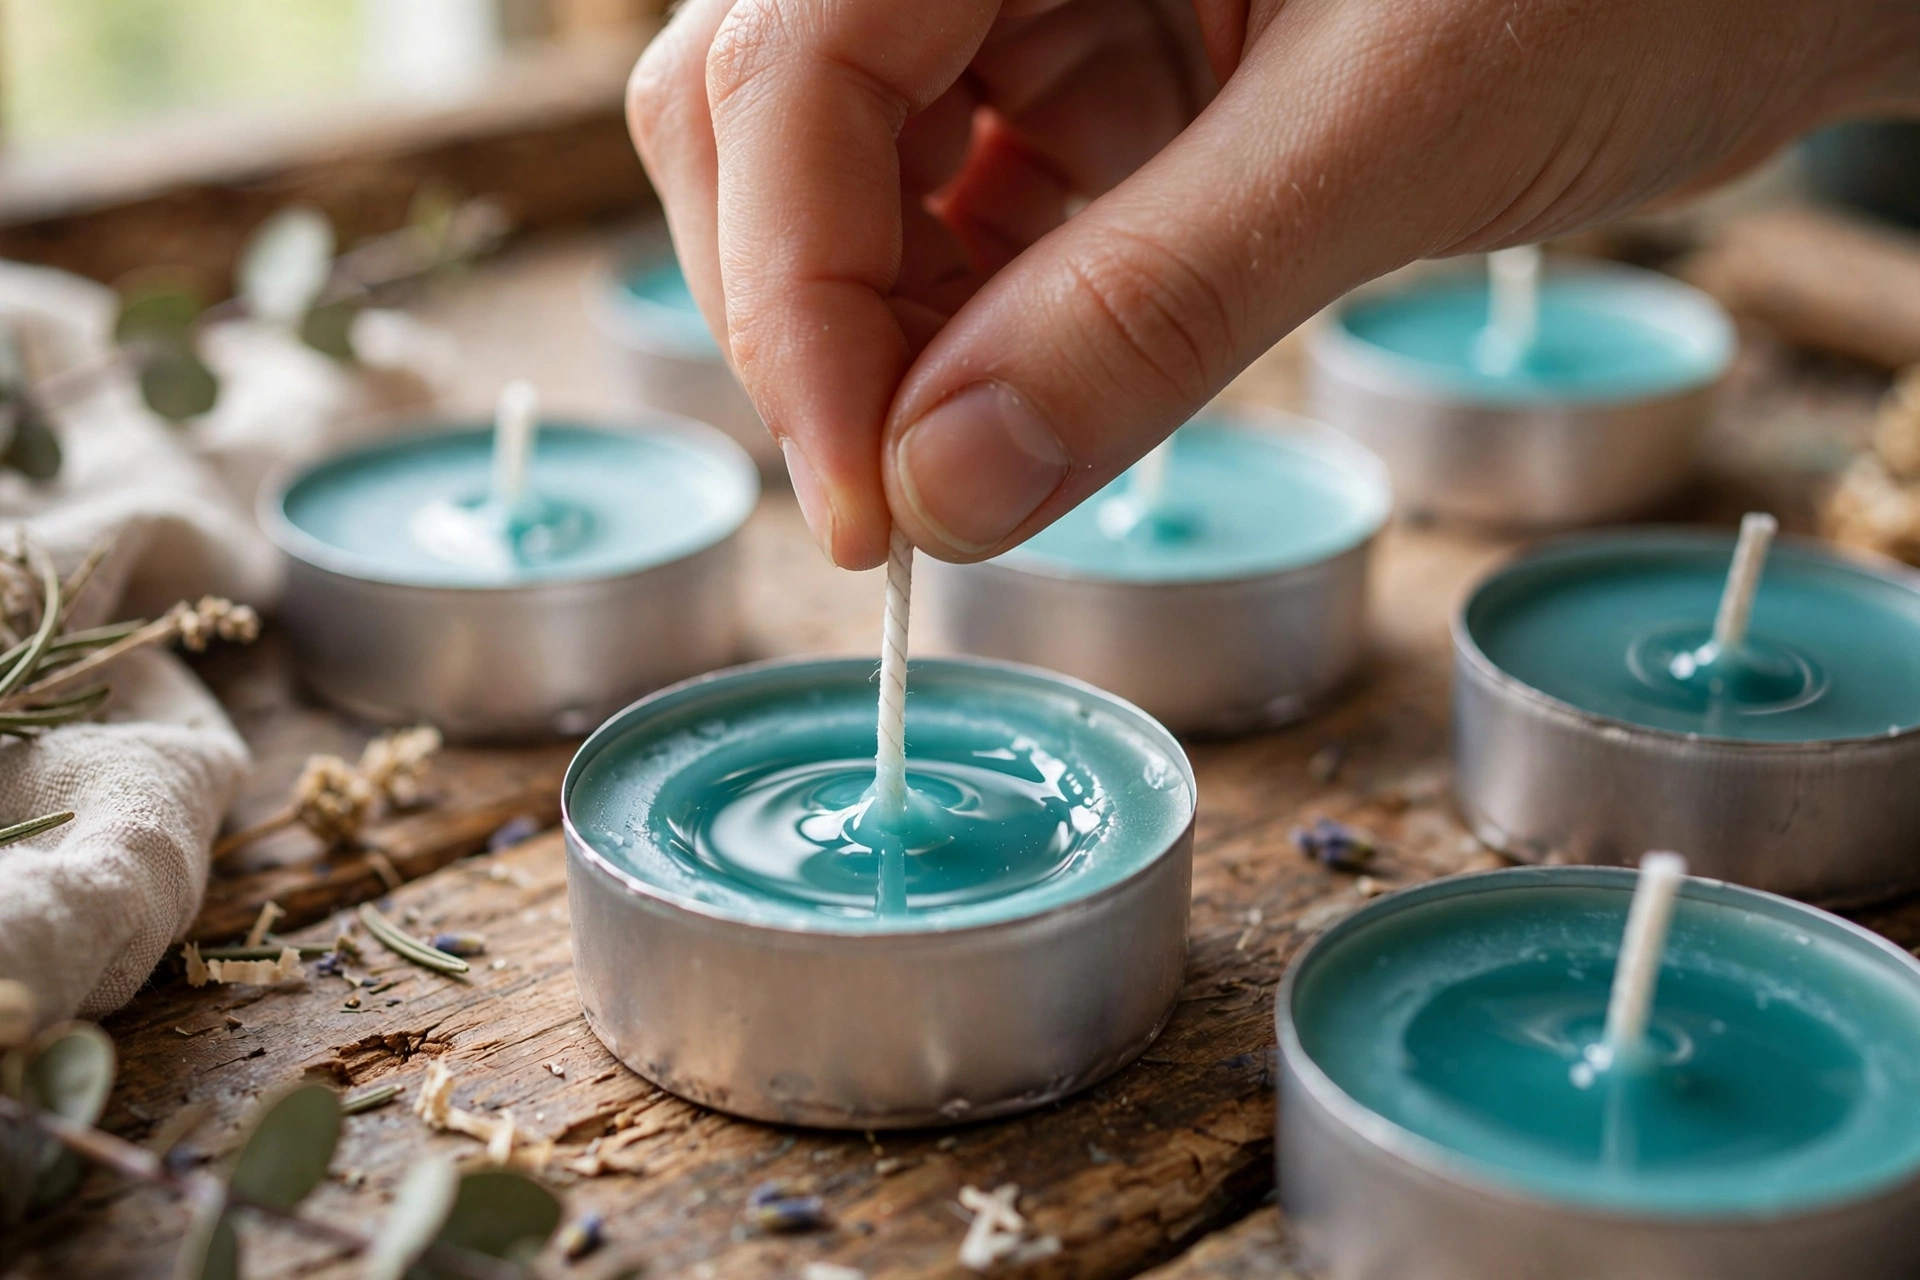
As the wax cools, give every wick a look and a gentle nudge. In cups this small, a wick that’s even slightly off-center will burn lopsided. While the surface is still soft, straighten any leaning wicks with a toothpick or a wick holder — but don’t fuss with them once the wax firms up, or you’ll leave marks.
5. Cool fully, then trim the wicks
Let everything cool completely at room temperature — small cups set fast, usually within an hour or two, but give votives a few hours to be safe. Once the wax is hard, trim every wick to 1/4 inch. If you poured votives as freestanding candles in molds, pop them out now.
6. Test burn before you make a hundred
Light one tealight and one votive and watch the full burn. A tealight should burn roughly 3–4 hours; a votive roughly 10–15 hours depending on size. Look for a steady flame, a melt pool that reaches the edges, and a clean burn with no heavy soot. If the flame is tiny and drowning or huge and smoking, your wick size is off — check your supplier’s sizing chart and try the next size up or down.
Beginner tips: small cups, small problems
Avoiding sinkholes. Tiny cups cool fast, and fast cooling traps air — that’s what causes sinkholes and wet spots. Don’t pour your wax too hot (follow your wax’s recommended pour temperature), and cool your candles away from drafts, open windows, and cold surfaces. A steady room-temperature cool gives you smooth tops.
Wick centering is everything. In a tealight there’s no room for error — an off-center wick melts one side of the cup and leaves wax stranded on the other. Nudge wicks straight while the wax is soft, do your 15-minute recheck, and you’ll get even burns every time.
Pour extras for testing. Wax is cheap and tealights are cheaper — pour a few extra cups every batch so you always have testers to burn without dipping into the ones you planned to gift or sell.
Tealights: the perfect wick-testing vehicle
Here’s a secret experienced chandlers all know: tealights are the ideal way to test wicks. They’re cheap, they pour in seconds, they use almost no wax or fragrance, and you can pour a dozen identical cups — each with a different wick size — and burn them side by side. When you’re dialing in a new wax or fragrance, skip the jars and test in tealights first. Our full wick selection and test burn tutorial walks you through exactly how to read those tests.
Next steps
Ready to pour a full-size candle? The first soy container candle tutorial takes the same skills you just learned — melting, fragrance, wicking, pouring, curing — and scales them up to a proper jar candle.



