How to Make Your First Soy Wax Scented Candle
Your first candle doesn’t need to be perfect — it needs to teach you the process. Follow along and you’ll have a great-smelling soy candle in about an hour, plus the foundation for every candle after it.
What you’ll need
- Soy container wax (a 464-style wax is the classic beginner choice)
- A heat-safe container — an 8 oz candle tin or glass jar
- A wick sized for your container (CD or ECO series — check our wick selector)
- Wick sticker and a wick holder or clothespin
- Fragrance oil made for candles
- Pouring pitcher, thermometer, and digital scale
Steps
1. Prep your container and wick
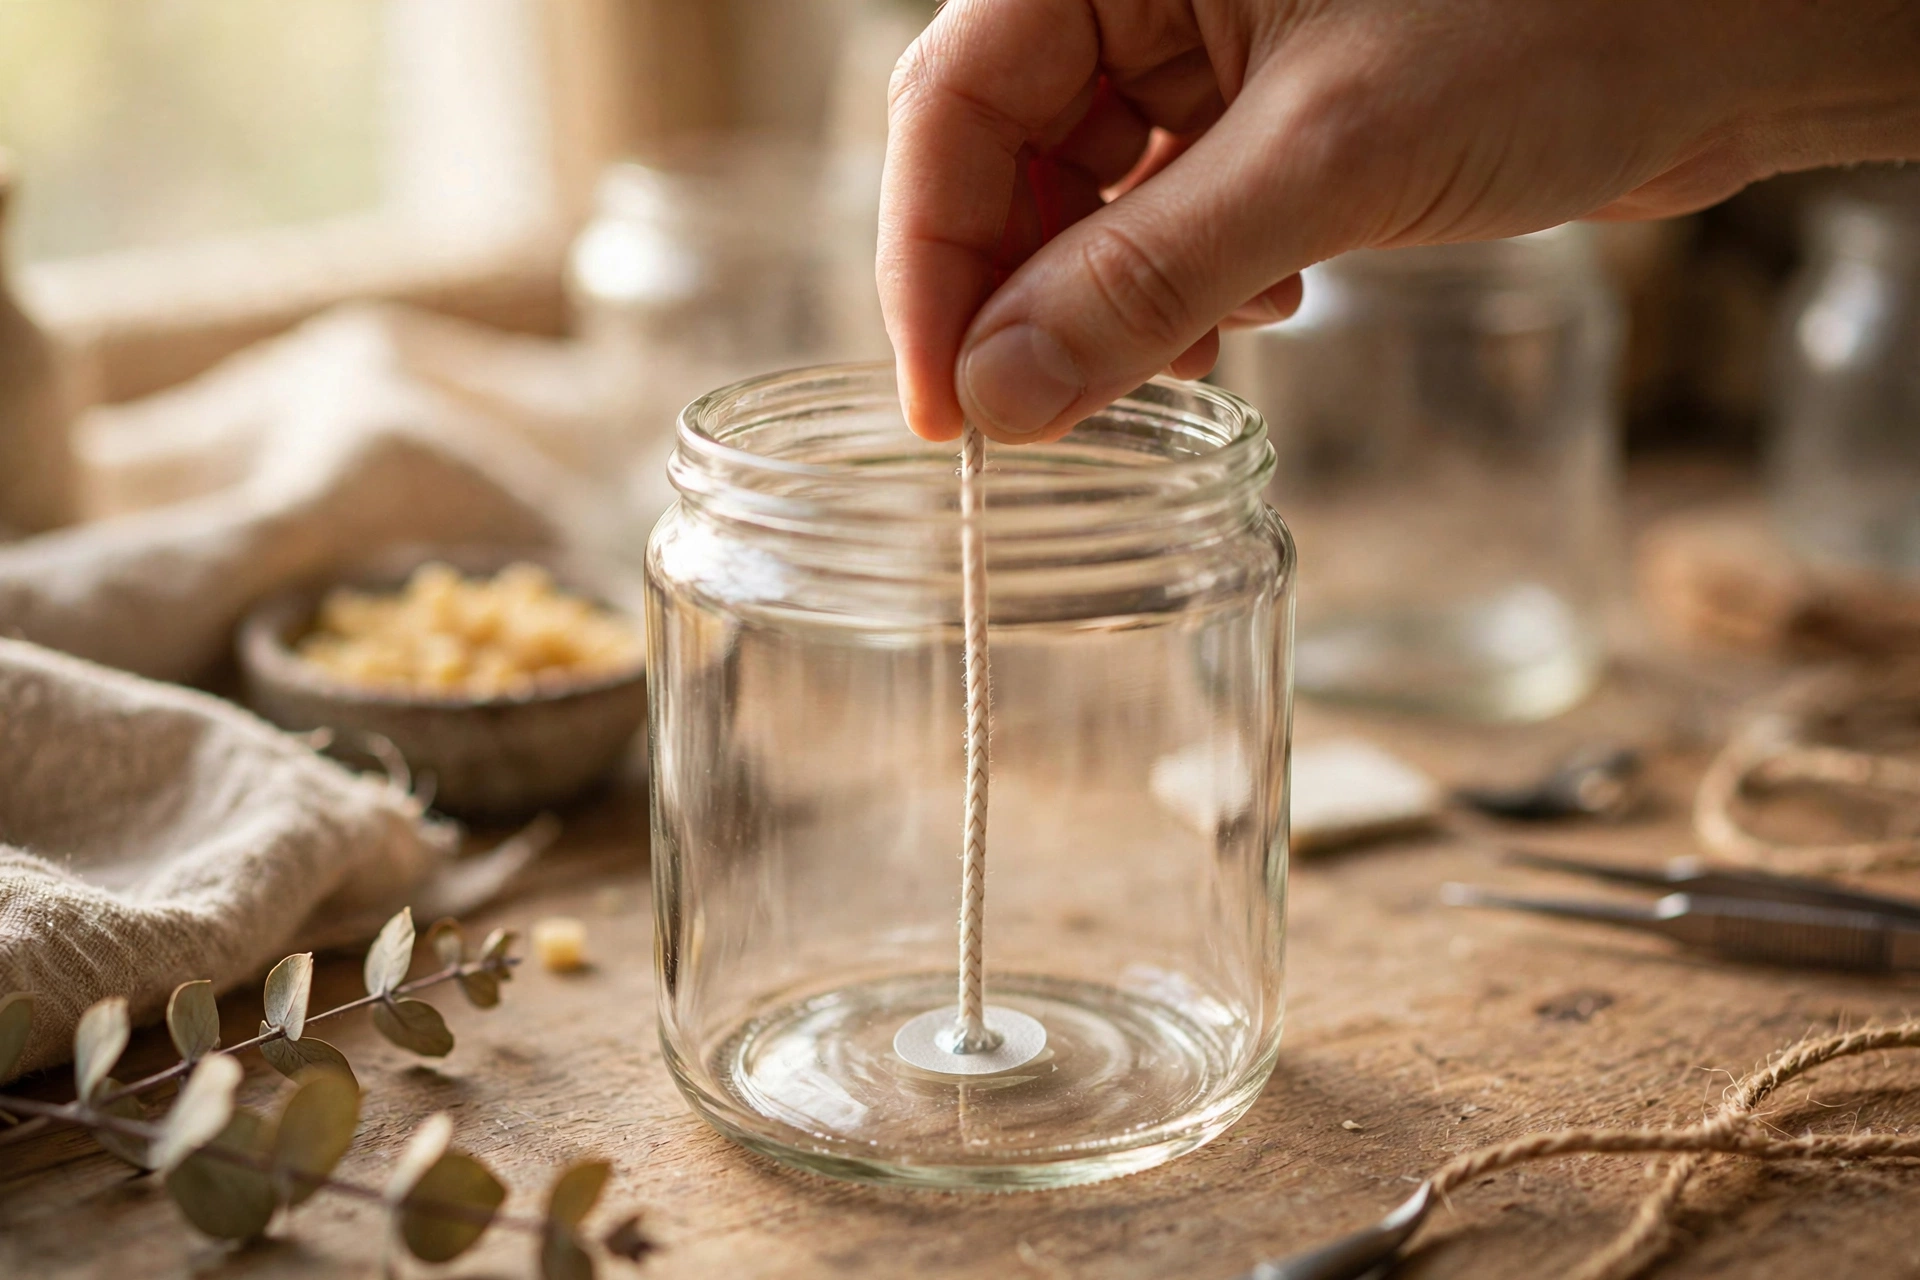
Make sure your container is clean and dry. Stick the wick sticker to the bottom of the wick tab, press it firmly into the exact center of the container, and hold the wick upright with a wick holder.
2. Weigh your wax and fragrance
Everything by weight, always. For an 8 oz candle at 8% fragrance load: weigh 7.36 oz of wax flakes and 0.64 oz of fragrance oil. (Our batch calculator does this math for any size, and the fragrance load calculator warns you if you’re over your wax’s safe maximum.)
3. Melt the wax
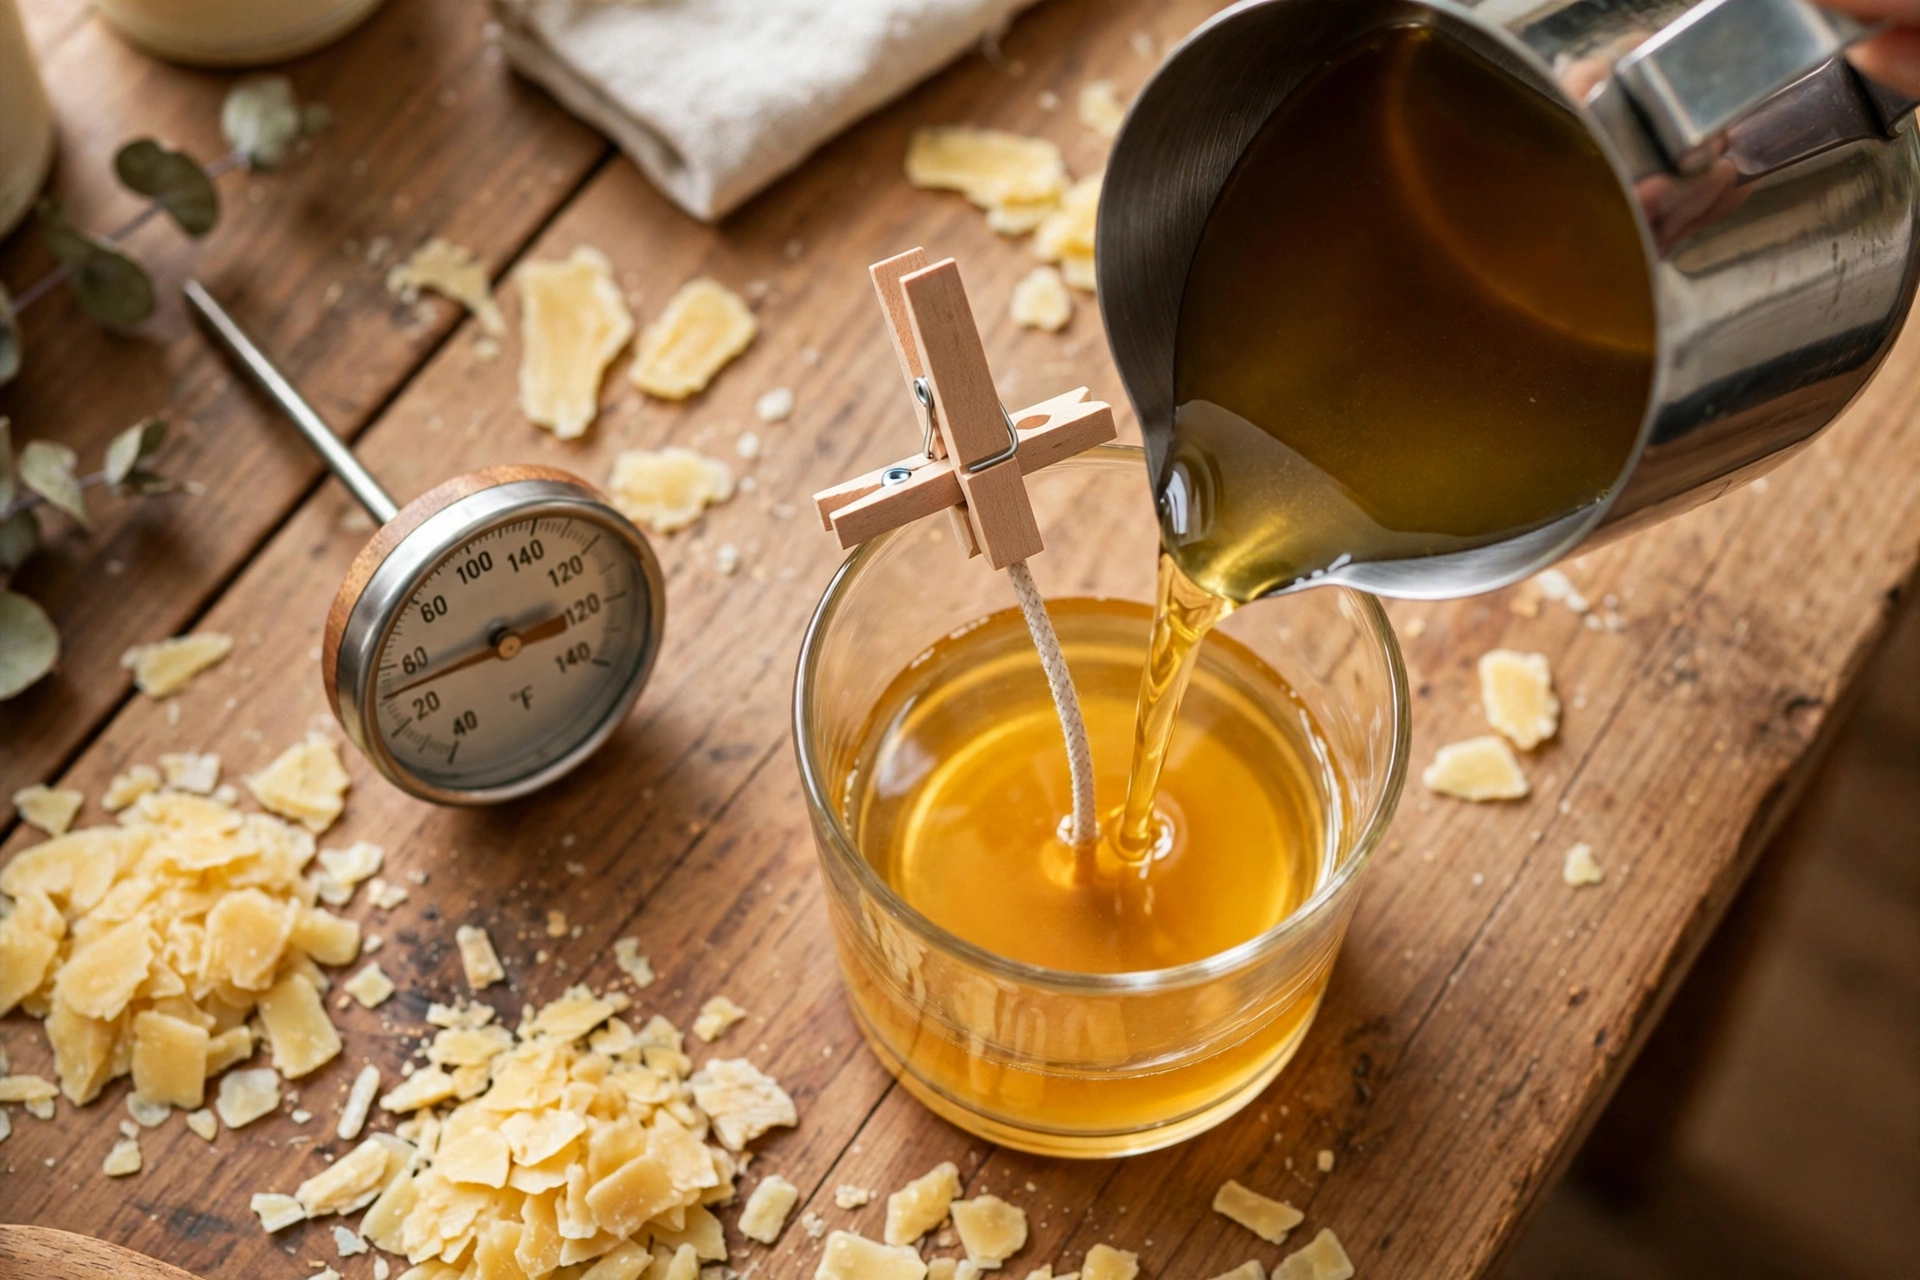
Melt the wax in your pouring pitcher over low-medium heat (or a double boiler) until it reaches 180°F. Don’t walk away — wax heats faster than you expect at the end.
4. Add fragrance and stir
Remove from heat. Pour in your fragrance oil and stir gently but constantly for a full 2 minutes. This binds the oil into the wax — a quick swirl isn’t enough.
5. Cool, then pour
Let the wax cool to about 135°F (it’ll start to look slightly cloudy at the edges). Pour slowly into your container in one steady stream, keeping the wick centered. Leave about 1/2 inch of headspace at the top.
6. Wait — the hard part
Let the candle cool undisturbed at room temperature for 24 hours. Then comes the real test of patience: soy candles need 7–14 days to cure before the scent fully develops. Light it early and you’ll think your fragrance is weak — it isn’t, it’s just not ready. Use our cure date calculator to find your exact ready date.
7. Trim and light
Trim the wick to 1/4 inch. For the first burn, let it go long enough to melt edge to edge — about 2–3 hours for an 8 oz jar. That first full melt pool sets up every burn after it.

What to do when something looks wrong
Wet spots on the glass? Normal for soy — cosmetic only. A little frosting? Also normal. Sinkhole in the middle? Poke relief holes and do a small second pour. Tunneling? Your wick is too small — wick up and try again. Our troubleshooting guide covers all of it.
This tutorial contains affiliate links. As an Amazon Associate I earn from qualifying purchases — it helps keep these tutorials free, at no extra cost to you.