
Shaped Car Freshies & Vent-Clip Freshies
If you’ve made basic aroma-bead freshies, you know the drill — scent the beads, bake, hang. This tutorial takes it further: shaped freshies cut with cookie cutters and molds, tiny vent-clip freshies for car vents, and everything about making the scent actually last. New here? Start with our car freshies tutorial for the base method, then come back.

The base method, in brief
The foundation never changes: aroma beads absorb fragrance oil over several days in a sealed jar, then you bake them in a shape until they melt together into a solid freshie. Our car freshies tutorial covers the full base process — ratios, bake times, and safety. Everything below builds on it.
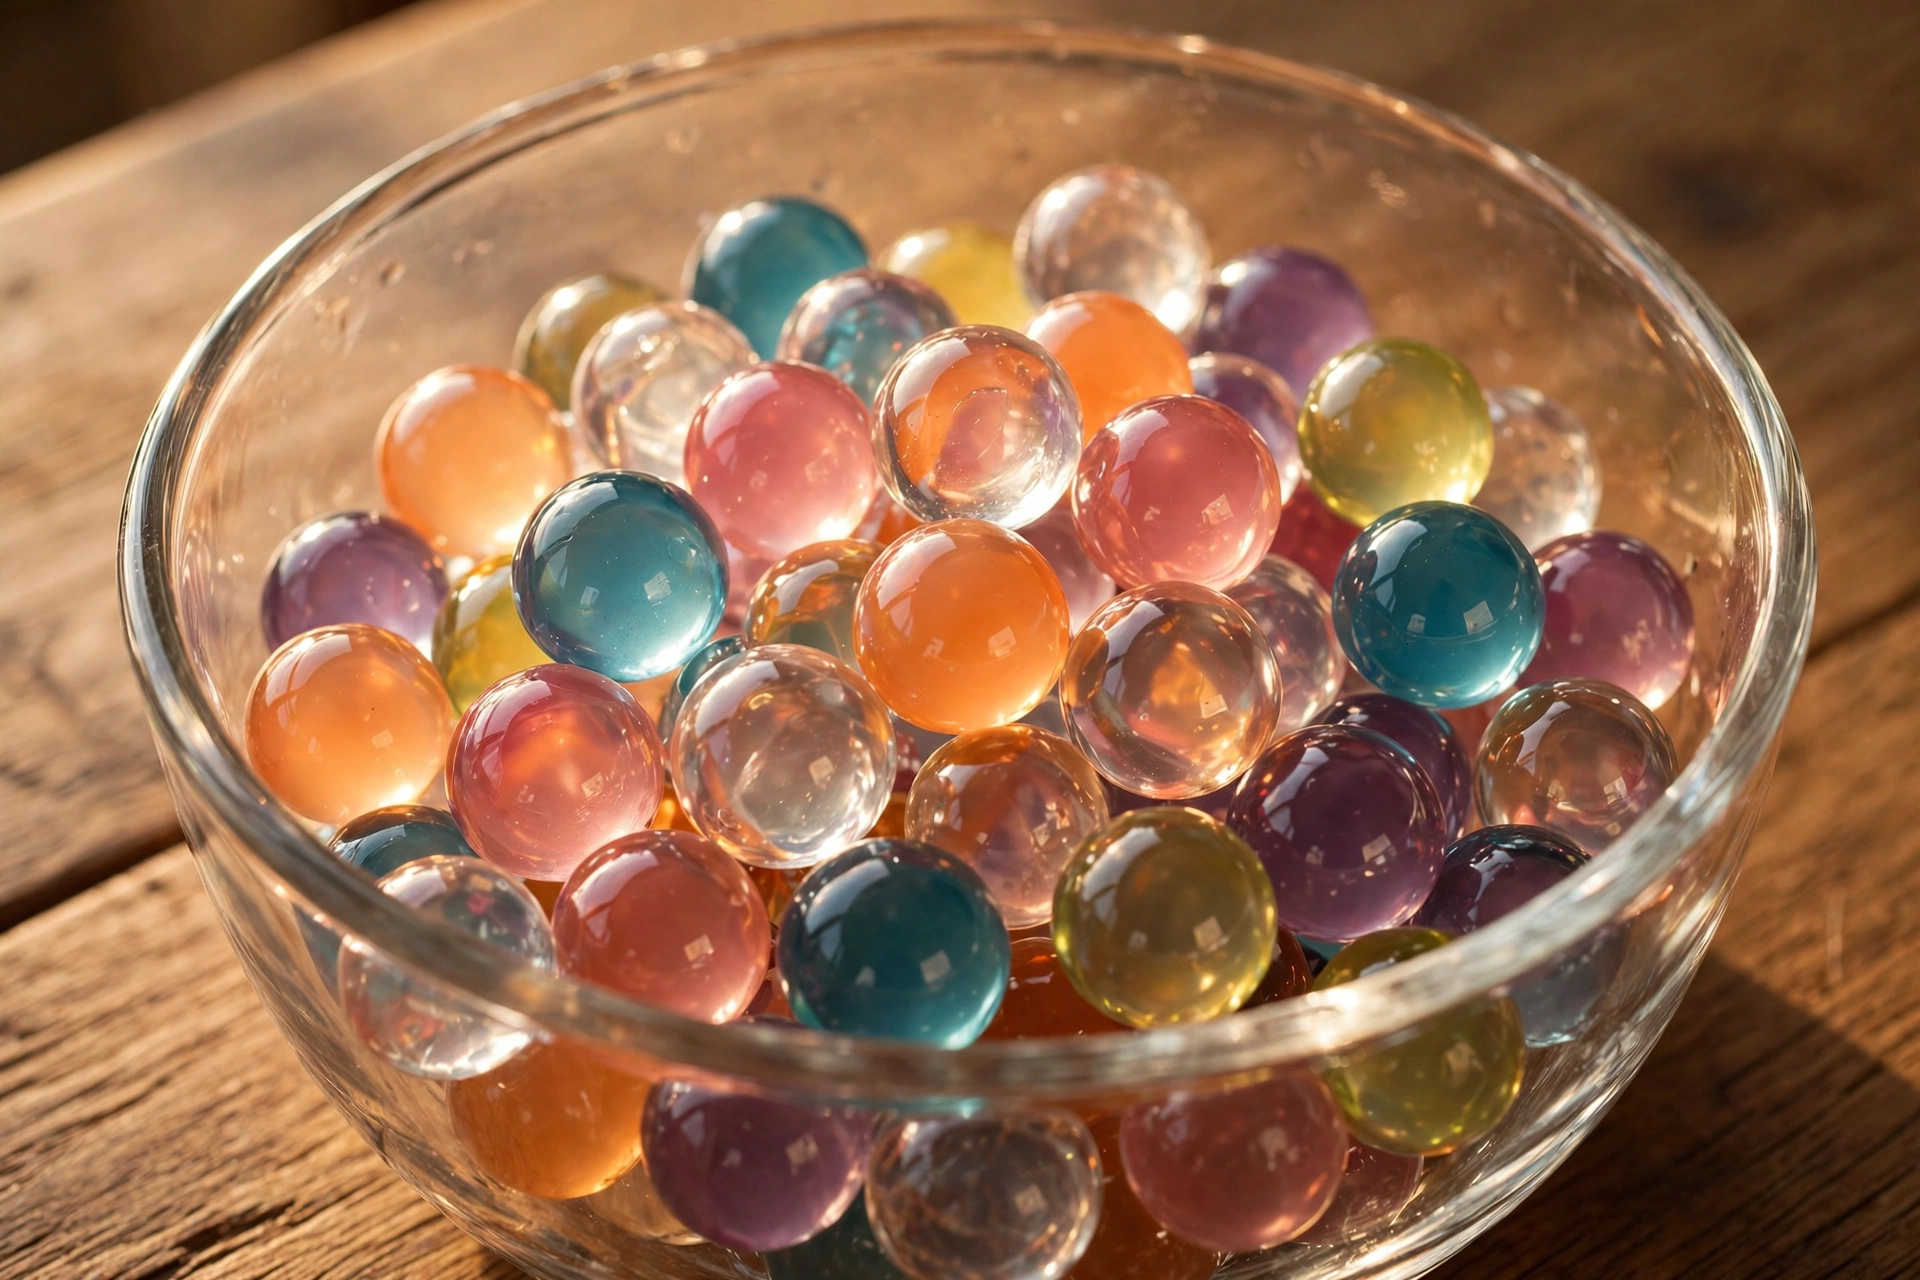
What you’ll need (beyond the basics)
- Metal cookie cutters or silicone molds (simple shapes release best)
- Vent clip hardware (flat-back clips from craft suppliers)
- Ribbon, twine, or elastic cord for hanging
- Parchment-lined baking sheet
- Strong fragrance oil — freshies live or die by scent strength
Steps
1. Scent the beads properly
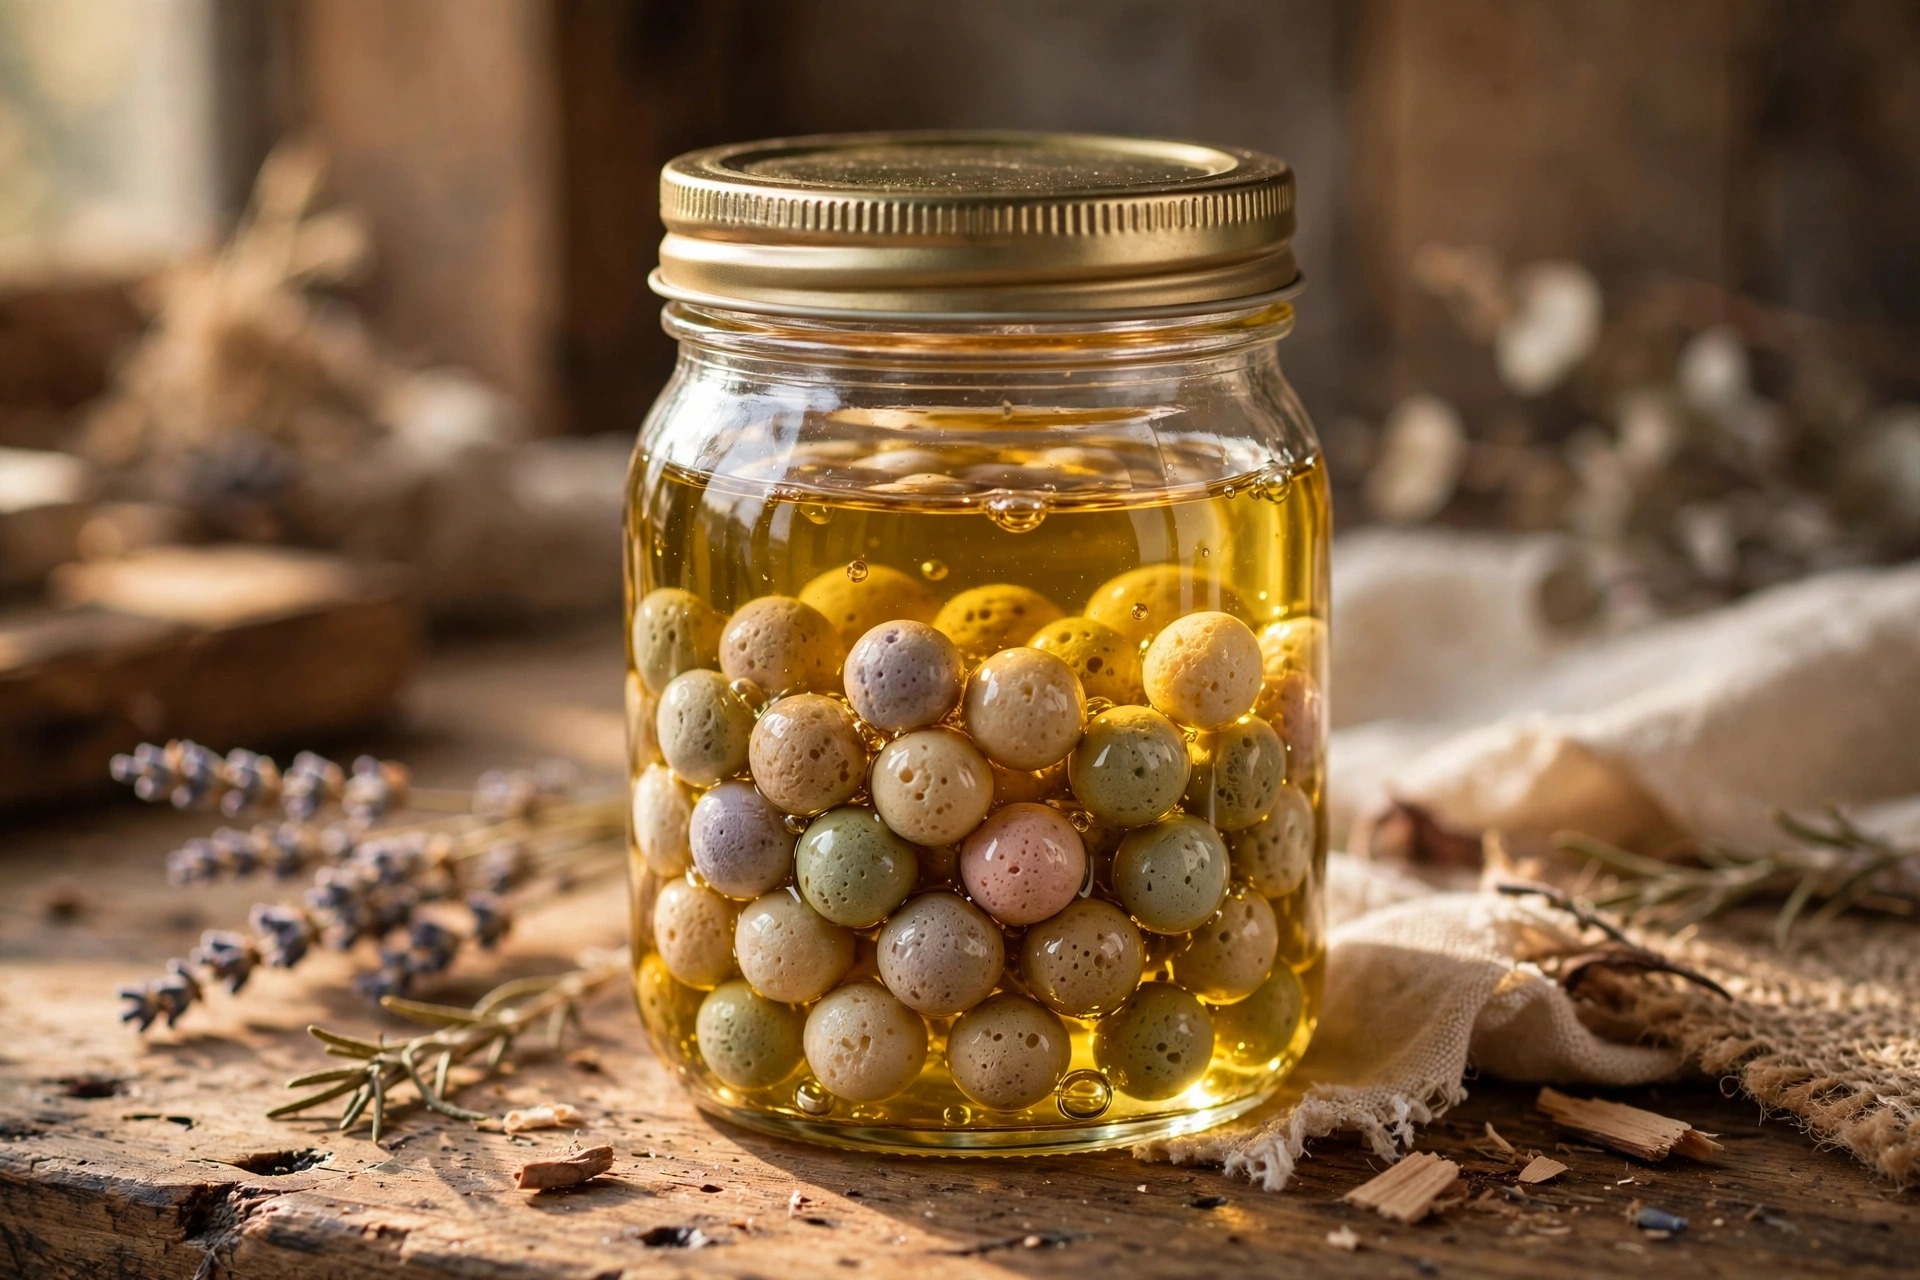
This is where scent longevity is won or lost. Combine aroma beads and fragrance oil in a sealed glass jar and let them absorb for several days, shaking daily — not a few hours. The beads should look plump and feel dry-ish, not swimming in oil. Under-absorbed beads are the #1 cause of weak freshies.
2. Shape with cutters or molds
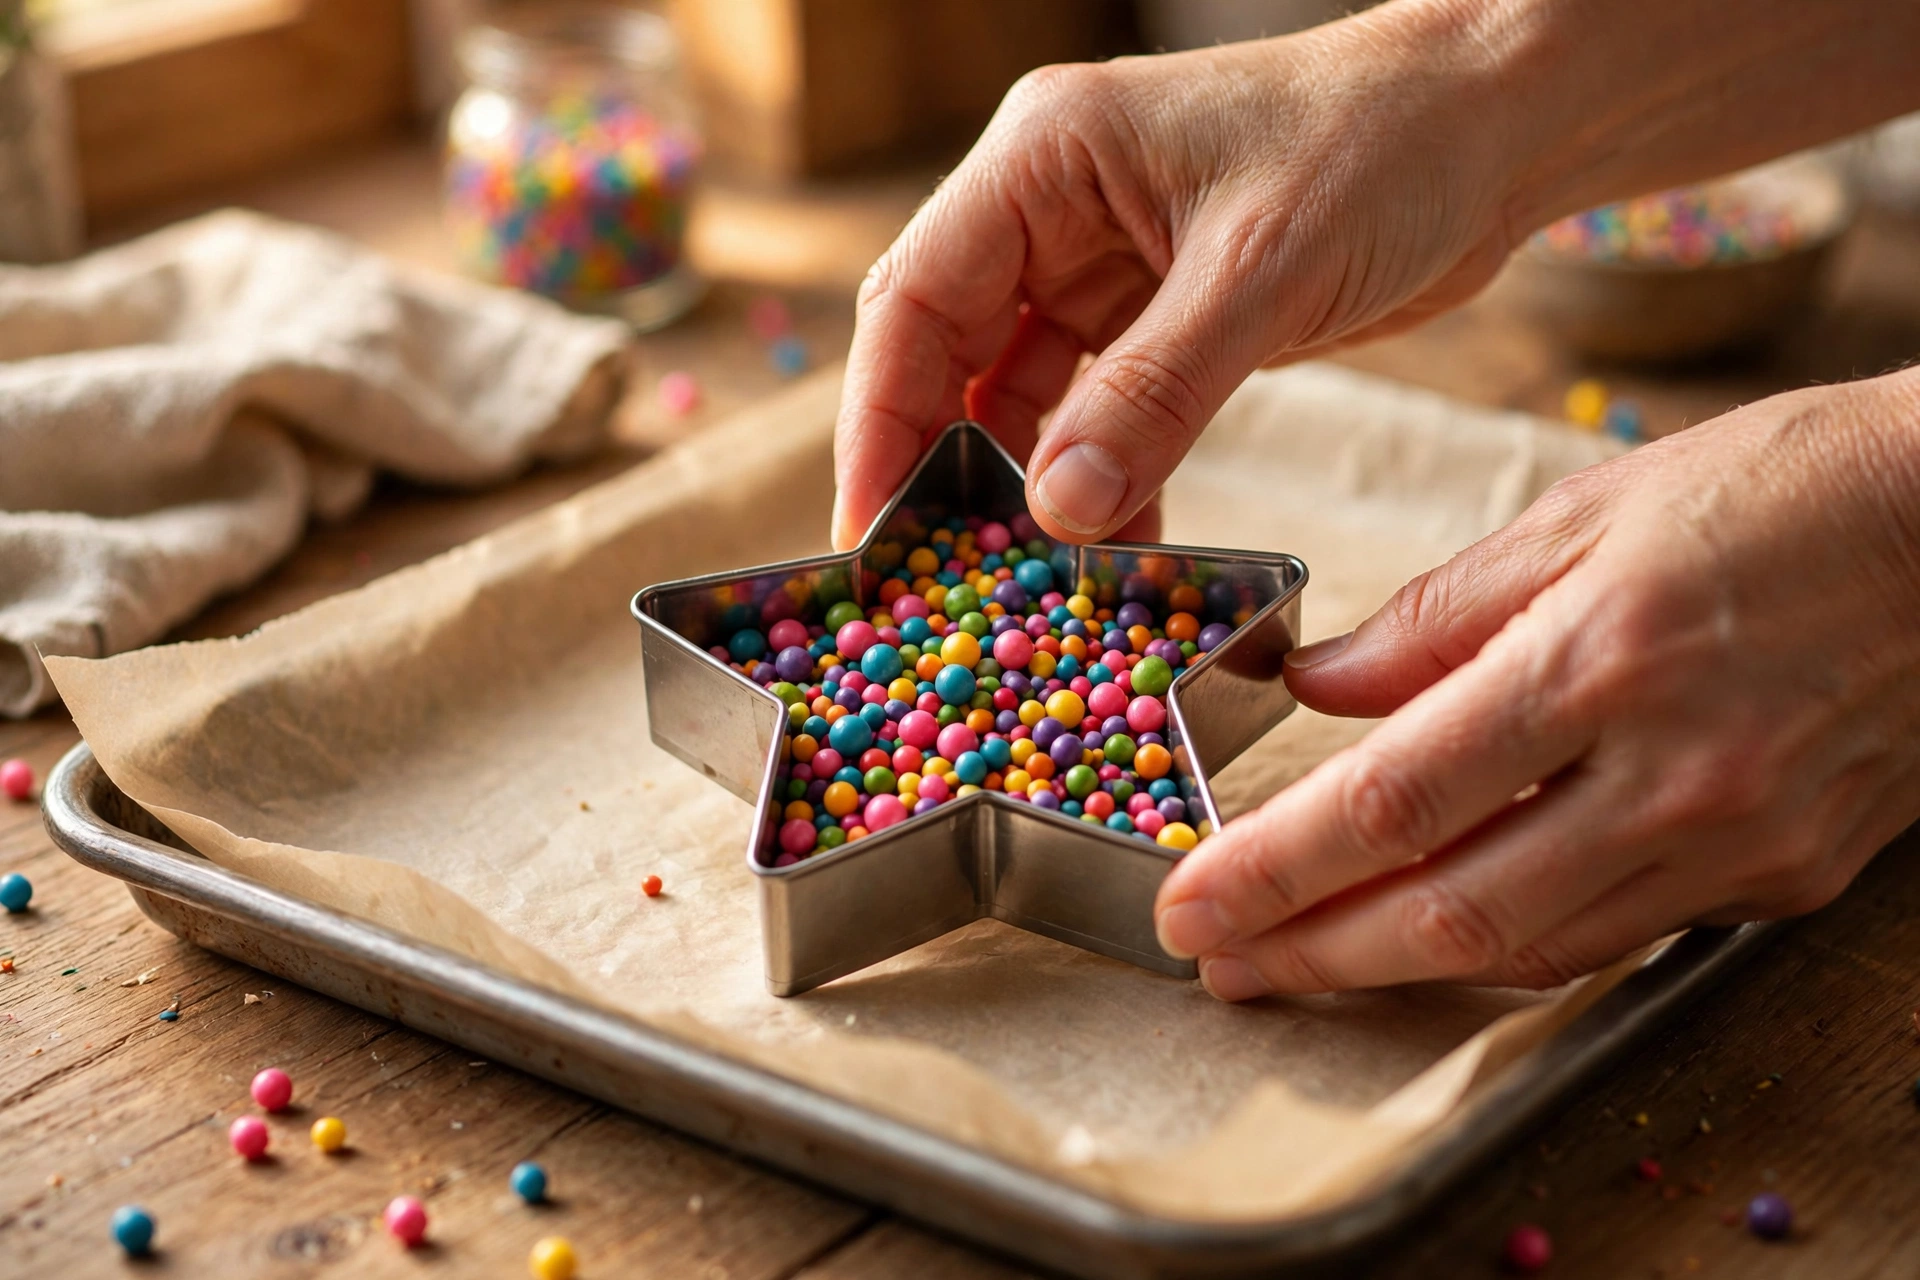
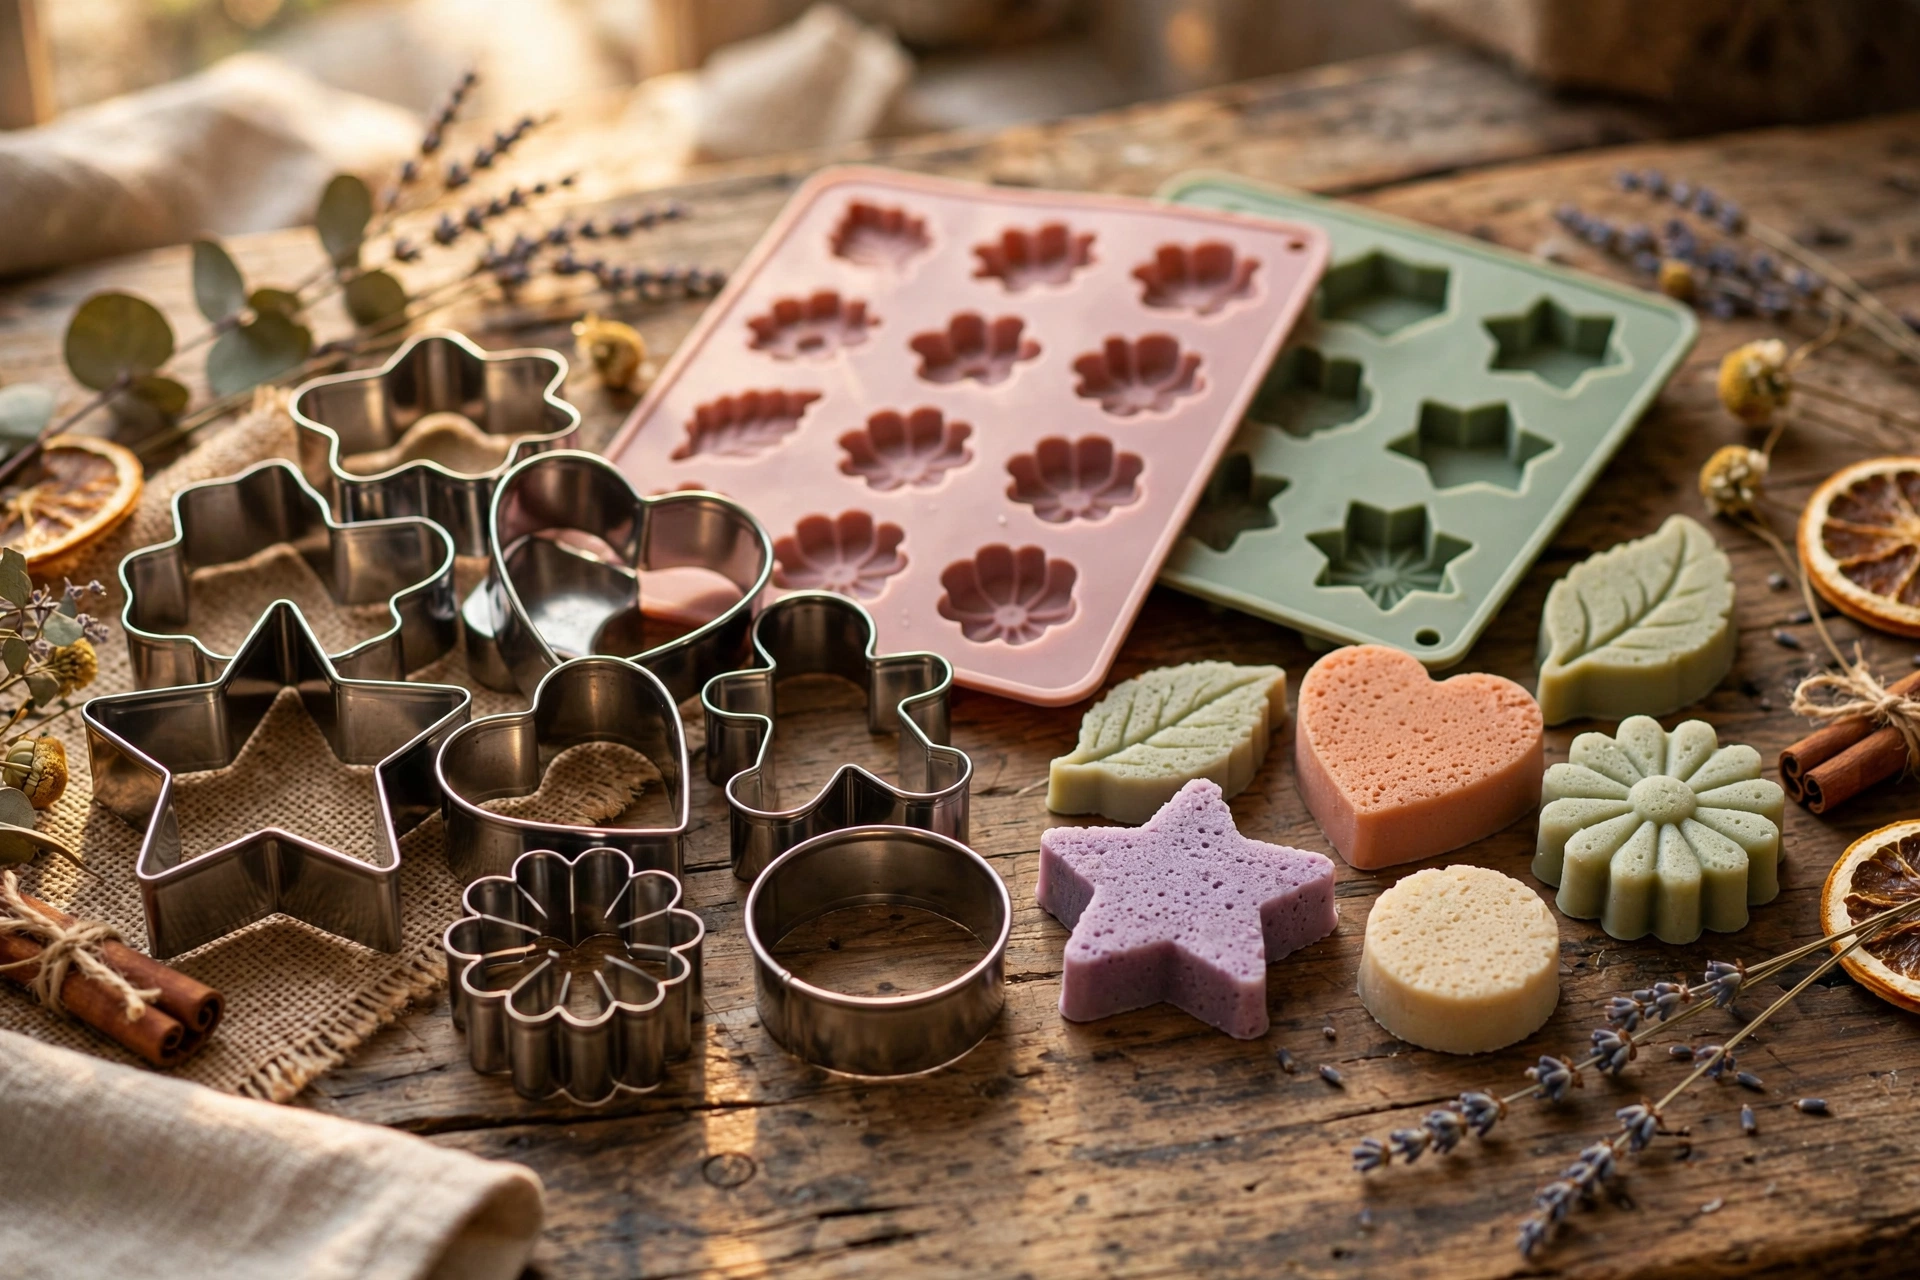
For cookie cutters: set the cutter on a parchment-lined sheet and fill it with scented beads, mounding slightly — they shrink as they melt. For silicone molds: press beads in firmly and evenly. Simple bold shapes (stars, hearts, circles, trees) release cleanly; intricate details tend to blur in the melt.
3. Bake and cool
Bake per your bead supplier’s guidance until the beads melt together into a solid piece — then cool completely before handling. Rushing the cool-down warps shapes. Pop cutters off gently; flex silicone molds to release.
4. Add hardware: hangers and vent clips
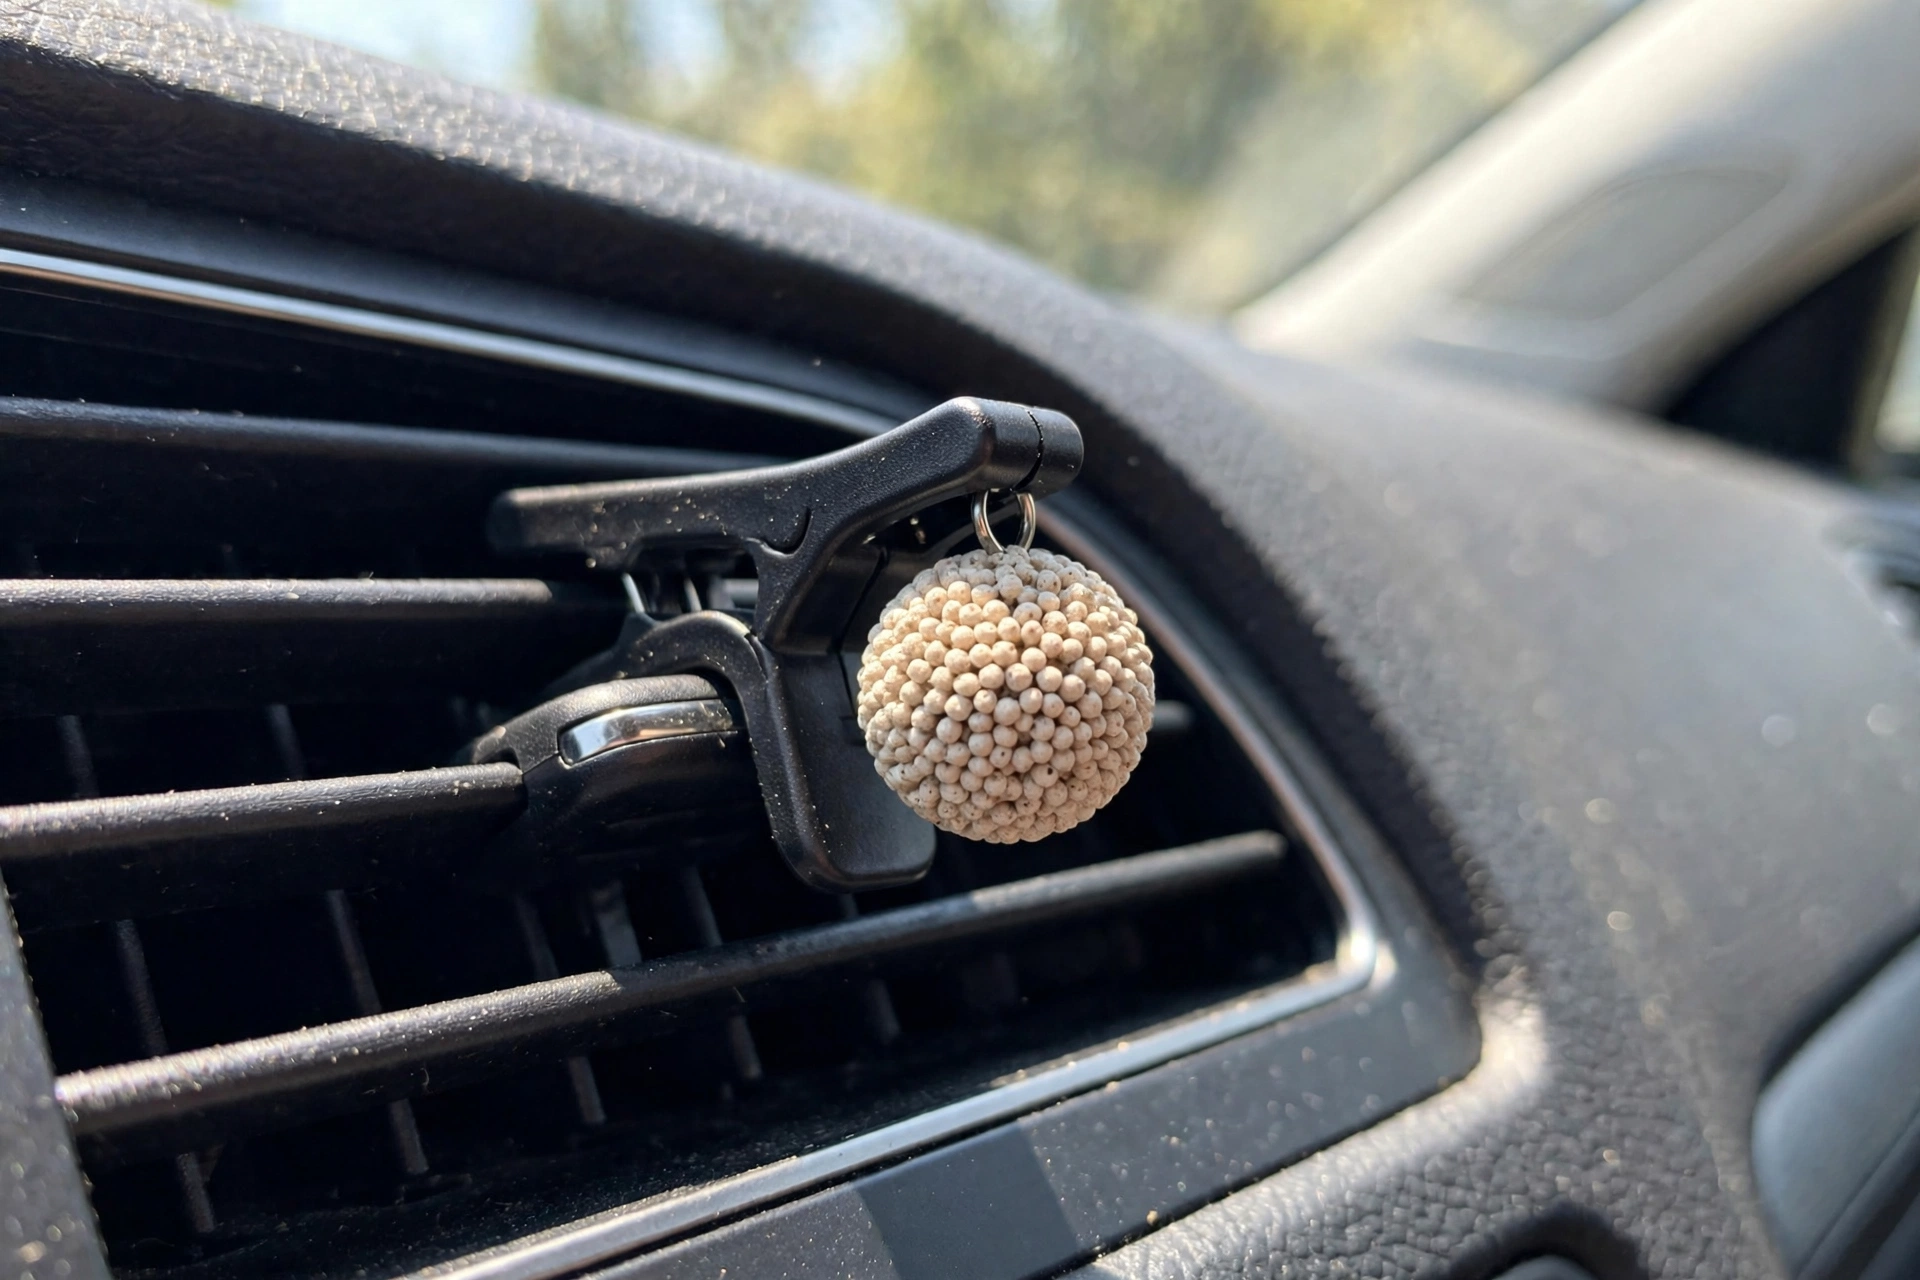
For hanging freshies: thread ribbon or elastic through a small hole (poke it while the freshie is still slightly warm, or drill gently once cool). For vent clips: make the freshie smaller and thinner than a hanging one — about 2 inches across — and attach a flat-back vent clip to the back with a dab of strong craft glue once fully cool. Let the glue cure overnight before clipping it into a vent.
Making the scent last
Freshies fade — the question is how slowly. Four things extend scent life: (1) full multi-day absorption, (2) a strong fragrance to begin with, (3) storing finished freshies sealed in bags until use or sale, and (4) keeping them out of direct sun and extreme heat, which bake the scent out fast.
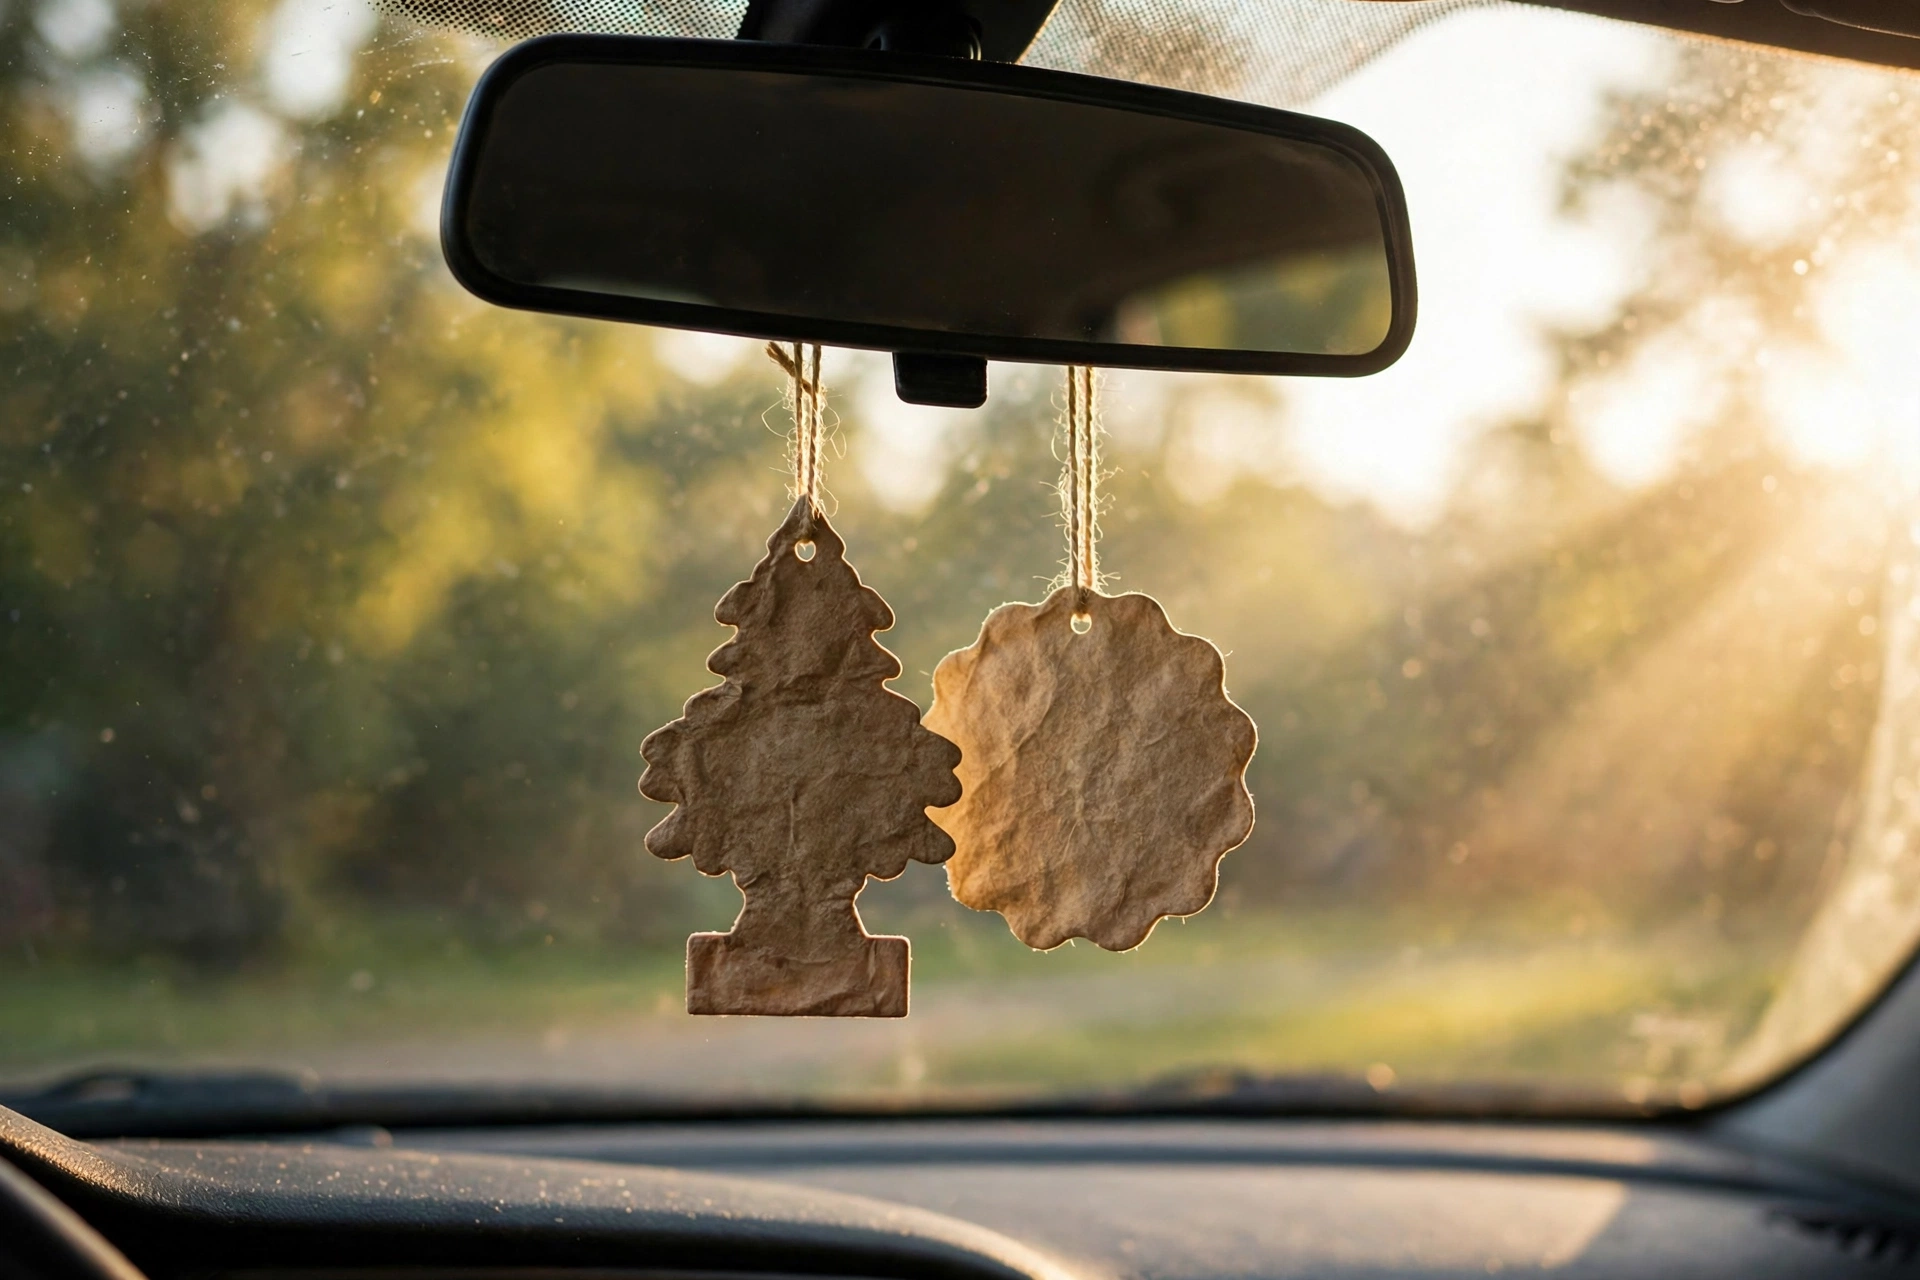
Set honest expectations: a well-made freshie scents a car for weeks, not months. Tell customers they can refresh a faded freshie with a light spritz of matching fragrance — it buys extra weeks and it brings them back to you for the refresher spray.
Troubleshooting
Scent fades too fast? Almost always under-absorption (rushed the jar stage), a weak fragrance choice, or storage in heat/sun. Fix the process, not the product.

Discoloration? Some fragrance components (vanilla-type notes especially) darken beads over time. It’s cosmetic and expected with those scents — either embrace it in your color choices or pick non-discoloring fragrances for light-colored freshies.
Beads won’t absorb the fragrance? Too much oil for the bead quantity, not enough time, or old beads that have lost absorbency. Stick to your supplier’s ratio, give it the full several days, and start with fresh beads.
Freshie crumbles or won’t hold together? Under-baked. Give it more time until the beads fully melt into each other — but watch closely, since over-baking scorches the scent.
Next steps
Mastered the shapes? The full foundation lives in our car freshies tutorial — and if you’re selling these at markets, the vendor booth setup tutorial will help you display them to move.



