How to Set Up a Candle Booth for Vendor Events
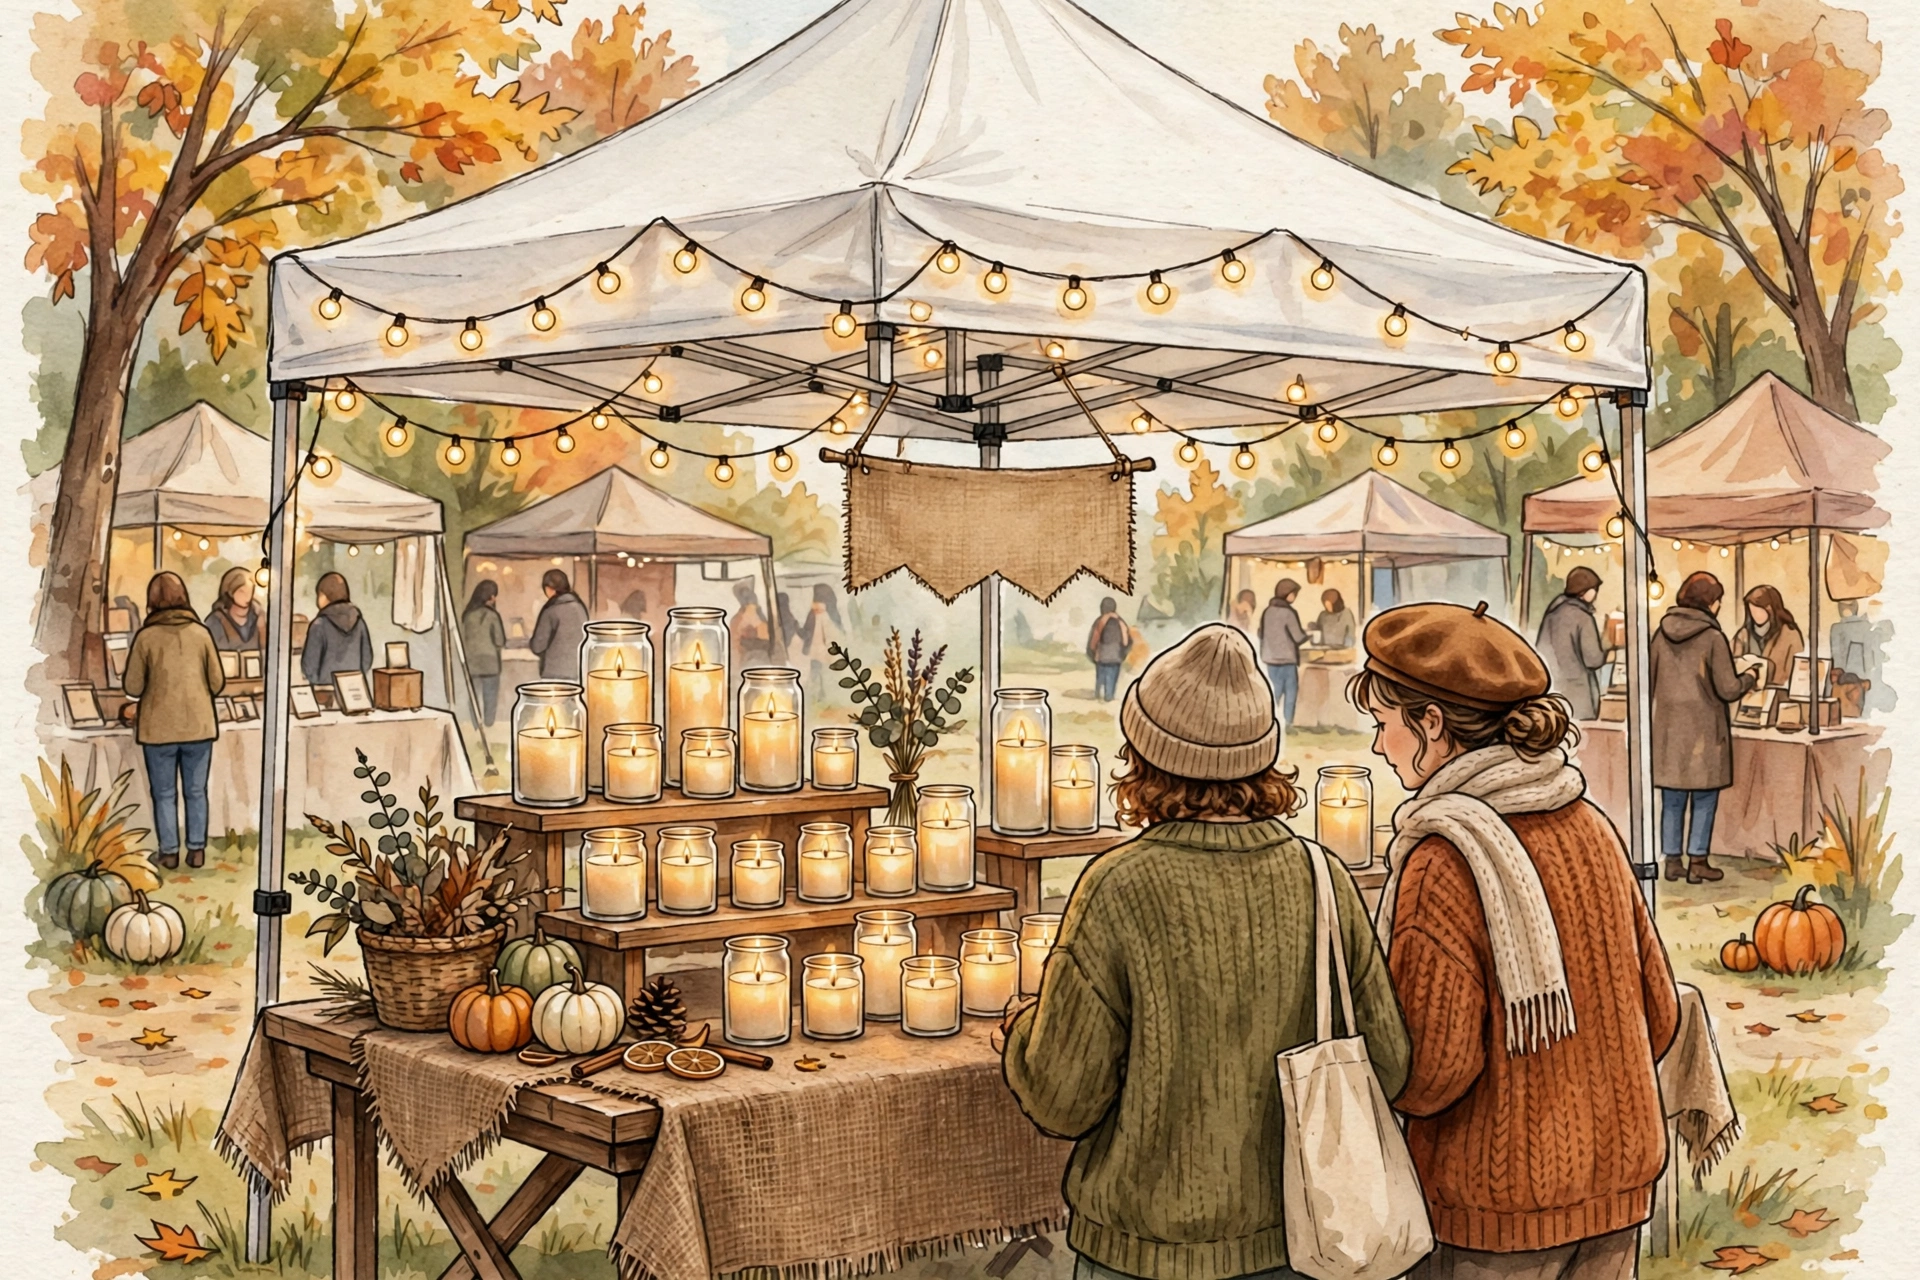
Your booth is your storefront for the day — and at a busy craft fair, you have about three seconds to earn a shopper’s attention. Here’s how to build a candle booth that pulls people in and turns browsers into buyers.
<>
What you’ll need
- 10×10 pop-up canopy tent (most events require one)
- 6 ft folding table — one or two, depending on your space
- Floor-length tablecloths (they hide your under-table storage)
- Display risers or shelves to create height
- Wax melt display— a tiered stand or countertop spinner rack for clamshells
- Small soap display tray or stand (if you also sell soaps)
- Brand banner or sign with your business name
- Custom vinyl booth banner printed with your business name and logo
- Custom printed table cover with your branding (fitted, floor-length)
- Price signs or tags — one for every product
- Battery-powered LED lights or fairy lights
- Tester candles — one lit candle per scent family
- Shopping bags, tissue paper, business cards
- Card reader, cash box, and an email signup sheet
- A chair, snacks, and water for yourself
Steps
1. Raise the canopy and place your tables
Arrive early — the best spots and the calmest setup happen in the first hour. Pop the canopy, then arrange tables in a U or L shape if you have two; a single straight table works fine for smaller spaces. Leave room behind the tables for you and your restock bins. Stake or weight the canopy legs — wind ruins more booths than rain does.
2. Build height with risers and layers
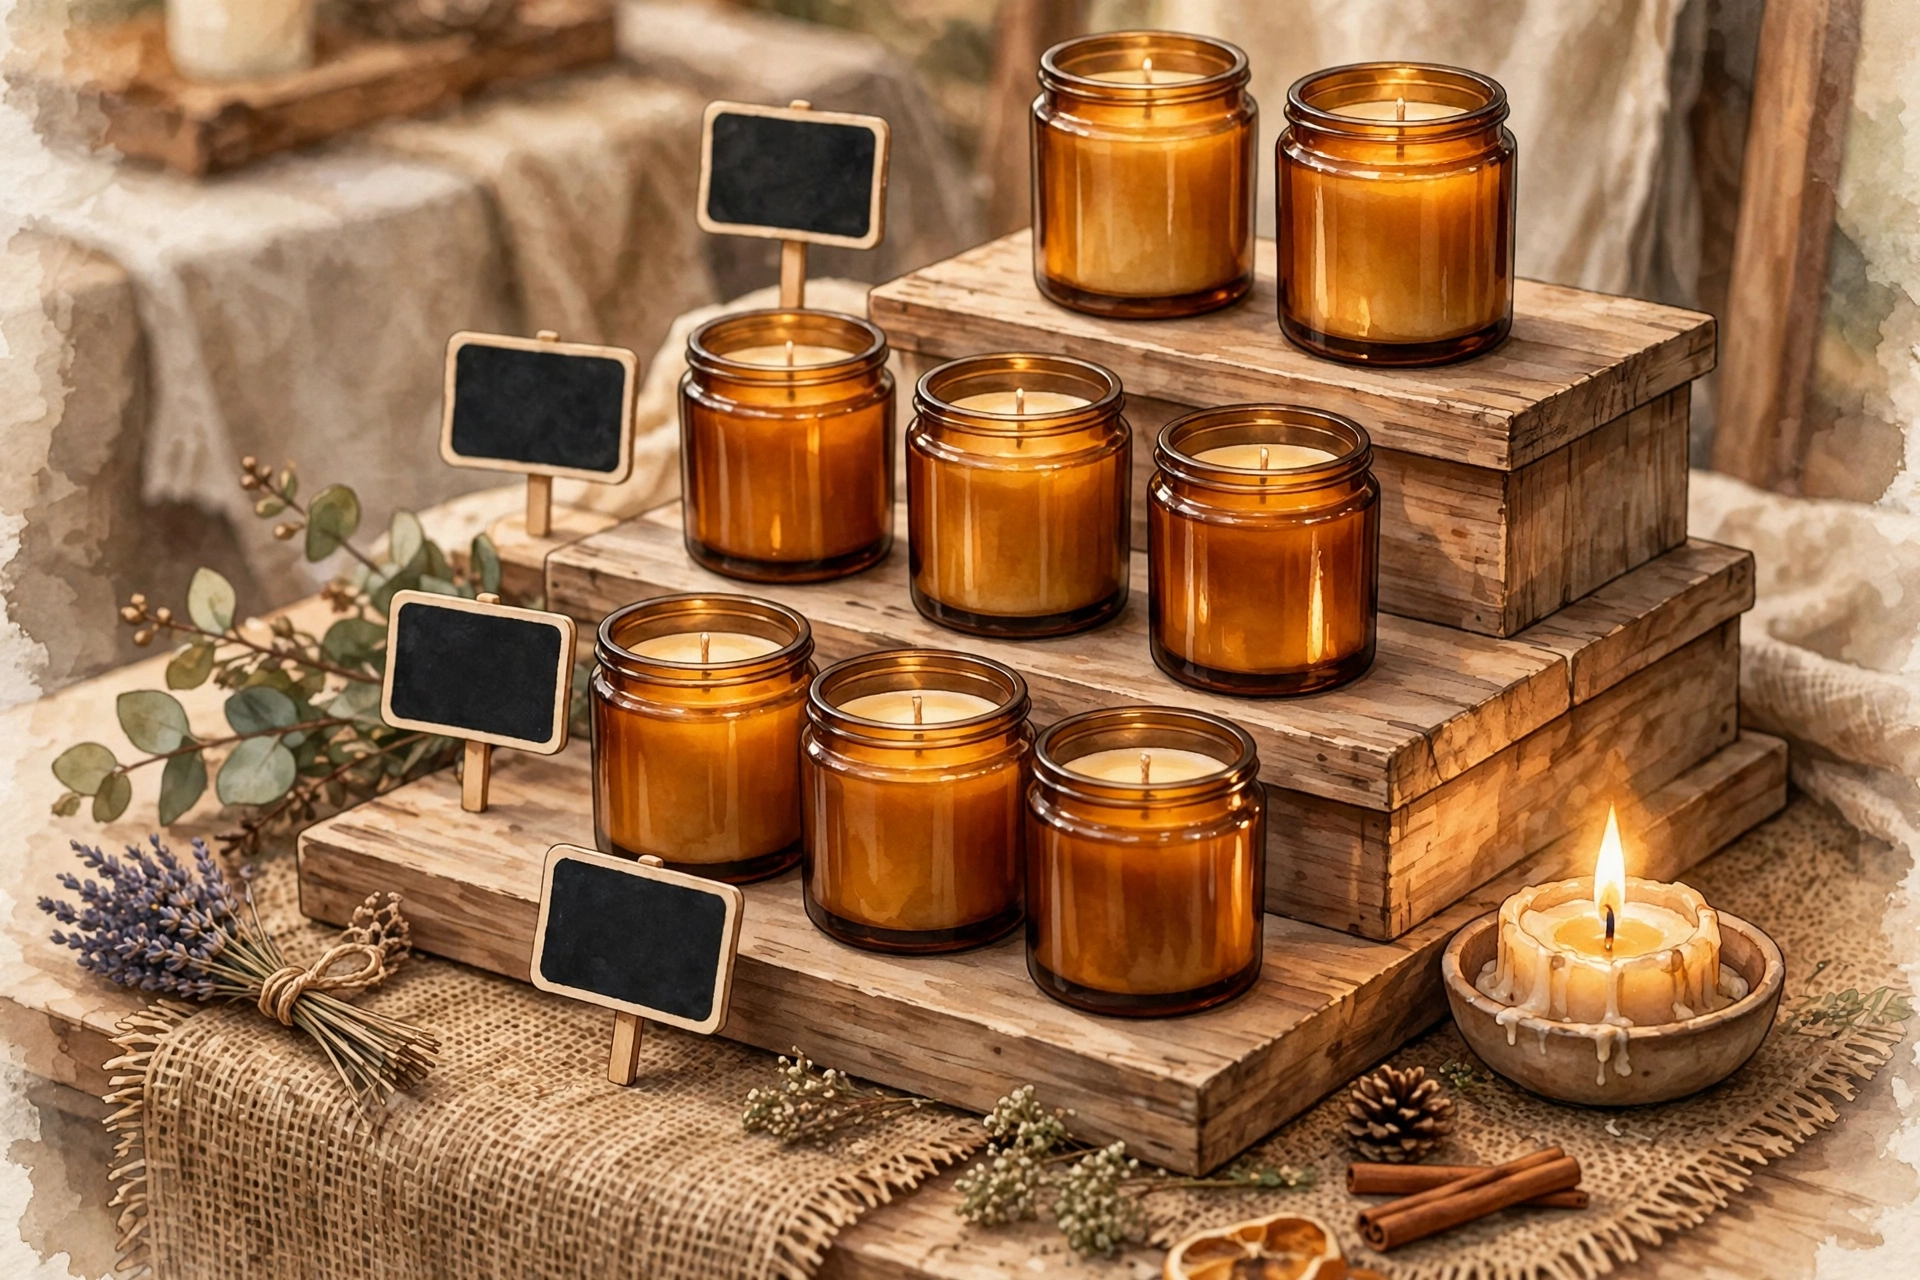
A flat table of candles all at the same level looks like a yard sale. Height is what makes a booth look professional: put your hero products at eye level on risers, mid-range items in the middle, and smaller or sale items lower. Drape fabric over crates or boxes for cheap, sturdy elevation. Group by scent family or collection so shoppers can browse a “story,” not a jumble. Give candles the prime real estate — they’re the main event. Tuck wax melts and soaps into a dedicated side section so they read as a bonus, not competition.
3. Light it up
Even daytime events have shady corners, and evening markets live or die by lighting. Run battery fairy lights along the canopy frame and add a few small LED spotlights aimed at your hero products. Warm-toned light (not cool white) makes candlelight-colored wax glow and keeps the cozy vibe. Test everything at home — dead batteries at dusk are a rite of passage you only need once.
4. Sign everything — especially prices
Hang your brand banner high where it’s visible over the crowd. Then price every single product. Shoppers would rather walk away than ask “how much?” — unpriced items are invisible items. Use consistent, readable signs: small chalkboard tags, printed cards, or one clean price board per collection. Add a sign for any deals (“3 for $45”) — bundles lift average order size enormously at events.
5. Set up a smooth checkout corner
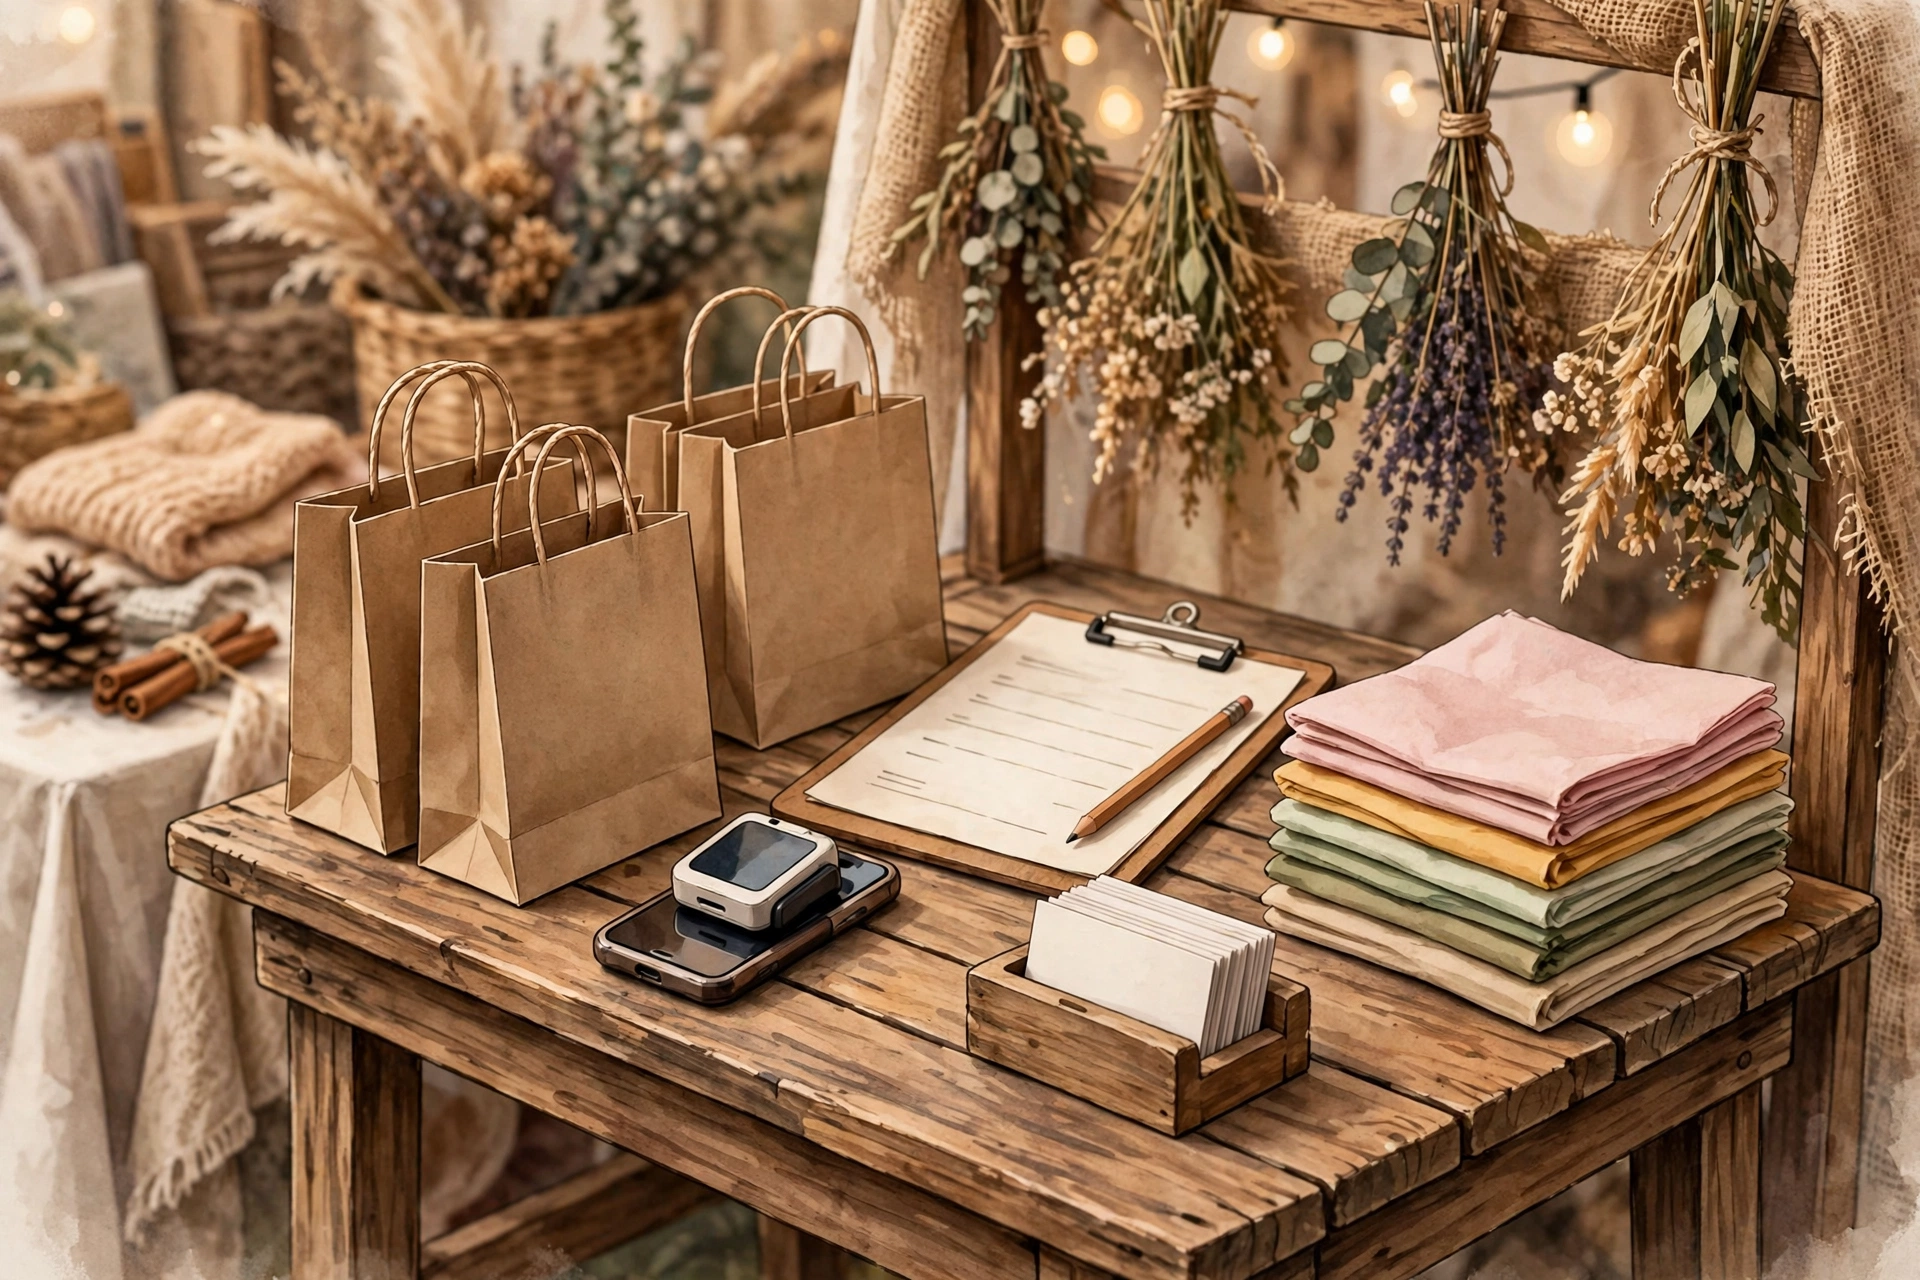
Dedicate one end of a table (or a small side table) to checkout: card reader charged and tested, cash box with small bills for change, bags and tissue within arm’s reach, and business cards in every bag. Put your email signup sheet right there too — “want 10% off your first online order?” turns one-day buyers into repeat customers.
6. Light the testers and walk your booth
Light one tester per scent family — never more than a few at once or the smells muddy together. Then walk 20 feet away and approach your booth like a stranger. Can you read the banner? See the prices? Smell something inviting? Fix whatever feels off. Then stand, smile, and greet people — a friendly “feel free to smell anything!” outsells any display trick ever invented.
Free PDF: Vendor Booth Supply Checklist
Take this guide to the event with you — a printable one-page packing checklist with every supply above, plus the night-before rule. Enter your email and download it instantly.
Join the Candle Makers Resource newsletter — tips & supplier deals. Unsubscribe anytime.
This tutorial contains affiliate links. As an Amazon Associate I earn from qualifying purchases — it helps keep these tutorials free, at no extra cost to you.