
How to Make DIY Massage Candles (Skin-Safe Lotion Candles)
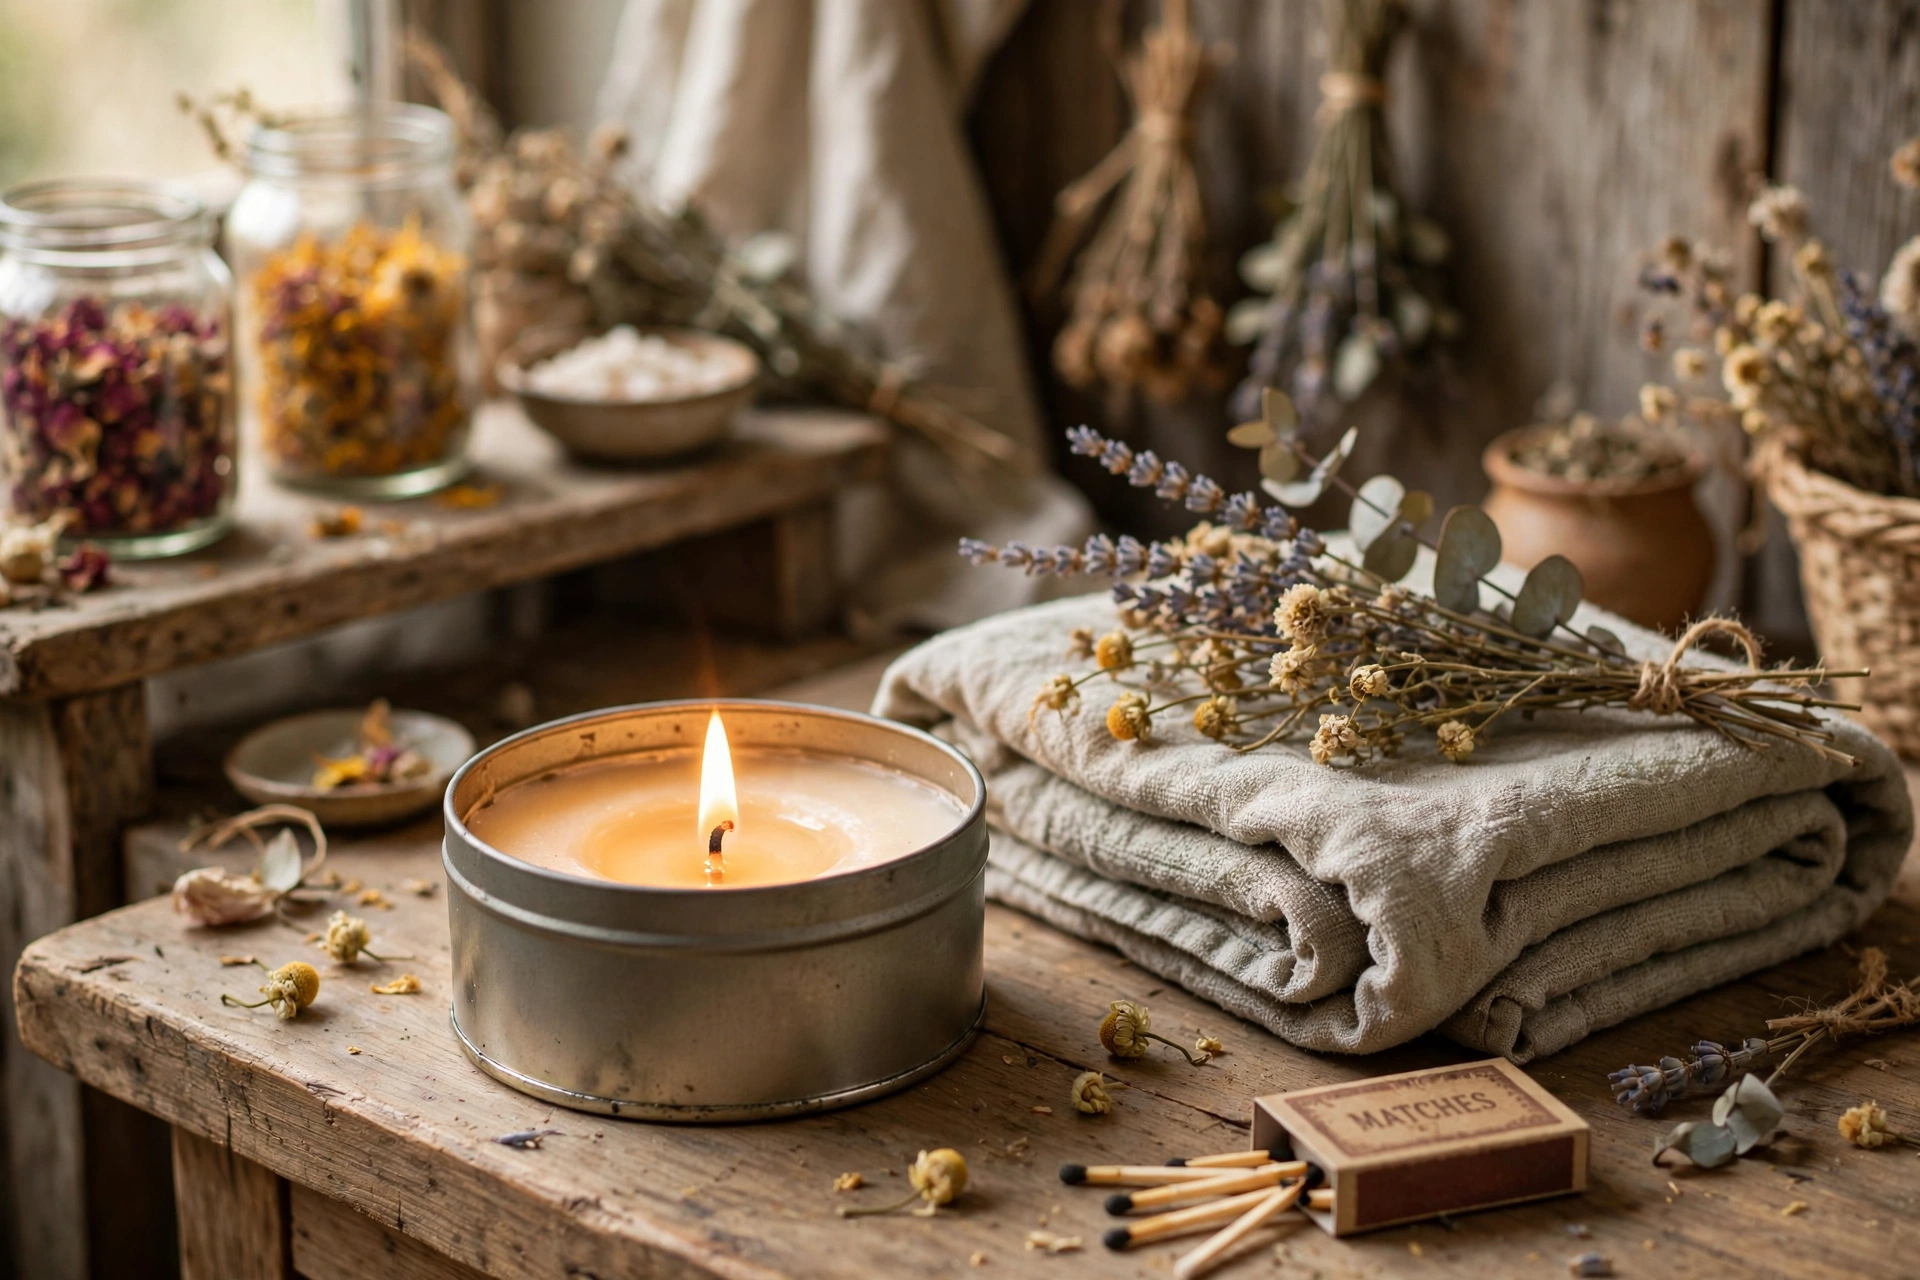
A massage candle is part candle, part lotion. You light it like any other candle, let it form a warm melt pool, extinguish the flame — and the melted pool is a warm, skin-safe oil you pour on your hands or back and massage in. One product, two experiences: cozy ambiance and a built-in massage oil.
Safety first — read this before you start
This tutorial is safety-forward on purpose: unlike a regular candle, a massage candle ends up on human skin, so every ingredient choice has a skin-safety consequence. The good news is the rules are simple and easy to follow.
The starter formula (a starting point, not a rule)
A massage candle needs wax that melts at a lower temperature than a standard candle wax, because skin can’t handle standard melt-pool heat. A simple, well-tested starting formula is roughly one-third container soy wax, one-third butters, one-third skin-safe liquid oil:
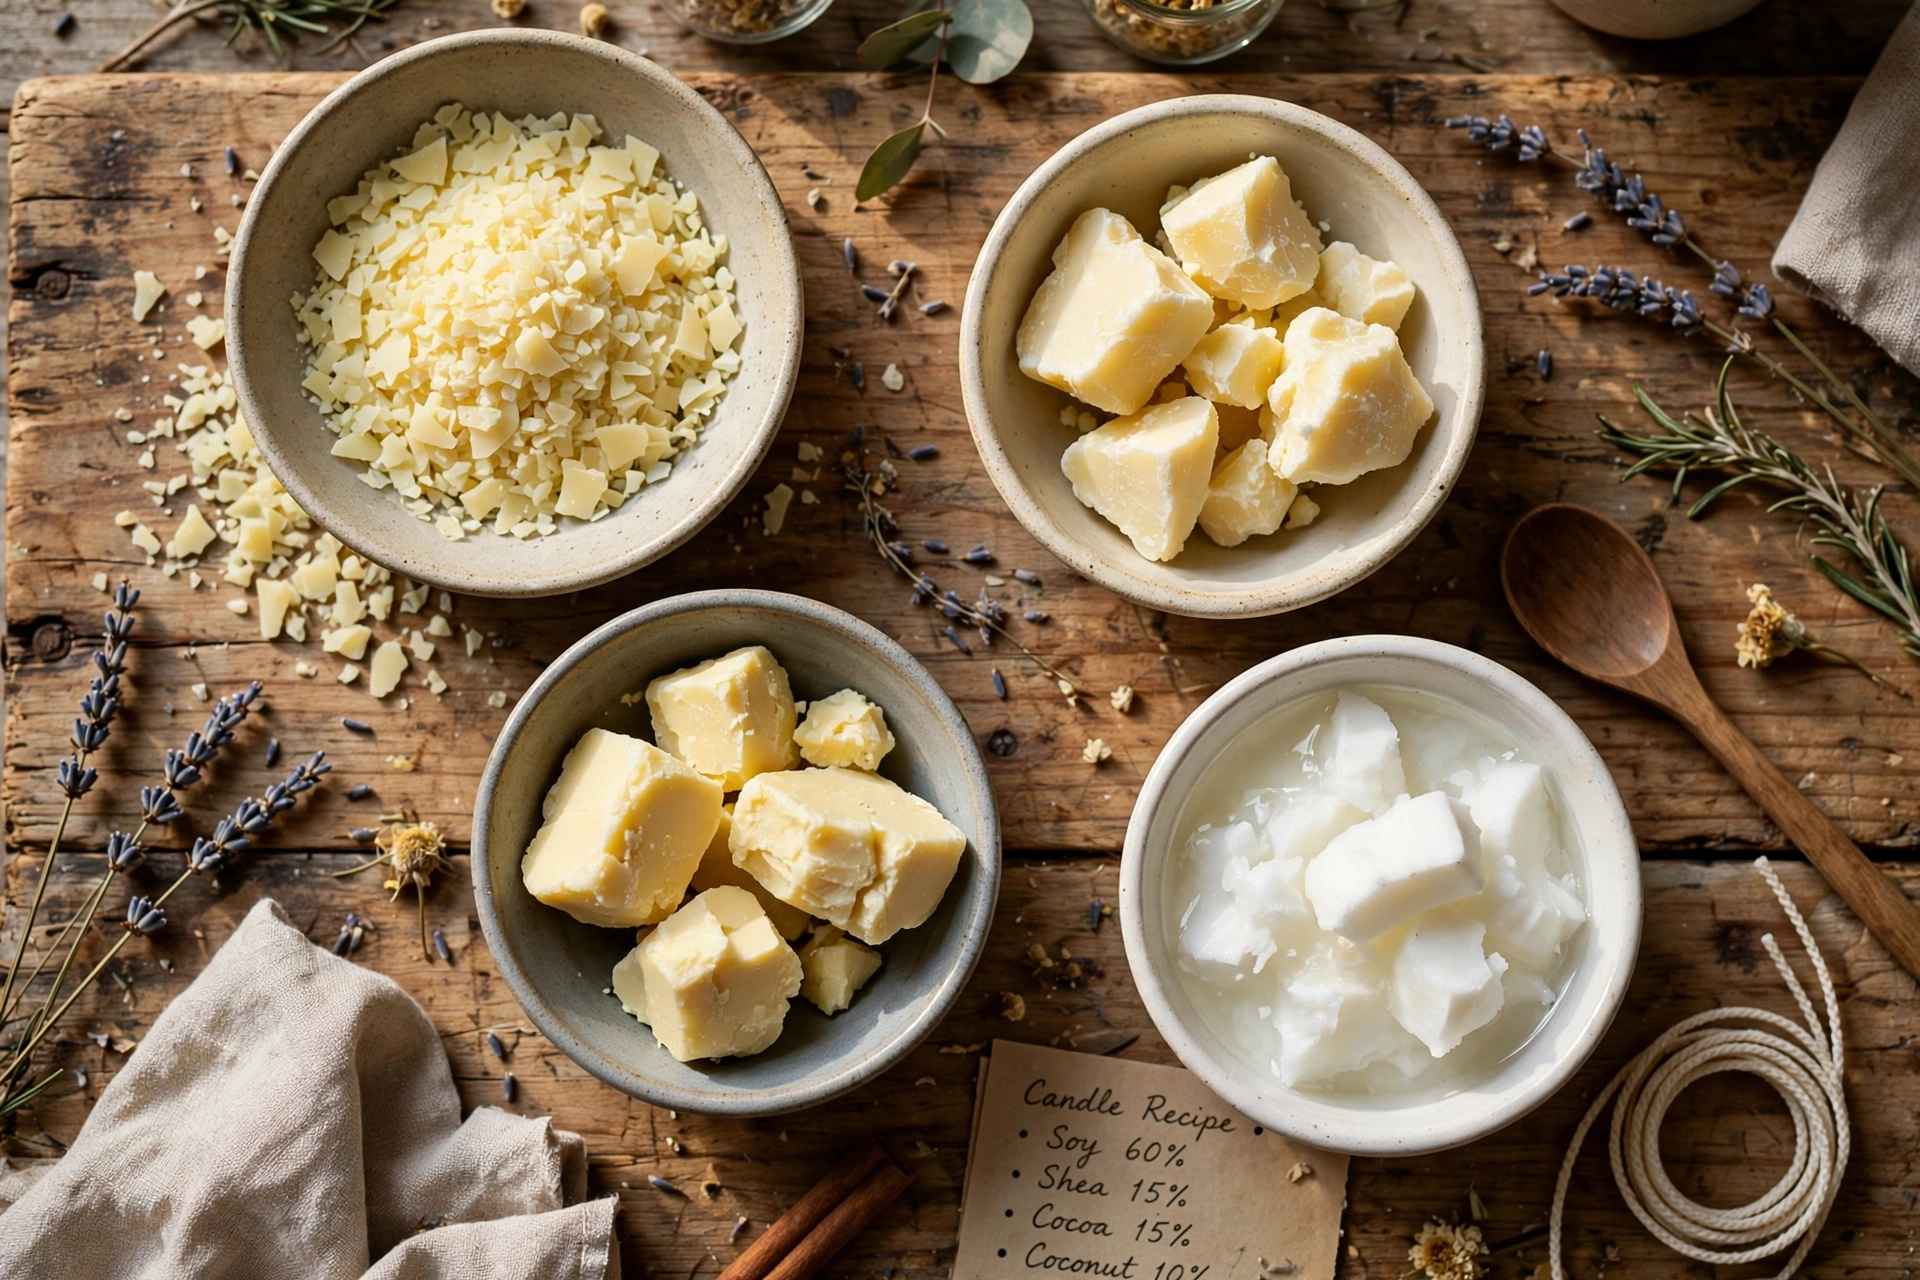
- One-third soy wax — container soy works well and blends cleanly with butters and oils. Avoid paraffin; it runs hotter and isn’t skin-friendly.
- One-third butters — shea butter, cocoa butter, or a split of both. These give the melted oil its rich, lotion-like feel.
- One-third skin-safe liquid oil — coconut oil, sweet almond oil, or a similar skin-safe carrier oil. This lowers the melting point so the pool stays comfortably warm.
Treat this as a starting point. The exact ratios you land on are yours to dial in through testing — what matters is that the finished melt pool is warm, not hot, and that the fragrance stays within the supplier’s skin-safe usage rate. Write down every ratio you try so you can repeat the one that works.
What you’ll need
- Container soy wax
- Shea and/or cocoa butter
- Skin-safe liquid oil (such as coconut oil or sweet almond oil)
- Skin-safe fragrance — rated for leave-on body products, used within the supplier’s IFRA guidance
- Metal tins (4 oz or 8 oz are ideal starter sizes)
- Wicks — cotton cored wicks sized per your supplier’s chart for the tin diameter; start one step smaller than you would for a regular soy candle, since this blend melts easily
- Thermometer
- Pouring pitcher or double boiler
- Wick stickers or holders, and chopsticks or clothespins to center the wicks
Steps: making your massage candles
1. Measure the formula
Weigh out your blend by weight, not volume: roughly one-third soy wax, one-third butters, and one-third liquid oil, plus your skin-safe fragrance kept within the supplier’s leave-on usage limit. Weighing is the only way to make the candle repeatable, and repeatability matters when you’re testing.
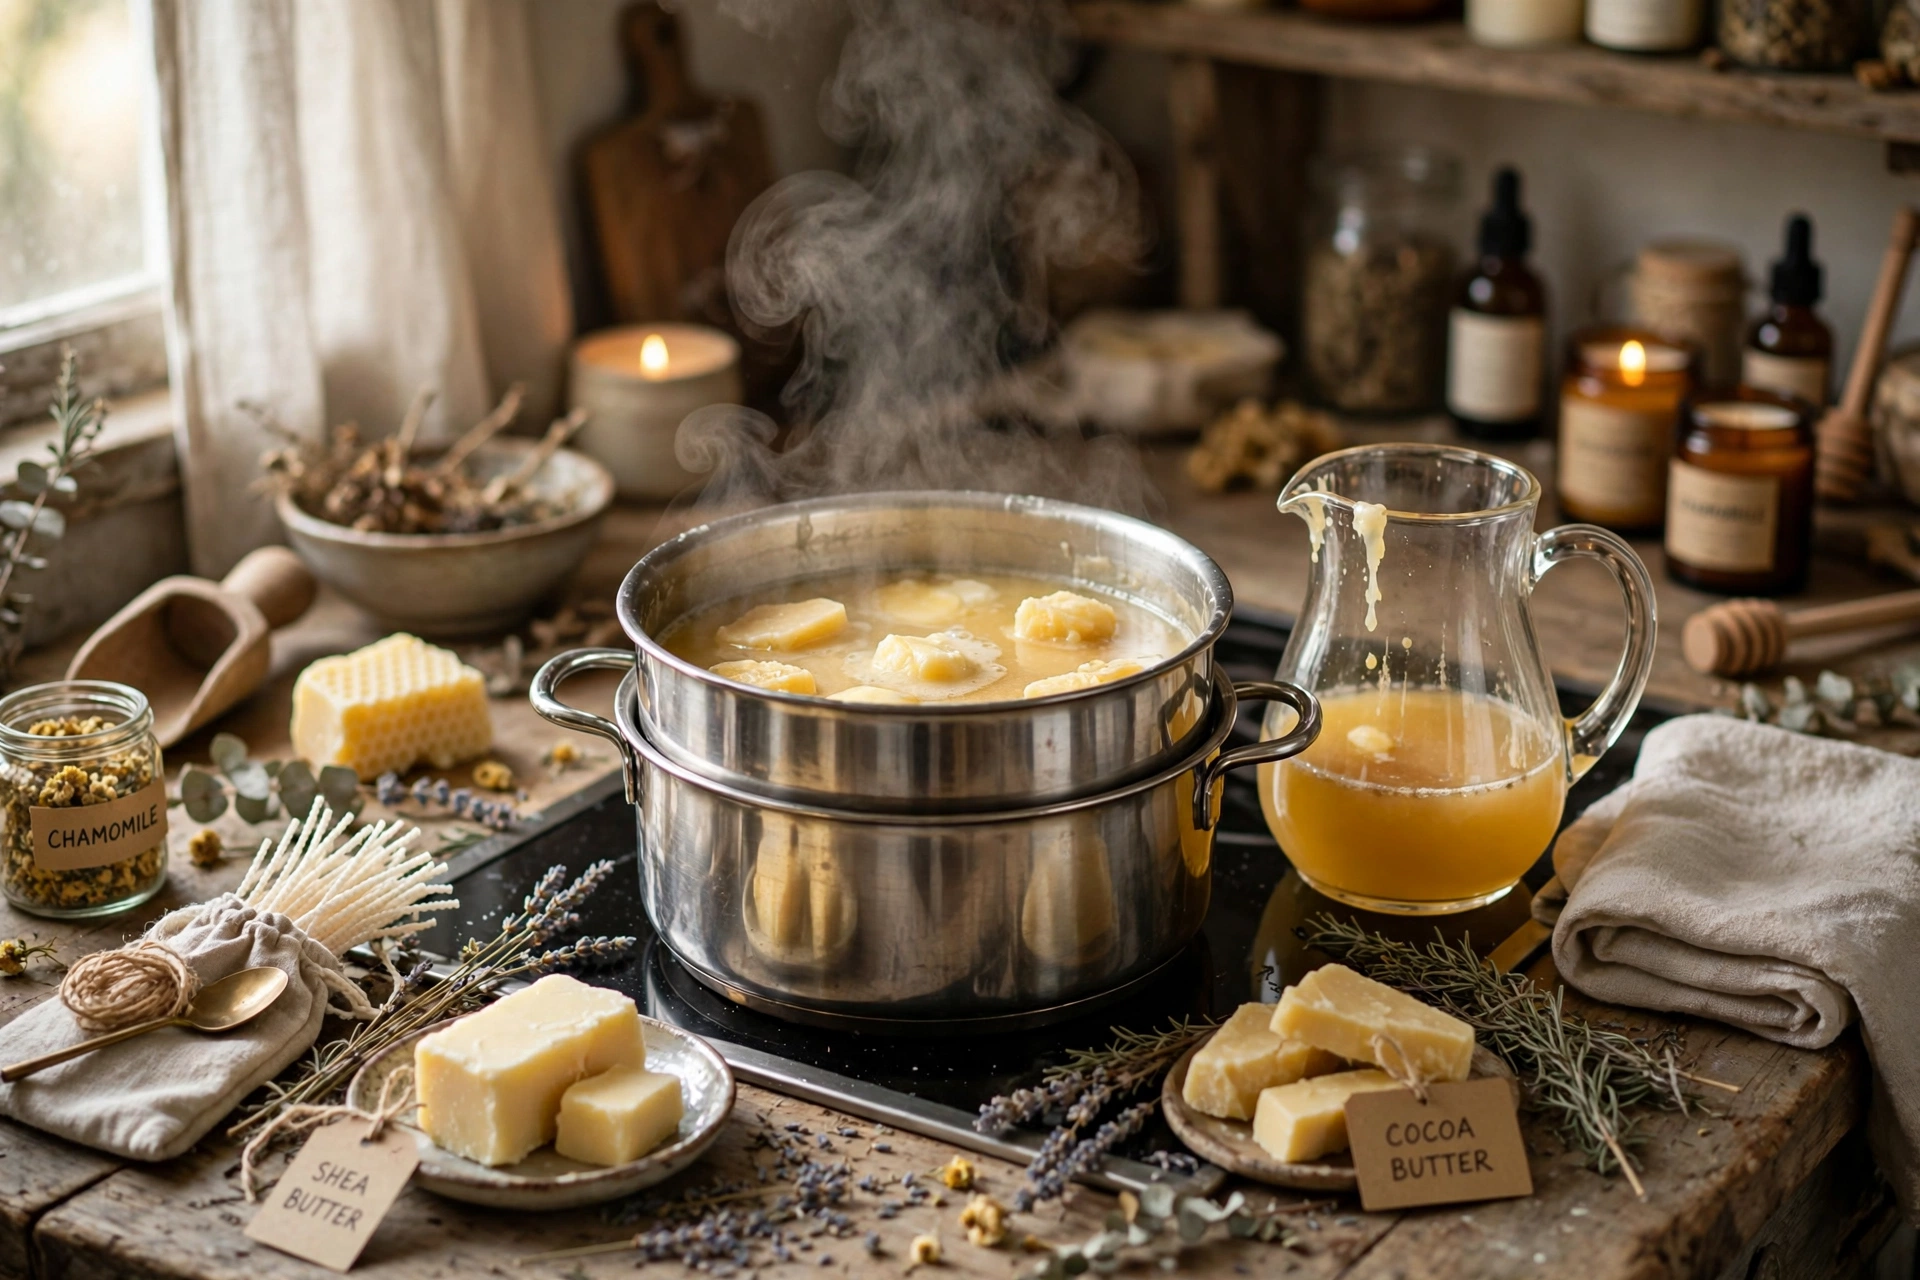
2. Melt gently
Melt the soy wax first, then add the butters. Use a double-boiler setup and keep the heat low and gentle — overheated butters can go grainy and lose their smooth texture. Stir slowly until everything is fully liquid and combined, then add the liquid oil and stir again.
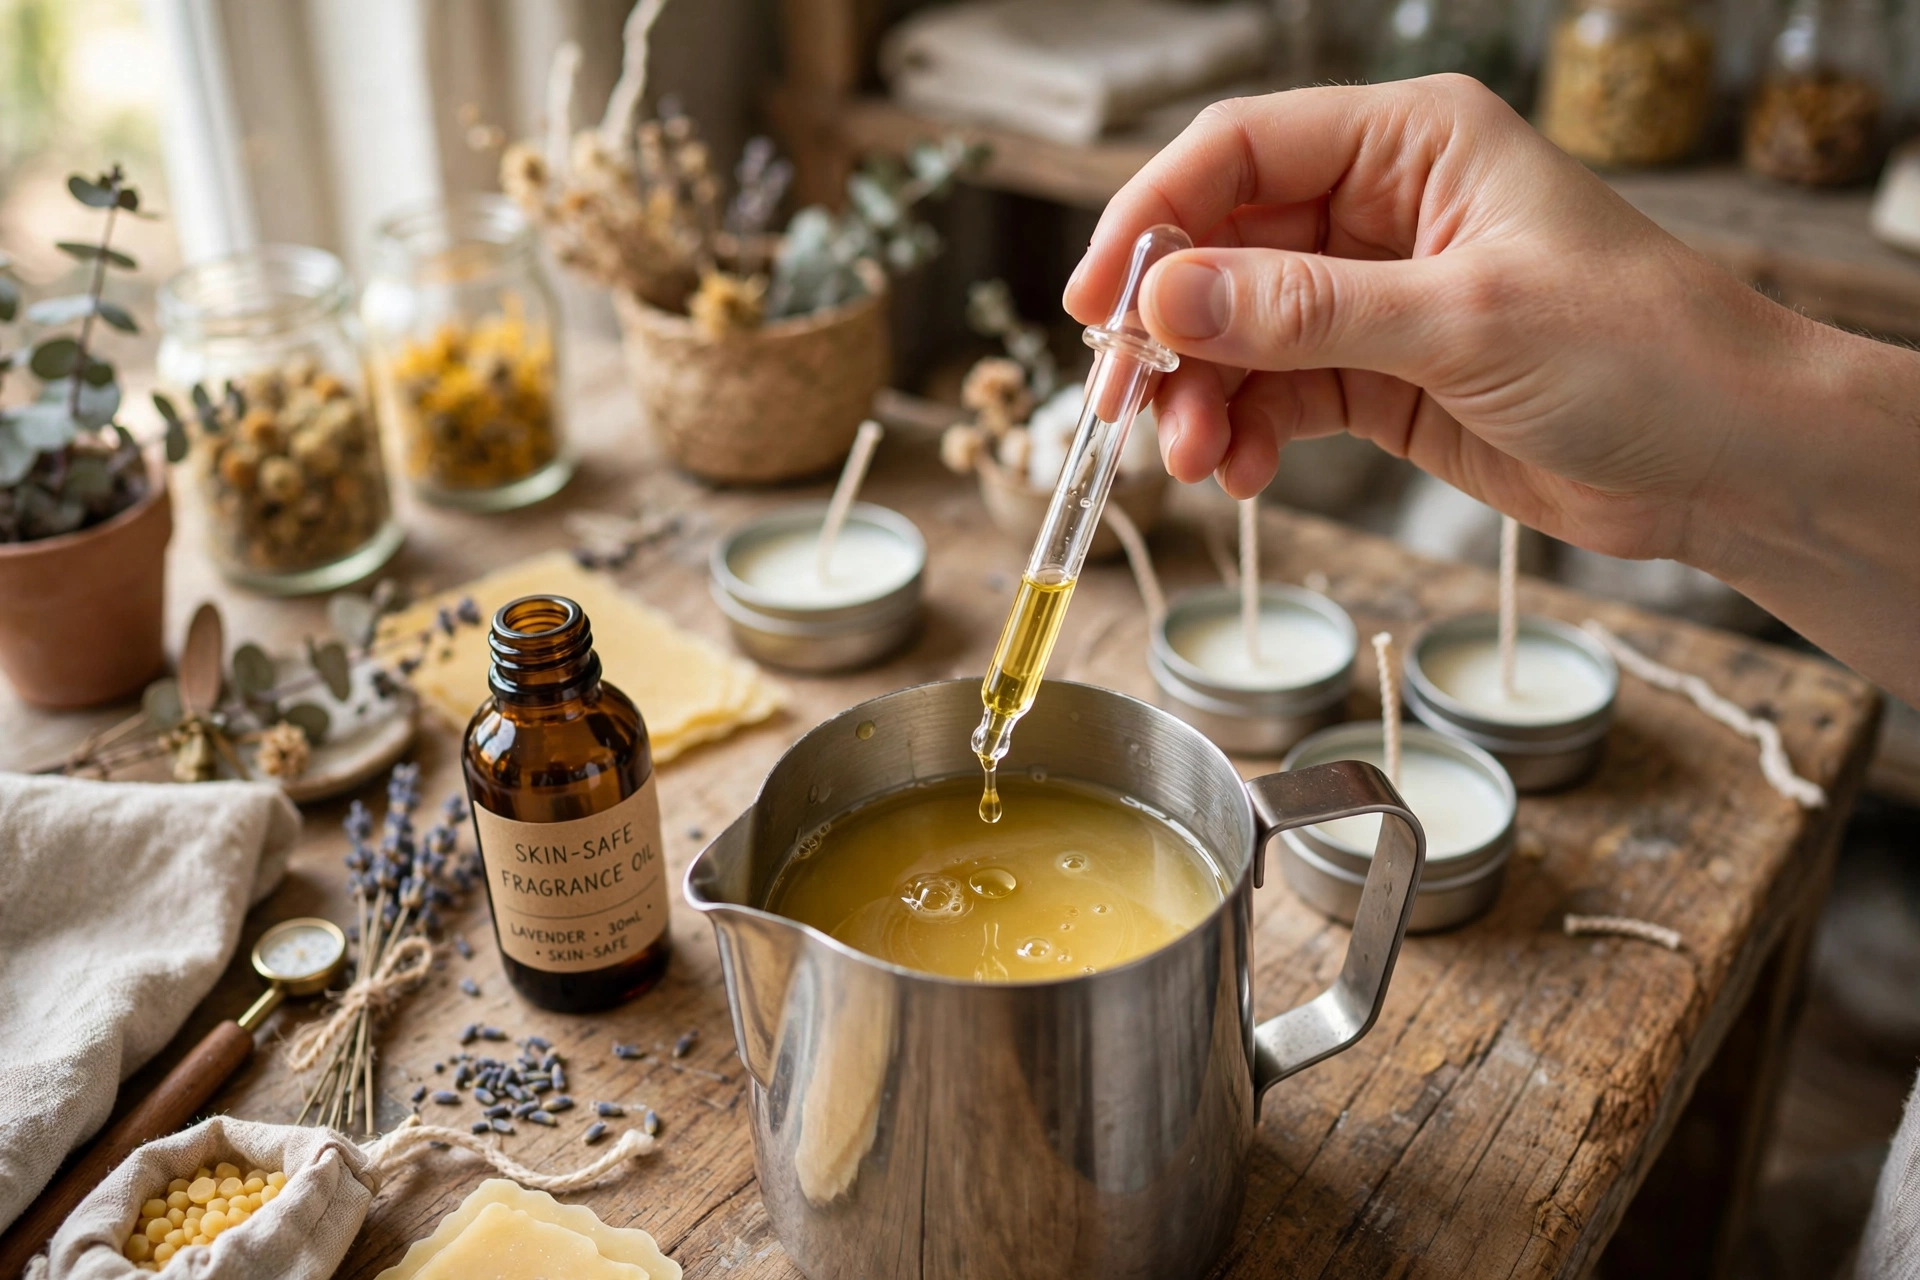
3. Add the skin-safe fragrance
Let the melted blend cool to the temperature your fragrance supplier recommends for adding (for a butter-heavy blend, this is often lower than standard candle practice — follow the supplier’s guidance for your exact fragrance). Add the fragrance at or below its skin-safe usage rate for leave-on products, and stir thoroughly for a full two minutes so it binds evenly through the blend.
4. Pour into tins and let harden fully
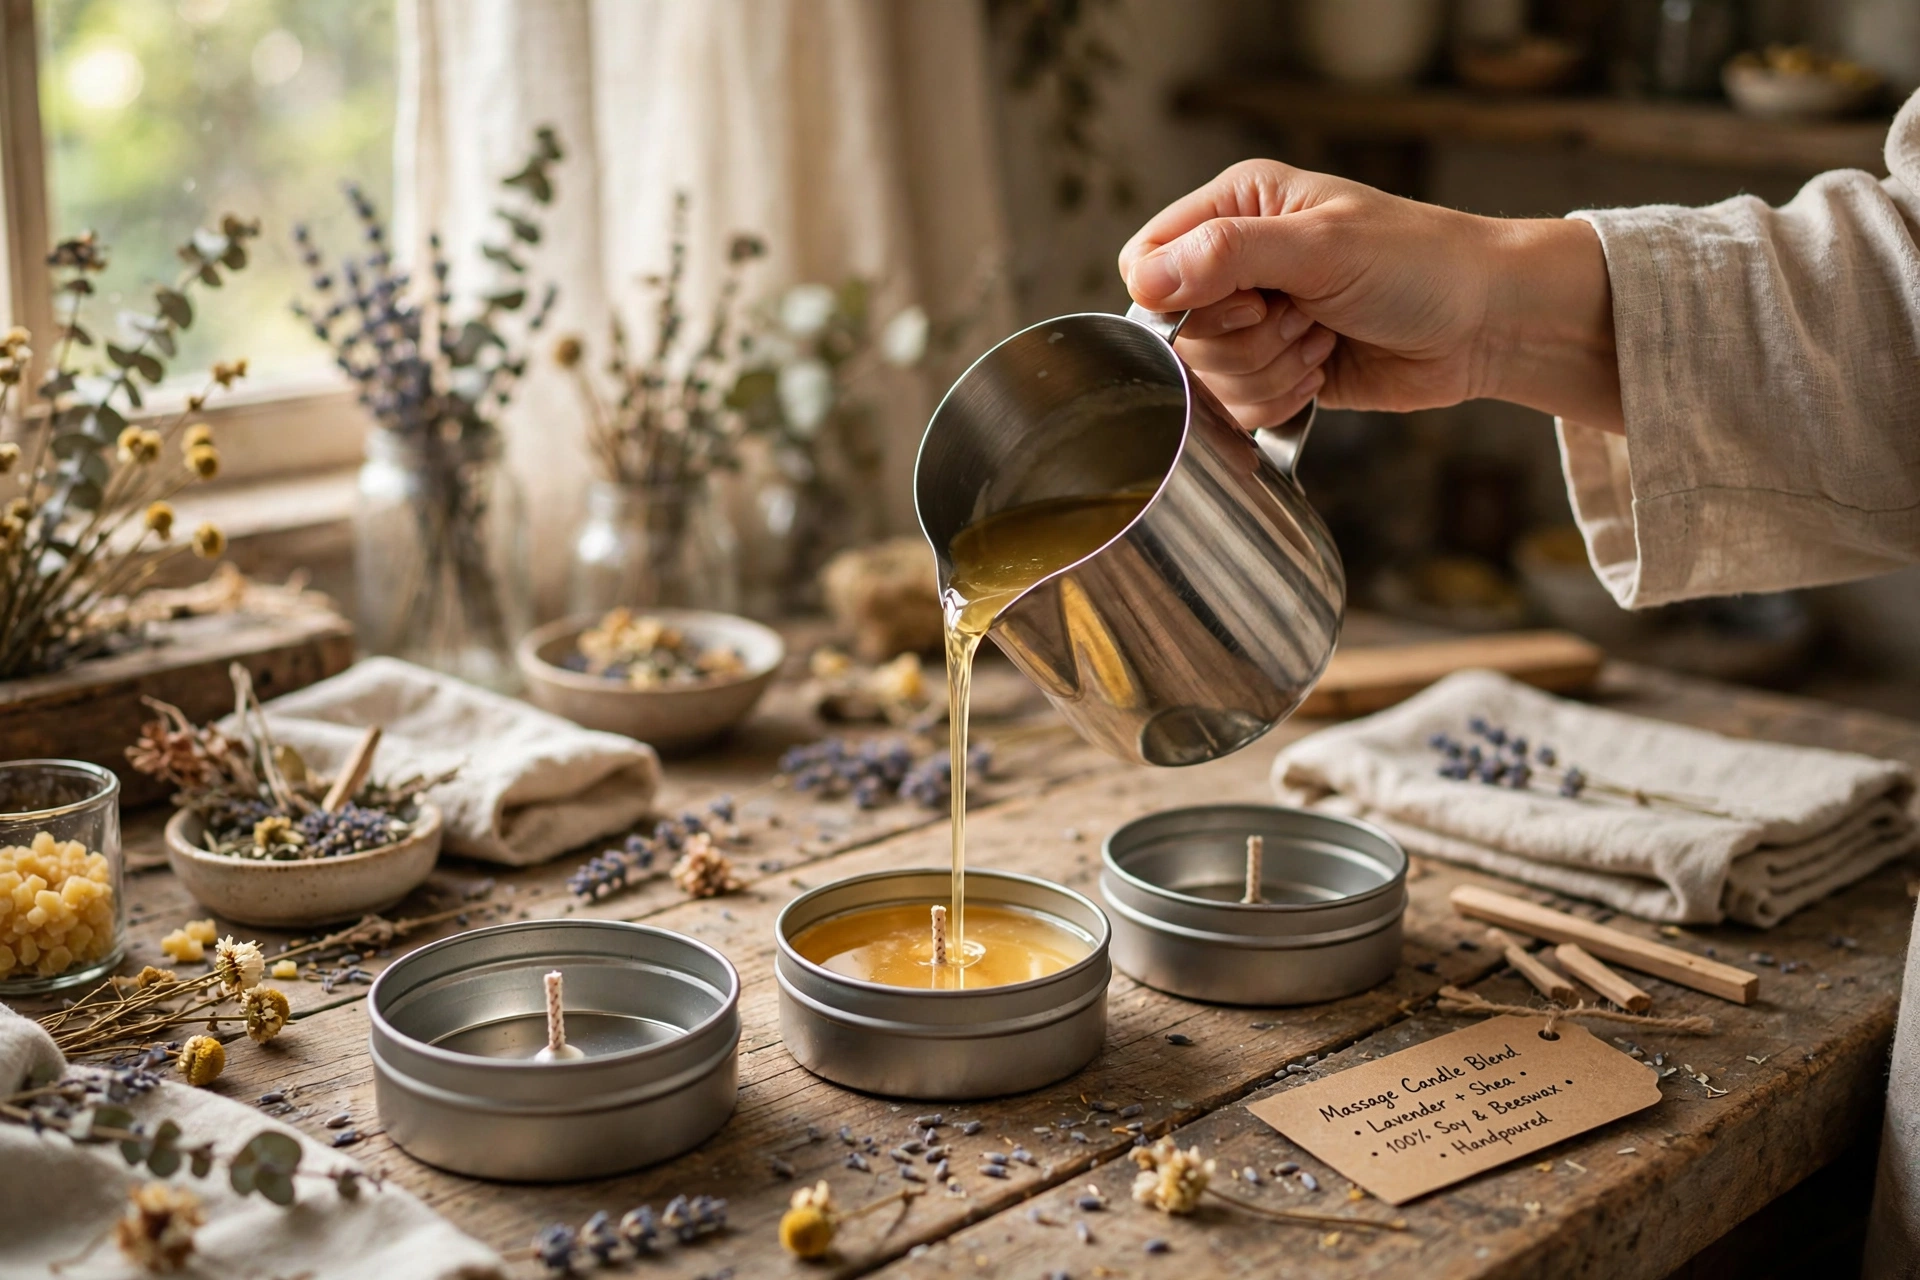
Secure a wick in the center of each tin with a wick sticker, pour the blend in slowly, and steady the wick with a chopstick or clothespin across the tin. Pour a little cooler than you would a standard soy candle to help the butters set smoothly, then leave the tins completely undisturbed until fully hardened — a couple of hours at cool room temperature.
5. Cure
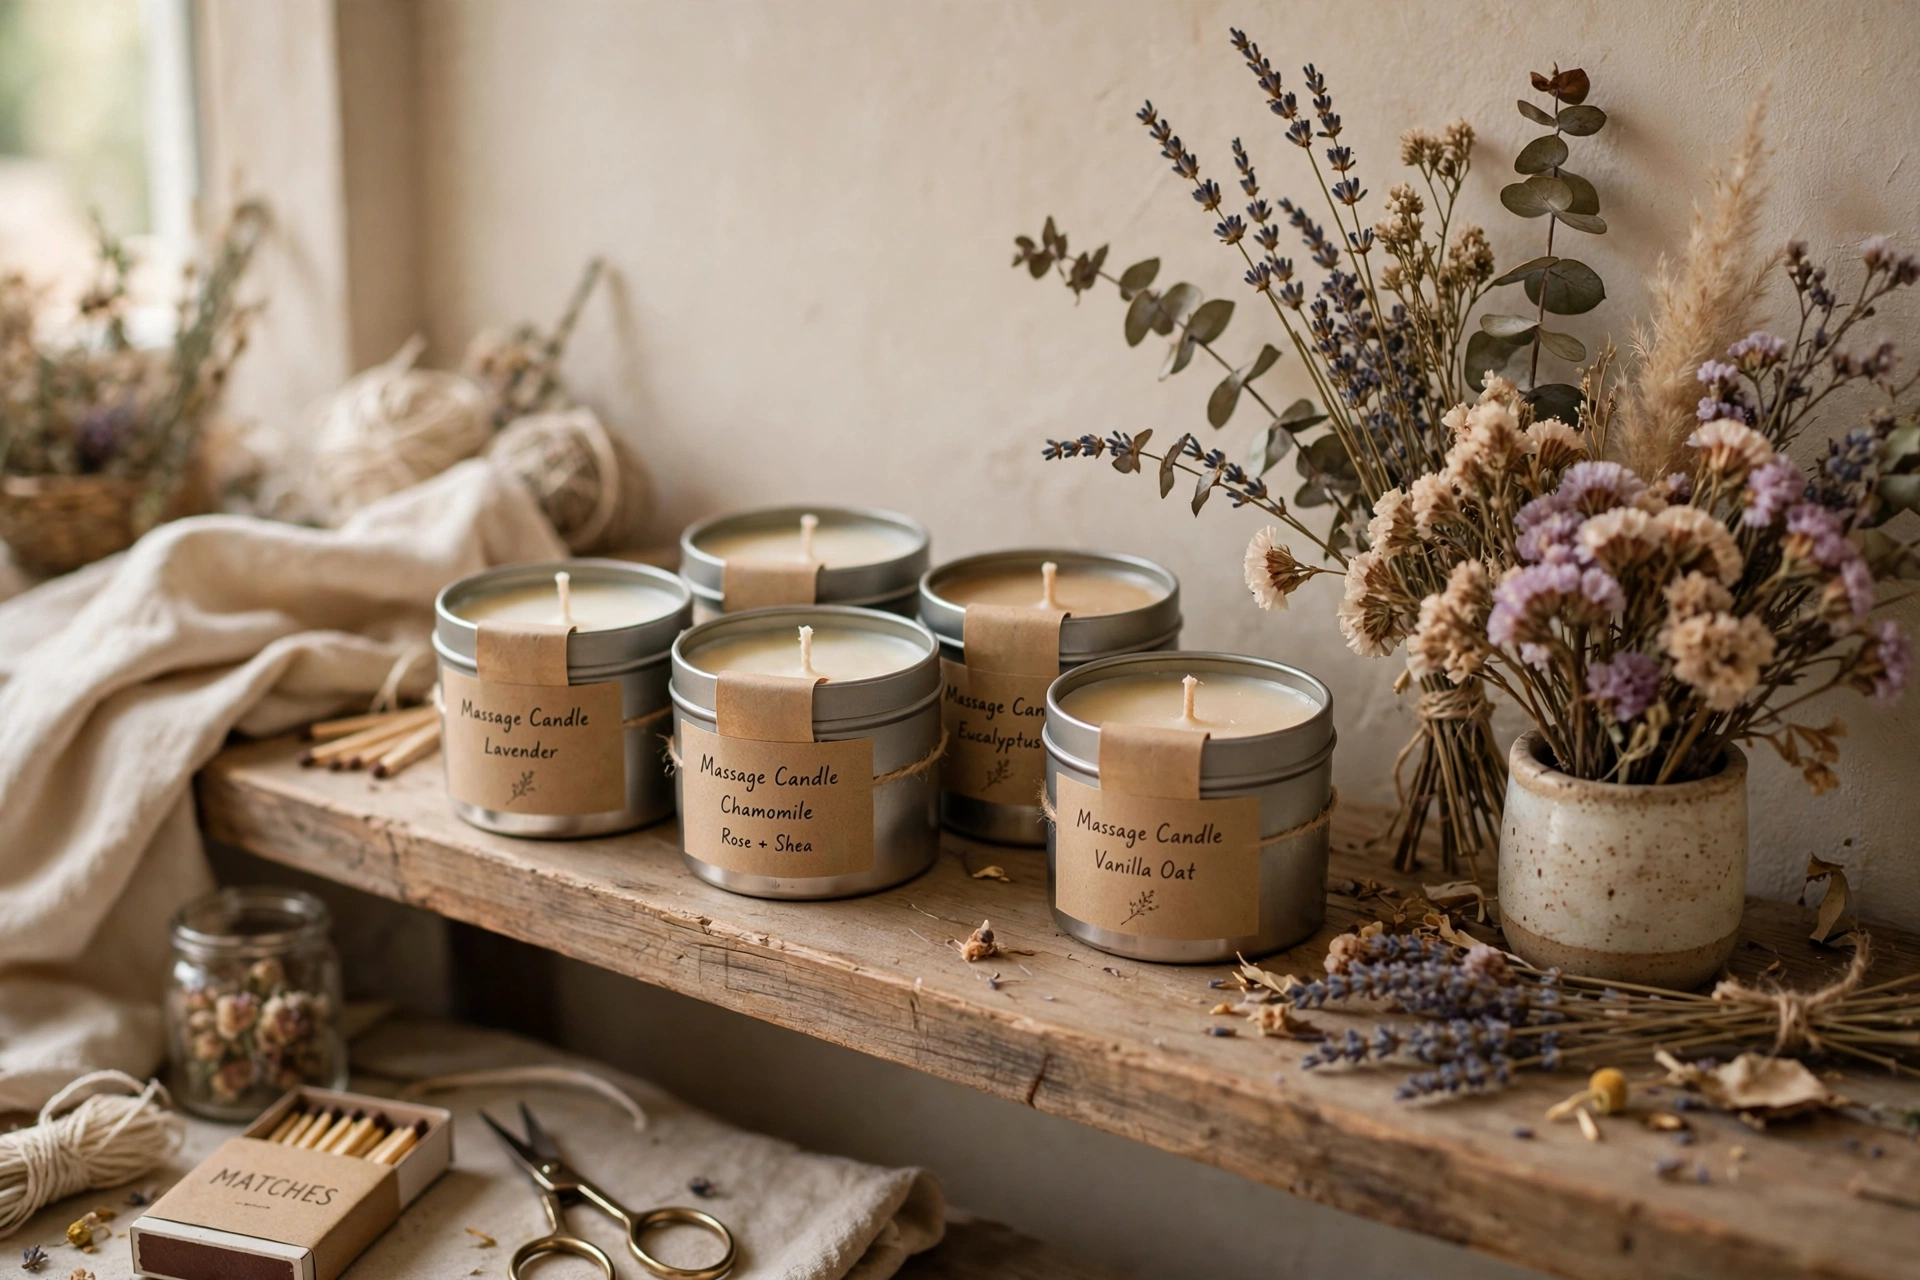
Let the tins sit undisturbed for several days before the first burn so the butters and wax fully set and the fragrance binds into the blend. A week is a comfortable target for a first batch. Patience here pays off in a smoother, better-scented melt pool.
6. The burn-and-pool test
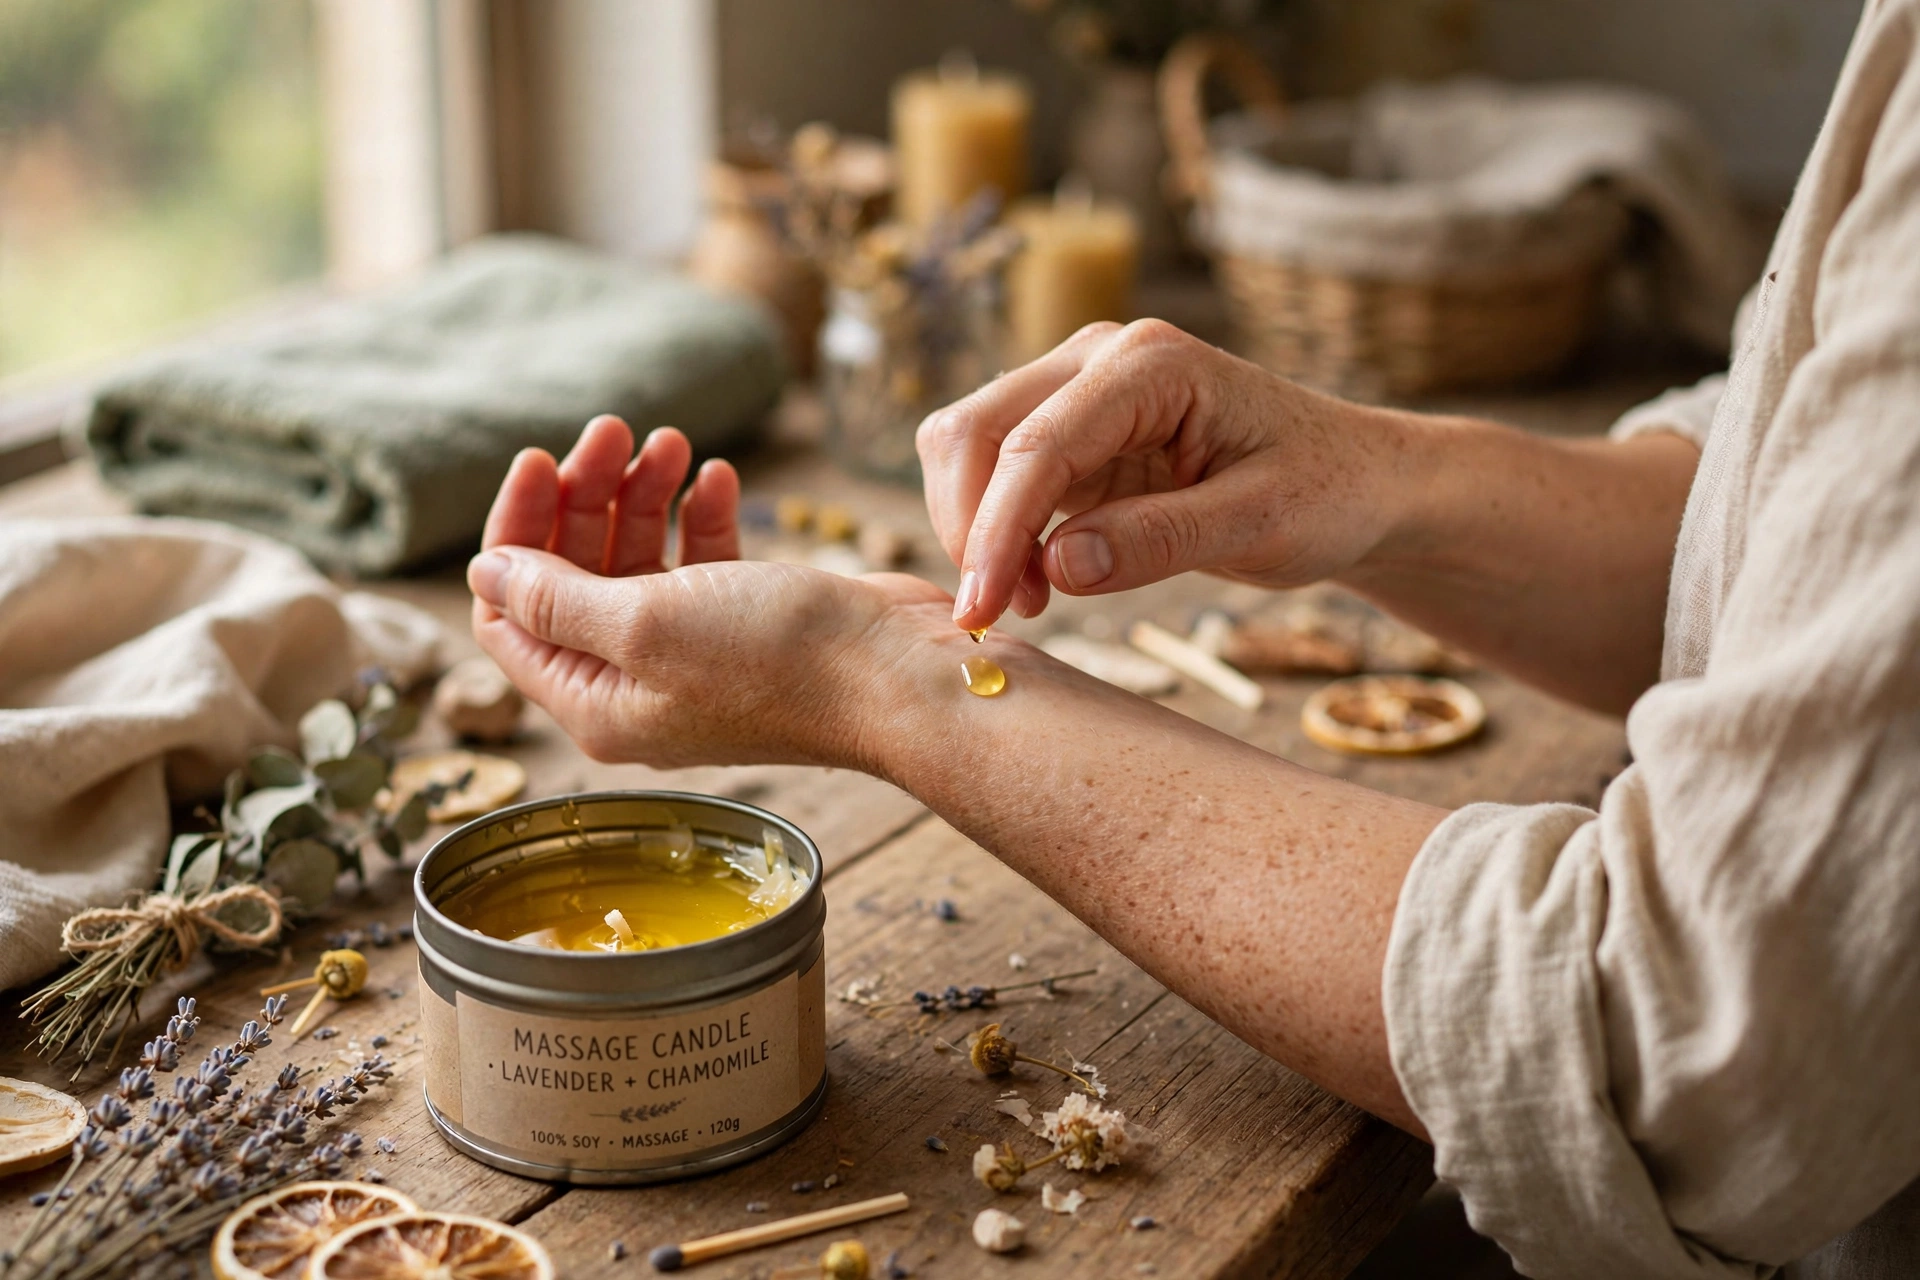
Trim the wick, light the candle, and let it burn until a full melt pool forms across the tin. Extinguish the flame completely. Wait a few minutes, then test a small drop of the melted oil on your inner wrist. The melt must feel comfortably warm — pleasant and soothing, never hot or stinging. Only when it passes the wrist test is the candle ready for actual skin use.
How to use a massage candle
Using one is simple and a little luxurious:
- Burn the candle until a comfortable melt pool forms (usually 15–20 minutes for a small tin).
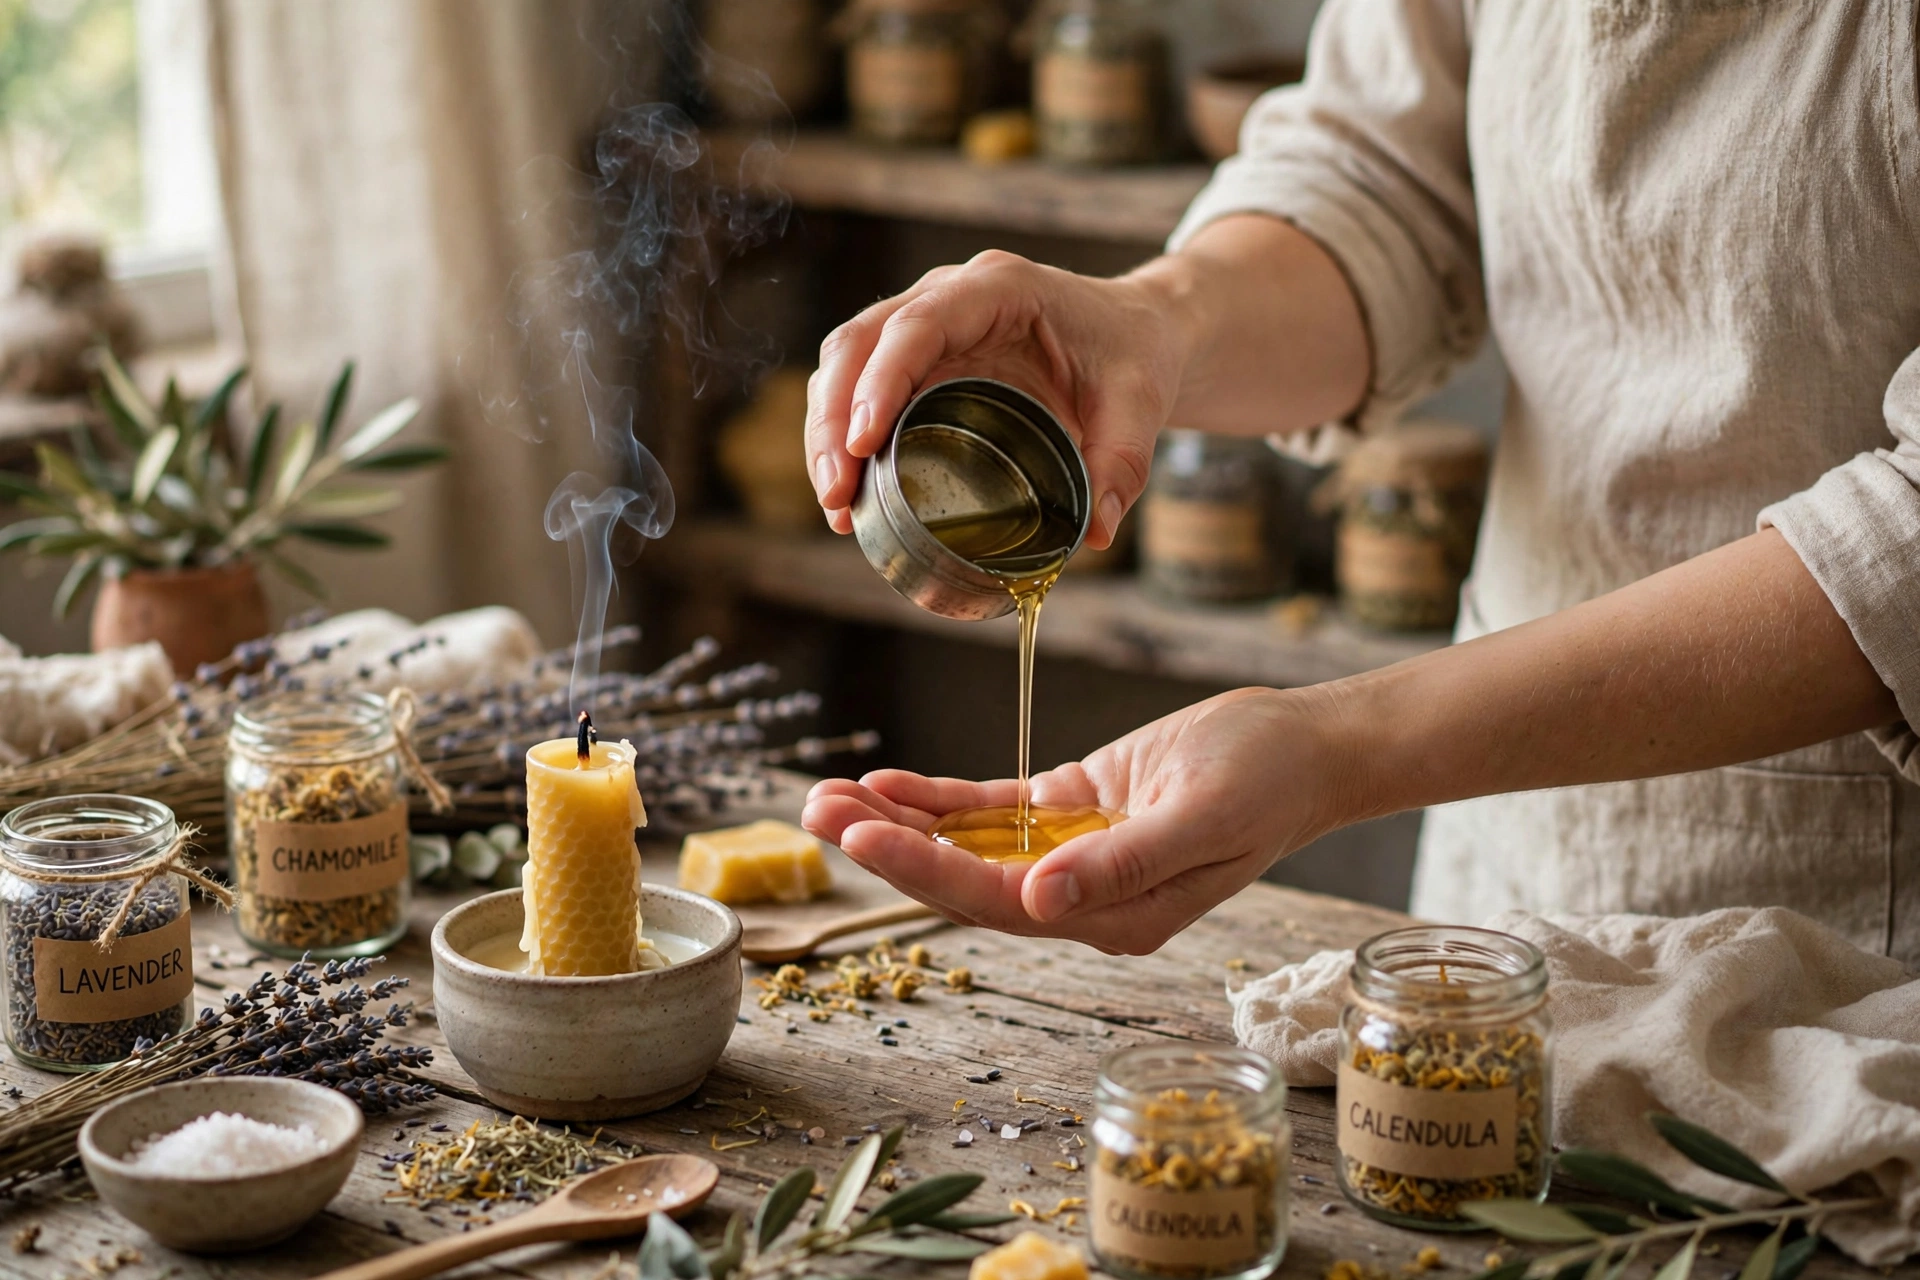
- Extinguish the flame first — never pour from a lit candle.
- Test the temperature with a drop on your inner wrist.
- Pour a small amount of the warm oil into your palm and massage it into skin.
Labeling note
Mark every massage candle clearly as “for external use” on the label — and never on broken skin or near eyes. If you sell or gift these, that label line is non-negotiable.
Troubleshooting
Melt pool too hot? Wick down a size and re-run the burn-and-pool test. The blend melts easily, so massage candles usually want a smaller wick than a standard soy candle of the same tin size.
Grainy texture? The blend cooled too fast. Re-melt gently and let it set more slowly — temper it away from drafts and cold surfaces.
Weak scent? Stay within the skin-safe usage rate — never exceed it chasing throw. You can try a different skin-safe fragrance with a stronger profile, but the limit is the limit.
Wick keeps drowning? The oil-rich blend is soft fuel. Make sure the tin cooled fully before lighting, trim to 1/4 inch, and confirm the wick is centered — an off-center wick burns unevenly in a soft blend.
Next steps
Ready to build a signature scent for your massage line? See our fragrance blending tutorial. And if you’re fine-tuning how hot or cool your melt pool runs, the wick selection and test burn tutorial will help you dial the wick in with data, not guesswork.



