
Bourbon Old Fashioned Gel Wax Candle
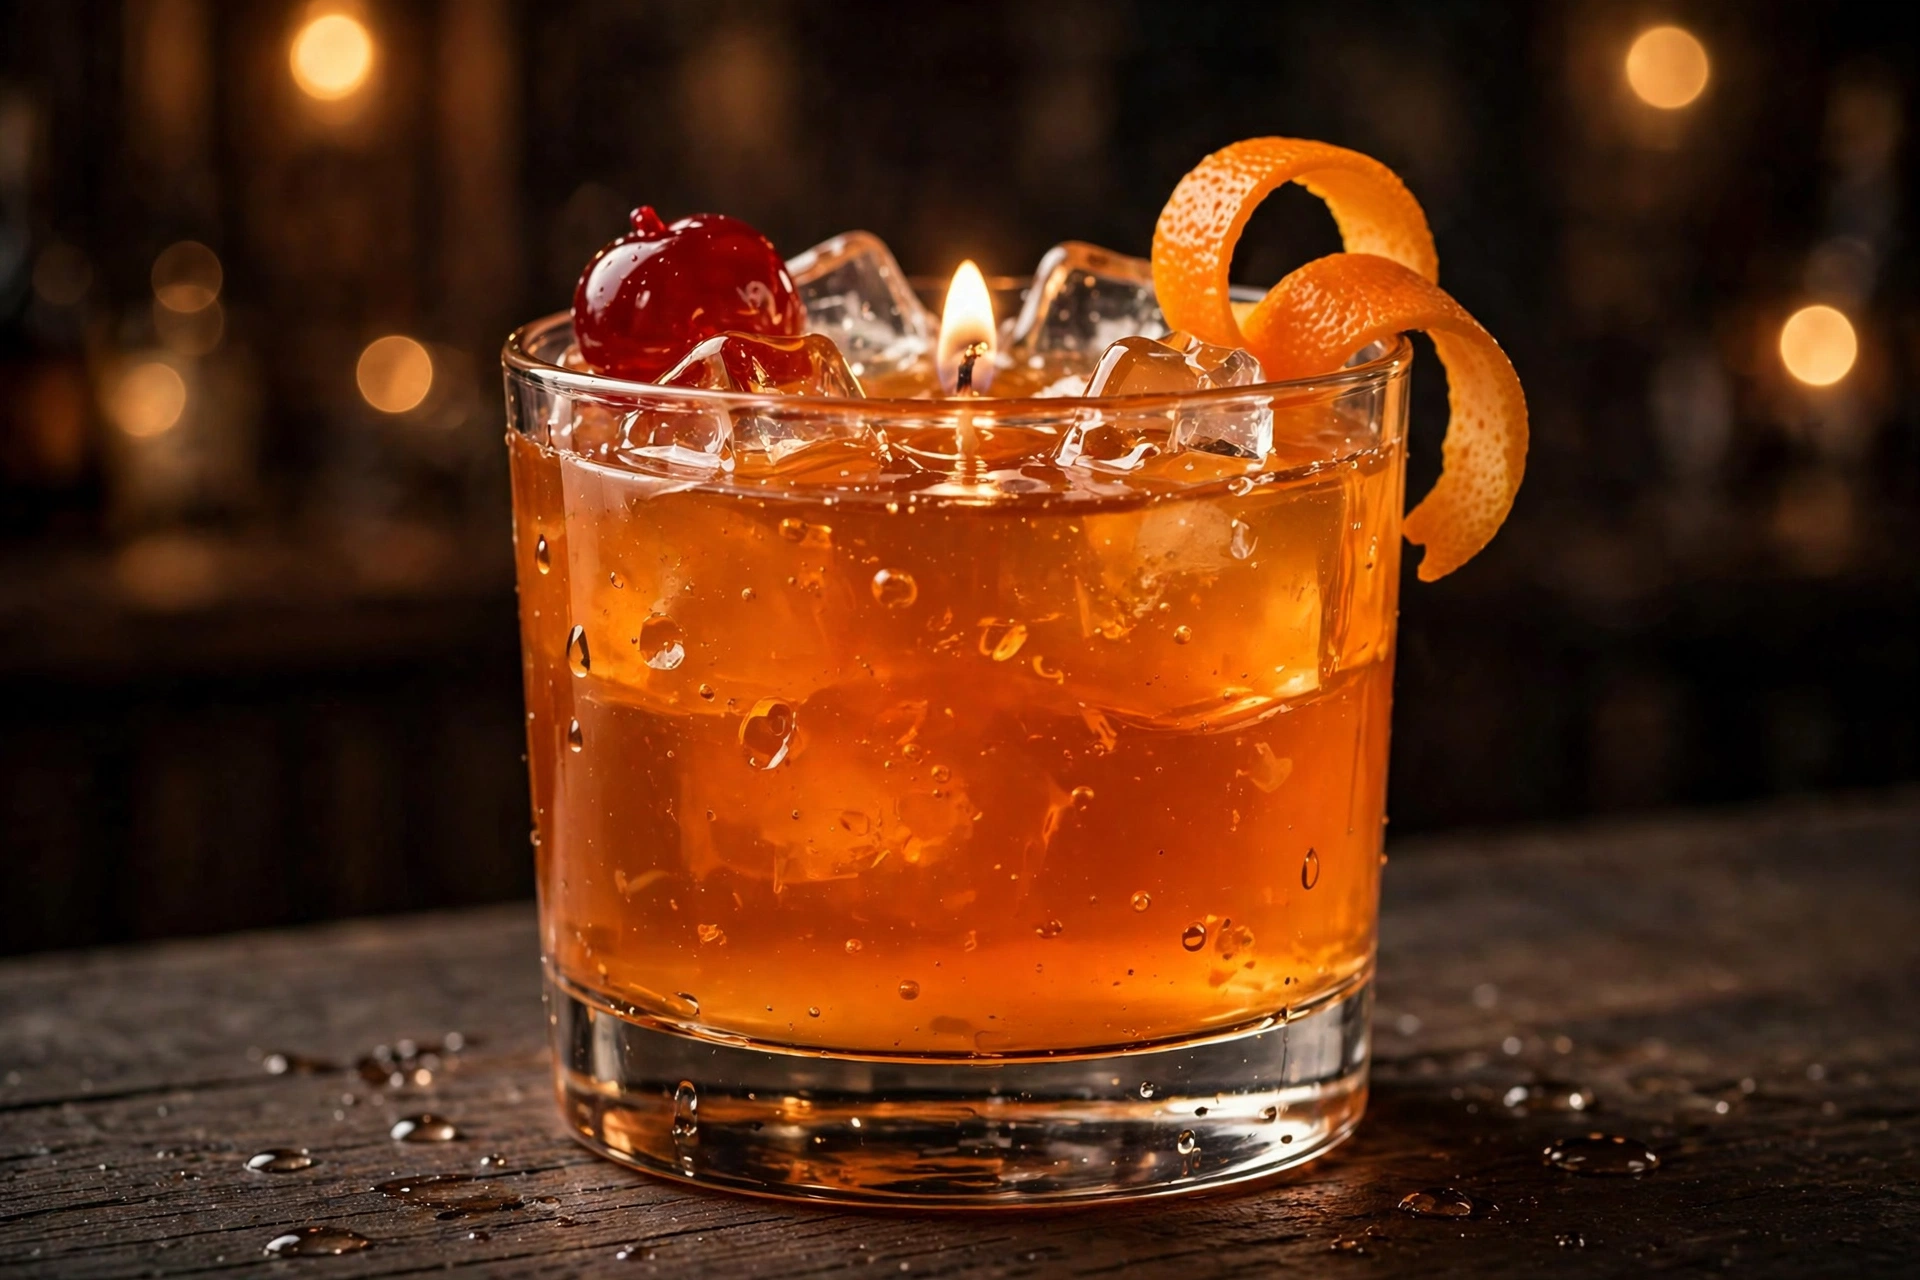
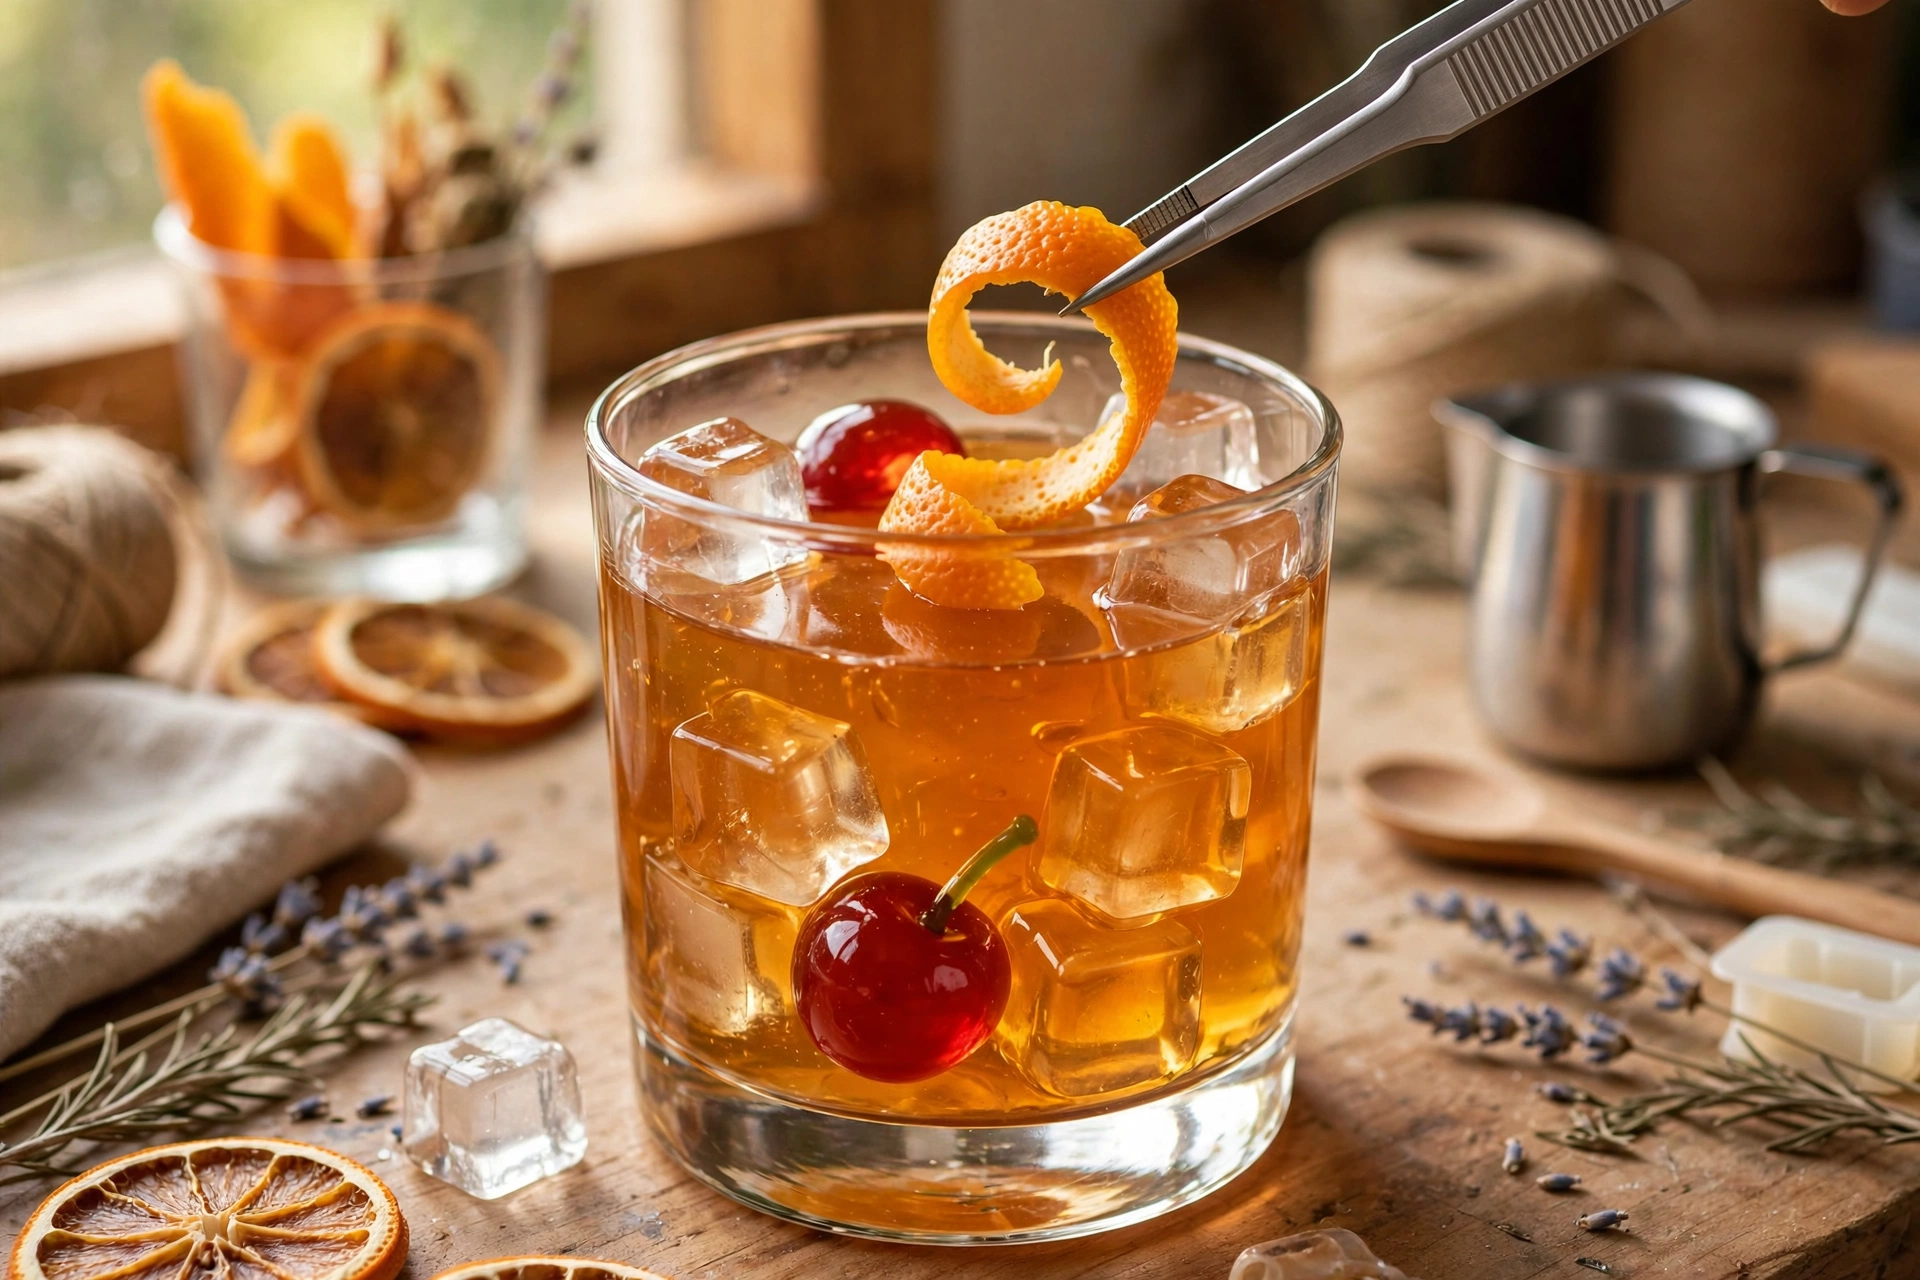
Some candles you burn for the scent. This one you make for the double-take. Clear gel wax tinted bourbon-amber, poured into a rocks glass around gel ice cubes with a cherry and an orange twist, looks so much like the real drink that guests will reach for it. It’s the signature project of gel wax — and once you know the gel basics, it’s very doable.
What you’ll need
- Medium or high density gel wax, about 8 oz for one rocks glass (1 lb makes roughly 2). The denser gel holds the cubes where you put them.
- A heat-safe rocks (old fashioned) glass — thick base, no chips or cracks. Once it’s a candle it stays a candle; don’t plan to drink from it again.
- A zinc-core wick sized for the glass’s diameter, plus a wick sticker. Zinc is the standard for gel because it stands up in gel’s soft structure where cotton leans.
- Gel-safe bourbon fragrance oil — it must be rated gel safe by the supplier (non-polar, flash point 170°F or higher). Regular fragrance oils can cloud gel and aren’t safe in it.
- Liquid candle dye — orange and brown, used drop by drop.
- A silicone ice cube mold, plus small amounts of gel tinted red (the cherry) and orange (the twist).
- A heat-safe pouring pitcher, thermometer, and scale
- Tweezers or a skewer for placing embeds
Everything except the gel-specific supplies is standard candle gear — find the basics on our supplies page. Gel wax, gel-safe fragrance oils, and dyes are all on Amazon if your usual supplier doesn’t stock gel.
Steps
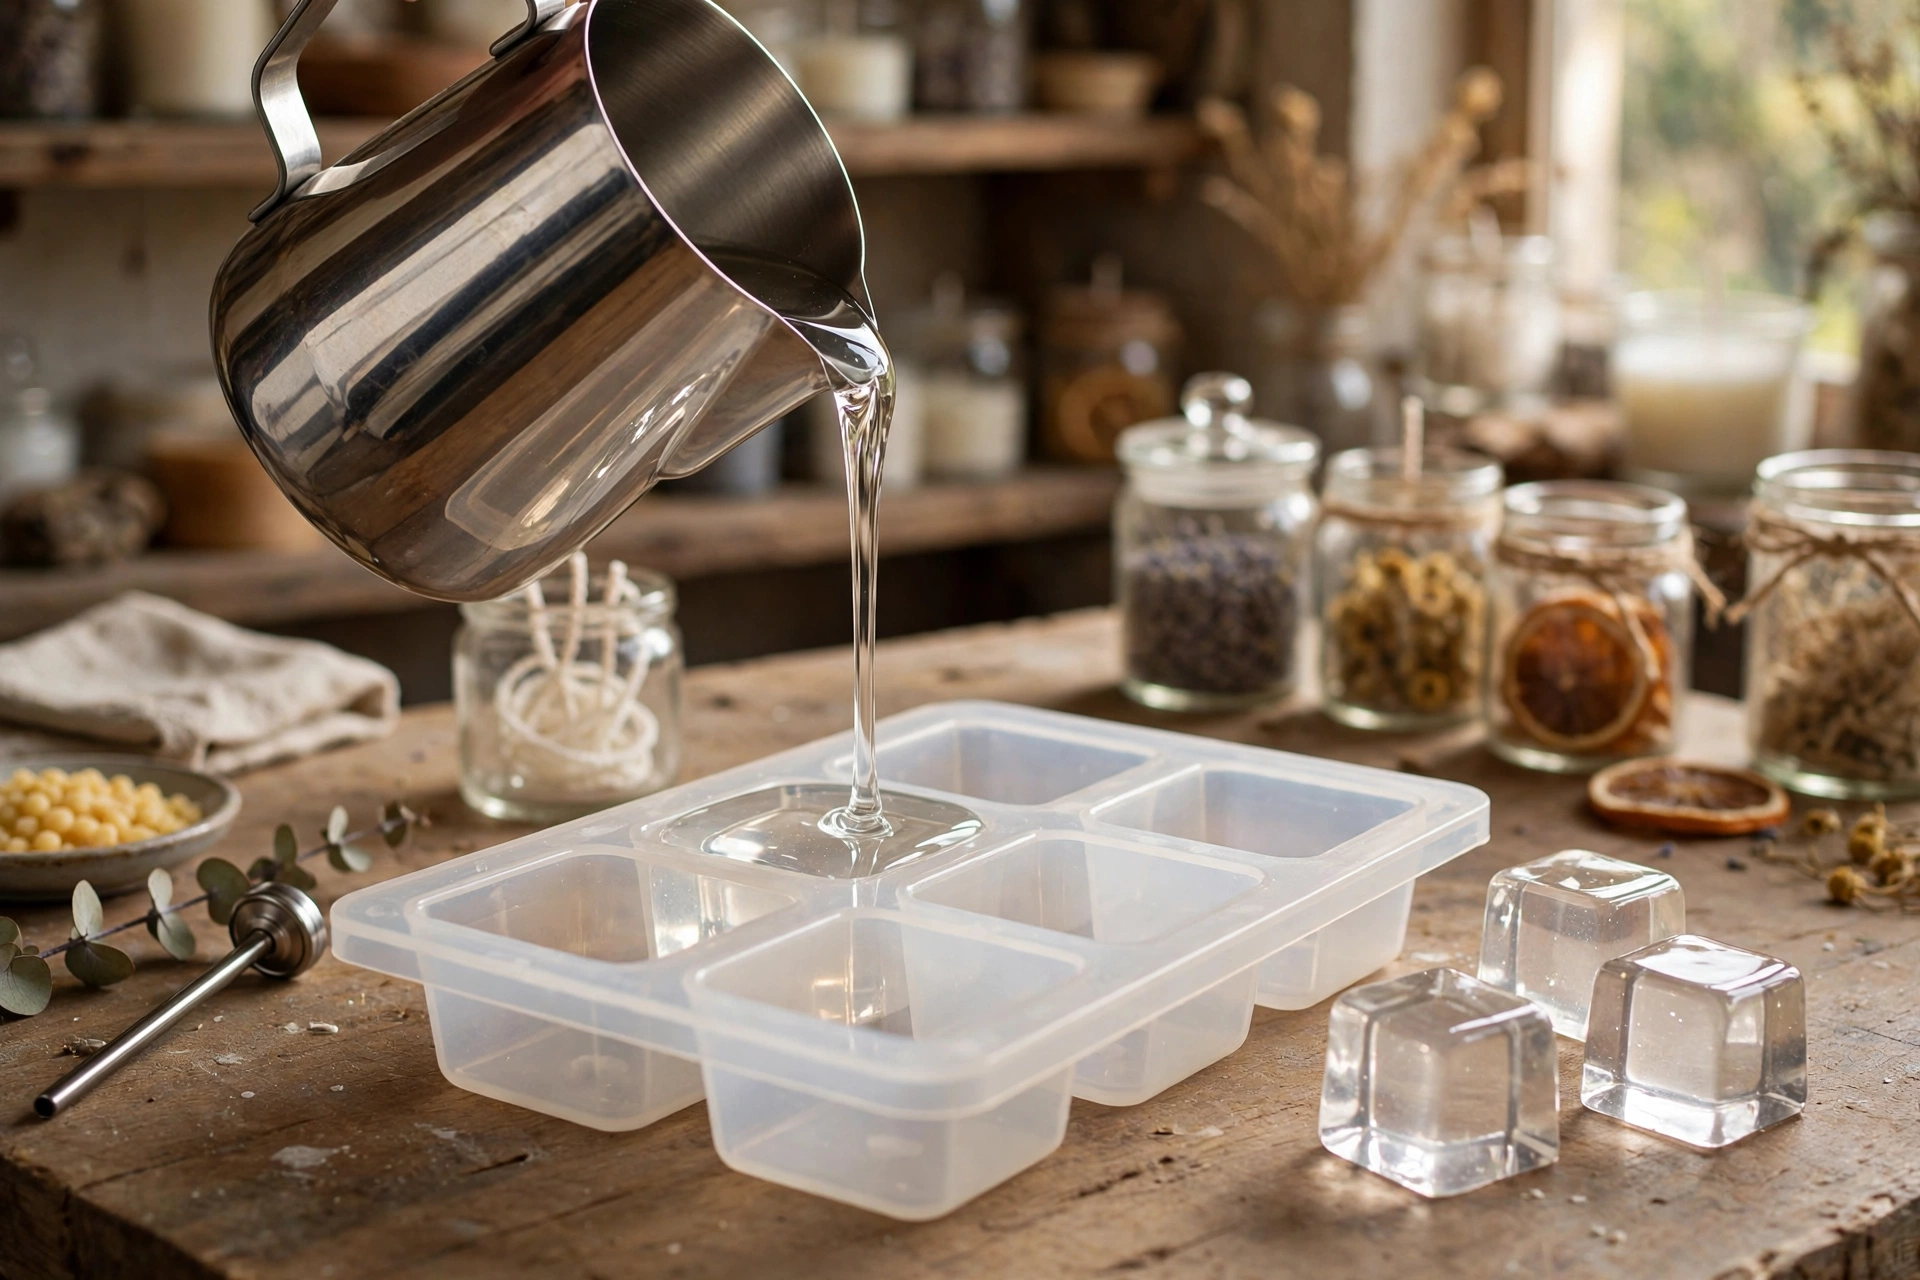
Step 1 — Make the ice cubes and garnishes ahead. Melt a small amount of clear gel (see Gel Wax Basics for melting — double boiler or melting pitcher, 200–225°F). Pour it into the silicone ice cube mold and let it cool completely, then pop the cubes out. For the cherry, tint a spoonful of gel red and set it in a small round mold (or roll a pea-sized ball once it’s cool enough to handle). For the orange twist, pour a thin sheet of orange-tinted gel onto parchment, let it firm up, cut a thin strip, and curl it around a pencil. Make more cubes than you need — a few always end up as test subjects.
Step 2 — Prep the glass and wick. Wash and fully dry the glass — any water in gel causes cloudiness. Stick the zinc wick dead center with a wick sticker and keep it centered and straight. Set the glass somewhere it can sit undisturbed for hours; a freshly poured gel candle can’t be moved.
Step 3 — Melt and tint the gel. Melt your 8 oz of gel to 200–225°F. Take it off the heat and tint drop by drop: orange first, then a touch of brown, checking the color on a white spoon as you go. Gel dye is concentrated and the color reads lighter in the pitcher than in the finished candle, so stop one shade lighter than the bourbon color you’re picturing.
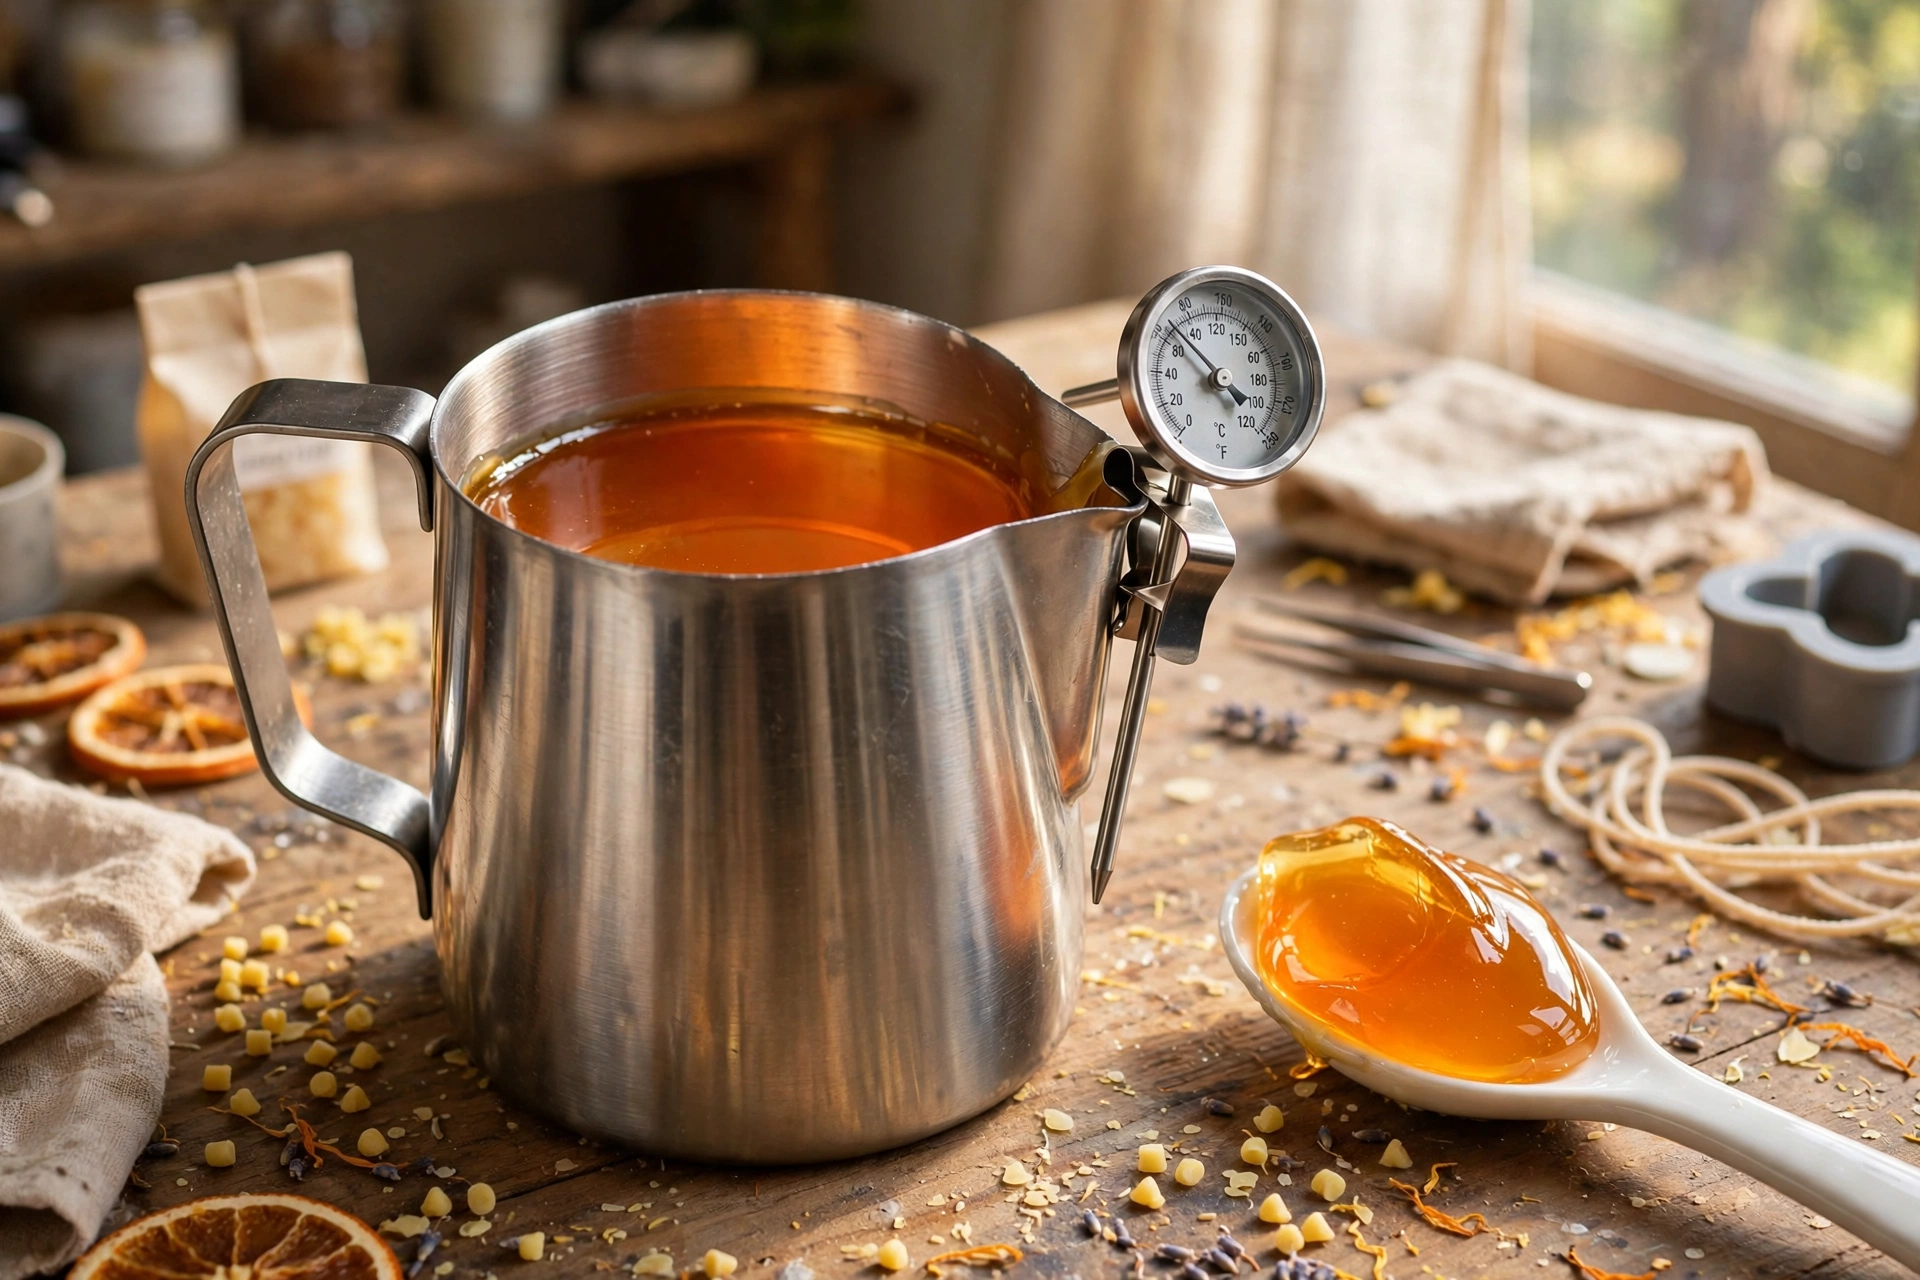
Step 4 — Add the fragrance. At about 200°F, add your gel-safe bourbon fragrance oil — about 3% (roughly ½ oz per pound of gel), or your supplier’s gel rate if they specify one. Stir slowly and gently for a full minute. Fast stirring whips in bubbles, and bubbles are forever in gel.
Step 5 — Pour the first layer and place the cubes. Let the gel cool to about 190–200°F, then pour a layer about a third of the way up the glass. Let it skin over for 5–10 minutes — this layer holds the cubes off the bottom so they look suspended in the “drink.” Arrange 3–4 gel cubes and the cherry against the glass where they’ll show best.
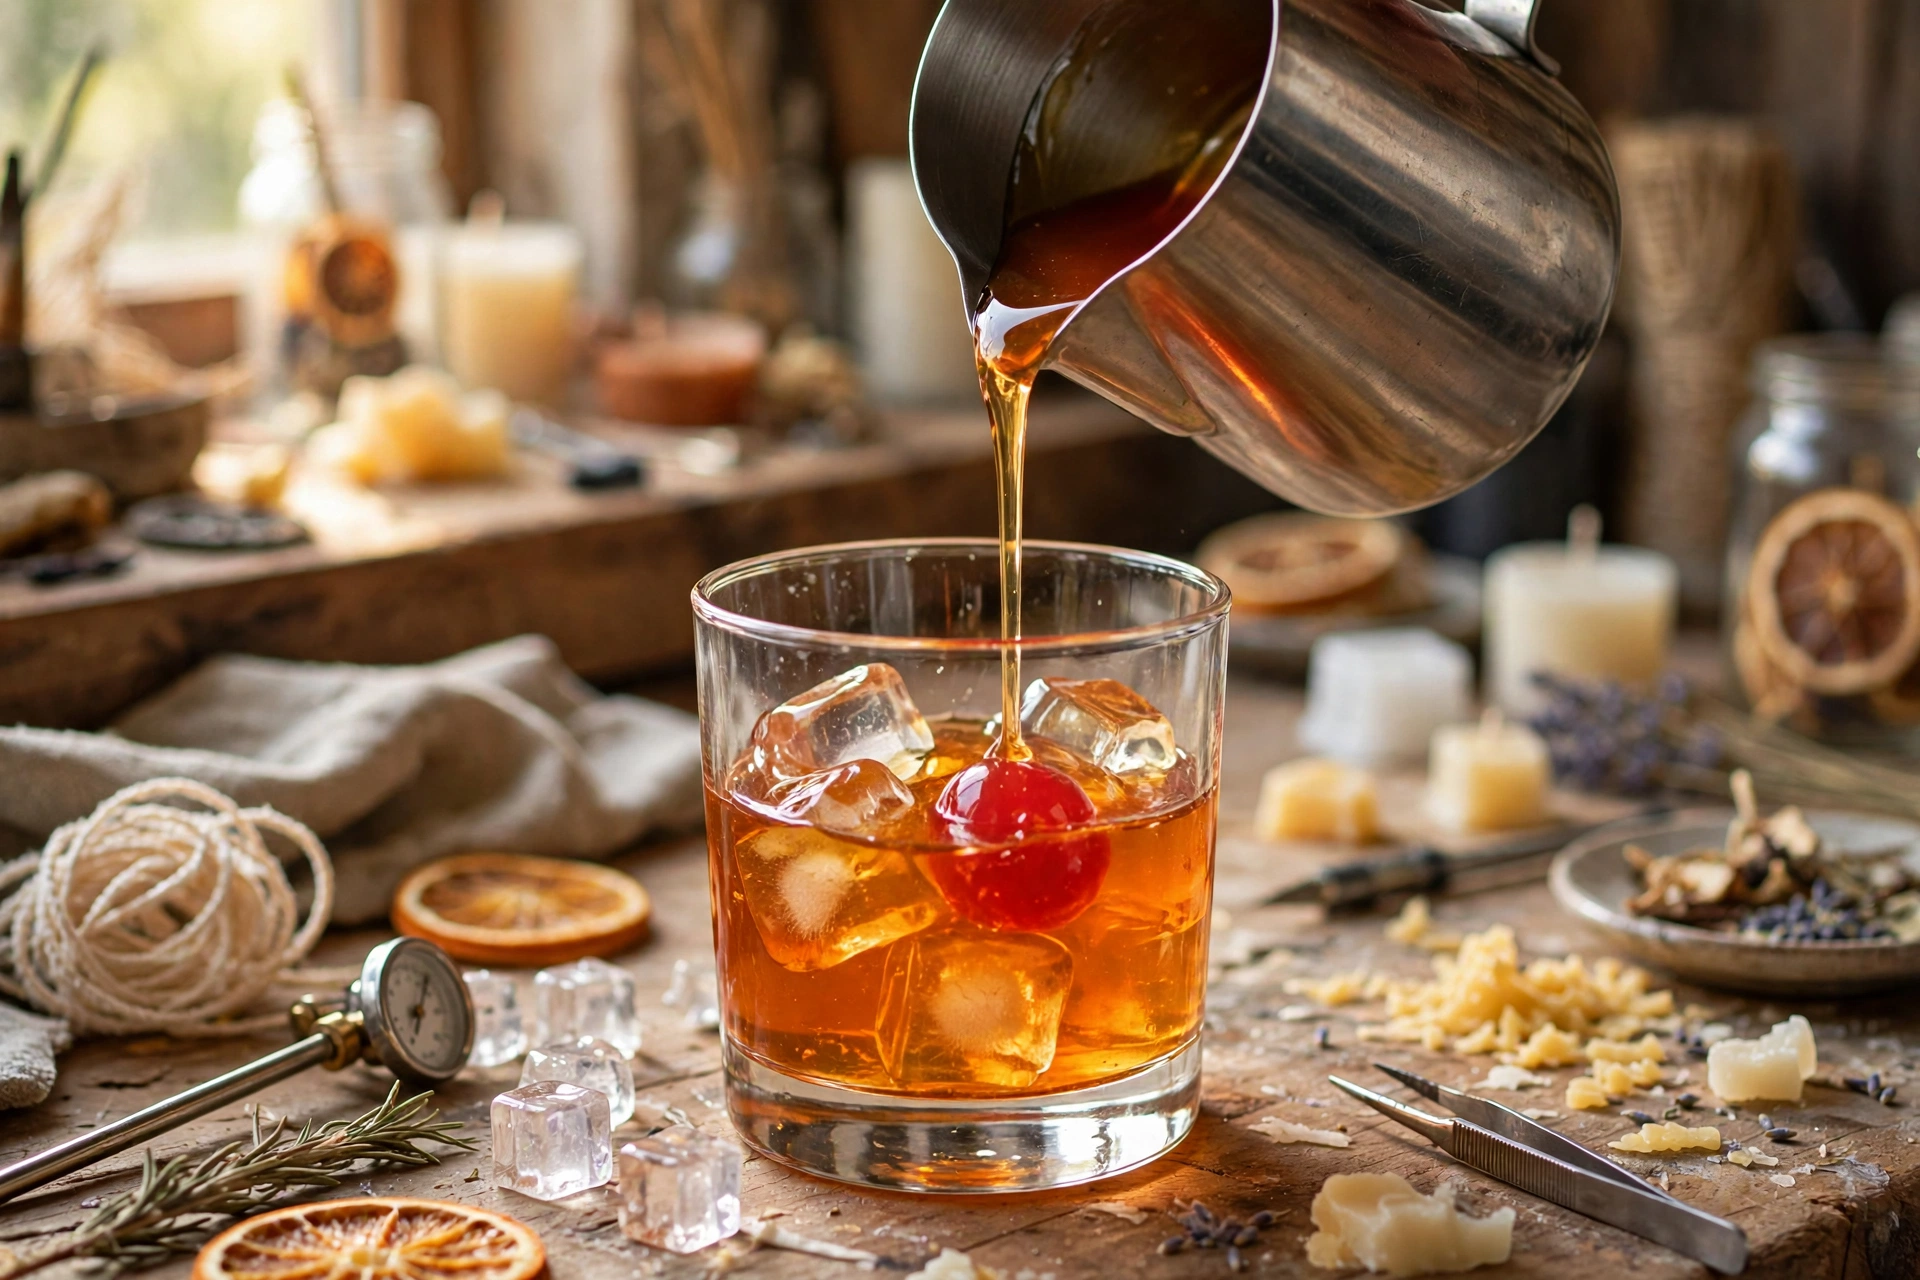
Step 6 — Top up, garnish, and cool. Pour the remaining gel slowly down the inside of the glass (not directly onto the cubes — hot gel melts gel) until the cubes are covered but their tops still peek out. Set the orange twist on top with tweezers. Leave the candle completely undisturbed for several hours, then trim the wick to about ¼ inch. Wait 48 hours before the first burn so any remaining bubbles can rise out.
Troubleshooting
| Problem | What’s happening and how to fix it |
|---|---|
| Bubbles everywhere | The gel was stirred too fast or poured too hot. Stir slowly, pour at 190–200°F — and warming the glass a little (a few minutes in a low oven) before pouring helps bubbles release instead of clinging to the glass. |
| Cloudy gel | Almost always a fragrance oil that isn’t gel safe (polar oils cloud gel), or water contamination. Use supplier-rated gel-safe oils only, and keep every tool bone dry. |
| The cubes melted or floated away | The pour was too hot, or they went in before the first layer skinned over. Pour cooler, work in layers, and let each layer set enough to hold the next embeds. |
| Color came out wrong | Gel dye is strong and the finished color reads deeper than the pitcher. Add a drop at a time, test on a white spoon, and stop early — you can always deepen the next batch. |
FAQs
Can I use a glass from my own kitchen?
Yes, if it’s heat-safe, thick, and free of chips or cracks — thin or damaged glass can fail with gel’s heat. Just accept that it’s a candle for good; never drink from it again.
Can I use real cherries, orange peel, or ice?
No. Real food rots, and anything flammable inside a candle is a fire risk. Every embed in a gel candle should be gel wax — that’s exactly why the cubes, cherry, and twist in this tutorial are all gel.
How much fragrance oil does gel take?
About 3% — roughly ½ oz per pound of gel — and only oils your supplier rates as gel safe (non-polar, flash point 170°F+). More oil doesn’t mean more scent in gel; it means cloudiness and risk.
Does a gel candle need to cure?
Not like soy does. Let it rest 48 hours so bubbles settle and rise out, and it’s ready to burn.
Why a zinc wick instead of cotton?
Gel is softer and more liquid than wax when hot, and a cotton wick can lean or slump in it. Zinc-core wicks hold themselves upright in gel, which is why they’re the gel standard.
Get candle-making tips by email
Join the list for new tutorials, tools, and supplier deals — straight to your inbox.
Signed up between Oct 7 and Oct 28 and never heard from us? We fixed a glitch that was dropping signups — please sign up again!



