
Gel Wax Basics: How to Make Your First Gel Wax Candle
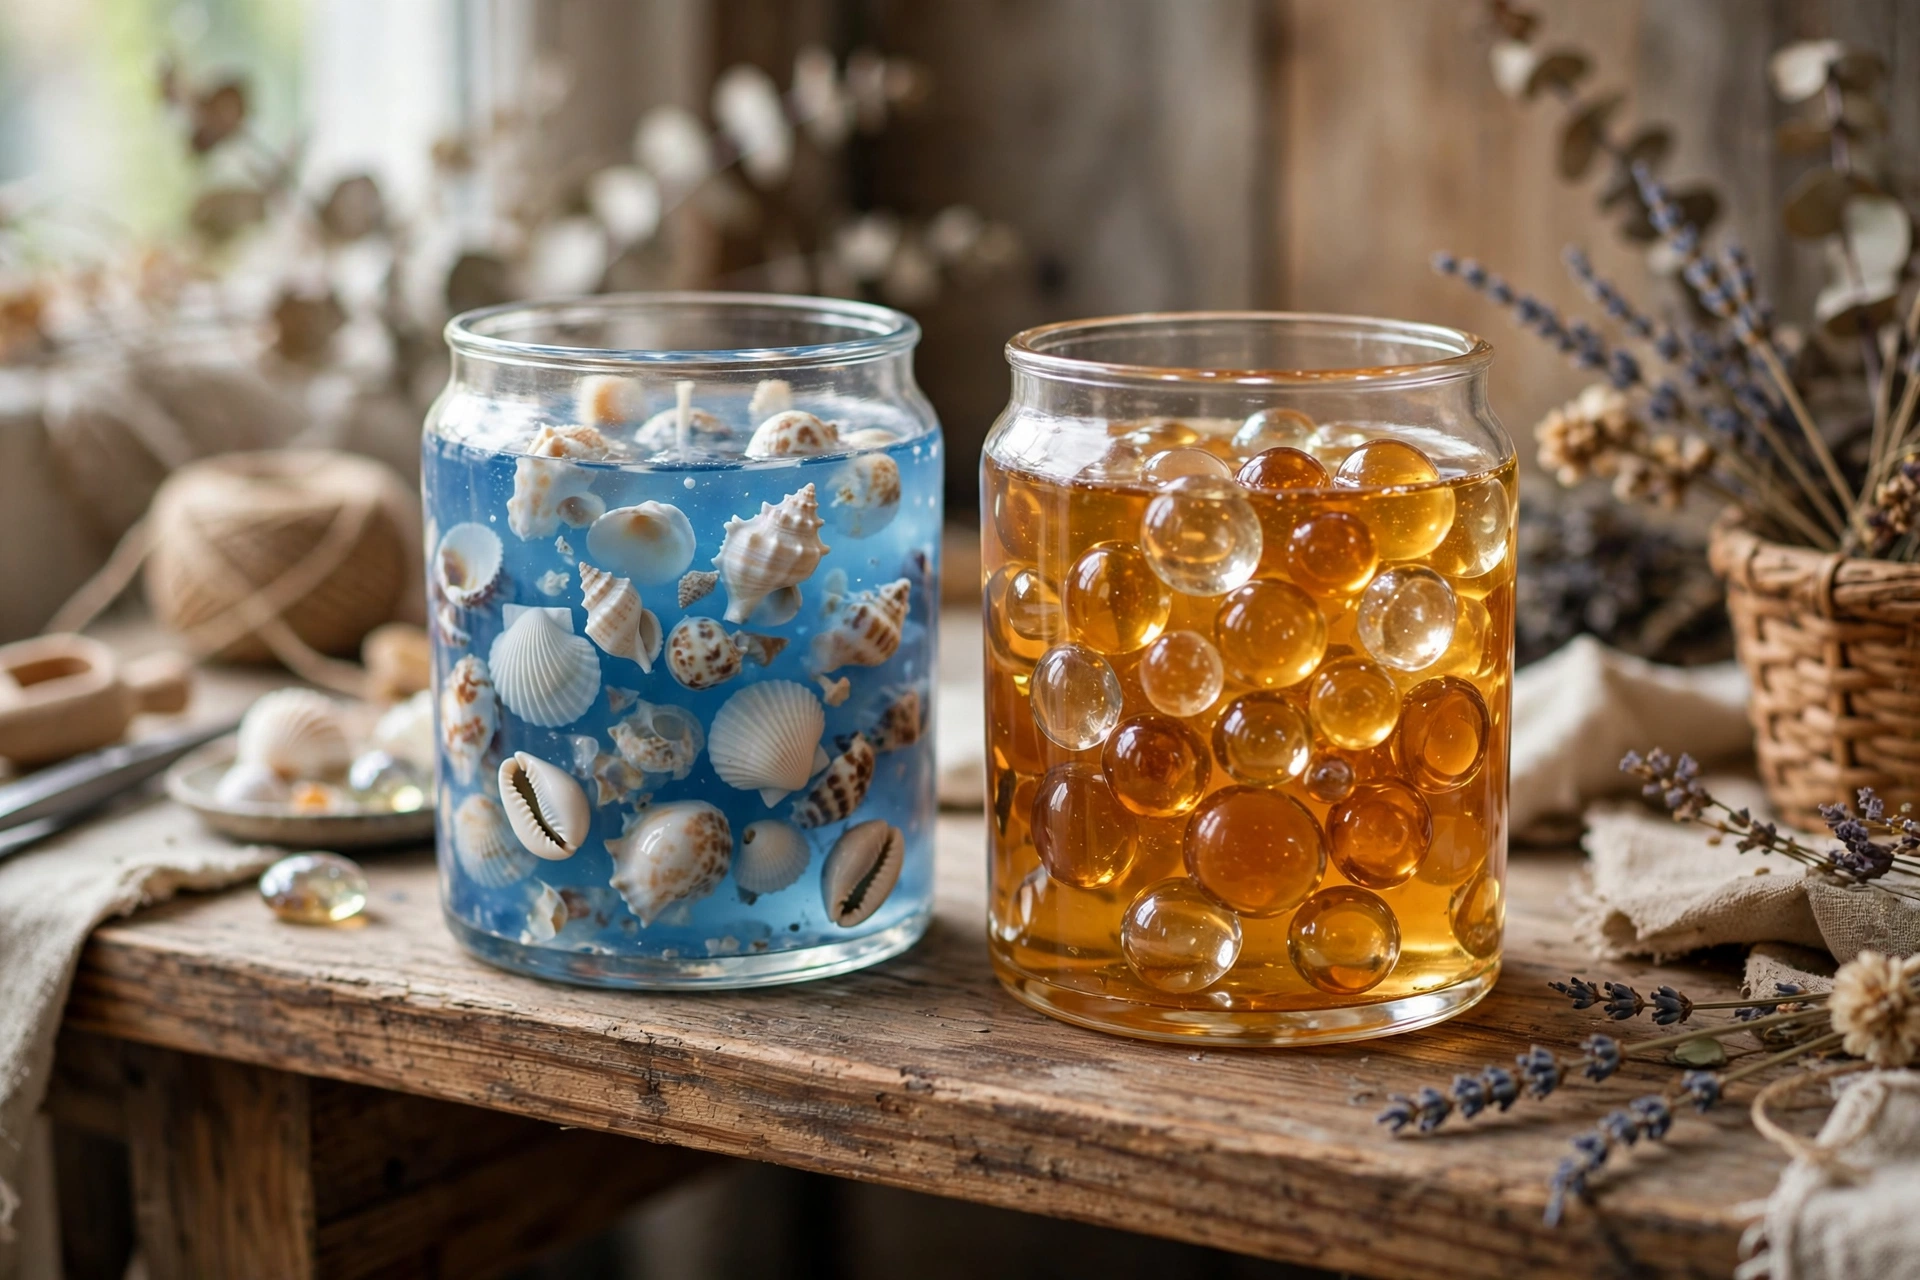
Gel wax is the see-through candle medium — a clear, jelly-like wax that lets you suspend shells, beads, and scenes inside a candle like a snow globe that burns. It looks like magic, but it behaves differently from soy, paraffin, and beeswax, and it has its own rules. This guide covers what gel wax is, how it differs, and how to make your first simple gel candle safely — the foundation for every gel project in this section.
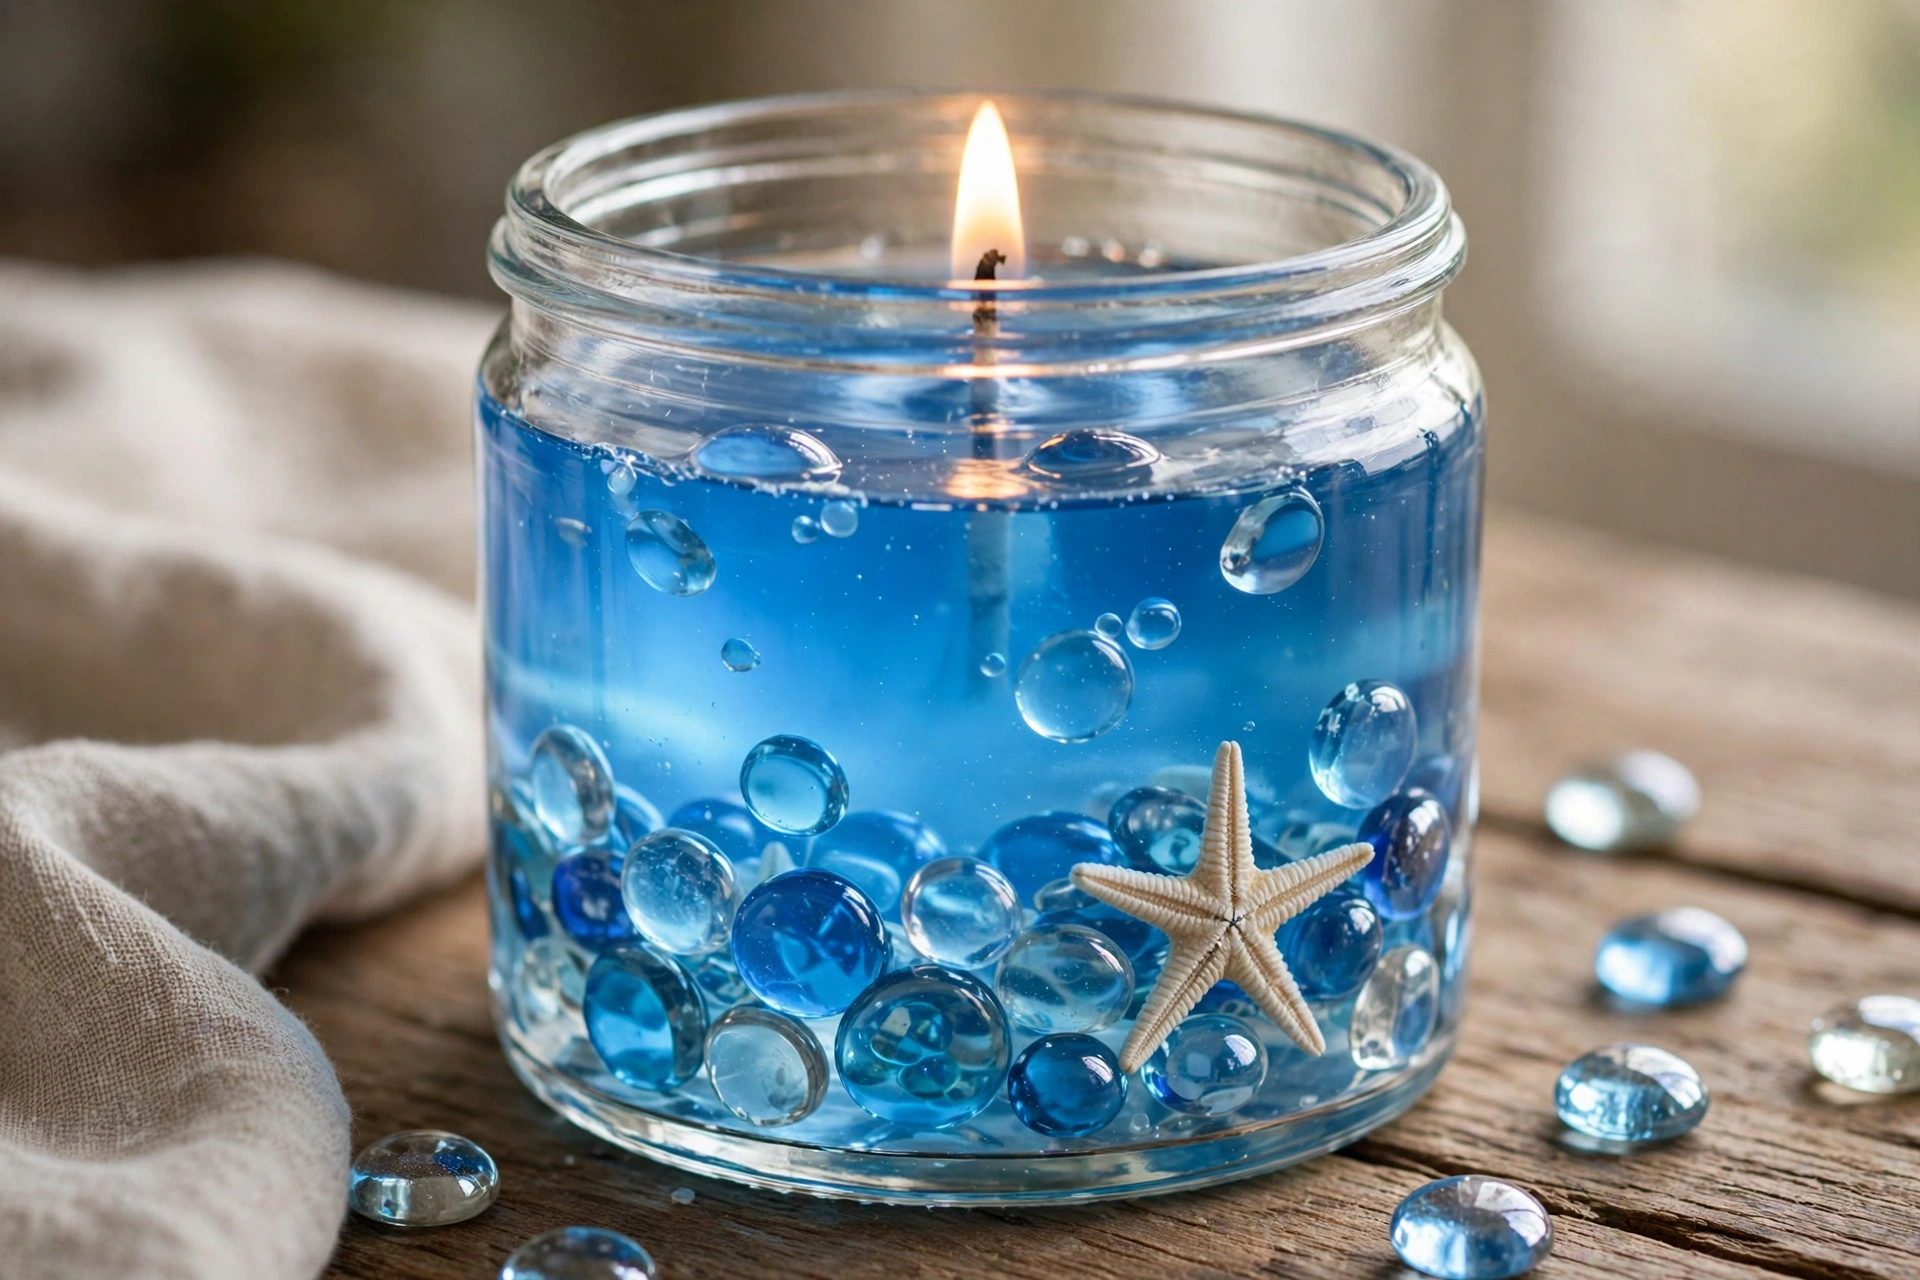
What gel wax actually is
Despite the name, gel wax is not a traditional wax. It is mineral oil thickened with a polymer resin into a clear, jelly-like solid. It melts into a fully transparent liquid, it is sold in different densities (low, medium, and high — higher density holds embeds in place better), and it burns hotter and longer than most container waxes.
That transparency is the whole point. In a gel candle, the wax is the window, not the picture. The color, the embeds, and the scene inside are what people see — which is why gel candles are the home of aquarium candles, terrarium candles, and layered “underwater” designs.
How gel wax differs from regular wax
Wicks: gel wax needs zinc-core wicks. Cotton wicks tend to clog and drown in gel. Use the zinc-core size your supplier recommends for your jar diameter, and confirm with a test burn.
Heat: gel melts around 200°F and burns hotter than soy or paraffin. Always use heat-safe glass containers — never plastic — and keep gel candles away from anything heat-sensitive.
Fragrance: gel holds far less fragrance than other waxes, and only fragrances labeled safe for gel wax. Keep loads low and follow your supplier’s guidance exactly. Too much fragrance can cloud the gel or separate out.
Bubbles: tiny bubbles are normal in gel candles — many makers love the fizzy, underwater look. Big bubbles usually mean the gel was stirred too hard or poured too cool. Pour slowly and don’t whip the gel.
Burning: gel does not form a traditional melt pool the same way other waxes do. The surface melts slowly and the candle burns down the middle. That is normal — don’t judge a gel candle by soy-candle rules.
What you’ll need
- Gel wax — medium density is a good first choice
- Zinc-core wicks sized for your jar diameter (check your supplier’s chart)
- A clear, heat-safe glass jar — straight-sided shows embeds best
- A wick holder or clip to center the wick
- A thermometer for the gel
- A heat-safe pouring jug
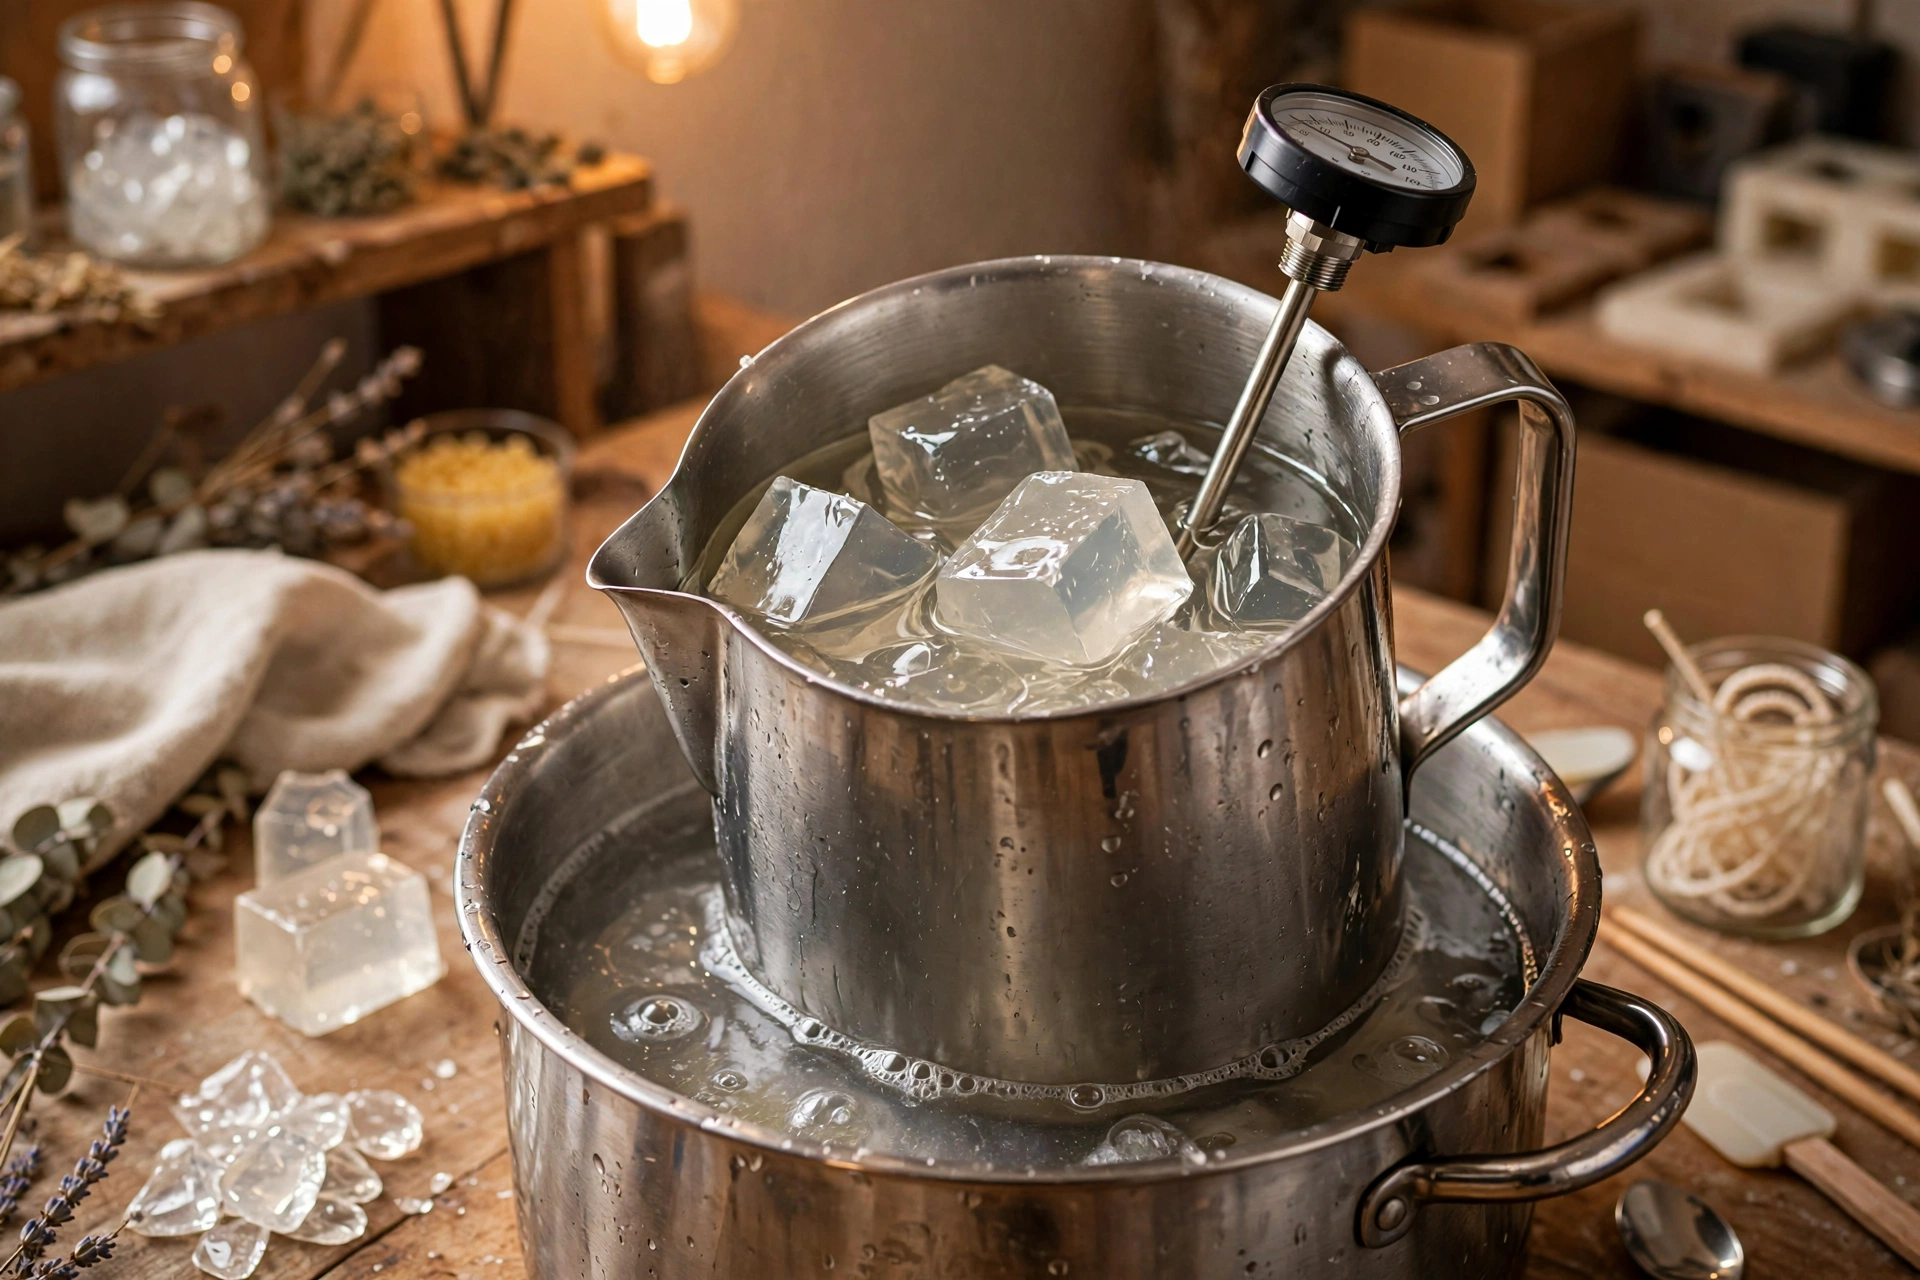
- A double boiler or wax melter (never direct heat)
- Gel-safe fragrance oil and gel-safe liquid dye, if you want color or scent (both optional)
- Non-flammable embeds, if you want them (glass beads, pebbles, shells, metal charms — see the safety rules below)
- Rubbing alcohol and a lint-free cloth for cleaning the glass
Step 1: Prep the jar and wick
Clean the jar with rubbing alcohol and let it dry. Center the zinc-core wick and secure it with a wick holder or clip. If you are adding embeds, plan their placement now — tall embeds go near the walls, small ones can sit anywhere except touching the wick.
Step 2: Melt the gel
Melt the gel wax in a double boiler until it is fully liquid and clear, around 200°F (confirm with your supplier). Gel goes from cloudy to glass-clear as it heats — wait for fully clear. If you are coloring it, add a tiny amount of gel-safe liquid dye and stir gently — a little goes a long way, and over-stirring whips in bubbles.
Step 3: Add fragrance (optional)
If you are scenting the candle, add gel-safe fragrance oil off the heat and stir gently to combine. Keep the load low per your supplier’s guidance — gel will not hold as much fragrance as soy or paraffin, and excess fragrance can cloud the gel or separate.
Step 4: Pour a base layer and place embeds
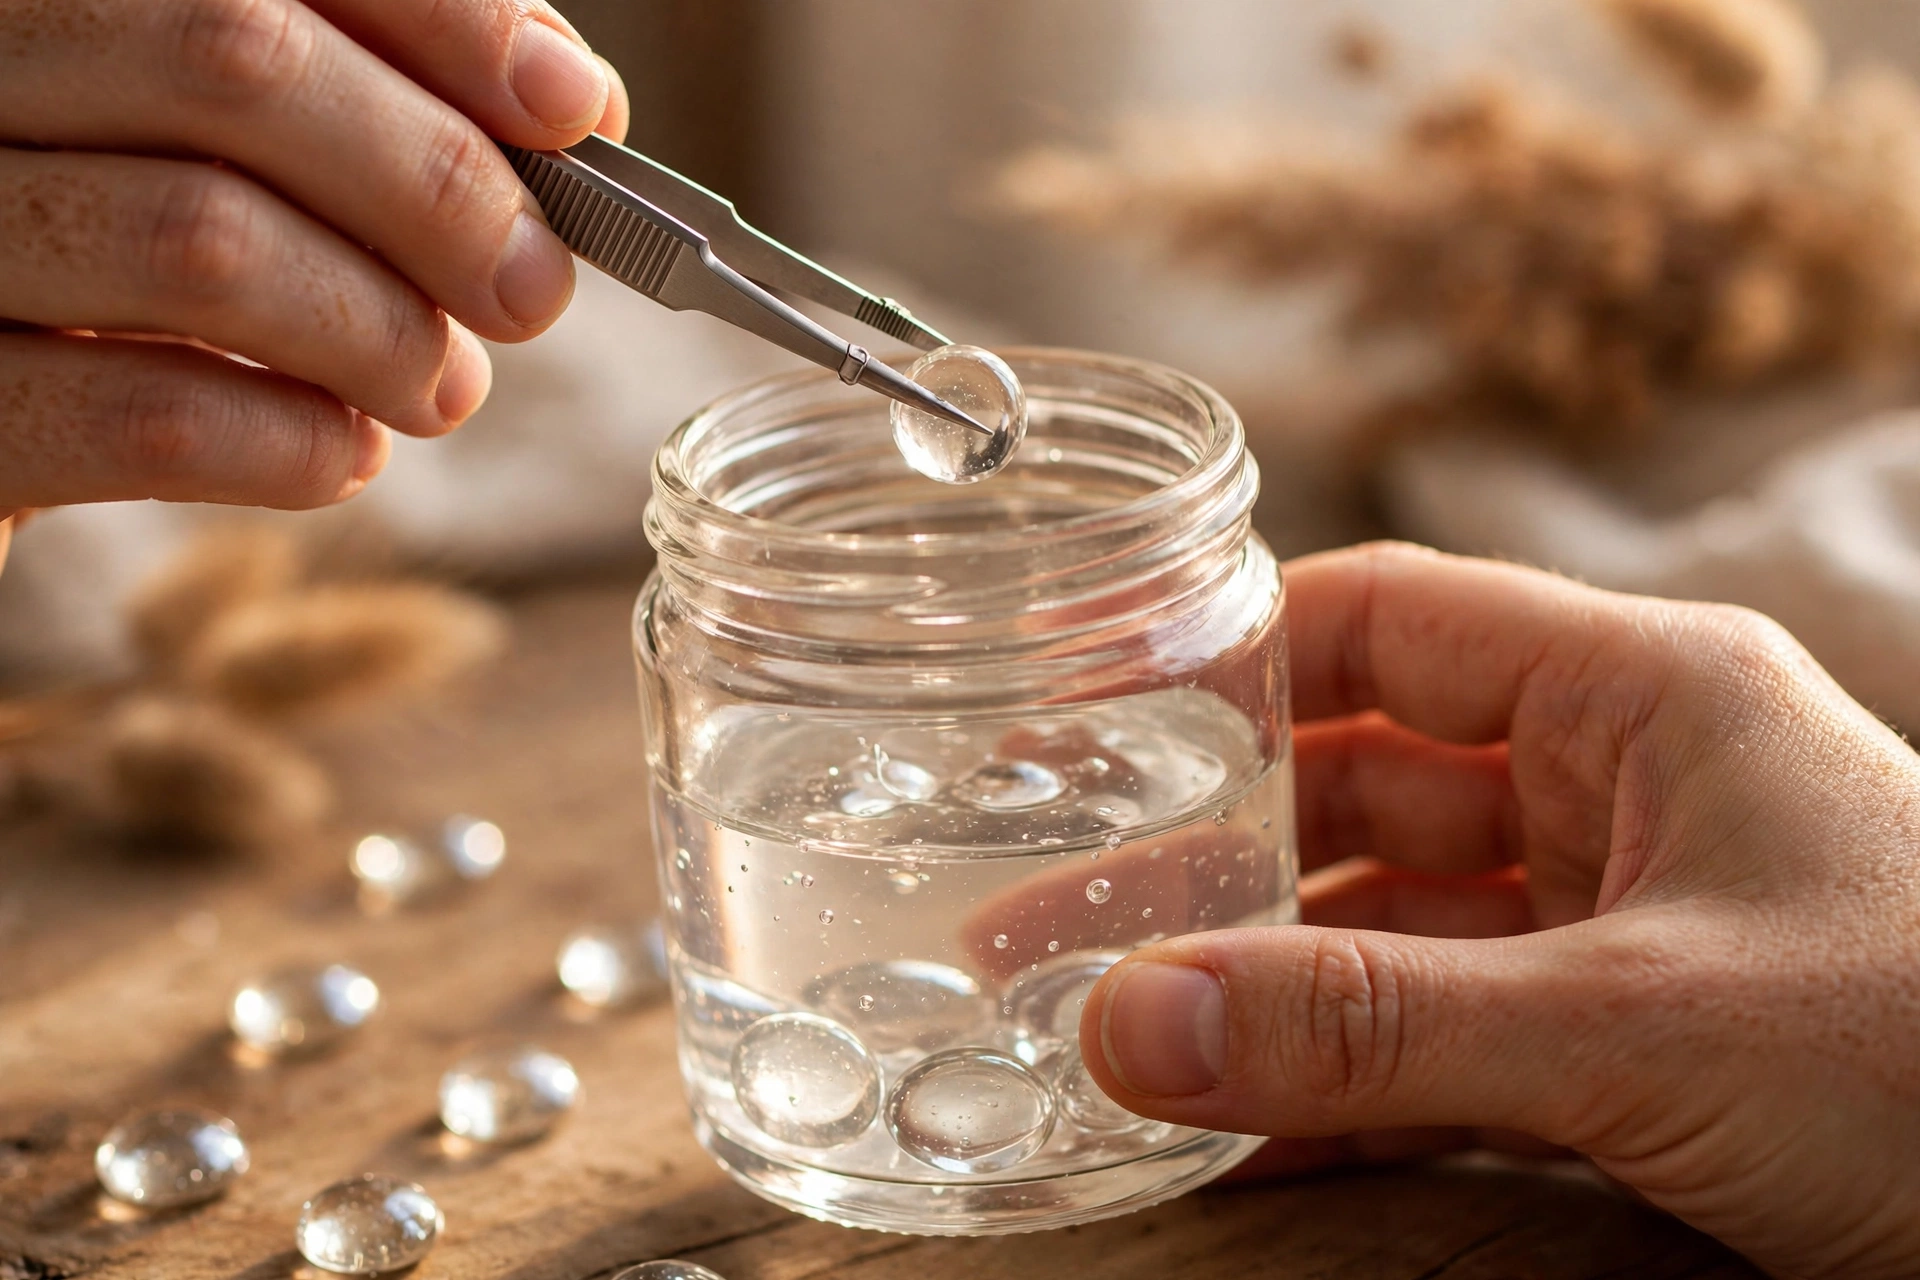
Pour a shallow layer of gel into the jar — about an inch — and let it set just enough to hold its shape. Then place your embeds with tweezers, keeping everything at least a finger’s width from the wick. Press embeds gently into the soft gel so they stay put. This layered approach keeps embeds from sinking to the bottom or floating to the top.
Step 5: Fill the jar
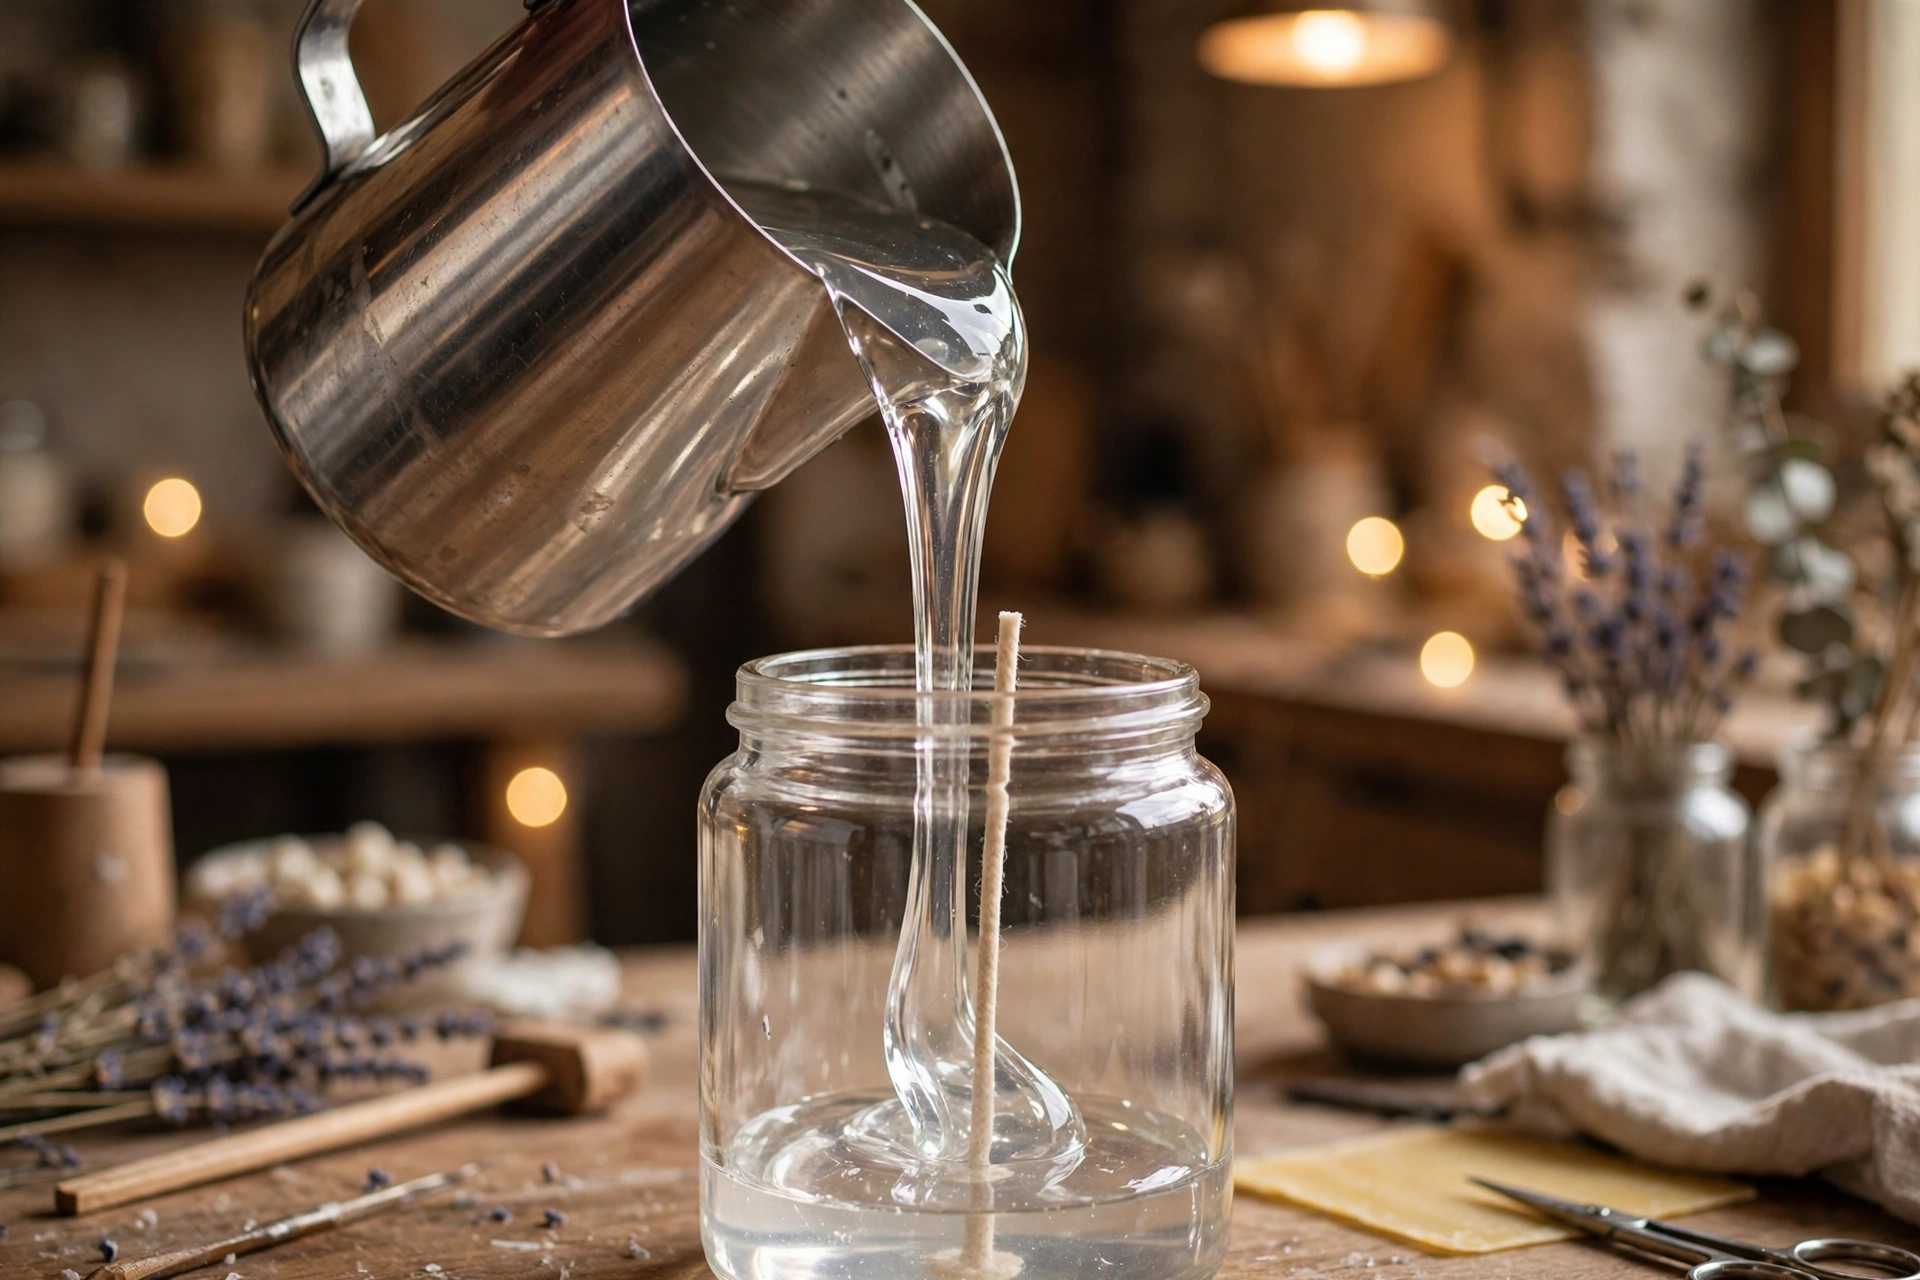
Pour the remaining gel slowly over the embeds, filling to about half an inch below the rim. Pour down the side of the jar or over the back of a spoon to avoid stirring up bubbles or knocking embeds loose. If you want layered colors, let each layer set before pouring the next.
Step 6: Cool, trim, and finish
Let the candle cool at room temperature, away from drafts. Gel shrinks less than other waxes, so a relief pour is rarely needed — but if the surface dips, top it up with a small pour of the same gel. Once fully cool and set, trim the wick to about 1/4 inch. Your first gel candle is done.
⛔ Embed safety — the rules that matter most in gel wax
Gel candles invite embeds, and embeds are where the danger lives. Follow these rules on every gel project:
- Only non-flammable embeds: glass, metal, ceramic, stone, shells, and sand. If it can burn, melt, or char, it does not go in a gel candle.
- Never embed dried flowers, herbs, paper, photos, wood, fabric, or plastic. All of them are flammable or melt into the gel — and a burning embed can flare, overheat, or shatter the container.
- Keep every embed away from the wick. Nothing should touch the wick or sit in the direct flame path.
- Nothing loose. Embeds must be fully set in the gel. A loose embed can float into the flame.
- Never add glitter, confetti, or decorative bits. Most are flammable or melt into the gel.
- Test-burn every design. A gel candle with embeds must be test-burned before anyone else burns it — and before you sell it.
What to do when something looks wrong
Cloudy gel: usually too much fragrance, the wrong fragrance for gel, or the gel never got hot enough to go fully clear. Use gel-safe fragrance at low loads and melt to fully clear.
Embeds sank or floated: the gel was too hot (embeds sink) or too cool (embeds sit on top). Pour in layers, and let each layer set before adding the next.
Too many bubbles: stirred or poured too aggressively. Stir gently, pour slowly, and accept a few tiny bubbles — they are part of the look.
Wick drowning or a tiny flame: wrong wick type (gel needs zinc-core) or wick too small for the jar. Confirm zinc-core and size against your supplier’s chart, and test-burn.
Gel pulling away from the glass: cosmetic and common. A warm (not hot) water bath on the outside of the jar can re-adhere it, but it does not affect the burn.
Next steps
With the basics down, the fun starts. The classic next project is the gel aquarium candle — blue-tinted gel, sand, shells, and a few glass pebbles layered into an underwater scene. It uses every skill in this guide and makes a gift people actually keep. More gel projects are coming to this section — check back as the collection grows.
Get candle-making tips by email
Join the list for new tutorials, tools, and supplier deals — straight to your inbox.
Signed up between Oct 7 and Oct 28 and never heard from us? We fixed a glitch that was dropping signups — please sign up again!



