
Beeswax Furniture Polish & Wood Butter
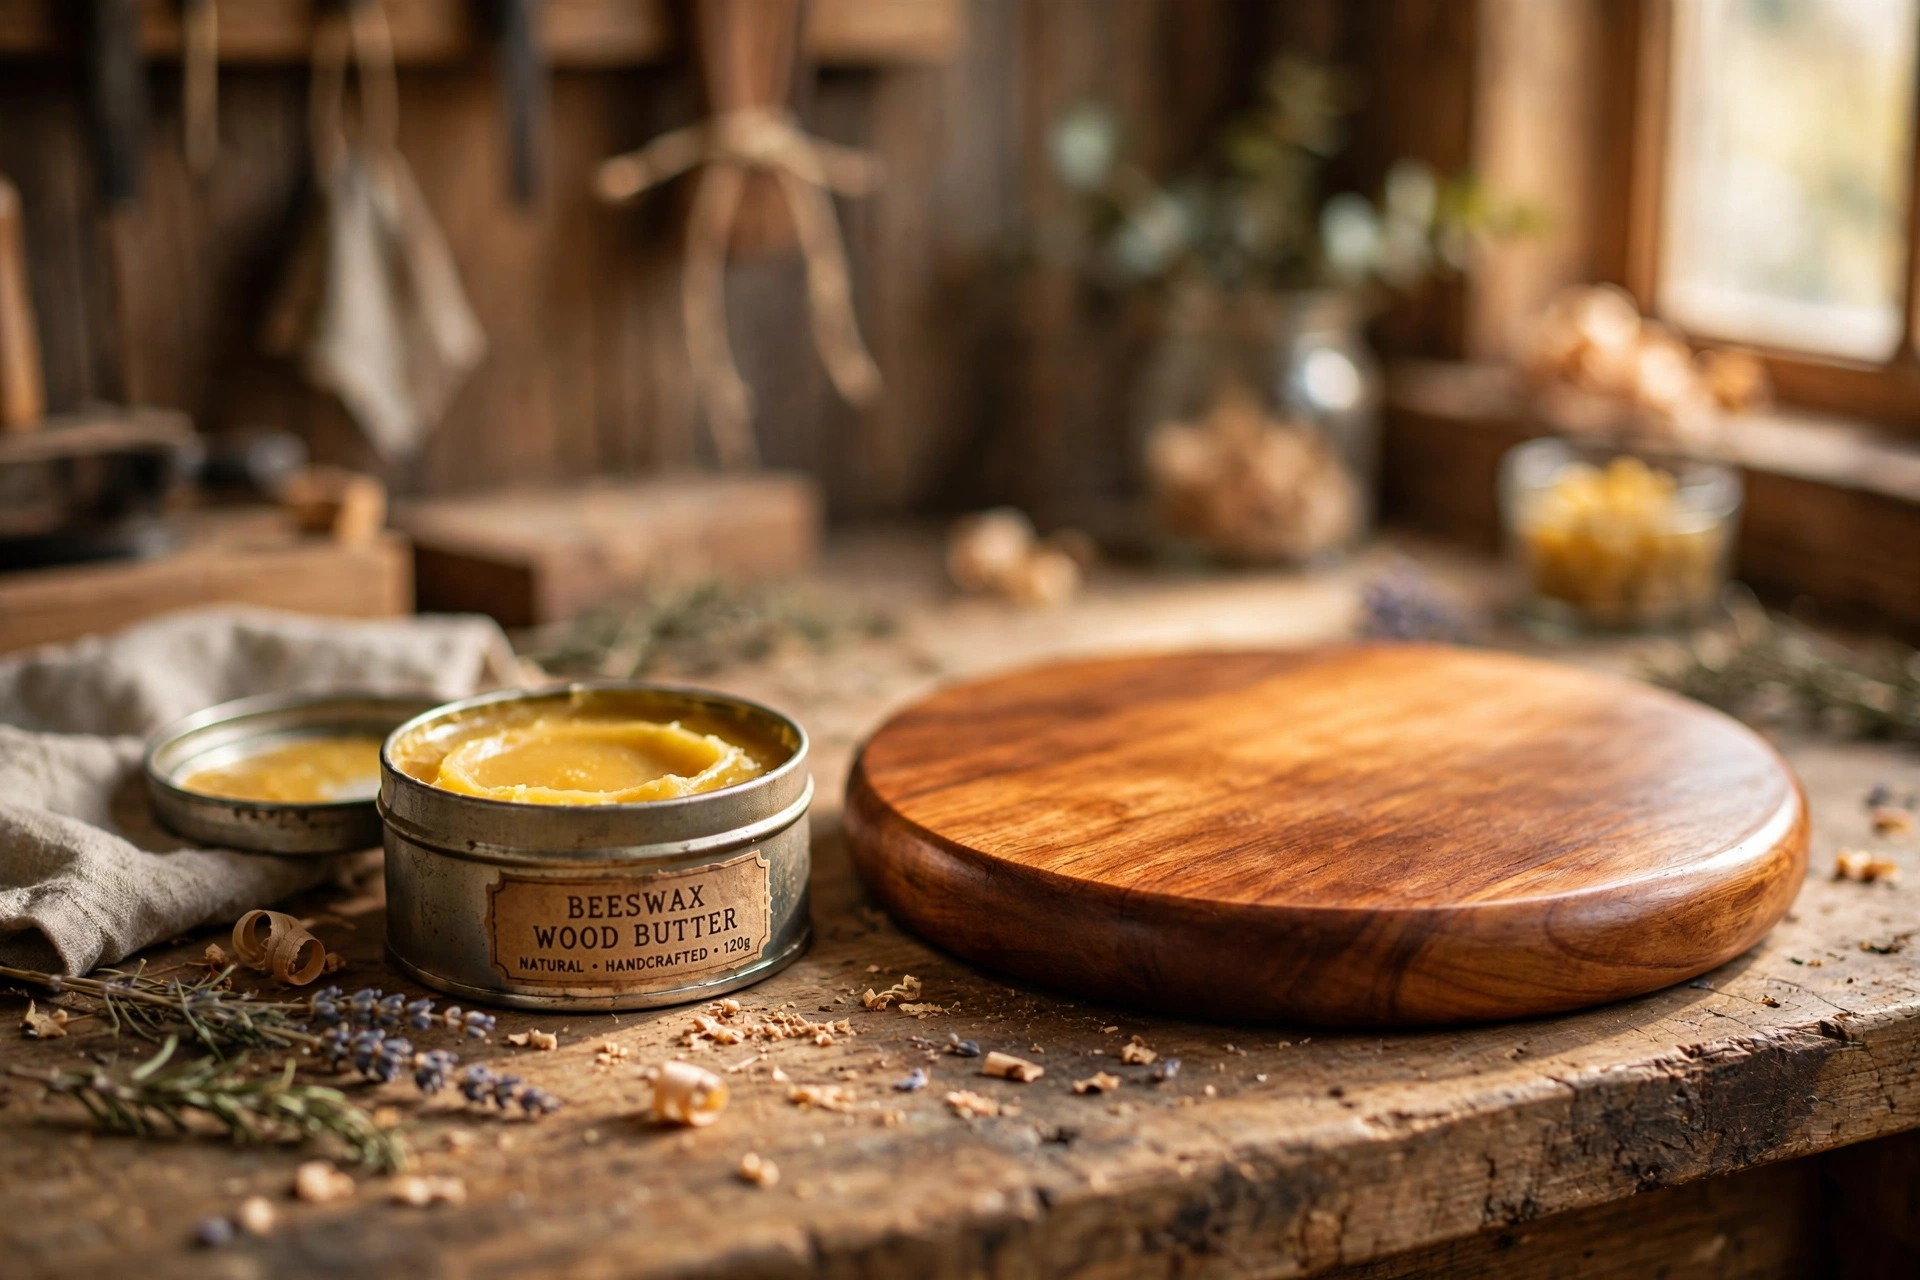
Feed dry wood with a simple beeswax-and-oil blend — one recipe, two uses. The same melted blend becomes a soft, spreadable board butter for cutting boards and wooden spoons, or a firmer polish that brings dull furniture back to a soft glow.
Why beeswax and oil
Wood is thirsty. Cutting boards dry out from washing, spoons dull from daily use, and furniture fades from sunlight and central heating. Beeswax feeds the wood and leaves a breathable protective skin; oil carries it deep into the grain and keeps the blend spreadable. Together they do what neither does alone: oil without wax stays greasy and never sets, wax without oil is a rock you can’t rub in.
The blend principle
The whole recipe is two ingredients — beeswax and oil — melted together and poured into tins. What changes the character of the finish is the ratio, not the ingredients.
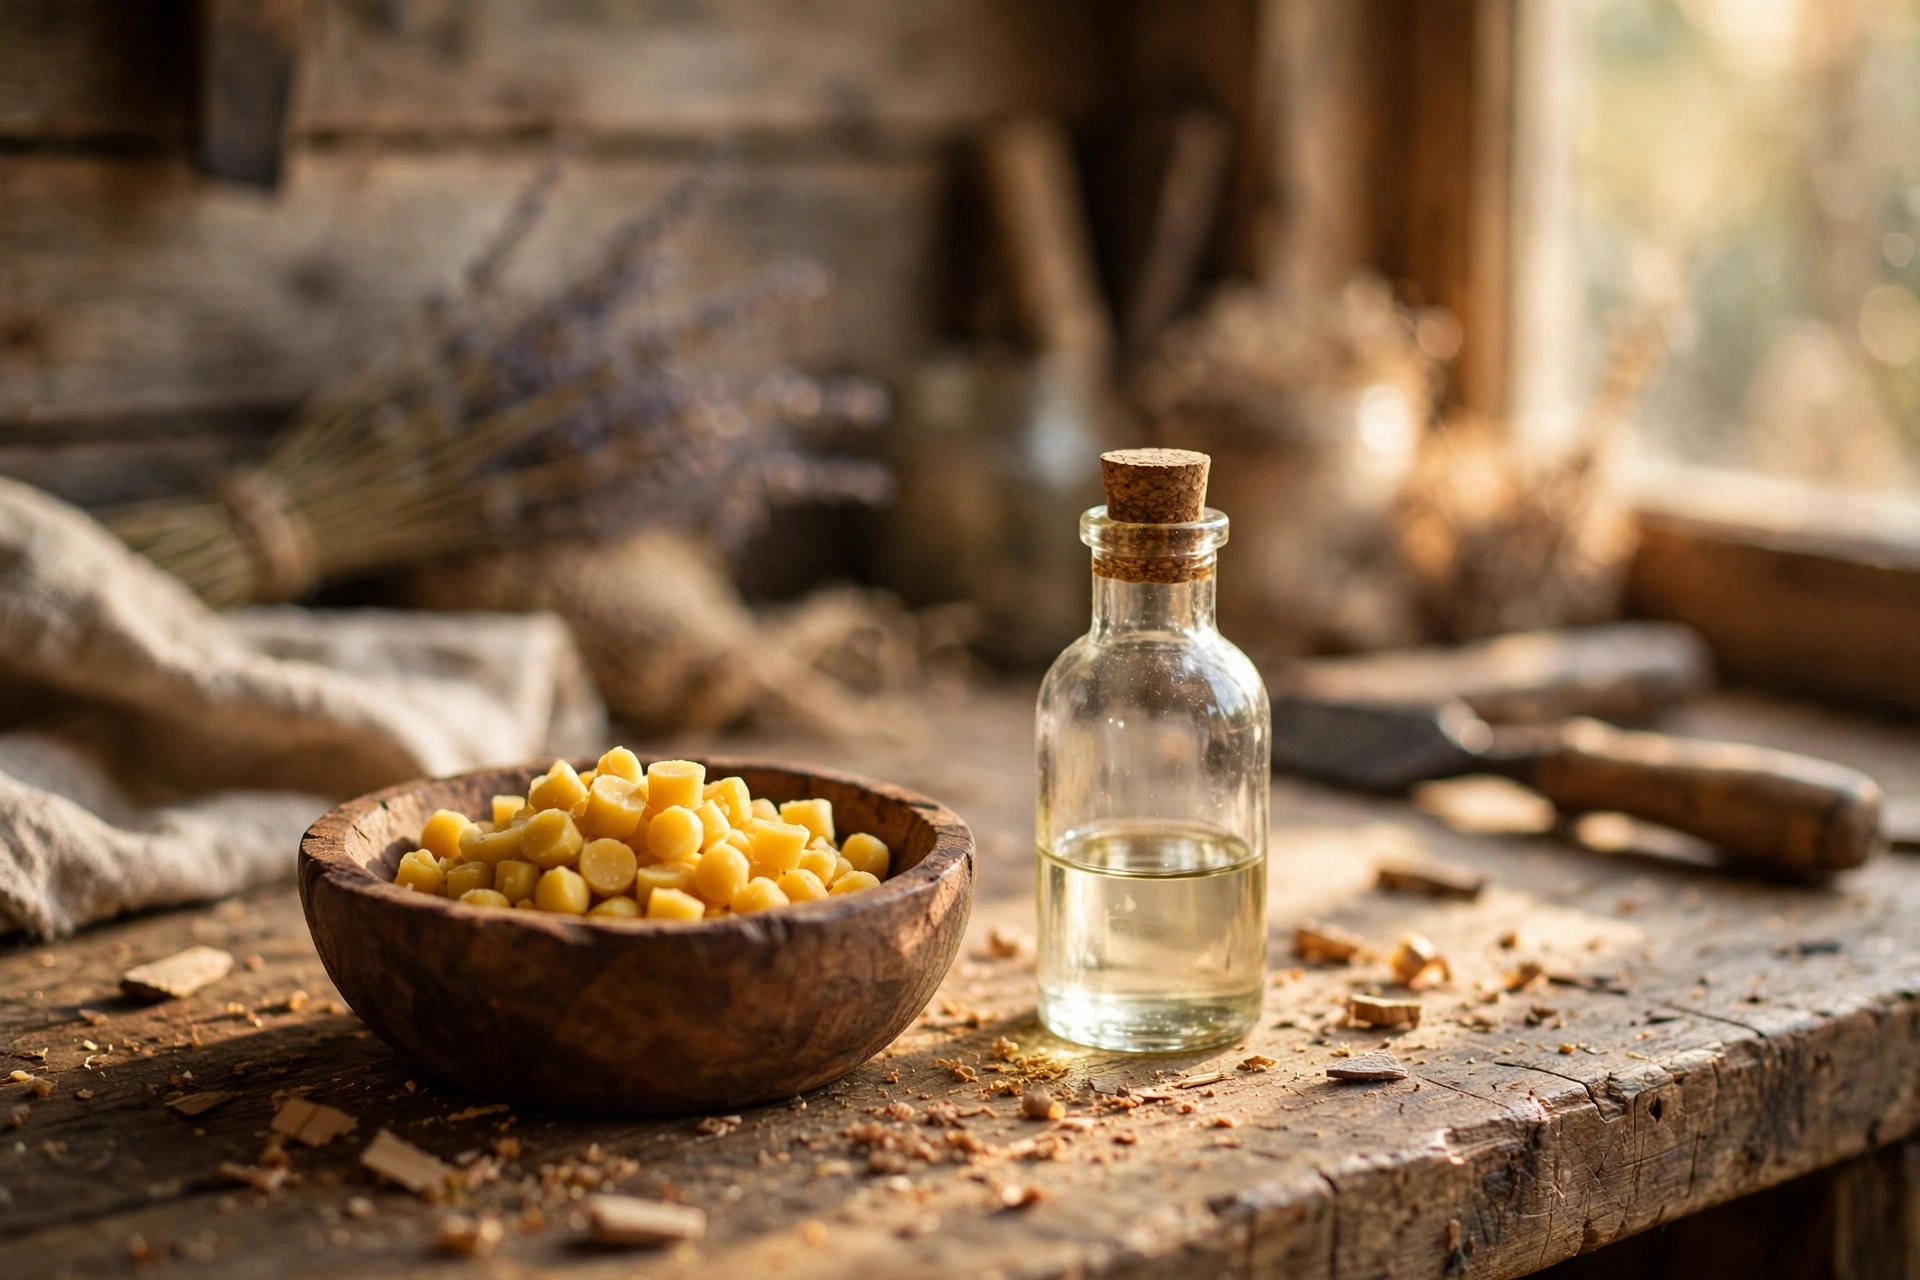
Soft board butter. Roughly 1 part beeswax to 4 parts oil by weight. This sets soft and creamy, spreads easily with a cloth, and soaks into end grain without tugging. This is the ratio you want for anything that will touch food.
Firmer furniture polish. Raise the wax share — think 1 part beeswax to 2–3 parts oil. The extra wax sets up firmer in the tin, and once buffed it leaves a tougher, more durable film that stands up to handling on tables, chairs, and cabinets.
A harder finish still. For a tougher furniture finish, you can replace part of the beeswax with a harder wax such as carnauba — it melts at a higher temperature and sets harder, so even a small substitution makes the polish noticeably more durable. Keep it to a partial substitution; carnauba alone would be far too hard to spread.
What you’ll need
- Beeswax (pastilles melt fastest; a block you chop up works too)
- Oil — food-safe for boards and spoons, your choice for furniture
- Kitchen scale
- Double boiler or a heat-safe pouring jug set over a pot of simmering water
- Small metal tins or glass jars with lids
- Spoon or chopstick for stirring
- Clean soft cloths for application and buffing
Steps: making the blend
1. Weigh the wax and oil
Decide which version you’re making and weigh your ingredients: roughly 1 part beeswax to 4 parts oil for board butter, or 1 part wax to 2–3 parts oil for furniture polish. Weighing beats measuring by volume — wax and oil don’t weigh the same cup-for-cup, and the ratio is what sets the final firmness.
2. Melt gently in a double boiler
Combine the wax and oil in the top of a double boiler over barely simmering water and stir until everything is fully melted and uniform. Keep the heat gentle — wax scorches if you rush it, and overheated oil can go rancid faster in the finished tin.

3. Pour into tins or jars
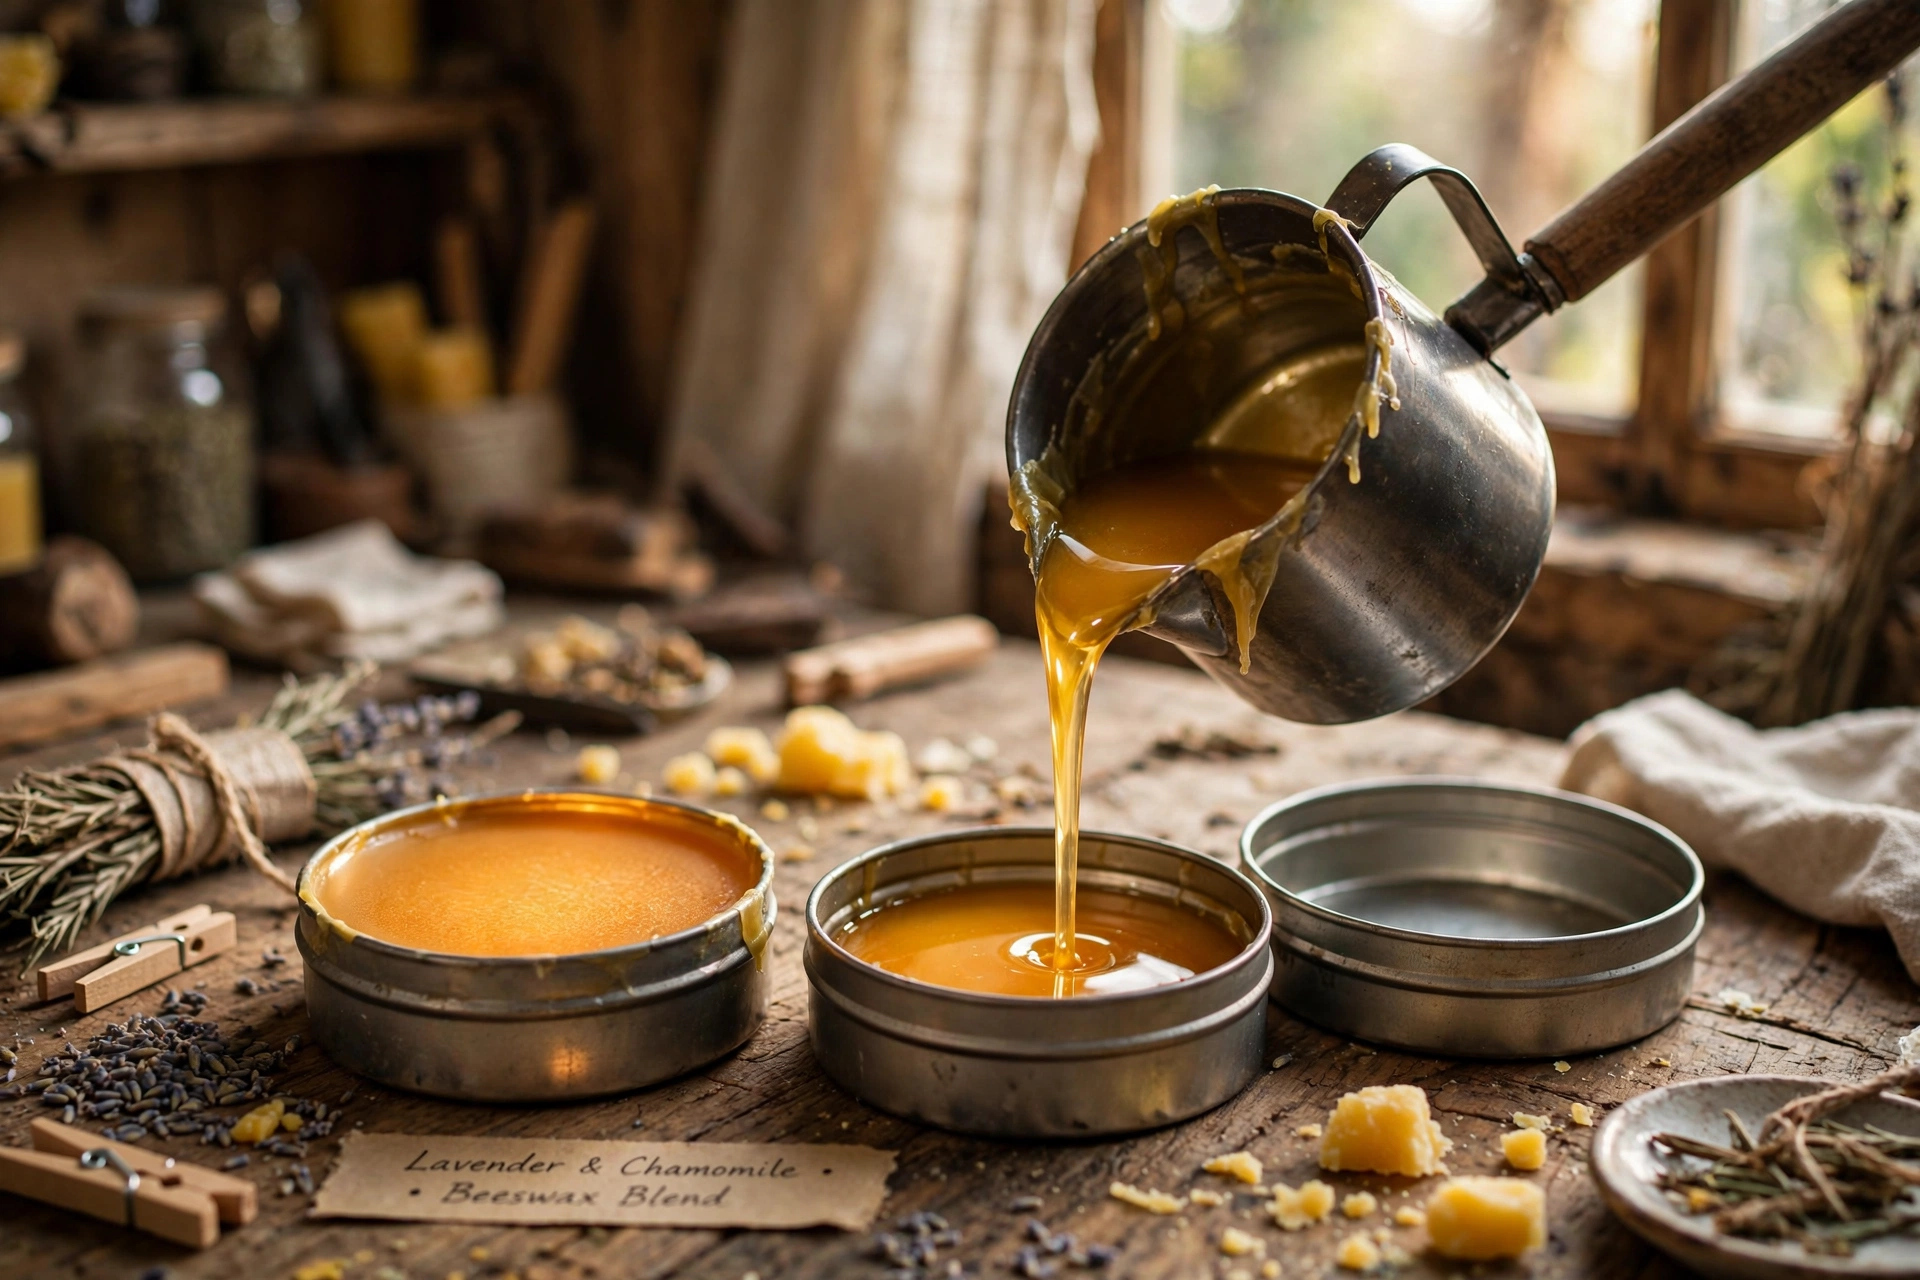
Pour the hot liquid blend into your tins or jars, leaving a little headspace. Work on a tray or newspaper — wax drips are easy to contain and miserable to scrape off a workbench.
4. Cool to set
Let the tins cool undisturbed at room temperature until fully set — a couple of hours for small tins. Don’t refrigerate to speed it up; slow cooling sets a smoother, more even texture. Test the firmness with a fingertip: board butter should dent softly, furniture polish should feel firm with only slight give.
Applying it: cutting boards and wooden spoons
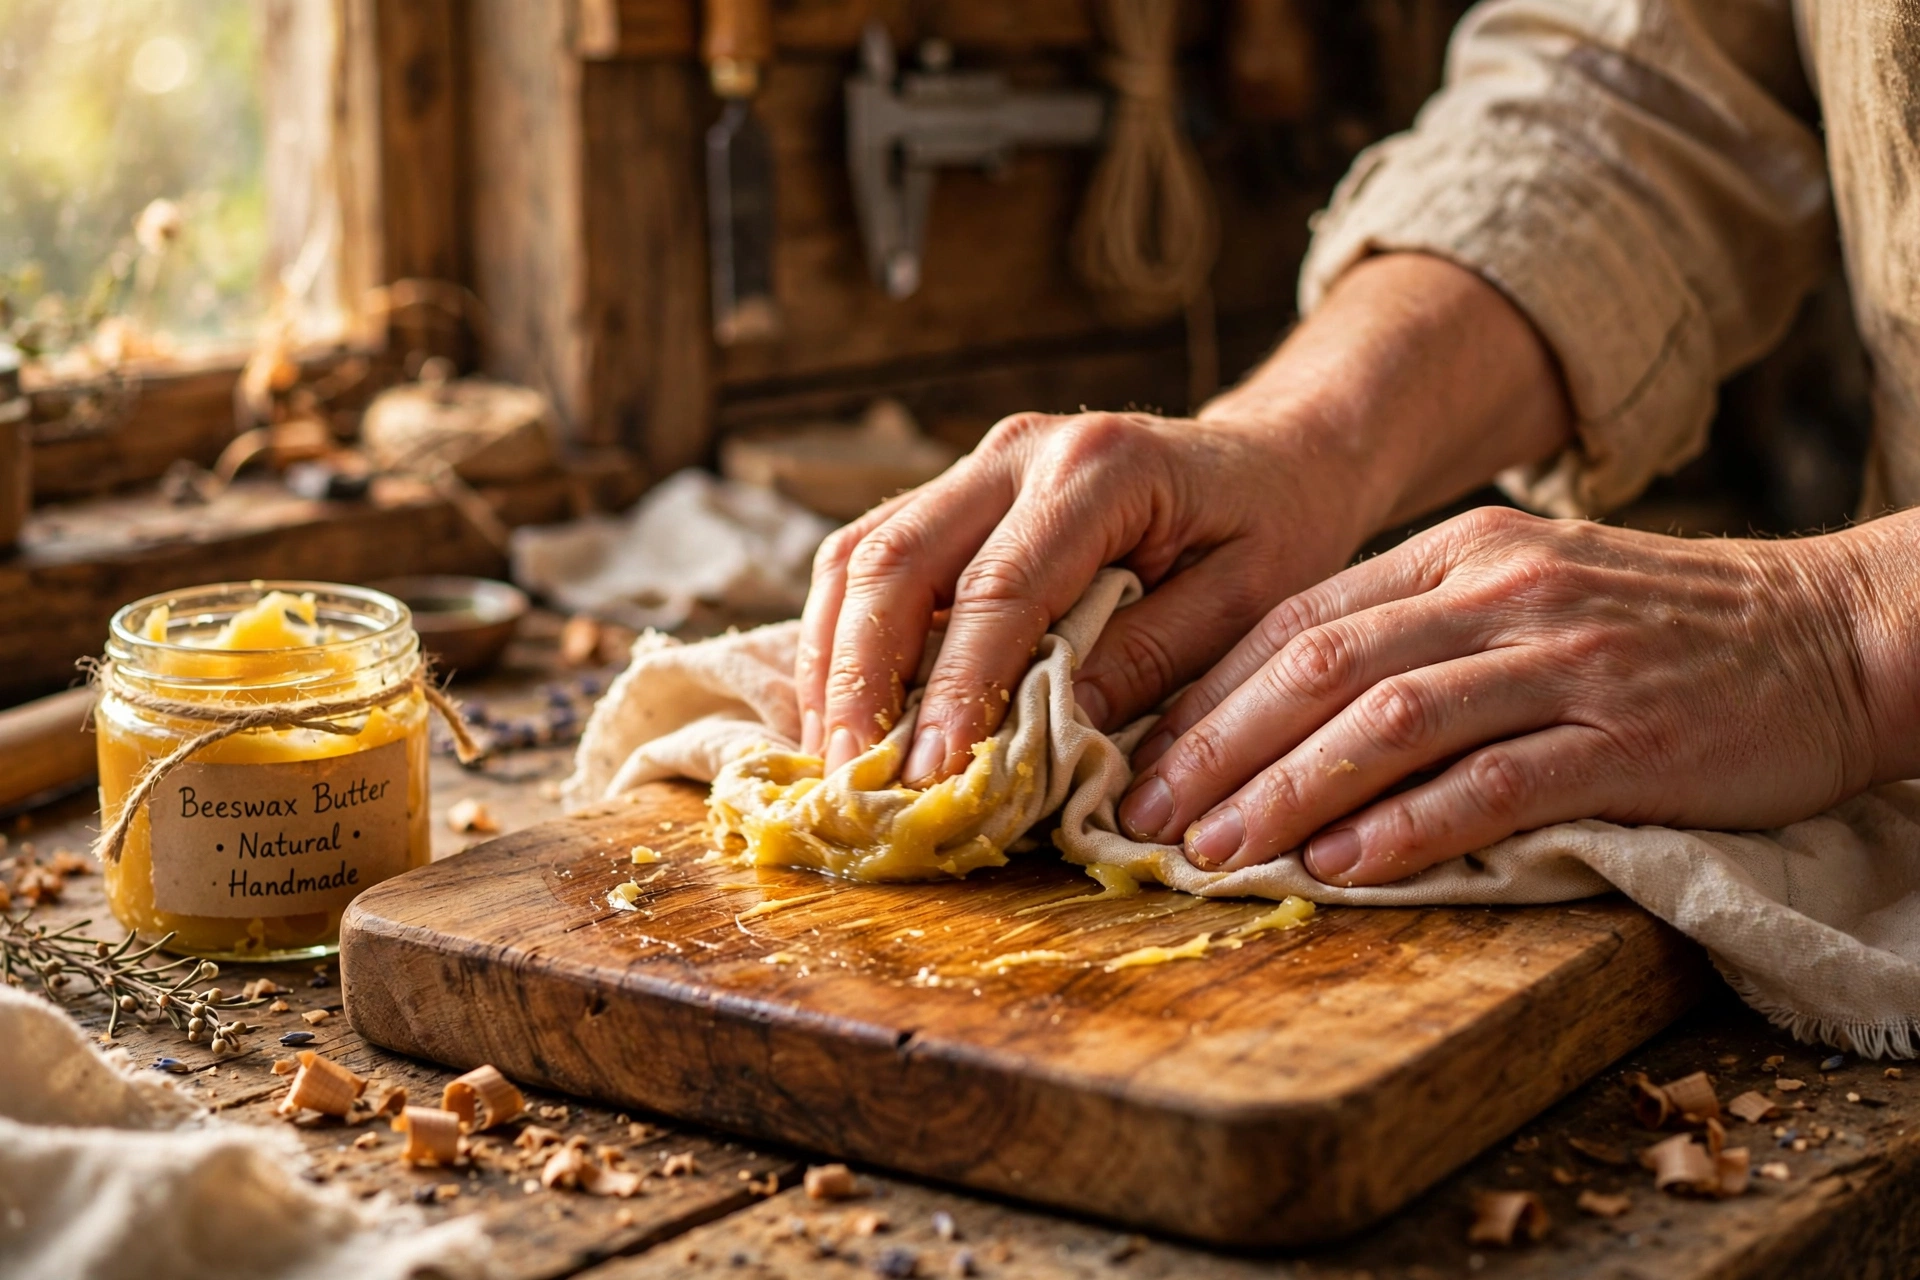
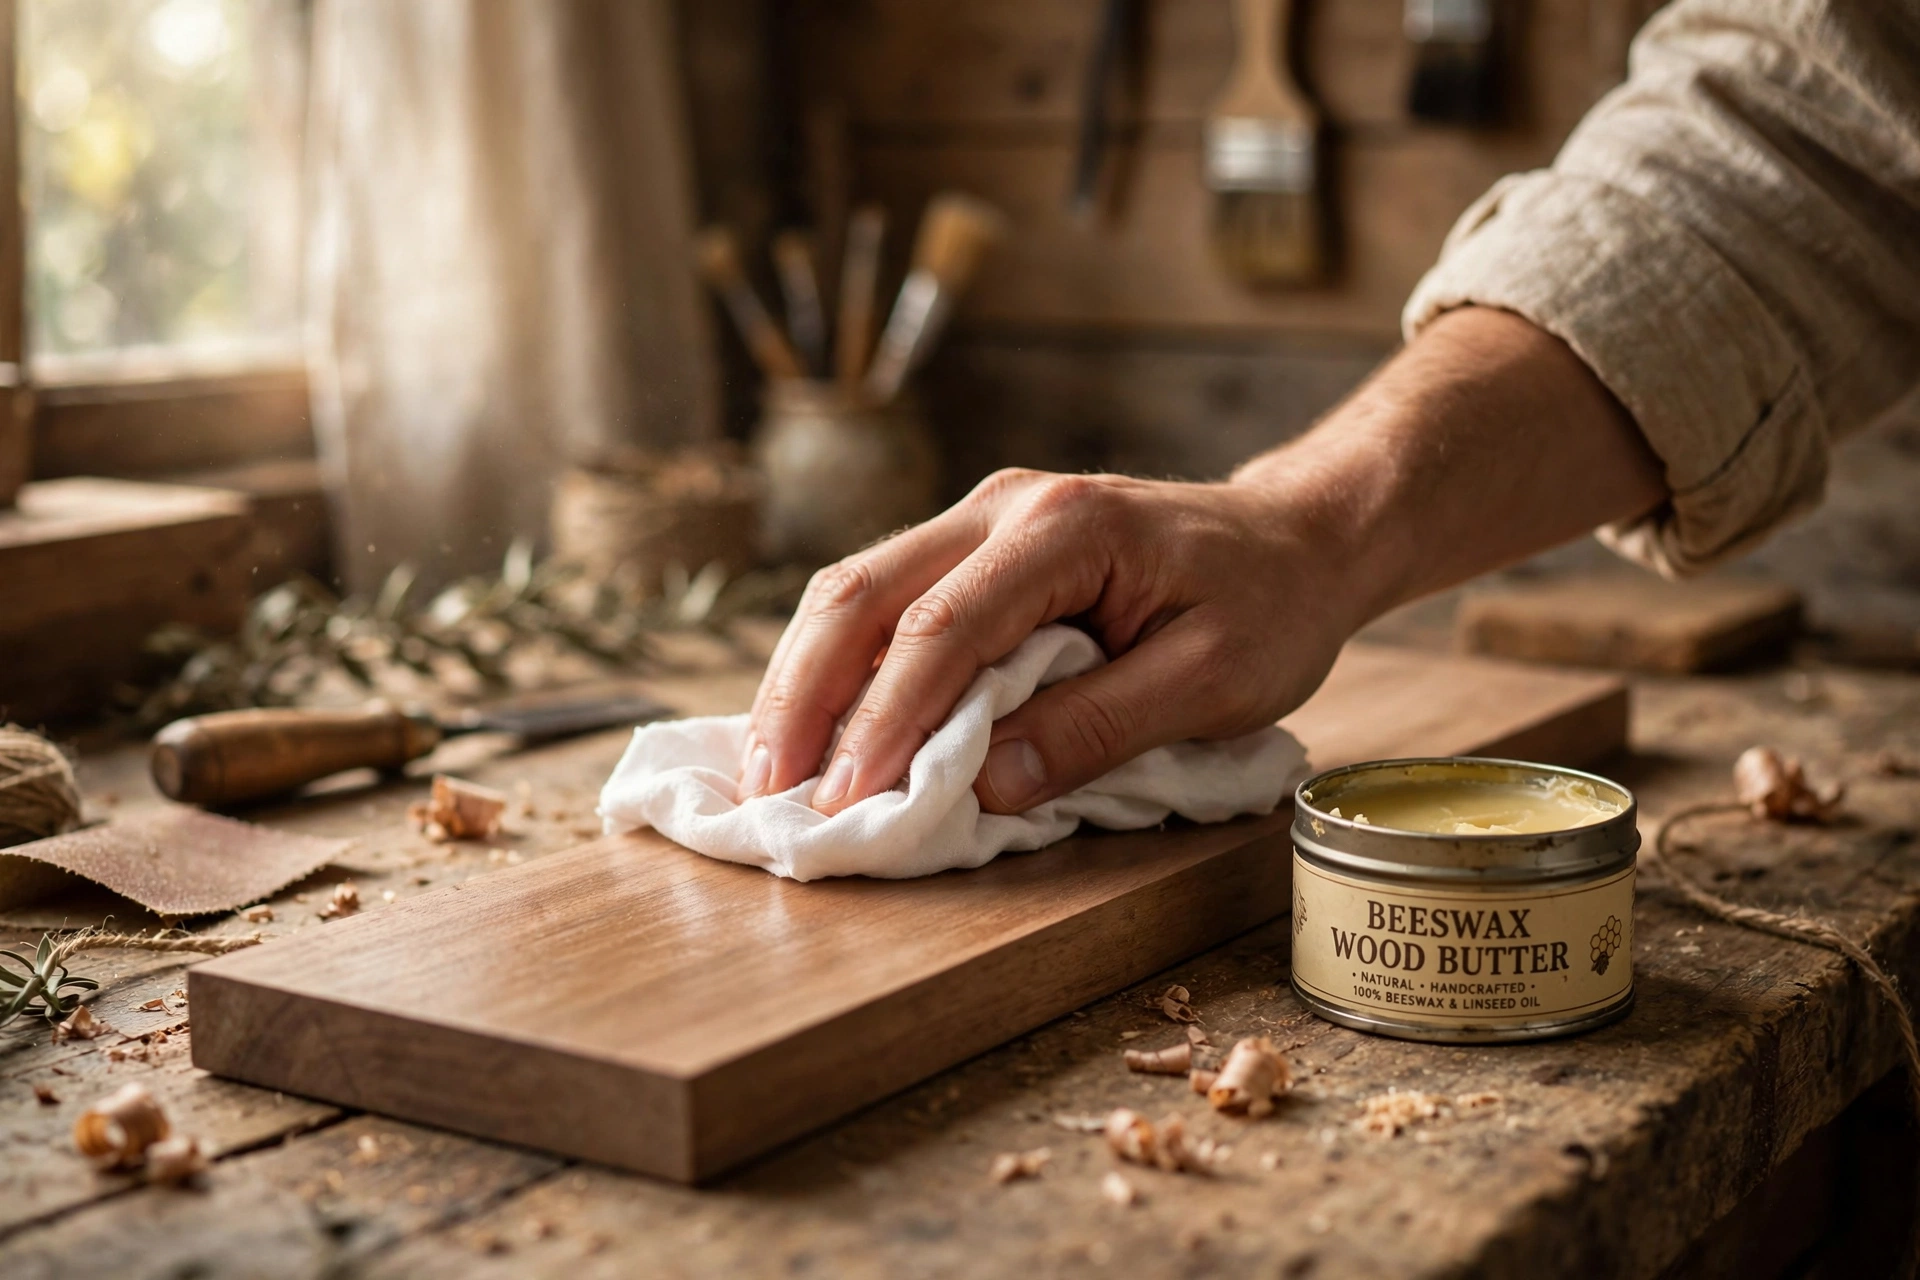
Start with clean, dry wood. Scoop a little board butter onto a soft cloth and rub a thin, even layer over the whole surface, working it into the grain. Let it soak in for 15–30 minutes — end grain drinks a lot — then buff off the excess with a clean dry cloth. The surface should feel satiny, not tacky. Reapply whenever the wood starts to look pale or dry, which for a daily-use cutting board might be every few weeks.
Applying it: furniture
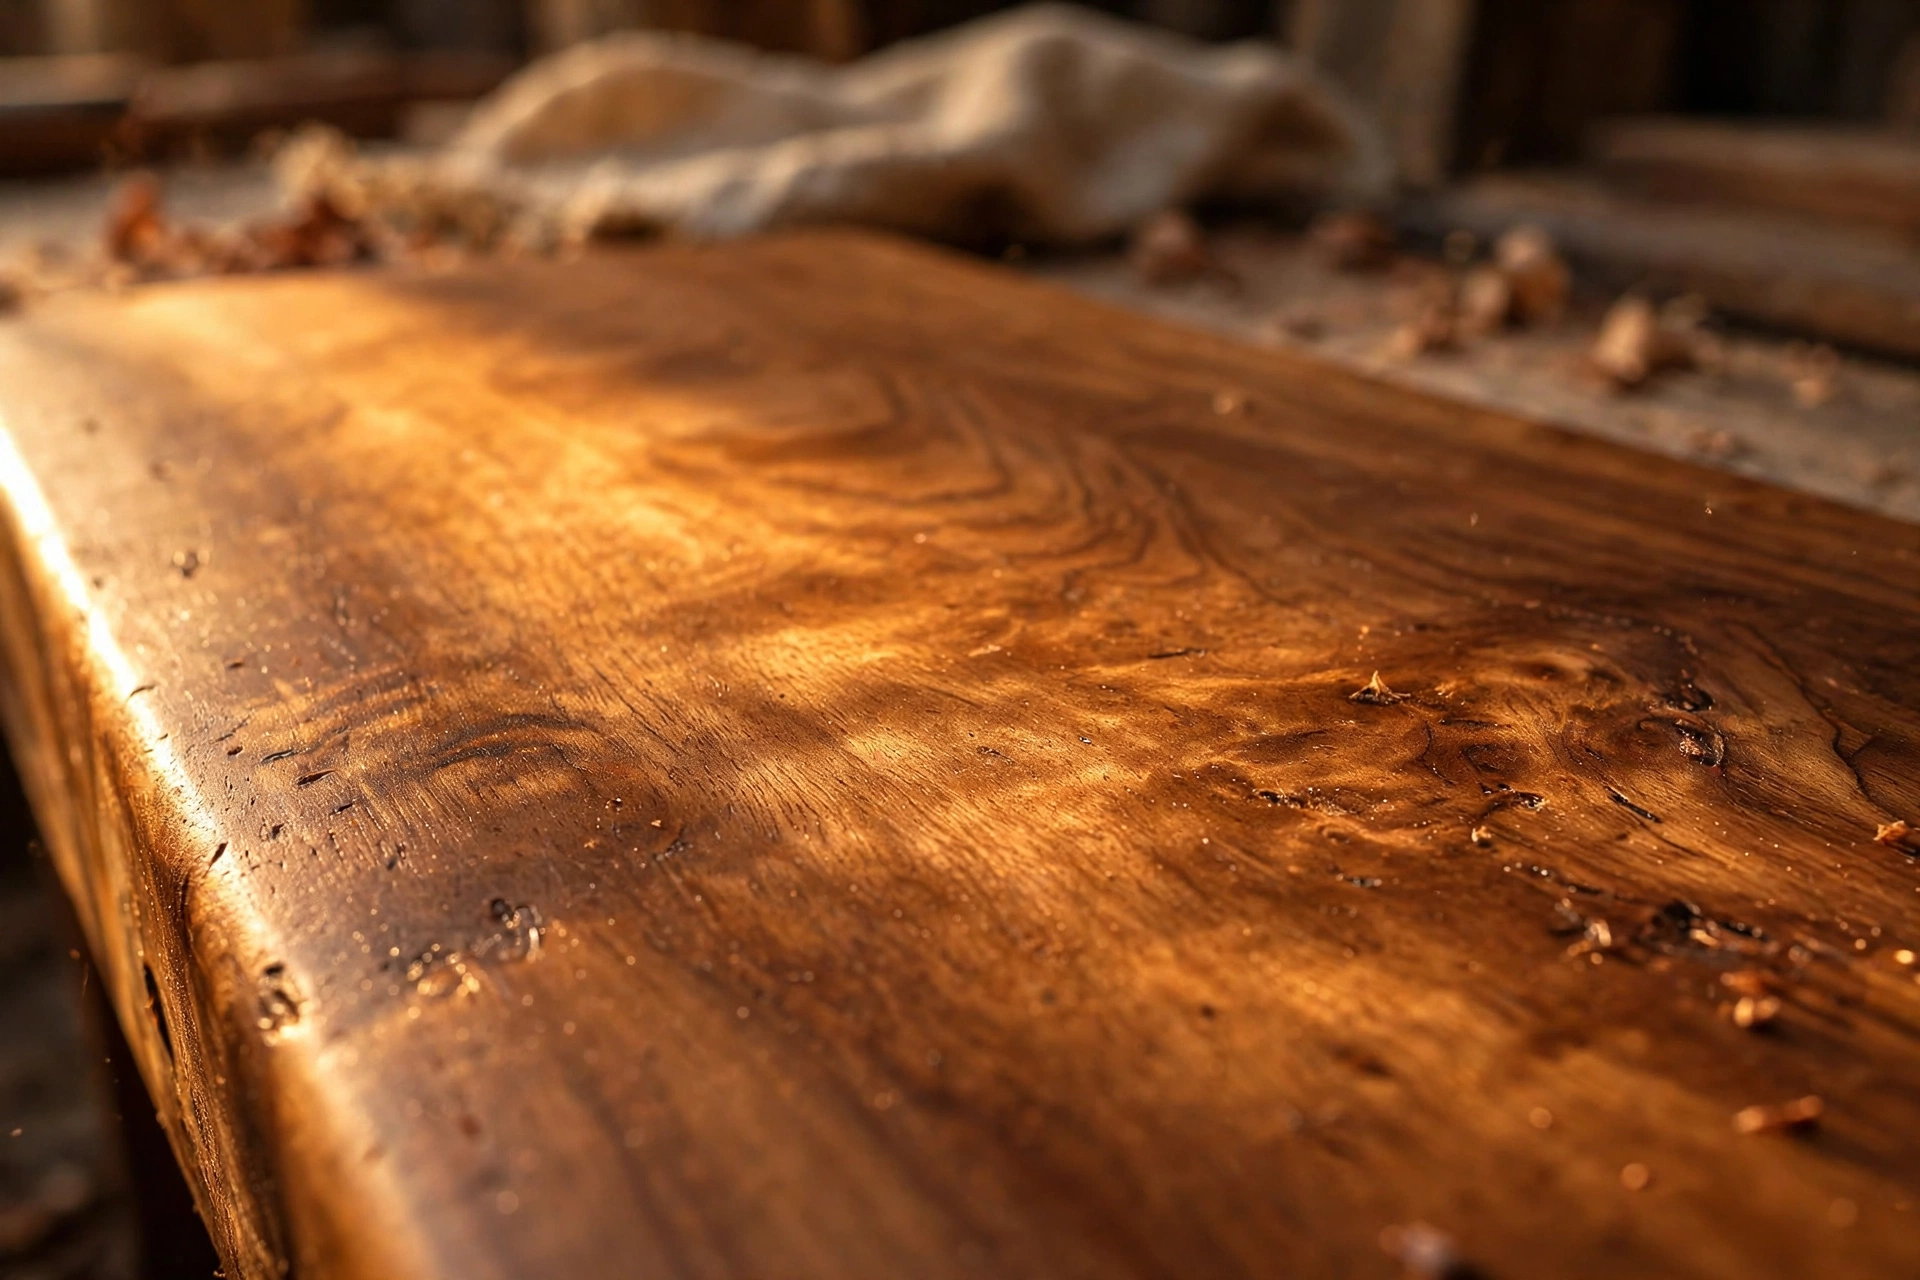
Dust and clean the piece first — polish seals in whatever is under it, including dust. Take a small amount of the firmer polish on a soft cloth and apply a thin coat following the wood grain. Let it sit until it hazes over (usually 10–20 minutes), then buff to a shine with a clean cloth, again following the grain. Thin coats are everything: two thin coats, buffed well, beat one thick coat every time.
Troubleshooting
Too hard to spread? The wax ratio is too high. Remelt the batch and stir in more oil, then repour — start with a small addition, since you can always add more.
Too greasy, never quite sets? Buff more thoroughly with a clean cloth, and next batch use less oil (move toward the furniture-polish ratio). Some of it is also impatience: give the finish a full day before judging it.
Sticky or tacky finish? The coat was too thick. Buff it down hard with a clean cloth to remove the excess, and apply thinner coats next time — barely-there layers are the goal.
Cloudy or uneven sheen? Usually uneven buffing or a coat applied over dust. Wipe back with a clean cloth and re-buff, or add one more thin coat and buff it out properly.
Storage
Keep tins lidded at room temperature, out of direct sunlight and away from heat. The blend keeps for about a year — if it ever smells off or the texture changes dramatically, melt a fresh batch. A cool pantry shelf is ideal; a hot garage is not.
Next steps
Making wood butter puts your beeswax to work beyond candles — the same melting and pouring skills apply to reusable beeswax food wraps and beeswax lip balm.



