
Beeswax Lip Balm
This is the classic lip balm formula with beeswax as the star: beeswax for structure, a butter for richness, and a liquid oil for glide. Three ingredients, one principle, endless variations — this is the balm that made beeswax famous.
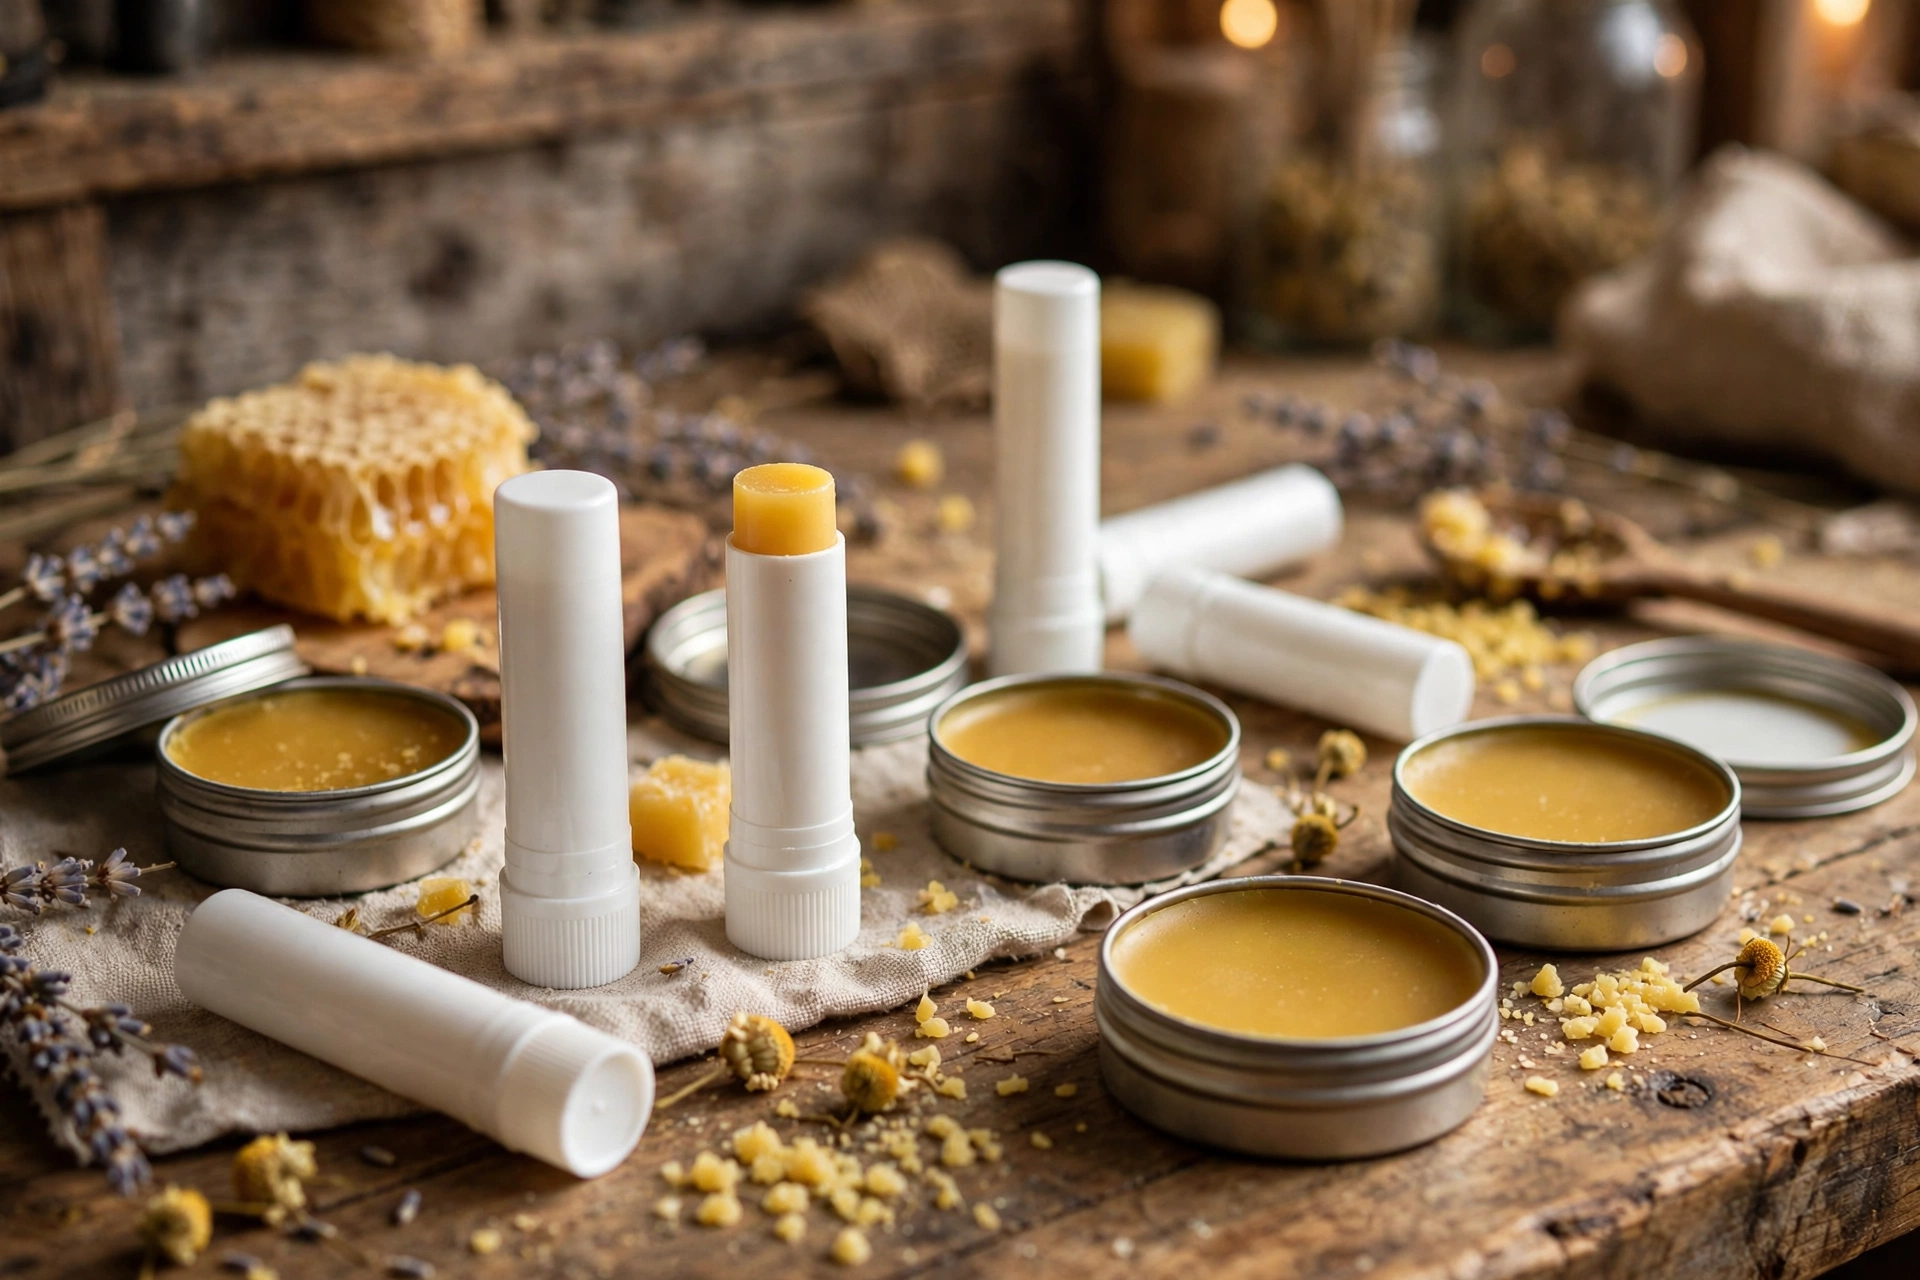
The ratio principle: beeswax sets the firmness
Beeswax is the ingredient that gives lip balm its firm, stable structure. Start with roughly equal parts beeswax, butter, and liquid oil by weight — a third of each — then adjust from there:
More beeswax = firmer balm. Balm in a twist tube has to survive a warm pocket and push up cleanly, so tubes want a firmer recipe (more beeswax). Balm in a tin gets applied with a finger, so tins can be softer (more oil).
More oil = softer, glossier balm. The liquid oil is what gives glide and shine. Nudge the oil up for a slicker, glossier balm; nudge the beeswax up for a stiffer, longer-lasting stick.
The supporting cast, in principle terms: butters (like shea or cocoa) bring richness and body — cocoa butter adds a faint chocolate note, shea butter is mild and creamy. Liquid oils (like jojoba, coconut, or sweet almond) bring glide and feel — jojoba is closest to skin’s own oils and soaks in slowly, sweet almond is light, and coconut oil melts at body temperature for extra slip.
What you’ll need
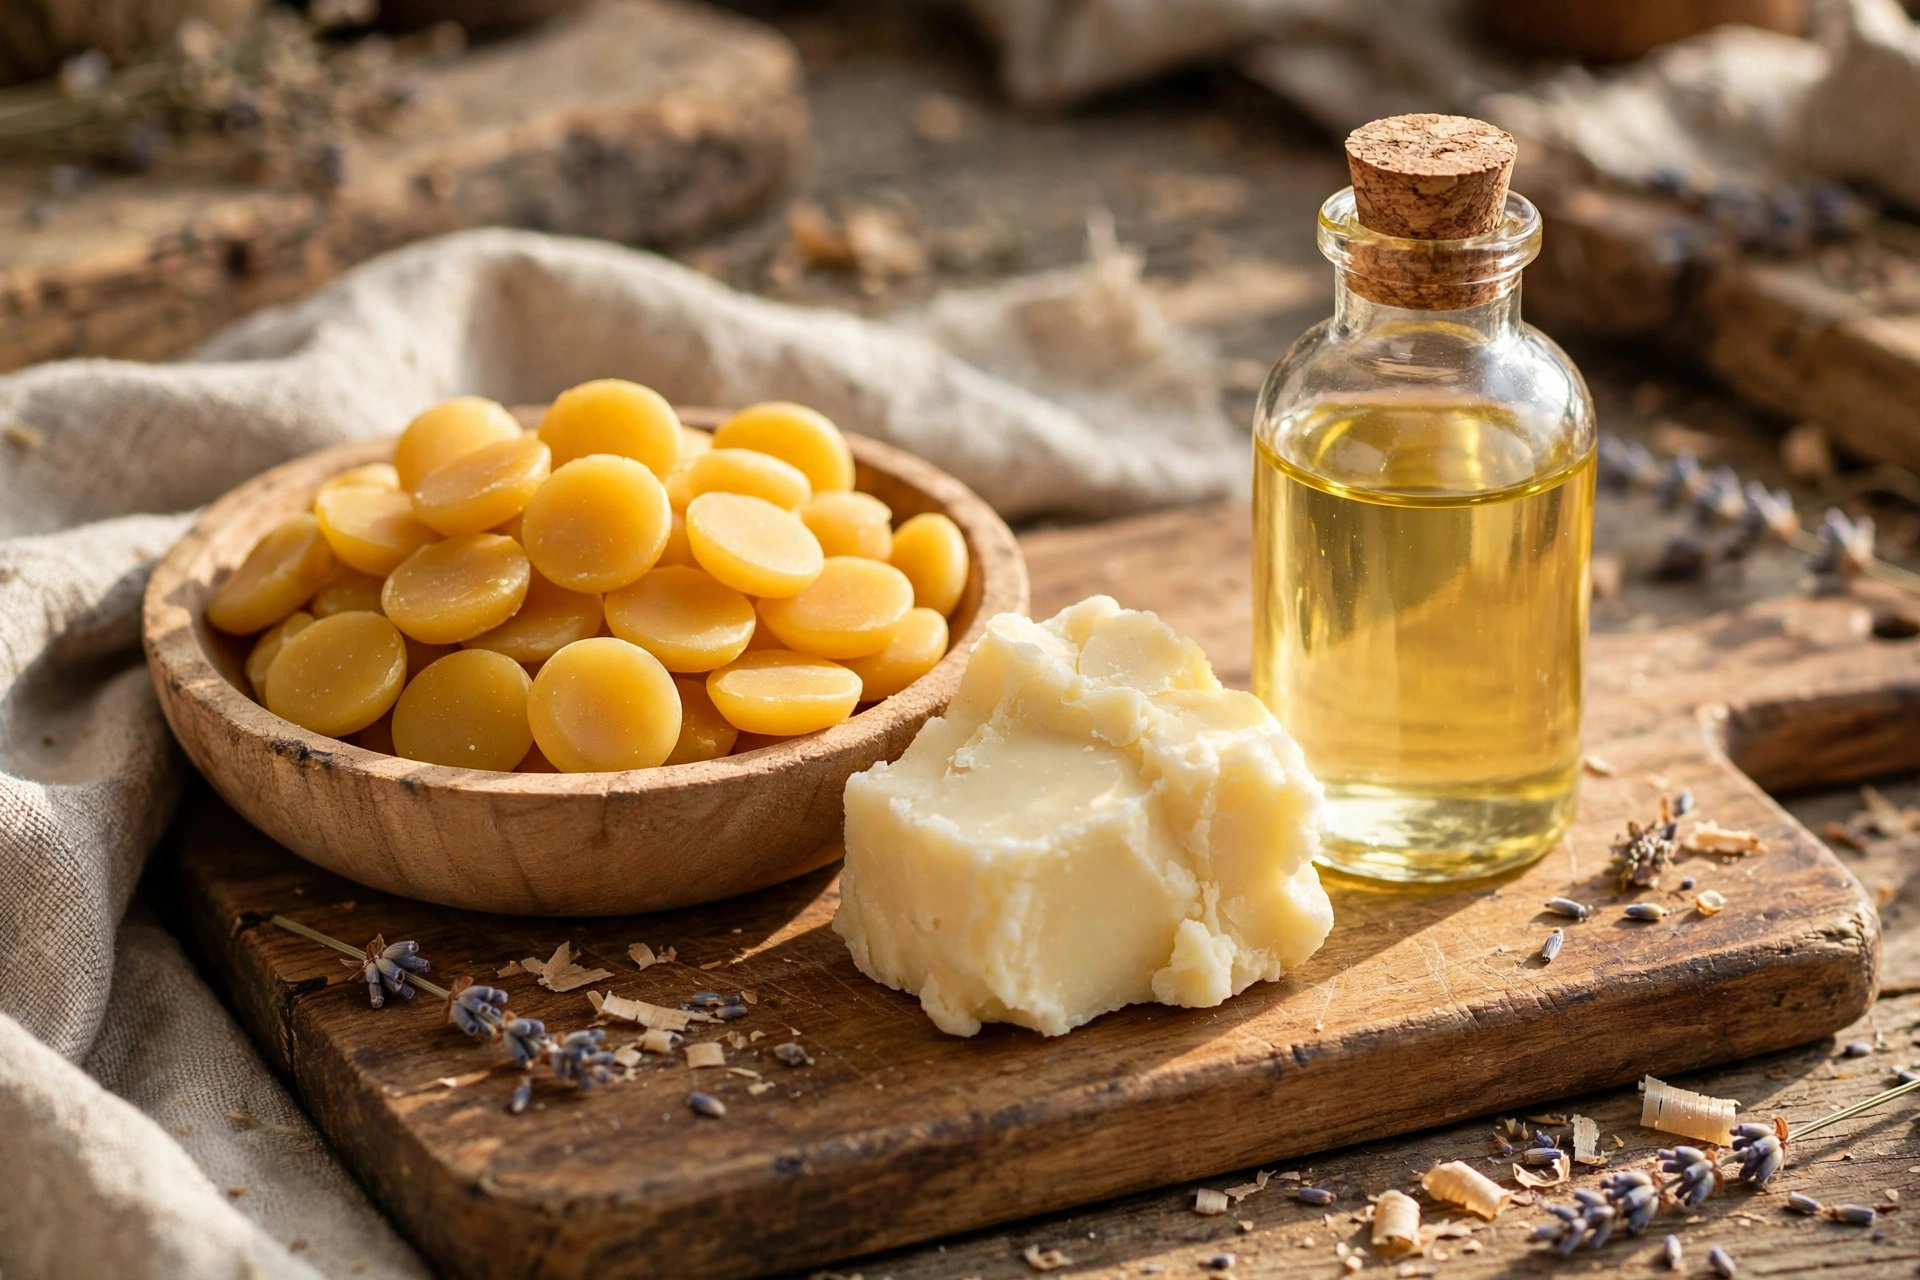
- Beeswax pastilles (or grated beeswax) — about 1/3 of your batch by weight
- Butter (shea or cocoa) — about 1/3 of your batch by weight
- Liquid oil (jojoba, coconut, or sweet almond) — about 1/3 of your batch by weight
- Lip-safe flavor oil and lip-safe colorant (mica), at your supplier’s usage rates
- Kitchen scale — weigh everything, don’t measure by volume
- Spouted pouring pitcher or heatproof measuring cup
- Pipette or dropper for filling tubes
- Empty twist tubes and/or small metal tins
- A tall mug of dry rice or a small cup to hold tubes upright
- Labels and a pen
Steps: beeswax lip balm
For deeper technique on filling tubes, standing them upright, and fixing graininess and sweating, see our DIY lip balm tutorial — the methods below follow the same playbook.
1. Weigh your three parts
Weigh the beeswax, butter, and liquid oil directly into your spouted pitcher — equal parts by weight is your starting point. Working by weight instead of volume is what makes the recipe repeatable: wax, butter, and oil all have different densities, so scoops lie and scales don’t.
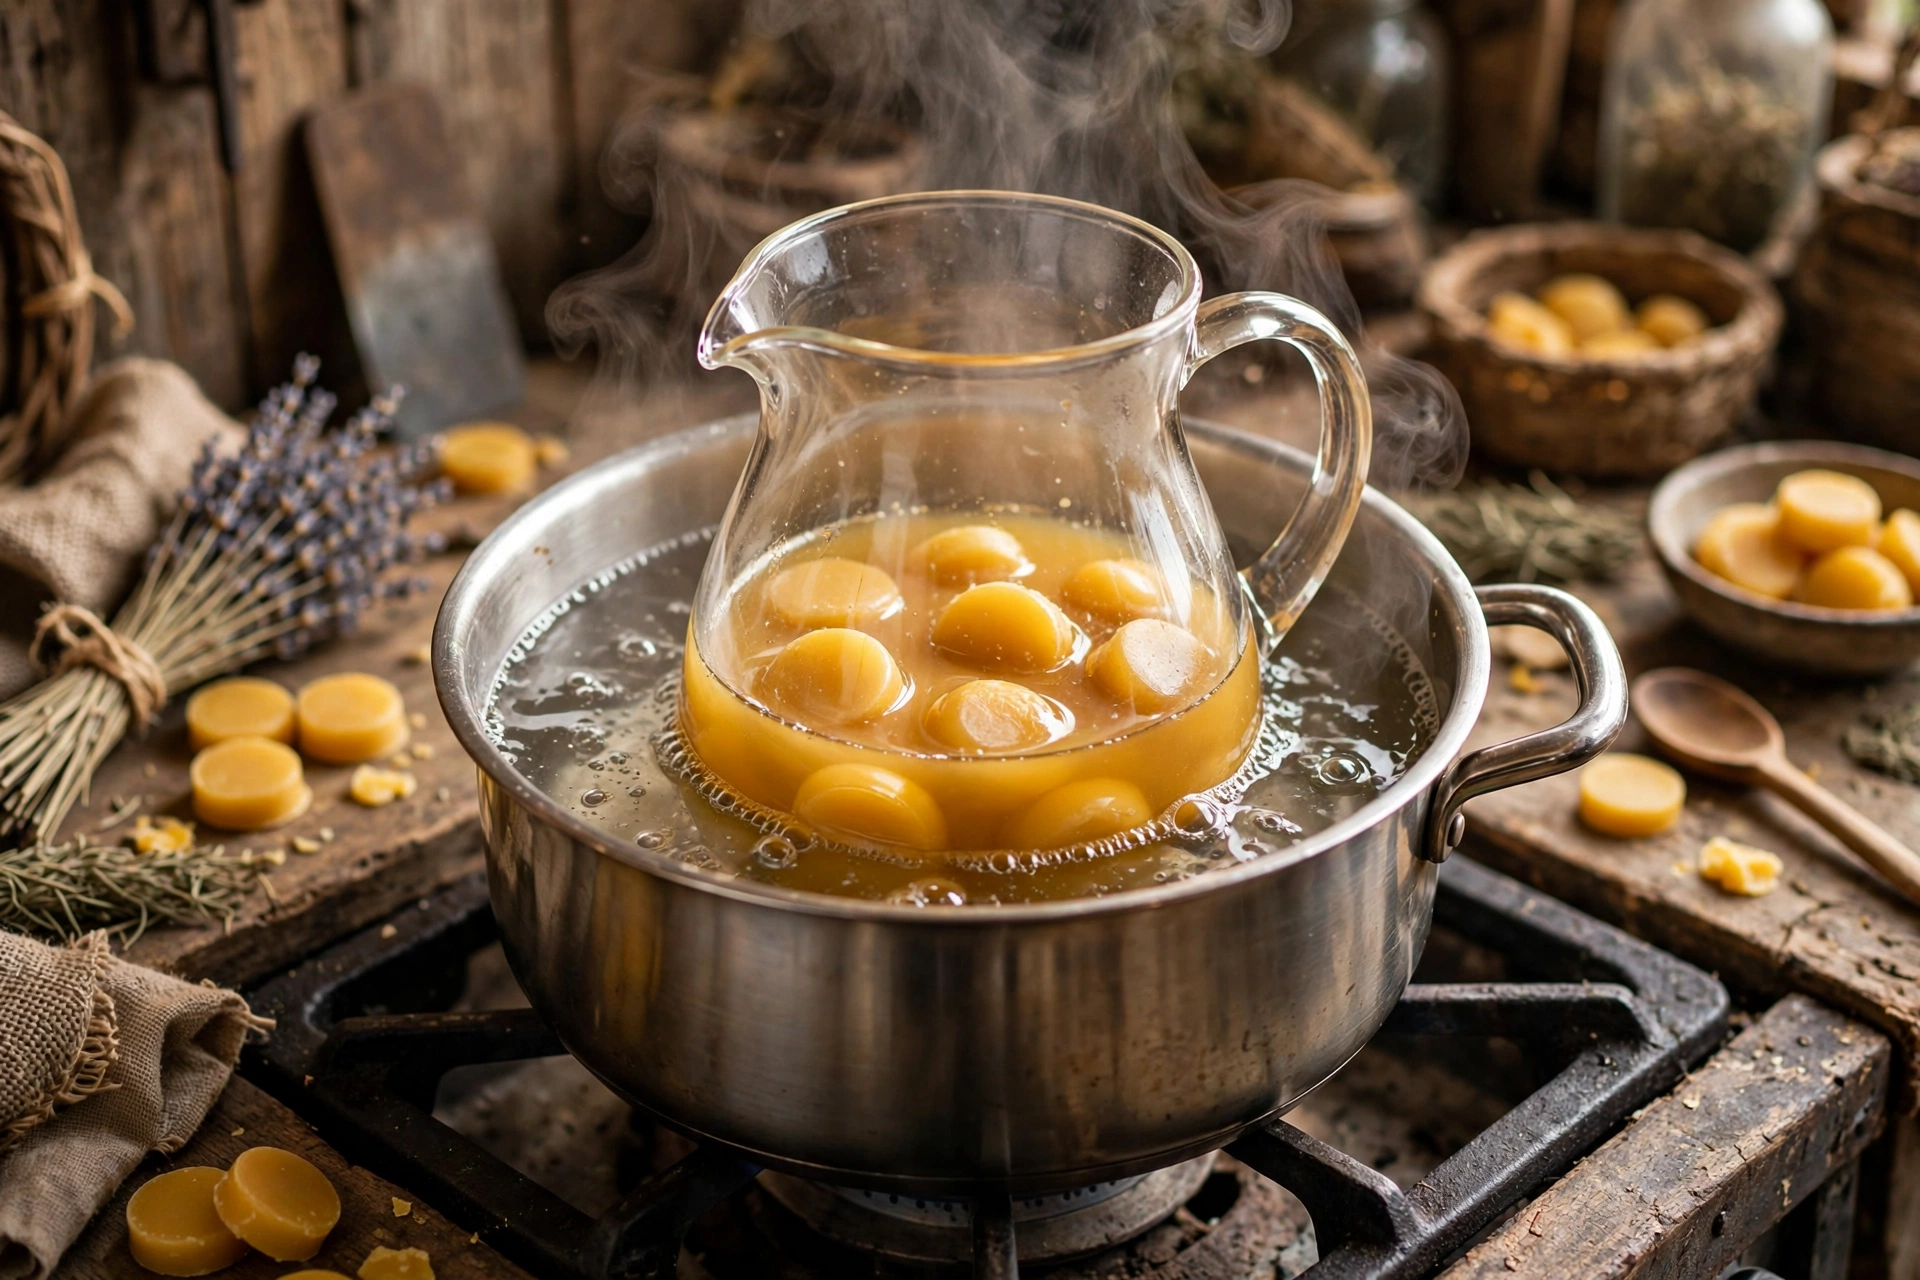
2. Melt gently in a warm water bath
Set the pitcher in a pot of simmering water and let the beeswax and butter melt together, stirring gently. Beeswax melts higher than the butters, so give it time — don’t crank the heat. Keep the water at a gentle simmer, never a rolling boil, and keep water out of the pitcher.
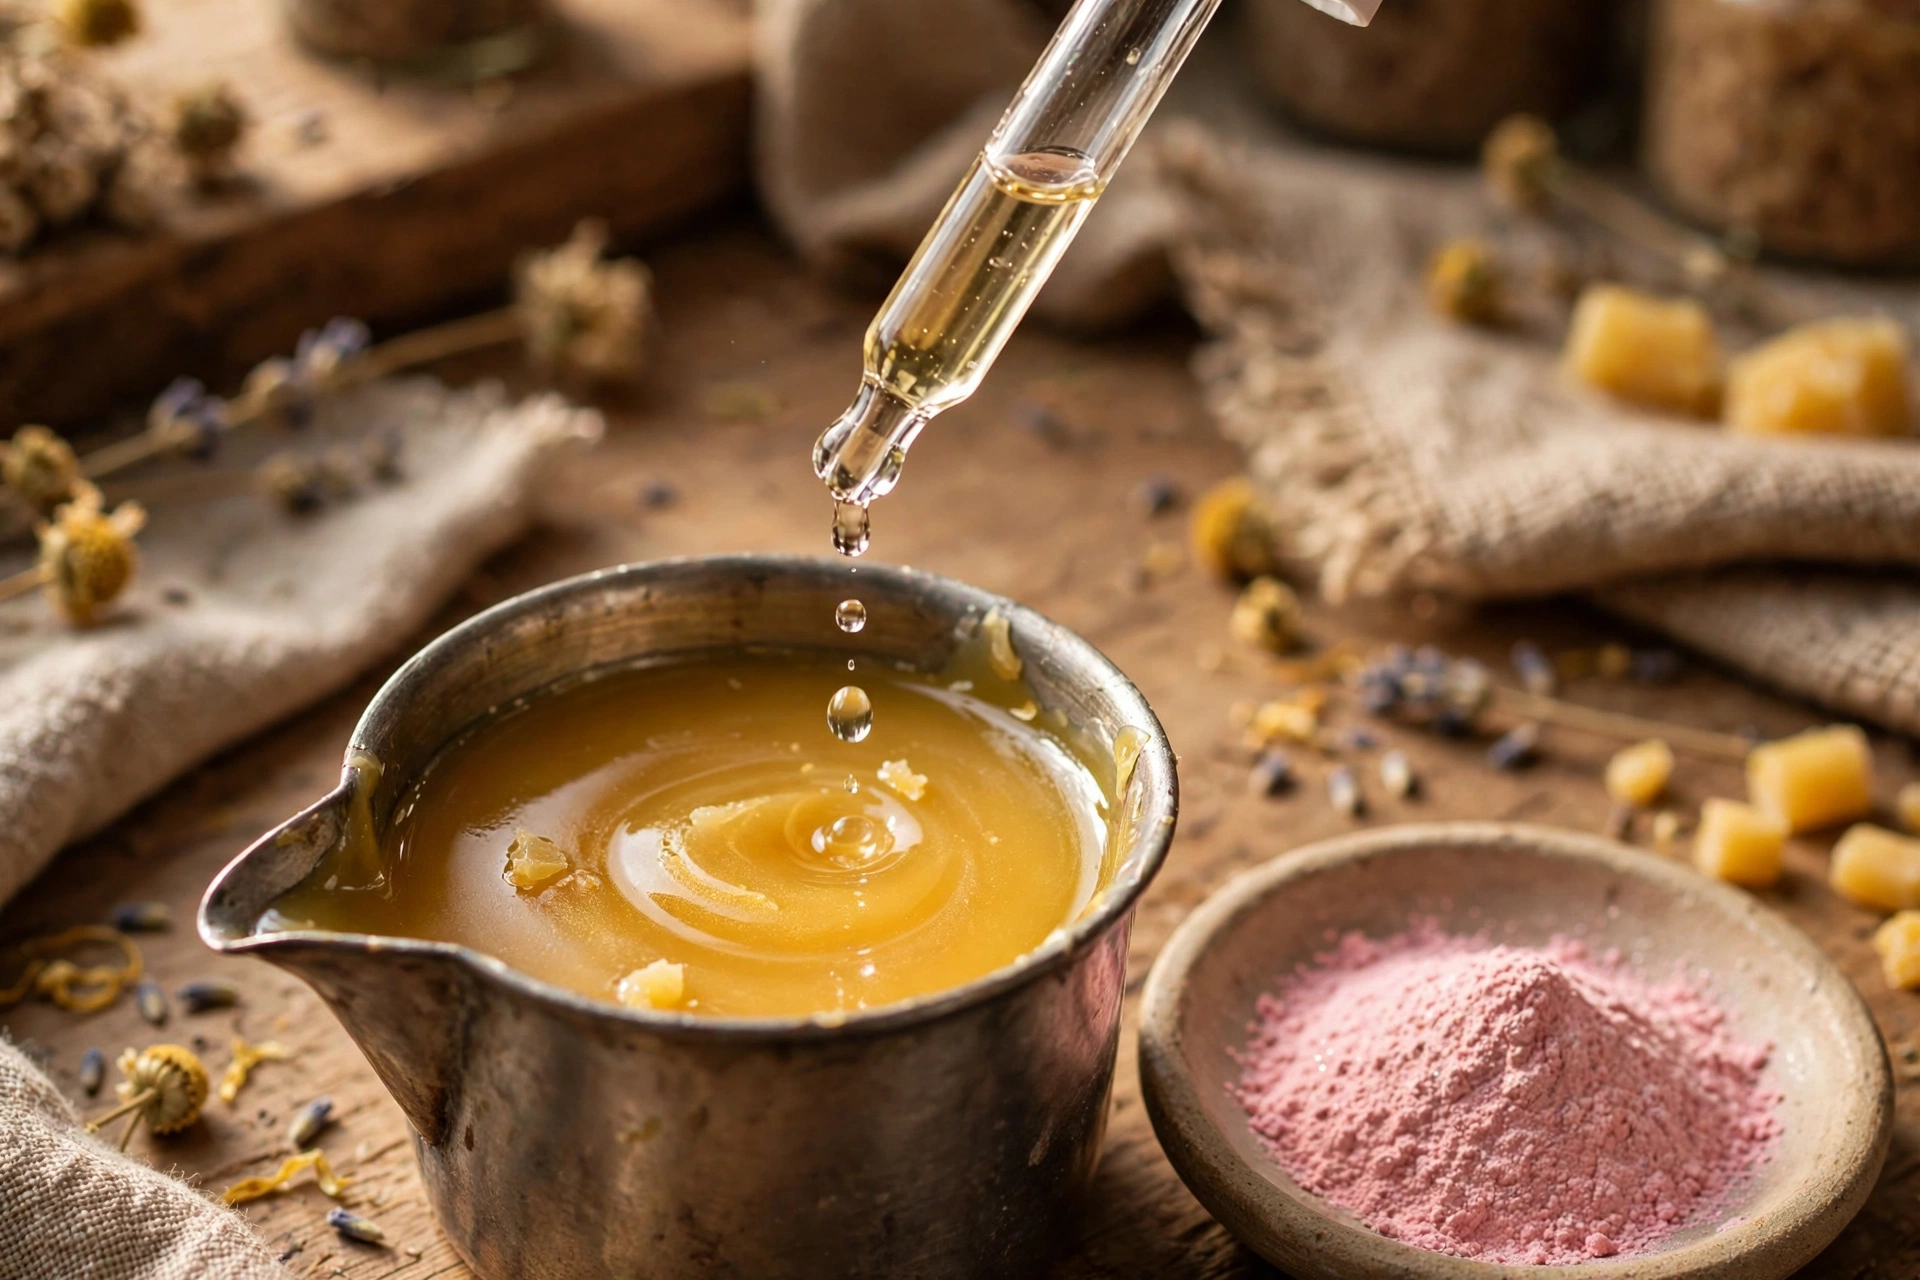
3. Add flavor and color off the heat
Take the pitcher out of the water bath. Let it cool slightly, then stir in your lip-safe flavor oil at the supplier’s recommended usage rate — never more. If you’re tinting, whisk in a pinch of lip-safe mica for shimmer or a soft tint. Check the supplier’s temperature guidance: flavor oils flash off above a certain point, so cooler is better than hotter.
4. Fill tubes with a pipette
Stand your twist tubes upright in a mug of dry rice so they can’t tip. Draw up the warm mixture with a pipette and fill each tube to just above the fill line. If the mixture starts to thicken mid-pour, set the pitcher back in the warm water bath for a minute — don’t microwave it.
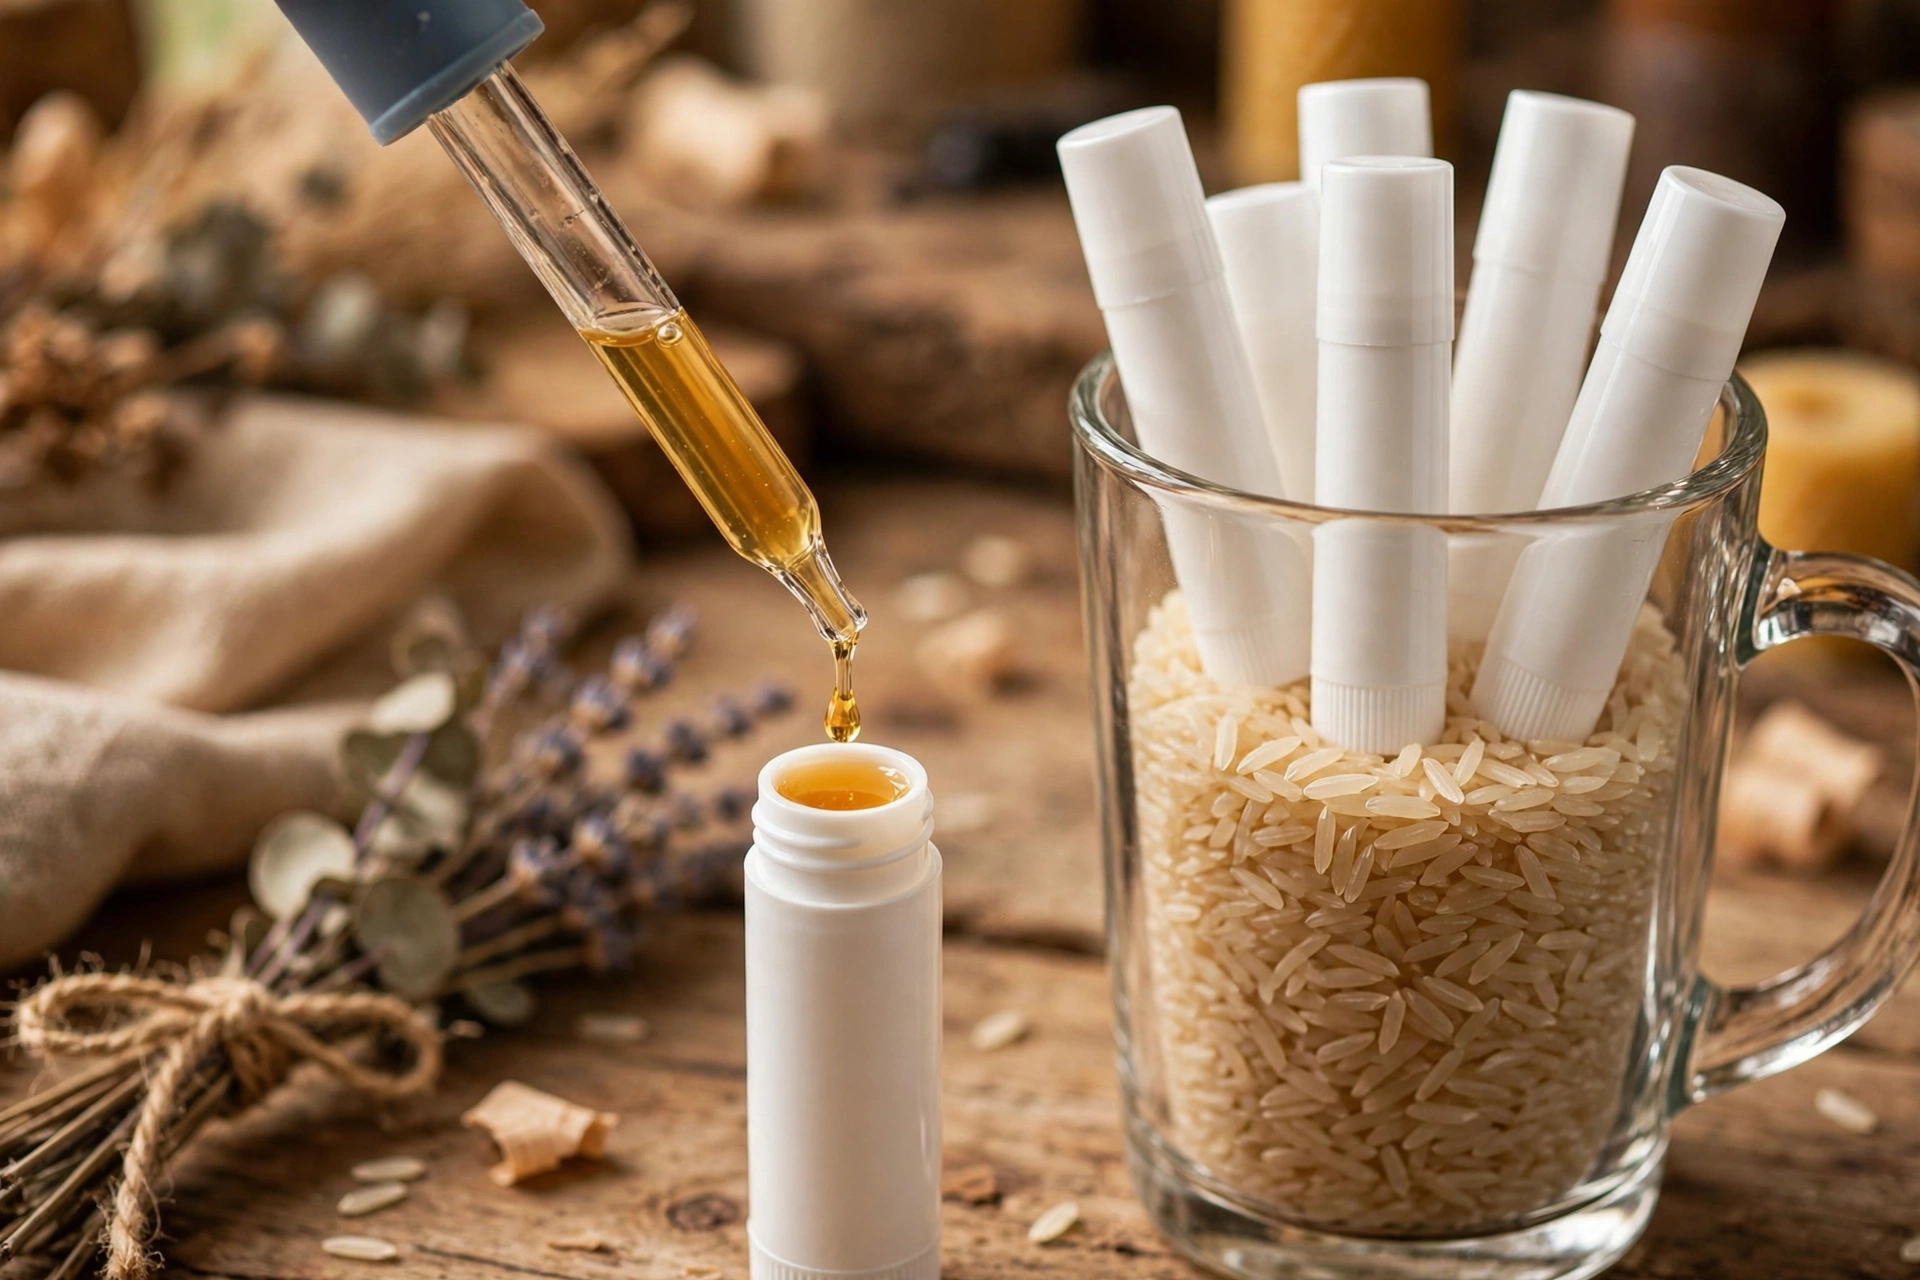
5. Pour into tins
For tins, the spouted pitcher pours neatly straight in — fill to just below the rim. Because tins don’t need to hold a firm stick shape, remember they can take the softer end of your ratio if you want a creamier balm in them.
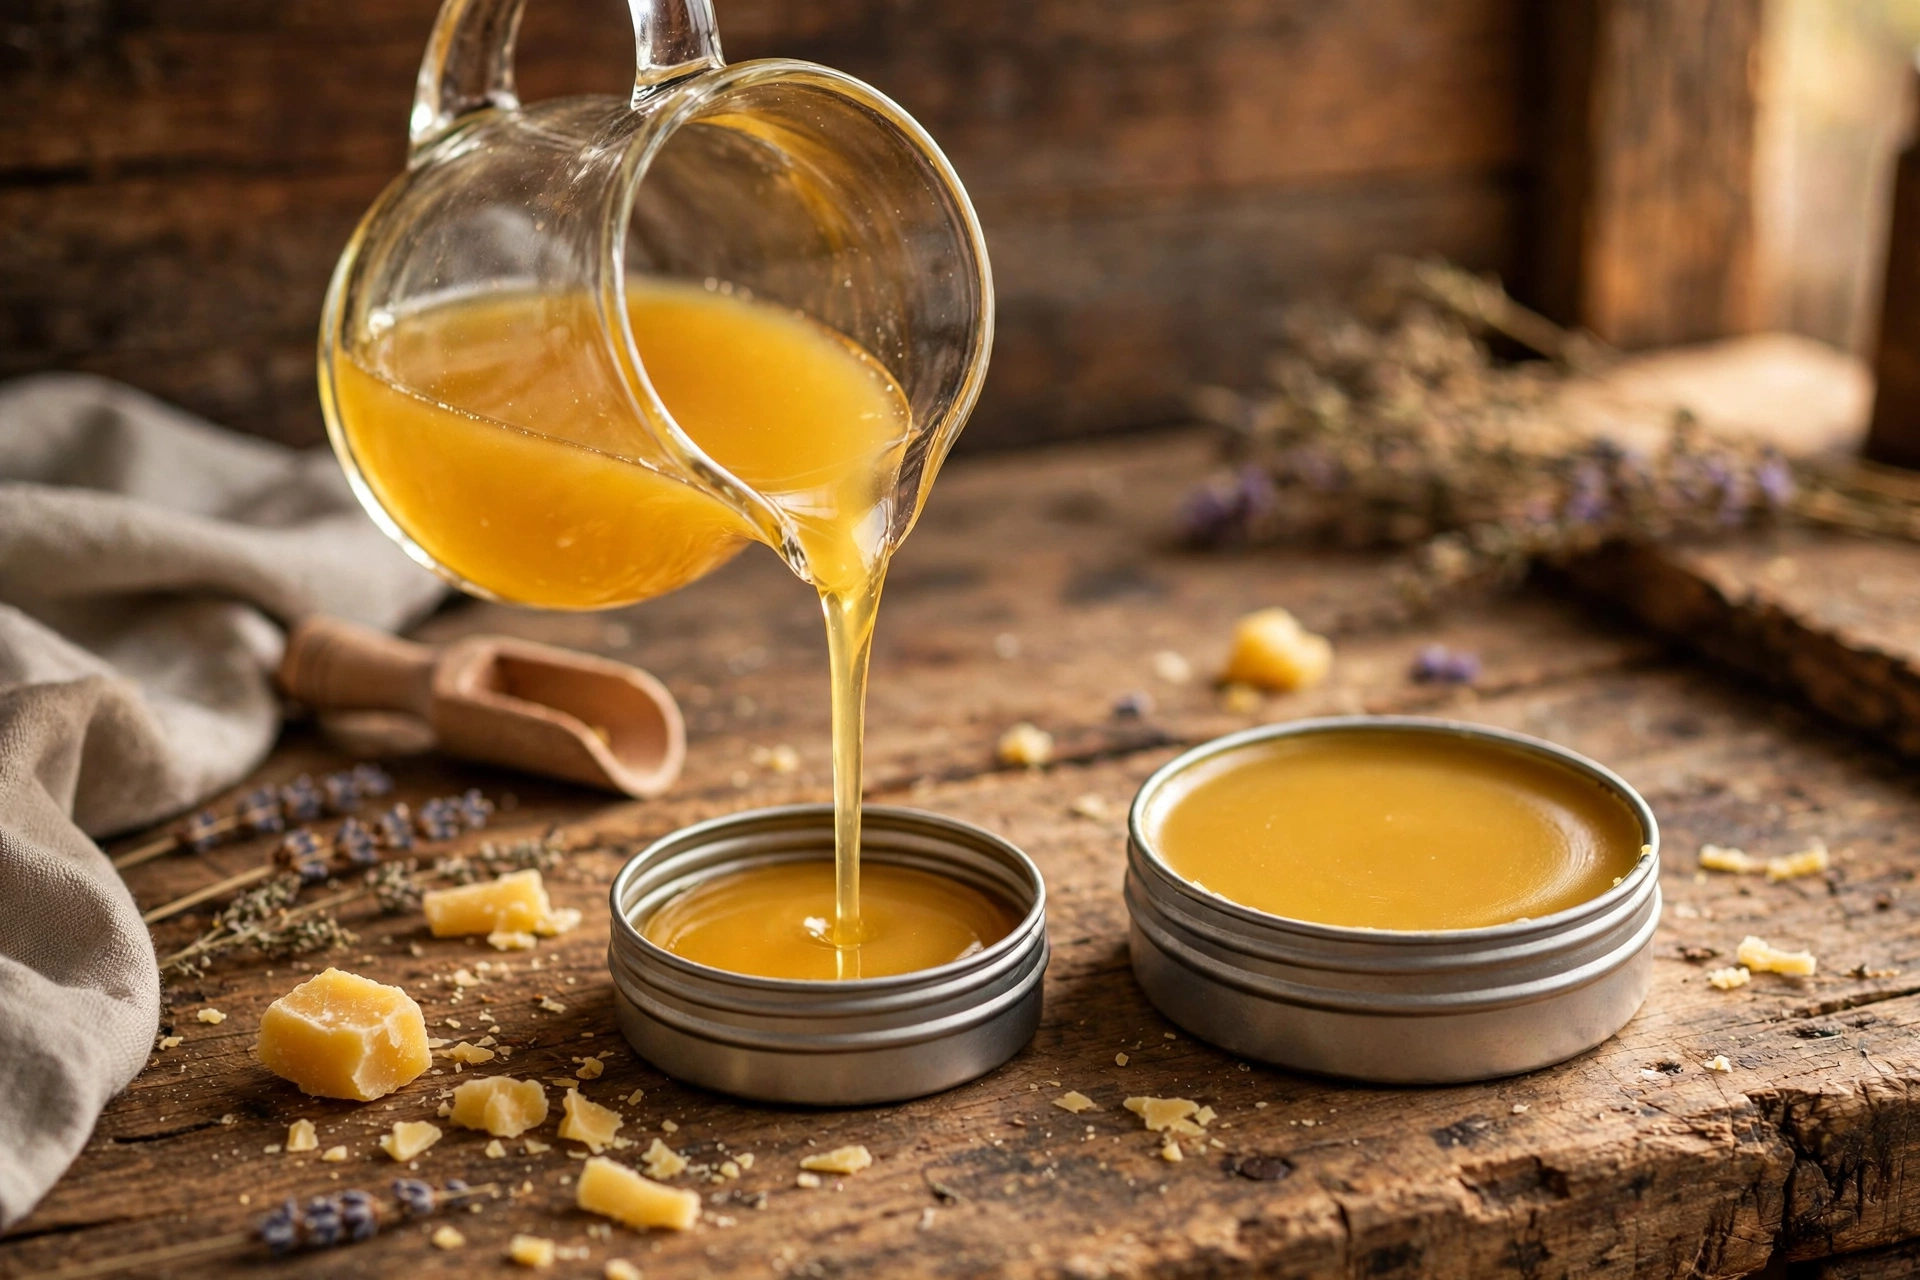
6. Cool, cap, and label
Let everything cool at room temperature until fully set — a warm or breezy spot can make balms set unevenly, so leave them alone on the counter. Cap the tubes and tins once firm, then label each one with the date and the flavor. A dated label is how you track shelf life later.
Flavor and tint ideas
Keep flavorings in the lip-safe family only: a cool vanilla mint, a warm honey (the natural pairing with beeswax), or a bright berry. Stick to one flavor per batch so you can judge it honestly. For color, lip-safe micas give you two directions: a whisper of shimmer for a barely-there glow, or a soft tint (a rose or berry mica) for a hint of color. A pinch goes a long way — add a little, stir, and hold a dab on white paper before adding more.
Shelf life, labels, and patch testing
Expect 6 to 12 months of shelf life, depending on your oils — the balm keeps as long as the shortest-lived oil in it. That’s why the date label matters: the flavor and freshness fade long before you can see anything wrong. Store balms cool and out of direct sun.
Patch test every new recipe: dab a little on your wrist or lip edge and wait 24 hours before gifting or selling. Natural ingredients are still ingredients — shea, coconut, and flavor oils each have people who react to them.
Next steps
Want the full technique deep-dive? The DIY lip balm tutorial covers tube filling, the rice-mug stand, and fixing graininess and sweating step by step. Selling your balms? Make sure every label carries the date and the full ingredient list.



