
How to Make Molded Beeswax Christmas Ornaments
Golden, glowing, and naturally honey-scented — molded beeswax Christmas ornaments are one of the simplest holiday makes you’ll ever pour. No fragrance oil, no wicks, no fuss. They look beautiful on the tree, smell like the hive, and make gifts that feel genuinely handmade.
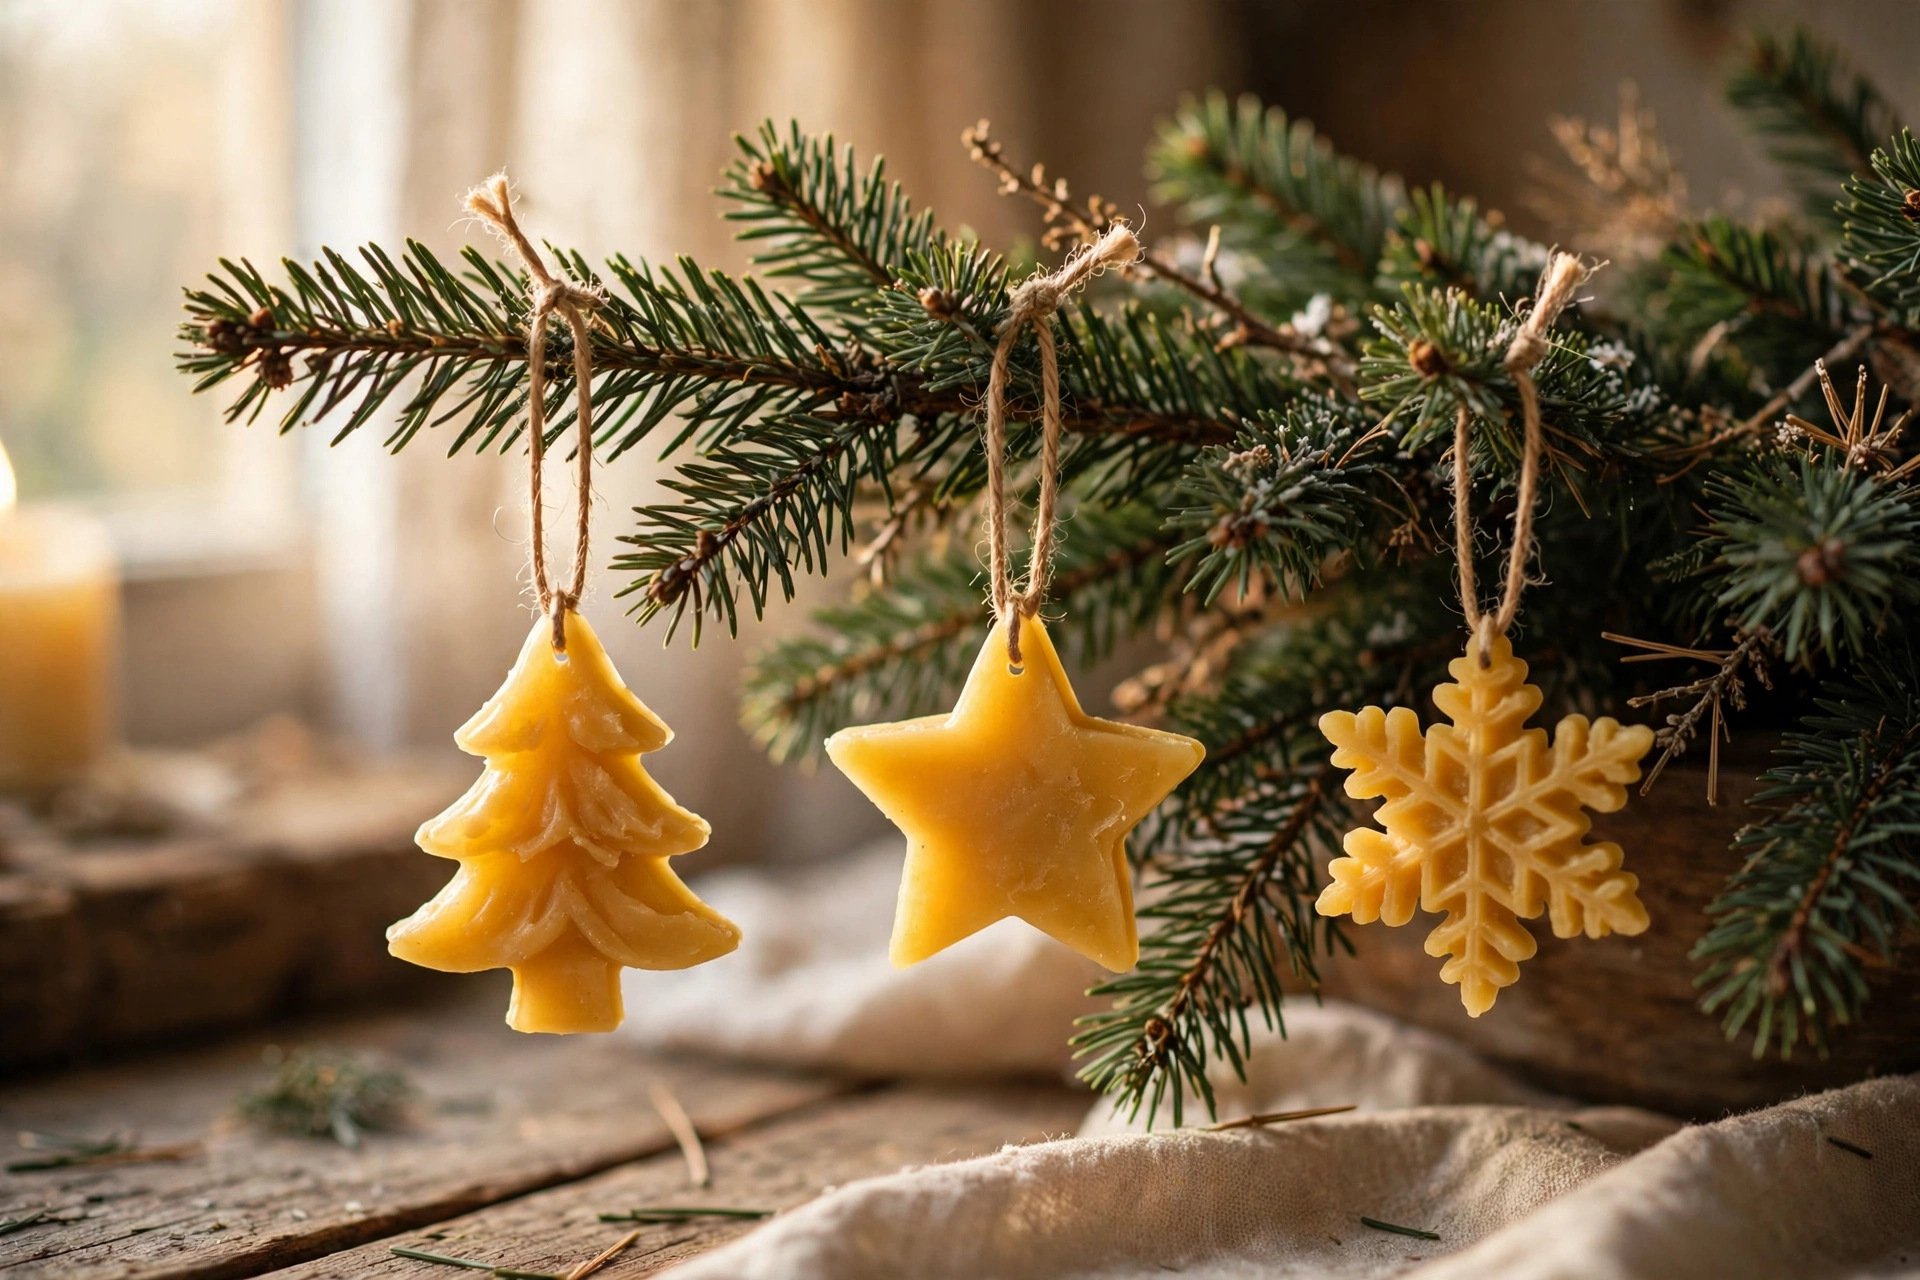
The best part: no fragrance needed
Beeswax comes with its own warm, honeyed aroma — and that scent is the whole selling point. Skip the fragrance oil entirely; nothing you add will beat what the wax already smells like. That keeps your cost down, your recipe simple, and the finished ornaments appealing to people who are sensitive to added fragrance. Let the wax speak for itself.
What you’ll need
- Golden beeswax — pellets melt fastest and pour most cleanly
- Silicone holiday molds (trees, stars, snowflakes)
- Twine or ribbon for the hanging loops
- A pouring pitcher and a double boiler setup
- Optional: dried orange slices or cinnamon sticks for embedding
- Optional: mica powder and rubbing alcohol for painted details
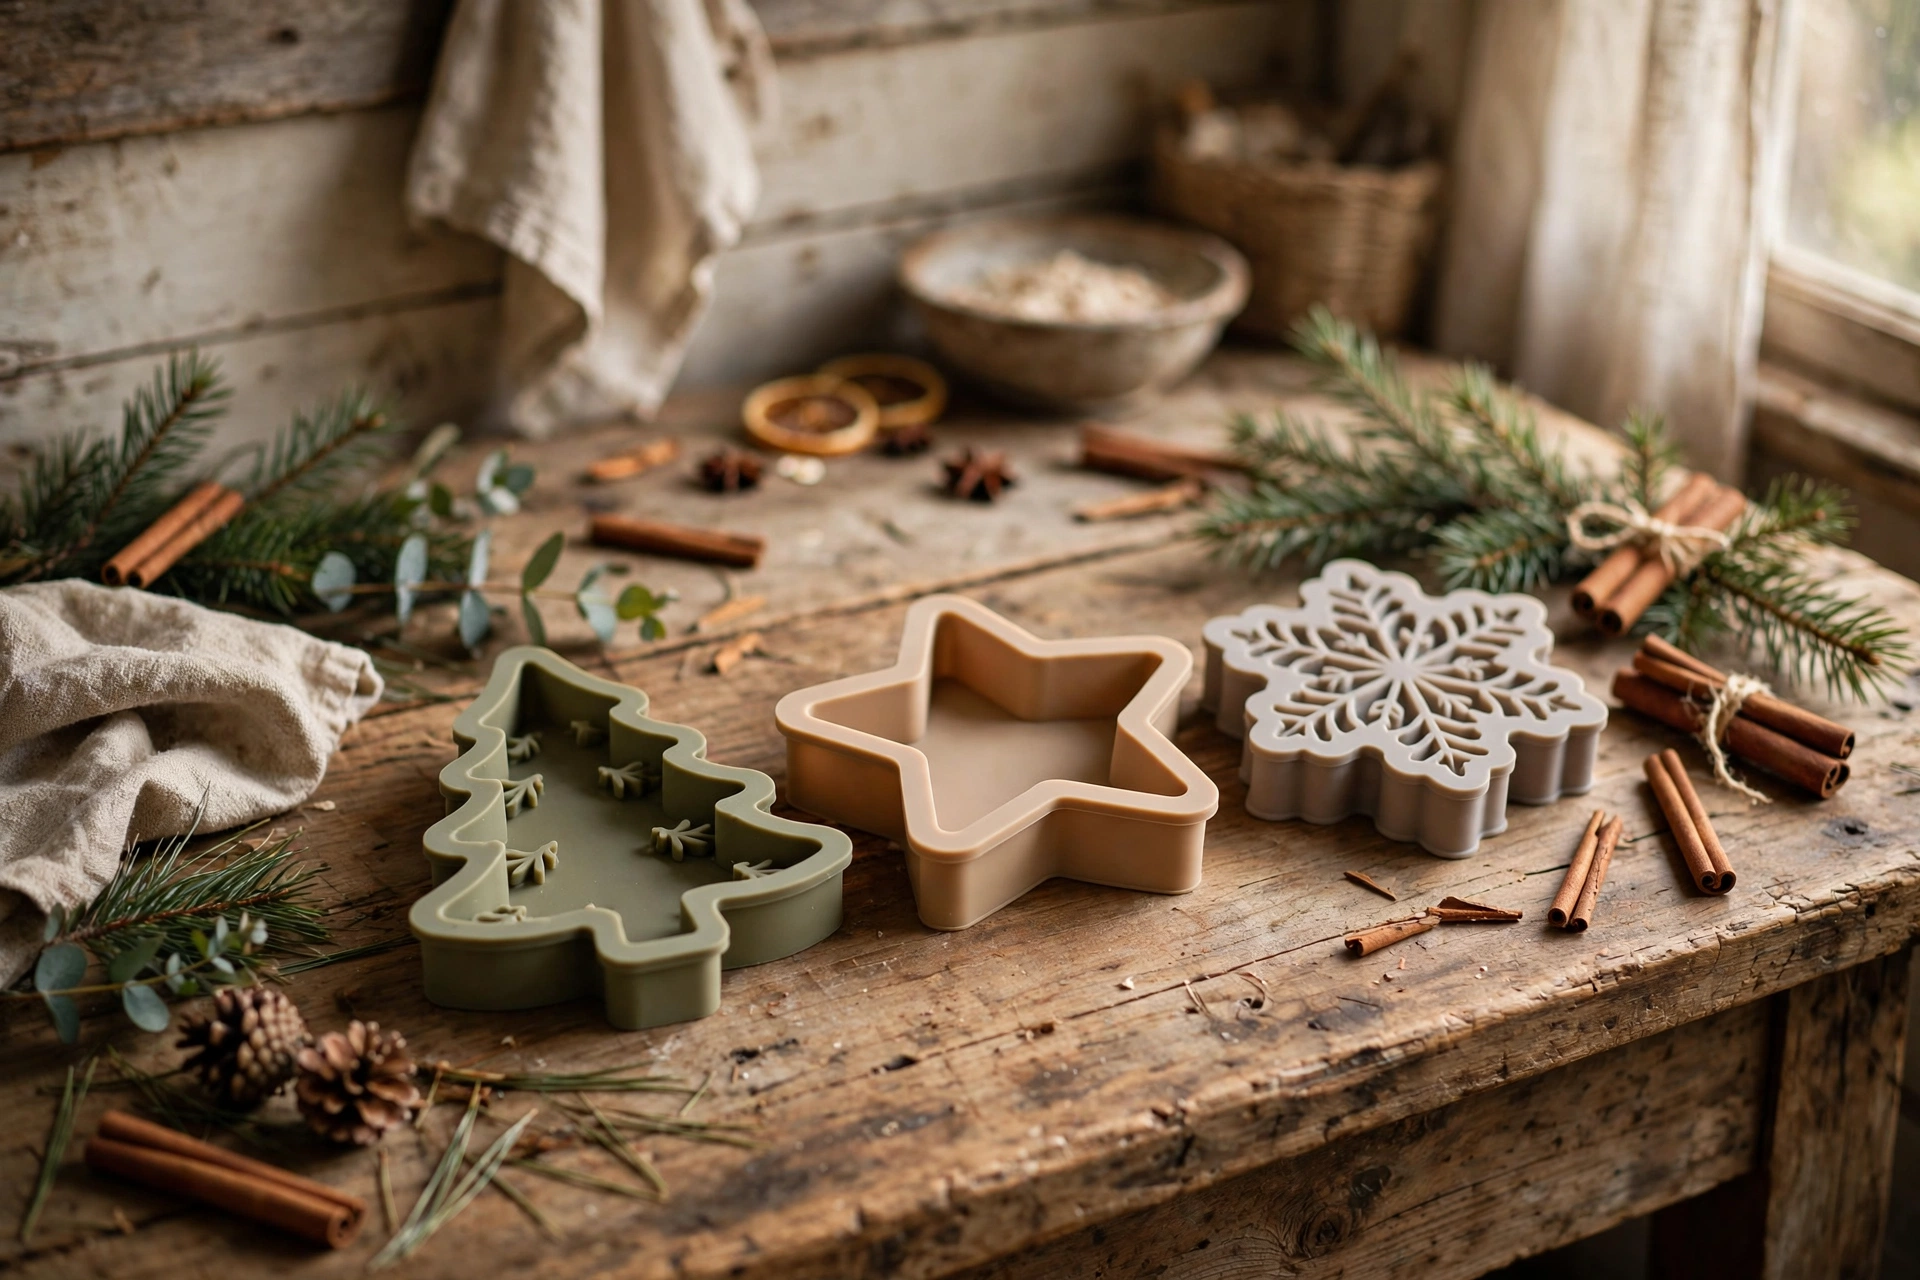
Steps: pour your ornaments
1. Melt the beeswax gently
Set up a double boiler — a pouring pitcher nested in a pot of simmering water, never directly on the burner. Add the beeswax pellets and let them melt slowly, stirring occasionally. Beeswax melts around 145°F; keep the heat low and steady so it never scorches.

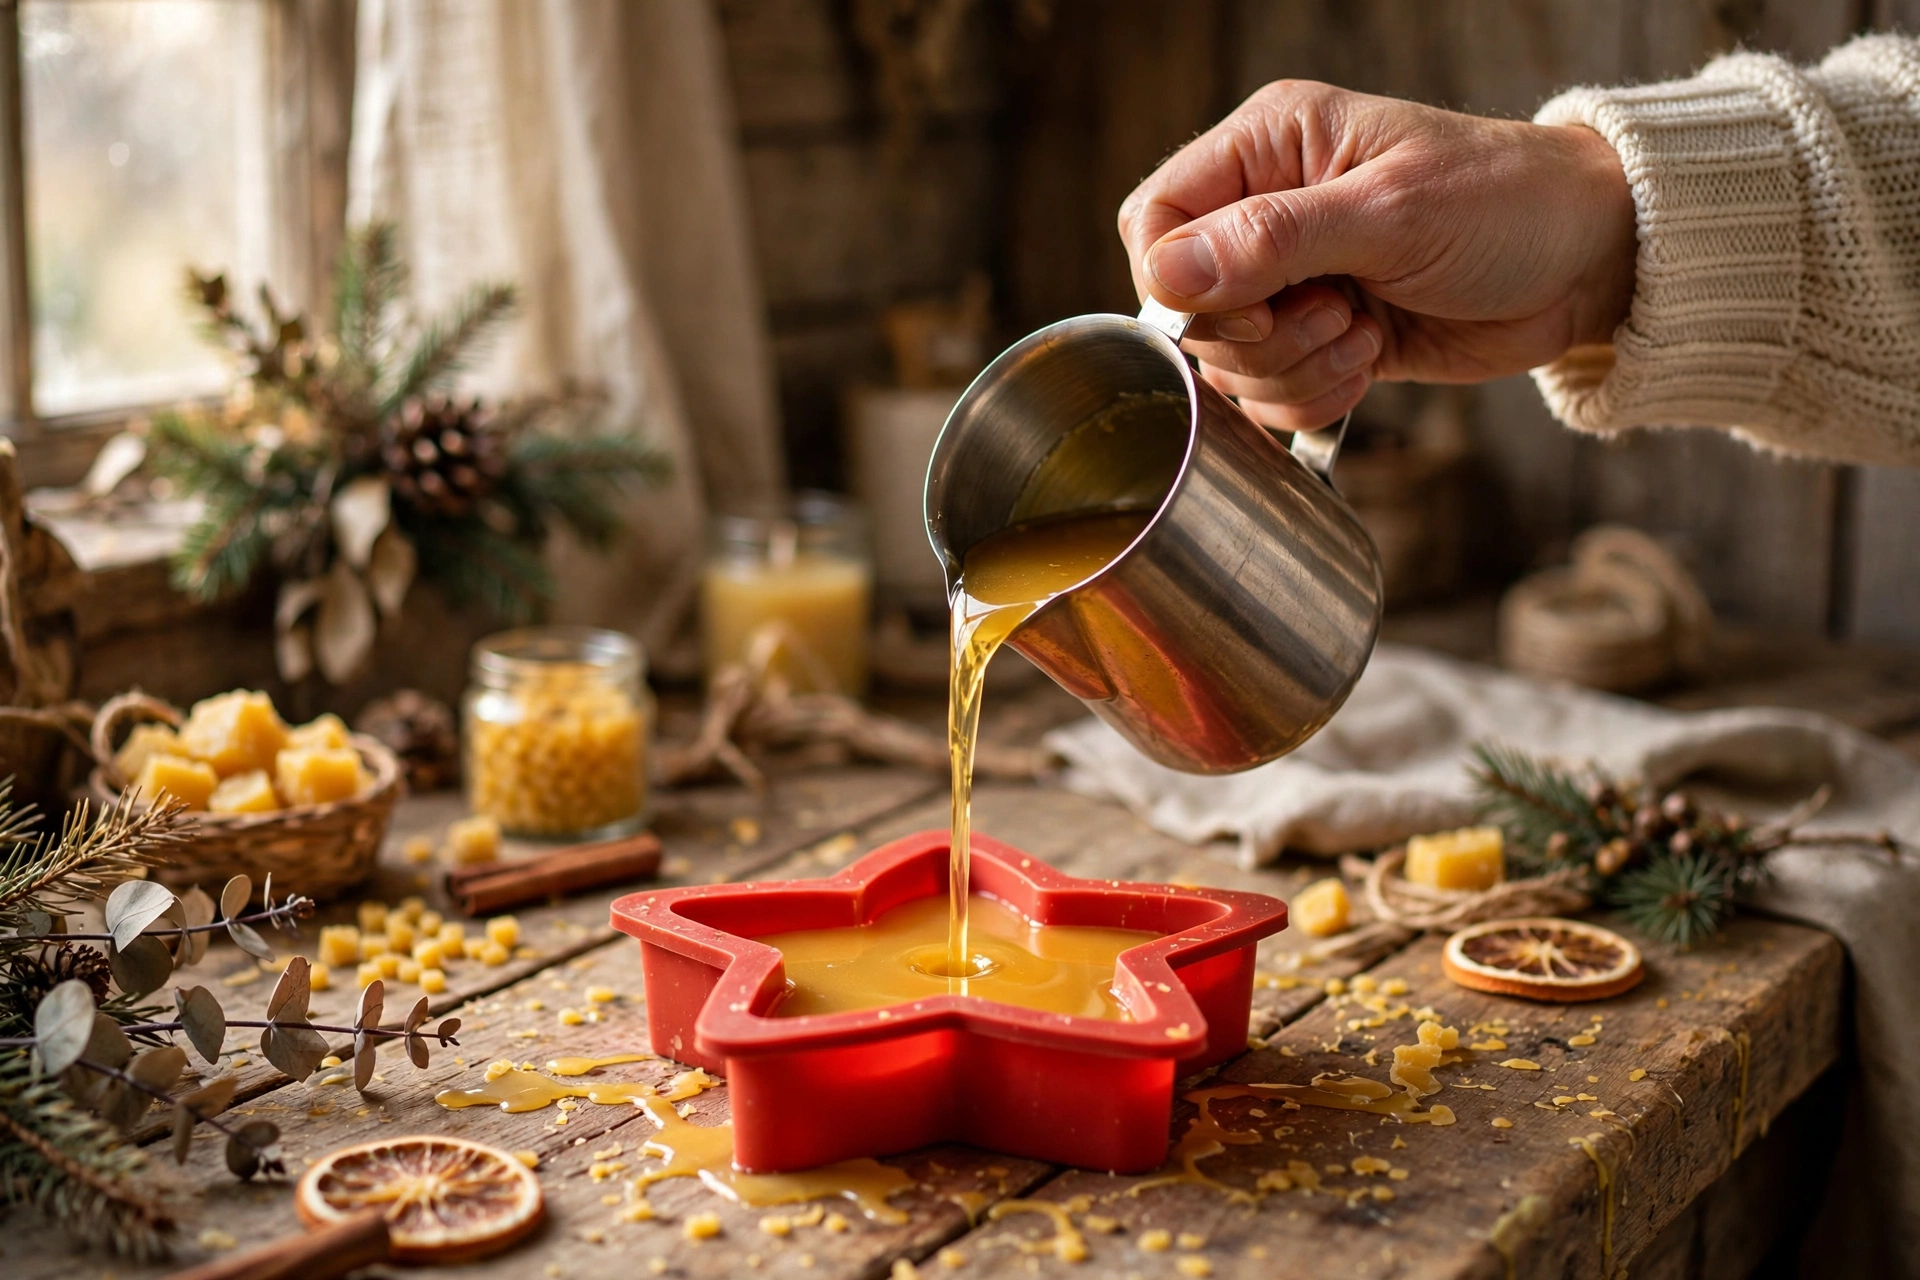
2. Pour into the silicone molds
Remove the pitcher from the heat and pour slowly into each mold cavity, filling to the top. A slow, steady pour from a low height lets trapped air escape instead of sealing it in as bubbles.
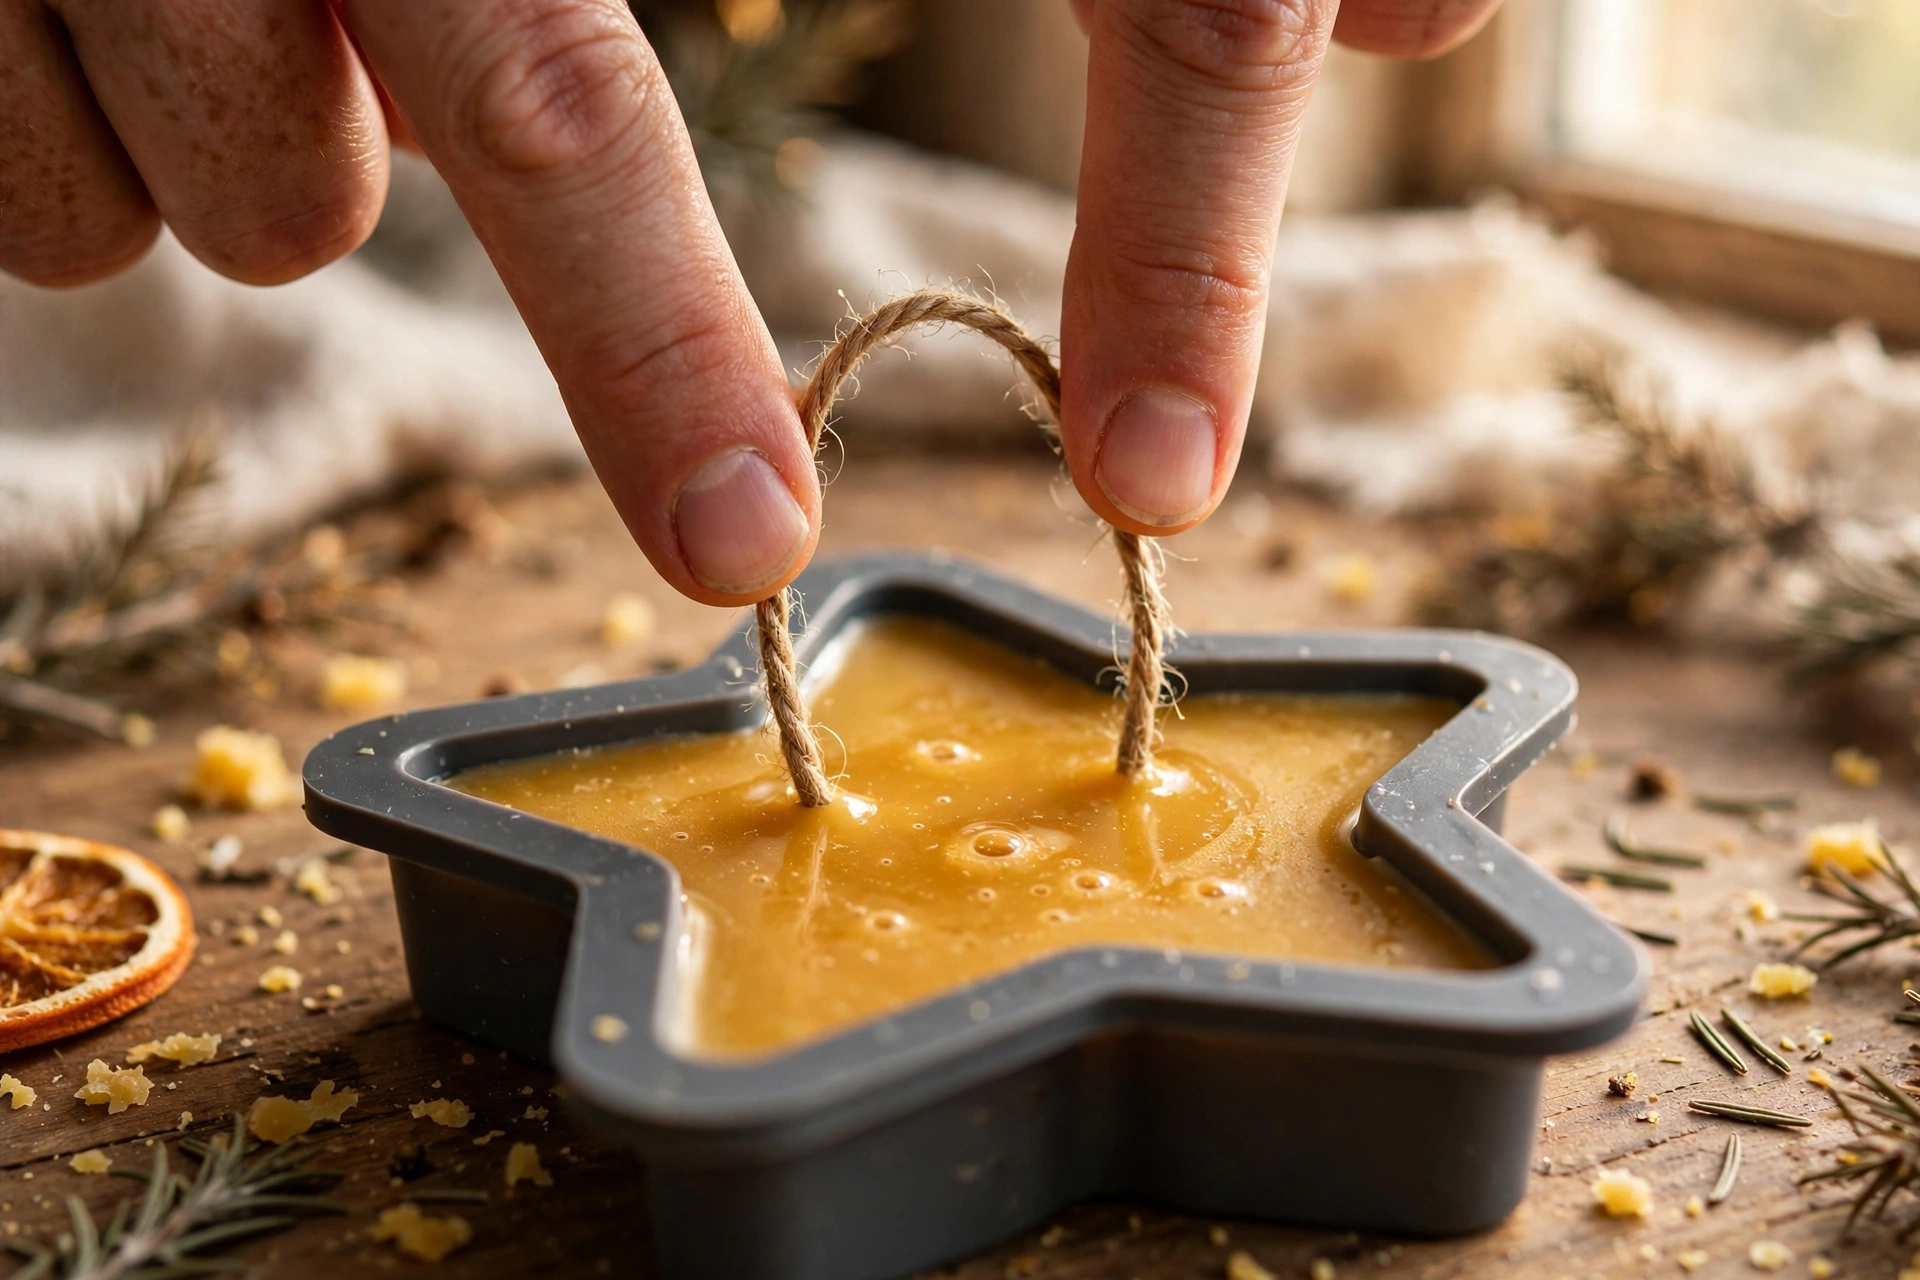
3. Set the hanging loop
While the wax is still liquid but starting to thicken at the edges, press the two ends of a twine or ribbon loop into the top of each ornament. Tuck them in deep enough that they’ll be anchored once the wax hardens — shallow loops are the ones that pull out later.
4. Cool completely
Leave the molds undisturbed at room temperature until the ornaments are fully set — at least an hour for small shapes, longer for thick ones. Cooling slowly at room temperature (not in the freezer) gives the smoothest finish and the least shrinkage.
5. Unmold carefully
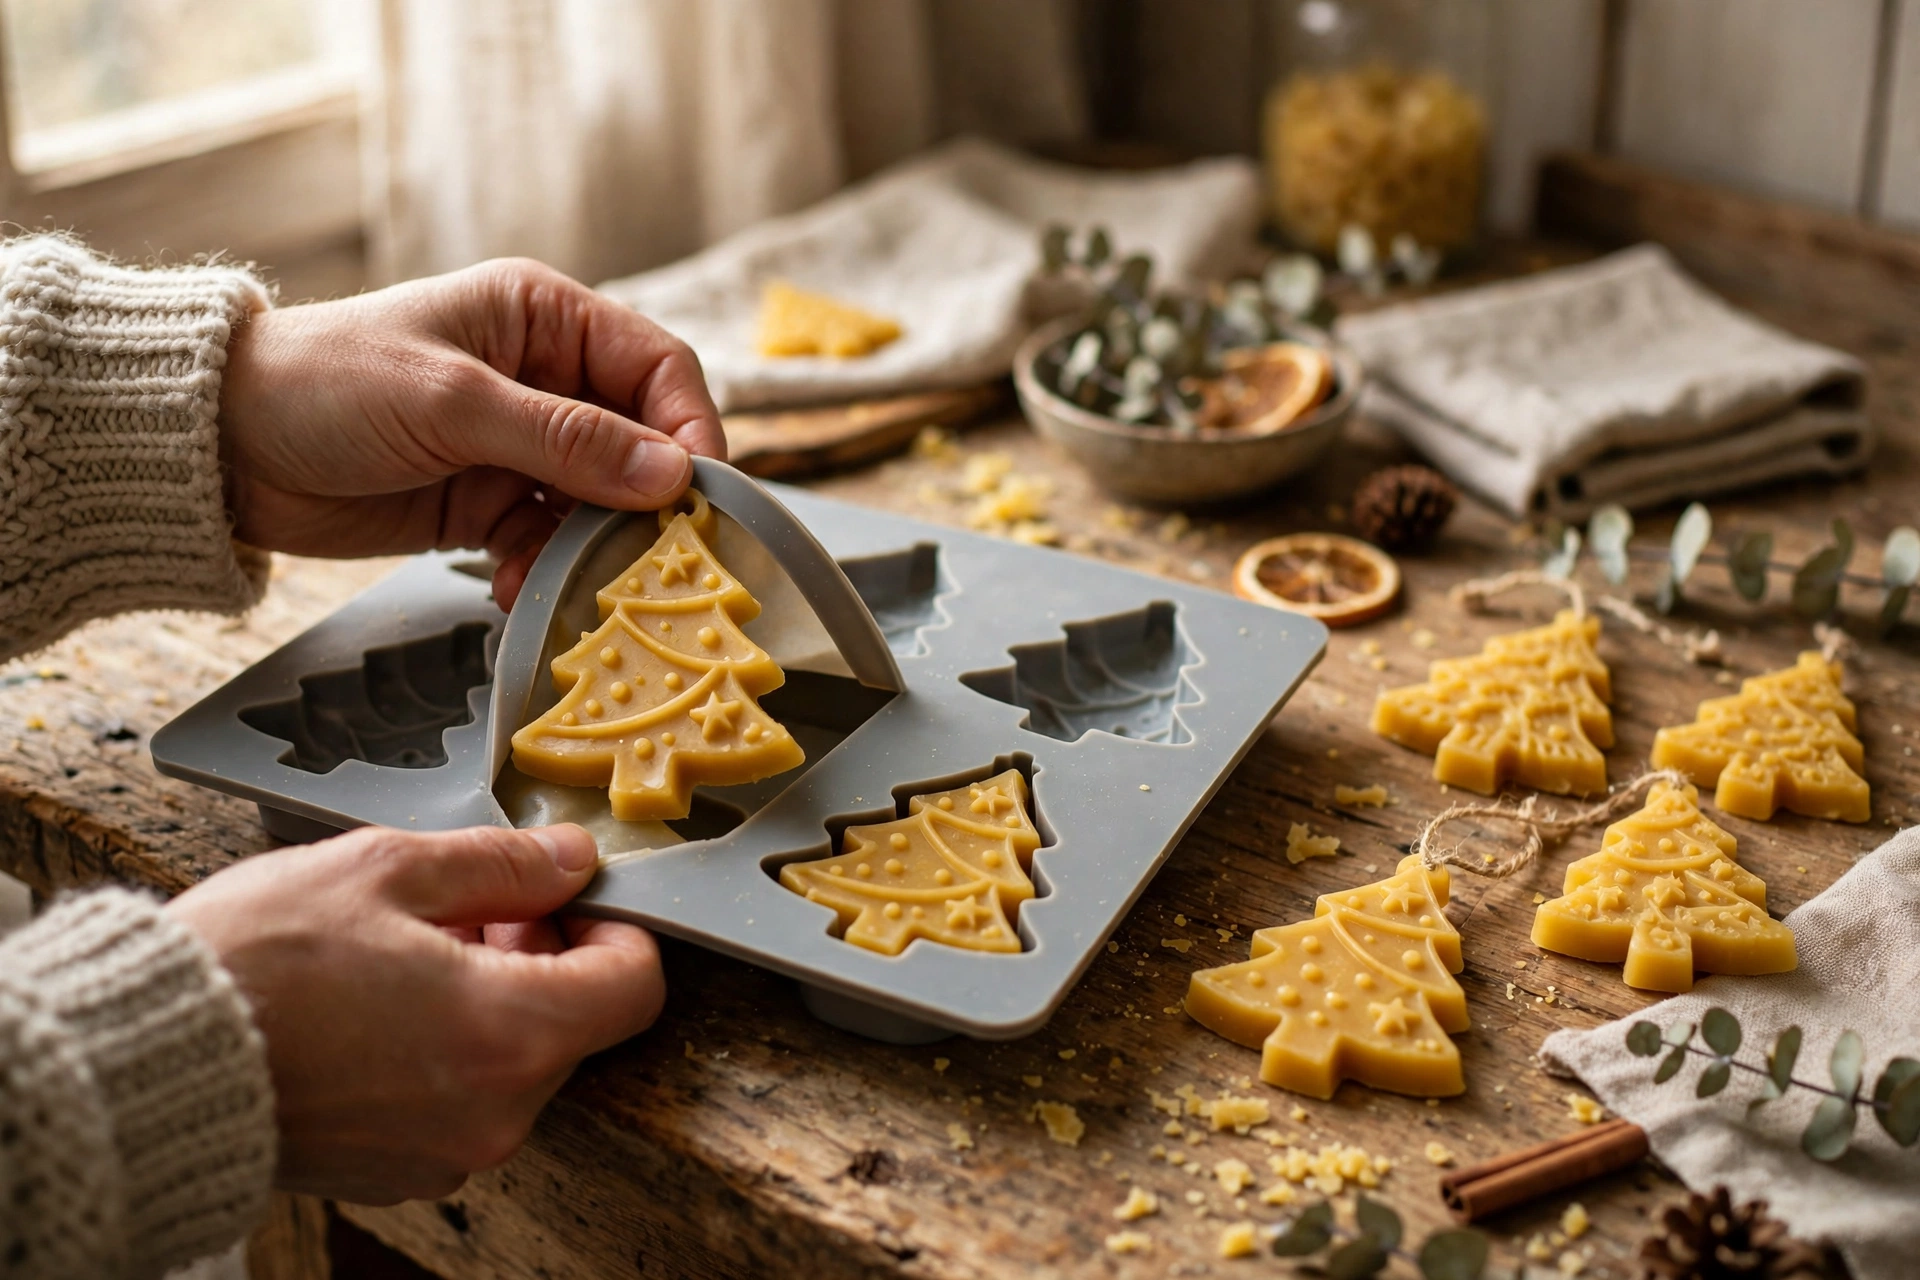
Flex the silicone mold away from the ornament rather than pulling the ornament out of the mold. Detailed shapes like snowflakes release best with a slow, even peel. If one resists, let it cool a little longer — patience beats force.
Make them your own: variations
Embedded botanicals. Dried orange slices, cinnamon sticks, star anise, and sprigs of evergreen pressed into the back of each ornament give them a rustic, potpourri-style charm — and they add their own gentle scent to the honey aroma.
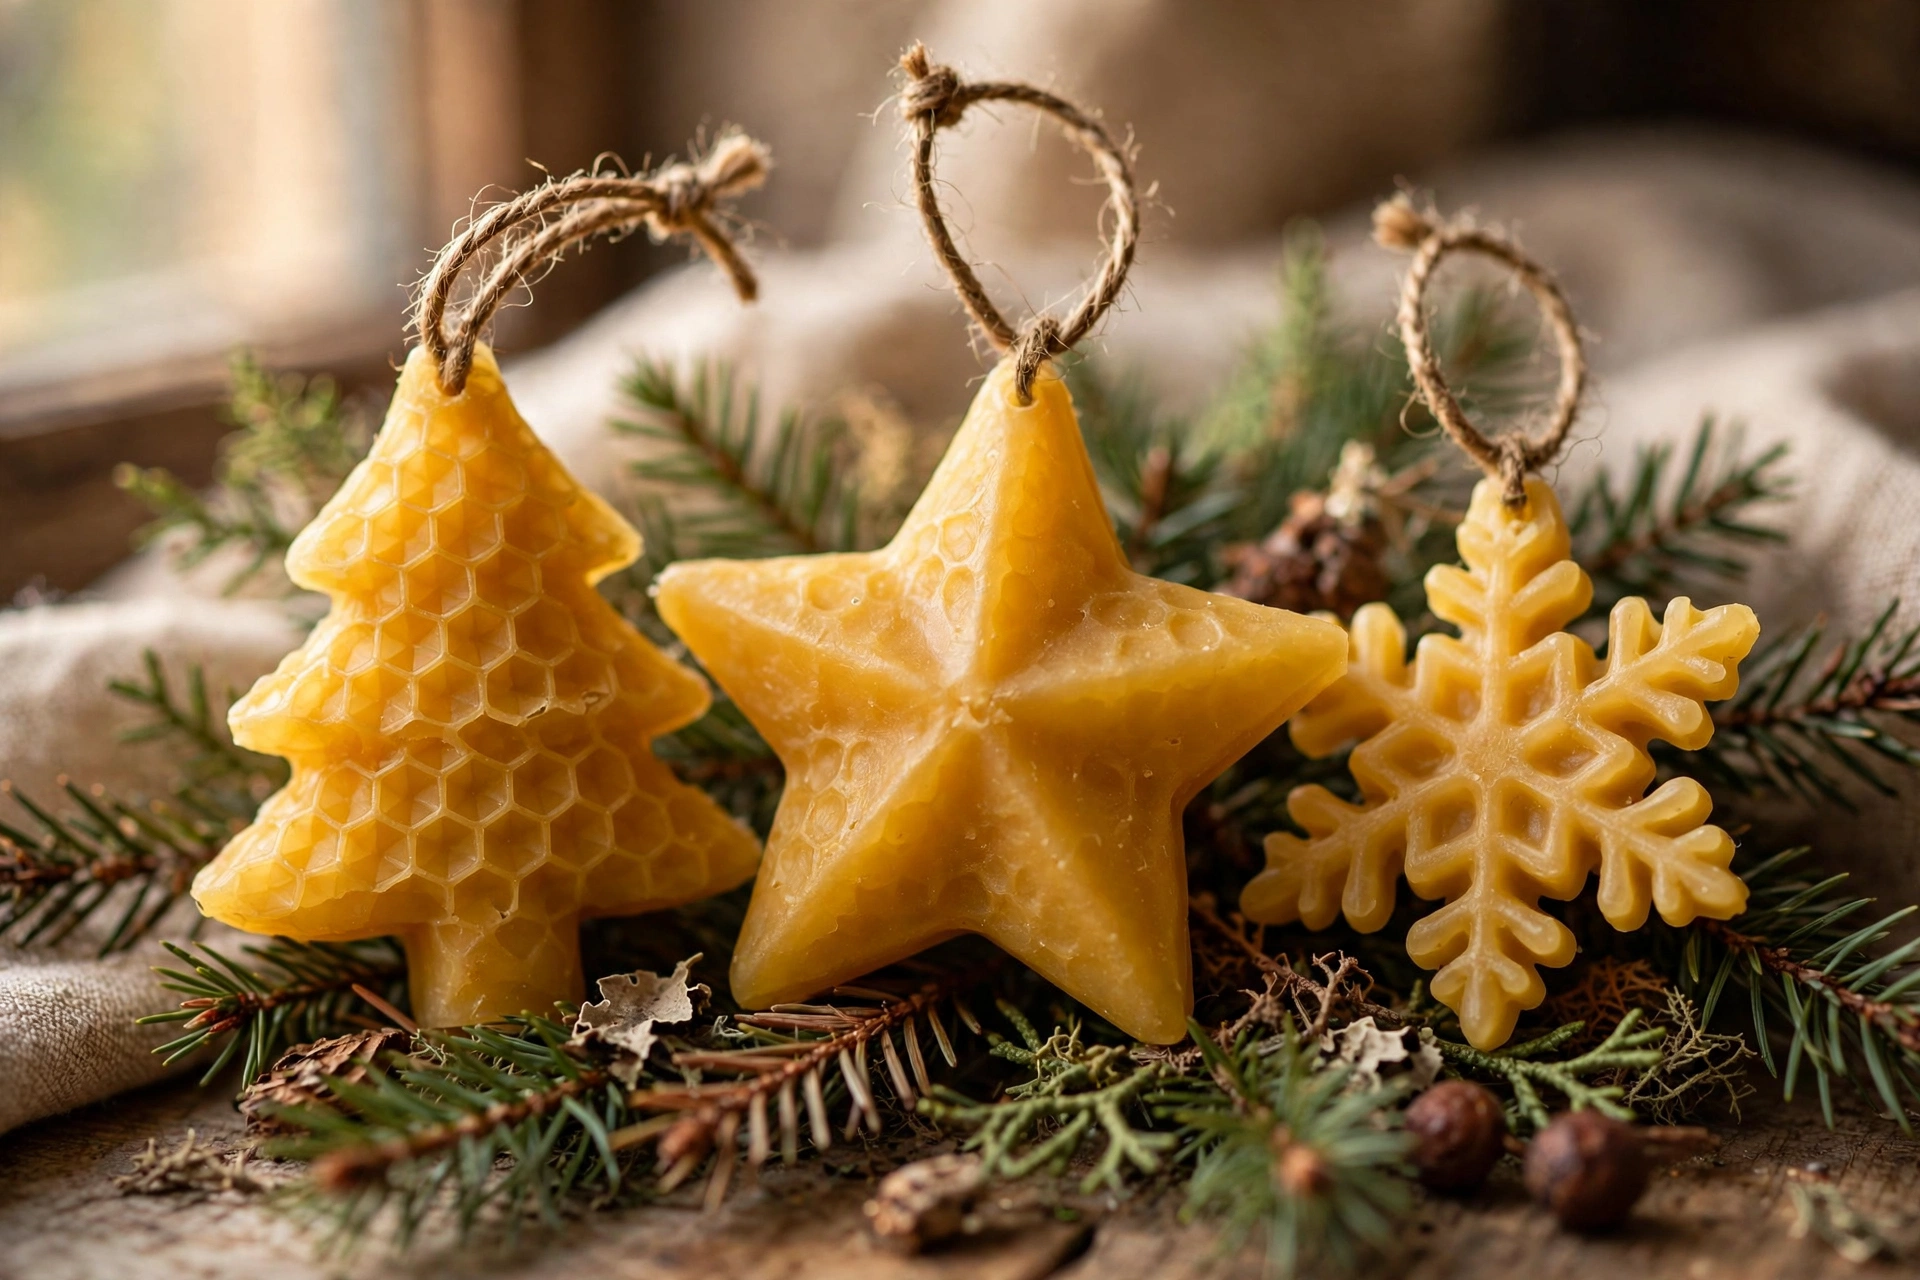
Painted details. Once the ornaments are fully cool, mix a little mica powder into rubbing alcohol and paint it onto raised details with a small brush. The alcohol evaporates quickly, leaving a shimmery gold or pearl finish that catches the tree lights.
Two-tone pours. Pour a thin layer of one shade of beeswax, let it skin over, then pour a second shade on top. The layers fuse into a single ornament with a subtle two-tone band — a lovely look on stars and trees.
Gift packaging that sells
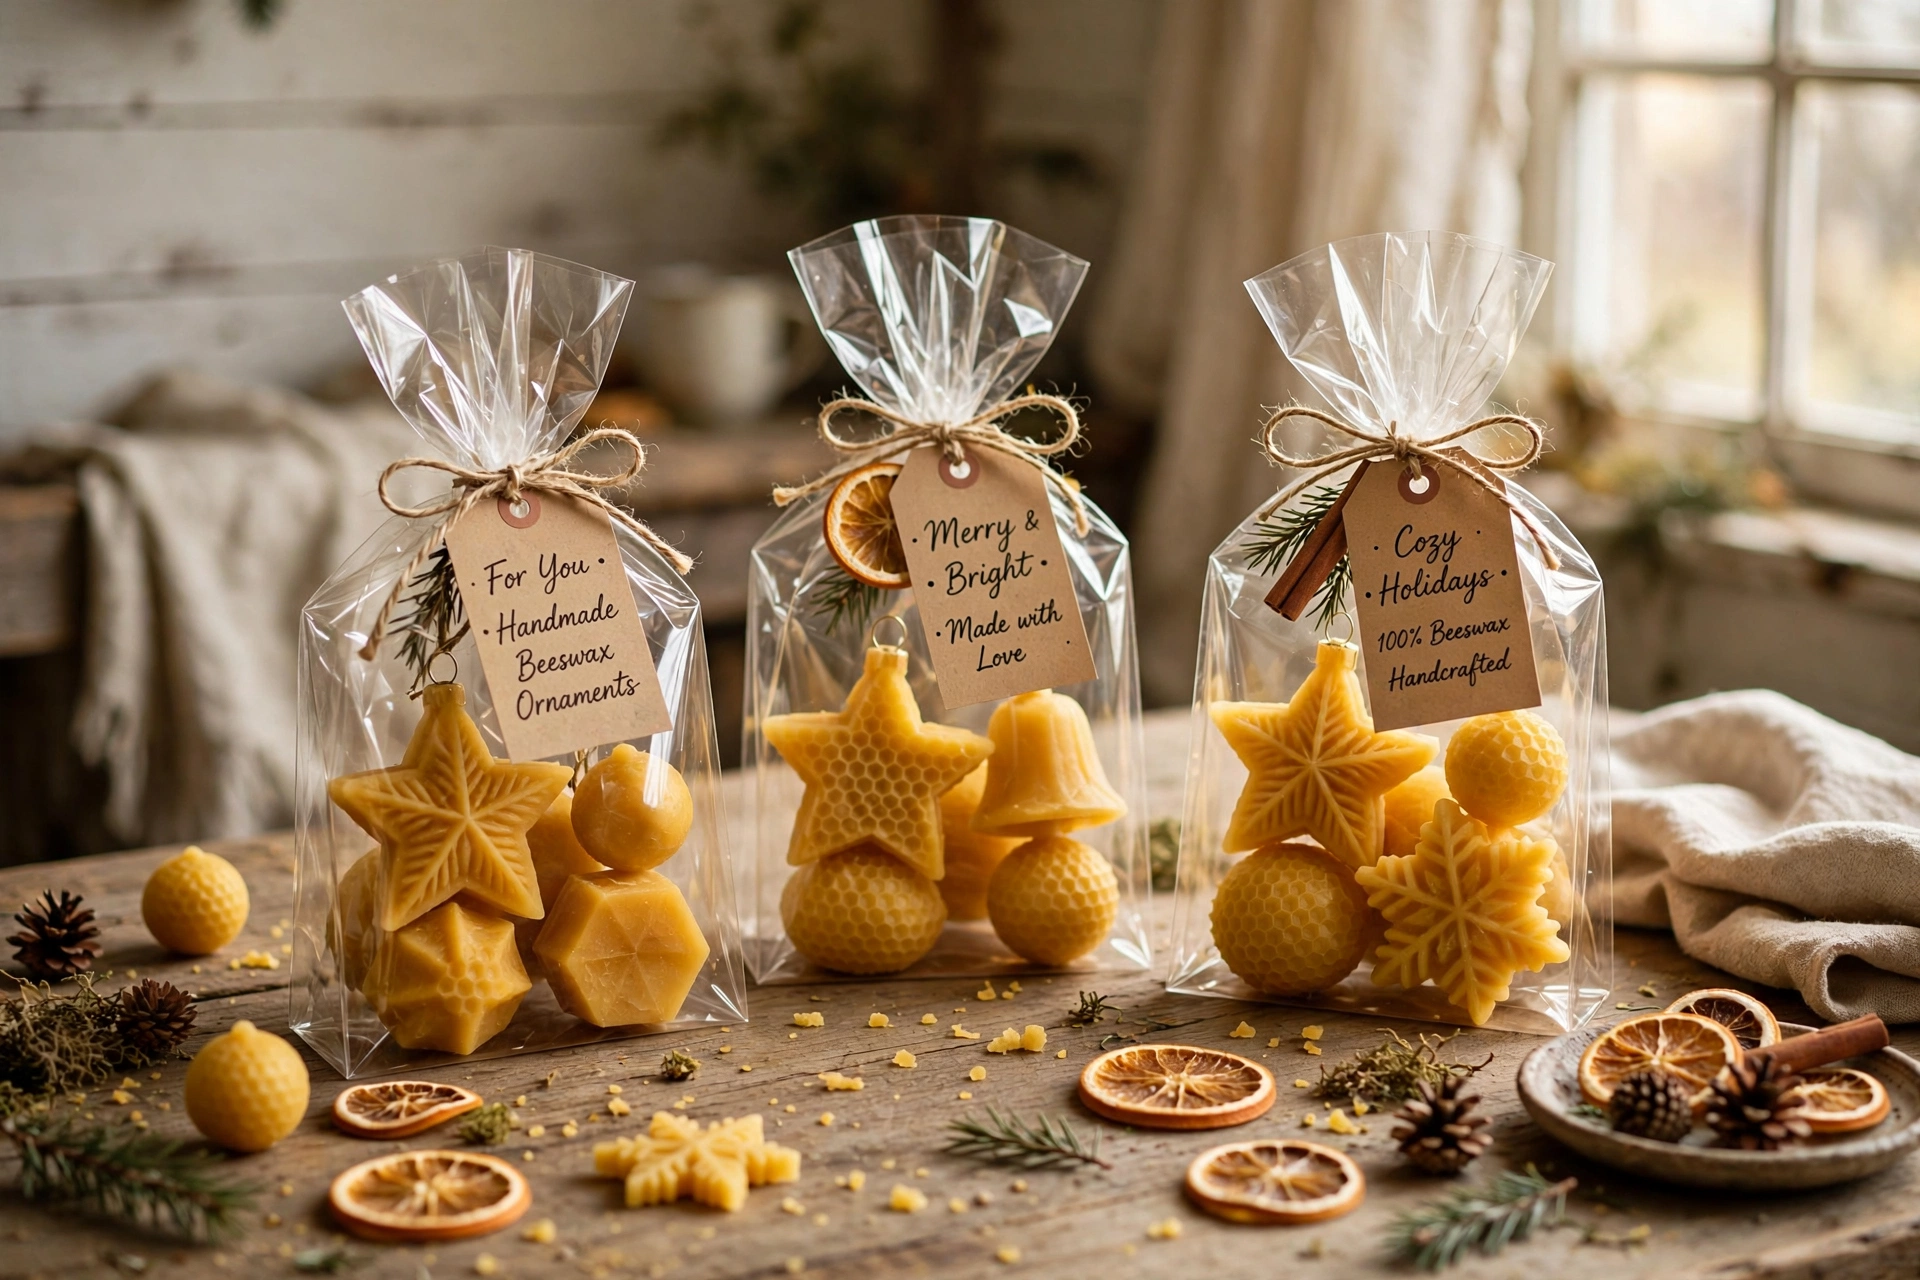
These ornaments practically package themselves. Slip one into a clear cello bag, fold over a kraft paper tag tied with twine, and you’ve got a stocking stuffer, a craft-fair item, or a hostess gift that looks like it cost far more than it did. Add a tag line like “naturally honey-scented — no fragrance added” and watch how fast they go.
Troubleshooting
Air bubbles in the finished ornament? Pour slowly from a low height and tap each mold on the counter right after pouring. Bubbles come from rushed pours and trapped air in detailed molds — a calm pour fixes most of it.
The hanging loop pulls out? The loop ends weren’t embedded deep enough, or they were set in wax that was still too liquid. Next time, wait until the poured wax starts to thicken at the edges before pressing the loop in, and tuck the ends a good half inch into the wax.
Cloudy or dull finish? Buff the ornament gently with a soft cloth once it’s fully cool. A light buffing brings back the warm golden glow without scratching the surface.
Next steps
Ornaments done? Keep the holiday momentum going with our whipped wax dessert candles tutorial — cupcake candles make perfect companion gifts. For year-round projects, browse the free tools in our Maker Tools hub.



