DIY Lip Balm (Tinted & Flavored)
Homemade lip balm is one of the cheapest, fastest things you can make — a small batch yields a dozen-plus tubes or tins for a few dollars in ingredients, and it is endlessly giftable. Twist-up tubes go in pockets and purses; tins look lovely on a gift table. Either way, one afternoon of pouring fills every stocking on your list.
The simple base: three ingredients, one ratio principle
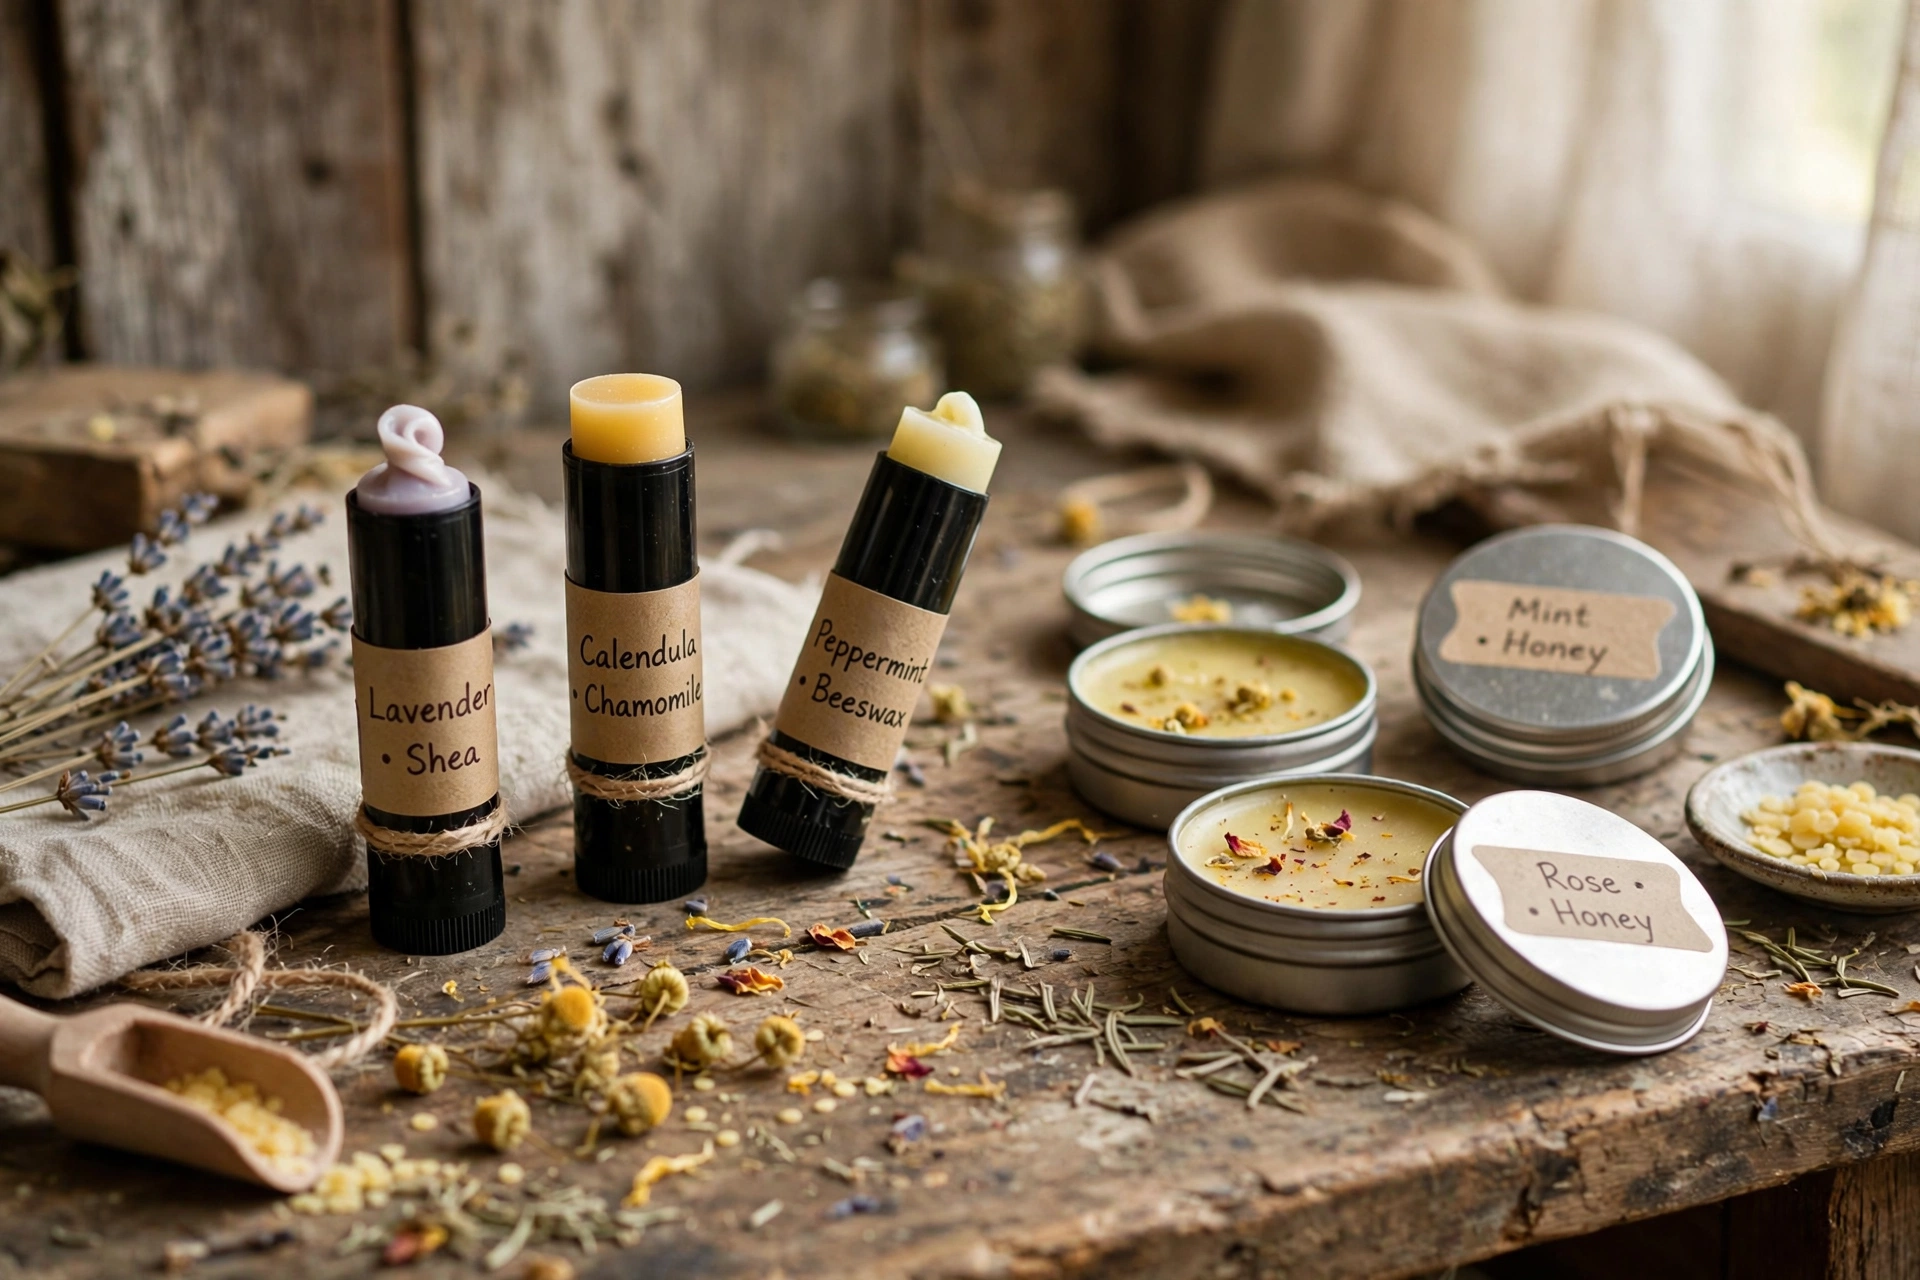
Every lip balm is the same trio: a wax for structure, a butter for richness, and a liquid oil for glide.
Wax. Beeswax is the classic — it gives a firm, stable stick. Candelilla wax (a plant-based alternative) is harder than beeswax, so you use a little less of it to get the same firmness.
Butter. Shea or cocoa butter adds body and skin feel. Cocoa butter is harder and adds a faint chocolate note of its own; shea is softer and nearly unscented.
Liquid oil. Coconut, jojoba, or sweet almond oil thin the base out so it glides on. Jojoba is technically a liquid wax and the most stable of the three; coconut oil is the cheapest and easiest to find.
The ratio principle. More wax means a firmer stick; more oil means a softer, glossier balm. A common starting point is roughly 1 part wax to 2 parts combined butter and oil — then adjust from there. One small test batch tells you more than any formula: make a little, let it set, test it on your lips, and nudge the ratio before you scale up.
Tubes vs. tins: pick your container first
Your container decides your formula, so choose it before you melt anything.
Twist-up tubes are portable, hygienic, and apply cleanly — the classic lip balm experience. But the balm has to survive being pushed up through a narrow opening, so tubes need a firmer formula: lean toward more wax so the stick holds its shape and doesn’t crumble or smear on the sides.
Tins are easier to fill (you pour straight in) and forgive a much softer formula — you scoop with a fingertip anyway. They also look charming as gifts and hold up well in a purse or pocket. The trade-off is hygiene: fingers go into the product, which is fine for personal use and fine for gifts too, but worth knowing.
What you’ll need
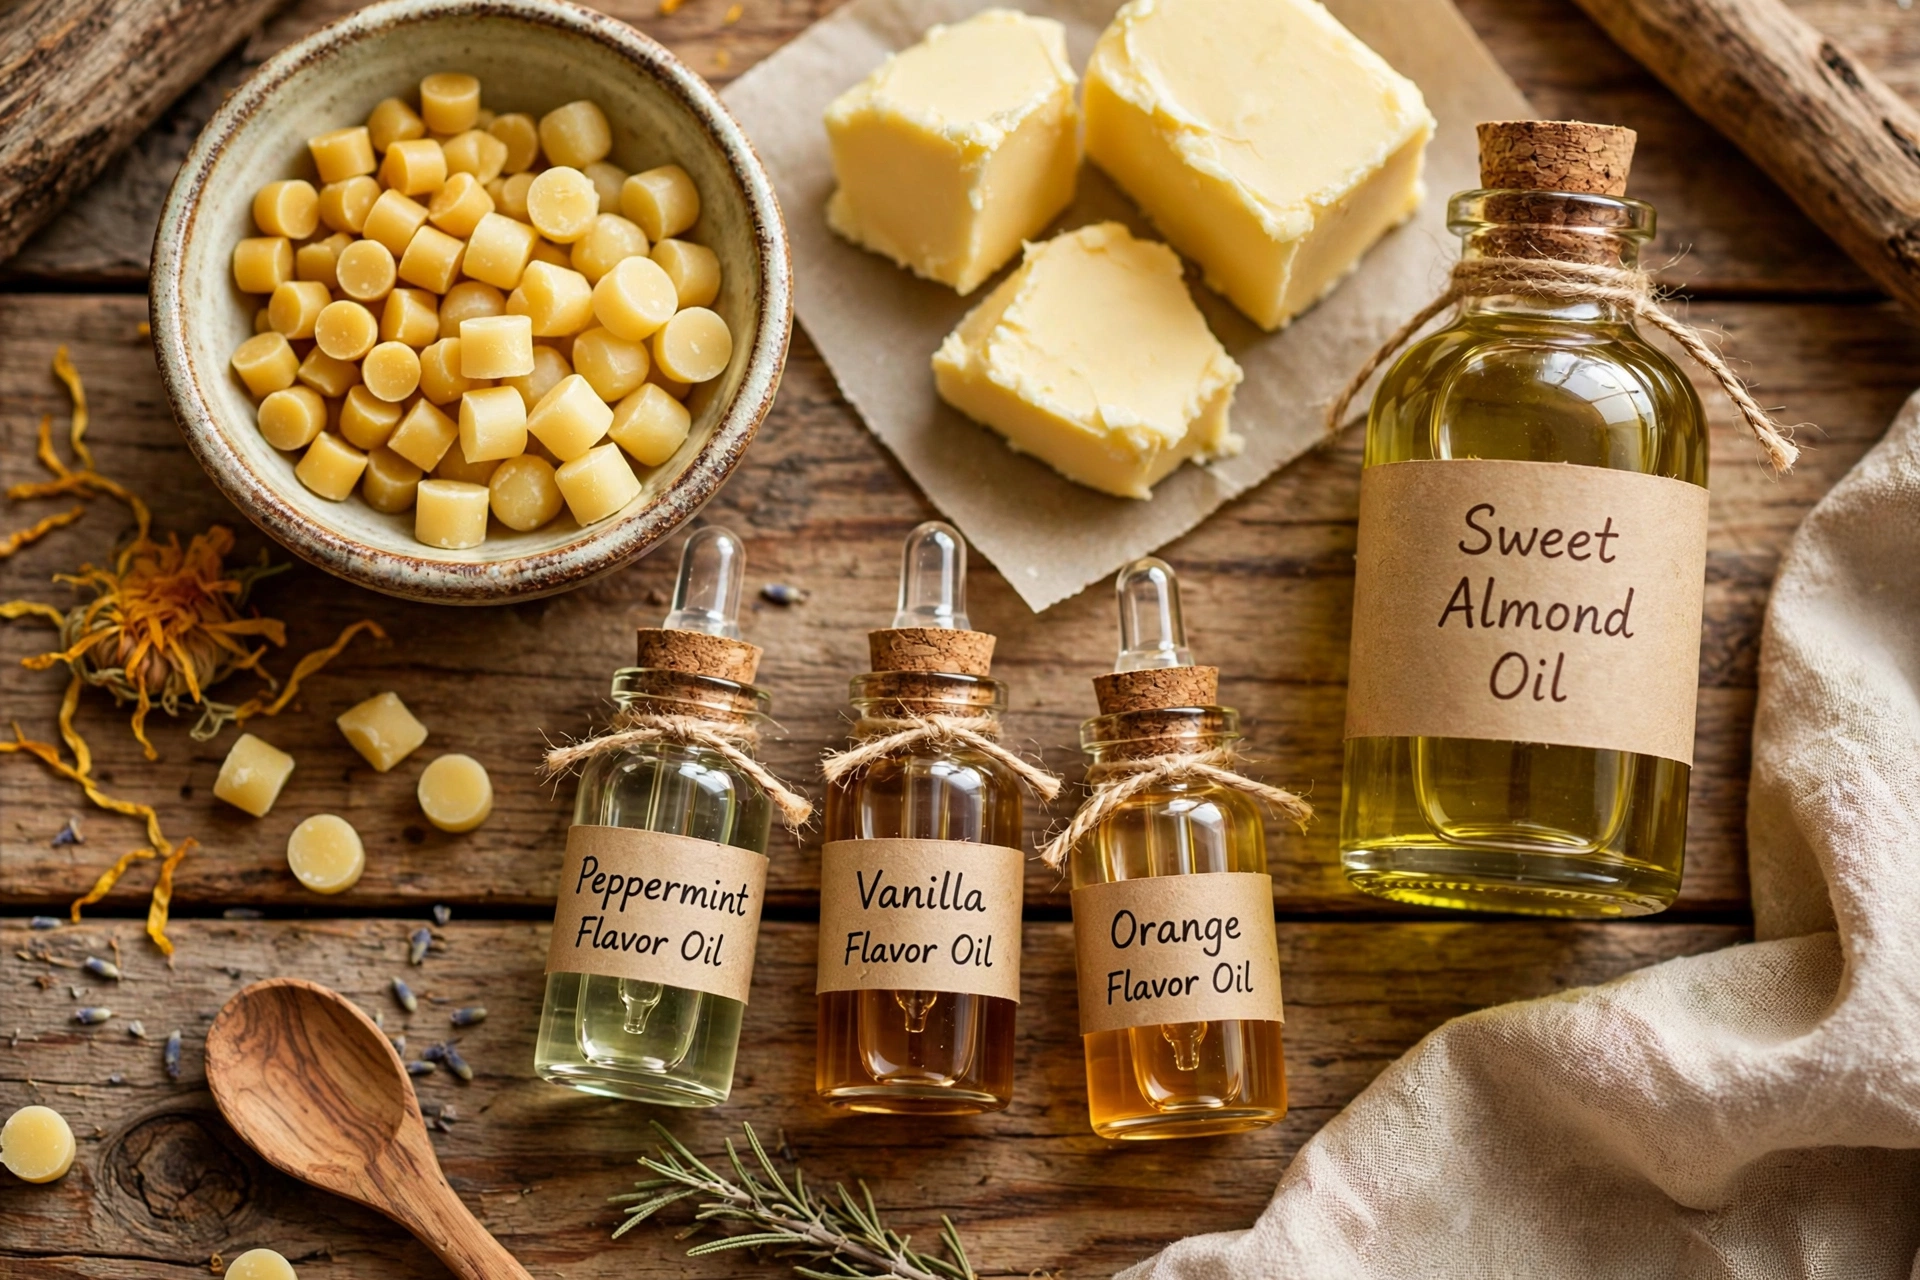
- Wax (beeswax or candelilla), a butter (shea or cocoa), and a liquid oil (coconut, jojoba, or sweet almond)
- Empty lip balm tubes and/or small tins
- Flavor oil and colorant specifically rated lip-safe by the supplier (see below)
- A heat-safe pouring pitcher with a spout
- A small pot for a warm water bath
- Small pipettes or a syringe for filling tubes; a mug of rice or salt to stand tubes upright
- Kitchen scale, a spoon or stir stick, paper towels
Steps: making the balm
1. Weigh your ingredients
Pick your container, then your ratio. For tubes, start around 1 part wax to 2 parts combined butter and oil. For tins, you can go softer — try 1 part wax to 3 parts butter and oil combined. A small batch might be 1 oz wax, 1 oz butter, 1 oz liquid oil for tubes (roughly a dozen tubes) or scaled to your tin count.
2. Melt the base gently
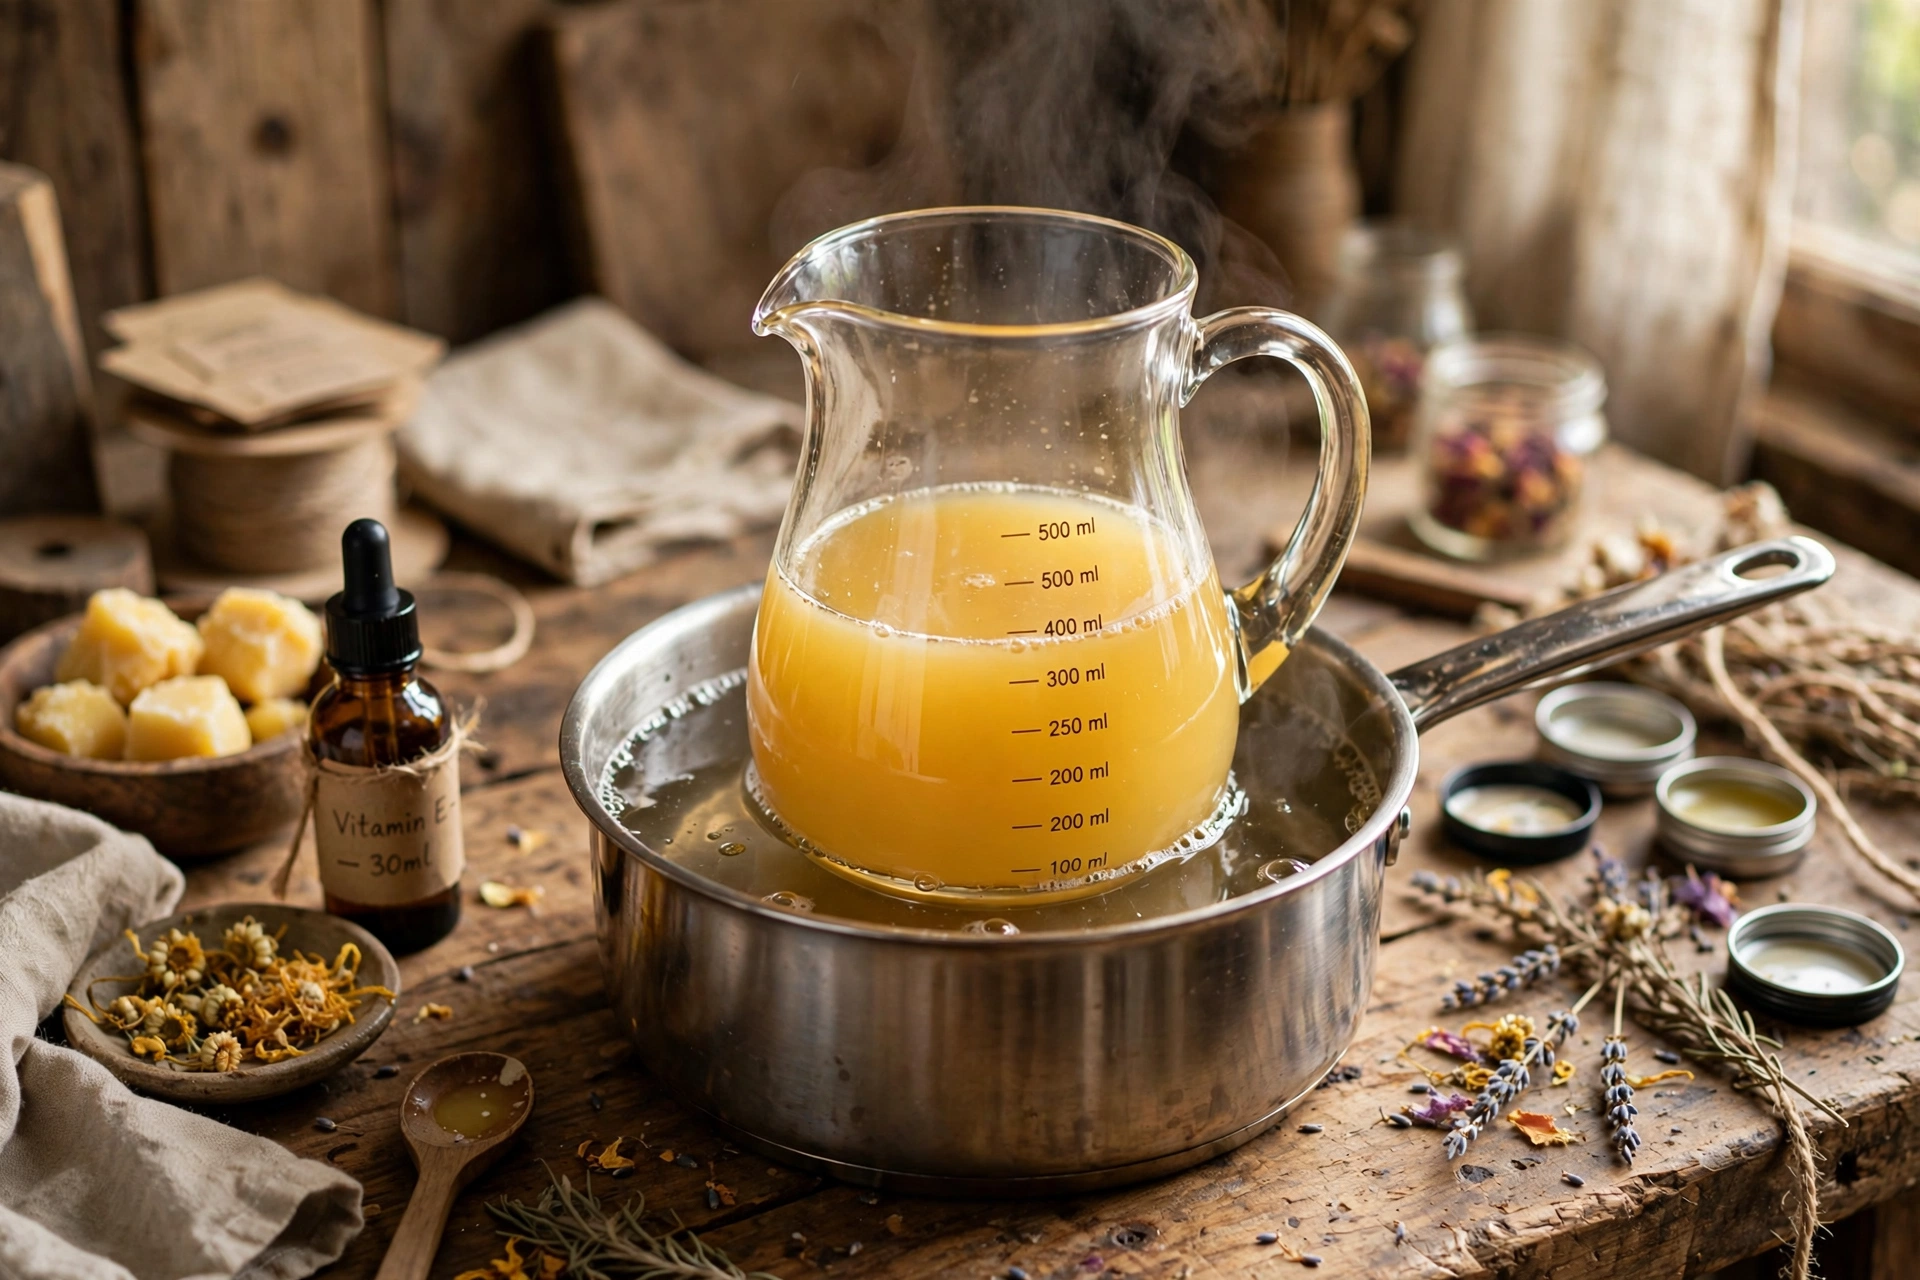
Combine the wax, butter, and oil in your pouring pitcher and set it in a warm water bath (not a rolling boil). Stir as it melts and keep heating until everything is completely liquid — the butter especially must be fully melted with no cloudy bits left, or your balm can turn grainy later. Remove from heat as soon as it is smooth.
3. Add flavor and color off the heat
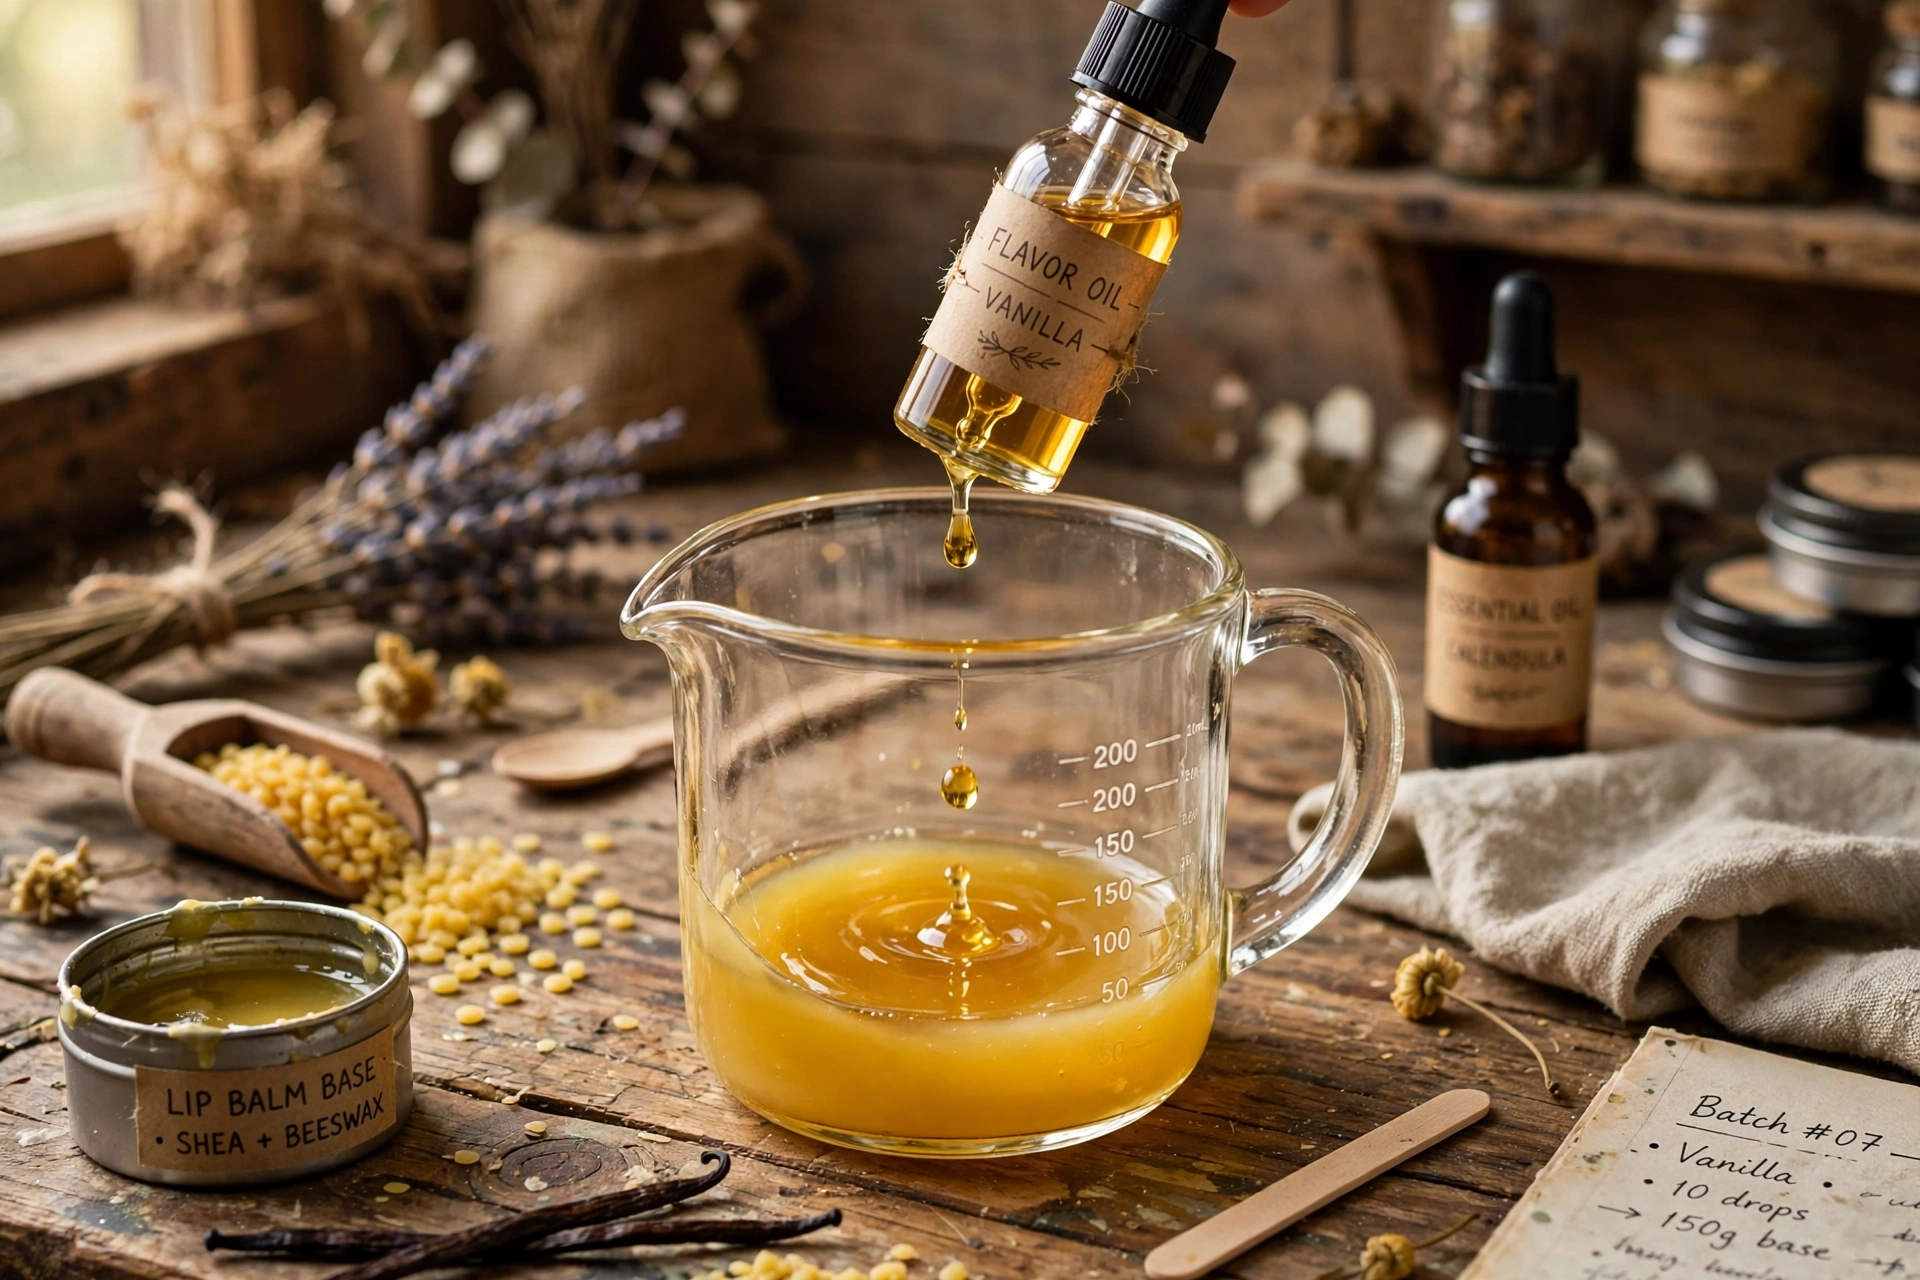
Let the base cool slightly, then stir in your flavor oil and colorant. Only use flavor oils and colorants specifically rated lip-safe by the supplier — check the supplier’s guidance for every single ingredient. Lip-safe micas give a lovely shimmer or a soft tint; a tiny amount goes a long way.
4. Fill the tubes without the mess
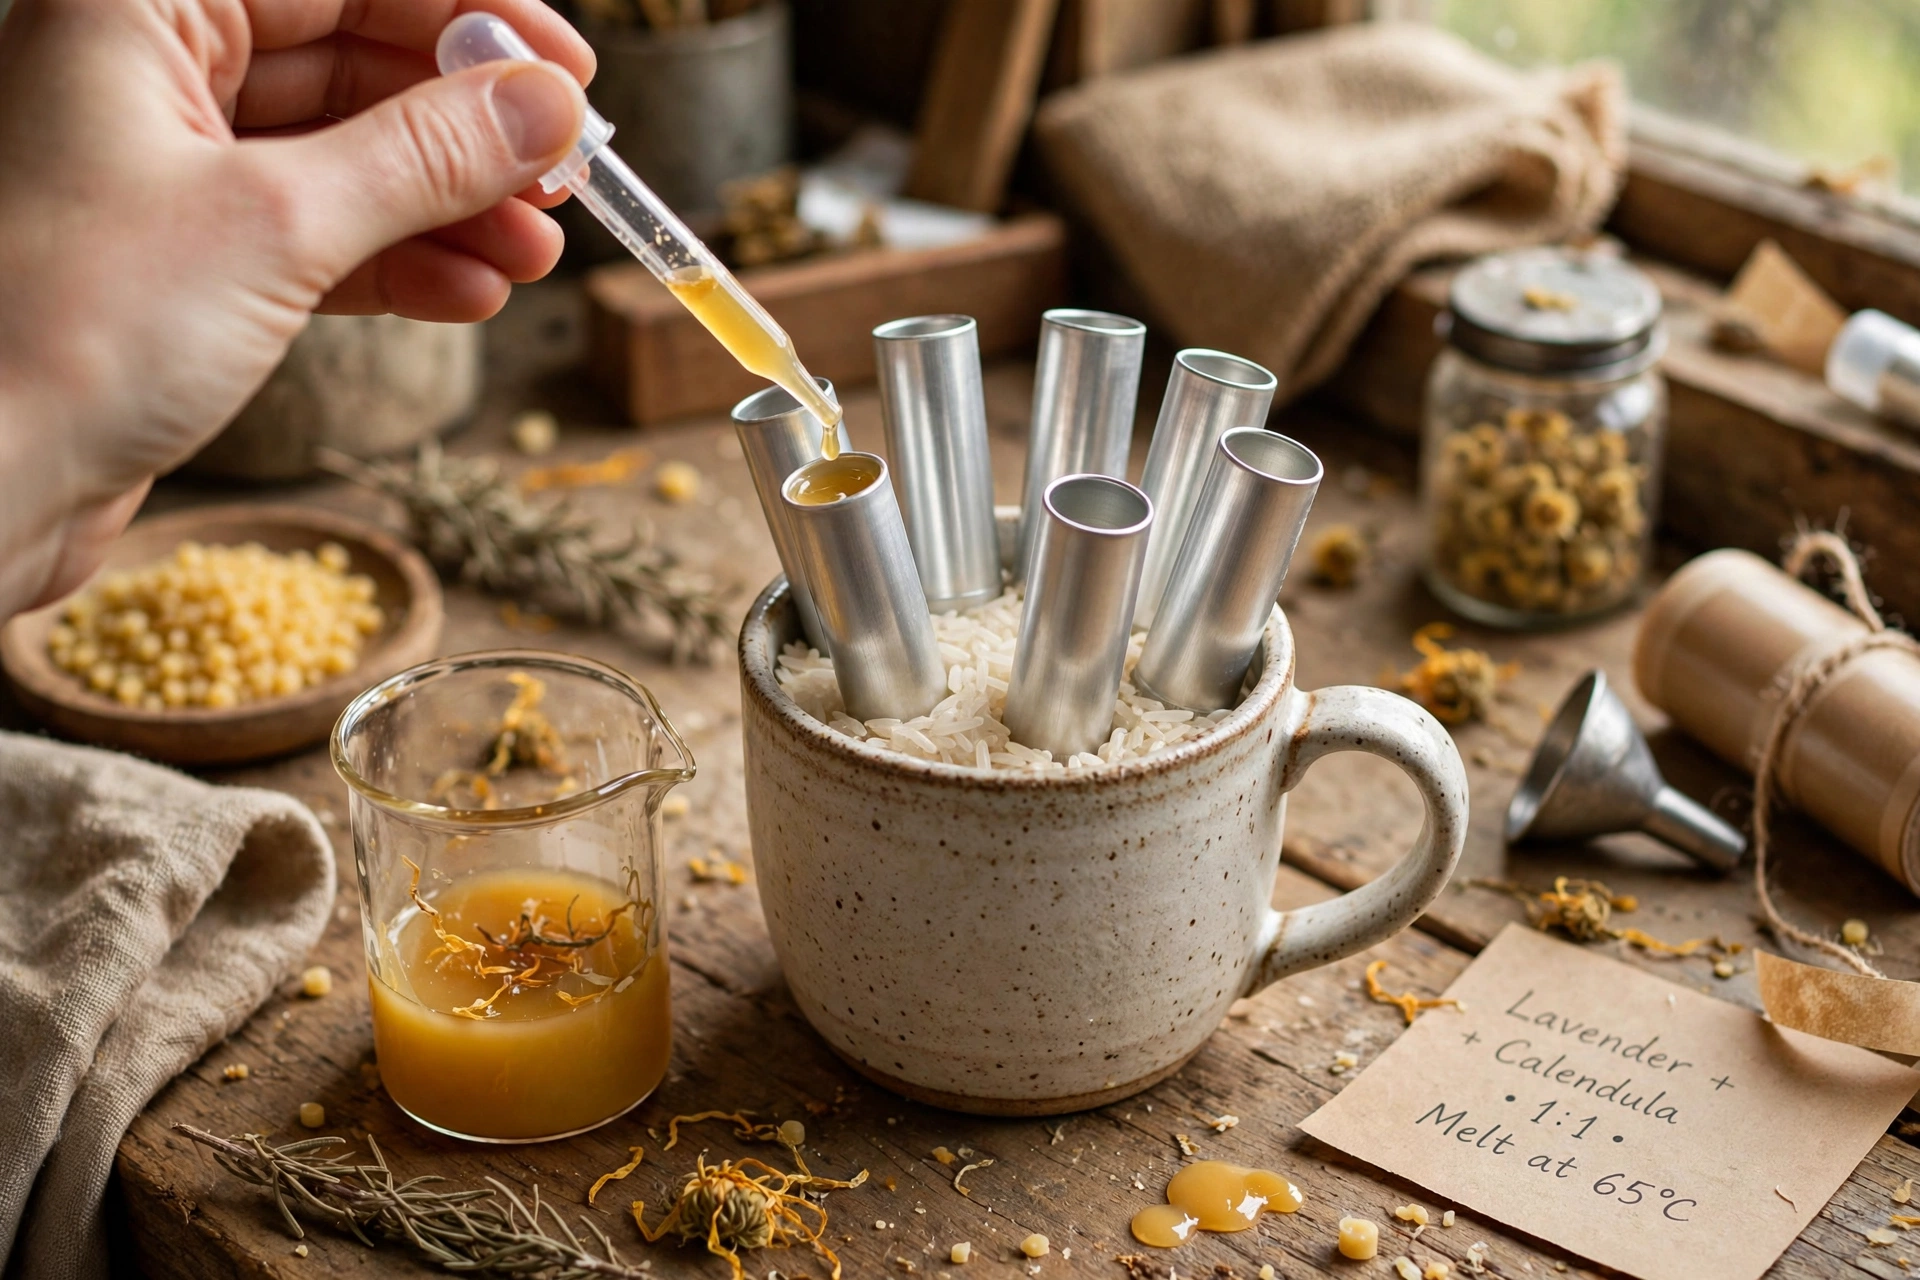
Melt in a pouring pitcher with a spout, and for tubes use a small pipette or syringe — it gives you control. Stand the tubes upright in a mug of rice or salt so they can’t tip, and fill just to the top, not domed over it. Pour slowly to avoid trapping air bubbles, and wipe the rims before capping so the caps seat cleanly.
5. Pour the tins
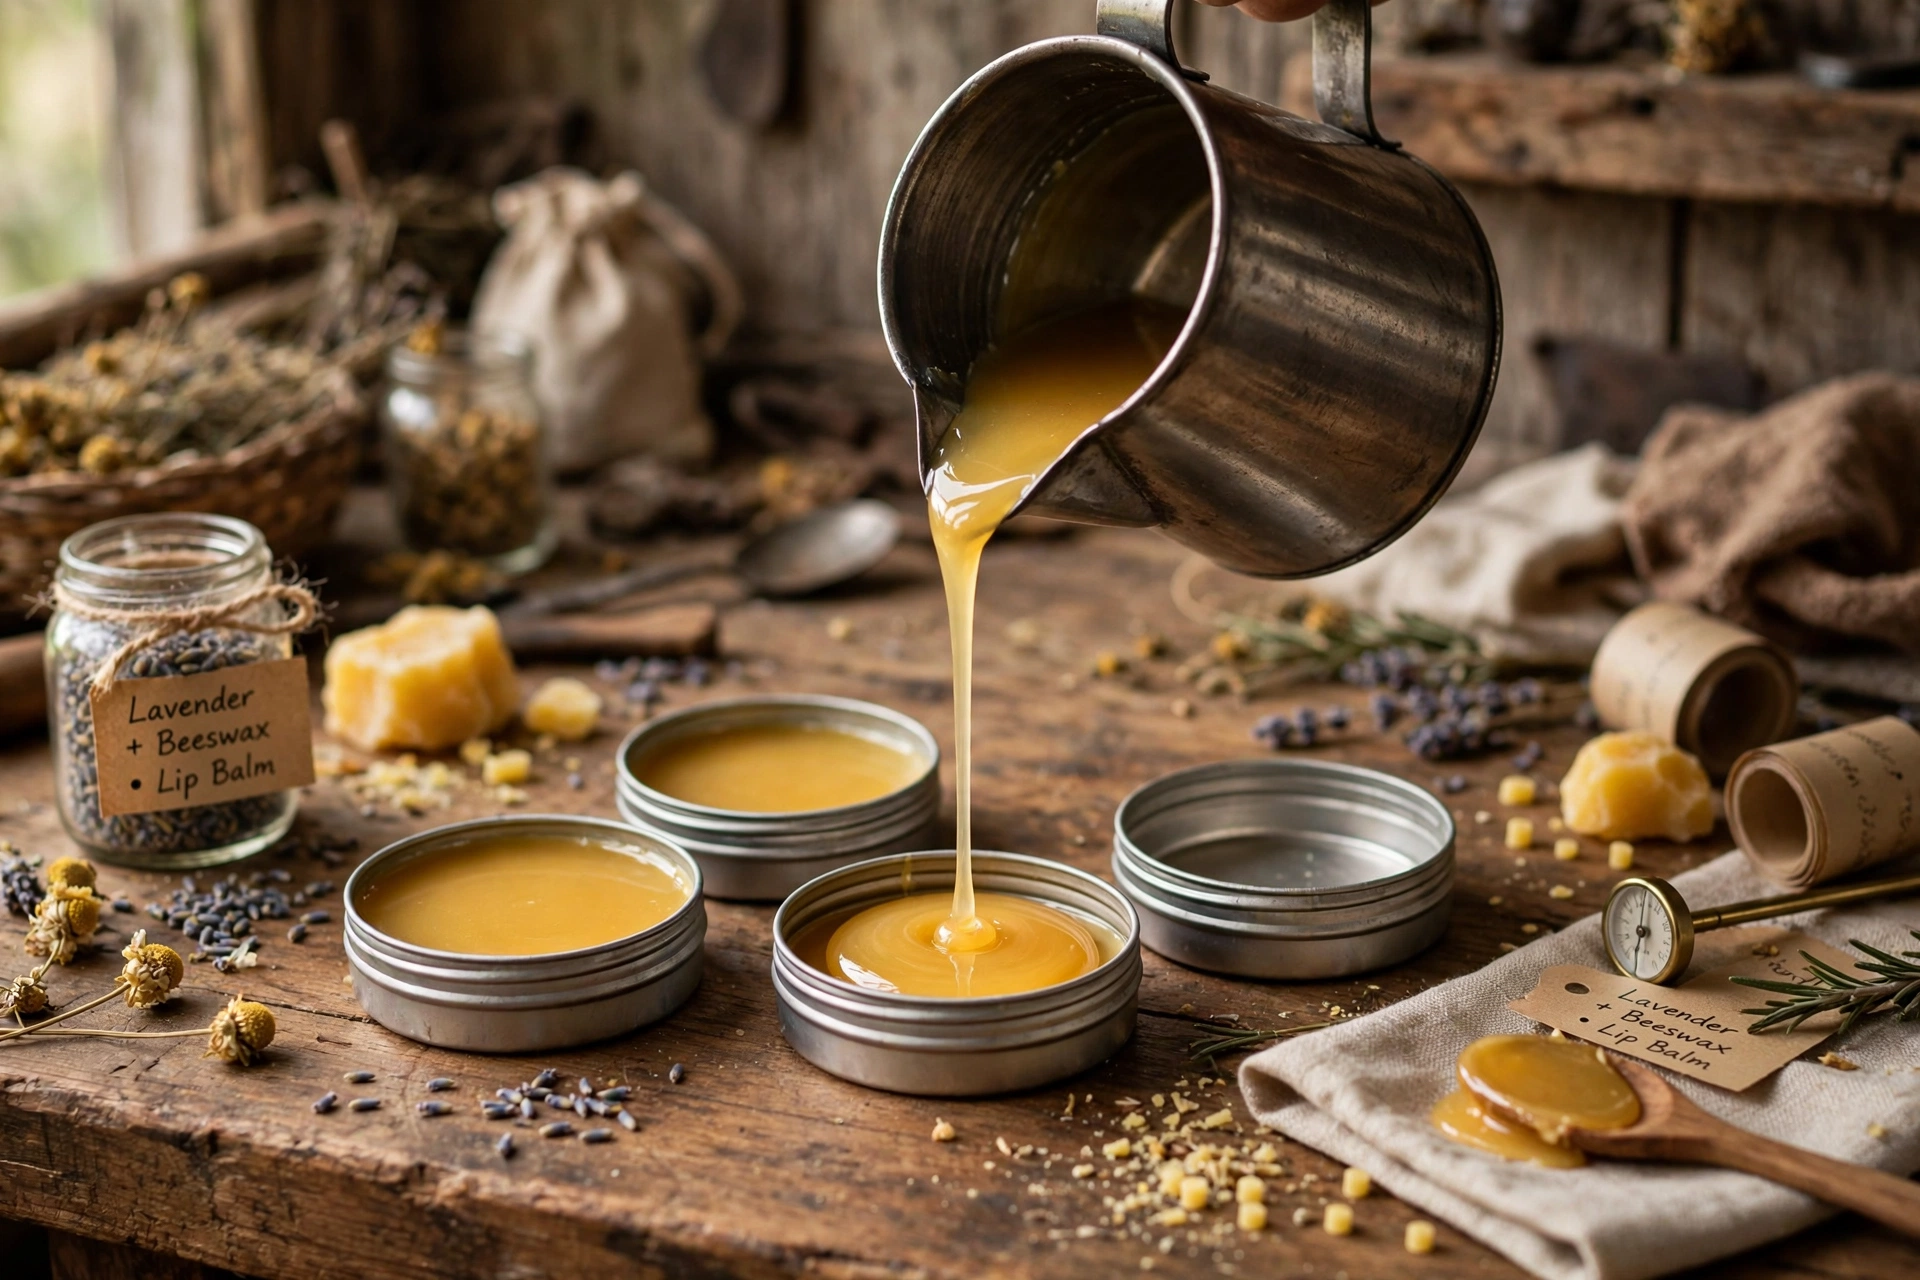
Tins are the easy version: pour directly from the pitcher’s spout into each tin, filling nearly to the rim. Pour slowly and steadily to keep air bubbles out. Like the tubes, wipe any drips from the rims before the balm sets so the lids close flat.
6. Cool, cap, and label
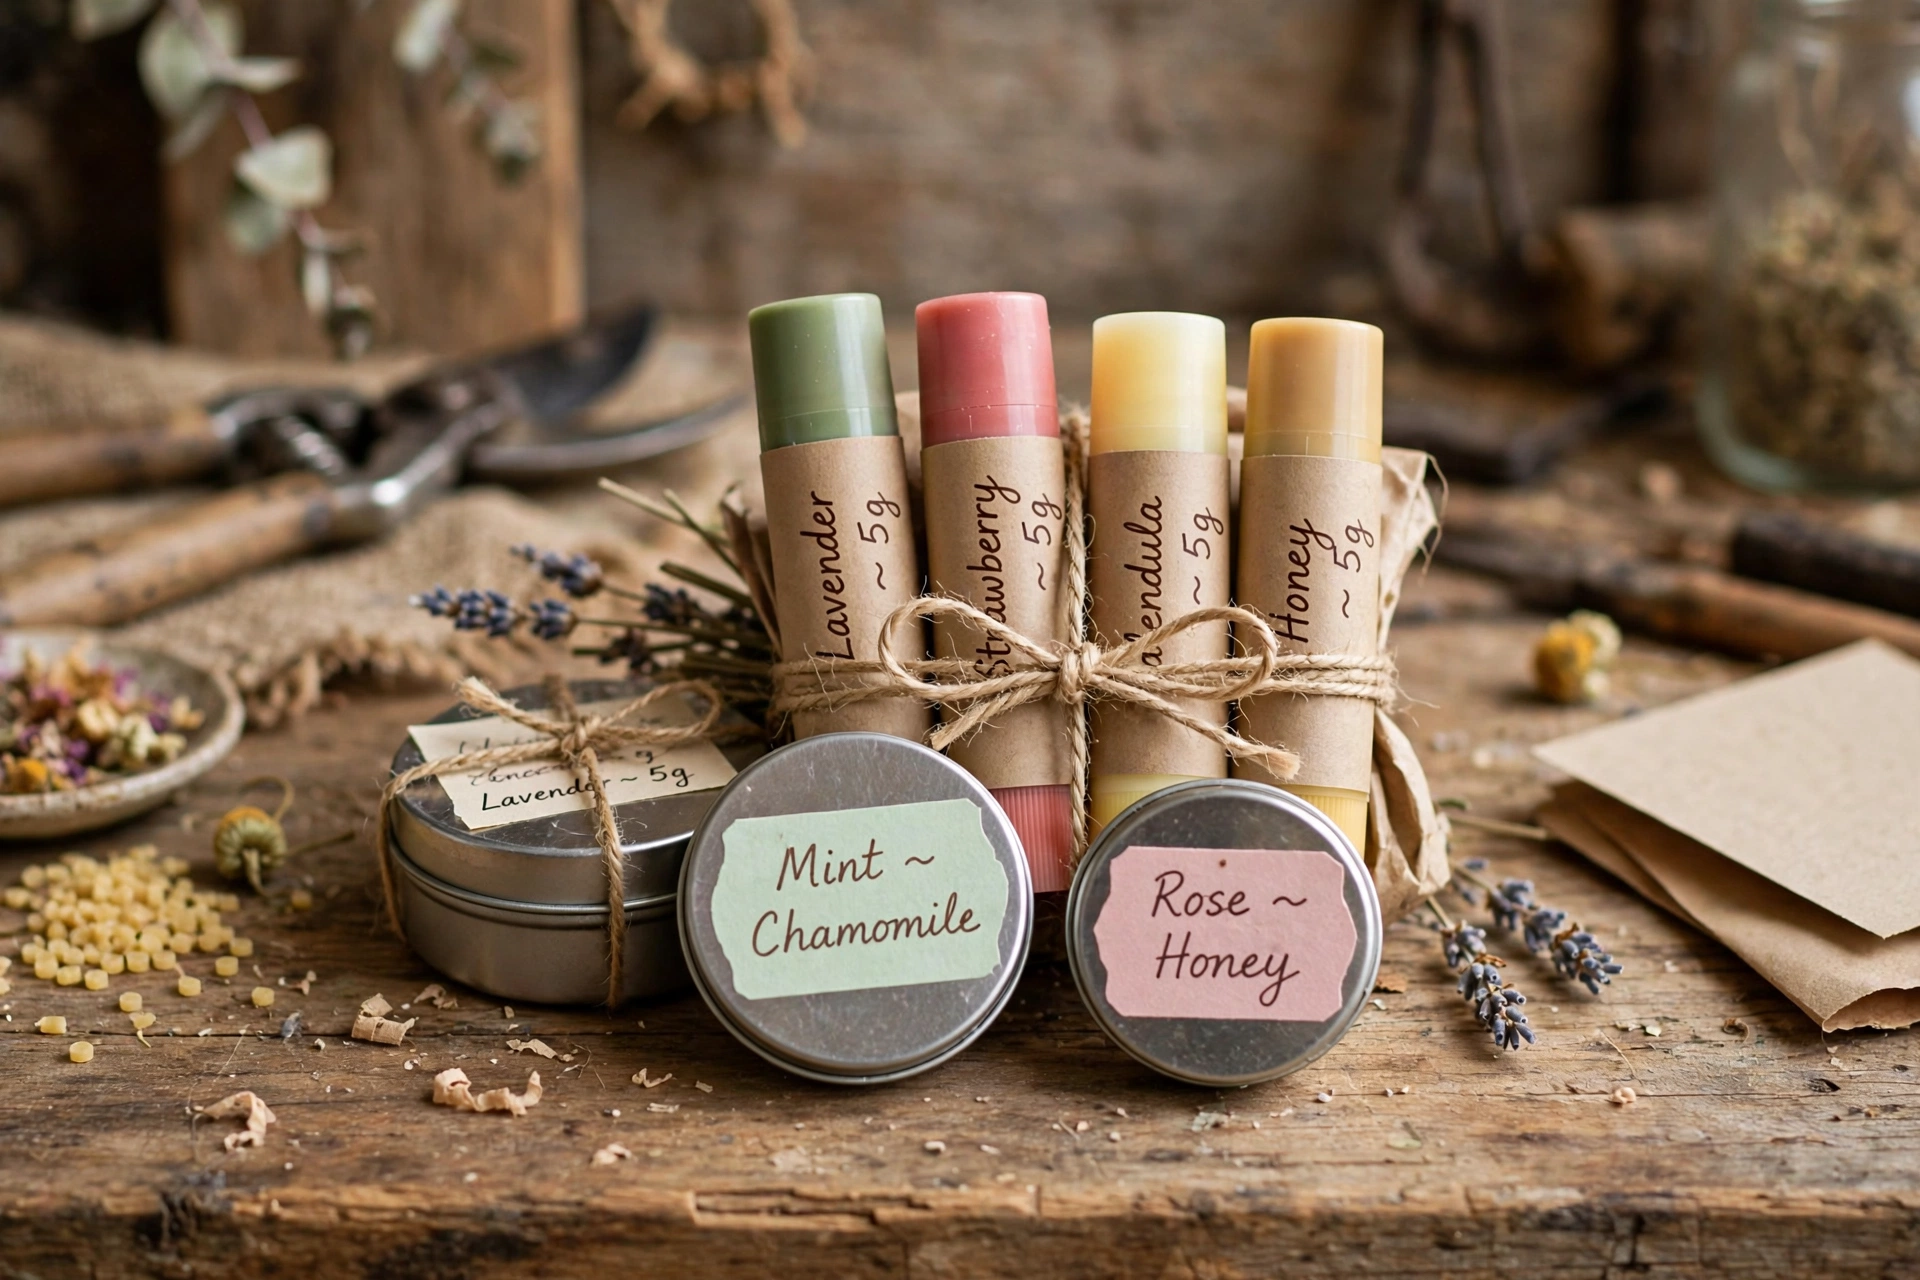
Let everything sit undisturbed until fully set — usually an hour or two at room temperature. Then cap, label each one with the flavor and the date you made it, and tie them into gift sets.
Flavor variation ideas
Start from a lip-safe flavor oil base and build from there — these combinations are crowd favorites:
Vanilla mint. Warm vanilla with a cool mint lift — the classic that never fails.
Cocoa. Let cocoa butter do half the work and add a touch of chocolate-flavored oil for a dessert-like balm.
Berry. A bright berry flavor with a whisper of lip-safe pink or red mica for tint.
Honey-vanilla. Soft and cozy — honey flavor oil over a vanilla base, in a tin.
What to do when something goes wrong
Too hard or too soft? That’s the ratio talking. Remelt and stir in more wax to firm it up, or more liquid oil to soften it. Remember: tubes need a firmer formula than tins.
Grainy texture? The butter wasn’t fully melted — it happens when the base is rushed off the heat too soon. Remelt the batch completely until every trace of cloudiness is gone, and the graininess won’t return.
Sweating beads of oil? Too much oil in the ratio, or the balm went through big temperature swings (like a hot car). Remelt with a bit more wax and store finished balms somewhere cool and steady.
Tube won’t twist up? Usually the balm was poured too hot and warped the tube, or the formula is too soft to push through the mechanism. Let tubes cool fully before testing, and stiffen the formula with more wax.
Flavor fades? The flavor oil went into an overheated base. Check your supplier’s recommended maximum temperature and add flavor below it — cooler means the flavor survives the pour.
Shelf life and storage
Homemade lip balm keeps for around 6 to 12 months stored cool and out of direct sun. Because there’s no preservative in a simple balm, that date label matters — write the flavor and the make date on every tube or tin so you (and anyone you gift) know when it was poured. If it smells off or tastes stale, toss it and make a fresh batch; it’s cheap enough that there’s no reason to gamble.
Safety
Lip balm is for external use on lips only. If you or your gift recipients have sensitive skin, patch-test a little on the wrist or the corner of the mouth first. And it bears repeating: only ingredients the supplier rates as lip-safe go into this recipe — candle fragrance oils never belong on lips.
Next steps
Playing with scent combinations? The fragrance blending tutorial walks through pairing notes and building blends you love — the same principles apply to balm flavors. And if you’re gifting these, the free printables hub has label templates and trackers that make a batch of balms look beautifully finished.