
How to Make Apple Pie Candles (a Full Pie Look in a Foil Tin)
An apple pie candle is the whole pie illusion: a real foil pie tin holding golden “crust” wax, a hand-crimped edge like pastry, a woven wax lattice, and pale wax apple slices peeking through — all scented like a warm bakery. It looks straight out of the oven, but it’s 100% candle. Here’s how to build one from scratch.
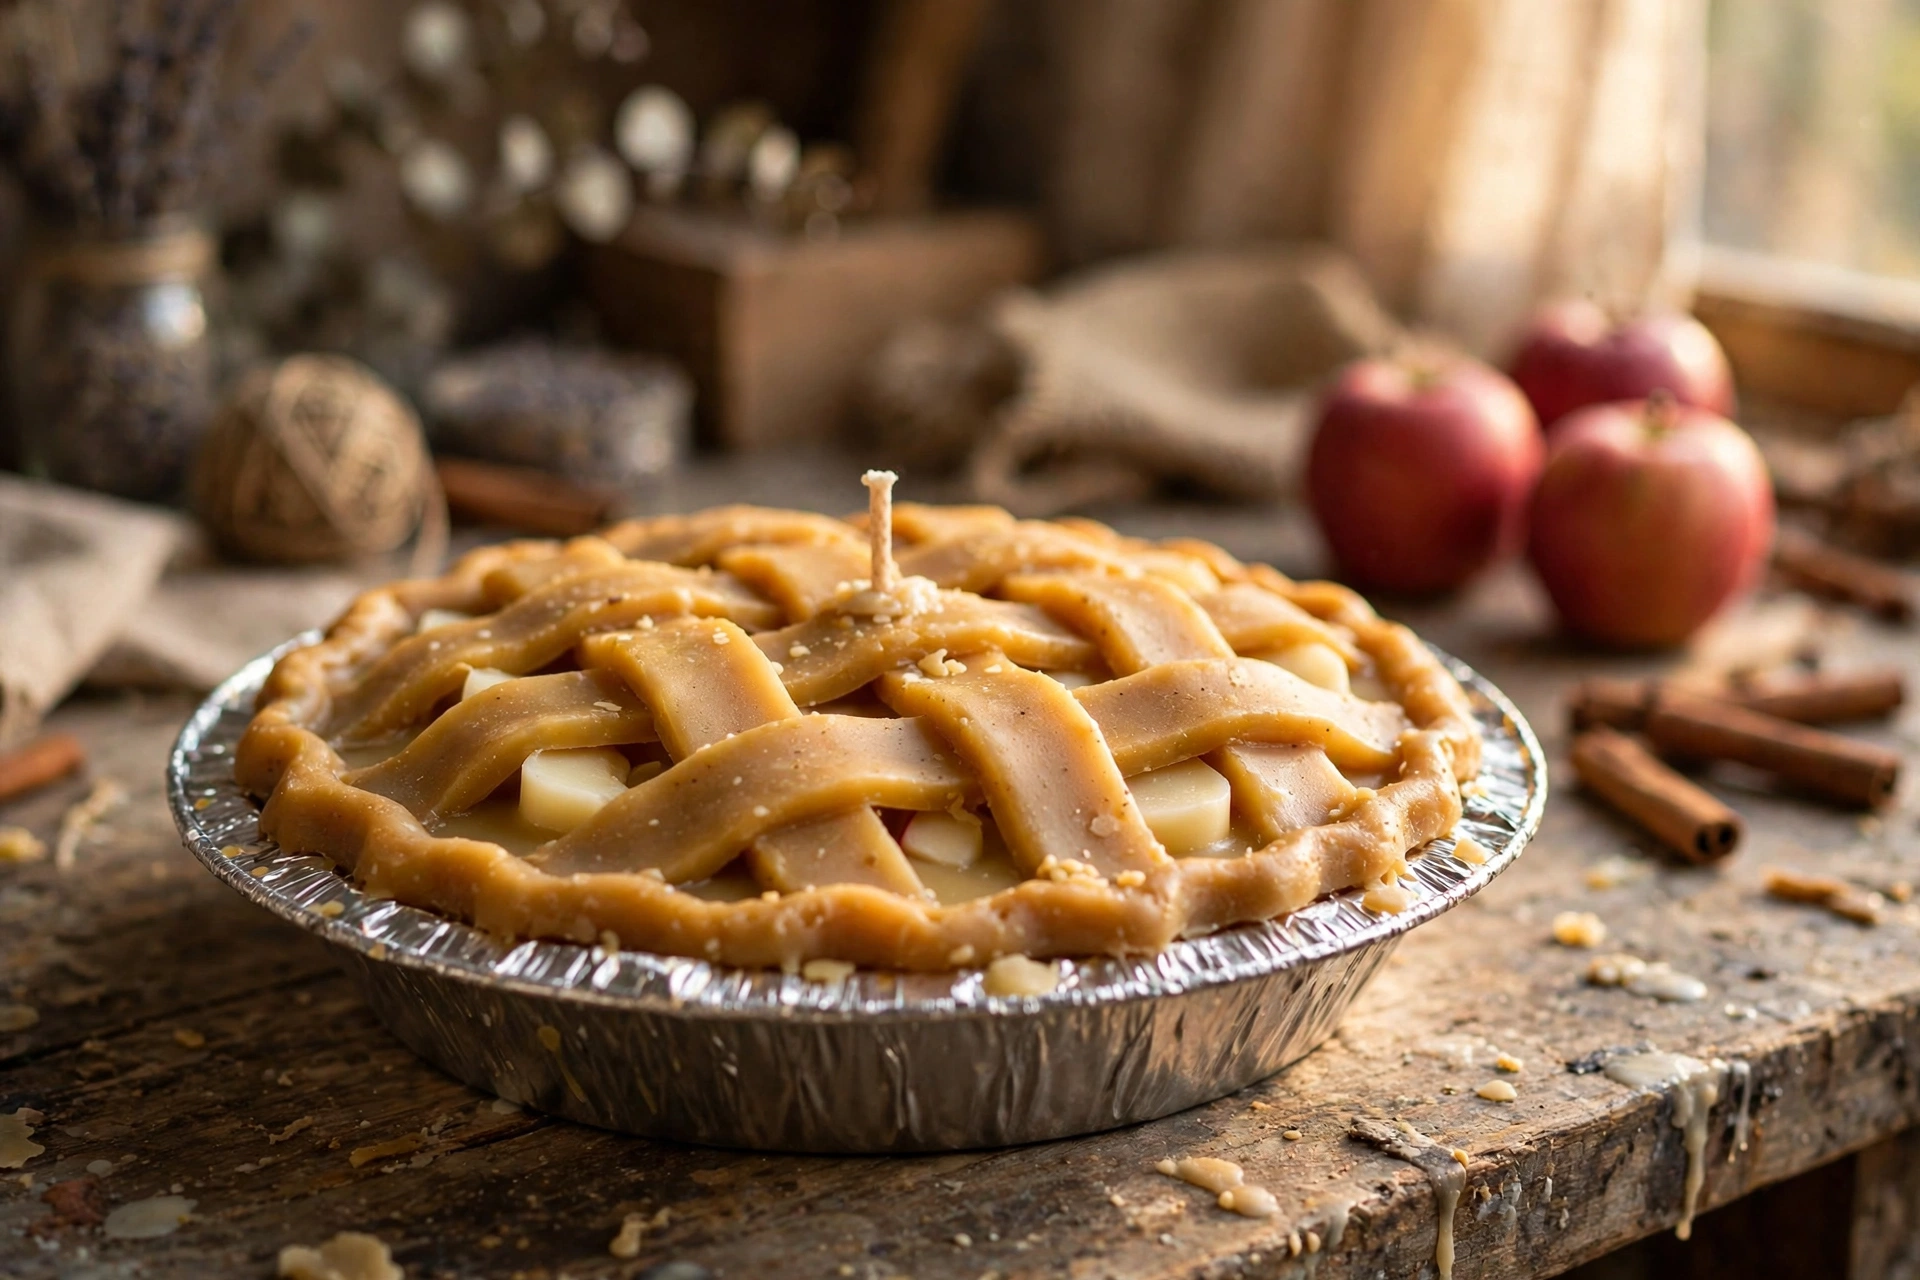
How the pie comes together
The trick is thinking like a baker while working like a chandler. The foil tin is your vessel. The “crust” is your base wax, tinted a golden brown. The crimped edge, lattice, and apple slices are decorations made from a firmer, more workable wax — added after the base sets, the same way you’d top a cooled pie shell. You’re working in two stages: the pour (a normal container-style candle) and the assembly (wax shaping). Keep those two stages separate and everything behaves.
What you’ll need
- A small disposable foil pie tin (the 5- or 6-inch kind is ideal)
- Container wax for the base (“the crust”), plus a firmer wax for lattice and edging
- Wick(s) sized for a wide tin — see step 1
- Wick stickers or adhesive dots
- Fragrance oil made for candles — a warm apple-spice bakery scent
- Candle dye or color: golden brown for the crust, pale cream for the apple slices
- Digital scale, pouring pitcher, thermometer
- A silicone apple-slice or wedge mold (or a baking sheet and a knife for hand-cut slices)
- Parchment paper, a heat-safe plate or tray, and a wick holder or clothespin
Steps
1. Wick and prepare the tin
A foil pie tin is wide — most small tins measure 5 to 6 inches across — and wide means more melt pool to cover. Press a wick sticker onto the bottom center of the tin, seat your wick, and center it with a wick holder. Many makers use two or three wicks spaced evenly in a wide tin instead of one oversized wick, which keeps the burn even and the tin cooler. Start with your wick supplier’s sizing chart for your vessel diameter and wax family, then prove it with a proper test burn — see our wick selection and test burn tutorial for the full method.
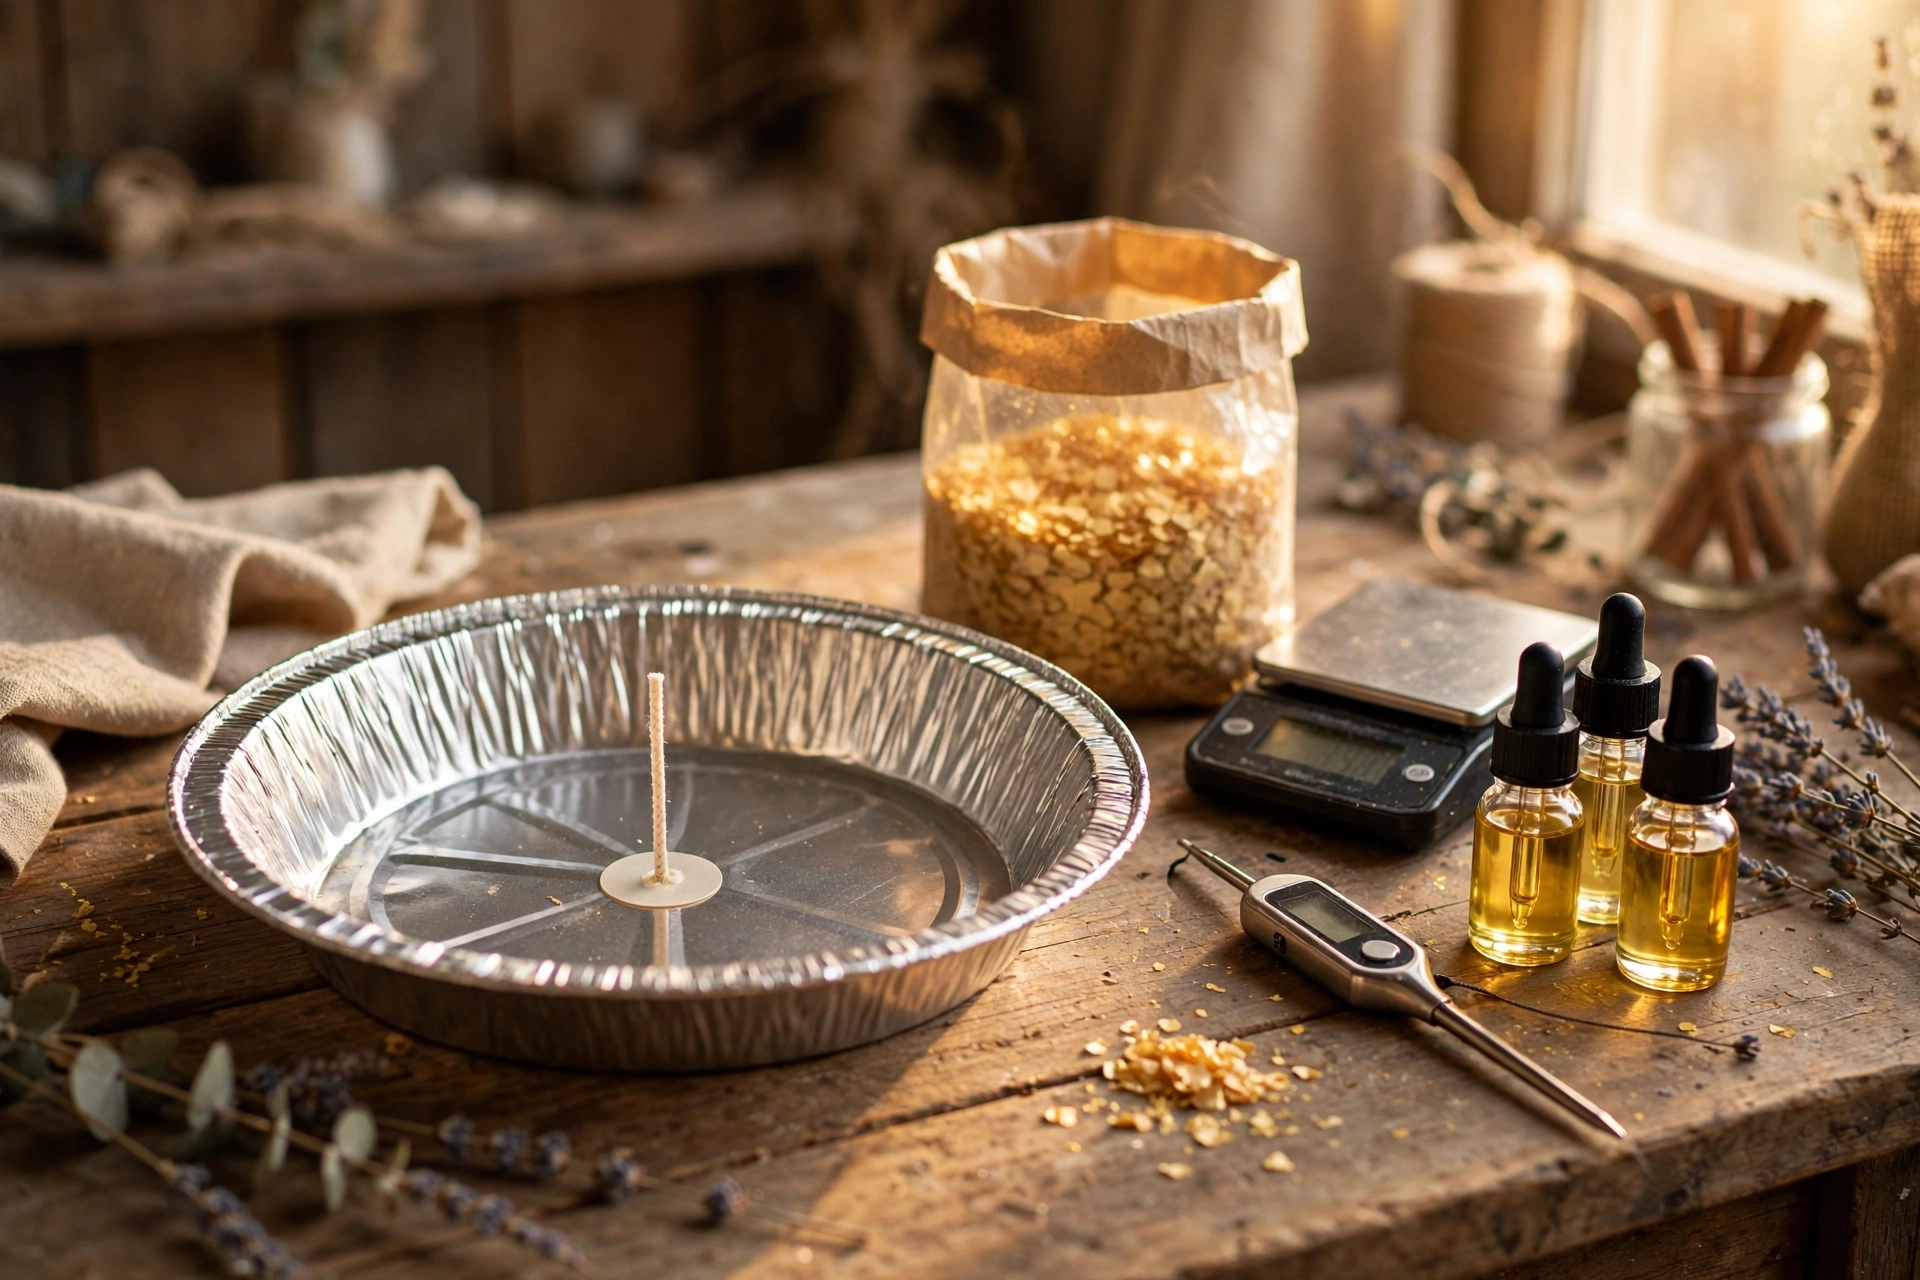
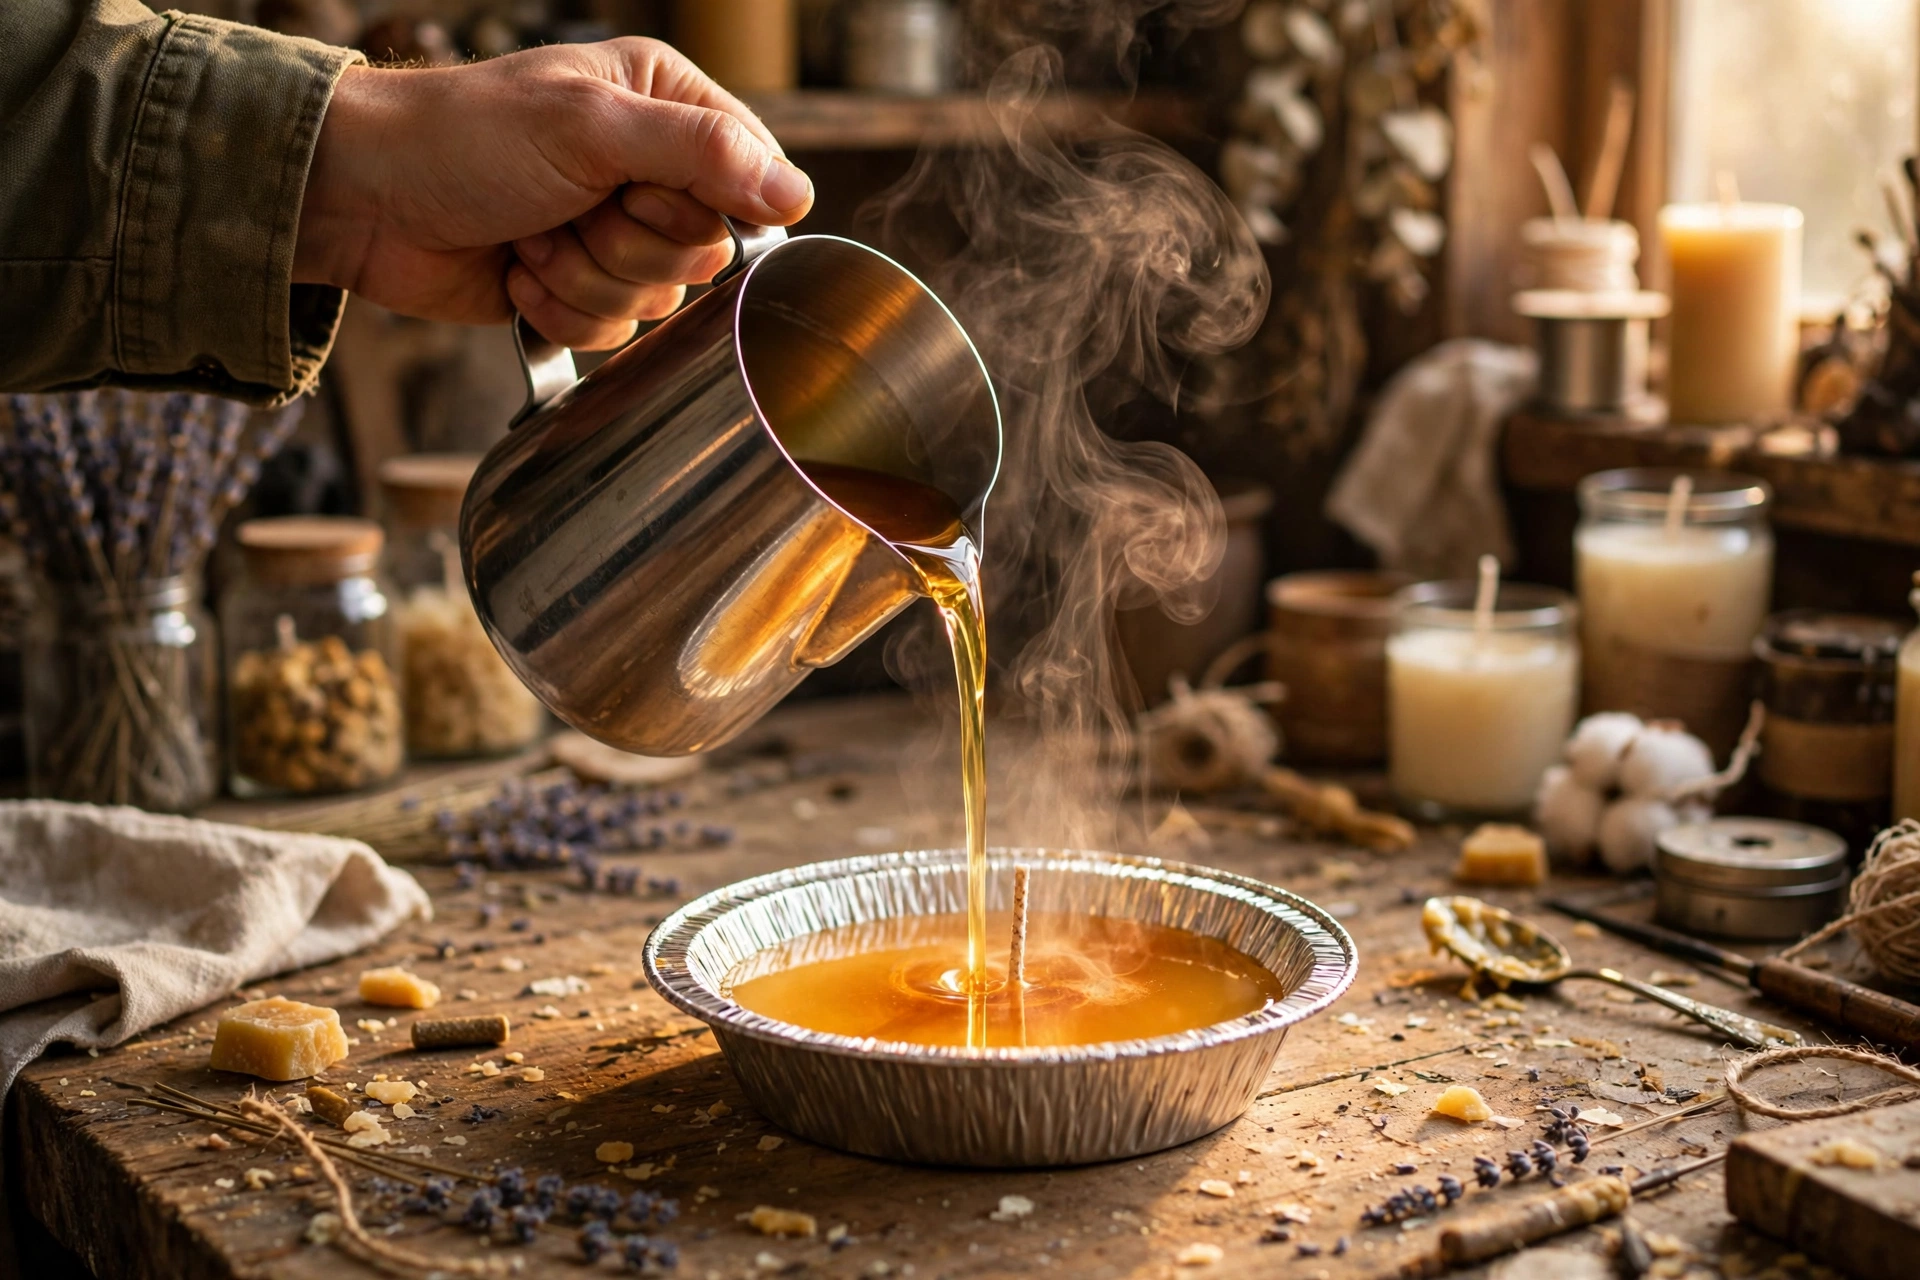
2. Pour the golden base and scent it
Melt your container wax and stir in golden-brown dye until it reads as pie crust — think the color of a well-baked edge, not dark chocolate. Add your fragrance oil at your wax’s usual temperature: apple-spice bakery scents typically go in at around 6 to 10 percent load. Stir thoroughly for a full minute so the oil binds evenly, then pour into the tin, filling to just below the fluted rim. Keep the wick centered with a holder and let the base cool and harden completely before touching it again.
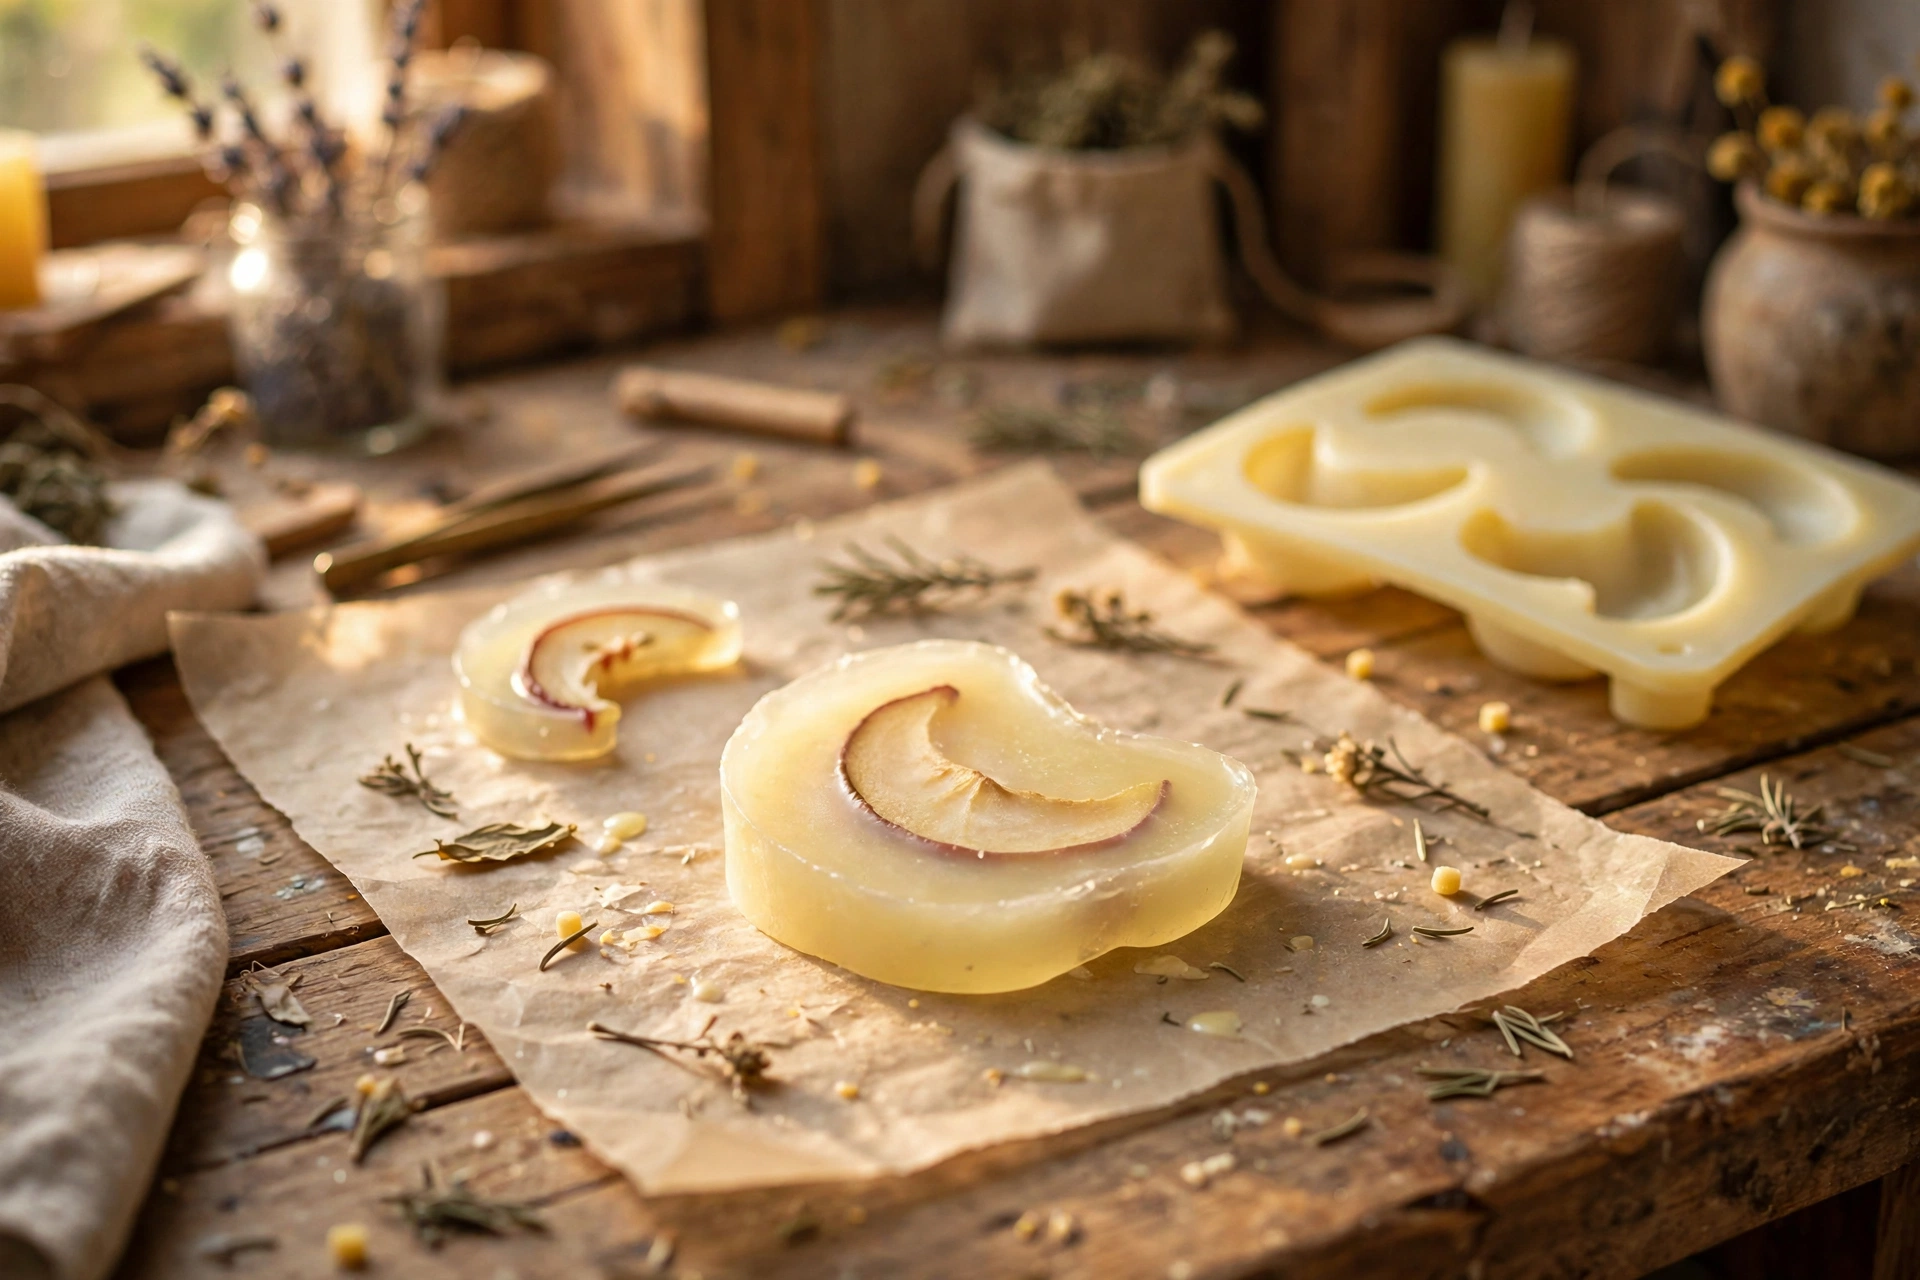
3. Make the wax apple slices
While the base cools, make your “apples.” Melt your firmer wax and tint it a pale, slightly translucent cream — real apple flesh isn’t white, it has warmth. Pour it into your silicone mold and let it set, or pour a thin sheet on parchment and hand-cut crescent shapes with a warm knife. You’re after little moon-shaped slices, roughly an inch long. They only need to be thin — they’re garnish, not fuel.
4. Crimp the crust edge
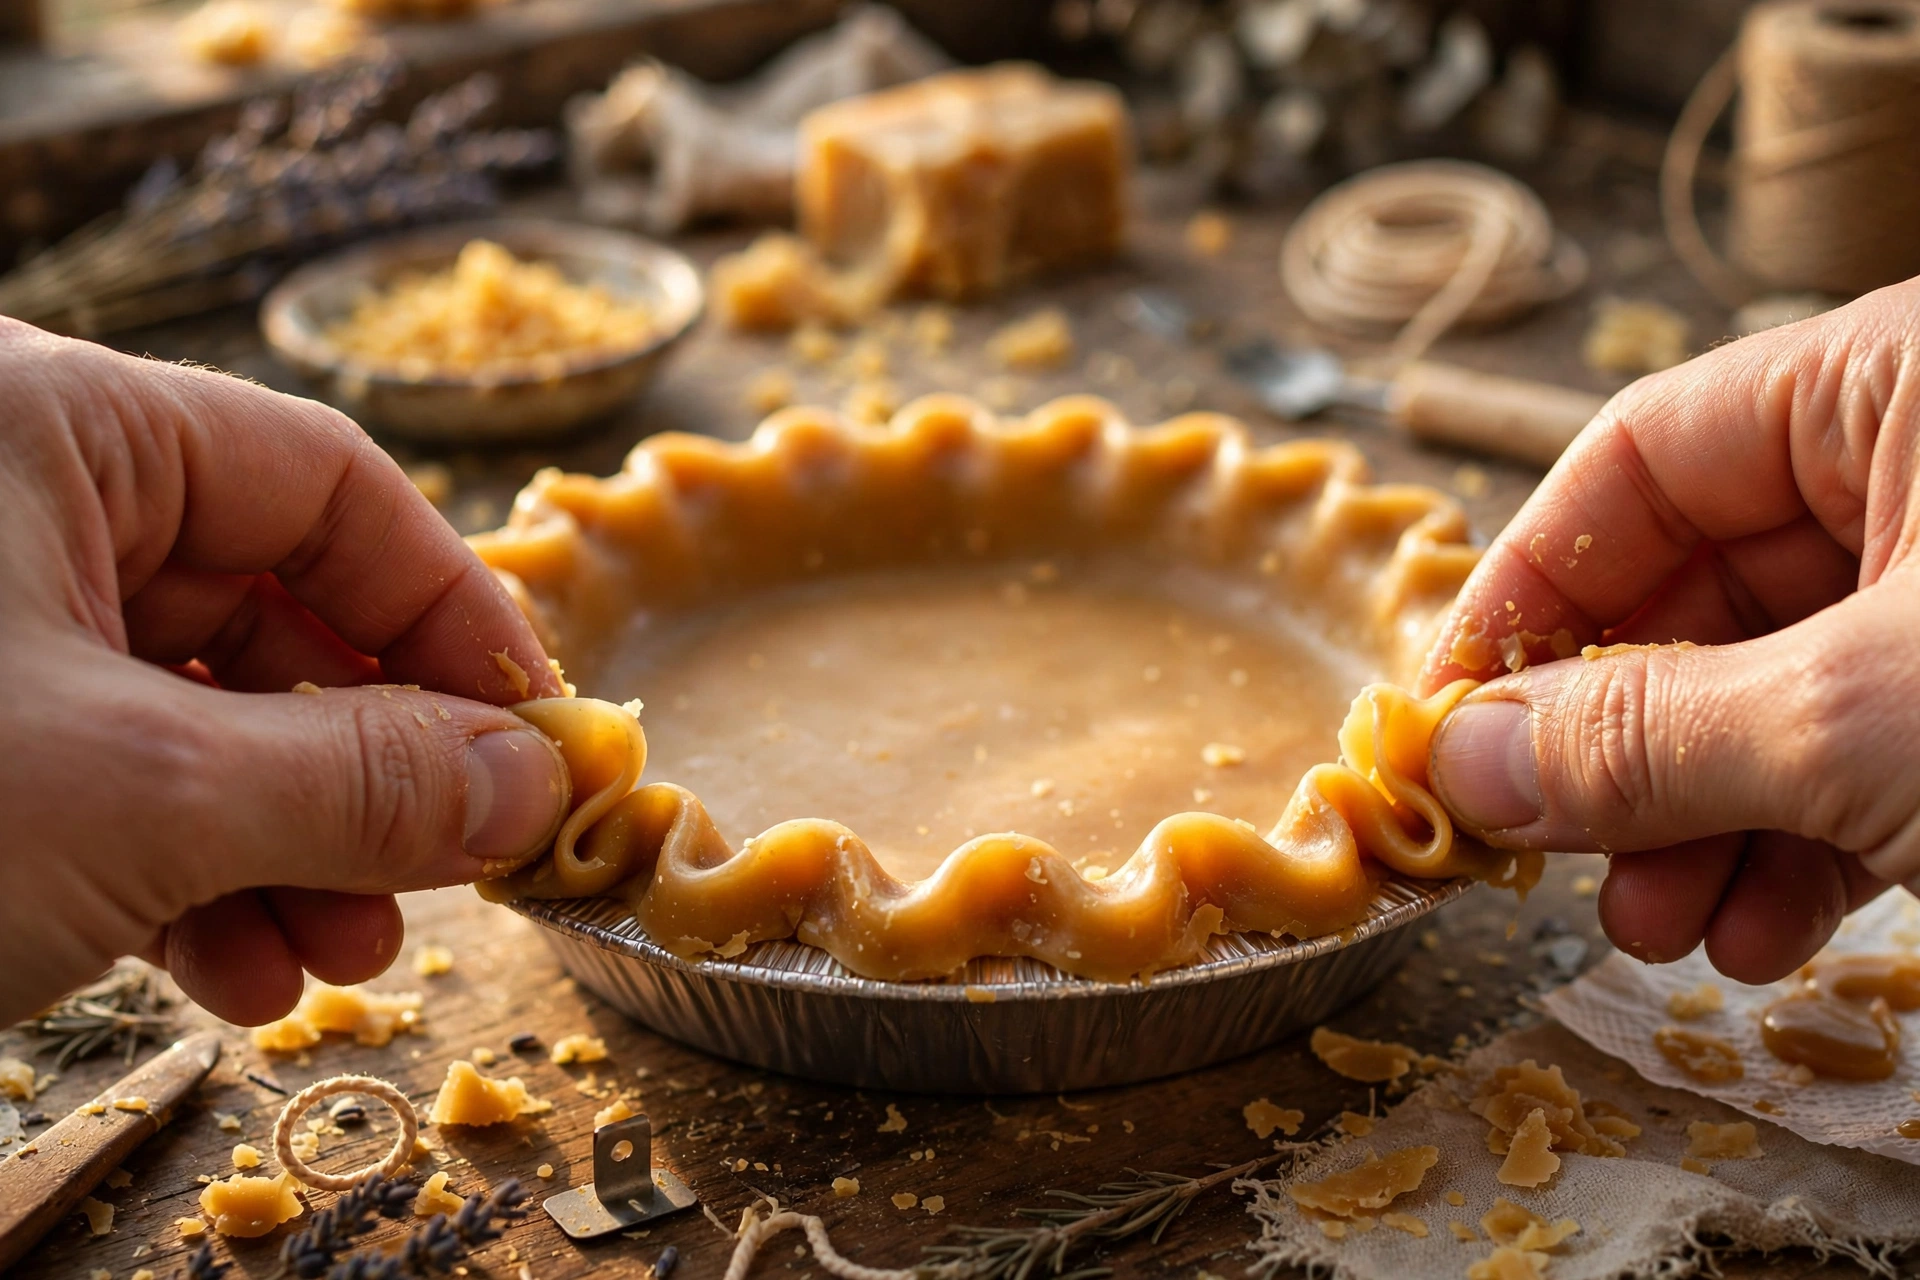
This is where it starts to look like pastry. Roll a rope of your firmer wax (tinted the same golden brown as the base), warm it in your hands until it’s pliable, and press it all the way around the inside of the tin’s rim. Then crimp it like pie dough: pinch with your thumb and forefinger at regular intervals to make scallops all the way around. Work while the rope is warm and soft — if it starts cracking, warm it gently in your hands again and keep going.
5. Weave the lattice
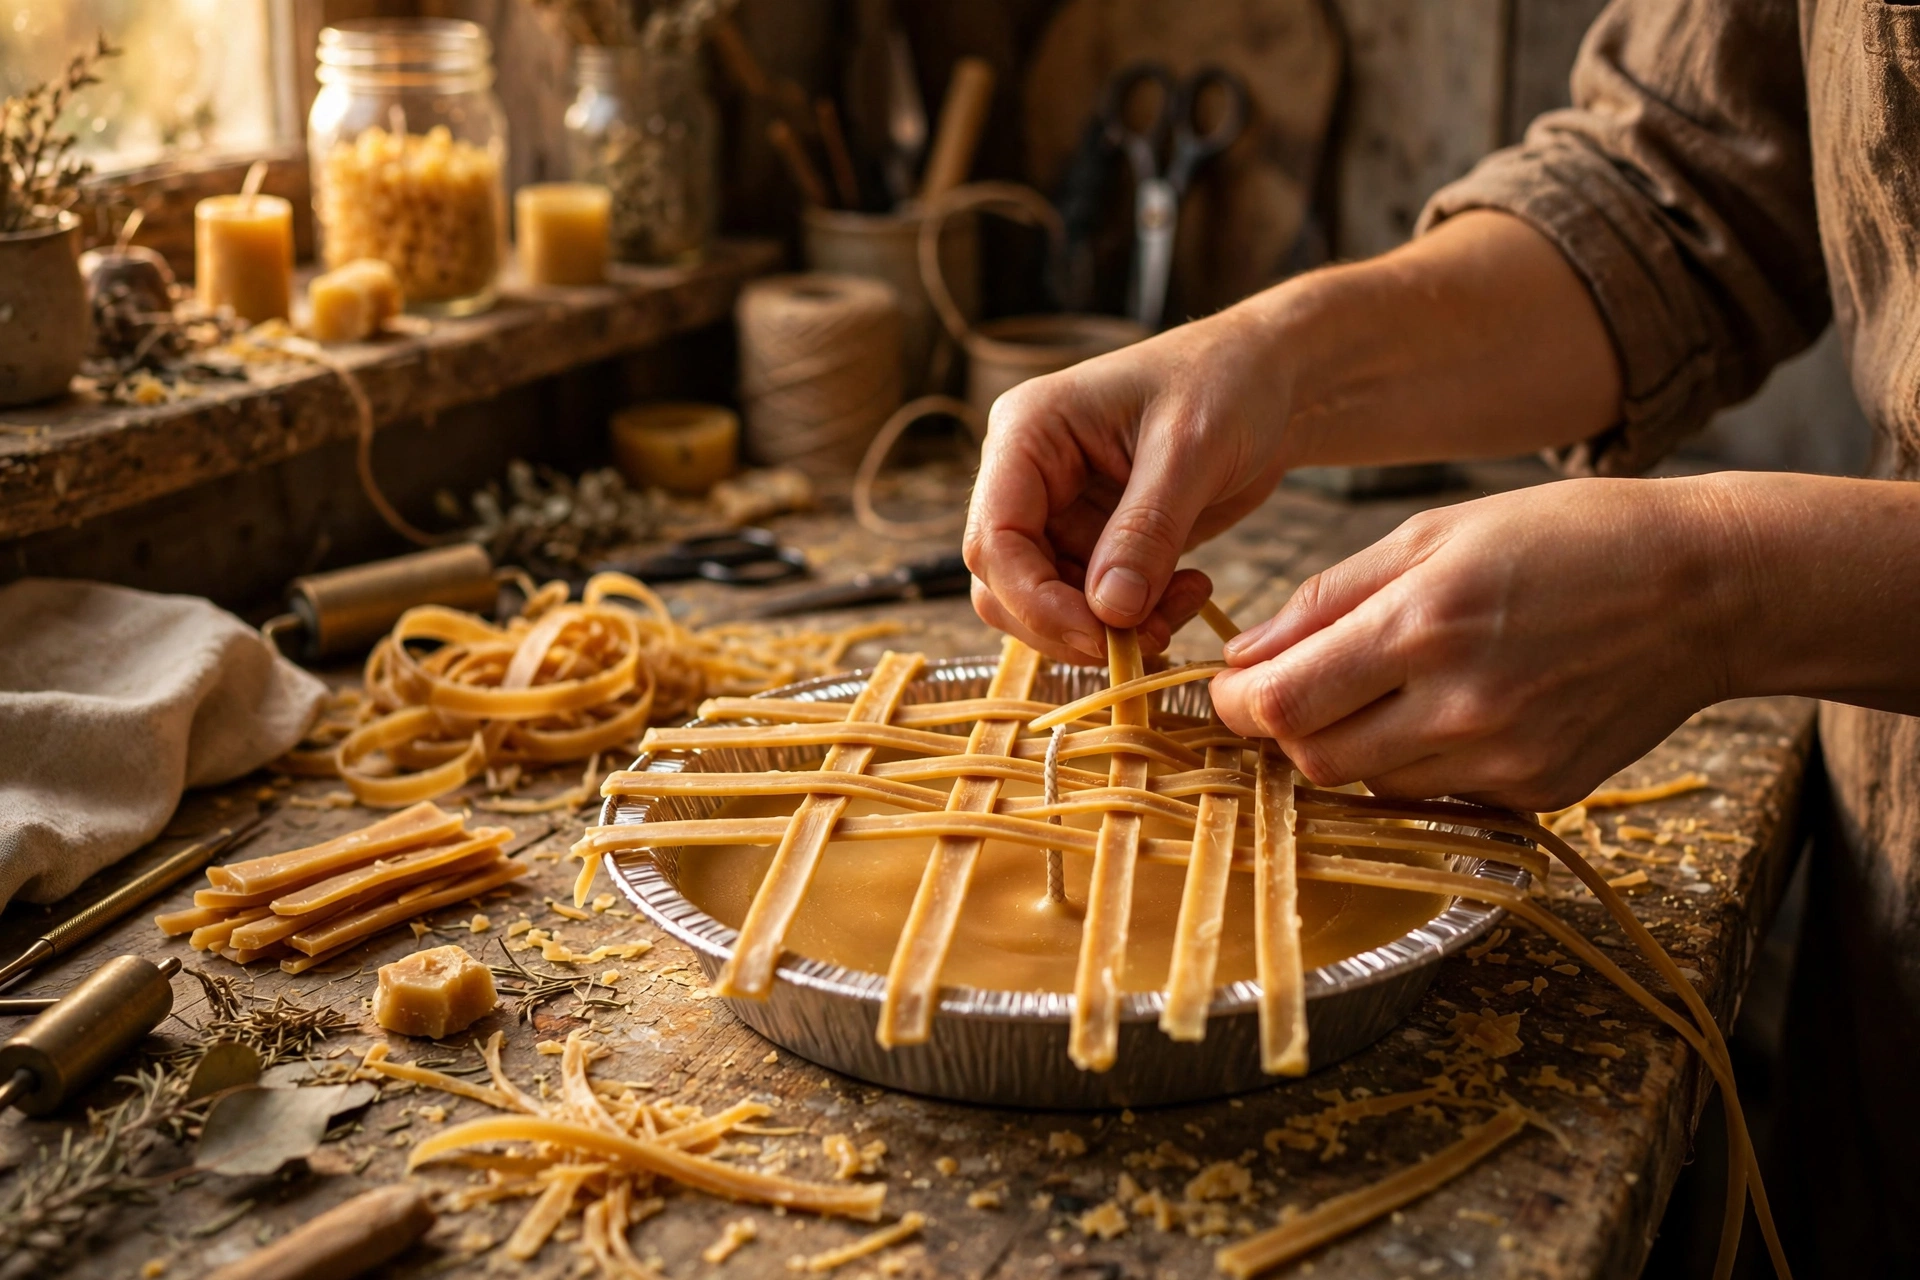
Roll or cut thin strips of your golden wax — about 1/2 inch wide and thin enough to be flexible. Lay half the strips in one direction across the tin, spacing them evenly, then weave the other half over-and-under in the opposite direction, real-lattice style. Tuck the strip ends under the crimped edge and press them gently to anchor. Trim any overhang with a warm knife.
6. Tuck in the apples, cure, and test burn
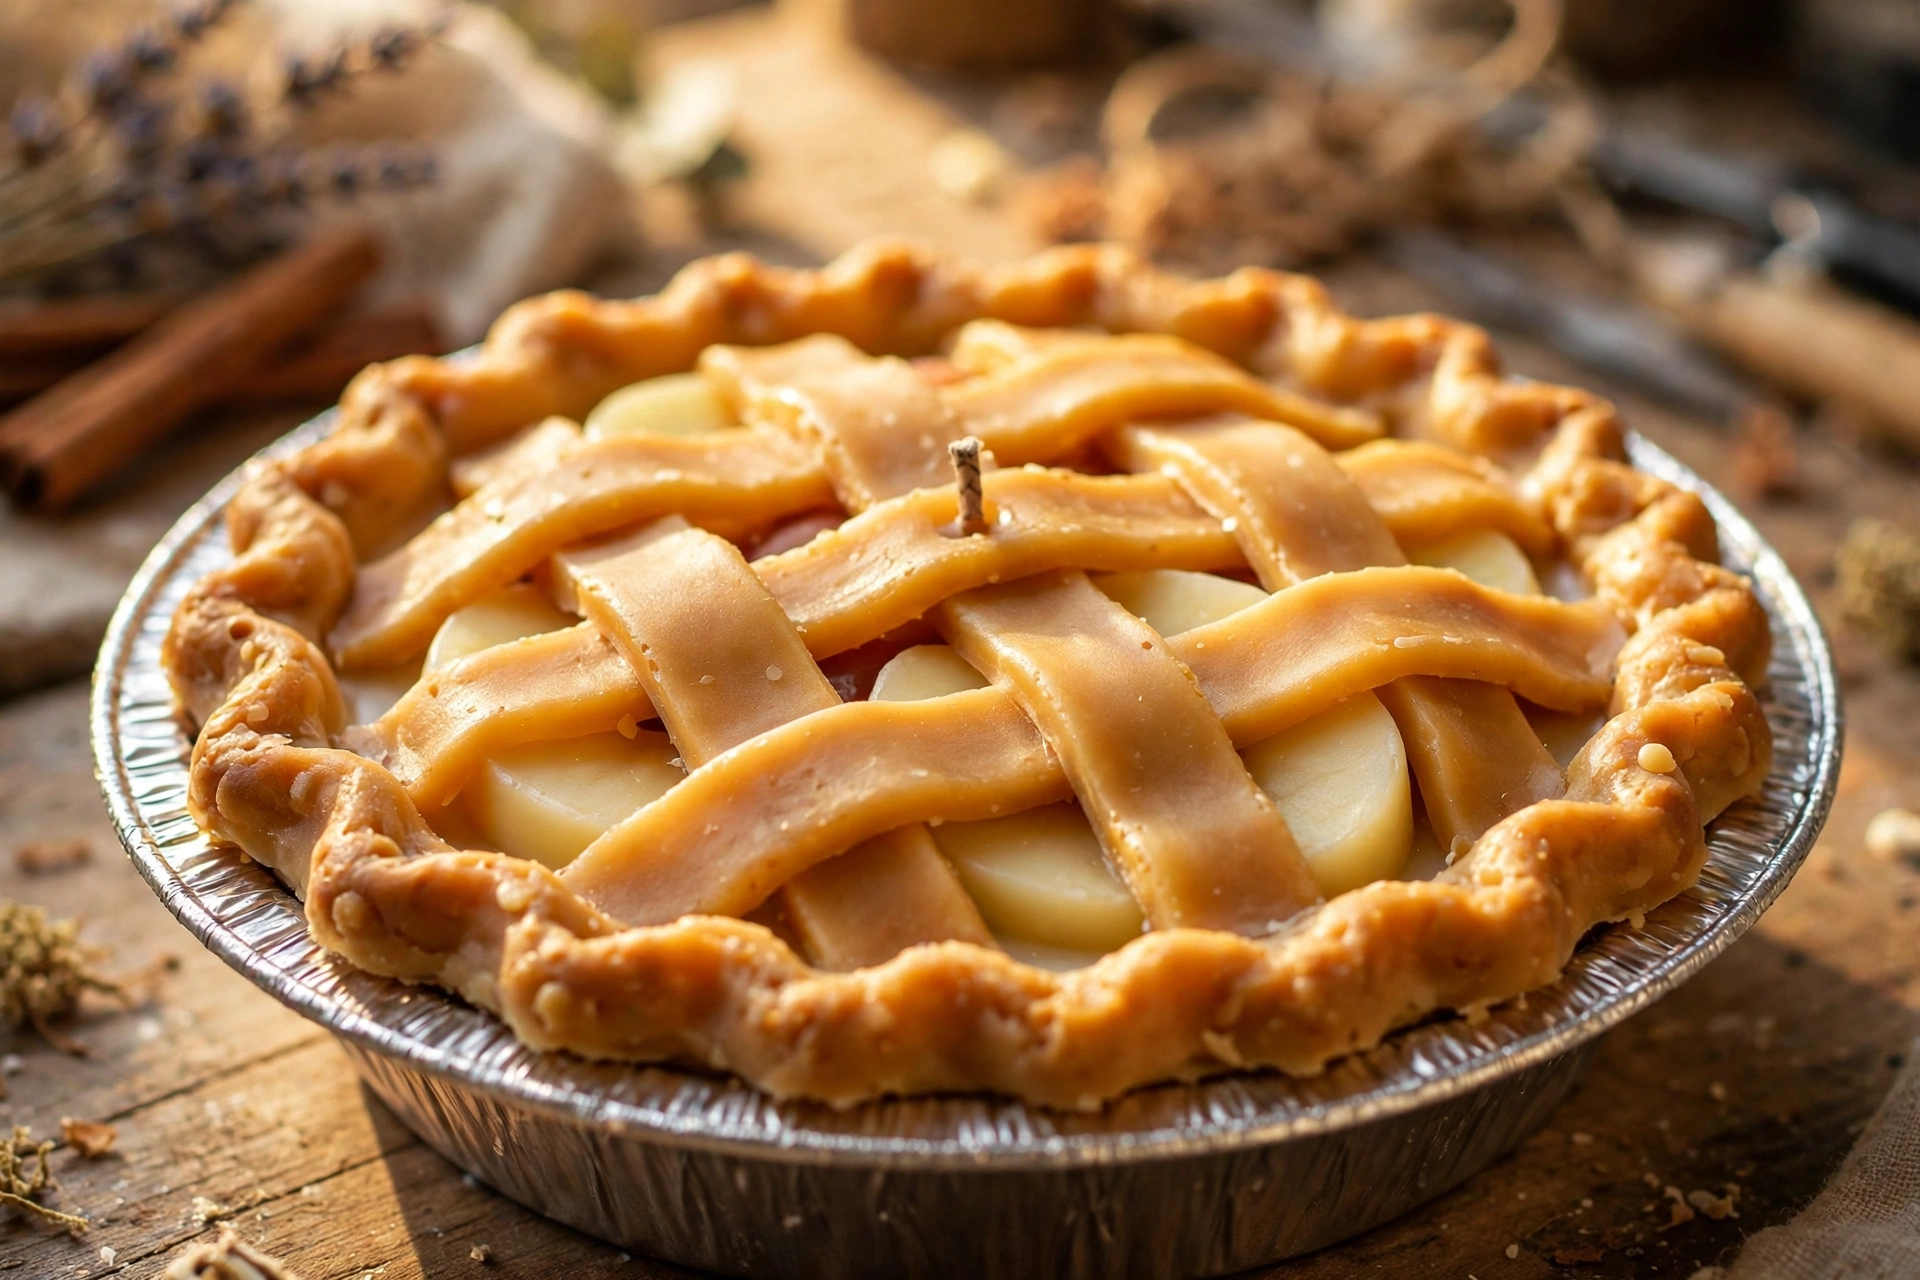
Slide a few wax apple slices under the lattice so they peek through the gaps — tuck them at angles like real fruit bubbling up. Press them in gently so they fuse to the base; a warm (not hot) base surface grips embeds best, so set them while the base is at room temperature and just press firmly. Then let the whole pie cure like any other candle — 7 to 14 days for most soy-based waxes — so the scent fully develops.
Now test burn it before gifting or selling. A wide tin with a lattice top burns differently than a flat candle: the lattice adds fuel above the melt pool and the wide surface demands more heat to reach edge to edge. Trim the wick to 1/4 inch, burn 2 to 4 hours in a draft-free spot, and check that the pool reaches the edges without the tin getting uncomfortably hot to touch. Weak hot throw in a wide tin almost always means the wick is too small for the diameter — wick up and test again.
Troubleshooting
Lattice strips melt into the base while weaving? The base was still warm underneath, or you handled the strips too long. Let the base cool completely first, work on a cool bench, and chill finished strips on parchment between weaving passes.
Crimped edge cracks as you pinch? The rope cooled too far. Warm it in your hands until it’s pliable again — and roll it a little thicker, since thin ropes cool and stiffen fast.
Apple slices sink or disappear? You pressed them into a base that was still too soft. Wait until the base is fully hard and at room temperature, then press firmly — they should sit on the surface and peek through the lattice, not embed like stones.
Weak hot throw in the wide tin? A wide tin is a lot of wax surface to warm. Confirm the candle fully cured (scent strengthens during cure), then revisit wick sizing — wide tins often need multiple wicks or a larger size than a same-depth jar would. Test burn each change.
Tin feels too hot during the burn? The wick is oversized for the metal vessel. Wick down and retest — thin metal transfers heat fast, so this candle runs closer to its limit than one in a glass jar.
Holiday variation: pumpkin pie
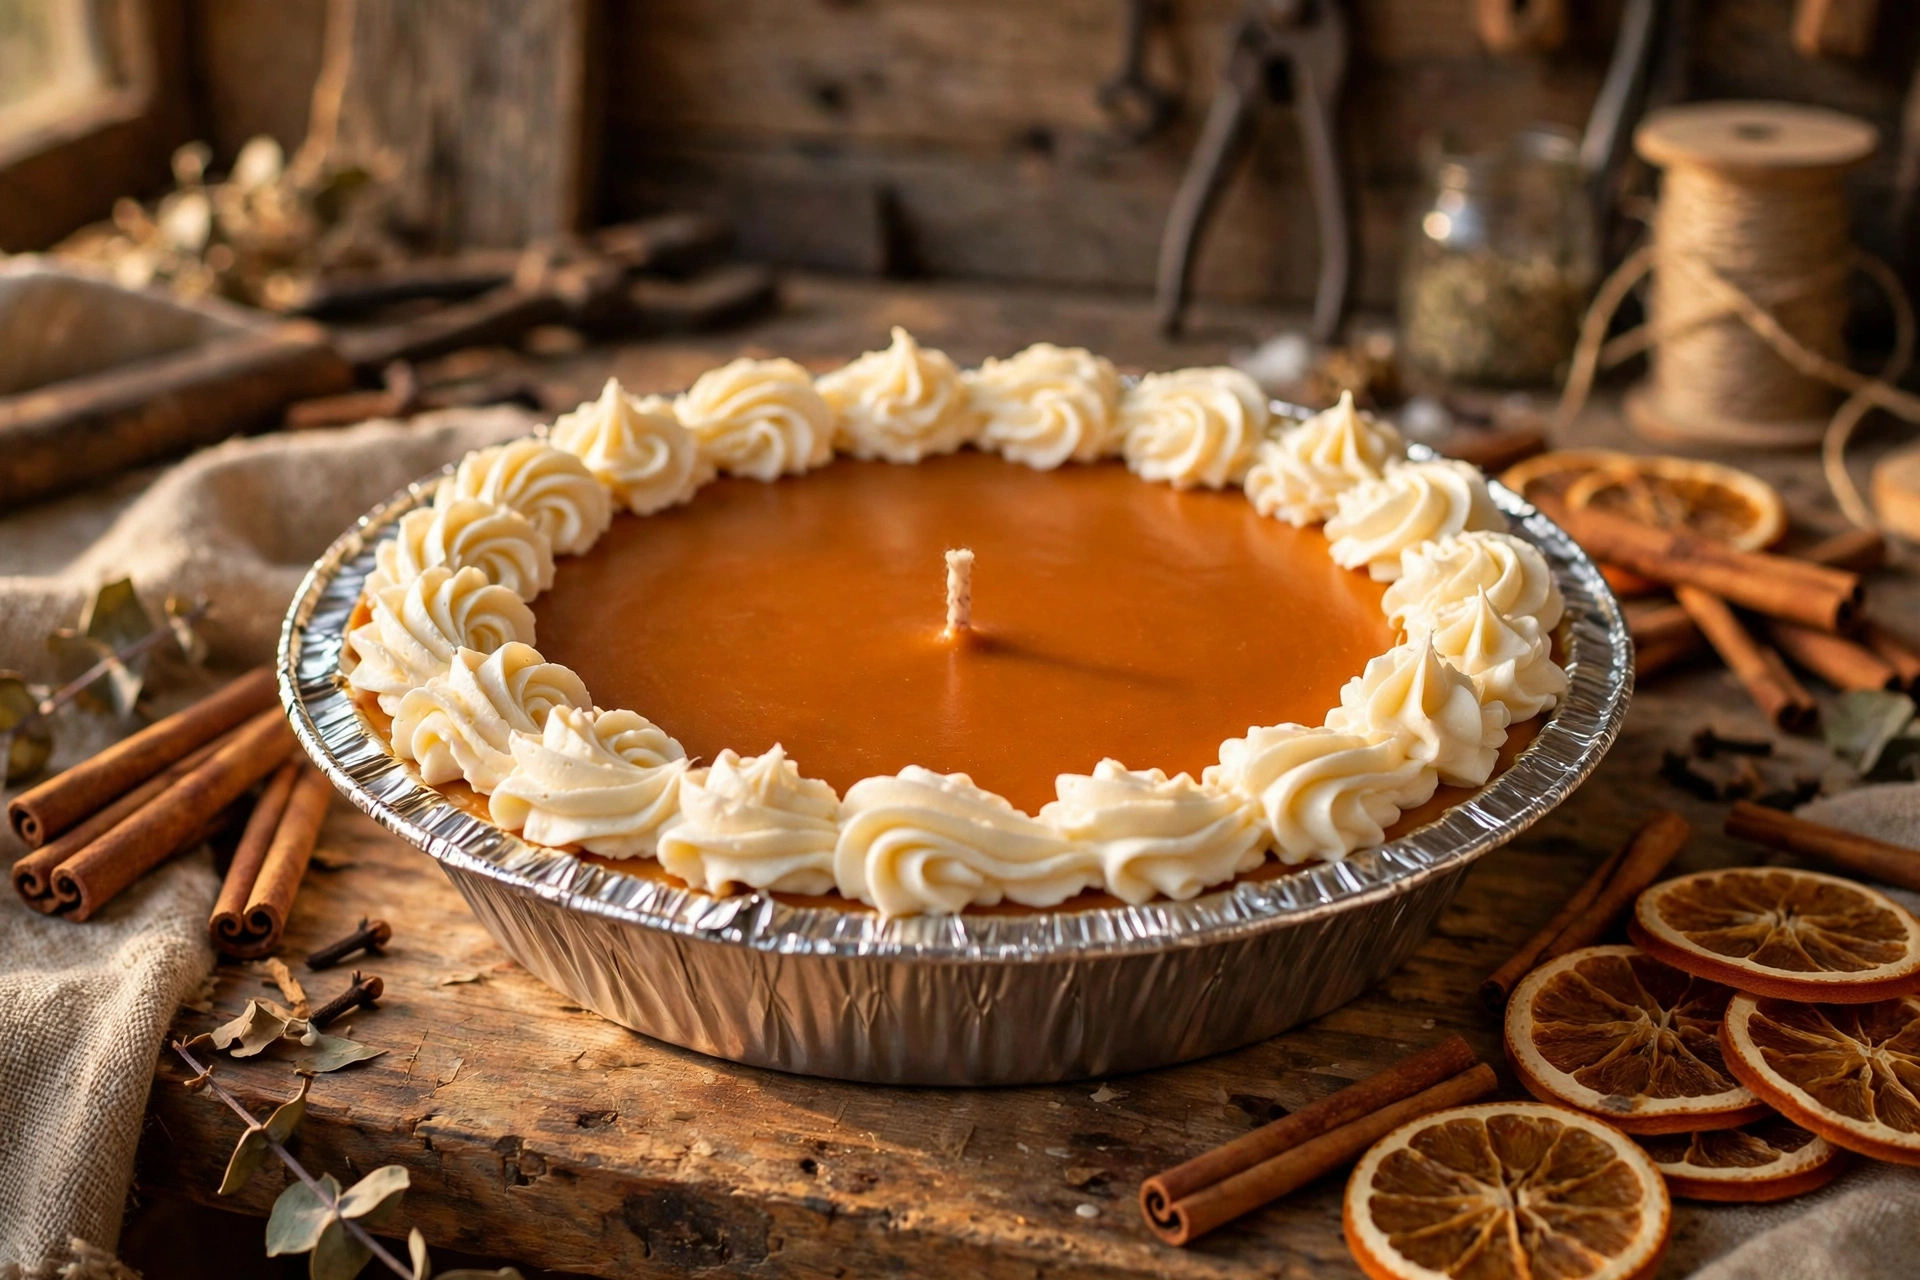
Skip the lattice and make the Thanksgiving classic. Tint the base a deeper, warmer orange and use a pumpkin-spice fragrance direction instead of apple — same 6 to 10 percent load range, same cure. Pour the top perfectly smooth, then pipe a whipped-wax border around the rim for the “crust” (our whipped wax tutorial covers the technique). Finish with a dusting of brown wax “cinnamon” shavings on top. No lattice means this version is faster to make and slightly safer to burn — fewer raised wax shapes above the melt pool.
Gifting and selling
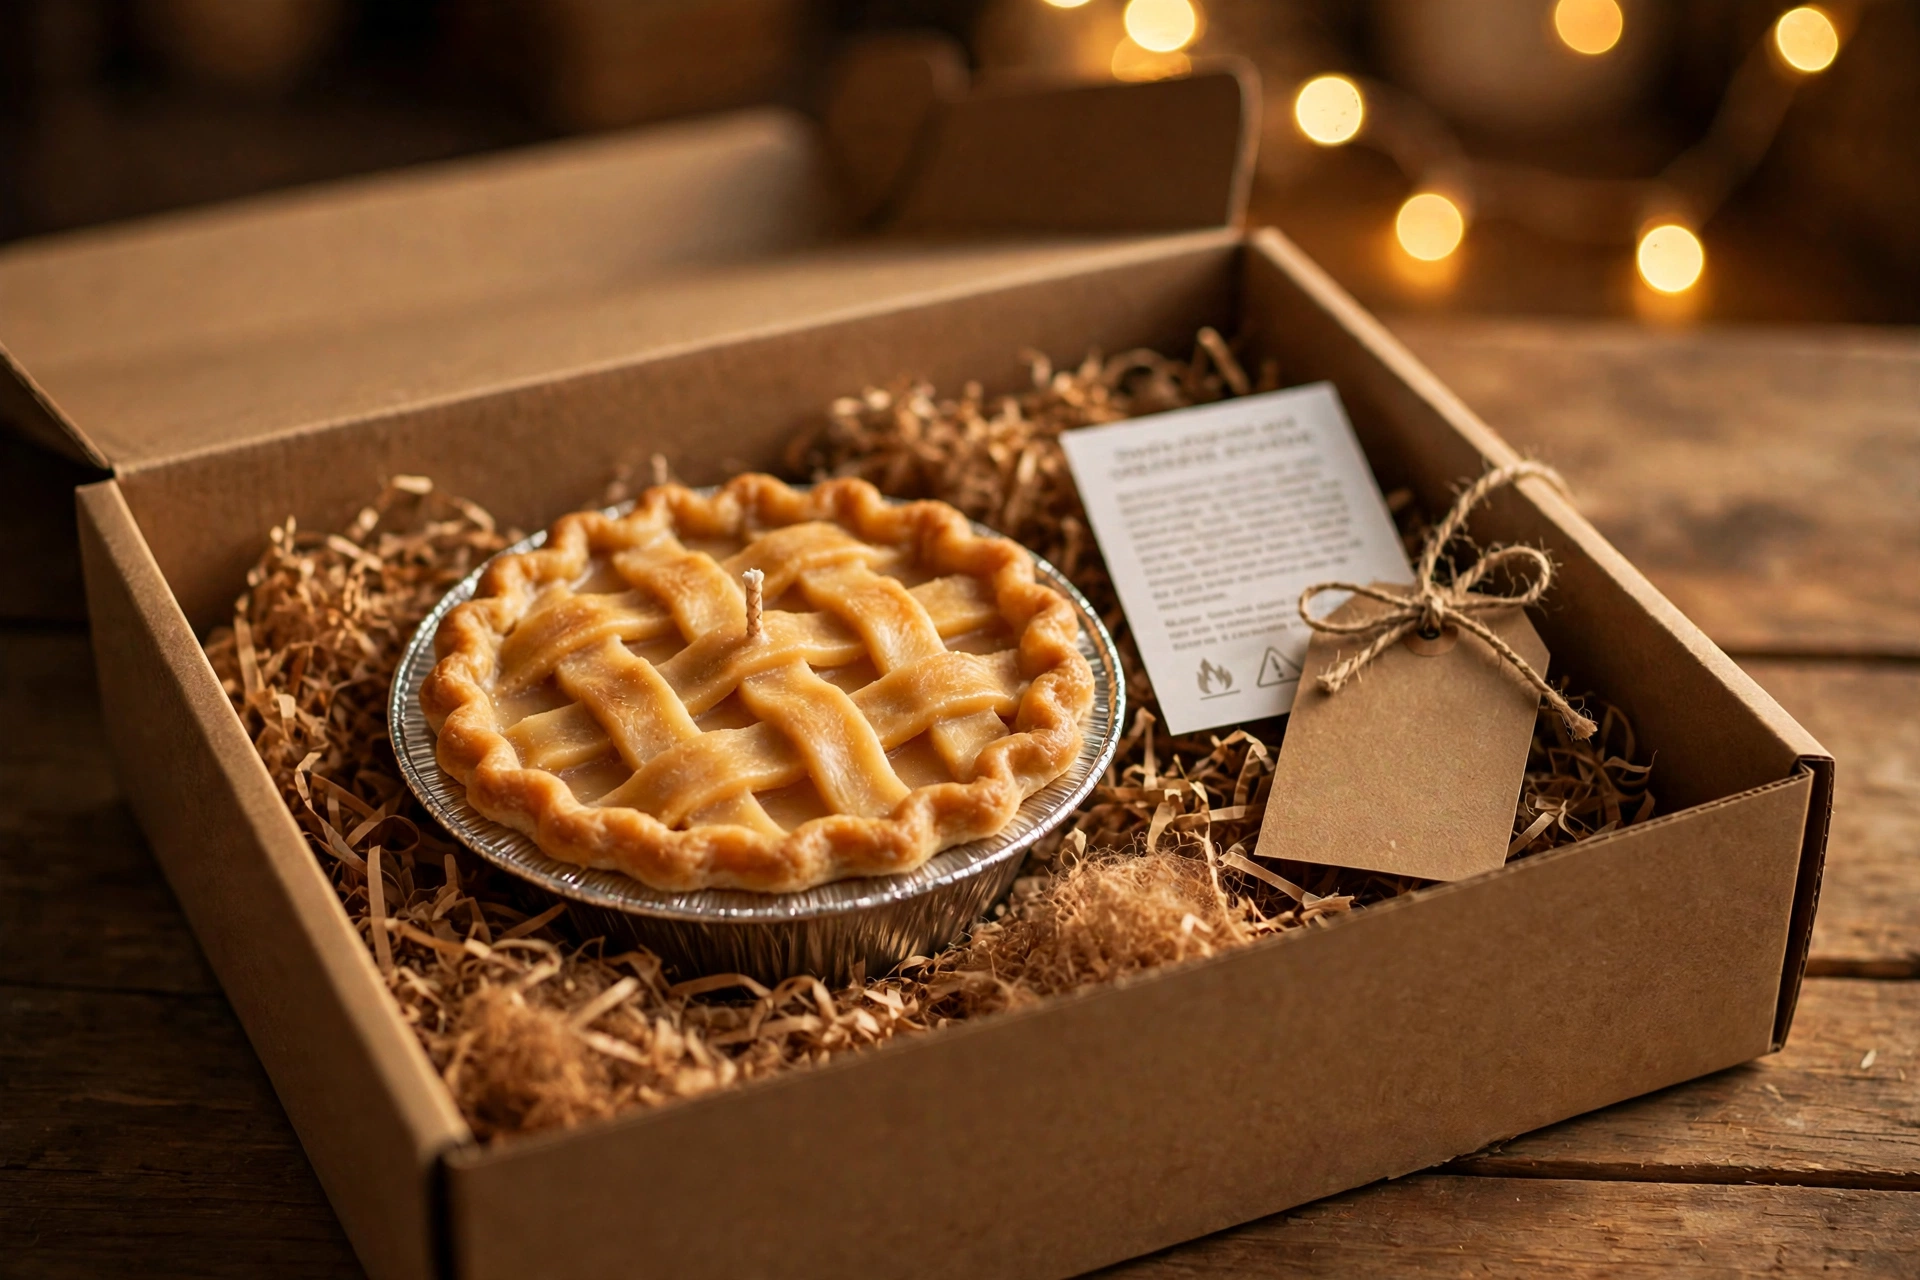
Pie candles are born for holiday gifting — they’re the rare homemade candle that needs no explanation when someone opens the box. Wrap the cooled candle in tissue, nest it in a gift box with filler so the lattice and crimped edge don’t get crushed, and tuck in a printed card with the basics: the scent, burn time, trim the wick to 1/4 inch, and never leave it burning unattended. And because it looks like food, put “candle — do not eat” on the label itself, not just the gift card — labels travel with the candle, cards get lost.
Safety first
All the standard candle rules apply: trim the wick to 1/4 inch before every burn, never leave a burning candle unattended, keep burns to 4 hours or less, and burn on a heat-safe plate in a draft-free spot. Two extras for pie candles:
It looks like real pie. This is the whole point — and the whole risk. Keep finished candles away from small children who might try to taste them, label every one as a candle, and never display them near real food at markets or parties. Anyone who could mistake it for food shouldn’t be able to reach it.
The lattice melts down into the pool. The woven top and crimped edge add extra fuel above the melt pool, so the first burn can run hotter than a flat candle in the same tin. Test burn every design — and never assume the wick that worked for your regular container candle is right for the pie version.
Next steps
Pair this with our whipped dessert candle tutorial for a full dessert-candle lineup at holiday markets. If the wick sizing for the wide tin gave you trouble, the wick selection and test burn tutorial walks through the whole testing method.



