
How to Render Raw Beeswax at Home
Raw wax straight from the hive looks nothing like the clean golden blocks at the supply store — it arrives sticky, gritty, and full of debris. Rendering is how you fix that. This tutorial shows you a simple two-melt method that turns raw cappings and comb into clean golden blocks, ready for candles and more.
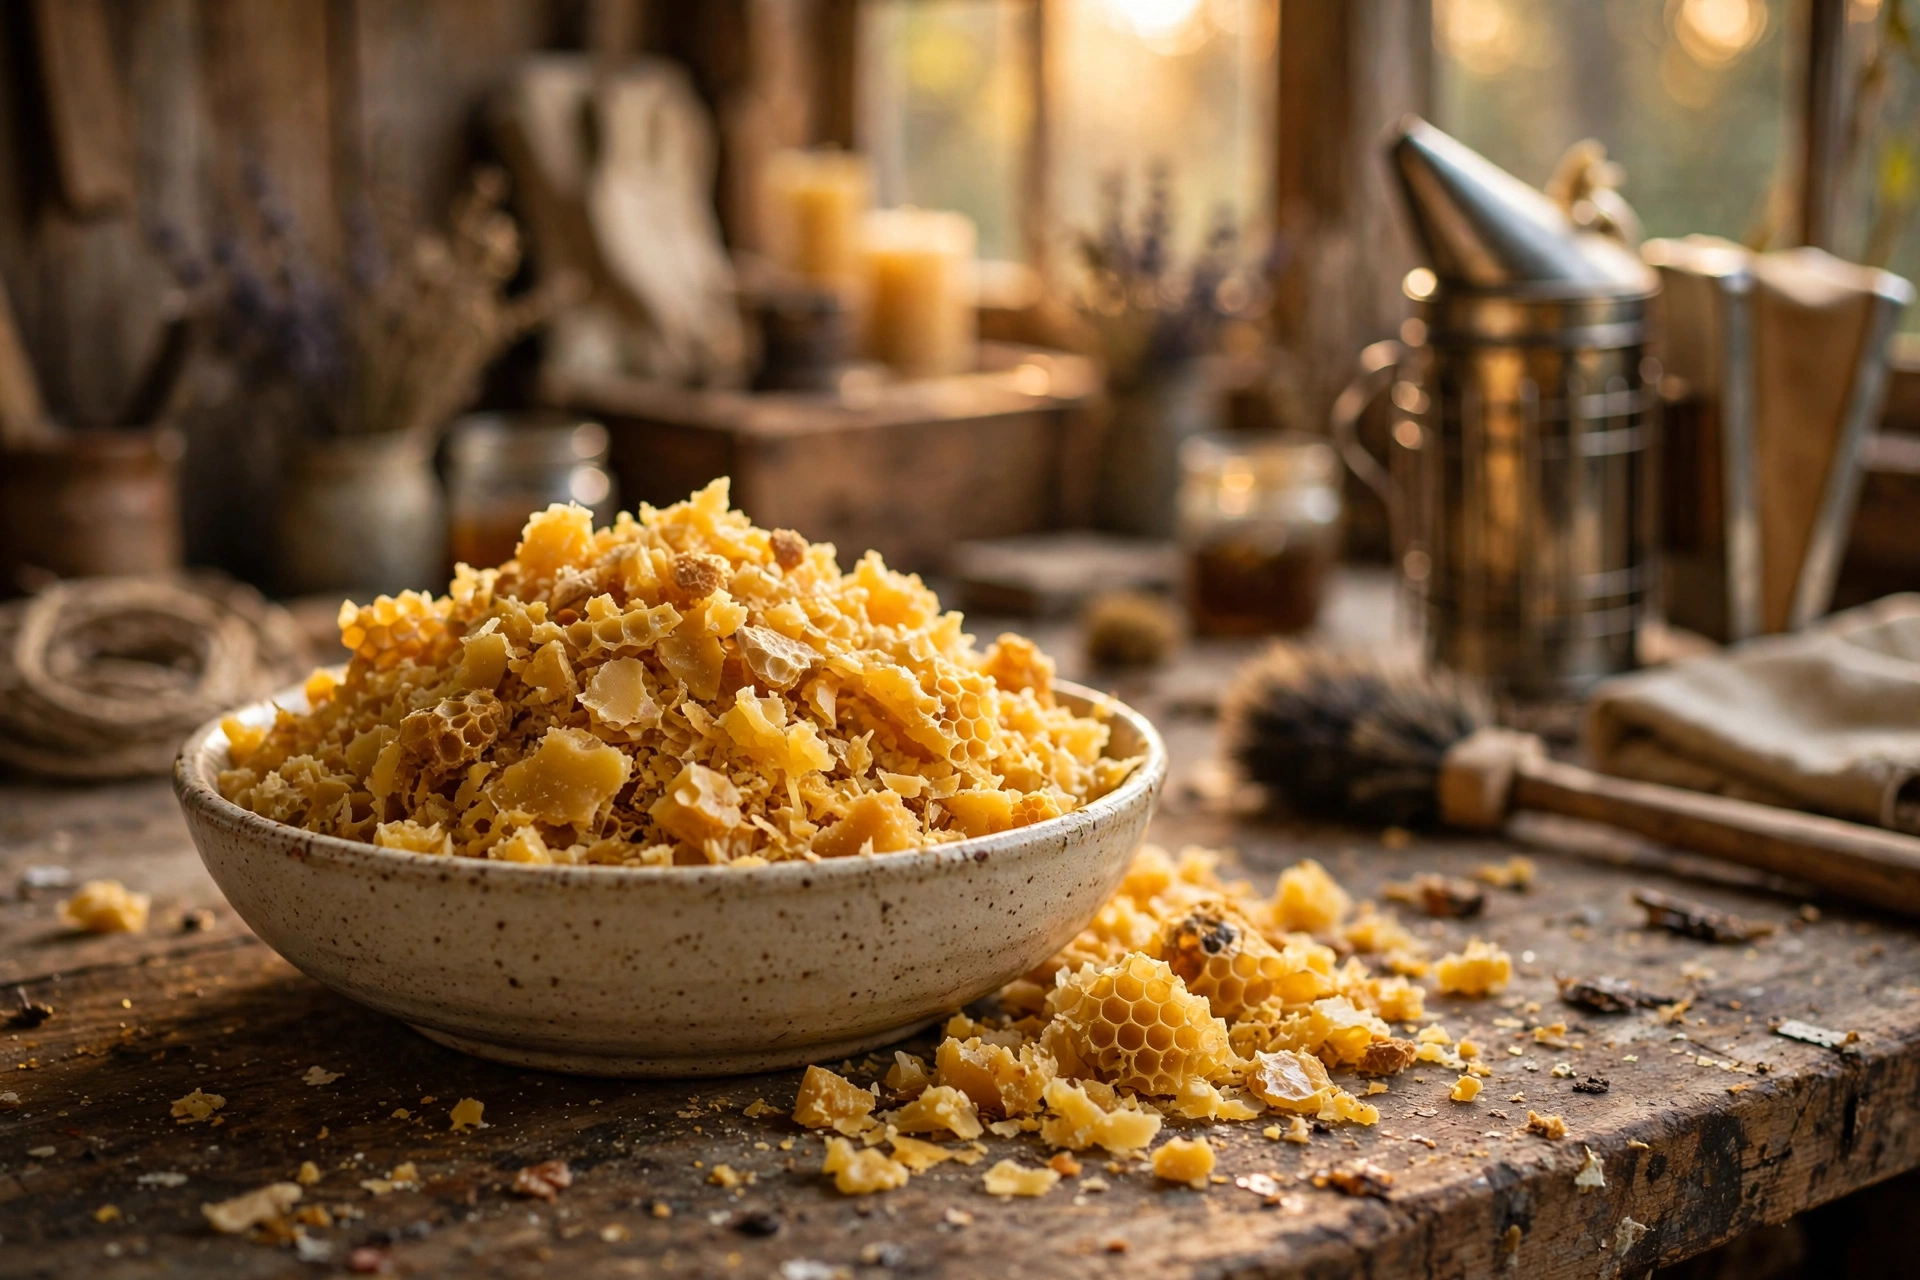
What rendering is — and why raw wax needs it
Raw wax comes out of the hive mixed with honey, propolis, pollen, bee parts, and bits of old brood comb. Rendering is just controlled melting plus filtering: heat separates the wax from water-soluble debris, and each melt-and-filter cycle leaves the wax cleaner than before. Two cycles is enough for most home batches.
It matters because dirty wax misbehaves. Grit and debris clog wicks, leftover honey scorches and darkens the wax, and propolis can throw an off smell into a candle. Clean wax burns better, smells like honey instead of barnyard, and gives you the pale golden color people expect from beeswax candles.
Cappings vs. brood comb: render each for its best use
Not all raw wax is equal. What it was in the hive decides how it renders and what it is best for afterward.
Cappings. The thin wax caps bees build over full honey cells. This is the cleanest raw wax you can get — light golden, mildly honey-scented, and free of brood residue. Cappings render into the brightest, cleanest blocks and are the best choice for candles, balms, and anything where color and scent matter.
Brood comb. Comb from frames where bees raised brood. It carries cocoon silk, propolis, and years of traffic — it renders much darker, sometimes nearly brown, and no amount of filtering will make it pale gold. That is fine: it is excellent for wood polish, leather conditioner, garden grafting wax, and rustic candles where color does not matter.
The principle: sort before you melt. Render cappings separately for your candle wax, and reserve the dark brood comb for non-candle uses. Mixing them just drags the quality of your good wax down. To see where both kinds of wax fit in the full journey from hive to finished candle, read our pillar post on getting beeswax from hive to block.
What you’ll need
- Raw cappings or comb — a few pounds is a comfortable first batch
- A large stainless steel or enamel stockpot, dedicated to wax only (wax residue never fully comes out — do not use a cooking pot)
- Water, for the first-melt water bath
- A cheesecloth or fine nylon bag for holding the raw wax during the first melt
- A heat-safe pouring pot or bowl for the second melt, used as a double boiler
- Fine filtering layers: paper towels, several layers of fine cheesecloth, or a fine-mesh nylon fabric
- A cooking thermometer
- Silicone molds or a parchment-lined pan for the finished blocks
- Tongs, a bench scraper, and a stirring spoon — all retired from kitchen duty
Steps: the two-melt method
1. Sort and prep the raw wax
Break the comb into fist-sized pieces and pick out obvious debris — stray bee parts, bits of wood, propolis chunks. Separate light cappings from dark brood comb into different batches (see above for why). If the wax is sticky with honey, give it a cold-water soak first: honey dissolves in cold water while wax stays put, and the soak pulls a lot of honey out before any heat is involved.
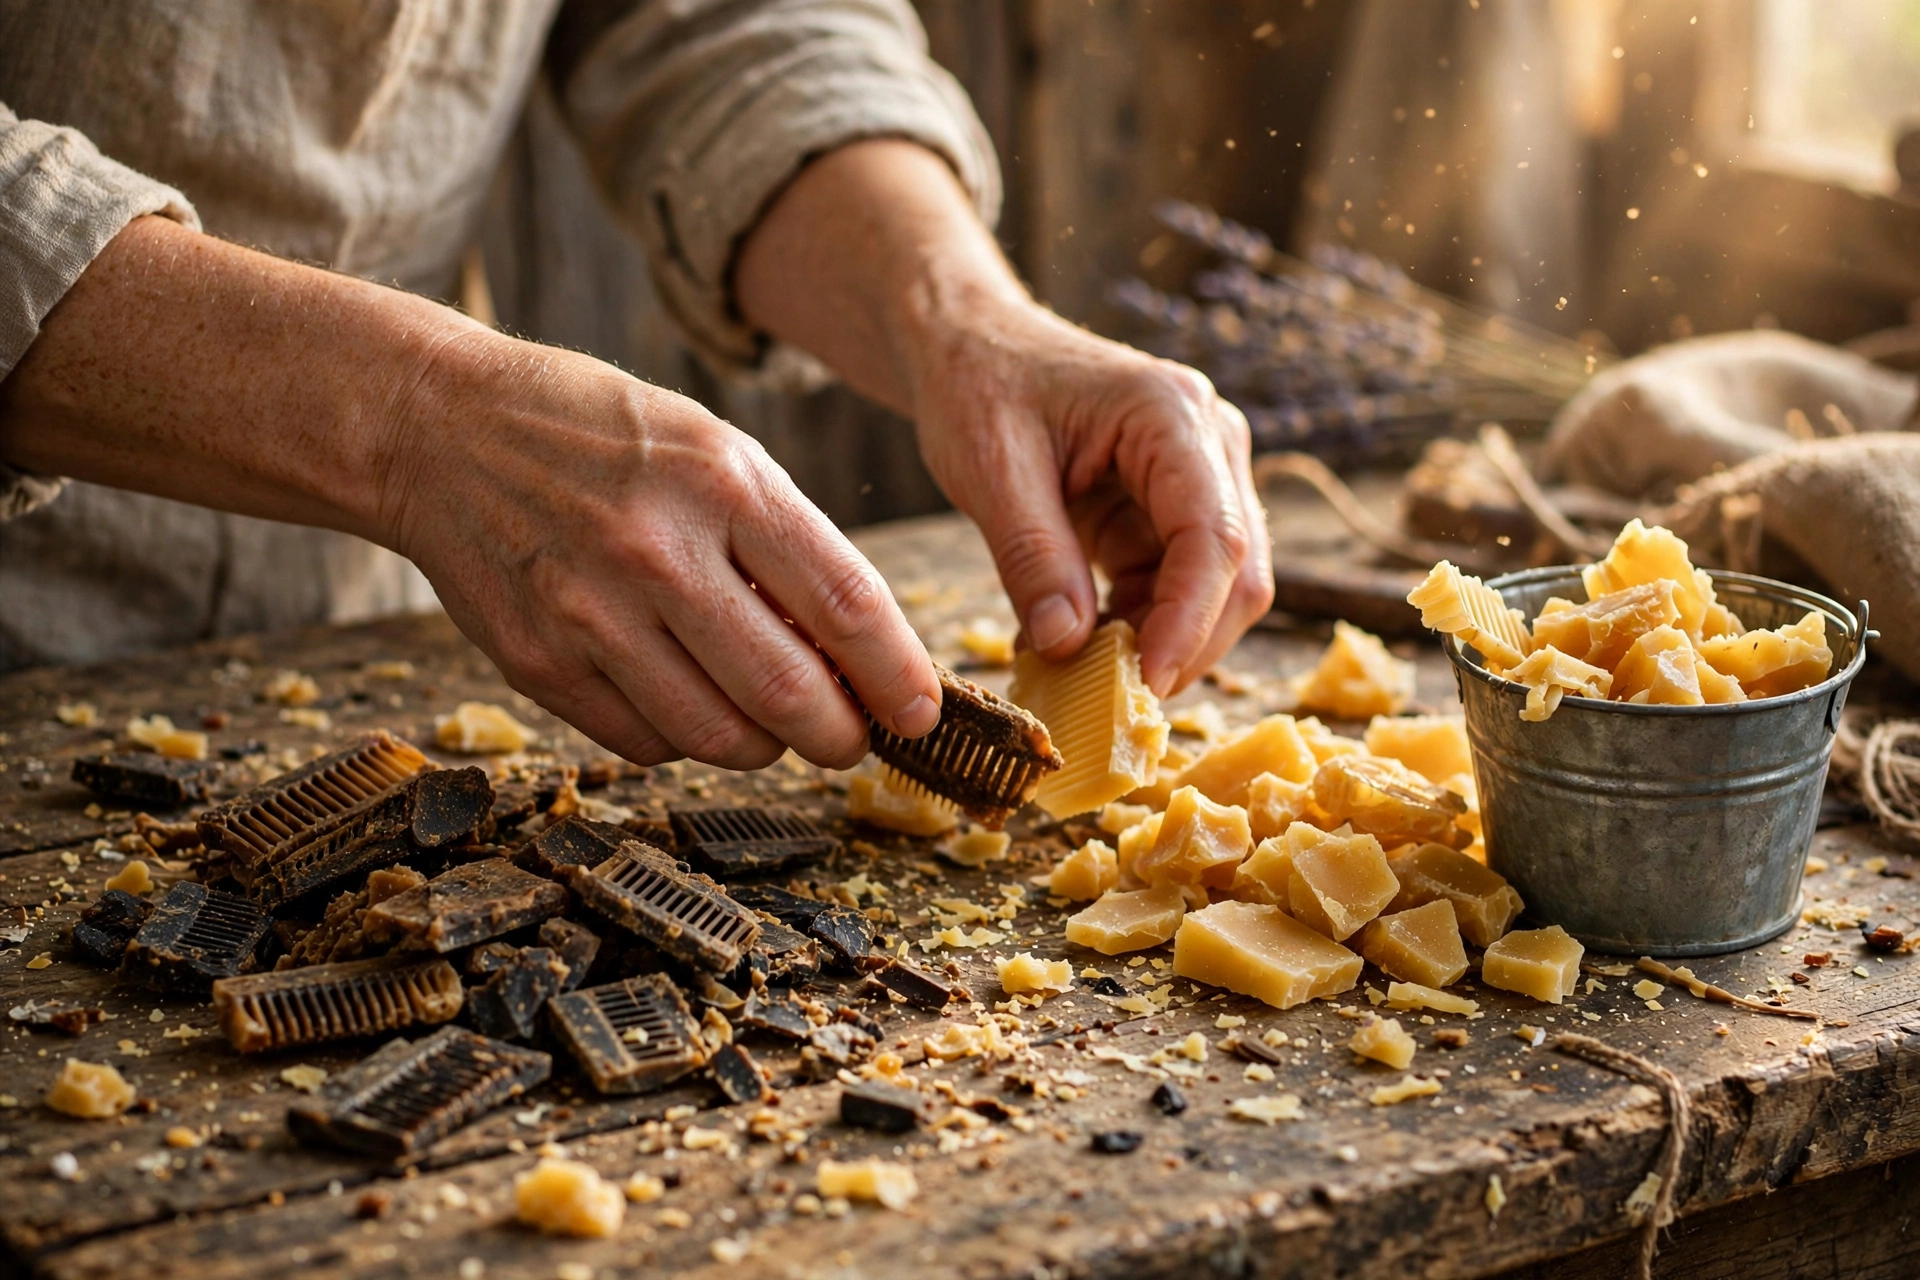
2. First melt — the water-bath method
Fill your stockpot about one-third full of water and bring it to a gentle simmer. Put the raw wax in the cheesecloth or nylon bag, tie it shut, and lower it into the water with tongs. As the wax melts, it escapes through the fabric and rises to the surface while the debris stays trapped in the bag. Keep the heat gentle — a lazy simmer, never a rolling boil — and give it 30 to 60 minutes for a typical batch.
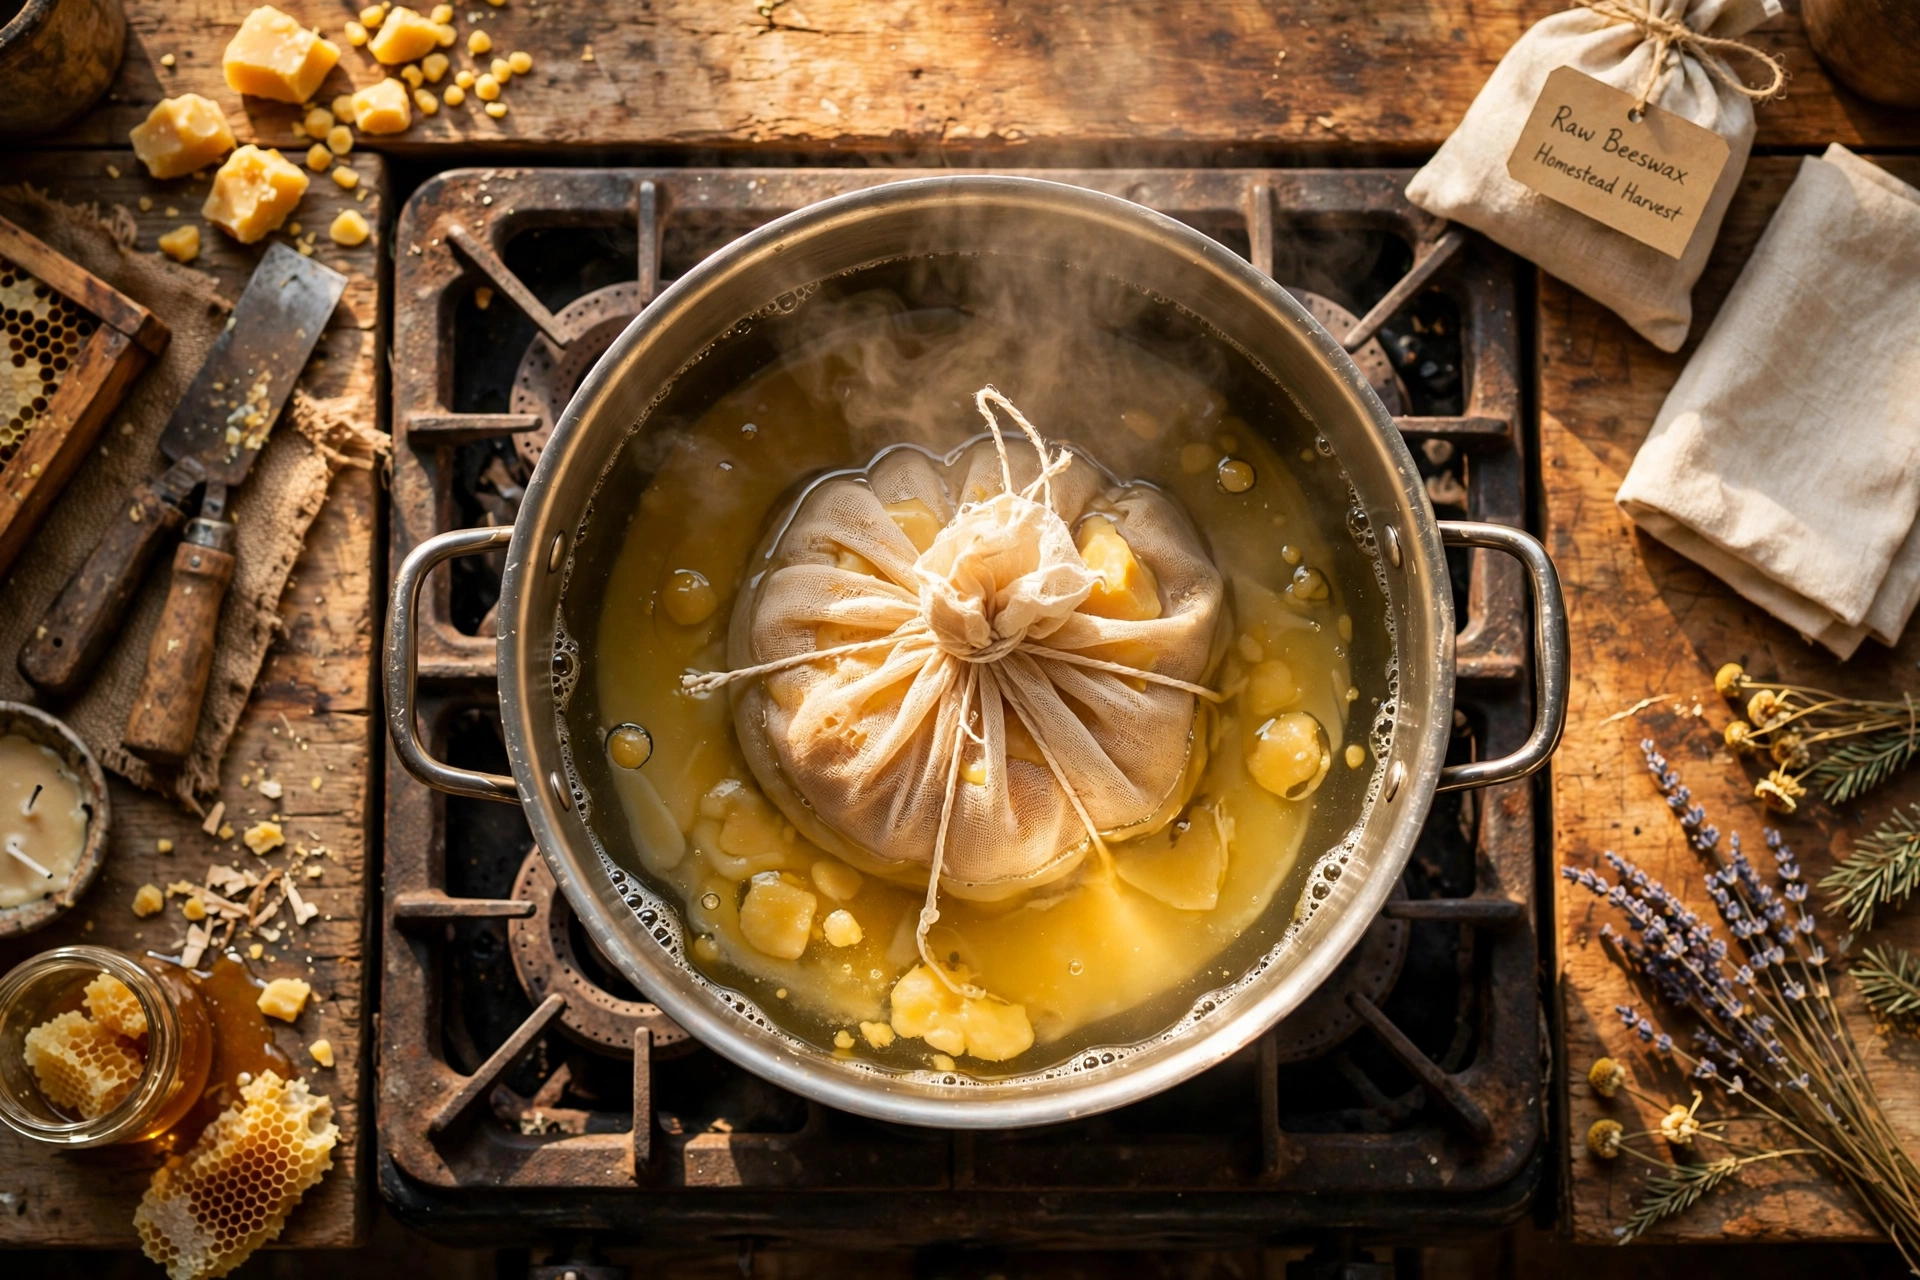
When the bag stops dripping wax, lift it out with tongs, let it cool enough to handle, and squeeze out the last of the wax over the pot. Discard the debris-filled bag.
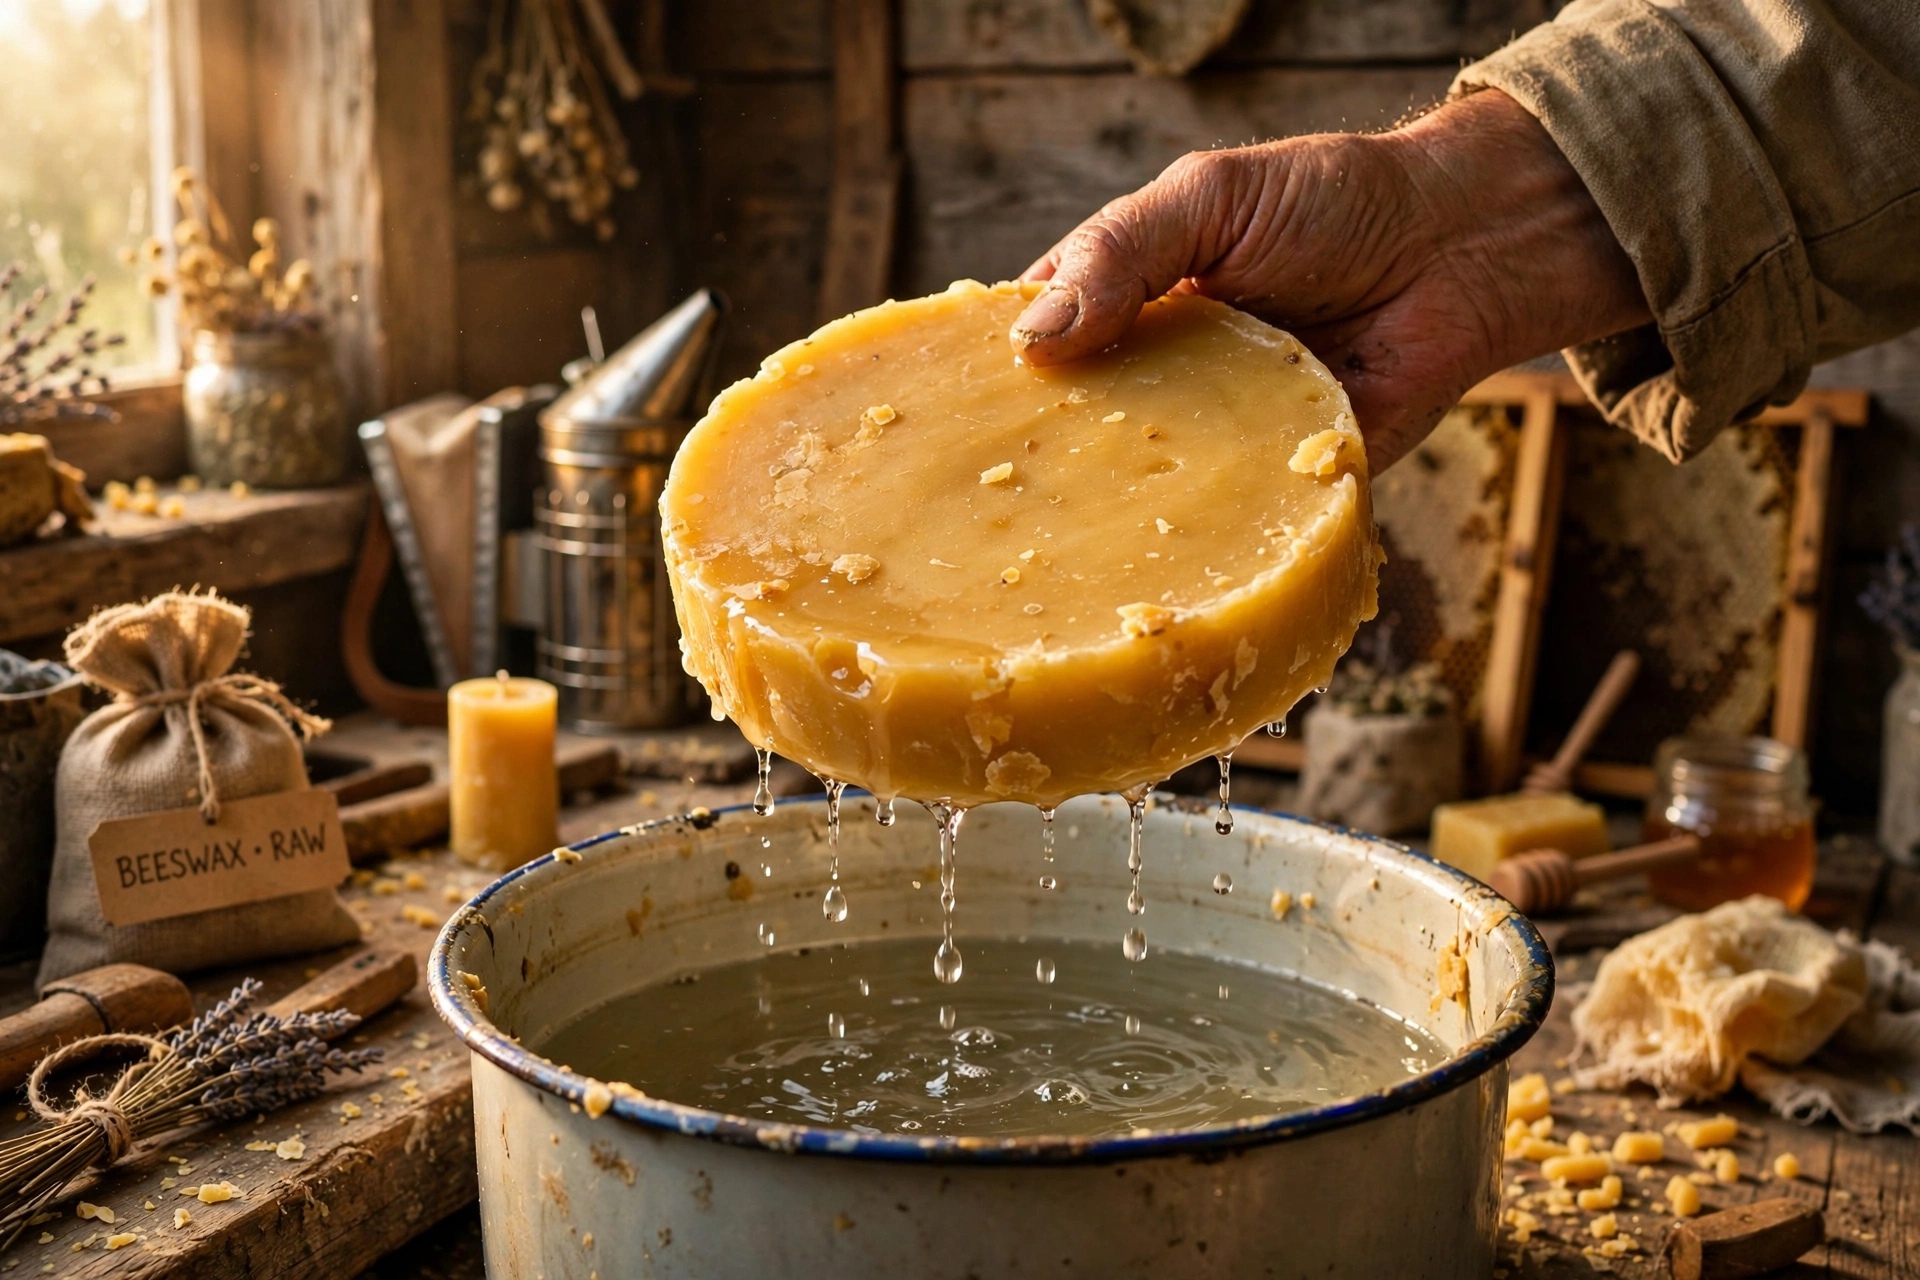
3. Cool and lift the wax disc, then scrape the bottom
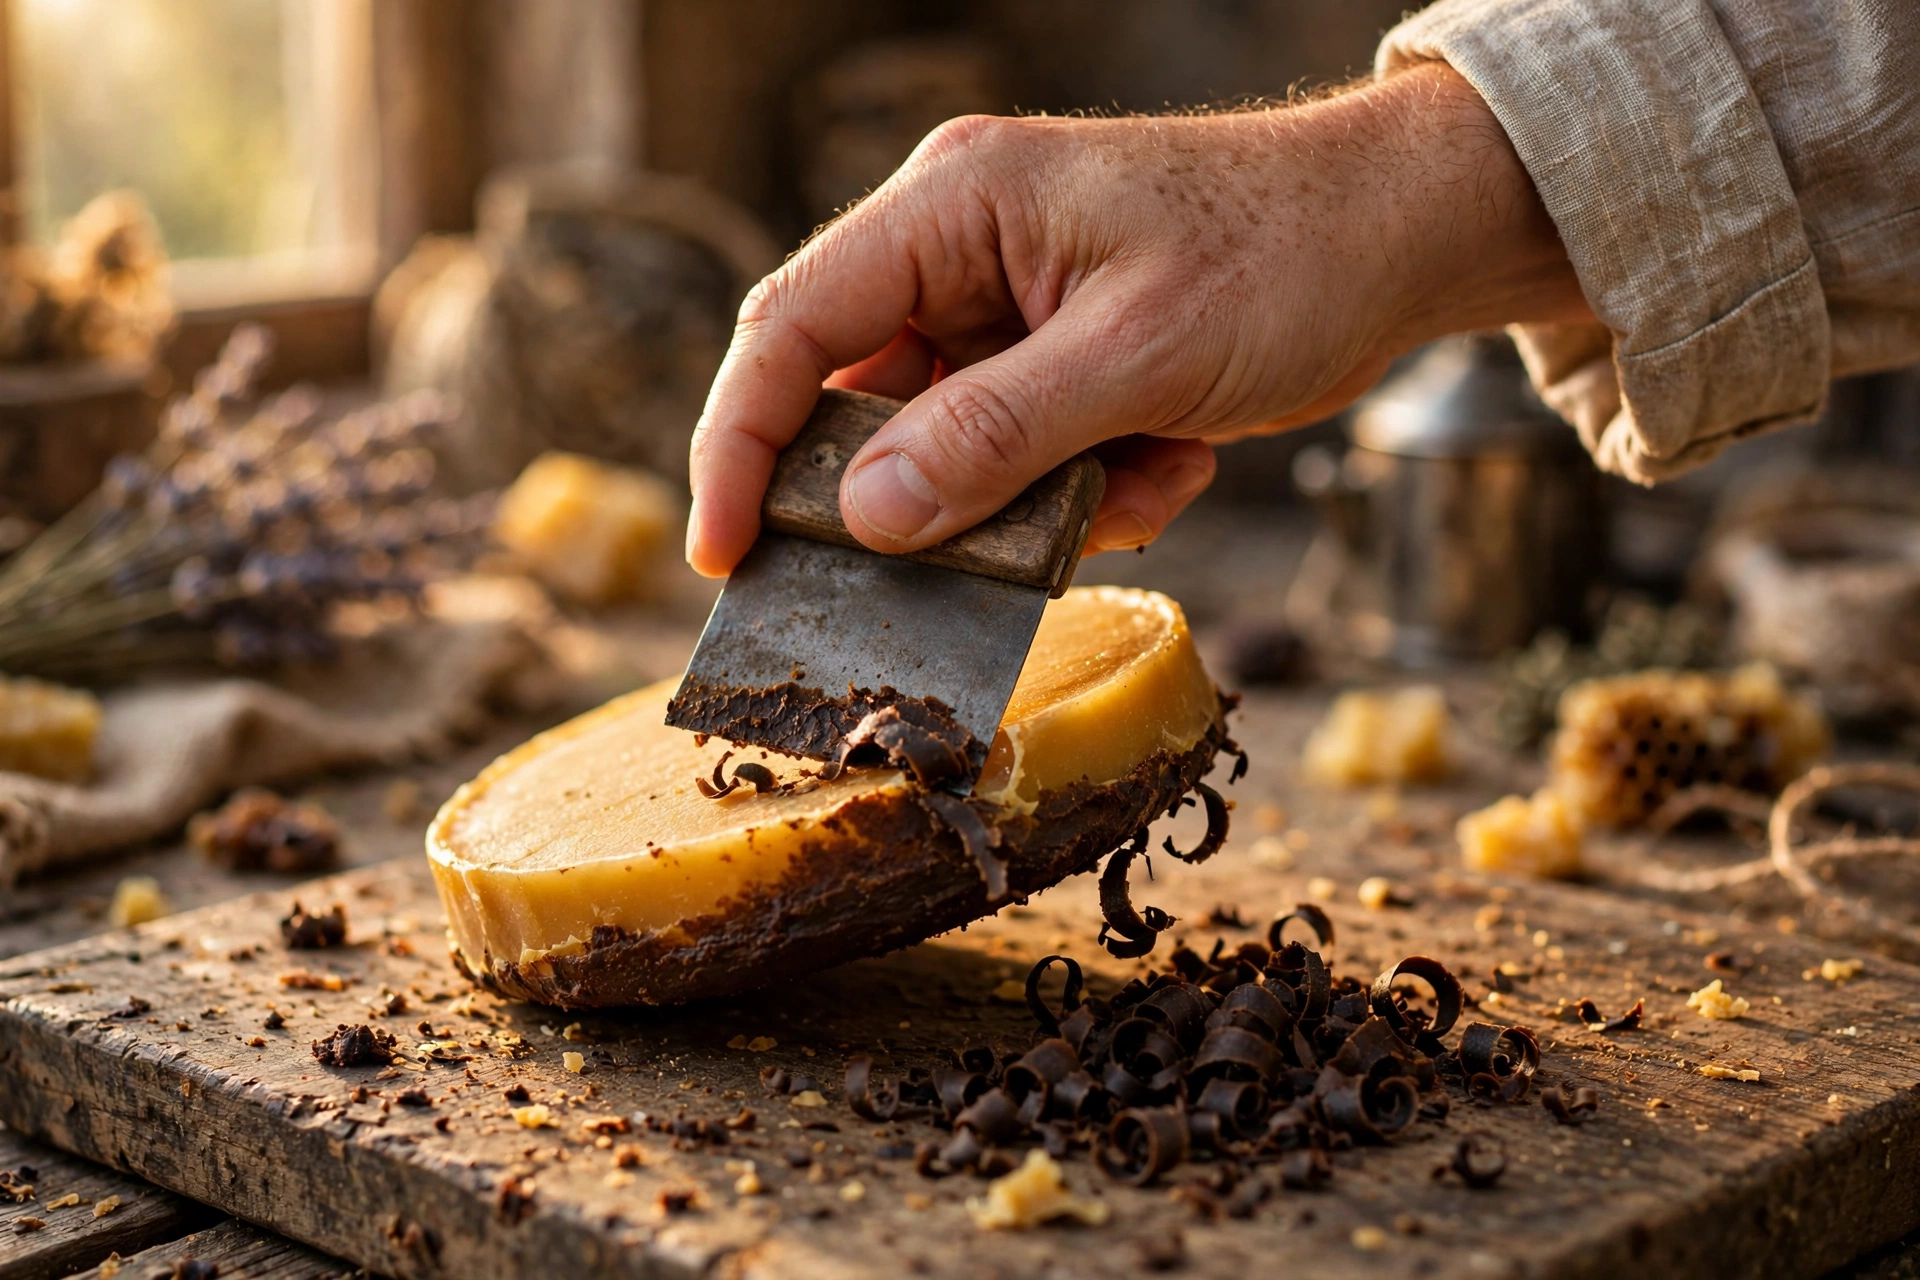
Turn off the heat and leave the pot alone for several hours until the wax hardens into a solid disc floating on the water. Lift the disc out — you will find a dark, dirty sediment layer stuck to its underside. That is the fine debris that sank: flip the disc and scrape the whole layer off with a bench scraper until you reach clean golden wax.
4. Second melt — double boiler, NO water
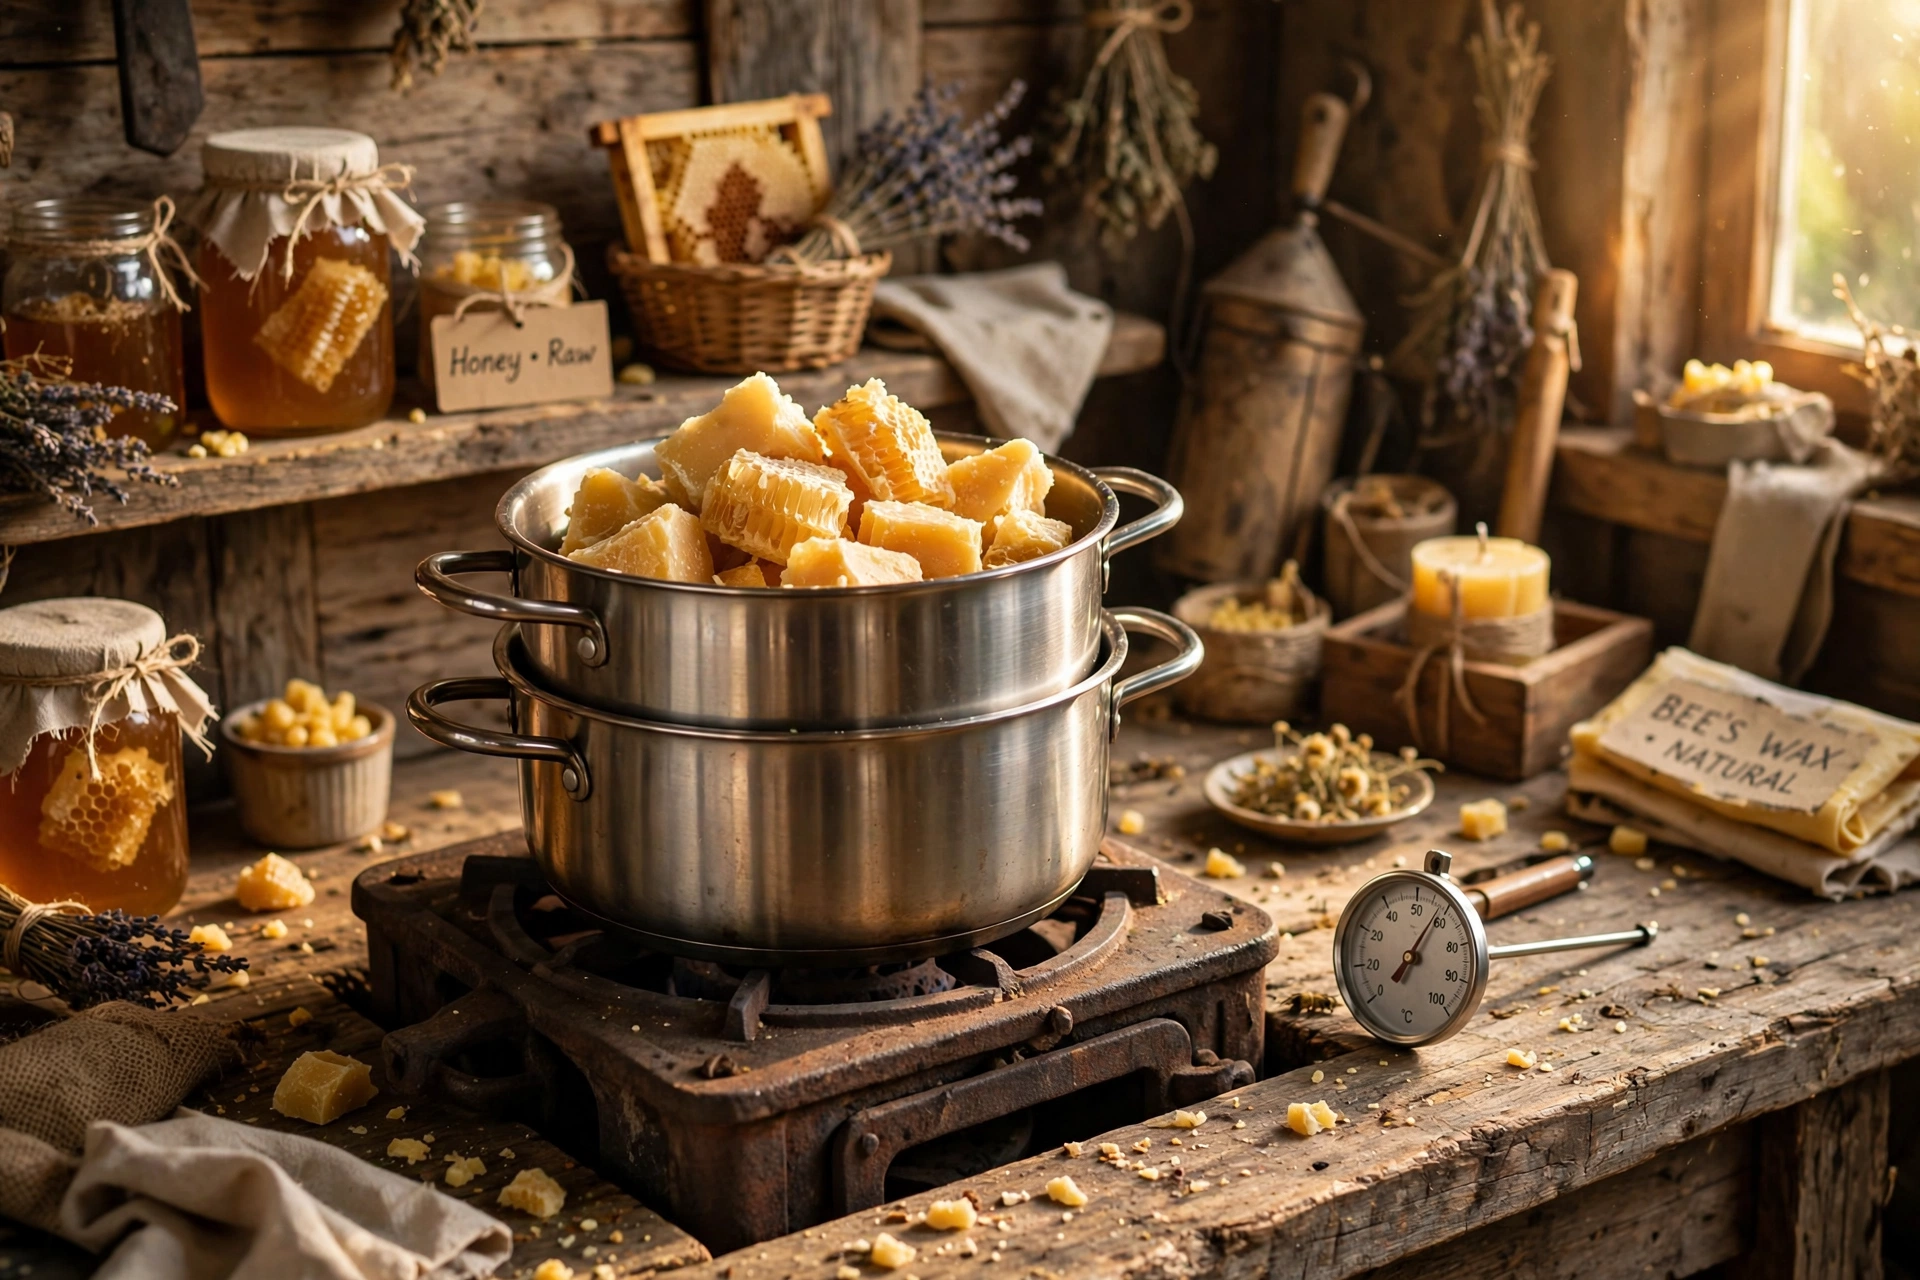
Break the scraped disc into pieces and melt it again — this time in a double boiler with no water contact: a heat-safe bowl or pouring pot set over simmering water. Any water trapped in the wax now would cloud the finished blocks, so this melt is strictly dry heat. Keep the burner low and watch the thermometer.
5. Fine-filter into molds
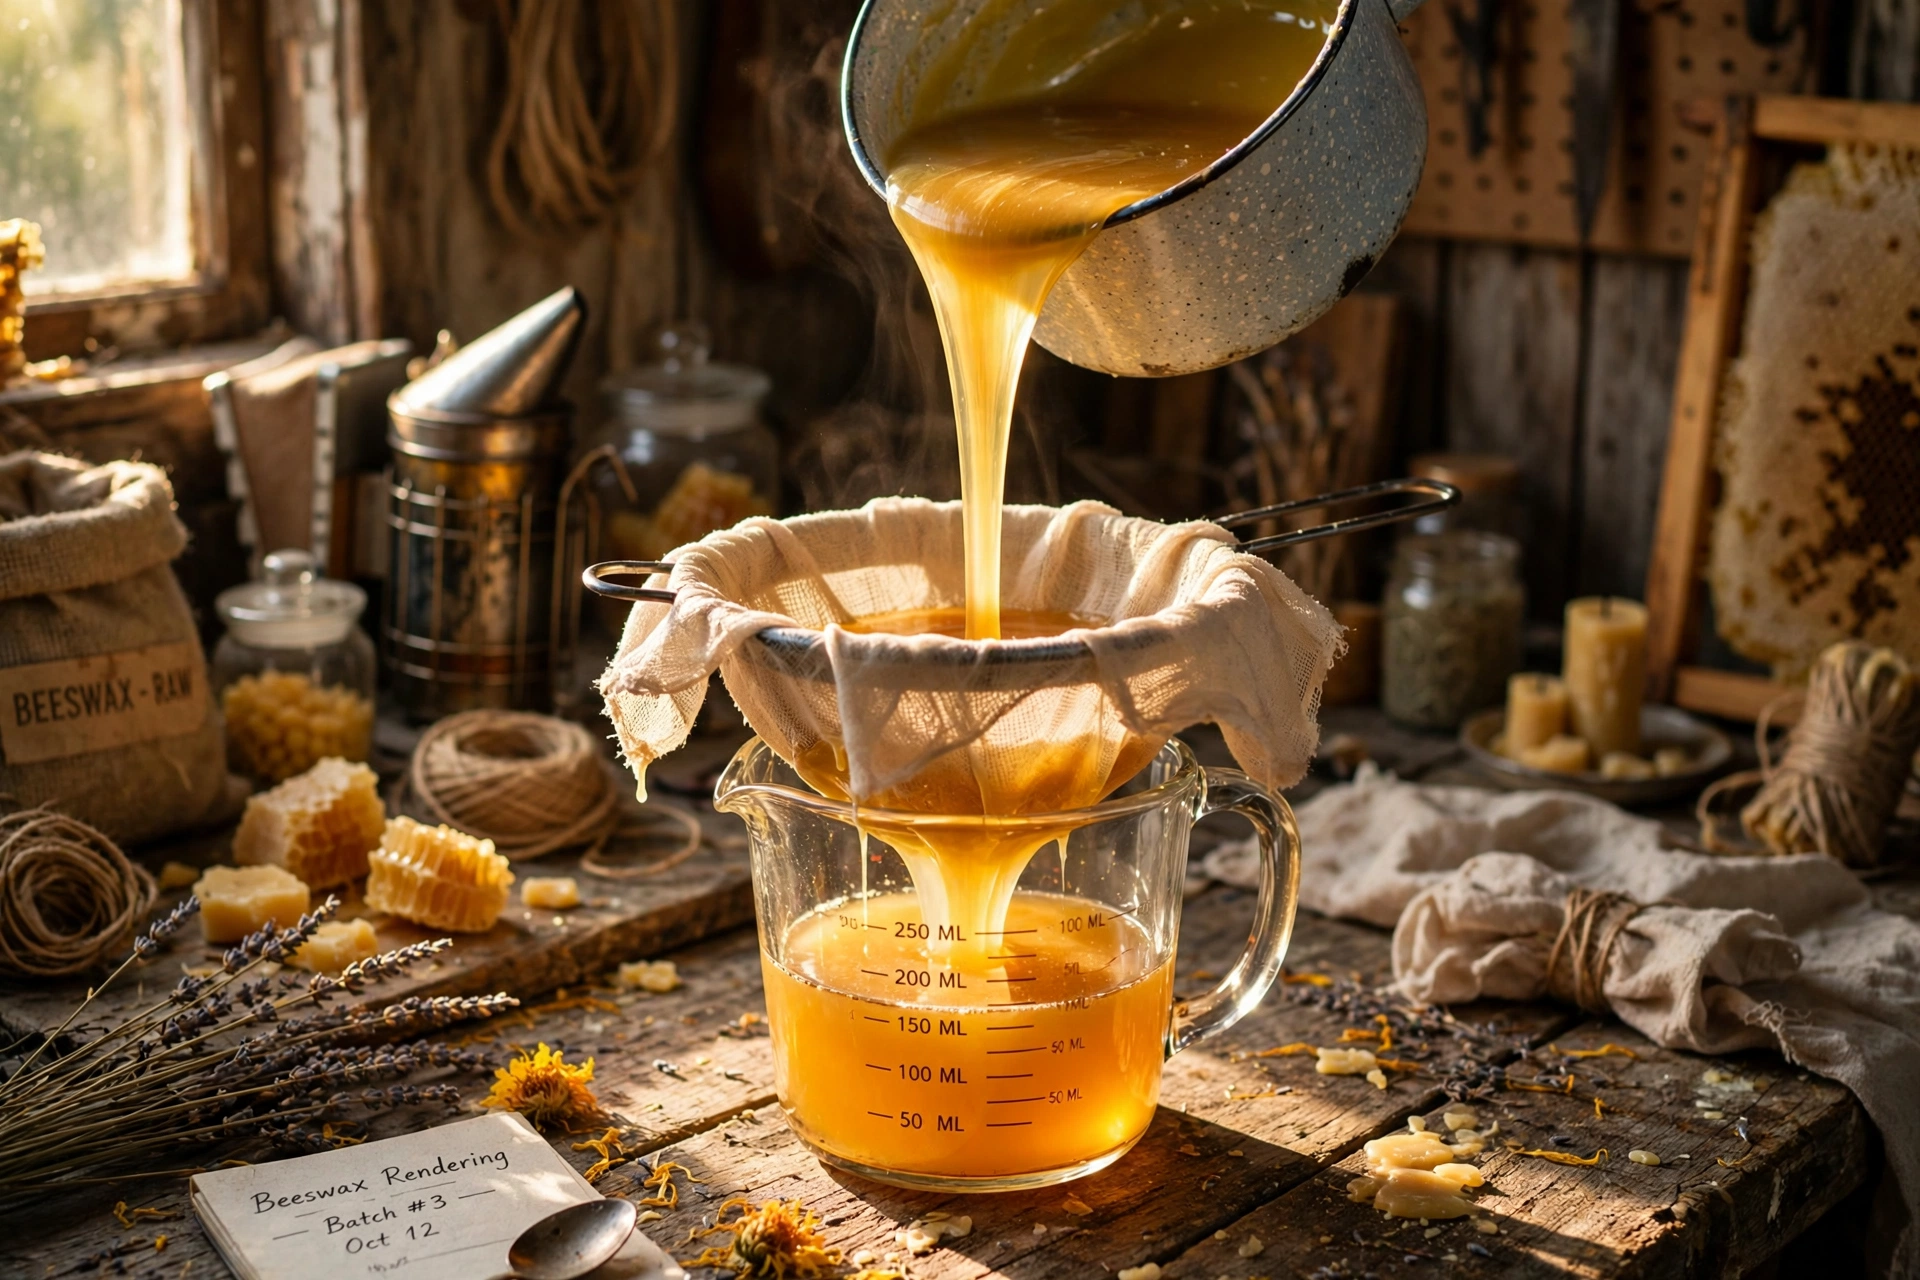
Line a strainer or funnel with your fine filter — a couple of paper towels, several layers of fine cheesecloth, or fine nylon fabric — and pour the melted wax through it into your molds. Pour slowly; rushing pushes sediment through the filter. If you see specks in the filtered wax, run it through a fresh filter a second time.
6. Pour, cool, and store
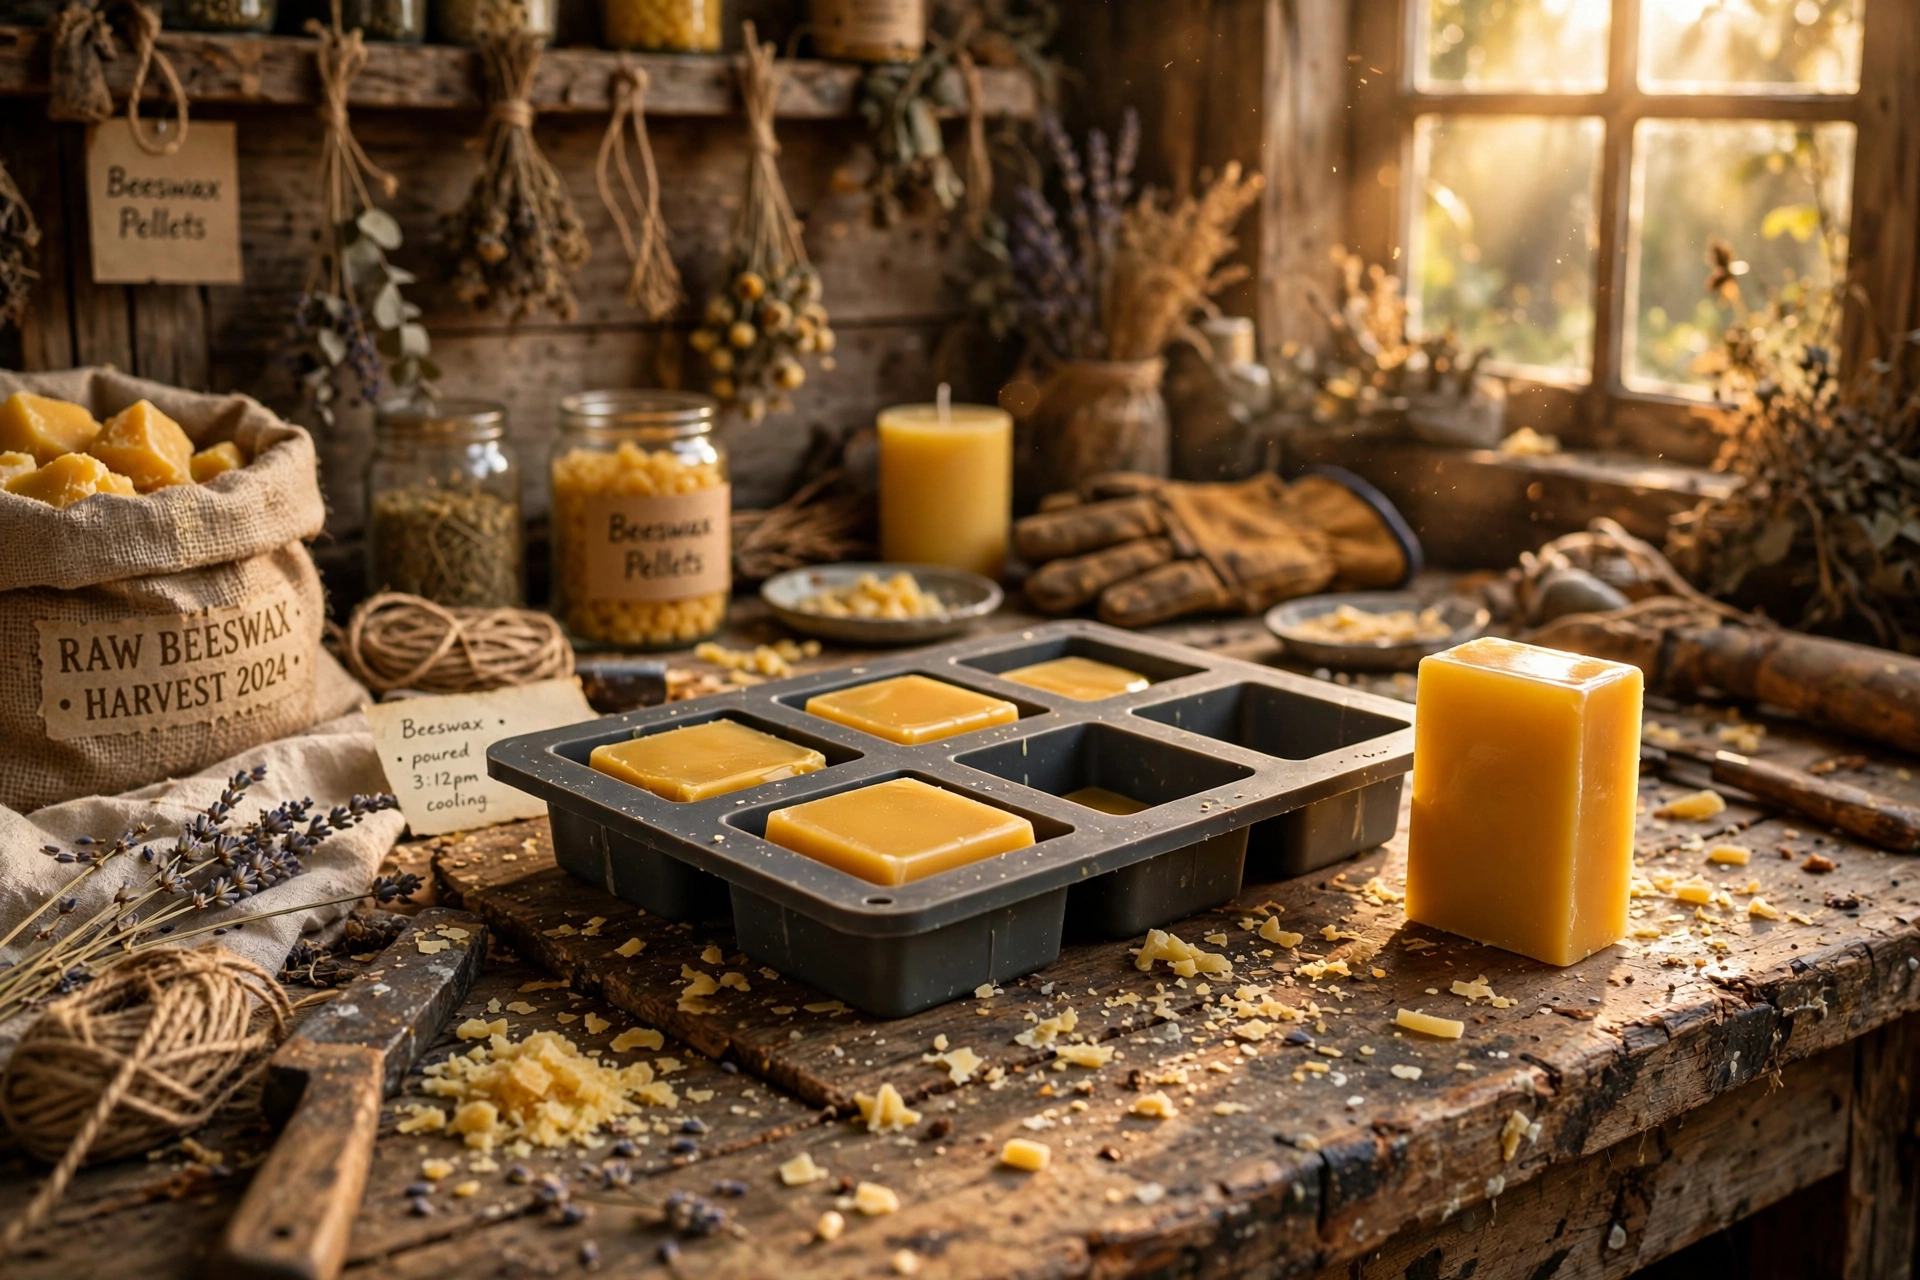
Pour the filtered wax into silicone molds or a parchment-lined pan, then leave it completely undisturbed while it cools — jostling a cooling block traps air and leaves a pitted surface. Once fully hard, pop the blocks out and store them in a cool, dark place, wrapped or sealed in a container. Wax moths love raw beeswax, so do not leave blocks sitting open in a shed or garage.
Alternative first-melt methods
The water-bath bag method is the most controlled way to do a first melt, but it is not the only one. A solar melter uses a glass-topped box to melt raw wax with sun heat, dripping it through a screen into a collection pan — slow, hands-off, and ideal in warm climates, but weather-dependent. Boil-and-strain simmers the raw wax directly in water without a bag, then strains the hot mixture through cheesecloth — faster for big batches, but the wax picks up more fine sediment, so plan on extra filtering passes later. All three are just different ways to do the same thing: melt the wax, separate it from the debris.
What to do when something looks wrong
Cloudy wax? Remelt and filter again. Cloudiness is trapped fine sediment or a trace of moisture — a second fine-filter pass clears most of it. Make sure the second melt stays water-free.
Visible debris after filtering? Add more filtering passes. Stack more layers, switch to a finer medium, and pour more slowly. Each pass catches what the last one missed.
Very dark wax? That is normal for brood comb — the darkness comes from cocoon residue and propolis, not from dirt, and no amount of filtering will bleach it. It is fine for wood polish, leather conditioner, and other non-candle uses; just do not expect candle-gold from it.
Honey smell lingering in the wax? A first-melt water wash helps. The water bath pulls residual honey out of the wax — soak sticky comb in cold water before melting, or run the wax through one more water-bath melt.
Next steps
Your blocks are ready to burn. Put them to work in our beeswax container candle tutorial or roll them into elegant beeswax tapers.



