
Beeswax Container Candles & Votives
Beeswax is not soy in a prettier package — it burns differently in every way that matters. It melts hotter, sets harder, carries its own honey aroma, and needs a hotter-burning wick setup than a soy candle in the same jar. This tutorial shows you how to pour beeswax container candles and votives the right way: understanding the wax, sizing the wick by principle, scenting honestly, and nailing the pour.
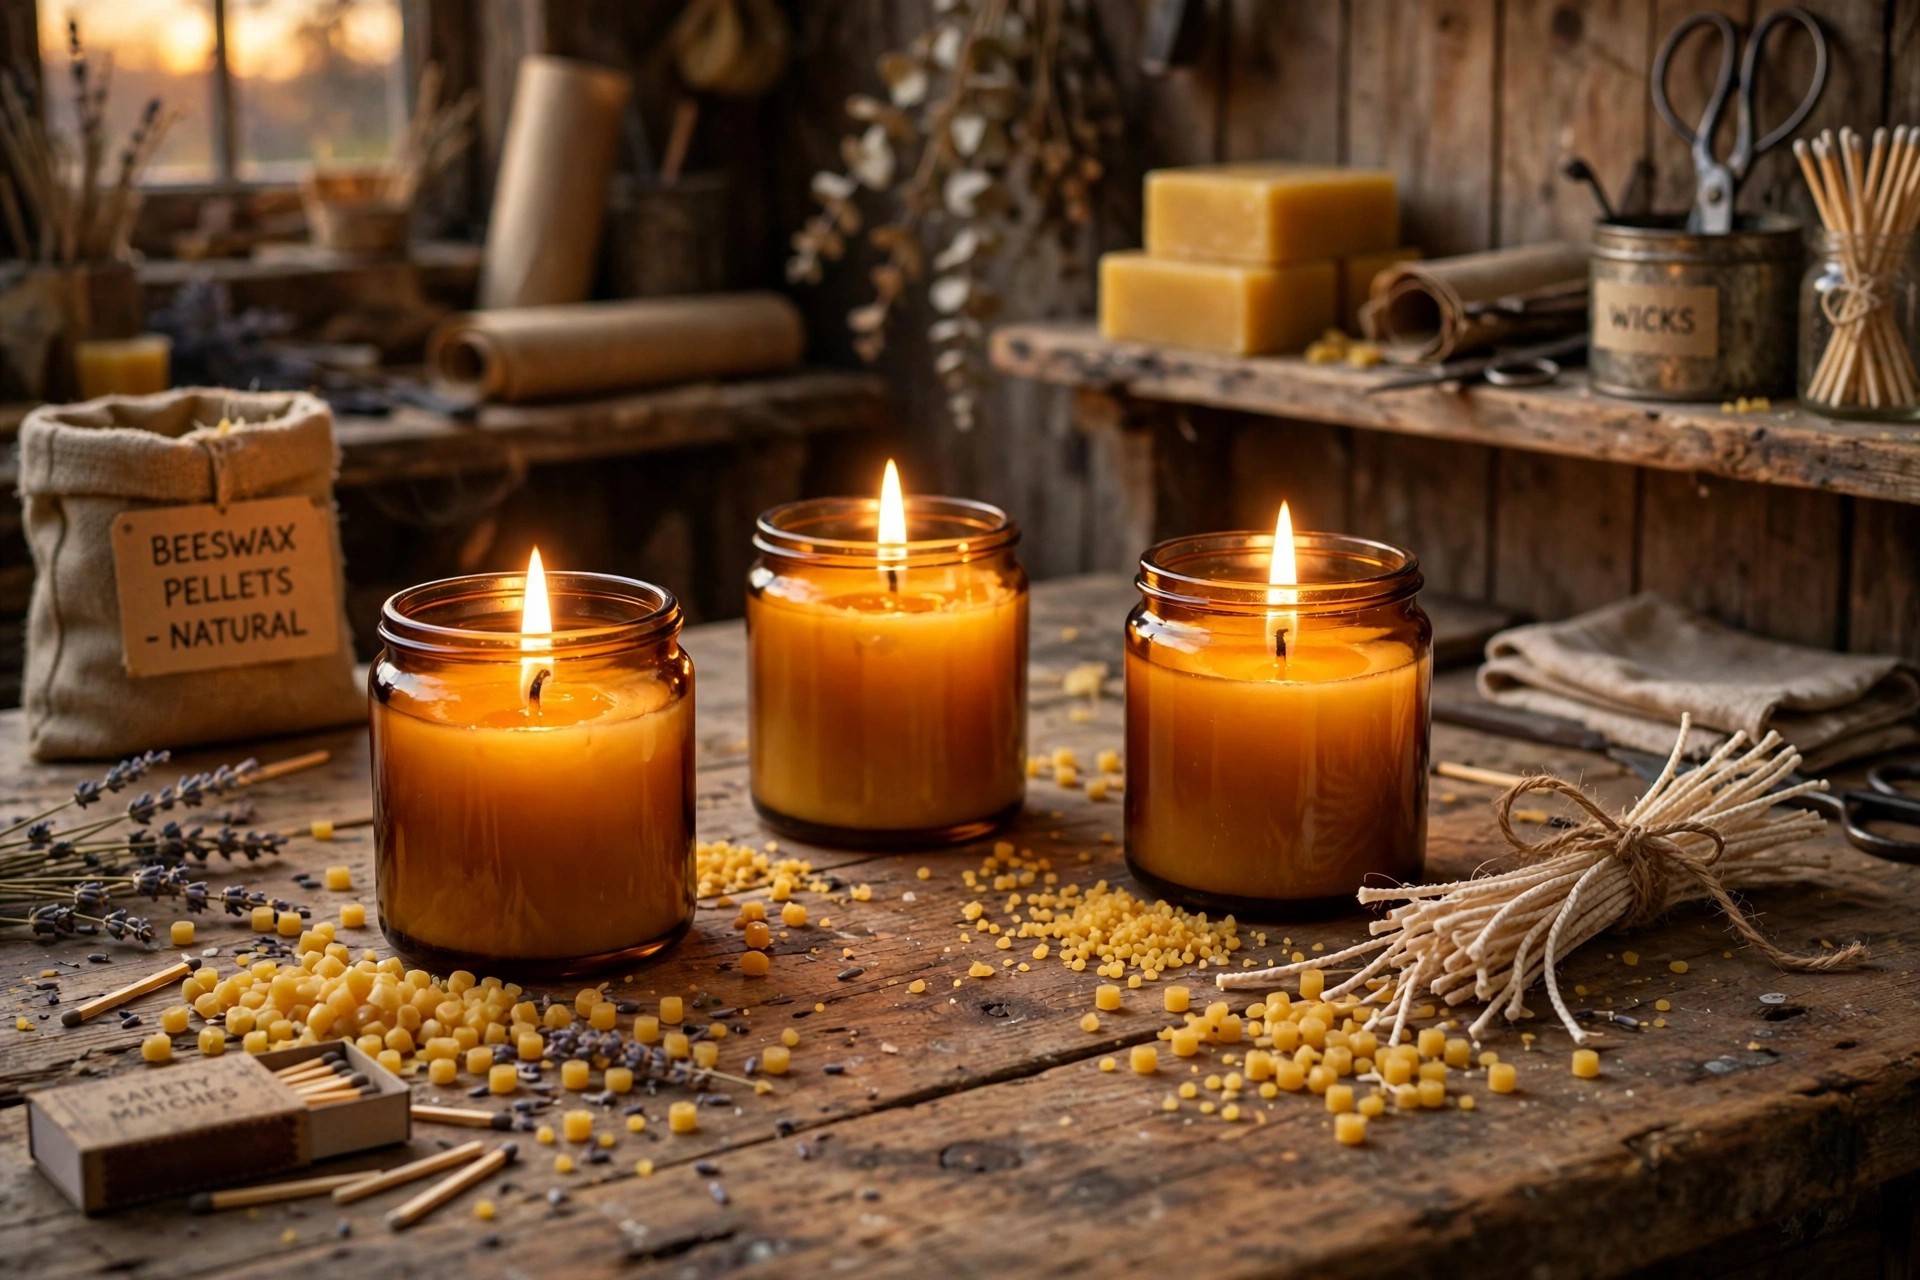
What makes beeswax different
Beeswax is a harder, higher-melting wax than soy. Its melt point runs around 145–150°F compared to roughly 120°F for container soy, which means your flame has to work harder to create a full melt pool. The wax is denser and the flame needs more fuel to melt it — so a wick that burns perfectly in soy will usually tunnel or drown in beeswax. And then there is the aroma: real beeswax carries a warm, natural honey scent that no other wax has, and it changes how you think about fragrance.
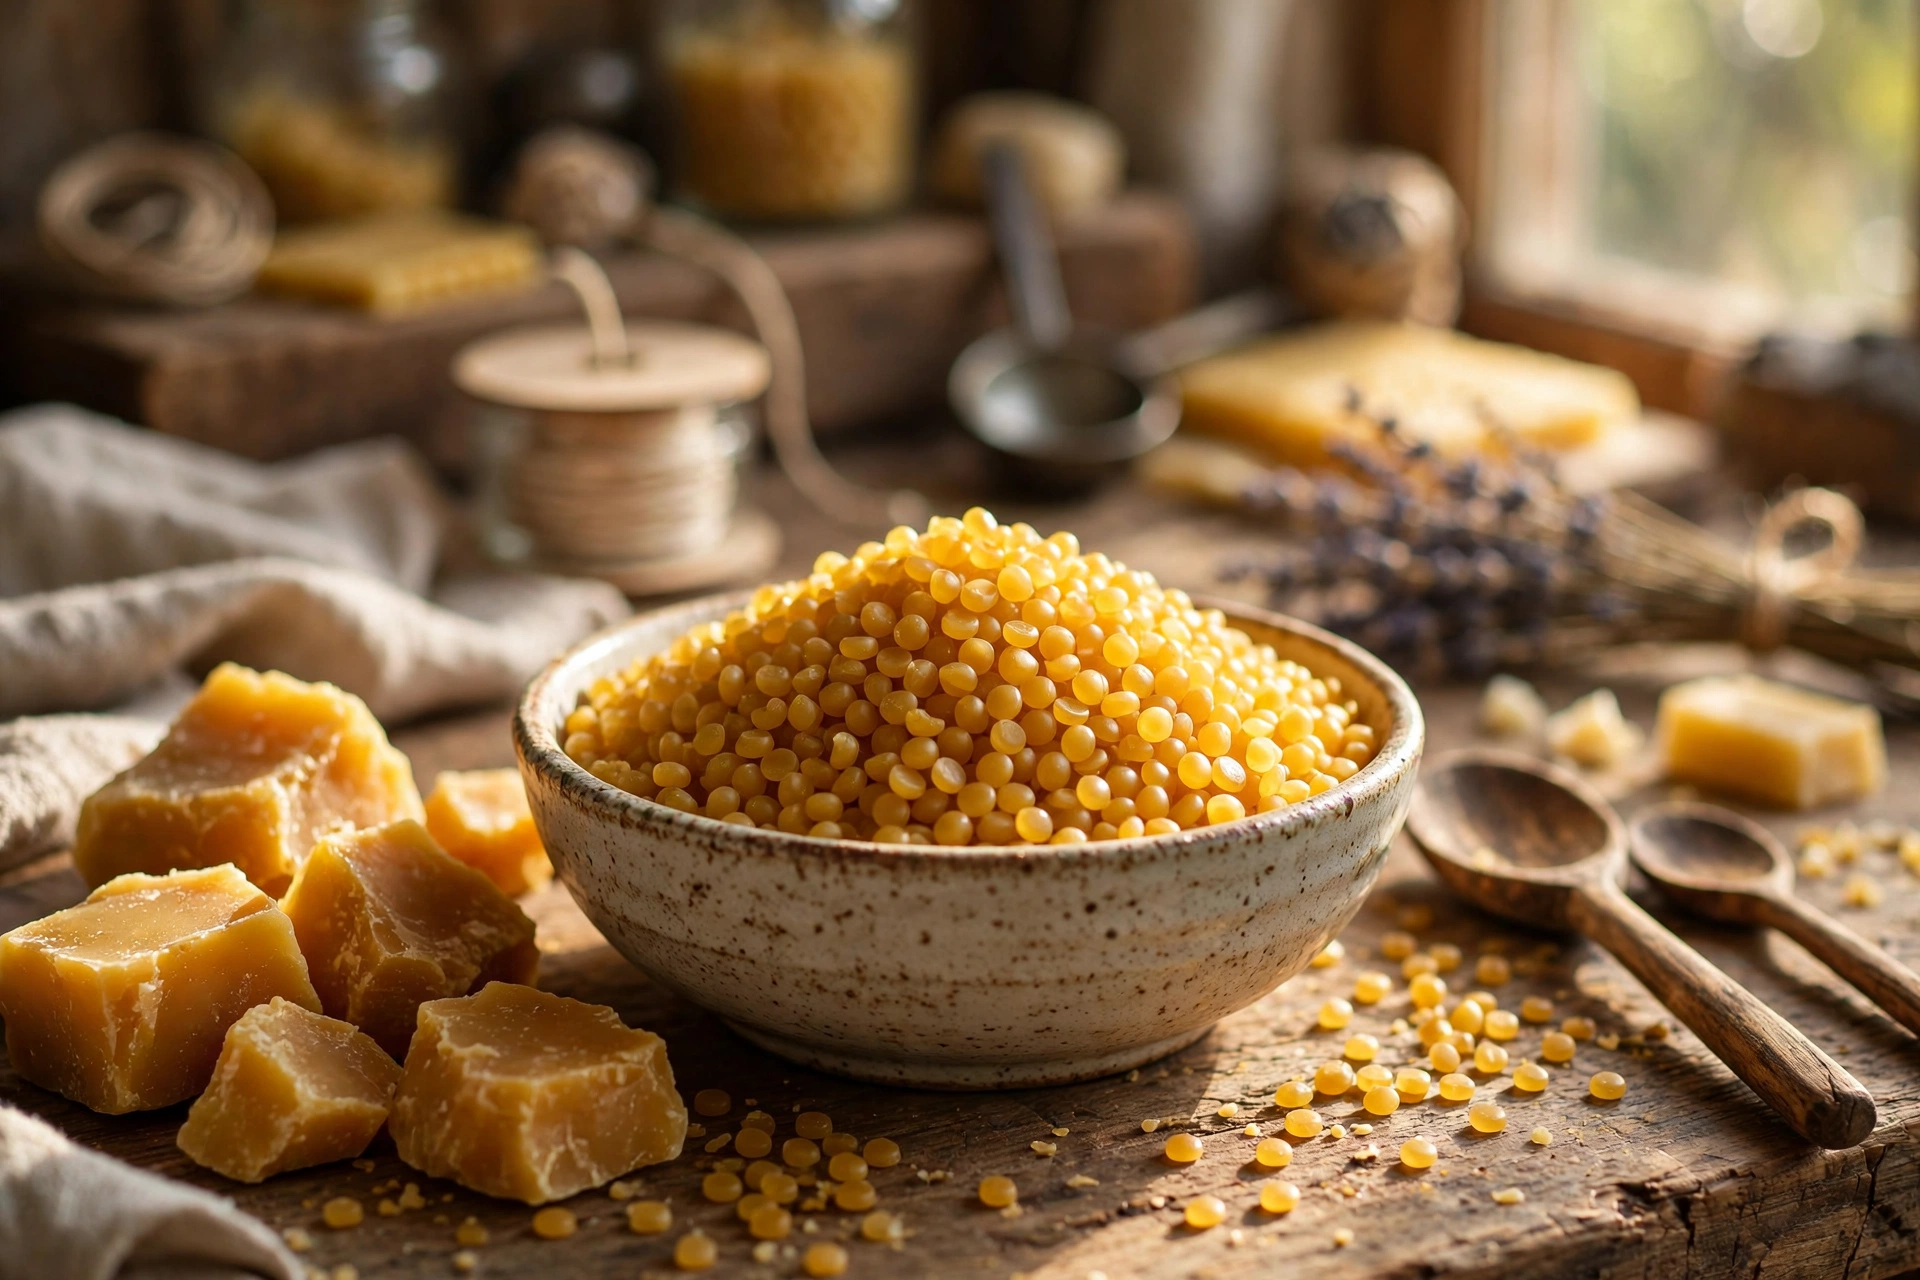
Wick by principle, not by recipe. Because beeswax is harder and hotter-melting, it needs a hotter-burning wick setup than soy at the same vessel diameter. The principle: start from your supplier’s wick sizing chart for your vessel diameter and wax family, then prove the choice with a proper test burn of your exact combination — wax, wick, fragrance, and vessel together. Never copy a wick size from someone else’s recipe; the chart tells you where to begin, and the test burn tells you where to land. Our full wick selection and test burn tutorial walks through the whole process step by step.
Choose and prep your containers
Use heat-safe glass jars or metal tins for container candles — anything rated for candle use, since beeswax burns hot. For molded votives, use votive molds (metal or heat-safe silicone) sized for standard votives, and unmold only after the wax has fully hardened.
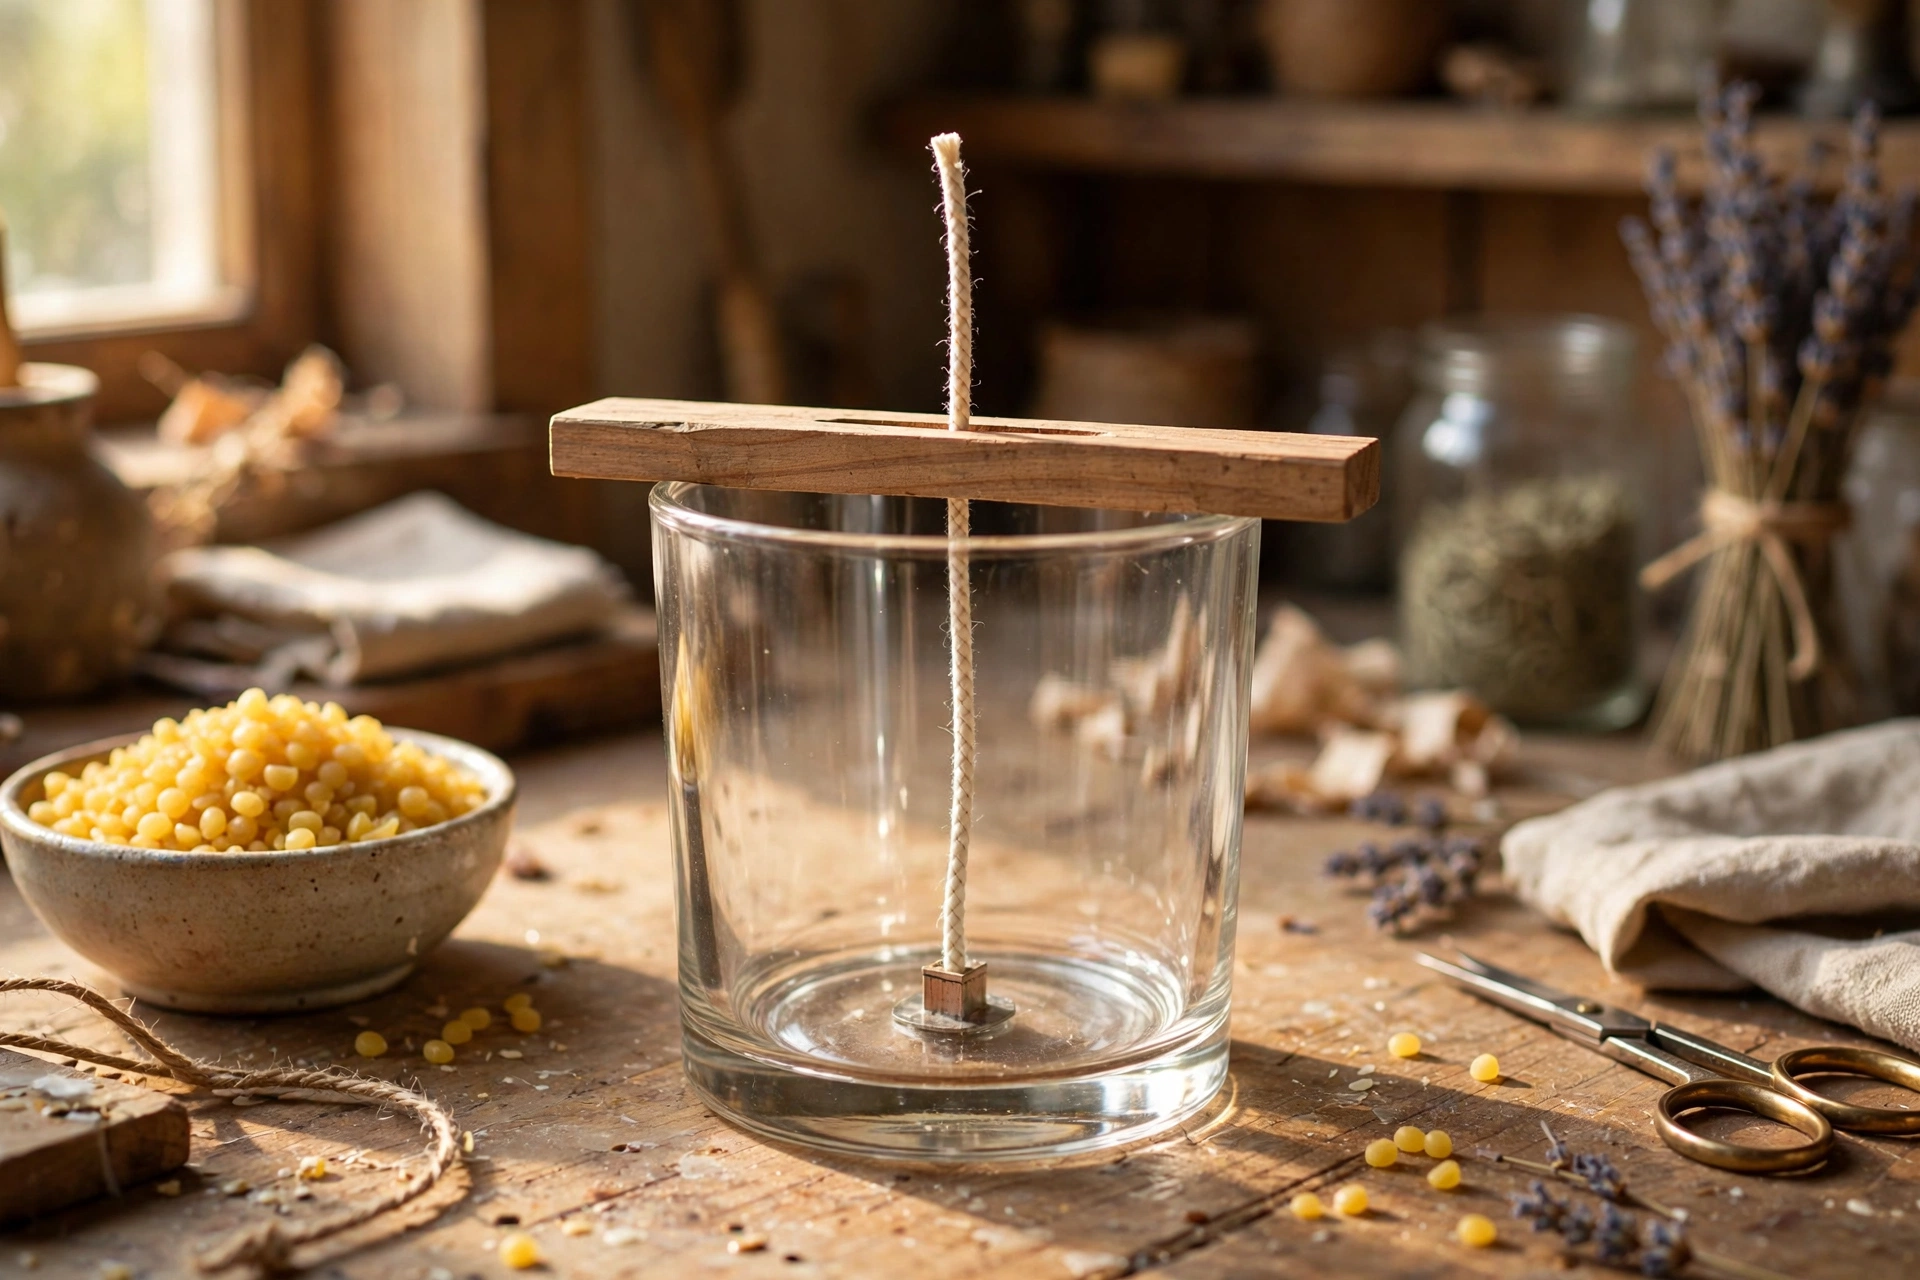
Wash containers with warm soapy water, rinse, and dry them completely — any residue or moisture interferes with wax adhesion. Secure each wick tab centered on the bottom with a wick sticker, then keep the wick upright and centered with a wick-centering holder or clothespins across the rim while you pour and the wax sets.
Scenting beeswax: set honest expectations
Beeswax’s own honey aroma competes with added fragrance — that is the tradeoff of this wax. You have two good options. The first is to embrace it: pour unscented and let the natural honey scent be the fragrance. Plenty of buyers prefer it, and it removes scent throw from the equation entirely.
If you do add fragrance, use a fragrance oil your supplier rates for beeswax, add it at your supplier’s recommended fragrance rate, and stir it in at your supplier’s recommended temperature — added off the heat. Then set honest expectations: scent throw in beeswax differs from soy. The honey aroma mutes some notes and the denser wax releases fragrance differently, so a blend that throws strongly in soy may read softer in beeswax. Testing tells you what your customers will actually smell.
What you’ll need
- Beeswax — pellets melt faster; blocks work fine, just chop them small
- Heat-safe glass jars or tins; votive molds if making molded votives
- Wicks with tabs — choose a starting size from your supplier’s wick chart for your vessel diameter and wax family
- Wick stickers and wick-centering holders (or clothespins)
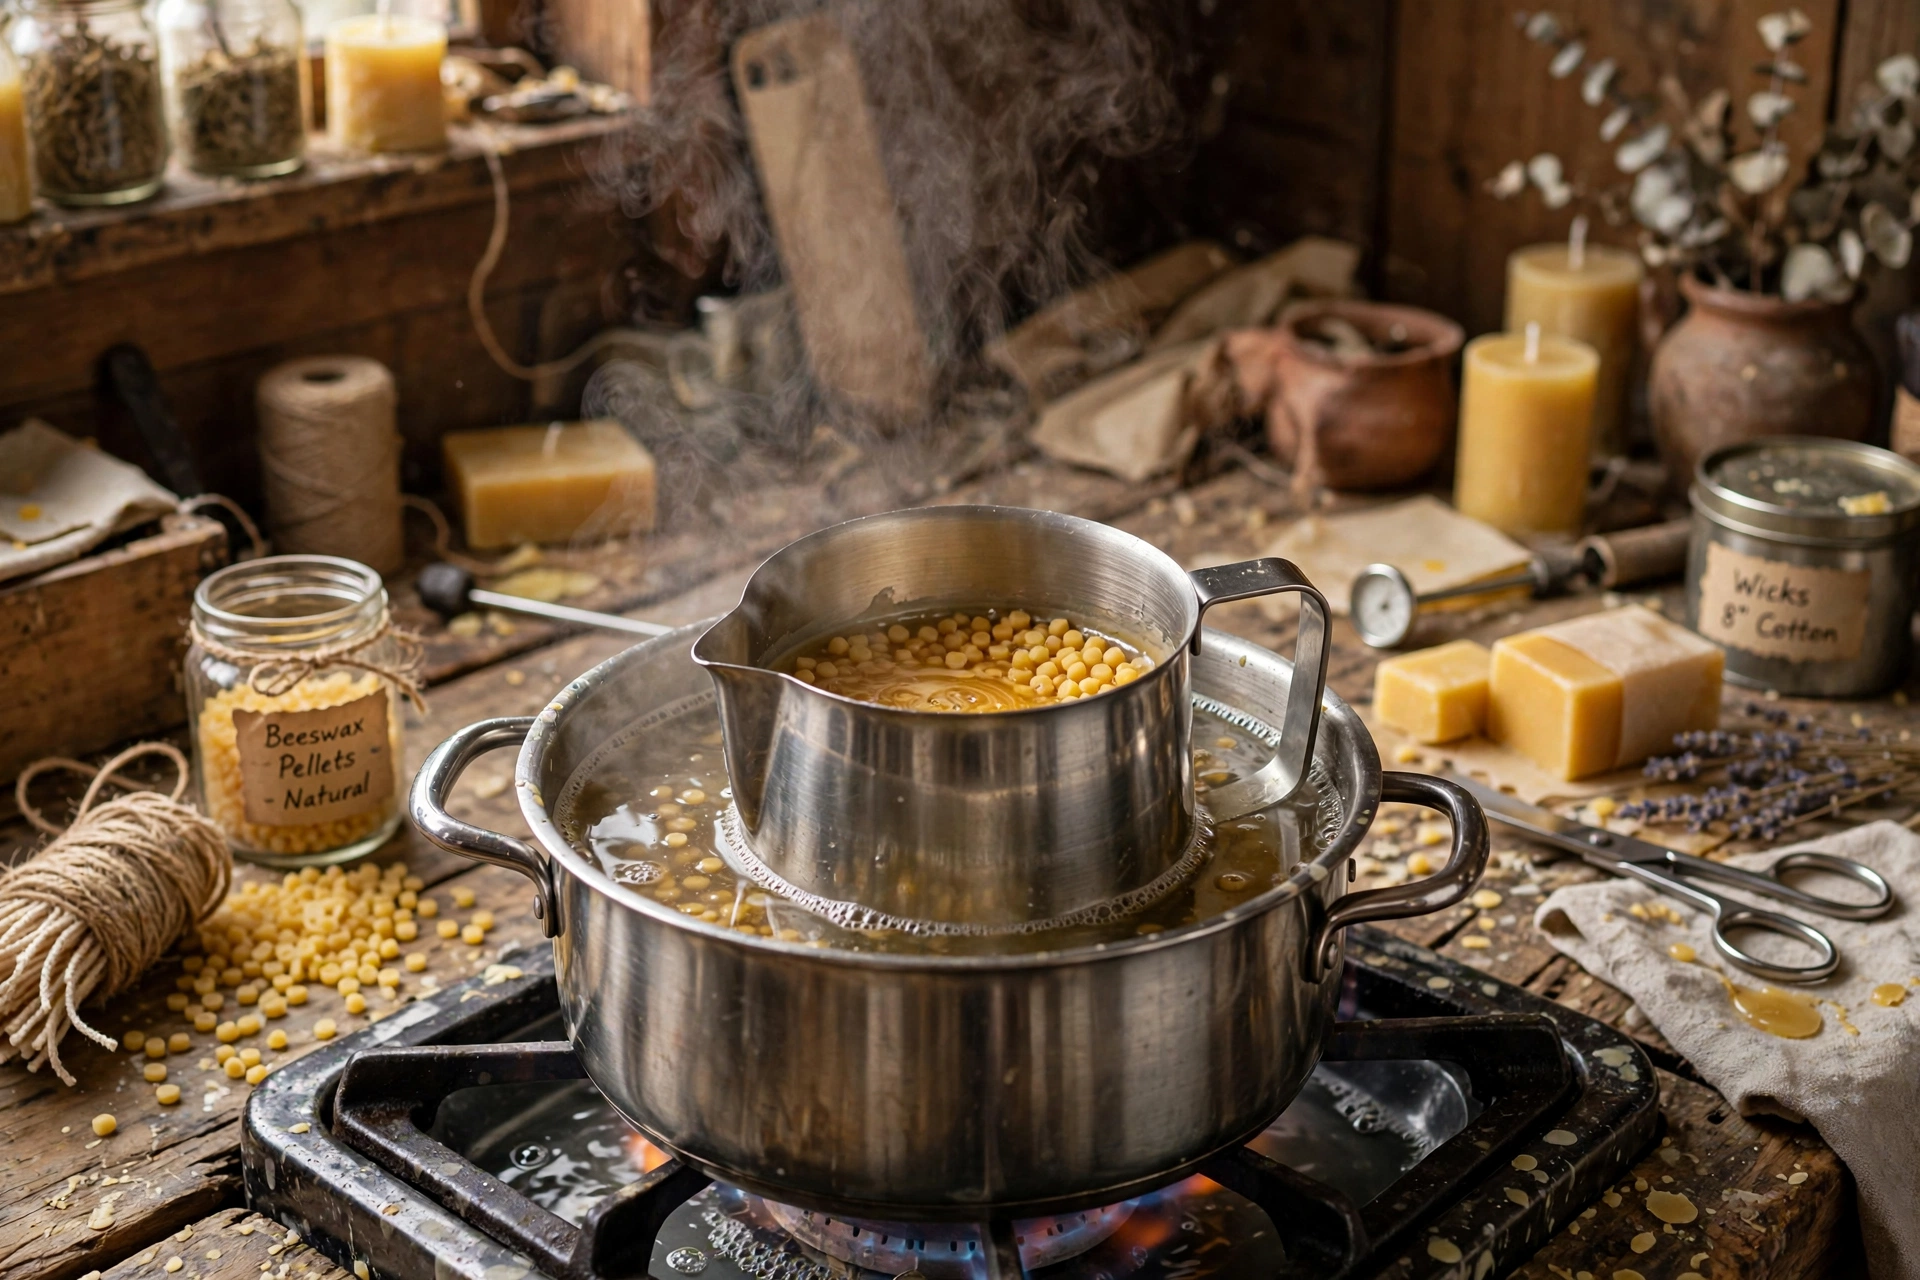
- Double boiler setup: a pouring pitcher set over a pot of simmering water, plus a thermometer
- Kitchen scale and a fragrance oil rated for beeswax (optional)
- Skewers or chopsticks, and reserved melted wax for repours
- Wick trimmer
Steps: pouring beeswax containers and votives
1. Prep your containers and wicks
Clean and fully dry every jar, tin, or votive mold. Press a wick sticker onto each wick tab and set the tab dead center on the bottom of the container. Set a centering holder across the rim to keep the wick straight and centered while you pour — a centered wick is the foundation of an even melt pool.
2. Melt the beeswax gently in a double boiler
Beeswax scorches if you rush it, so melt gently: set your pouring pitcher over a pot of simmering water (never a rolling boil) and keep a thermometer in the wax. Stir occasionally and melt only to the point where the wax is fully liquid — overheating darkens the color and can flatten the natural honey aroma.
3. Add fragrance off the heat, if using
Take the pitcher off the heat and let the wax cool to your fragrance supplier’s recommended temperature. Weigh your fragrance at the supplier’s recommended rate, pour it in, and stir gently but thoroughly for a full minute or two so it binds evenly into the wax. Skipping the stir is the most common cause of uneven scent.
4. Pour a little cooler
Pour at the cooler end of your working range, into room-temperature containers. A slightly cooler pour shrinks less as it sets, which means fewer and shallower sinkholes — the most common cosmetic complaint with beeswax. Pour steadily down the side of the wick, not directly onto it, and leave a little headspace at the top.

5. Fill votive molds for molded votives
The same wax and the same rules apply to molded votives: pour into your votive molds, keep them undisturbed while they cool, and unmold only after the wax has fully hardened — beeswax releases cleanly when it is completely set. If a votive sticks, a few minutes in the freezer usually frees it.
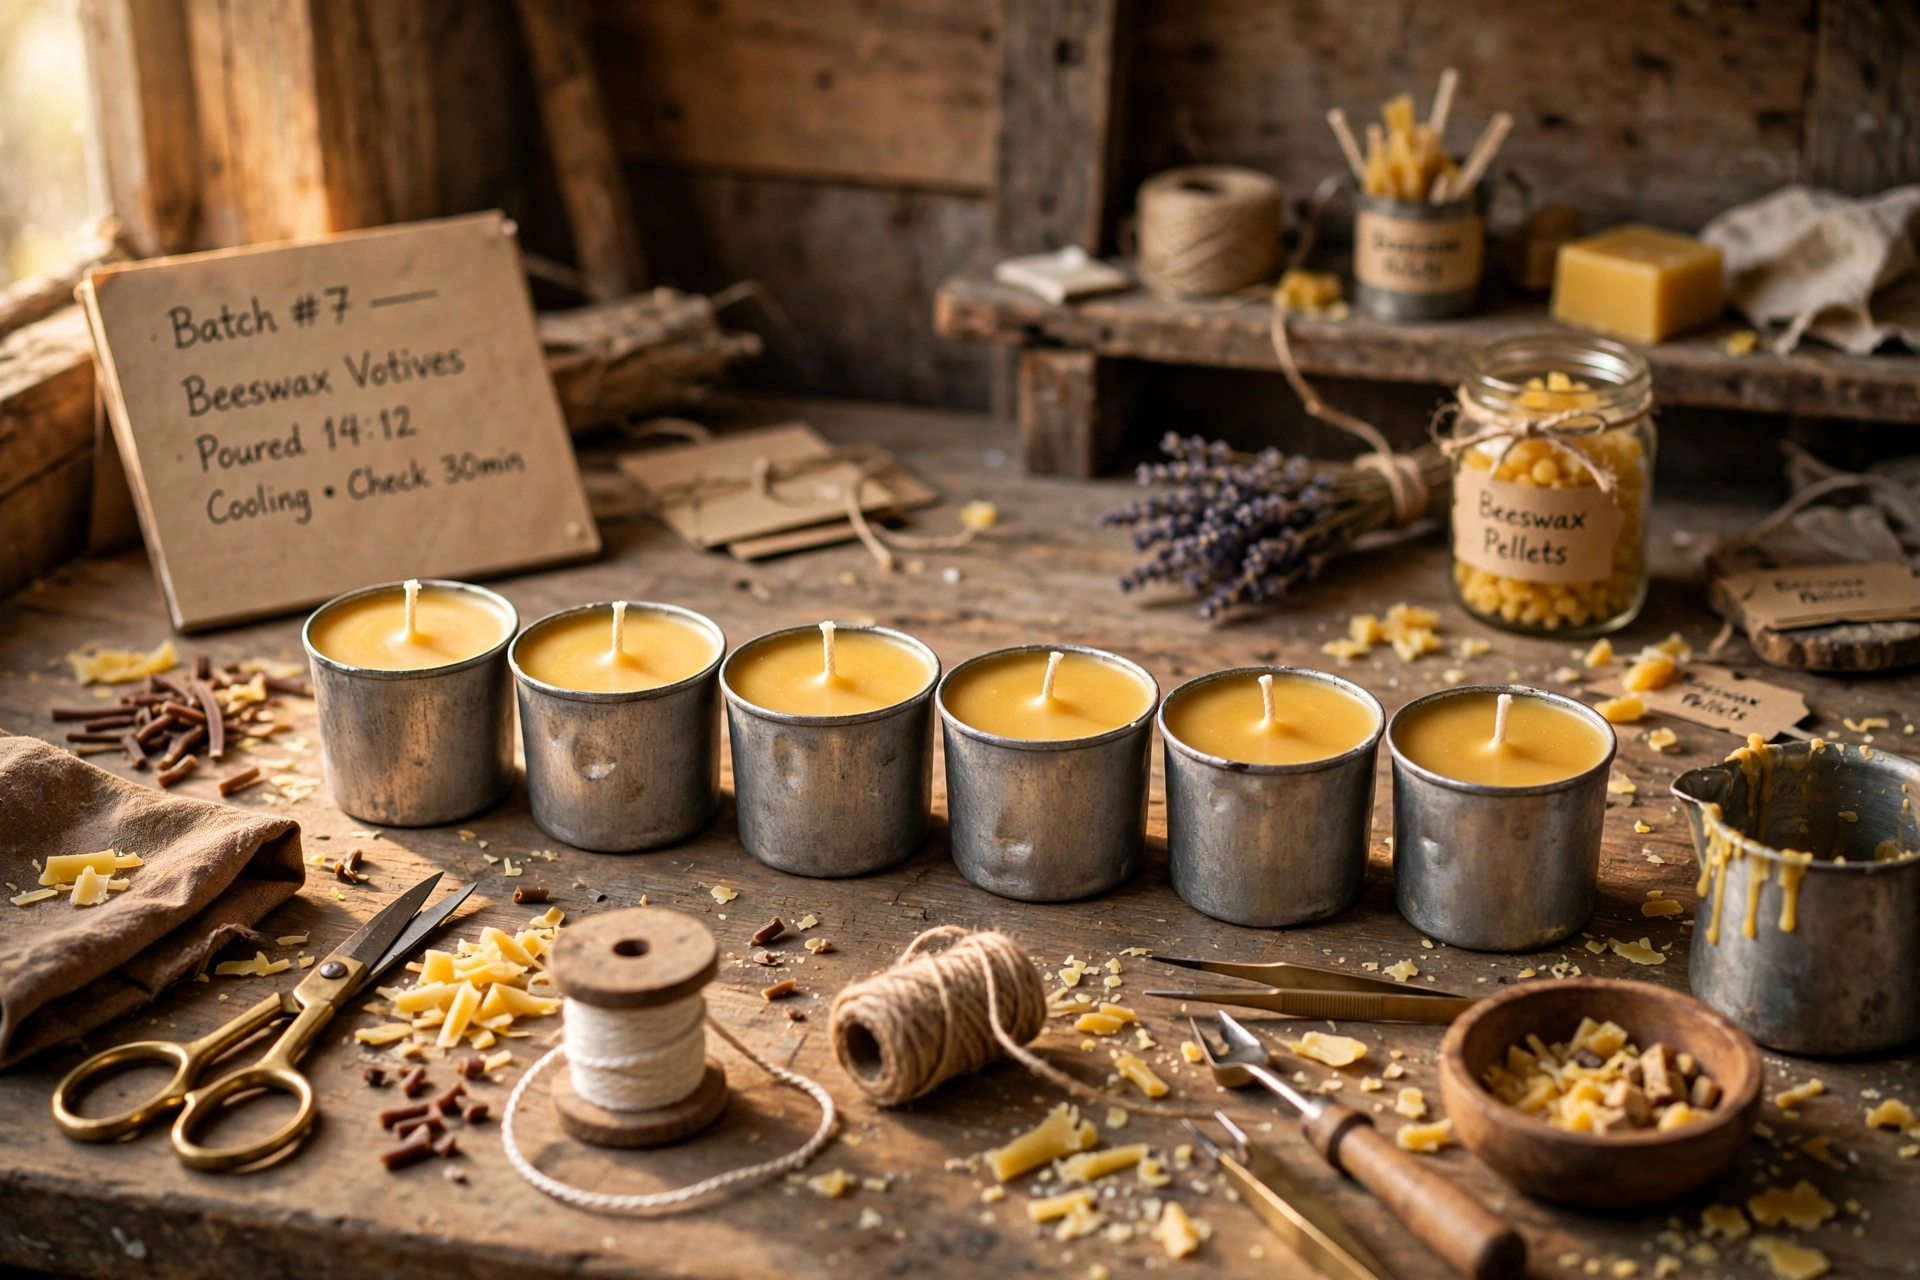
6. Let them cure
Beeswax benefits from a few days’ rest before the first burn — the wax continues to harden and settle, and any added fragrance binds more fully into the wax during the cure. Store the candles upright at room temperature, away from direct sunlight, and give them at least a few days before you judge the burn or the scent.

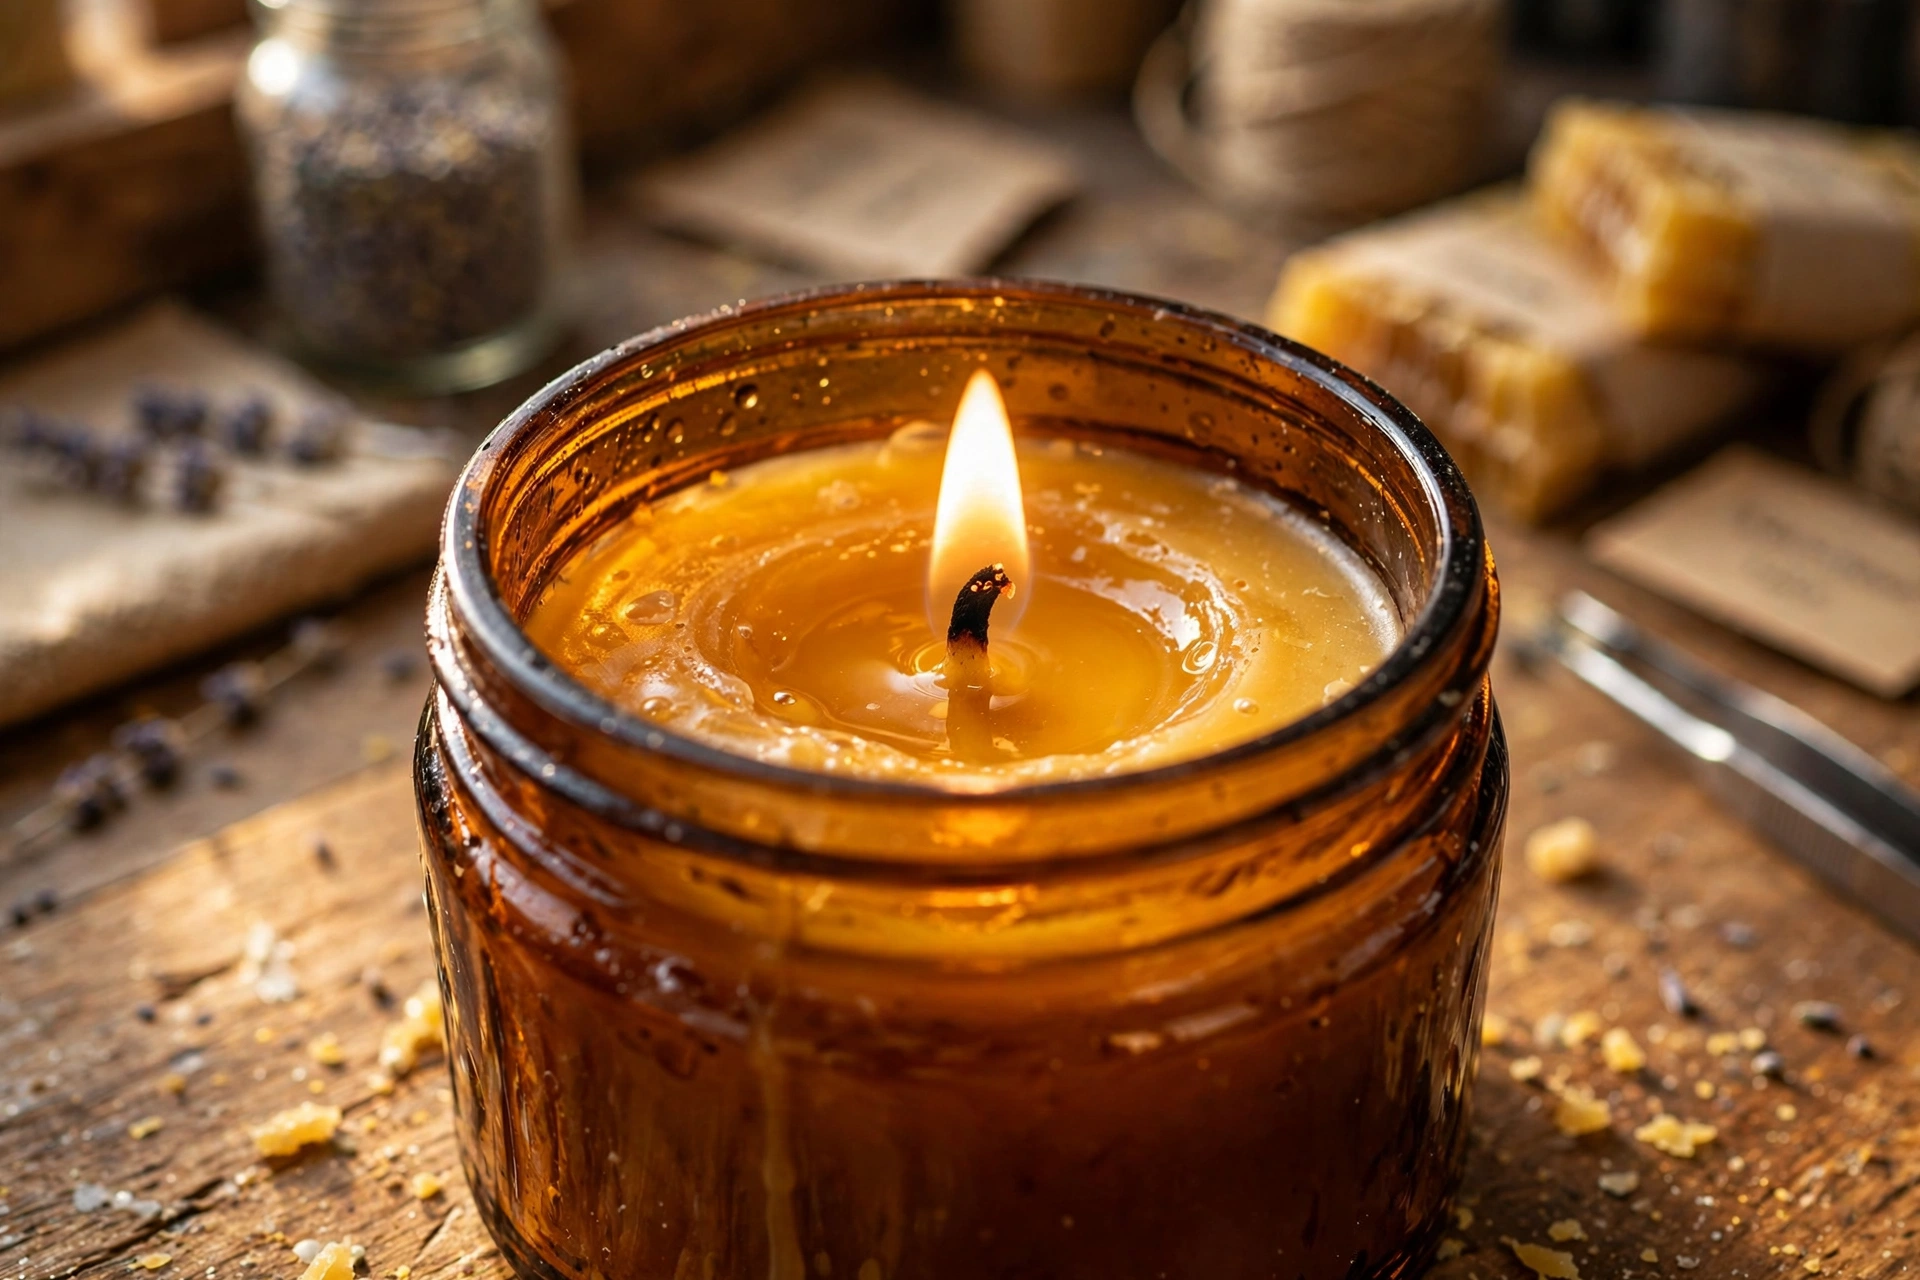
7. Trim and test burn
Trim every wick to 1/4 inch, then burn 2 to 4 hours in a draft-free spot. You are looking for a steady flame, a melt pool that reaches nearly edge to edge, and no smoking or soot. If the pool stalls or the flame struggles, your wick is too small — wick up one step and test again. Run the full multi-burn process from our wick selection and test burn tutorial before you sell or gift a single candle.
Troubleshooting
Sinkholes. Beeswax shrinks as it cools, so a dip or crater around the wick is normal. Once the candle is fully set, poke a few relief holes around the wick with a skewer and top with your reserved melted wax — a repour. One repour usually levels it.
Tunneling. A narrow hole straight down the middle means the wick is too small for this wax and vessel. Wick up a step and run a proper test burn — see our wick selection and test burn tutorial. Also make sure the first burn goes edge to edge; a short first burn starts a tunnel that every later burn follows.
Weak scent throw. First, check expectations: beeswax throws differently than soy, and the honey aroma softens some notes. Then check the load: keep fragrance at your supplier’s maximum recommended rate for beeswax, added at the right temperature and stirred well. If it is still weak after a full cure, that particular fragrance may simply not suit beeswax.
Frosting and mottling. White crystalline patches or a mottled finish are natural in pure beeswax — a cosmetic quirk of the wax, not a defect. It does not affect how the candle burns.
Wet spots on the glass. Small patches where the wax pulled away from the jar wall are cosmetic and common, especially with temperature swings during cooling. They do not affect the burn. Pouring into room-temperature (not cold) jars helps reduce them.
Candle safety
Next steps
Ready for more beeswax? The beeswax tapers tutorial covers dipped and poured tapers, and rendering beeswax shows how to clean and filter raw wax for candle making.



