
How to Make Layered Cold Process Soap
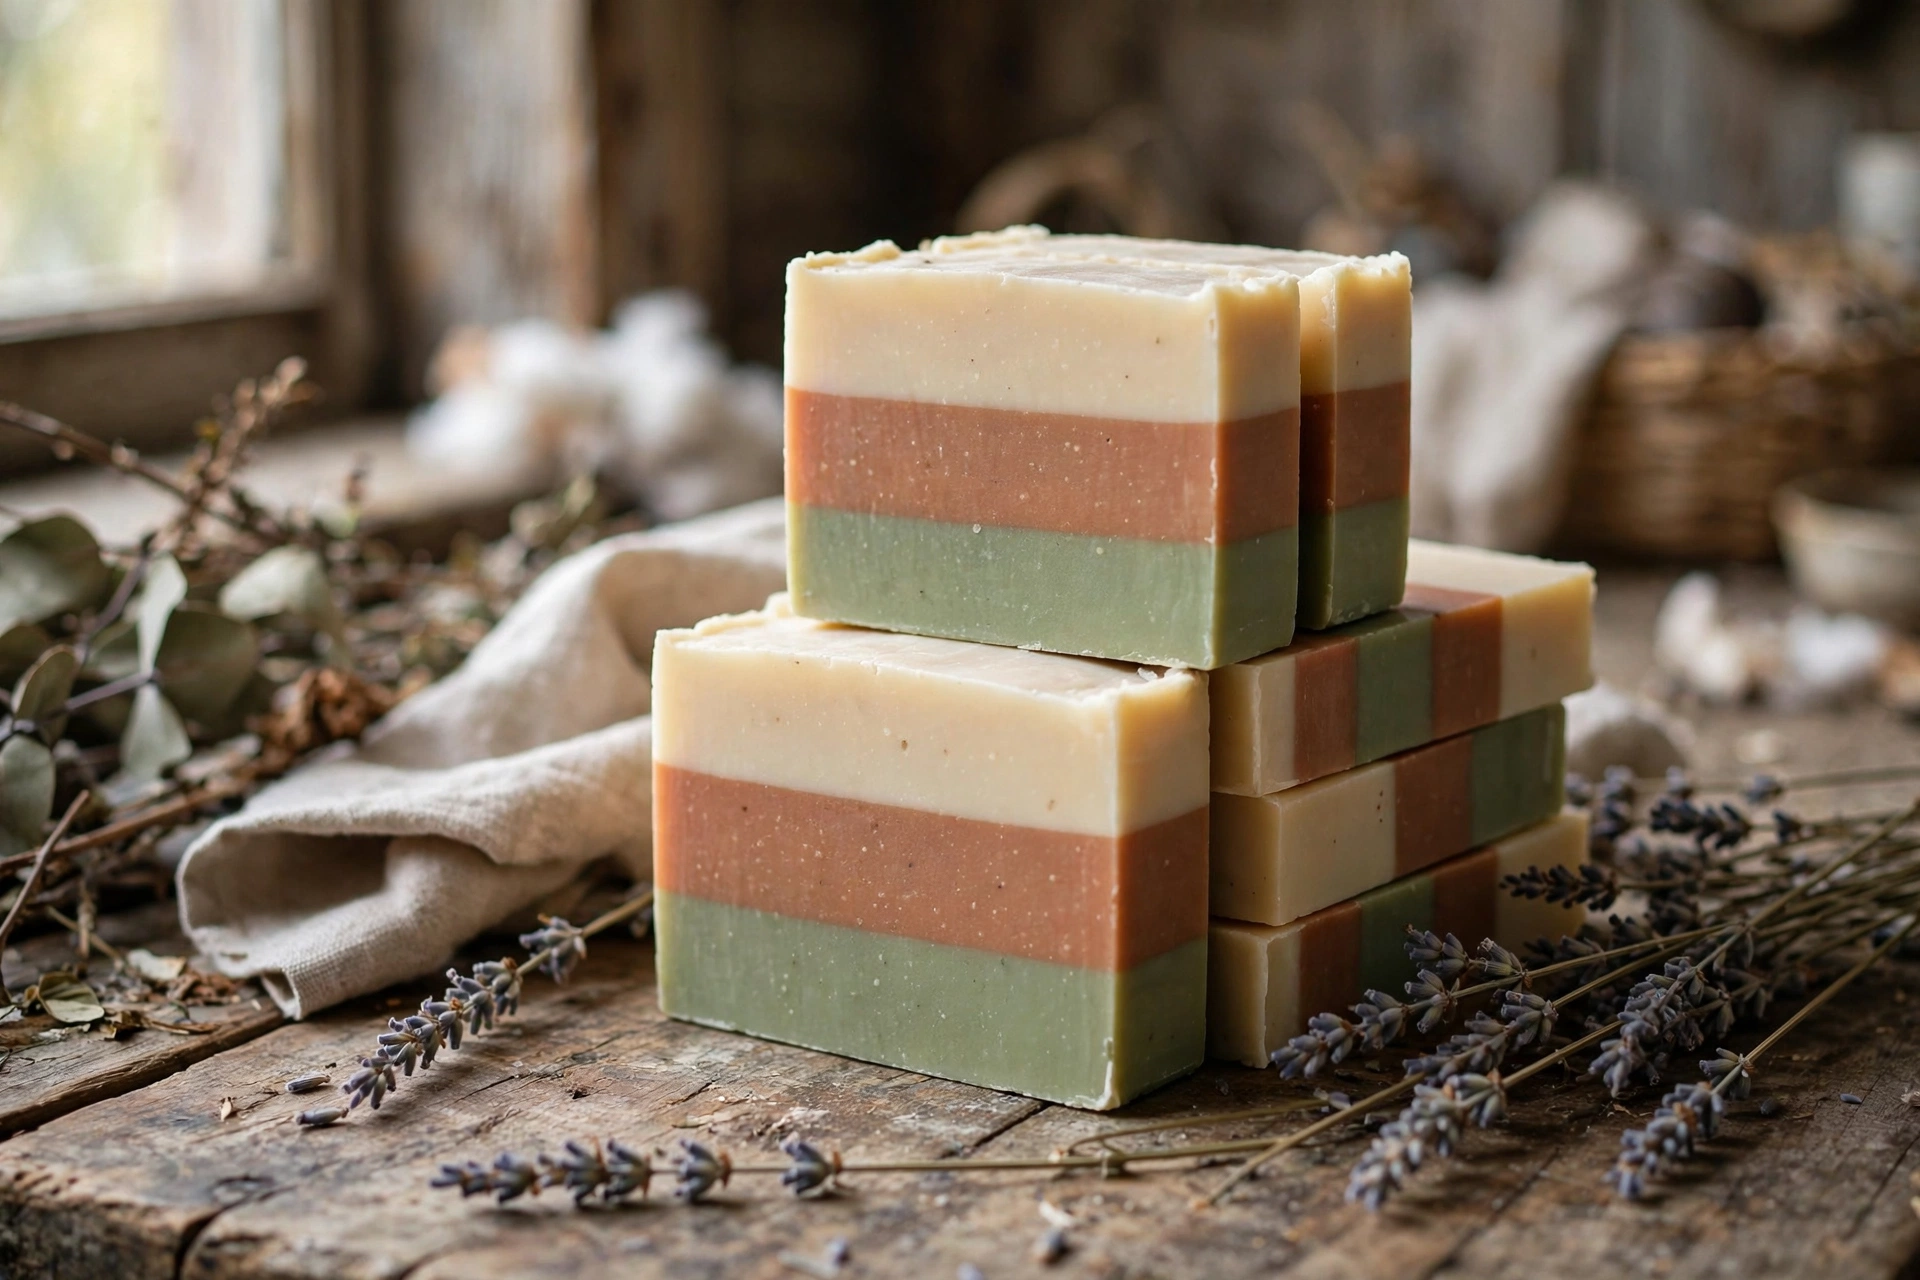
Crisp, clean stripes are the hallmark of a confident soapmaker. Layered cold process soap looks impressive, but the technique is straightforward once you understand the one thing that matters: layer adhesion. Here’s how to pour distinct, beautiful layers that stay bonded bar after bar.
Why layers separate (and how to prevent it)
Layers separate when the bottom layer has set up too firmly before the next one lands — the two surfaces never knit together, and the bar splits along the stripe line as it cures. The fix is timing: pour each new layer while the one below is firm enough to hold its shape but still soft enough to bond. Think “set but tacky,” not “hard.” Texturing the surface between layers (a quick fork-scratch or spoon swoop) gives the next pour something to grip.
What you’ll need
- A beginner-friendly cold process recipe you trust (a balanced blend of hard oils like coconut and palm or tallow, plus soft oils like olive — run it through the Lye Calculator if you change anything)
- Sodium hydroxide (lye) and distilled water, weighed per your recipe
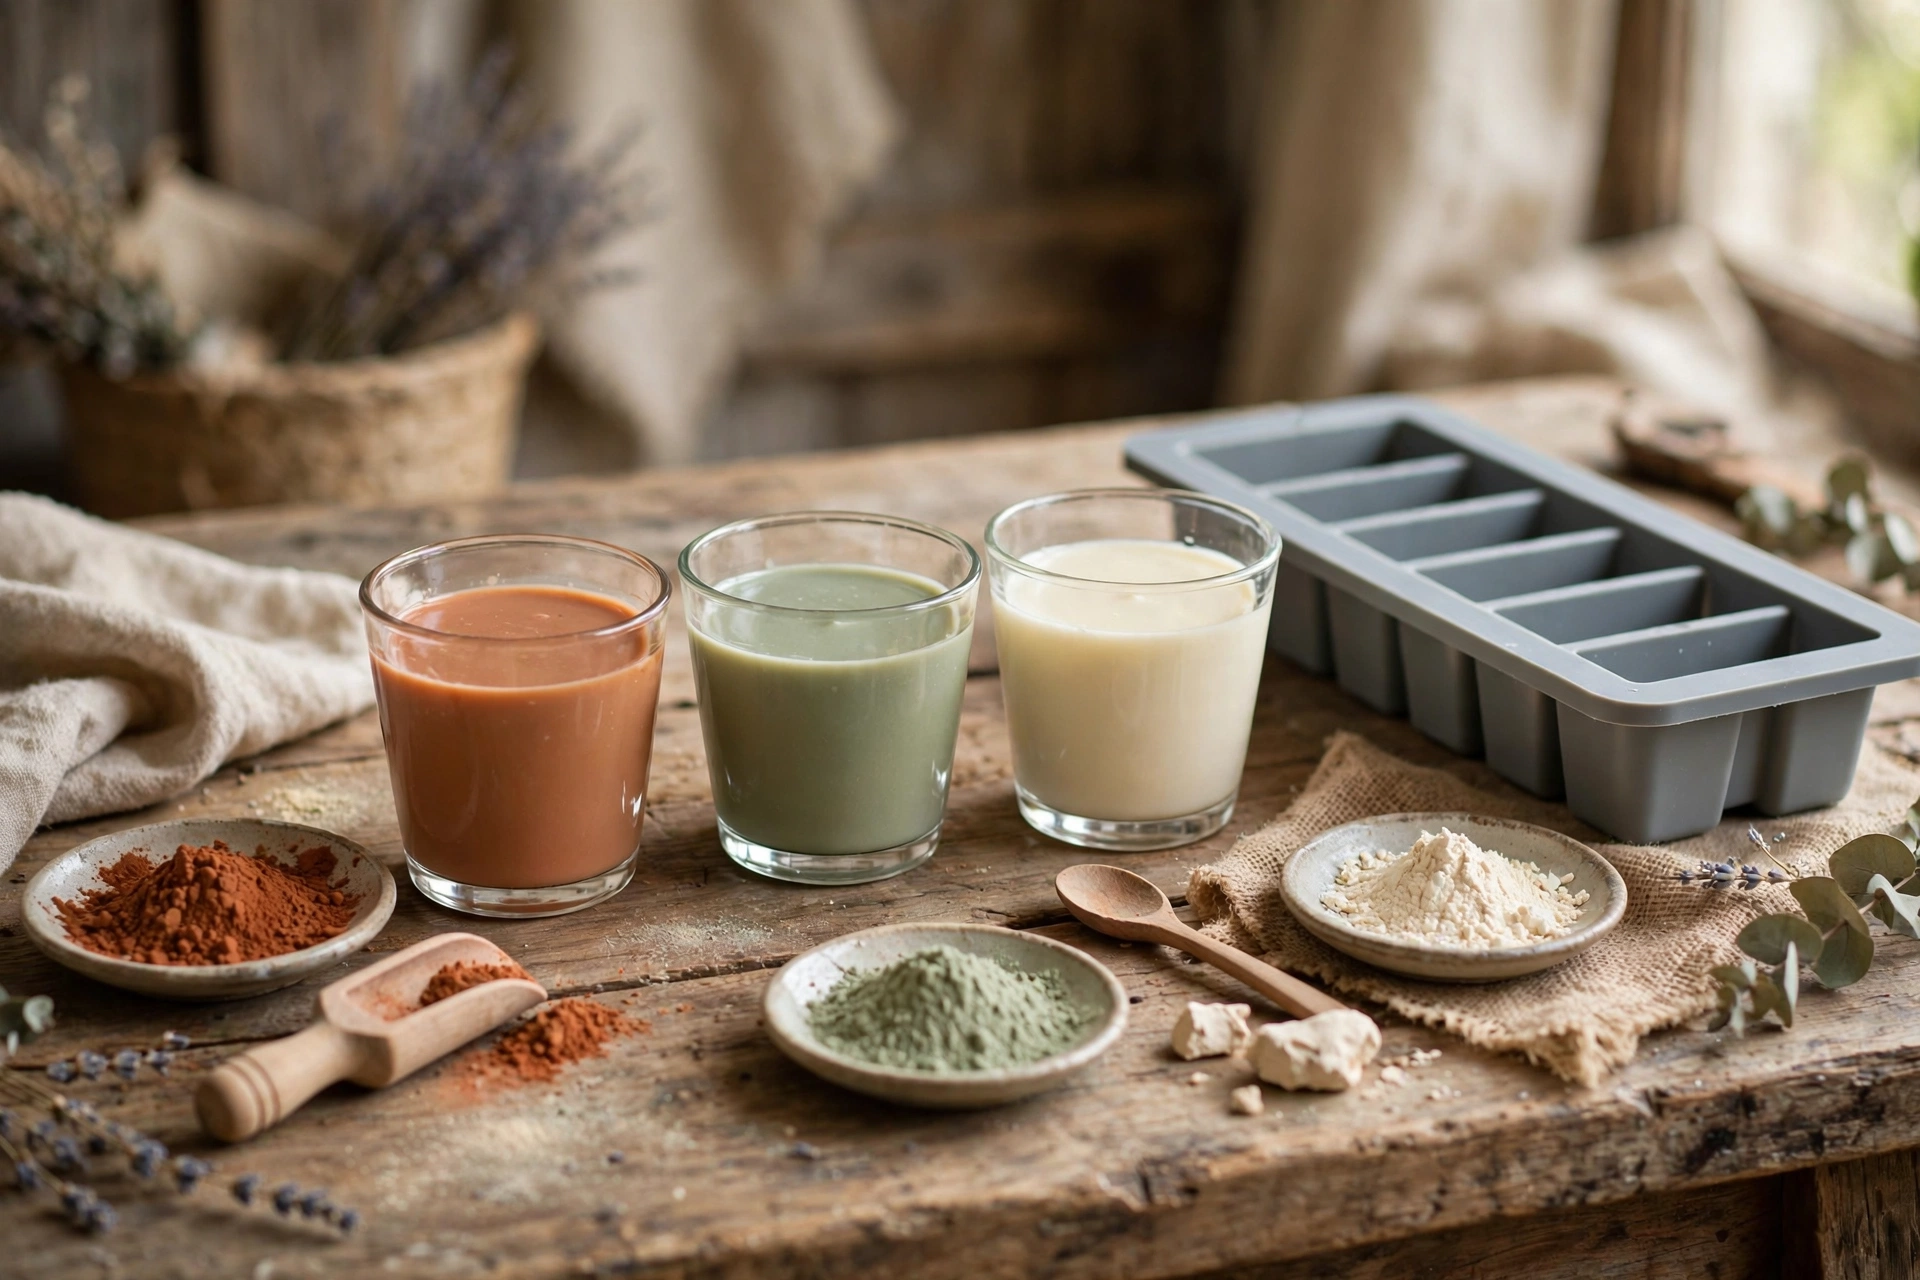
- Soap-safe colorants: micas, clays, or natural colorants — pre-dispersed in a little light oil
- Fragrance oil rated for cold process soap (optional)
- Silicone loaf mold (holds ~2–3 lbs)
- Stick blender, spatulas, and 2–4 extra pitchers or large measuring cups (one per color)
- Thermometer, digital scale, fork or spoon for texturing
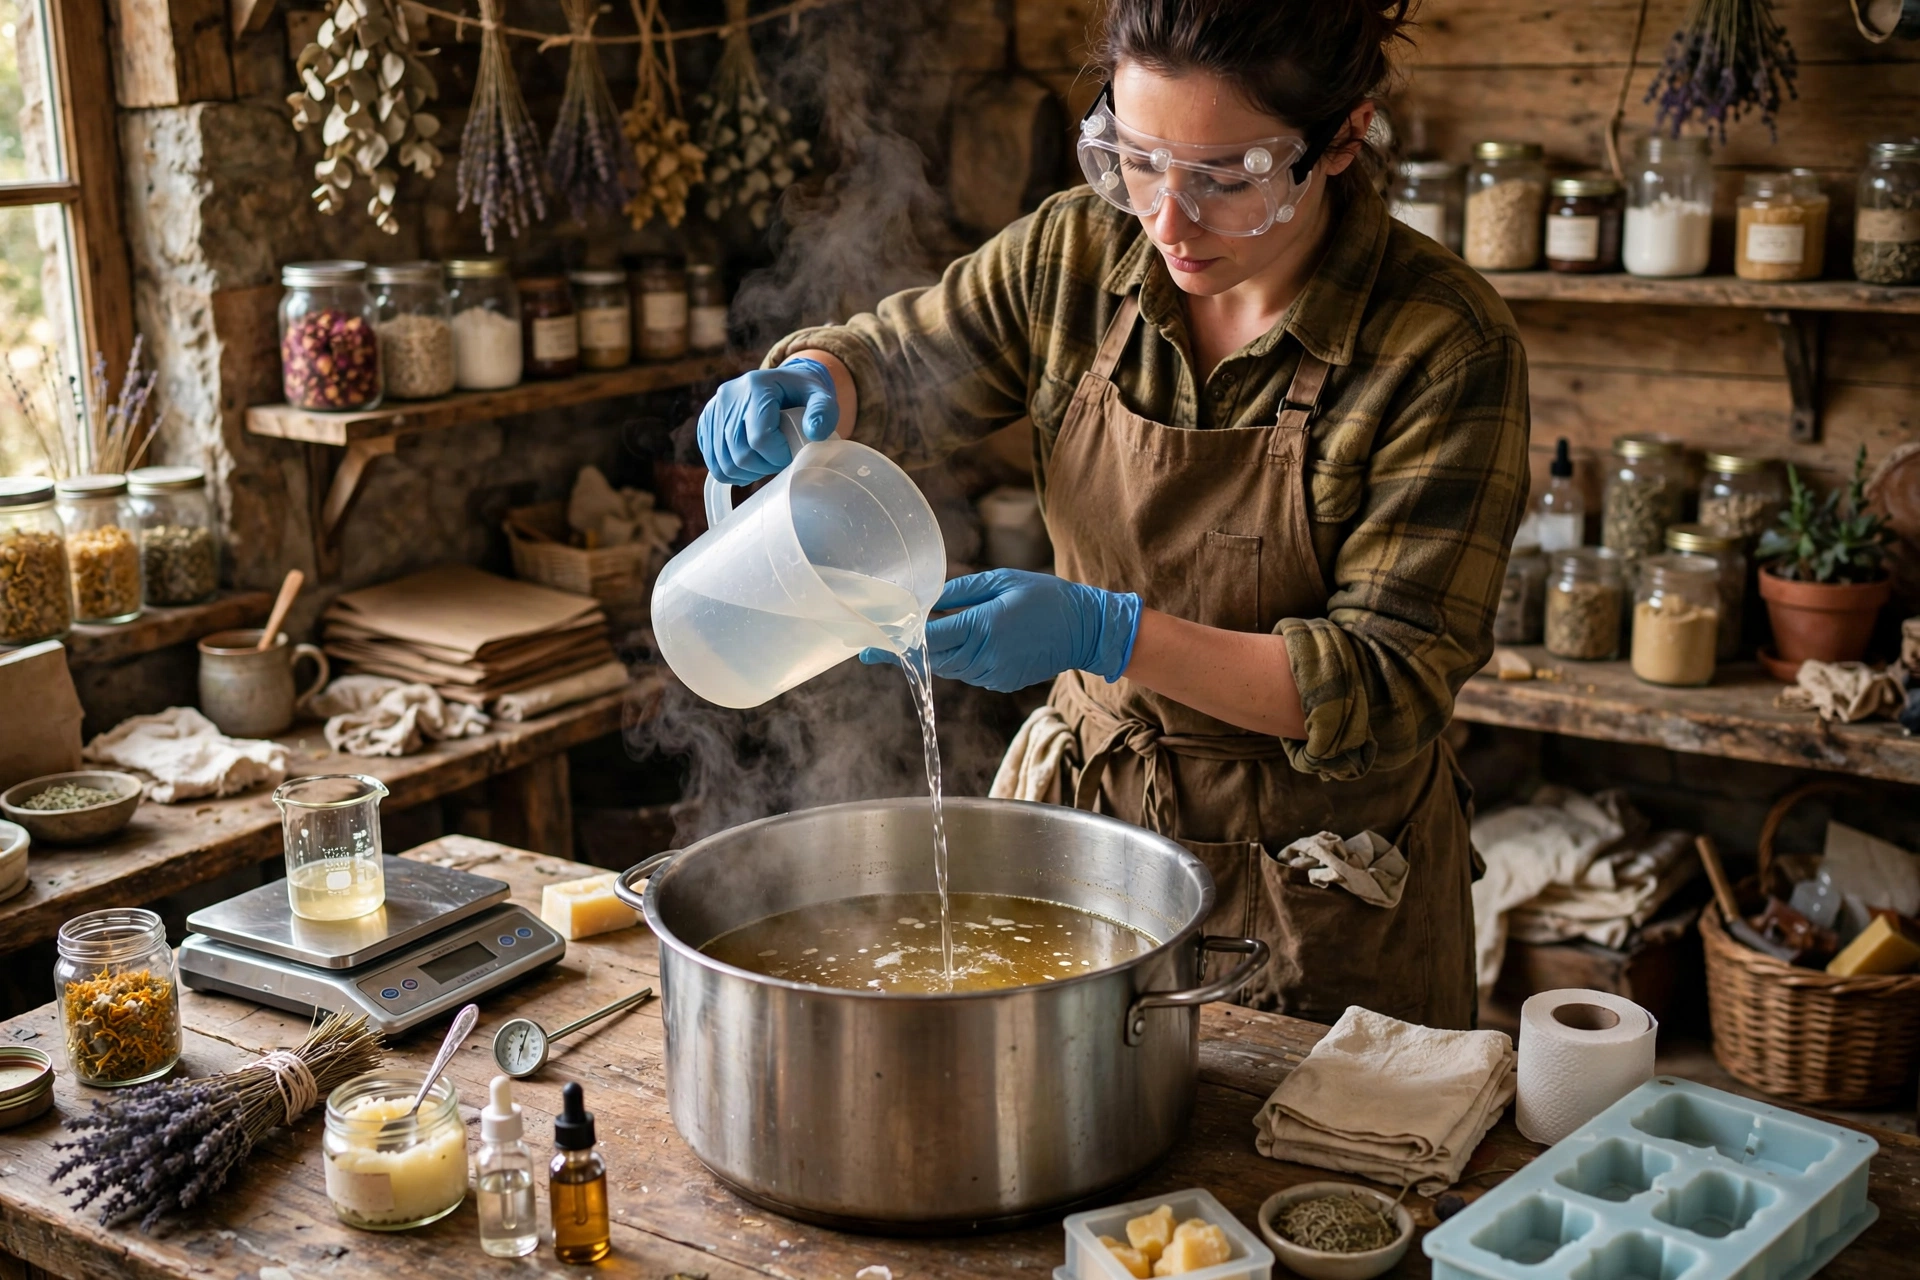
- Chemical-splash goggles, nitrile gloves, long sleeves
Steps
1. Plan your layers and prep everything
Decide your stripe sequence before you touch the lye — three to four layers is the sweet spot for a first attempt. Pre-mix each colorant in a tablespoon of light oil so it stirs in smoothly with no clumps. Line up one pitcher per color, your mold, spatulas, and a fork. Layered soap moves fast once the batter is ready; there is no pausing to hunt for supplies.
2. Make the lye solution and melt the oils
Gear up: goggles, gloves, long sleeves, ventilated area. Weigh the distilled water into a heat-safe pitcher, then slowly pour the weighed lye into the water — never the reverse — stirring gently until dissolved. It will heat up on its own; set it aside. Melt your hard oils, remove from heat, stir in the liquid oils, and cool both the lye solution and the oils to roughly 100–130°F, within about 10°F of each other.
3. Bring to light trace and divide the batter
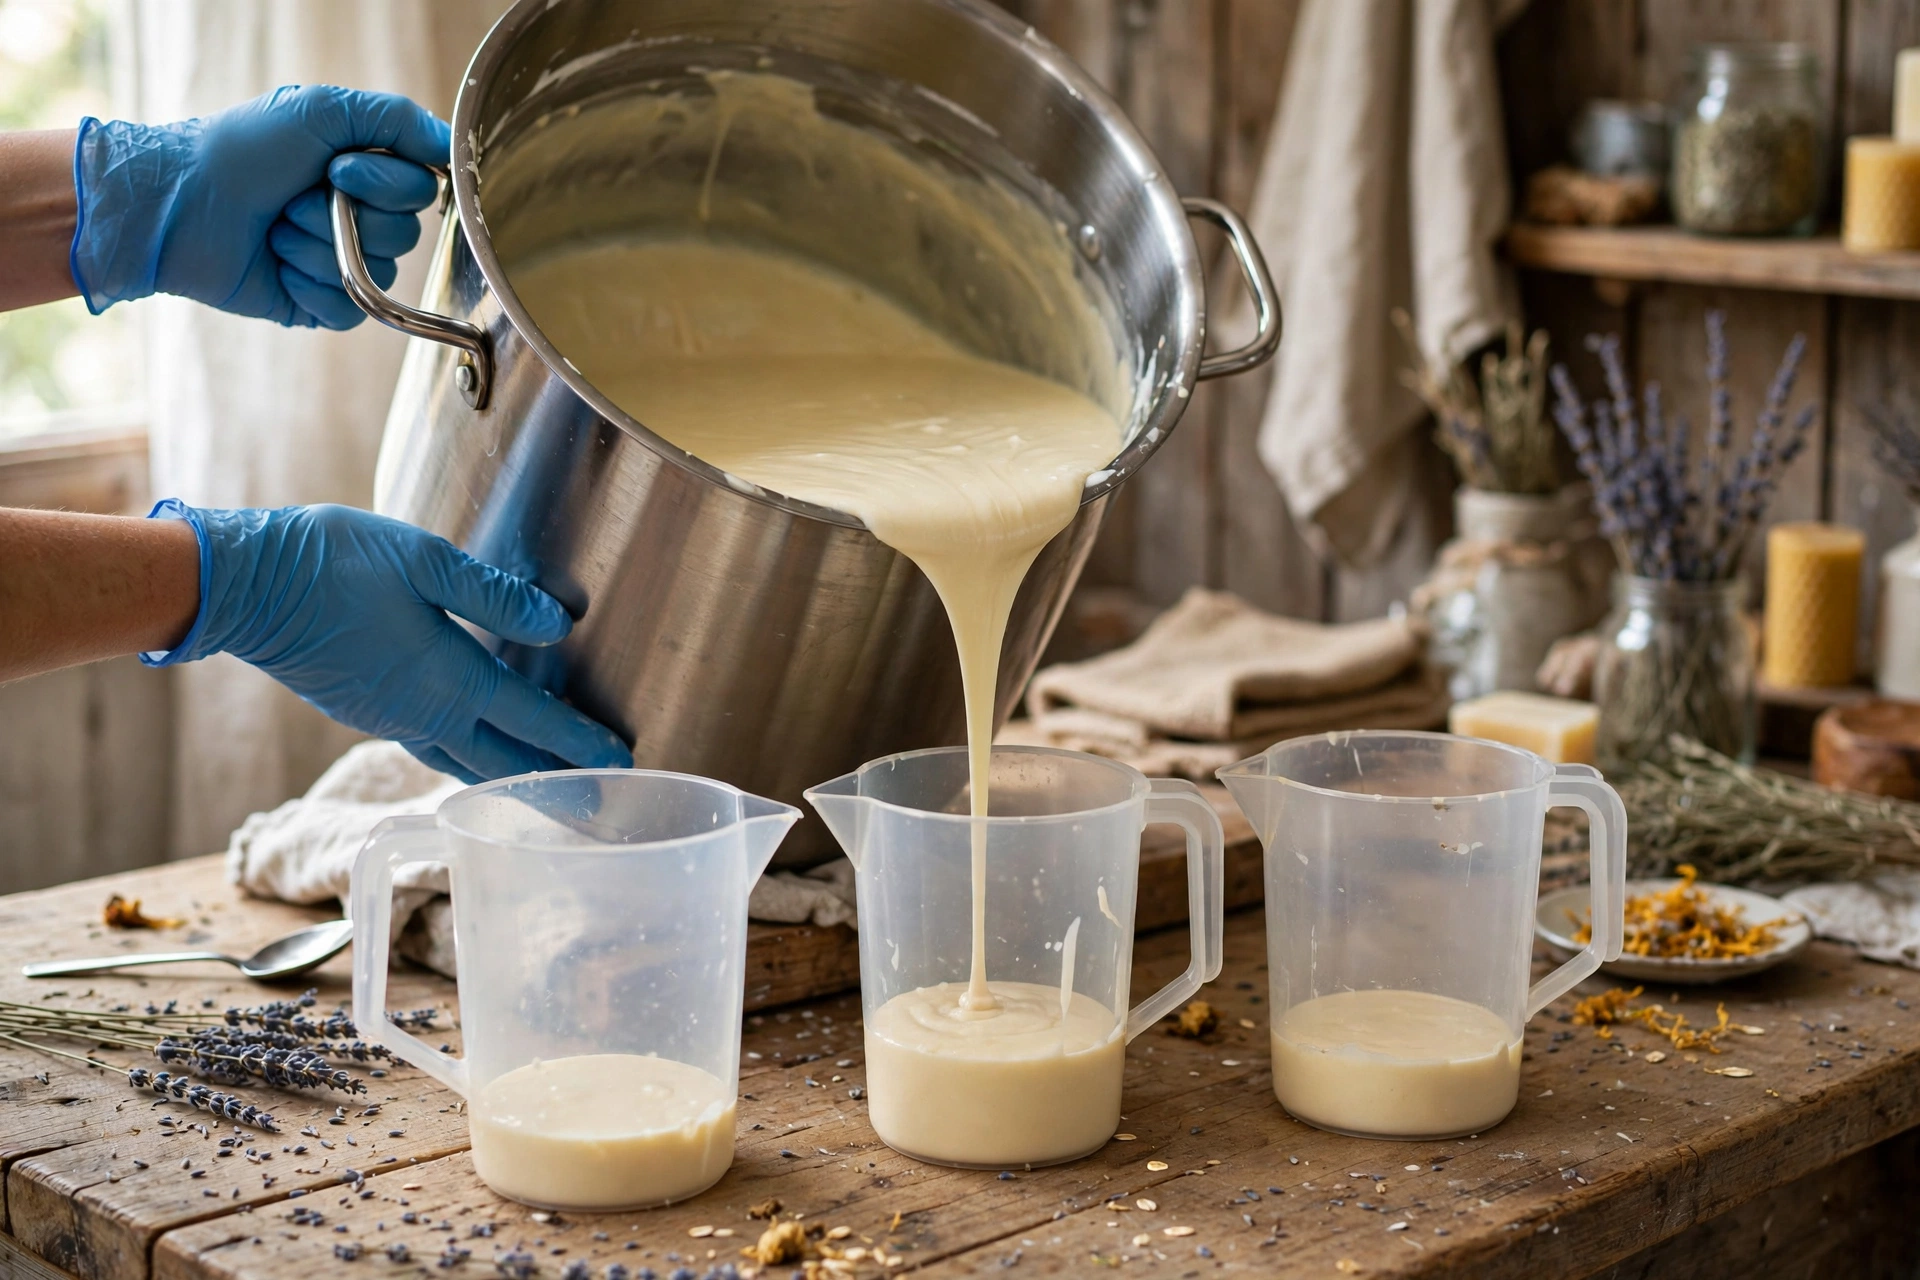
Pour the lye solution into the oils and stick-blend in short 3–5 second bursts, stirring with the blender off between bursts, until you reach a light trace — the batter thickens slightly and a drizzle leaves a faint trail on the surface. Working quickly, divide the batter evenly among your pitchers and stir in each colorant (and fragrance, if using) by hand. Return each pitcher to a thin, pourable trace — you can add a few more seconds of blending per pitcher if one thickens too fast.
4. Pour the first layer
Pour layer one into the mold from a low height, right over the back of a spoon or spatula to soften the landing. Tap the mold firmly on the counter a few times to release air bubbles, then smooth the surface gently. Let it sit just until it firms enough to hold the next layer — usually 5–15 minutes depending on your recipe. Test with a light fingertip touch: it should dent slightly without sticking to your (gloved) finger.
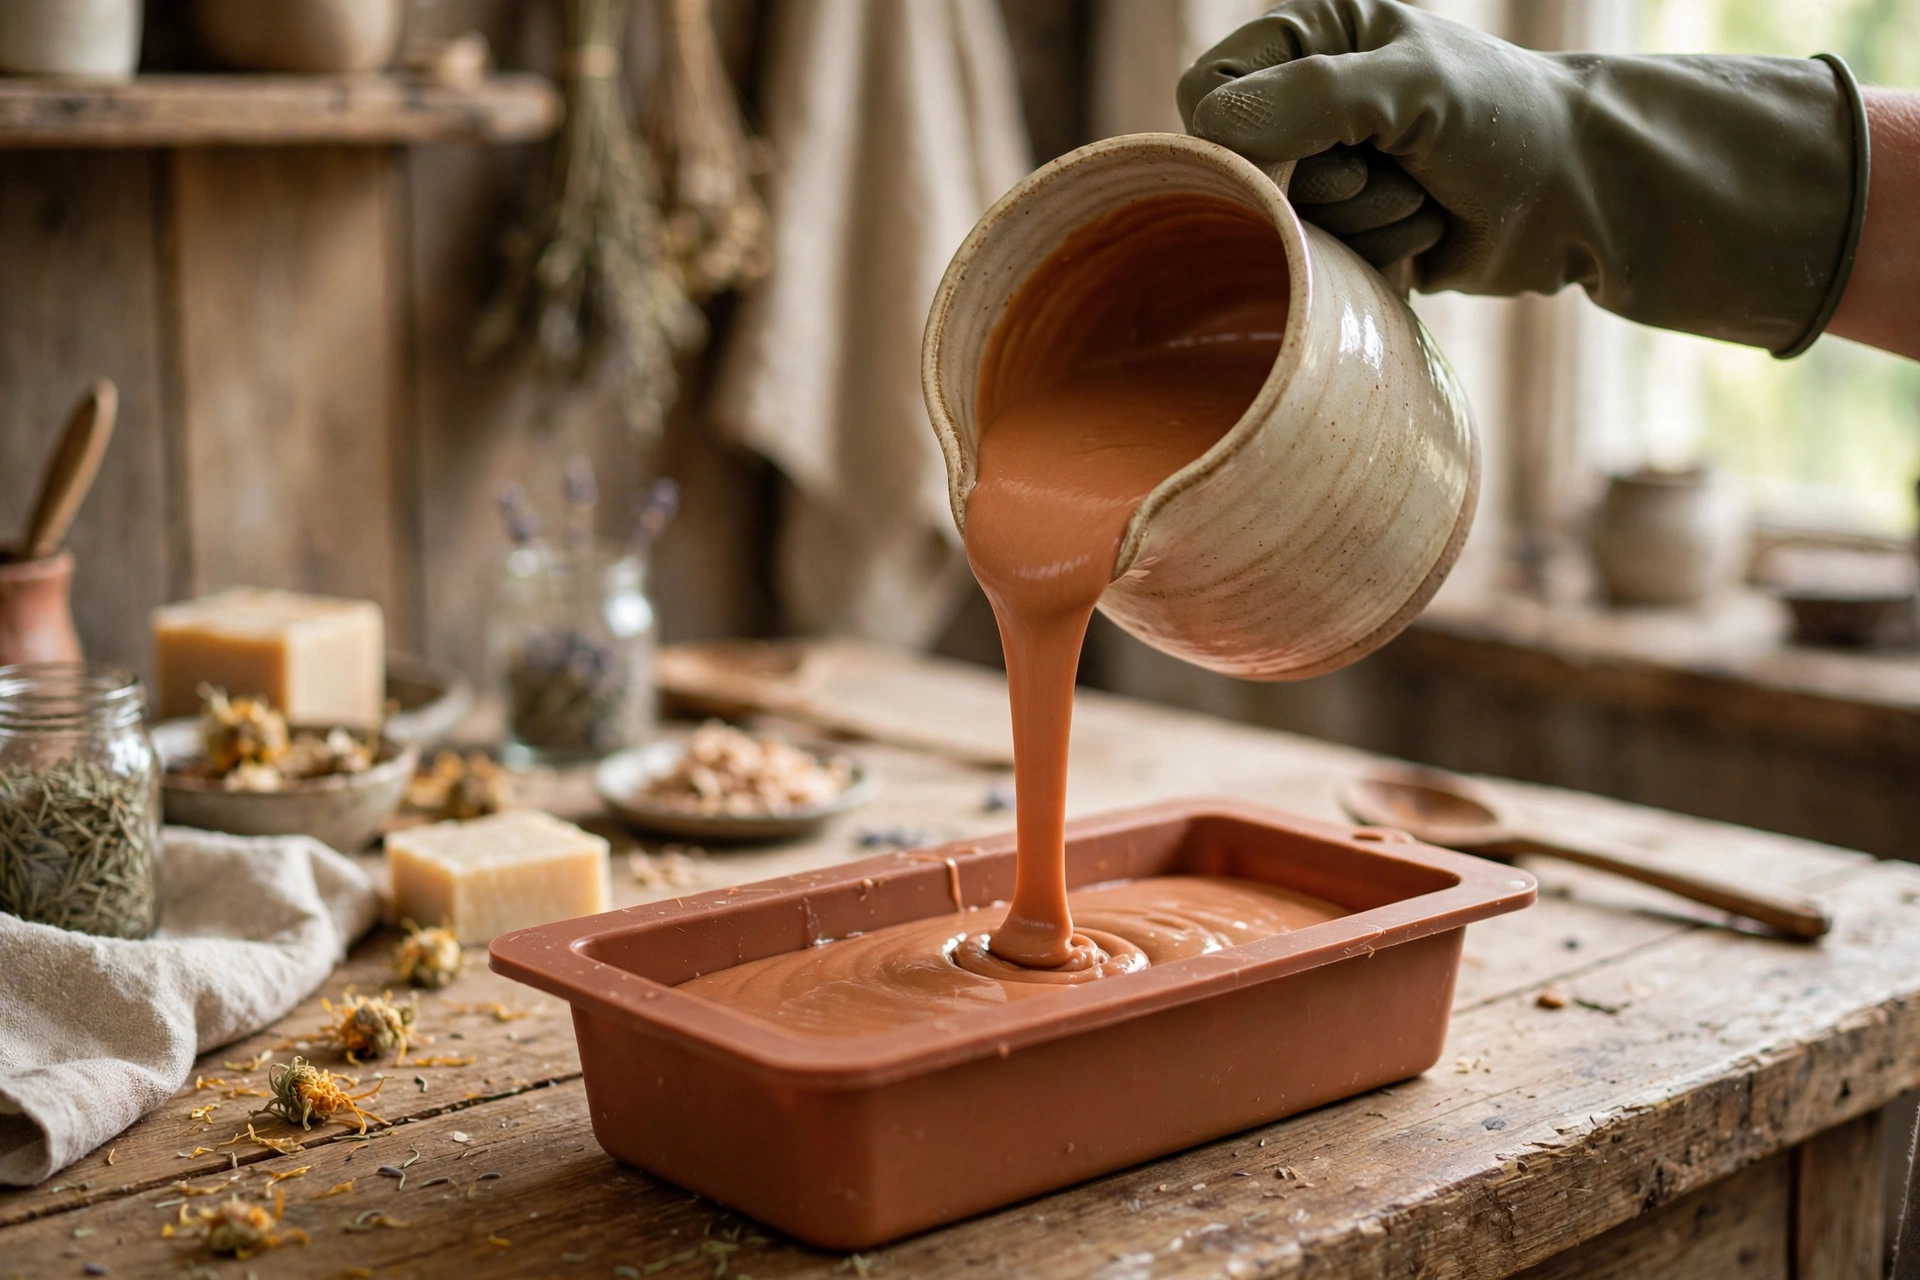
5. Texture and pour the next layer
Lightly scratch or swoop the surface of layer one with a fork — this texture is the mechanical grip that locks layers together. Then pour layer two over the back of a spoon held just above the surface, so the batter spreads gently instead of punching through. Tap the mold once or twice to settle it, smooth lightly, and repeat the wait-texture-pour cycle for each remaining layer.
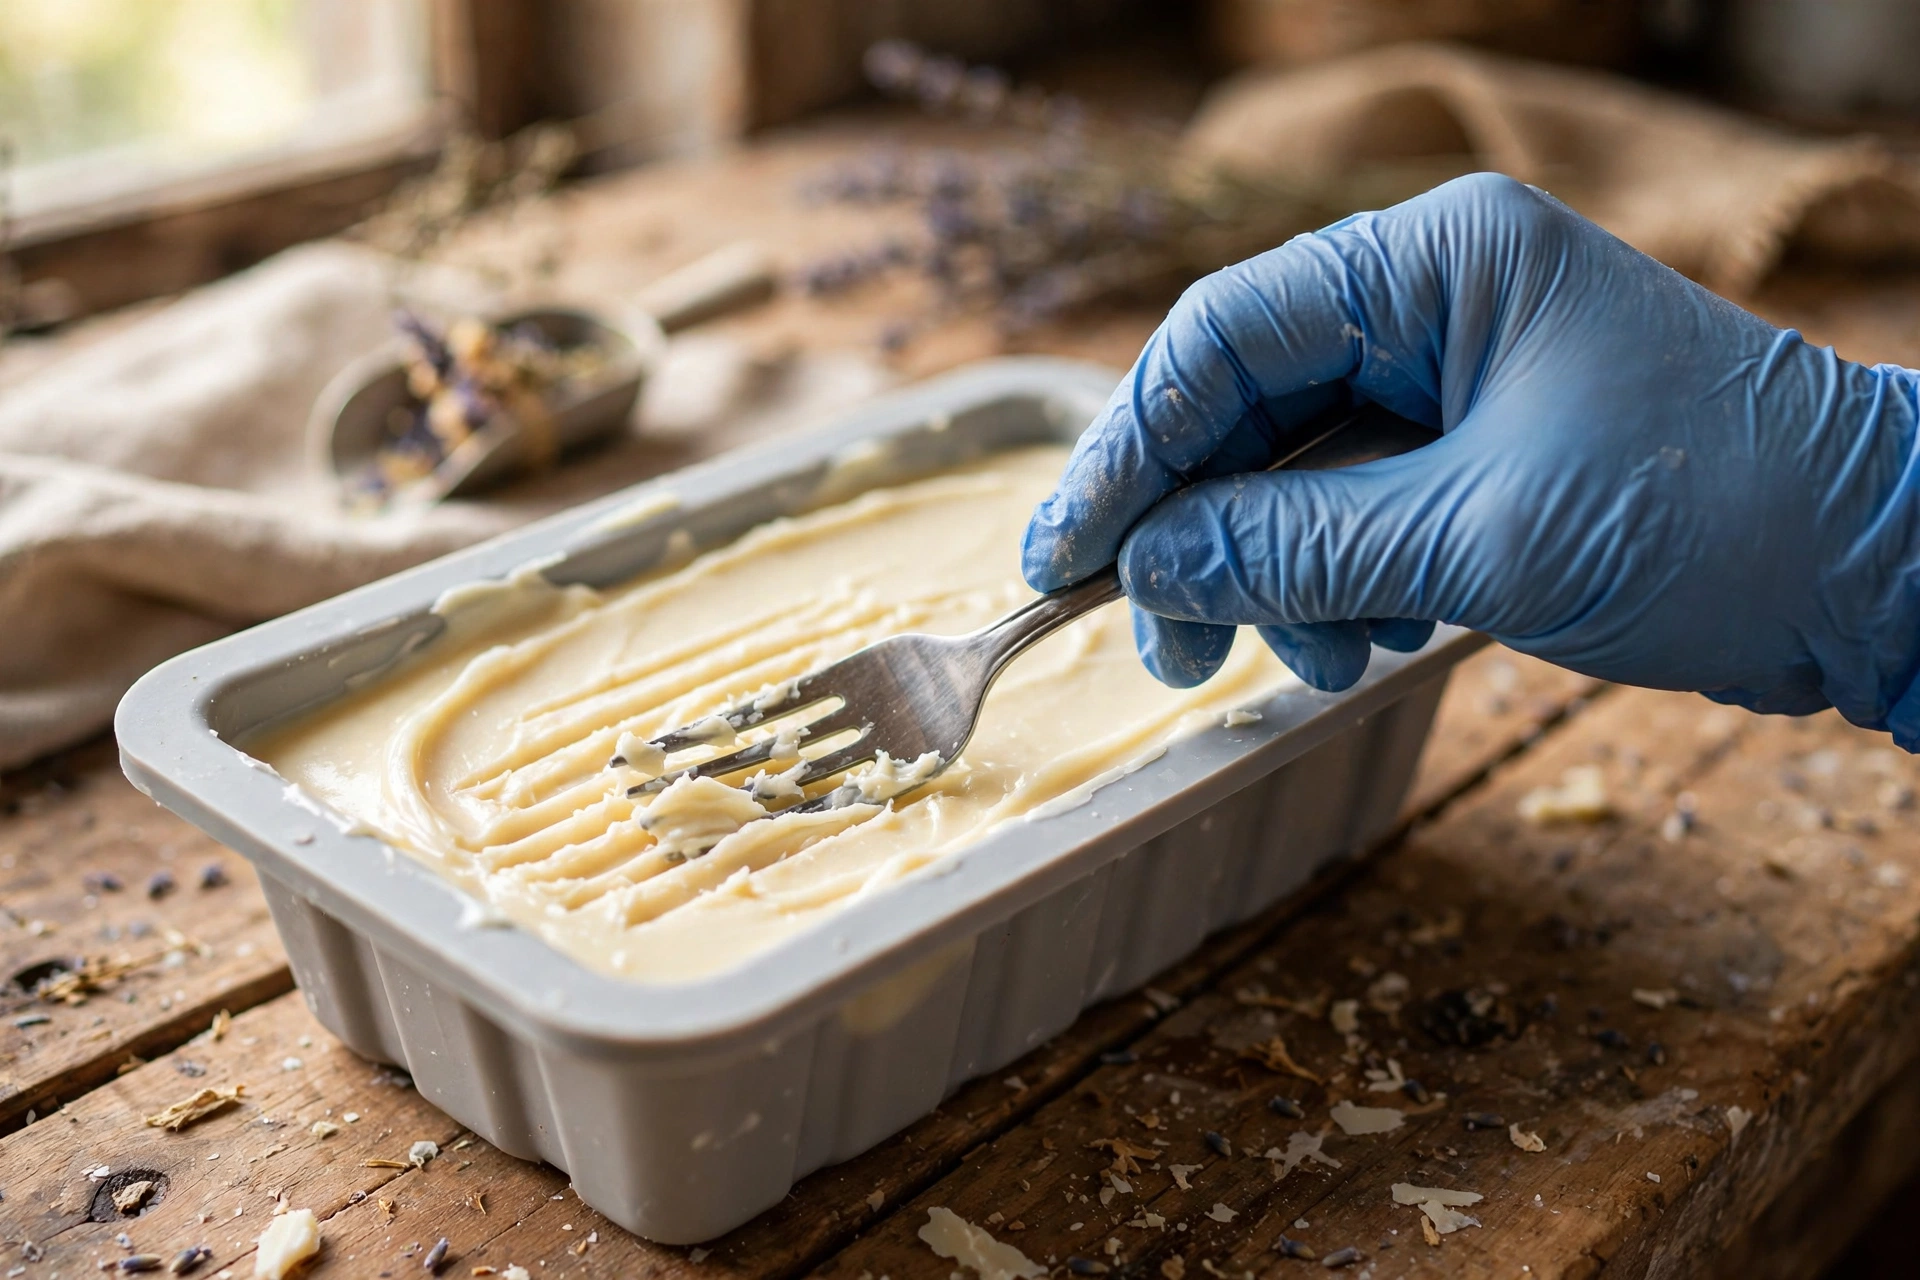
6. Finish the top and insulate
Texture the final layer however you like — swoops, peaks, or a smooth finish with a sprinkle of botanicals or mica on top. Insulate the mold with a towel or set it in a turned-off oven for 24 hours. Going through gel phase (the soap turns translucent and gel-like, then firms back up) deepens colors and helps layers bond; if your recipe tends to overheat, skip the insulation and soap a little cooler instead.
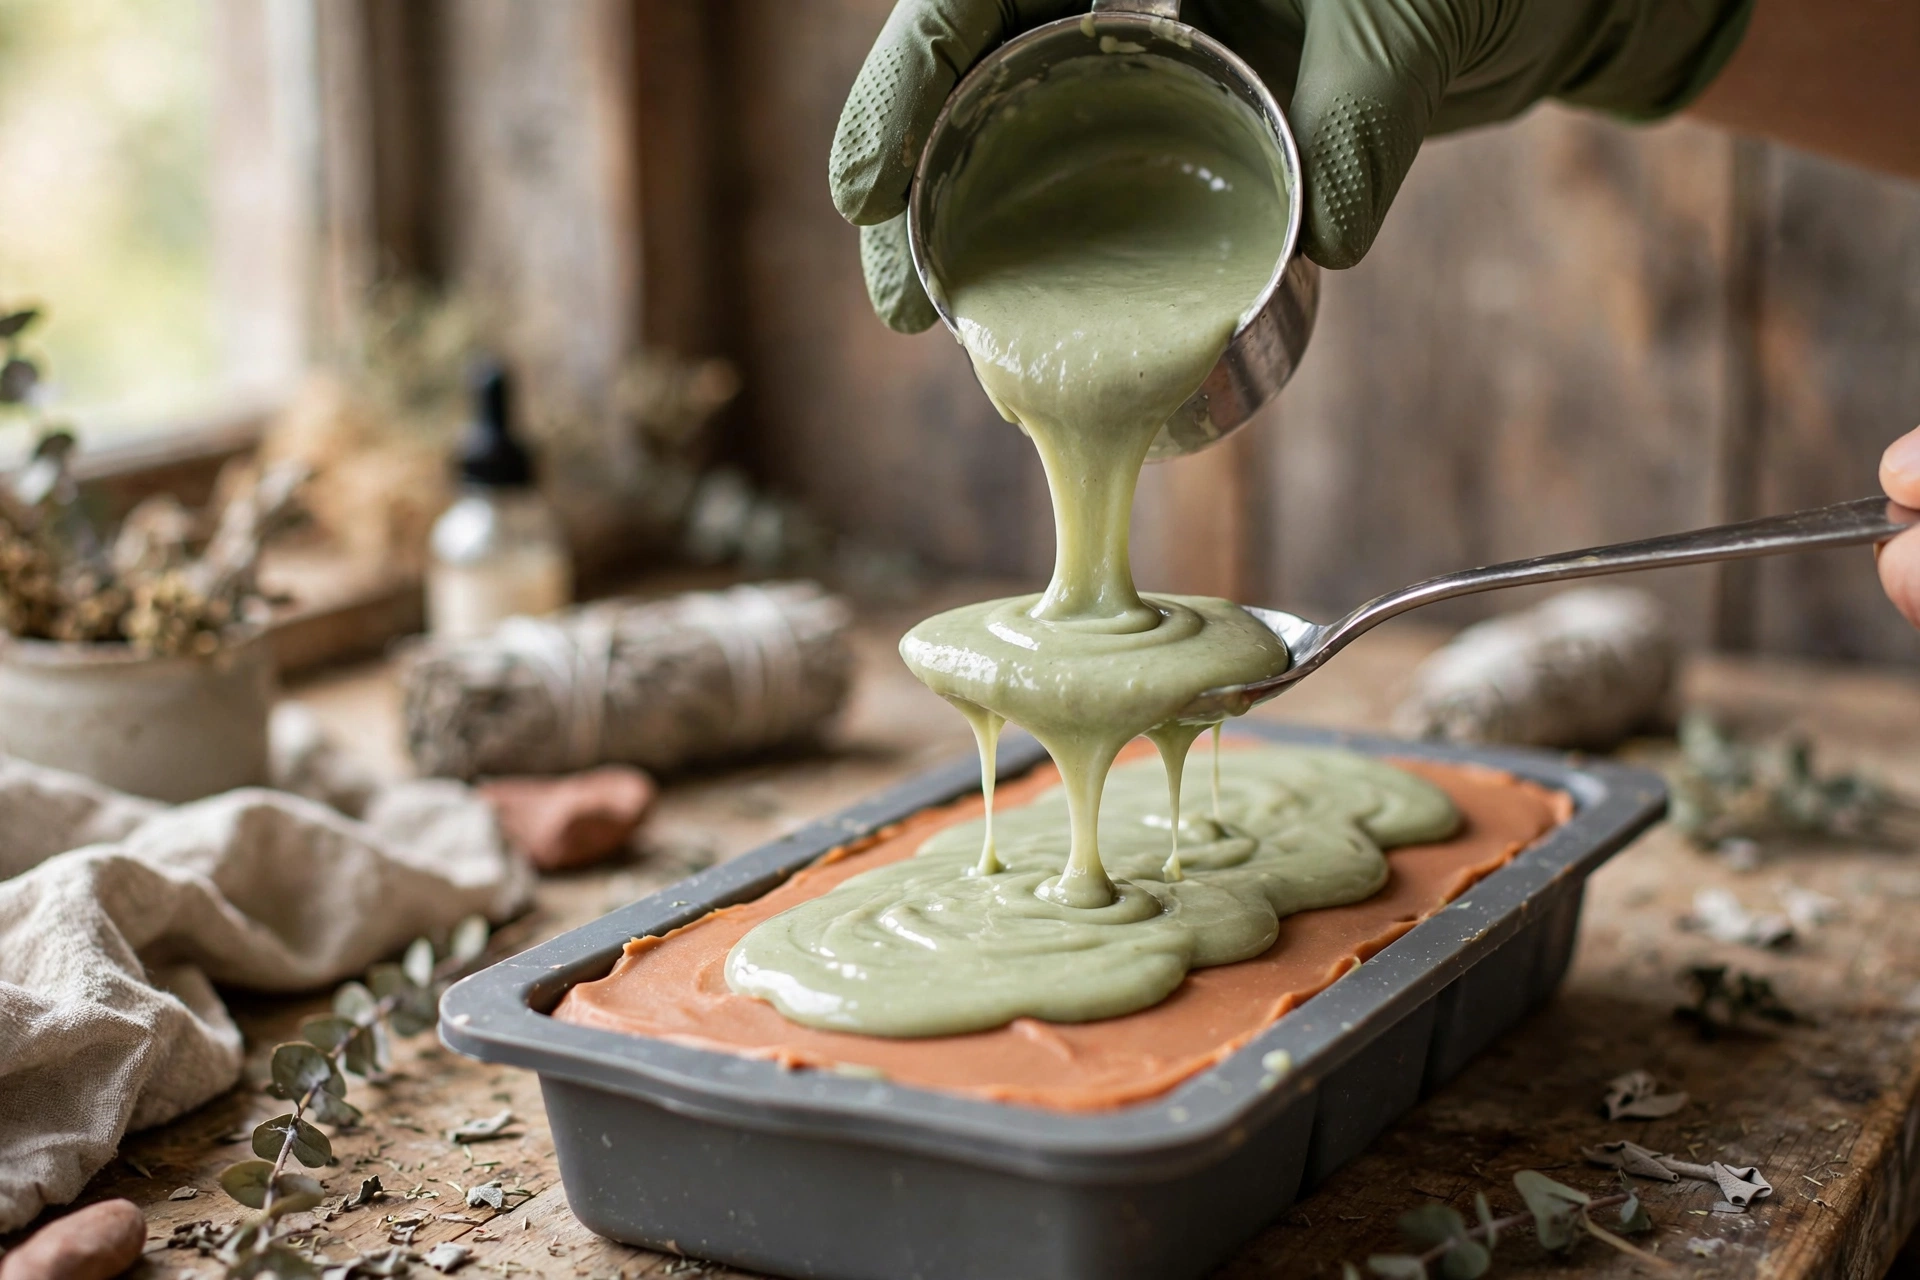
7. Unmold, cut, and cure
Unmold after 24–48 hours, when the loaf is firm enough to handle. Cut with a sharp knife or wire cutter in one smooth motion — sawing drags the colors into each other. This is the payoff moment: the cut face reveals your stripes. Stand the bars on edge with airflow between them and cure 4–6 weeks somewhere cool and dry before using.
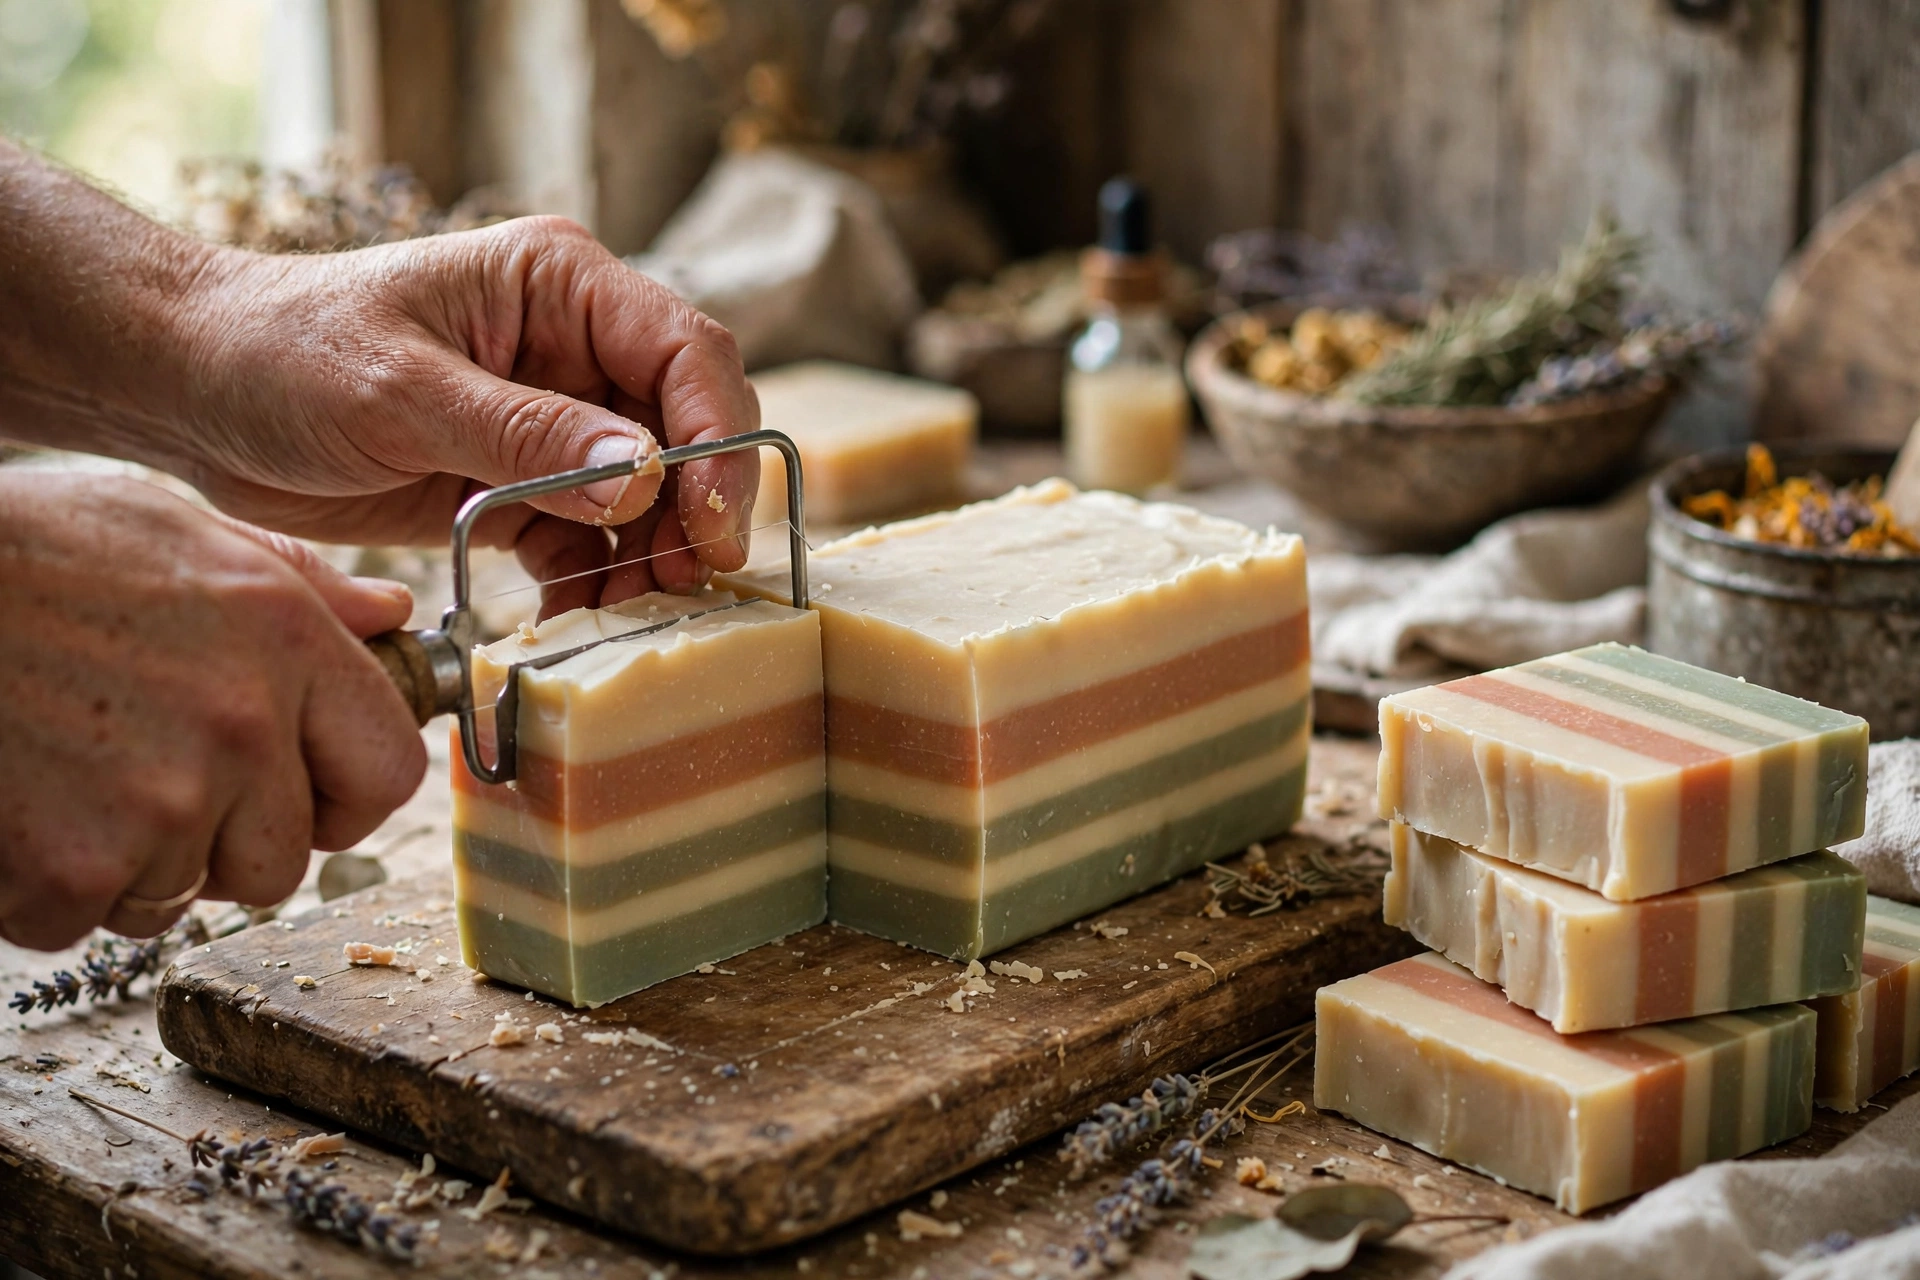
Troubleshooting
Layers separating? The lower layer was too firm when the next one landed, or the surfaces weren’t textured. Pour sooner, texture between every layer, and keep batters at similar temperatures.
Colors bleeding or morphing? Some fragrance oils and colorants discolor or migrate in cold process — vanilla-based fragrances turn brown, some micas fade in high pH. Test colorants in a small batch first, and choose colorants specifically rated as CP-stable.
Partial gel (dark oval in the middle, pale edges)? The center went through gel phase and the edges didn’t. It’s cosmetic only — insulate more evenly next time, or embrace it as a rustic look.
Batter seized mid-pour? A fast-moving fragrance oil accelerated trace. Stick to fragrances rated well-behaved for CP, add fragrance last, and have everything prepped before you blend.
Next steps
Love the control this technique teaches? Try soap embeds next — hiding melt-and-pour shapes inside cold process bars. New to cold process entirely? Start with our first cold process soap recipe, and keep the Lye Safety Checklist printed by your soaping station.



