
Soap Embeds: Melt-and-Pour Shapes Hidden Inside Cold Process Soap
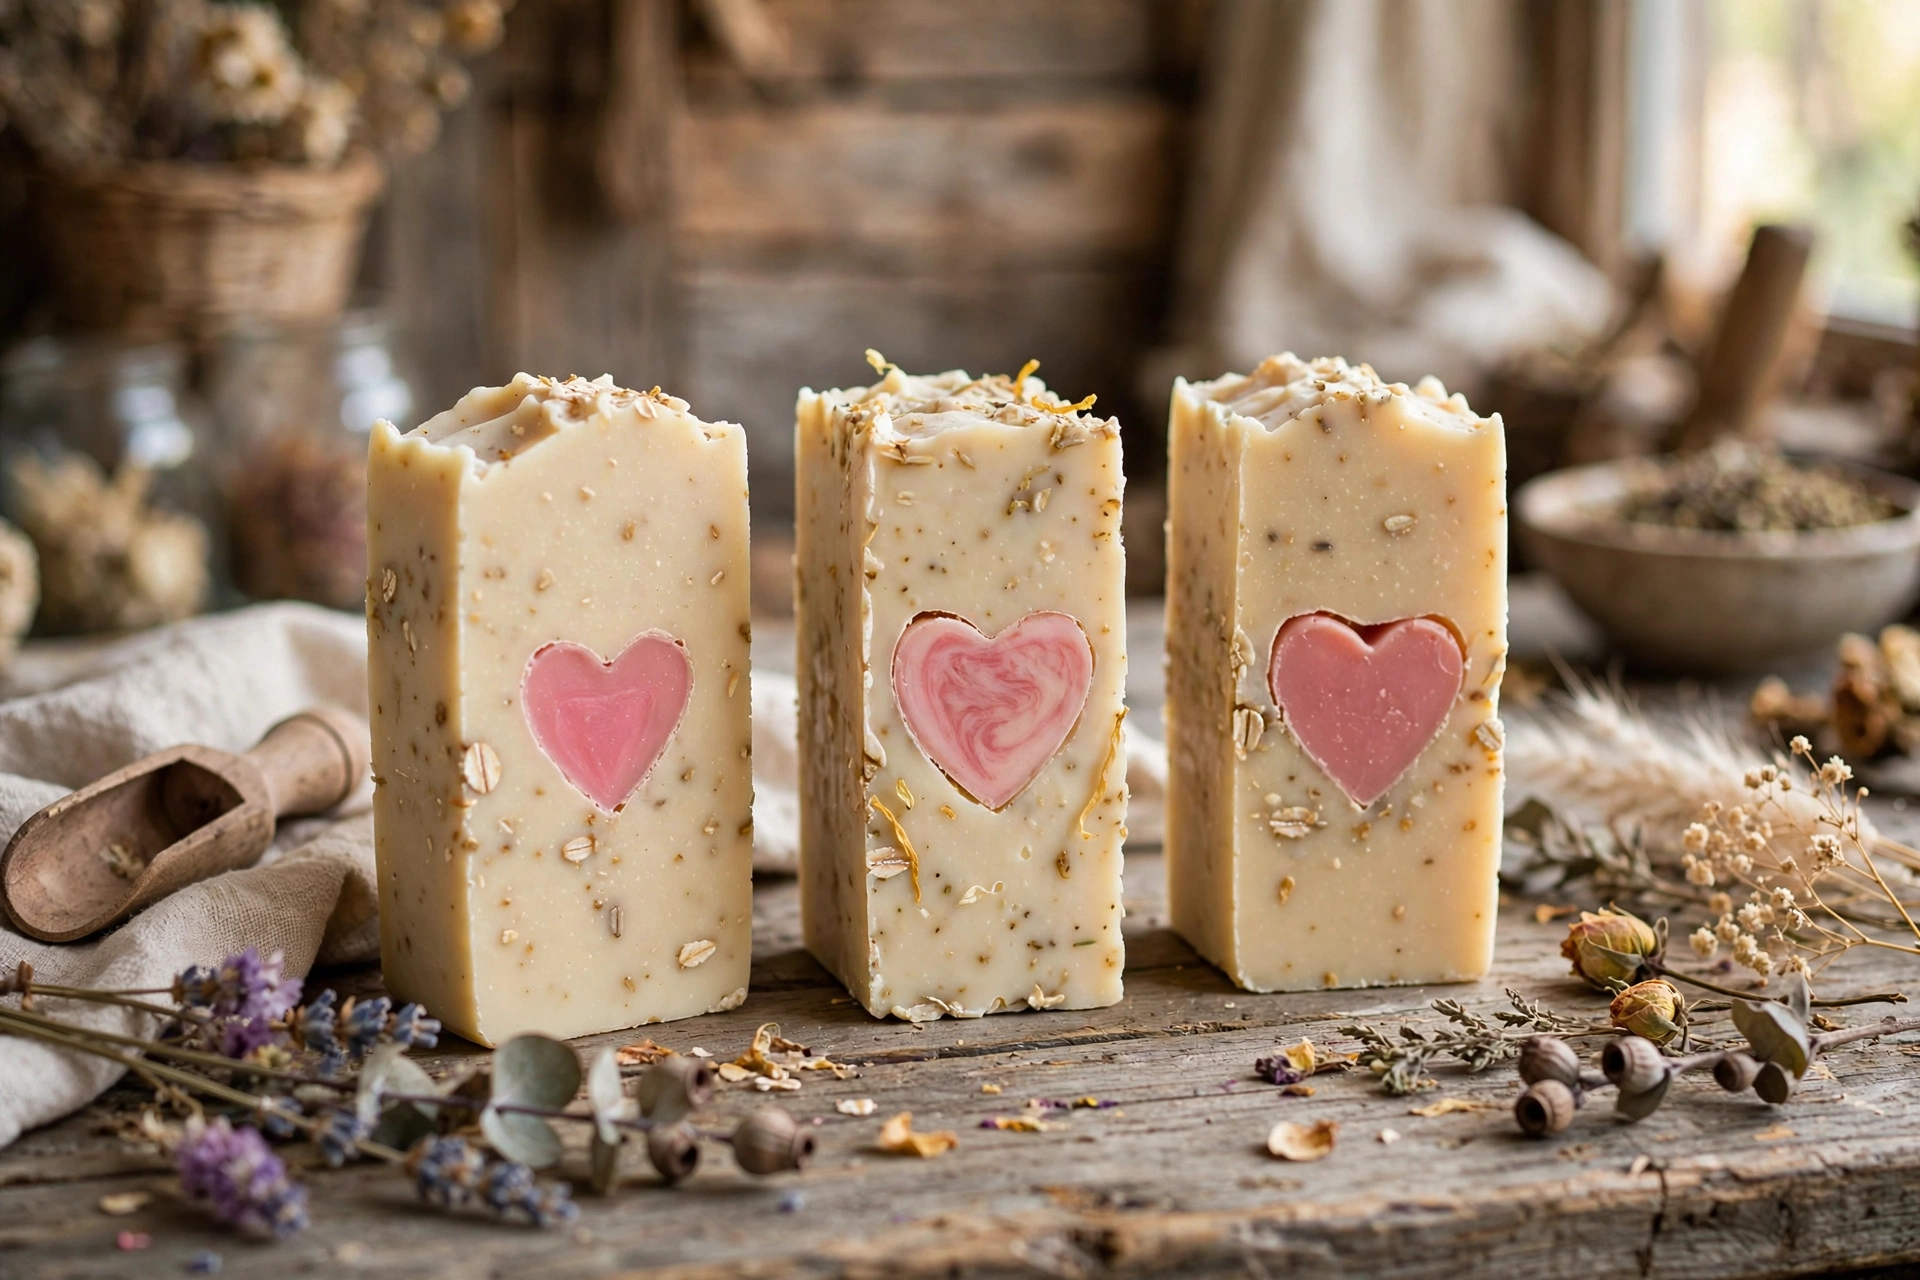
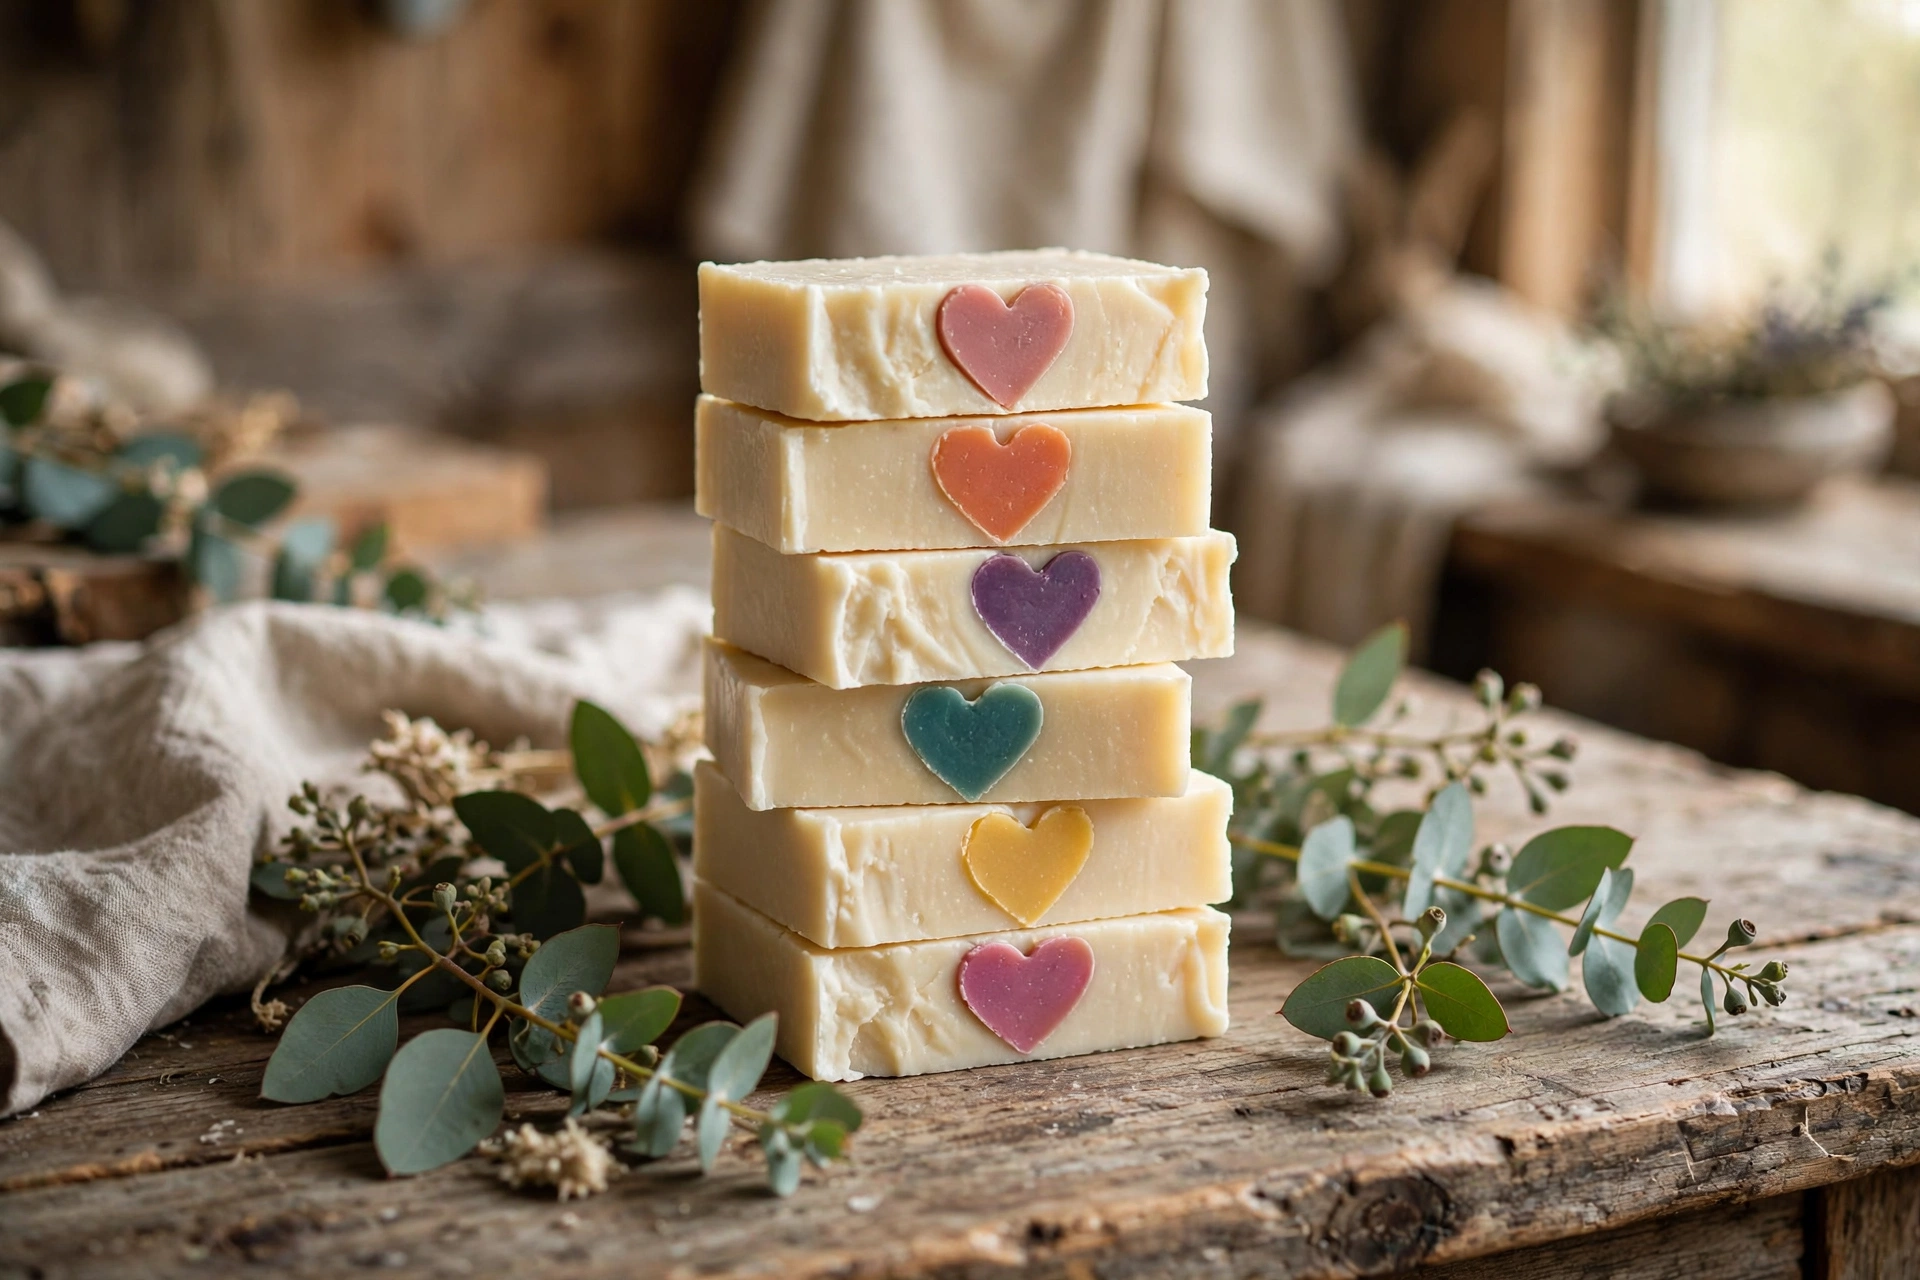
There’s nothing more delightful than slicing into a plain-looking soap loaf and revealing a perfect little heart, star, or flower hiding inside. Embeds — small melt-and-pour shapes suspended in cold process batter — are one of the most shareable projects in soapmaking, and easier than they look.
What you’ll need
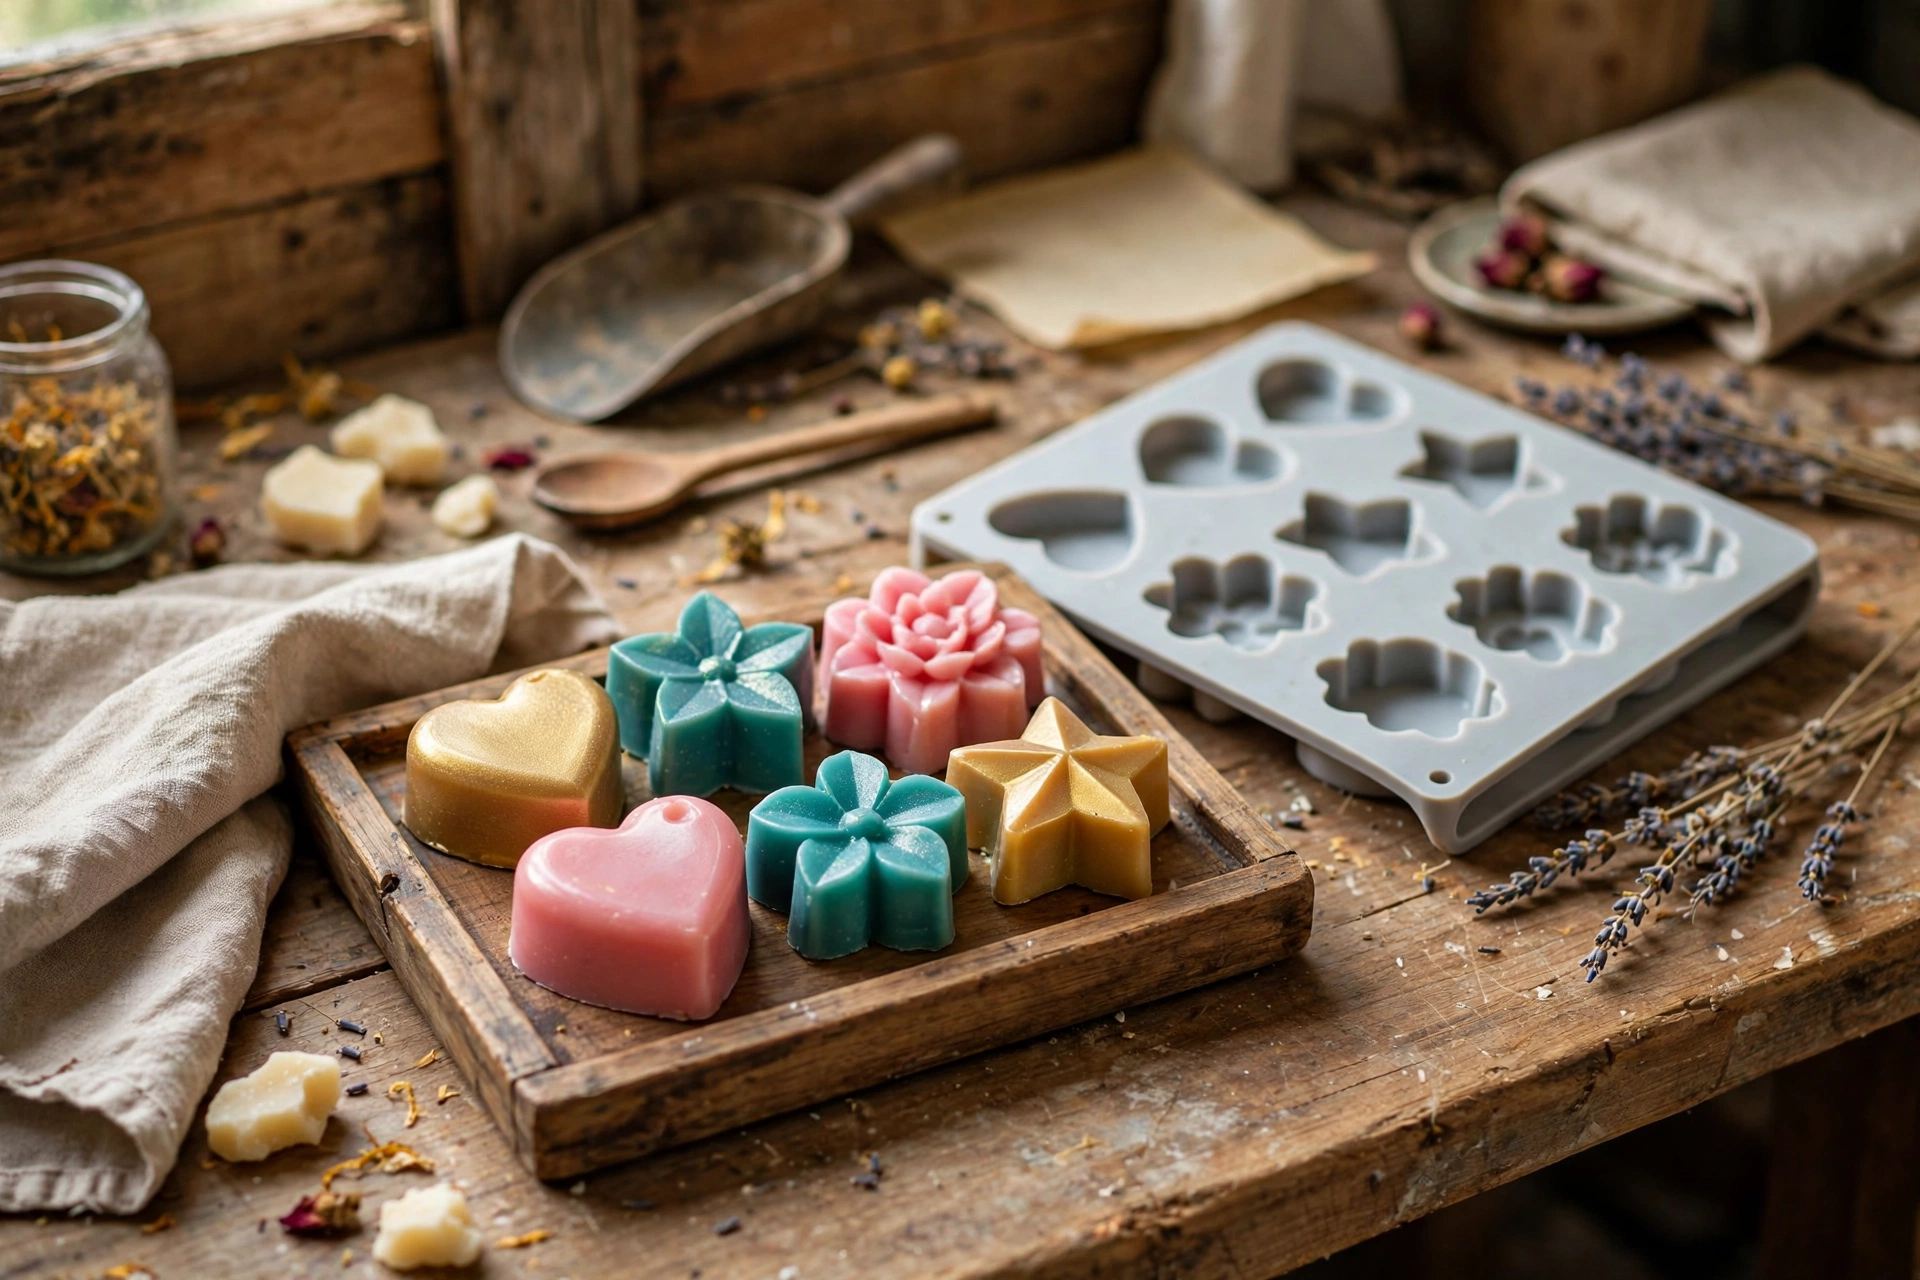
- Melt-and-pour soap base (clear or white), soap-safe colorants, and small silicone molds for shapes (hearts, stars, flowers)
- A simple cold process recipe — keep it lightly colored or uncolored so the embeds stand out
- Sodium hydroxide (lye) and distilled water, weighed per your recipe
- Silicone loaf mold for the main pour
- Stick blender, spatulas, thermometer, digital scale, rubbing alcohol in a spray bottle
- Chemical-splash goggles, nitrile gloves, long sleeves
Steps
1. Make your embeds first
Melt the melt-and-pour base gently, add color (and a little fragrance if you like — embeds can carry the scent so the CP batter stays simple), and pour into your small shape molds. Spritz the surface with rubbing alcohol to pop any bubbles. Let them harden completely — at least a few hours, ideally overnight. Pop them out and set aside.
2. Make your cold process batter
Gear up: goggles, gloves, long sleeves, ventilated area. Make your lye solution (lye into water, never the reverse), melt your oils, and bring both to roughly 100–130°F. Combine and stick-blend to a light-to-medium trace — the batter needs enough body to suspend the embeds, but still be pourable. A batter that’s too thin lets embeds sink; too thick and you’ll trap air around them.

3. Pour a base layer and place the embeds
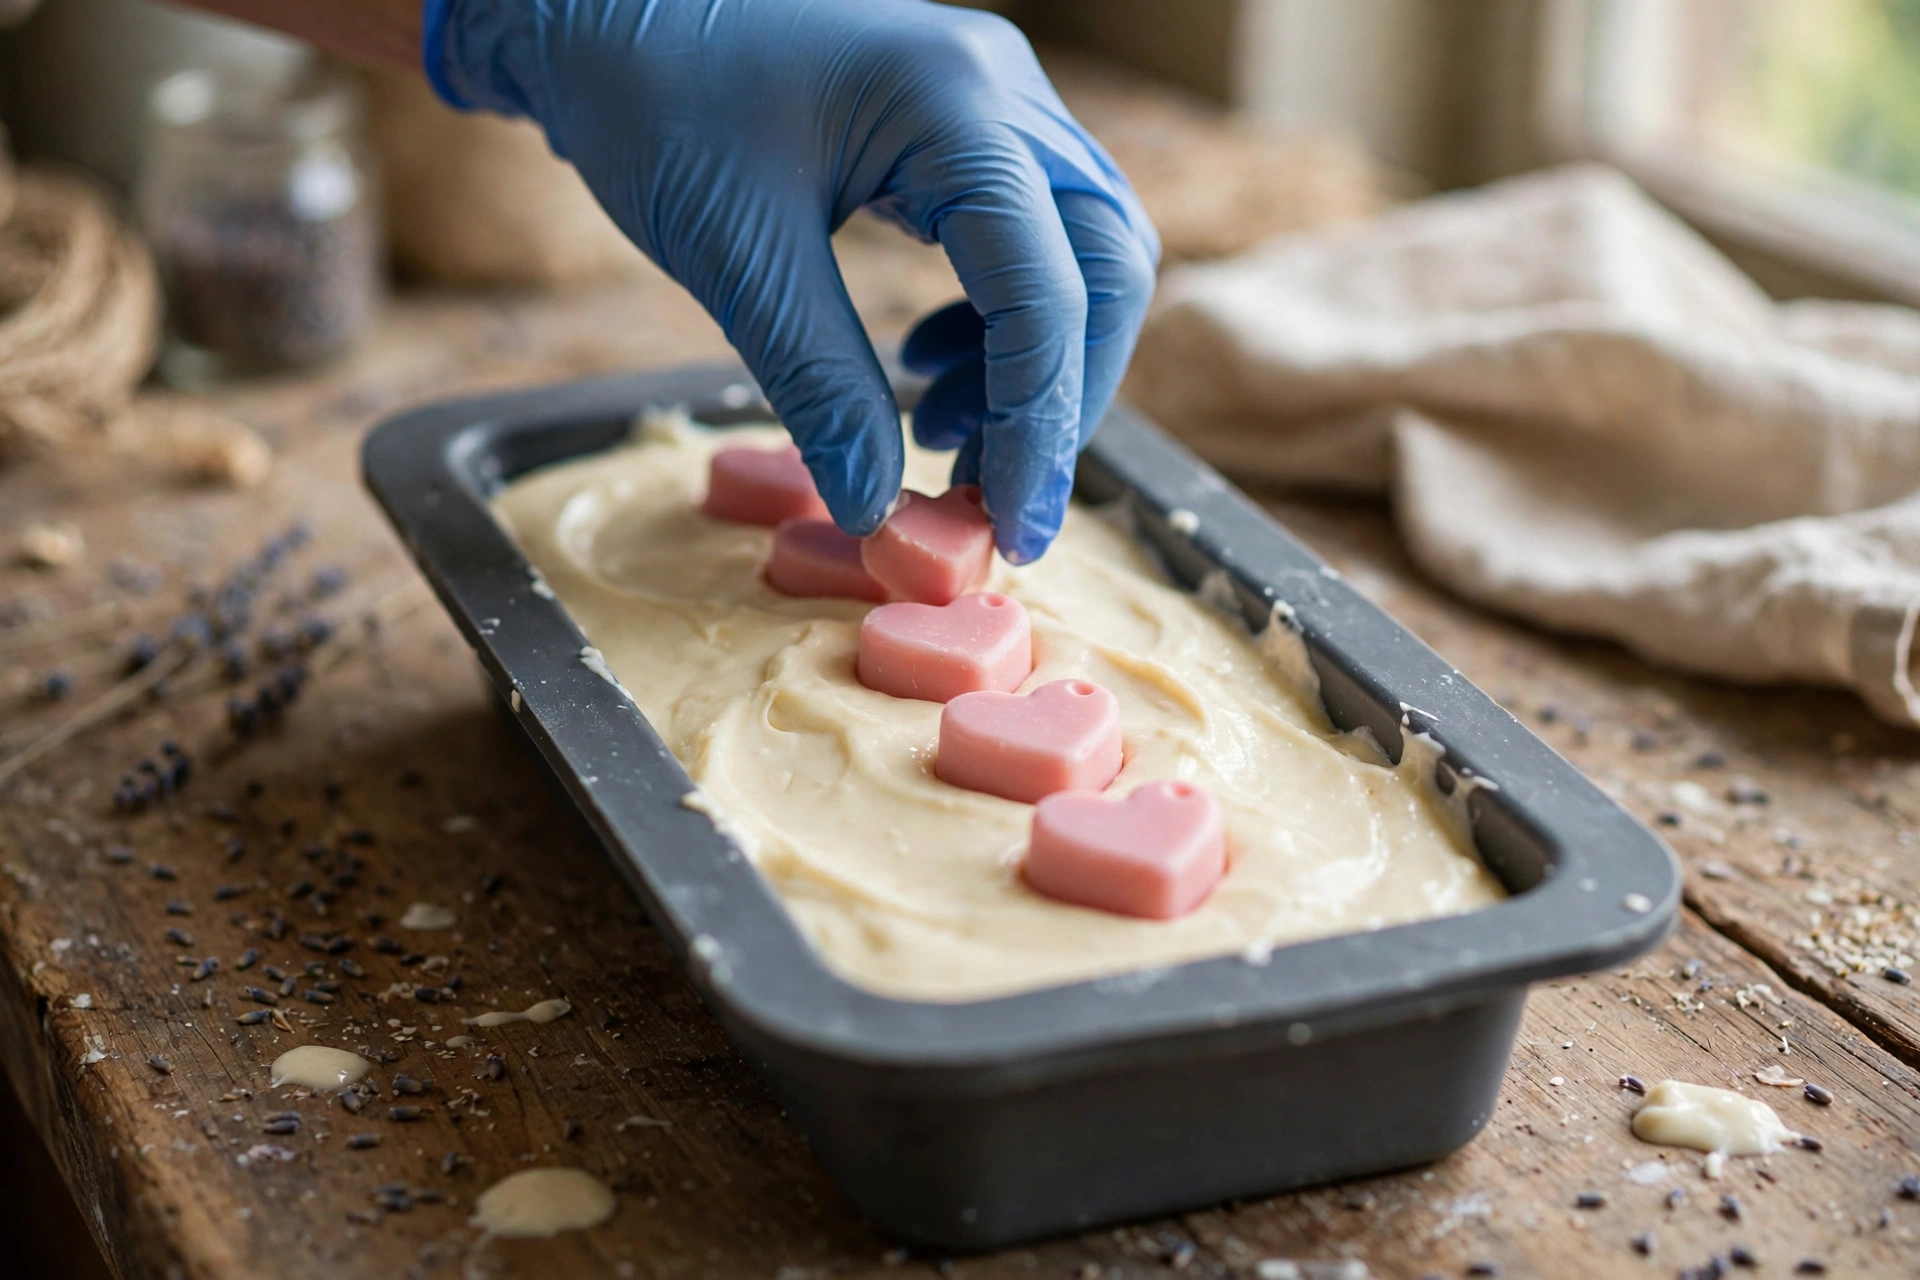
Pour about a third of your batter into the loaf mold and tap out air bubbles. Now place your embeds in a neat row down the center, pressing each one gently into the batter. Work fairly quickly — you want the embeds surrounded while the batter is still fluid enough to close around them.
4. Cover with batter — gently
Pour the remaining batter over and around the embeds, pouring low and slow over the back of a spoon so you don’t knock them out of position or trap air pockets against them. Tap the mold firmly on the counter several times — this is what closes the batter around each shape and prevents air bubbles from clinging to the embeds.

5. Insulate, unmold, and cut
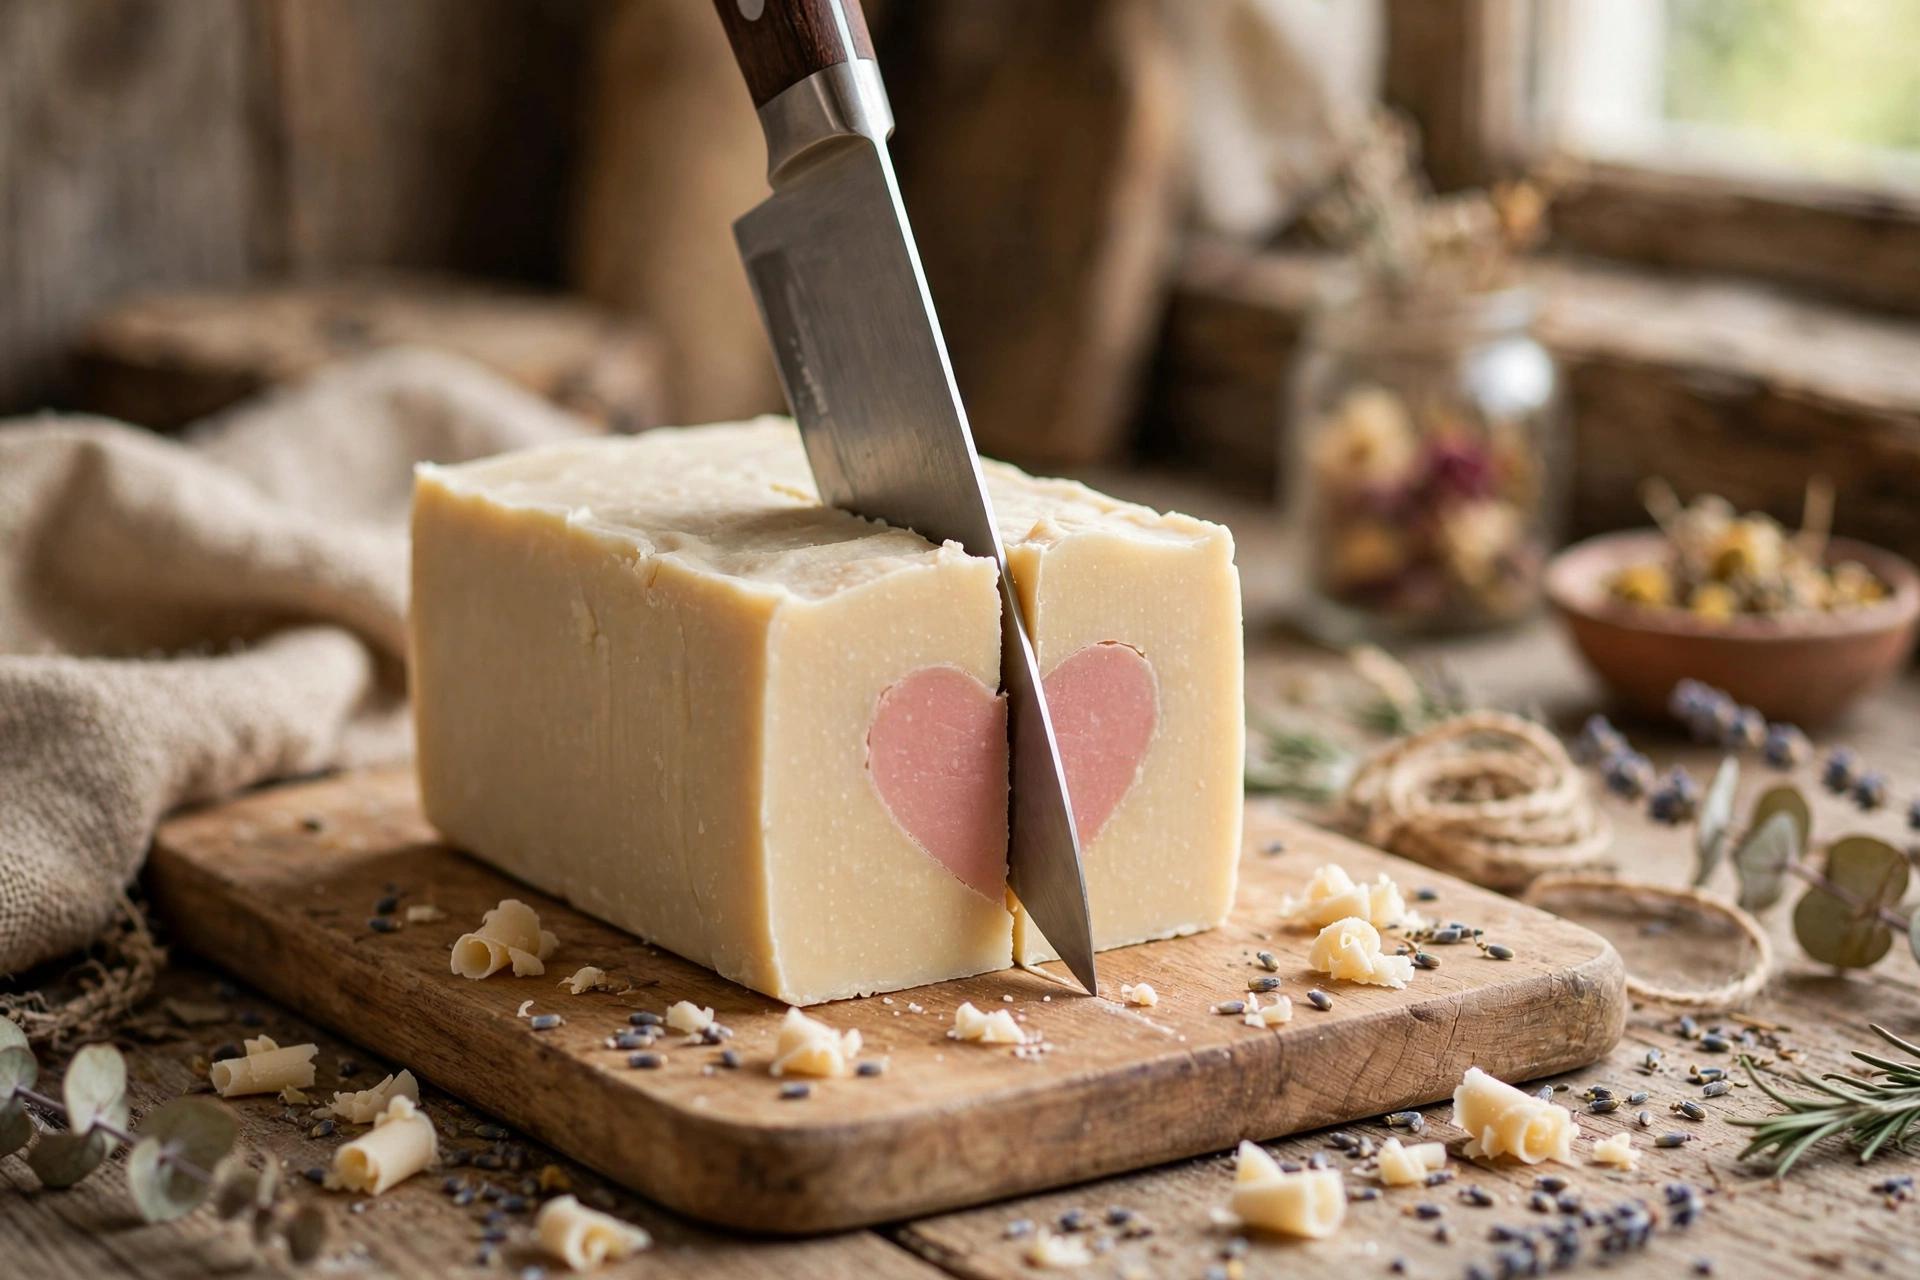
Insulate the mold for 24 hours as usual. Unmold after 24–48 hours when firm. Here’s the magic moment: cut slowly and straight down through the row of embeds — each slice reveals the hidden shape. Cut with steady pressure; rushing drags the embed and smears the reveal.
6. Cure
Stand the bars on edge with airflow and cure 4–6 weeks. The melt-and-pour embeds cure along with the CP bars — no separate timeline needed.
Troubleshooting
Embeds melted or bled? Your CP batter was too hot, or it went through a strong gel phase. Soap cooler, skip the insulation if your recipe runs hot, and choose embed colors rated CP-stable.
Air bubbles around the embeds? You poured too fast or skipped the tapping. Pour low over a spoon, tap the mold firmly, and make sure the batter is fluid enough to flow around the shapes.
Embeds sank to the bottom? The batter was too thin when you placed them. Wait for a true medium trace — the batter should mound slightly when drizzled.
Shapes shifted while pouring? Anchor each embed by pressing it into the base layer, and pour the covering batter gently. A chopstick can nudge a wanderer back into place.
Next steps
Hooked on hidden designs? Try layered cold process soap for crisp stripes, or start from scratch with our first melt-and-pour recipe to practice embed shapes. Keep the Lye Safety Checklist handy for every cold process batch.



