
How to Make Lotion Bars & Whipped Body Butter
Two gift-ready projects in one tutorial: solid lotion bars you melt with your hands, and fluffy whipped body butter that pipes like frosting. Both use simple pantry-style ingredients, no preservatives or fancy equipment — and they wrap up beautifully for holiday gifting.
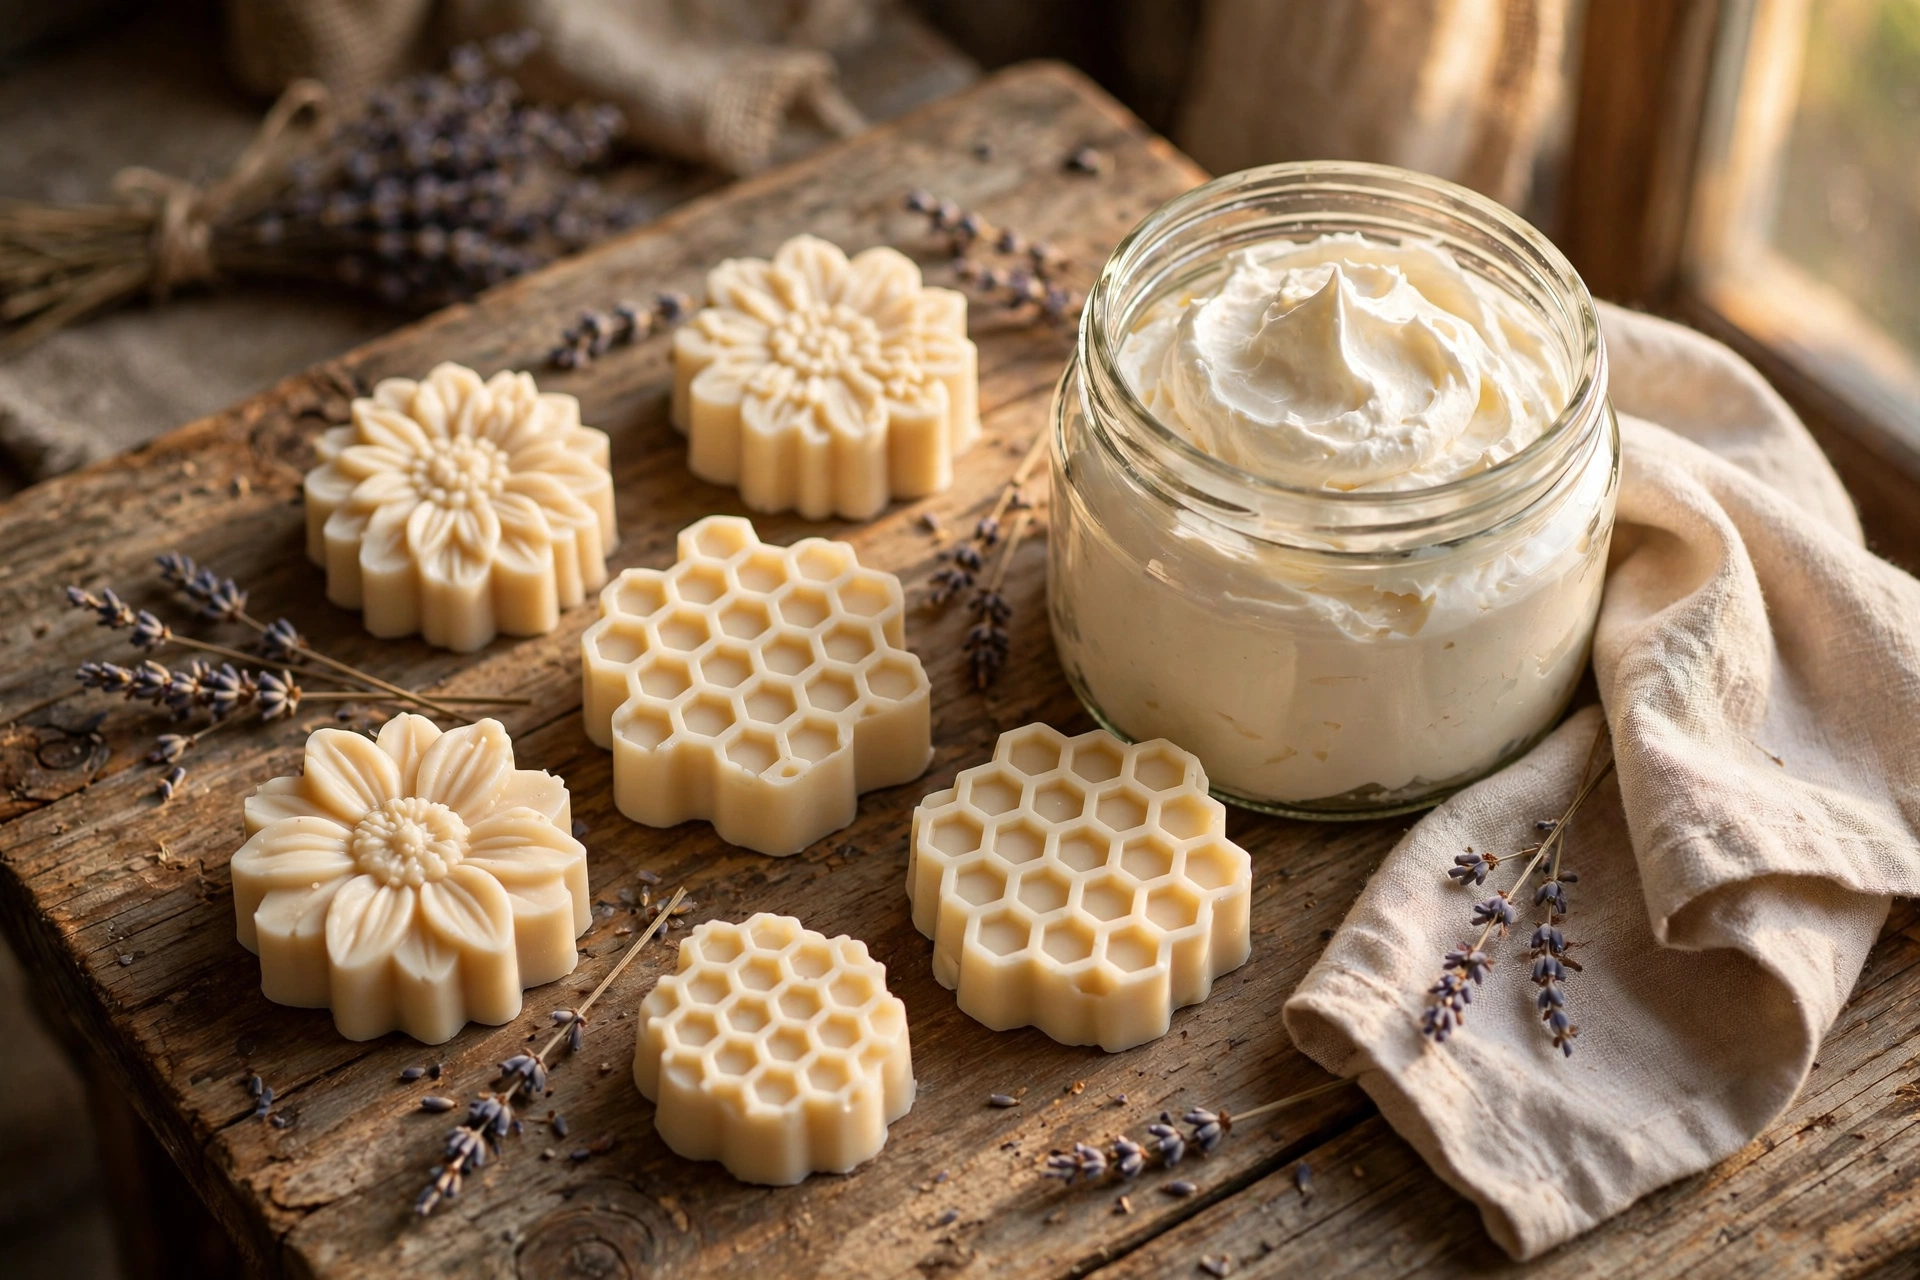
Two projects, one skill set
If you can melt ingredients and stir, you can make both of these. Solid lotion bars are a concentrated moisturizer in bar form — you warm the bar between your palms for a few seconds, glide it over dry skin, and your body heat releases a thin layer of oils and butters that absorbs beautifully. Whipped body butter is the soft, spoonable cousin: butters and oils aerated into a frosting-like fluff that goes on light and sinks in fast. Both make generous, inexpensive gifts, and both teach you the core principles of working with cosmetic butters.
Part 1: Solid lotion bars
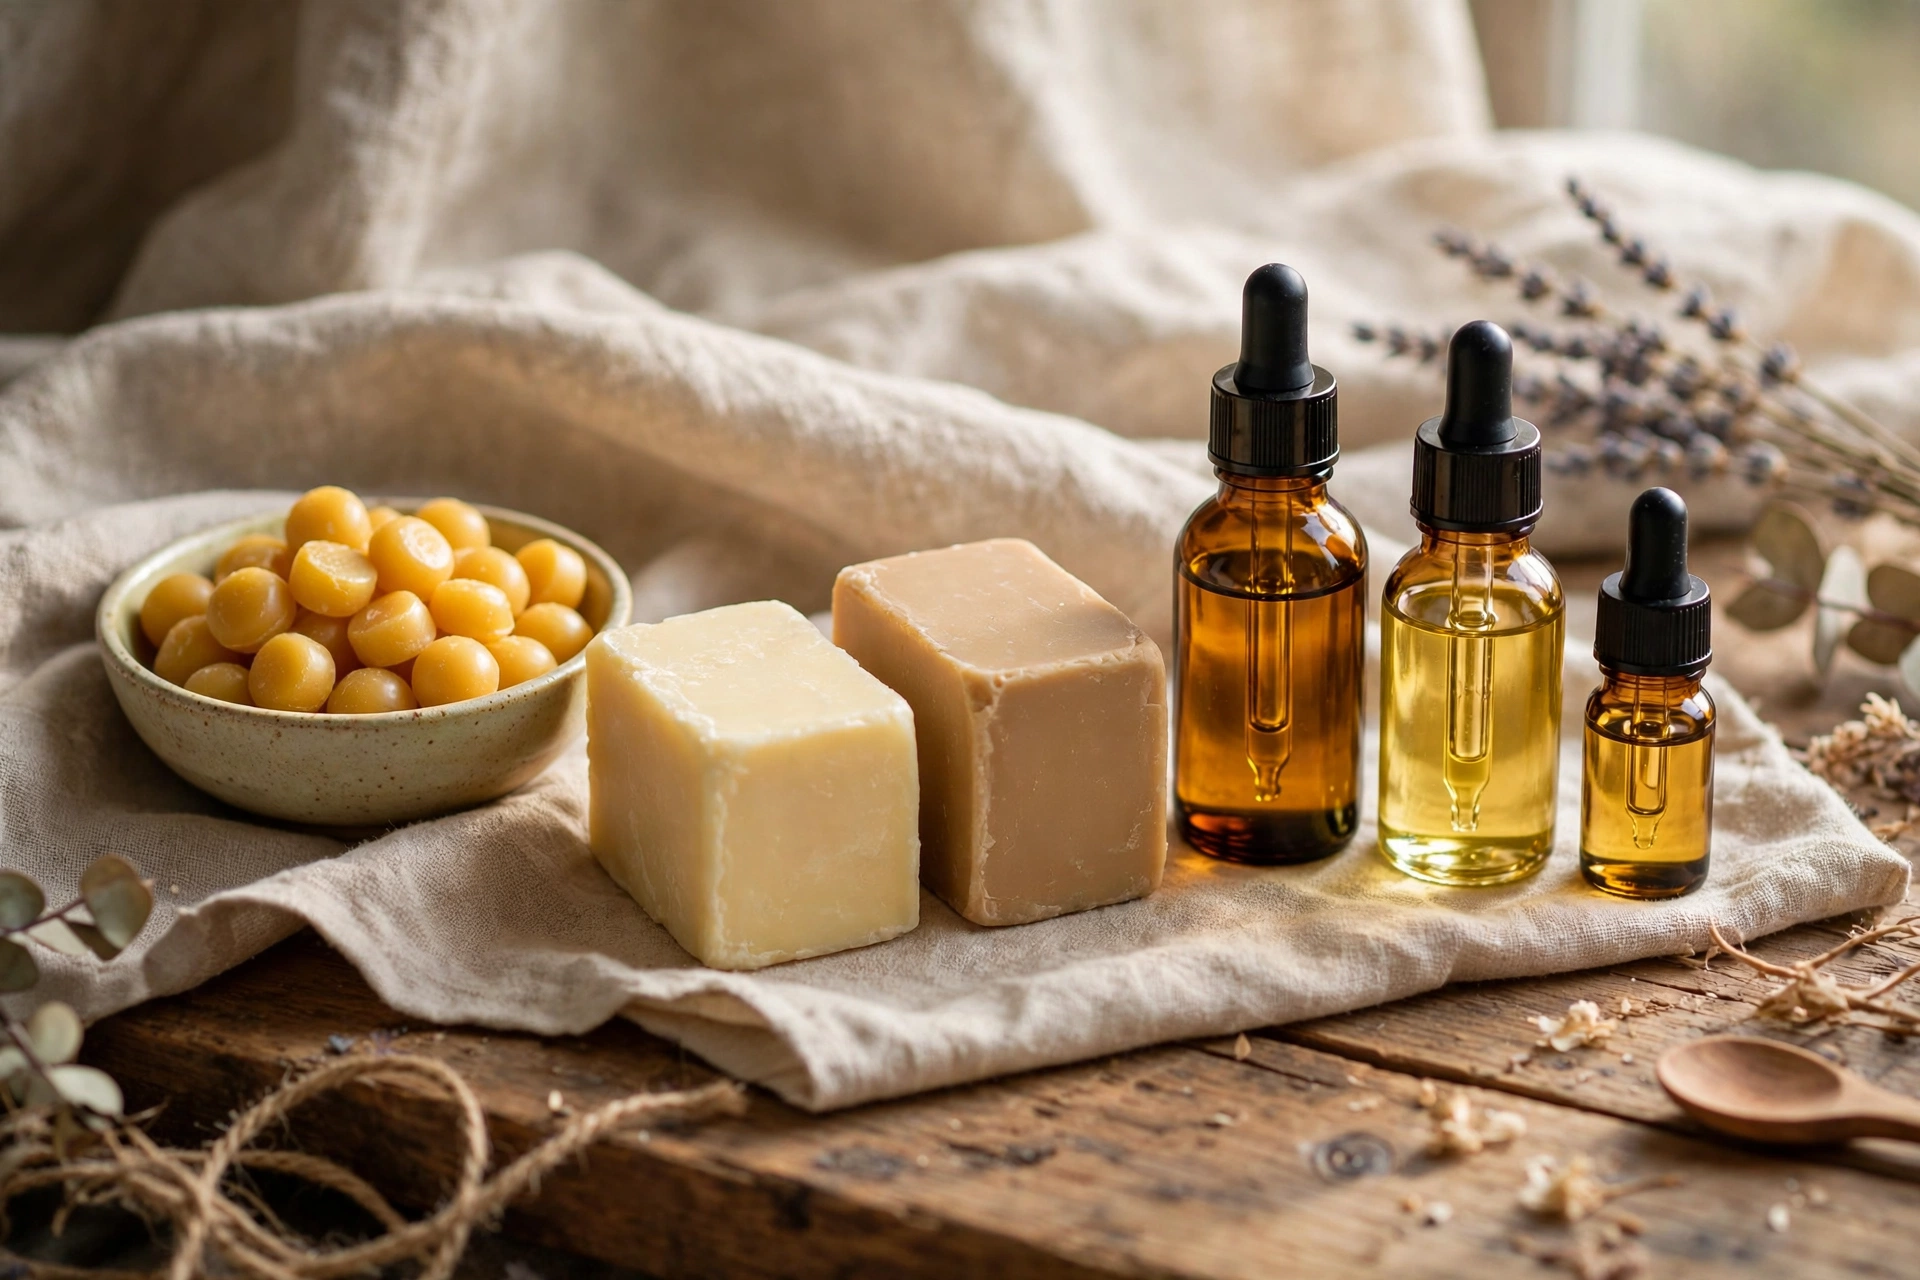
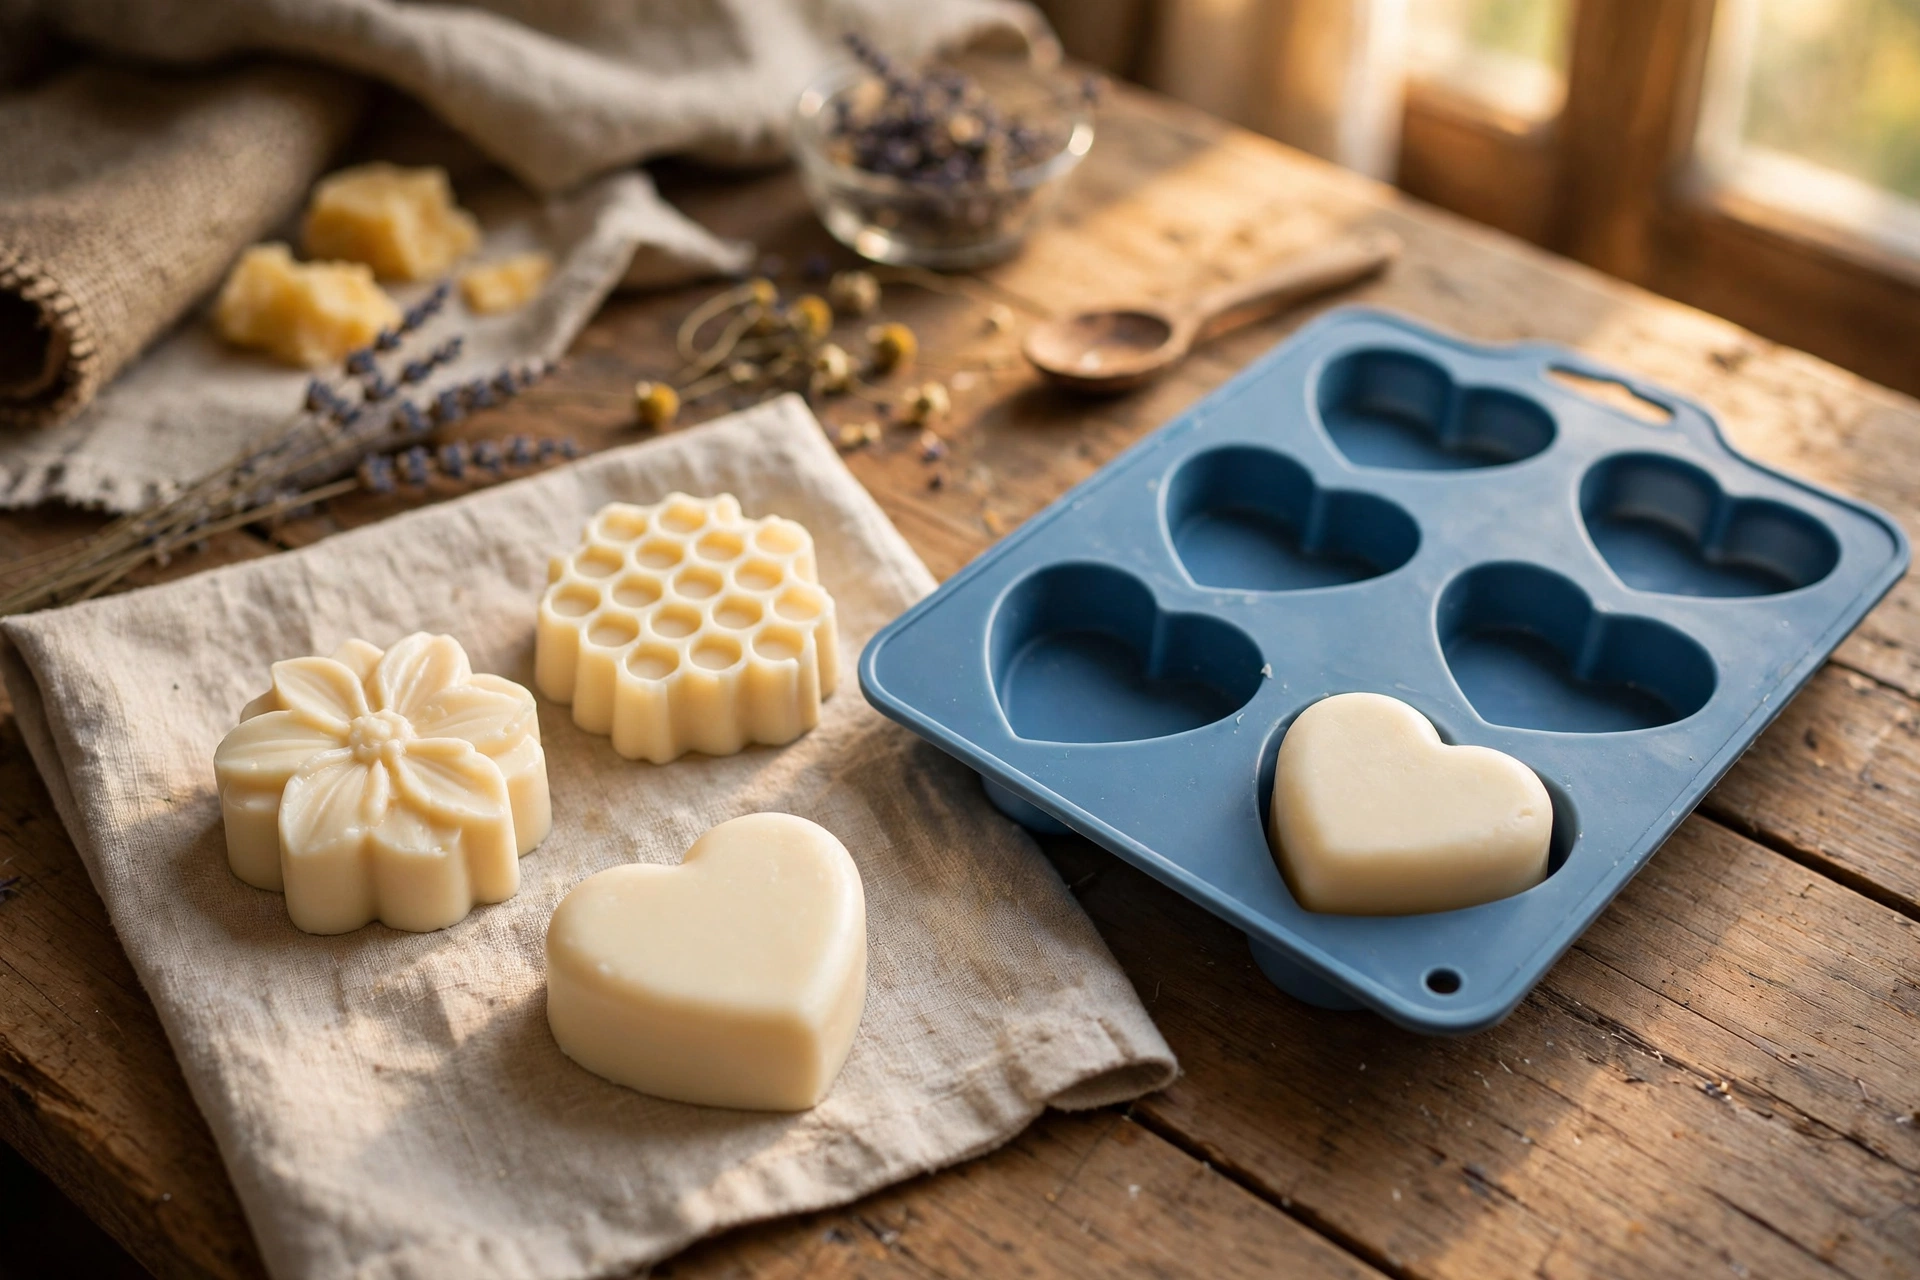
A lotion bar is just three things — wax, butter, and liquid oil — melted together and poured into a mold. The ratio principle runs the whole show: more wax makes a harder bar, more liquid oil makes a softer bar. Start around equal thirds (one part wax, one part butter, one part oil) and adjust from there. Hard bars survive warm pockets and shipping; softer bars glide on easier. For the hardener, beeswax is the classic choice, and candelilla wax is the plant-based equivalent — both work on the same principle, so use whichever fits your line.
What you’ll need
- Hard wax — beeswax or candelilla wax (pastilles melt fastest)
- Soft butter — shea, cocoa, or mango butter
- Liquid oil — jojoba, sweet almond, or another light skin oil
- Skin-safe fragrance at your supplier’s recommended usage rate
- Double boiler setup (heat-safe bowl over a pot of simmering water)
- Silicone molds or shallow tins
- Kitchen scale
1. Weigh out equal thirds
Weigh one part wax, one part butter, and one part liquid oil. A scale beats a measuring cup here — wax pastilles and solid butters don’t measure by volume consistently, and consistent batches come from consistent weights. Start with small test batches (2–3 ounces of each part makes a handful of bars) until you land on the hardness you like.
2. Melt gently over a double boiler
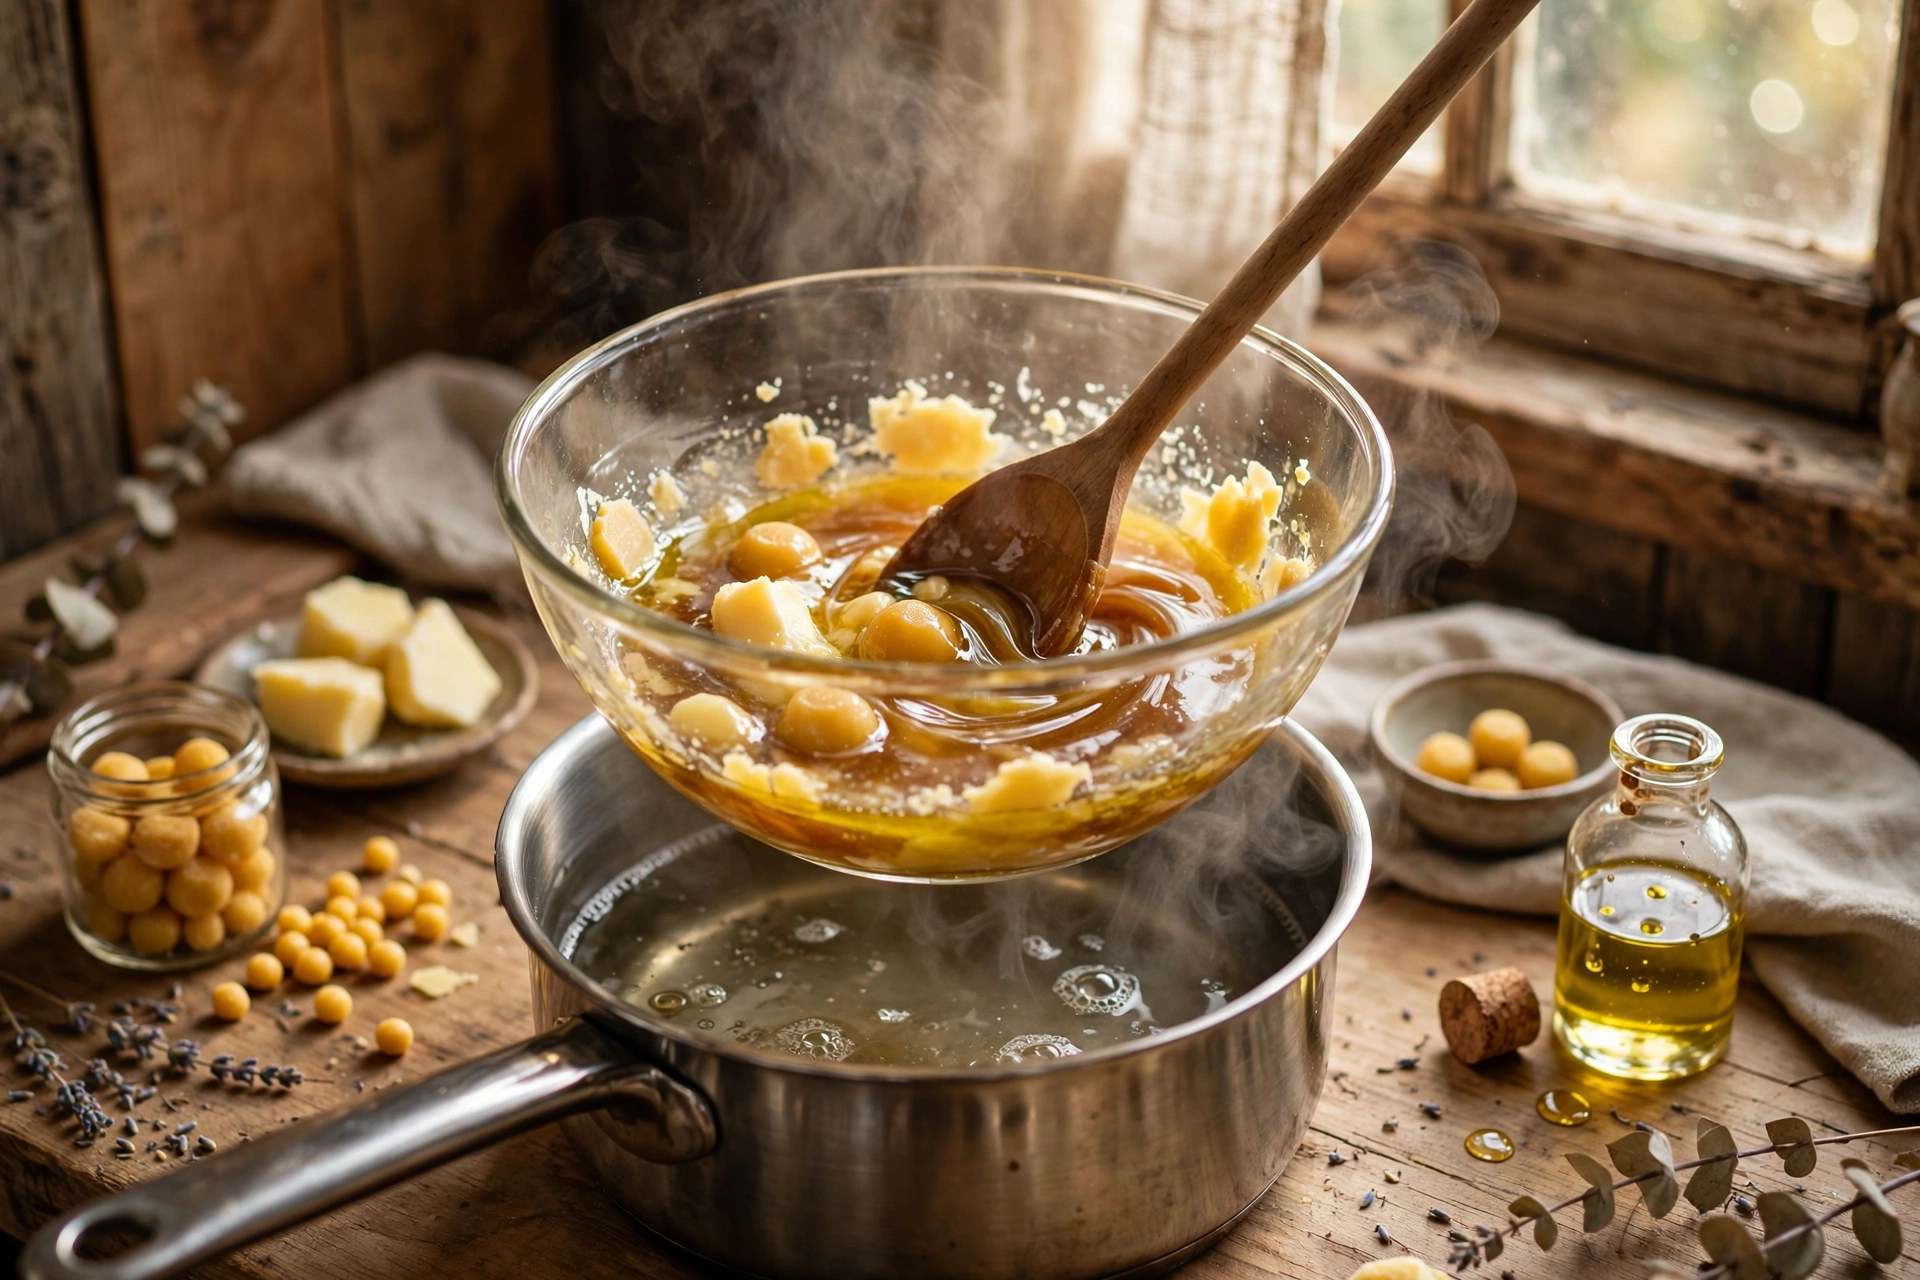
Put the wax, butter, and oil in a heat-safe bowl set over simmering — not boiling — water. Stir occasionally until everything is fully liquid and the mixture looks uniform. Gentle, indirect heat is the whole method; high heat can damage the butters and dull the final feel.
3. Stir in scent off the heat
Take the bowl off the heat and stir in your skin-safe fragrance at the usage rate your supplier recommends — cosmetic products use different rates than candles, so always follow the skin-safe guidance. Want to build your own signature blend? See our fragrance blending tutorial for the method.
4. Pour into molds or tins
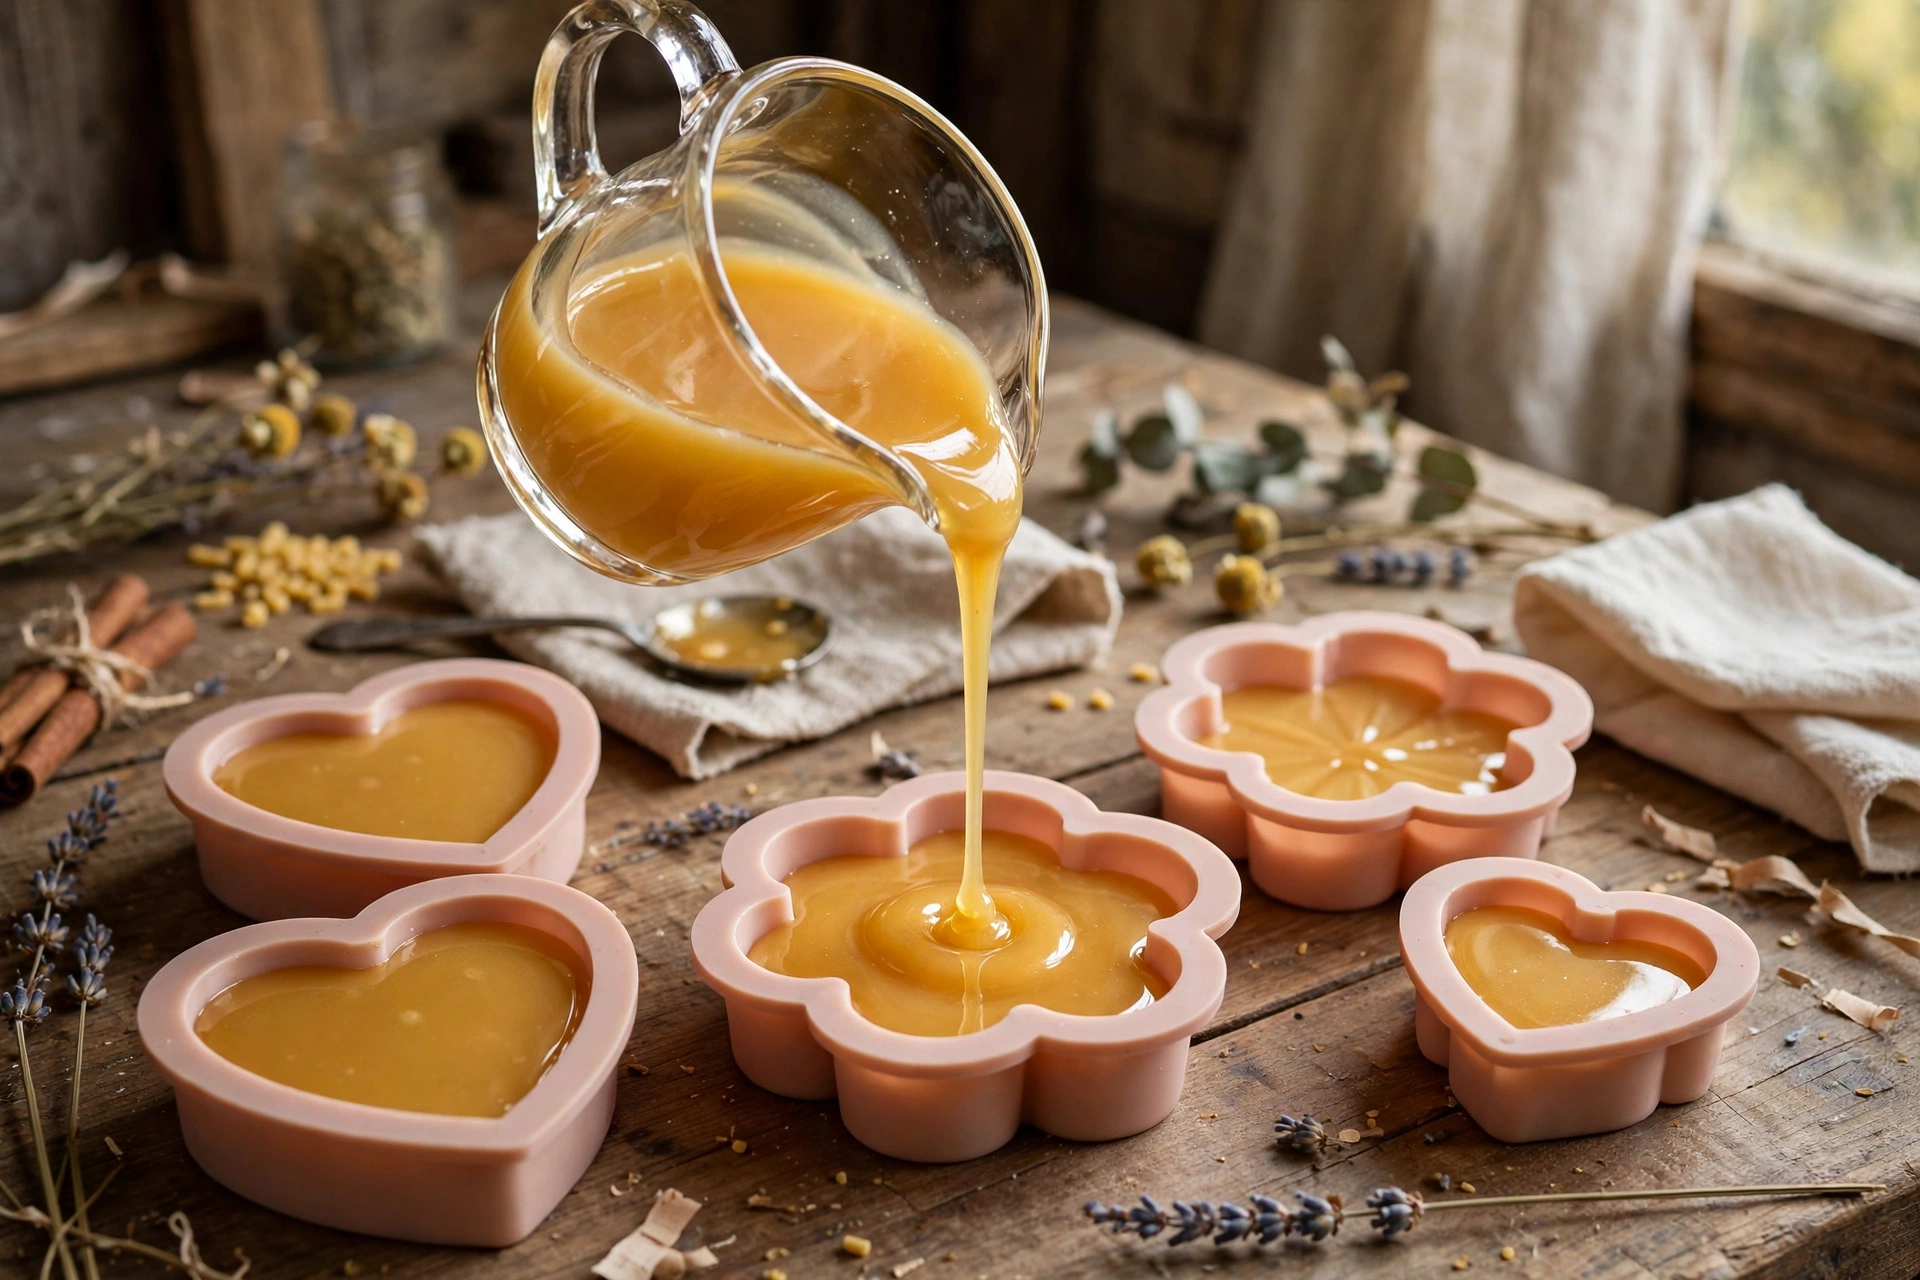
Pour the melted mixture into silicone molds, or pour directly into shallow tins and let the bar set right in its packaging. Fill molds a touch fuller than you think — the mixture contracts slightly as it cools.
5. Cool, unmold, and test
Let the bars cool at room temperature until fully hard — rushing them into the freezer can make them sweat or crack later. Pop them out of the molds and give one a real try: hold it between your palms for a few seconds, then glide it over the backs of your hands. Too hard to leave anything behind? Too soft to keep its shape? Remelt the batch and adjust the ratio — that’s the beauty of a three-ingredient formula.
Part 2: Whipped body butter
Whipped body butter uses butters and liquid oils just like a lotion bar — minus the wax — and adds air. You melt everything just until liquid, let it cool until it starts to set, then whip it with a hand mixer until it holds soft, frosting-like peaks. Shea, cocoa, and mango butters all work; lighter liquid oils like jojoba or sweet almond keep it from feeling greasy.
What you’ll need
- Solid butter — shea, cocoa, mango, or a combination
- Light liquid oil — jojoba, sweet almond, or a similar light oil
- Skin-safe fragrance at your supplier’s recommended usage rate
- Vitamin E oil (optional — see the shelf-life notes below)
- Double boiler setup
- Hand mixer or stand mixer
- Wide-mouth jars for finished butter
- Kitchen scale
1. Melt the butters and oil just until liquid
Weigh your butters and oil — a common starting point is roughly three parts butter to one part oil — and melt them together over a double boiler. Stop as soon as everything is liquid; you want the minimum heat that does the job. This step is also where graininess is born or prevented: butters must be completely melted with no waxy lumps left, or you’ll feel those lumps in the finished butter.
2. Stir in scent off the heat
Remove from the heat and stir in skin-safe fragrance at your supplier’s recommended usage rate. Our fragrance blending tutorial walks through building a custom blend if you want these two projects to smell like a matched set.
3. Cool until just starting to set
Set the mixture aside at room temperature and let it cool until it’s opaque around the edges and starting to thicken — soft and cloudy, not hard. If you’re in a hurry, the refrigerator works, but check it often: you want it cool and soft, not solid. This is the moment that determines texture.
4. Whip it until fluffy
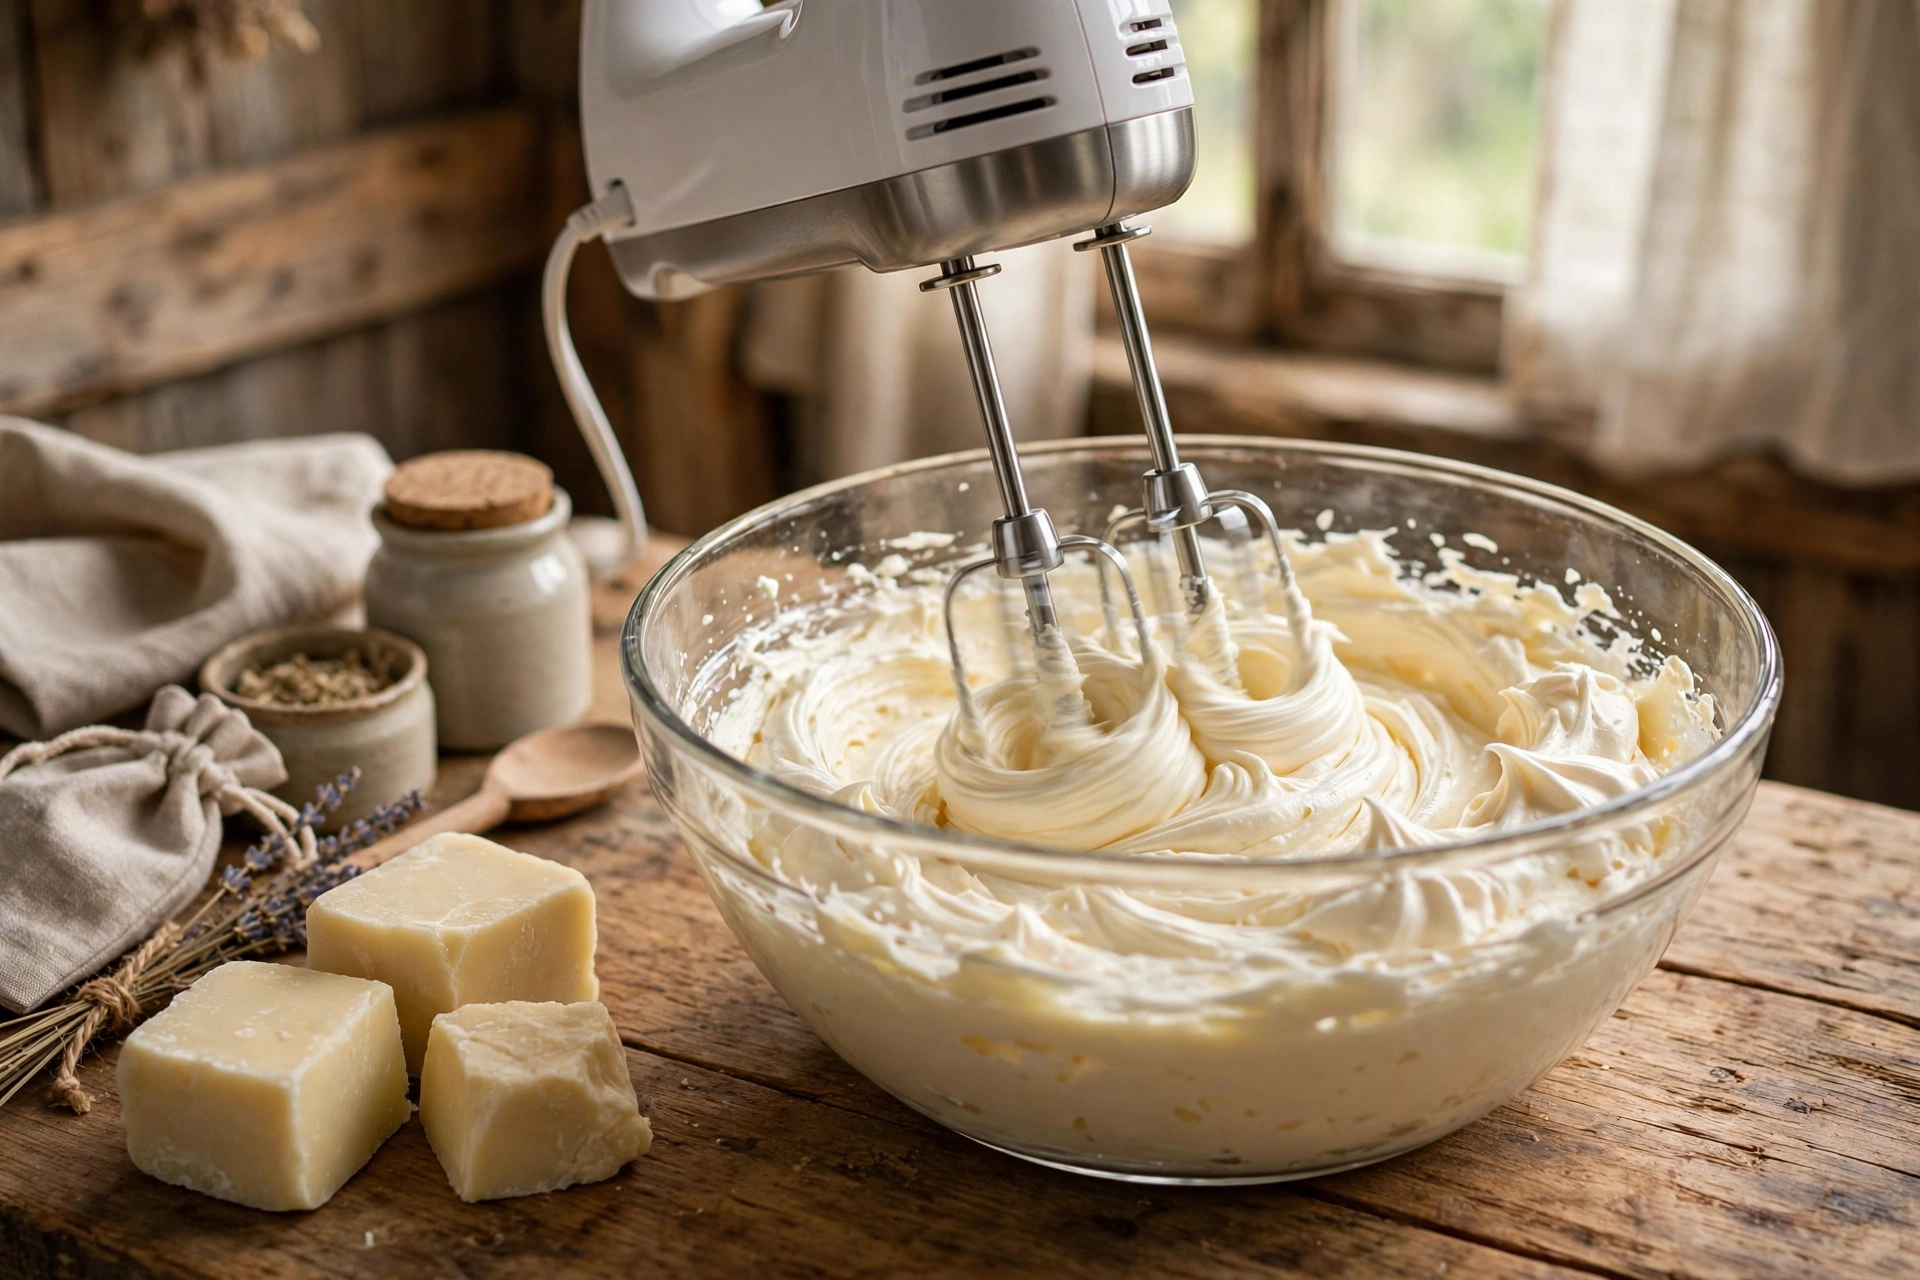
Beat with a hand mixer for several minutes until the butter lightens in color, roughly doubles in volume, and holds soft peaks like frosting. Scrape down the sides once or twice so everything aerates evenly.
5. Jar it right away
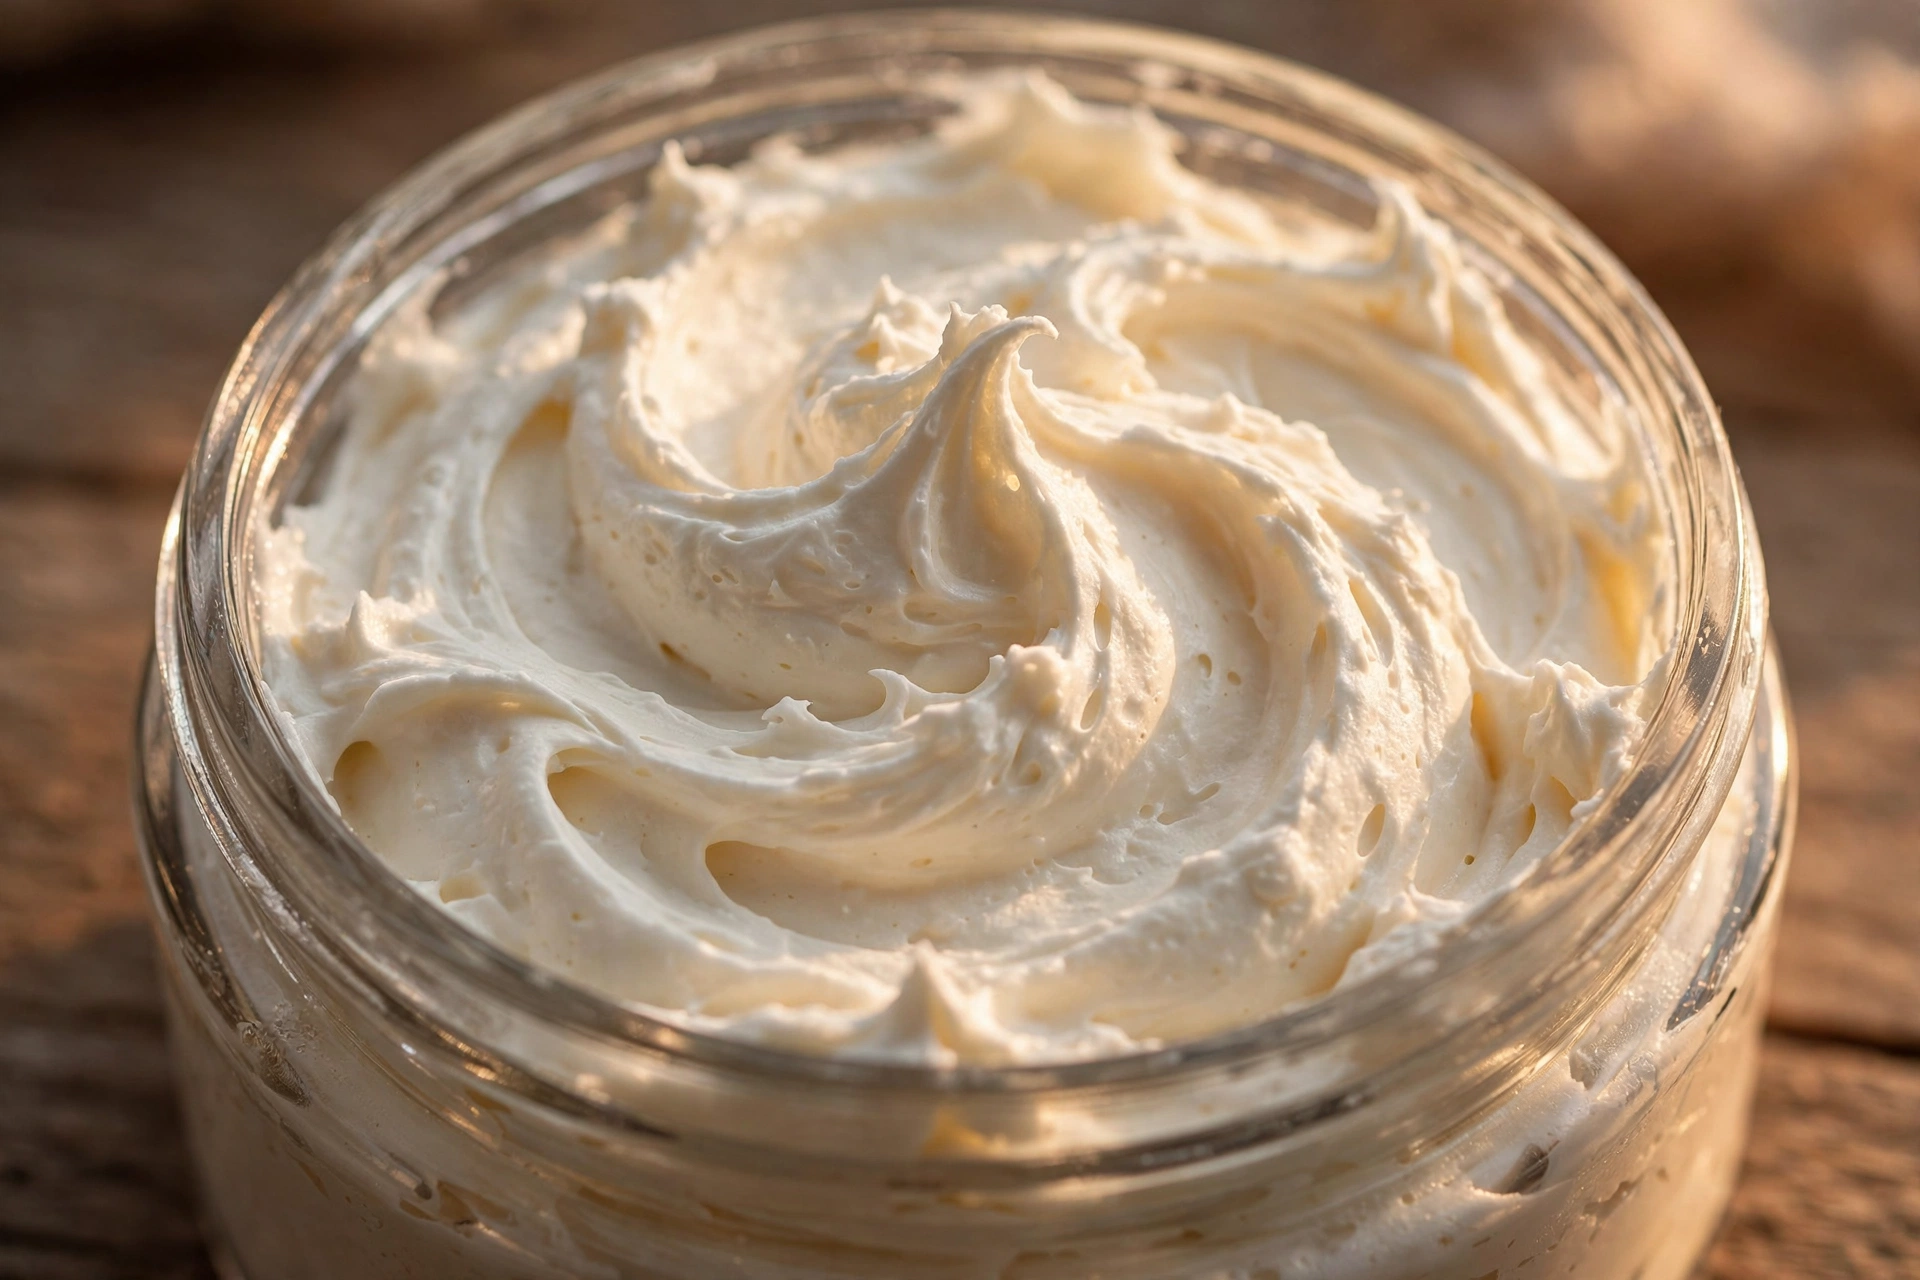
Spoon the whipped butter into clean, dry wide-mouth jars and cap them. Whipped butter is at its prettiest on day one — fill jars full so there’s no dead air gap, and handle them gently from here on since the peaks are soft.
Keeping it fresh: shelf-life notes
These are anhydrous products — no water — which is your biggest preservation advantage, since microbes need water to grow. Protect that advantage: keep water out by always using dry hands or a clean, dry spatula to scoop whipped butter out of the jar. A drop of vitamin E oil at your supplier’s recommended rate can slow the oils from going rancid, but understand what it does: it’s an antioxidant, not a preservative. Stored cool and dry, expect about 6–12 months of good life. If a jar ever smells off — sharp, sour, or “crayon-like” — toss it.
Packaging and labeling for gifts
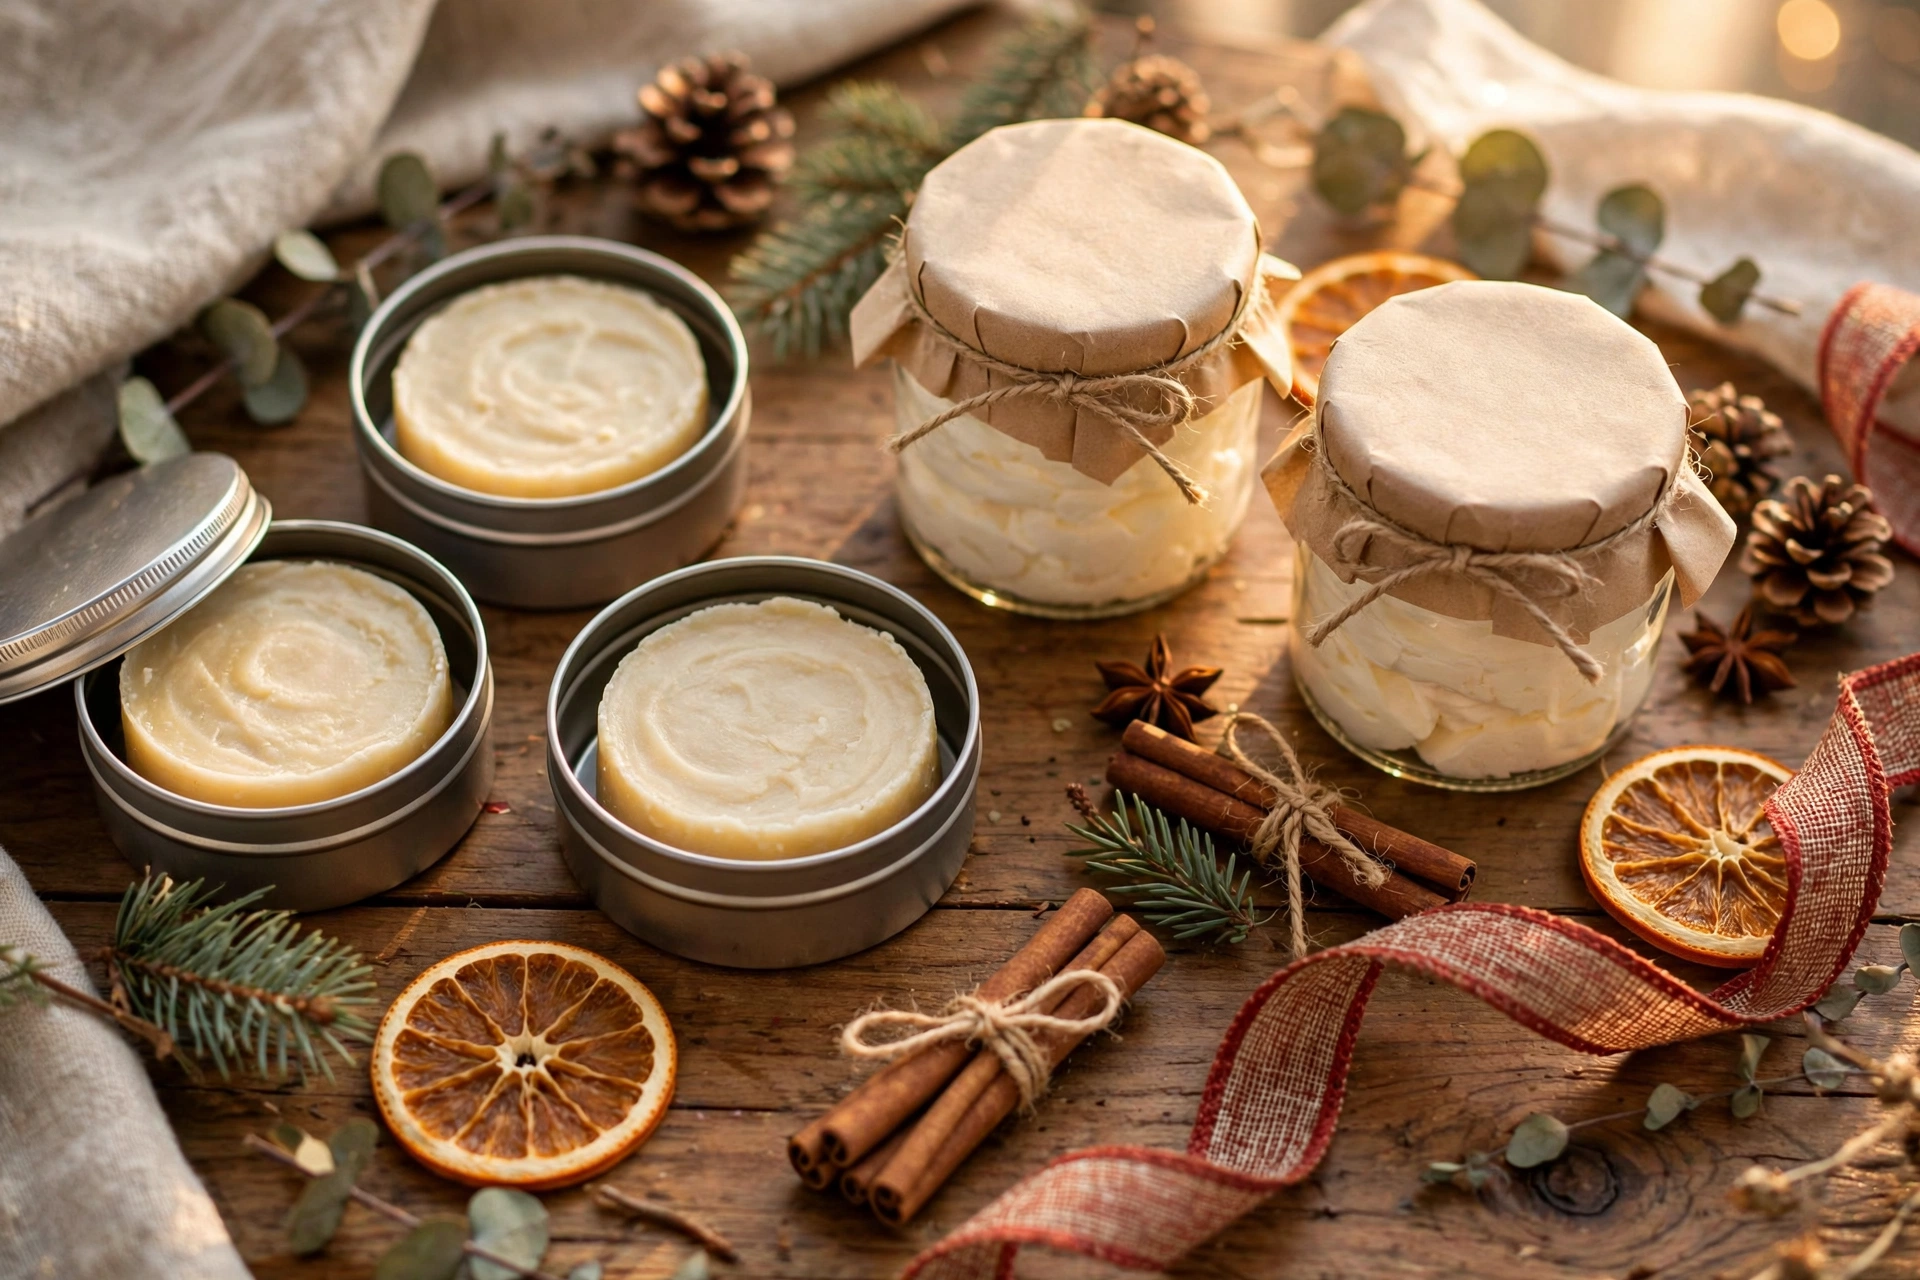
Presentation is half the gift. Lotion bars live happily in shallow tins — pop the bar in, and the tin doubles as its travel case. Whipped body butter wants wide-mouth jars so fingers or a spatula can reach every last swirl. Label every gift with the full ingredient list in descending order — it’s a thoughtful touch, and essential for anyone with sensitivities.
Troubleshooting
Bars too hard? Reduce the wax by 5–10% of the total and increase the liquid oil by the same amount. Bars too soft or melty at room temperature? Do the reverse — more wax, less oil.
Bars crumble when you use them? There’s not enough liquid oil binding the structure. Nudge the oil up a few percent and remelt the batch.
Body butter feels grainy? The butters weren’t fully melted the first time — different fats in the butter resolidified at different rates. Fix: remelt the whole batch completely until perfectly smooth, then cool it quickly while stirring before whipping again.
Body butter melts into soup in summer heat? Shift the formula toward more solid butter and less liquid oil, and store finished jars somewhere cool. Whipped texture is the first casualty of heat — a butter-heavy batch holds its peaks longer.
Butter never gets fluffy? It was probably too warm (or too hard) when you whipped it. Remelt, cool to that soft cloudy stage, and whip again.
Next steps
Build a signature scent for both projects with the fragrance blending tutorial — a matched bar-and-butter set in one custom blend is a showstopper gift. If you’re turning your butters into a full skincare line, the soap troubleshooting guide covers the problem-solving mindset that carries over to every batch you make.



