
How to Make Wax Sprinkles for Dessert Candles
Wax sprinkles are the tiny finishing touch that makes a dessert candle look like a real treat — scattered over a glazed donut candle, pressed into whipped wax on a milkshake candle, or dusted across an ice cream sundae candle. They take minutes to make, cost almost nothing, and once you have a jar of them, every dessert candle you pour gets faster and prettier. Here are three ways to make them, and how to use them safely.

Which wax works best
Sprinkles need to hold a crisp shape at room temperature and survive being handled, jarred, and pressed into a candle. A harder wax wins here: pillar or mold wax makes firm sheets that cut cleanly and curls that keep their shape. A soft container wax works for piping, but it stays tacky longer and the pieces can stick together in storage. If you only have one wax on hand, use what you have — just know that harder wax gives you cleaner, easier sprinkles.
Skip the fragrance. Sprinkles are decoration, not the scent source — the candle underneath carries the fragrance. Fragrance oil softens wax, makes sprinkles sweat and stick, and can cause colors to bleed into each other in the jar. Make your sprinkles unscented and let the candle do the smelling.
What you’ll need
- Pillar or mold wax (harder wax cuts cleanest; soft container wax works for piping)
- Candle dye — liquid dye gives the most even color in small batches
- Parchment paper and a baking sheet
- Pouring pitcher, thermometer, digital scale
- Pizza cutter or bench scraper (for the sheet method)
- Piping bag with a small round tip (for the piped method)
- Vegetable peeler (for the shaved method)
- Small jars or zip bags for storage
- A sharp knife and cutting board
Steps
1. Melt and color your wax
Melt your wax fully and add candle dye a little at a time until the color looks right — remember that wax dries a shade lighter than it looks melted, so go slightly bolder than your target. Stir well and check the color with a test drop on white paper: drip a little melted wax, let it set for a minute, and judge the true color. No fragrance oil in this batch. Work one color at a time, and let each color set fully before you start the next, so colors never mix.
2. Method 1 — Pour-and-cut sheets (best for big batches)
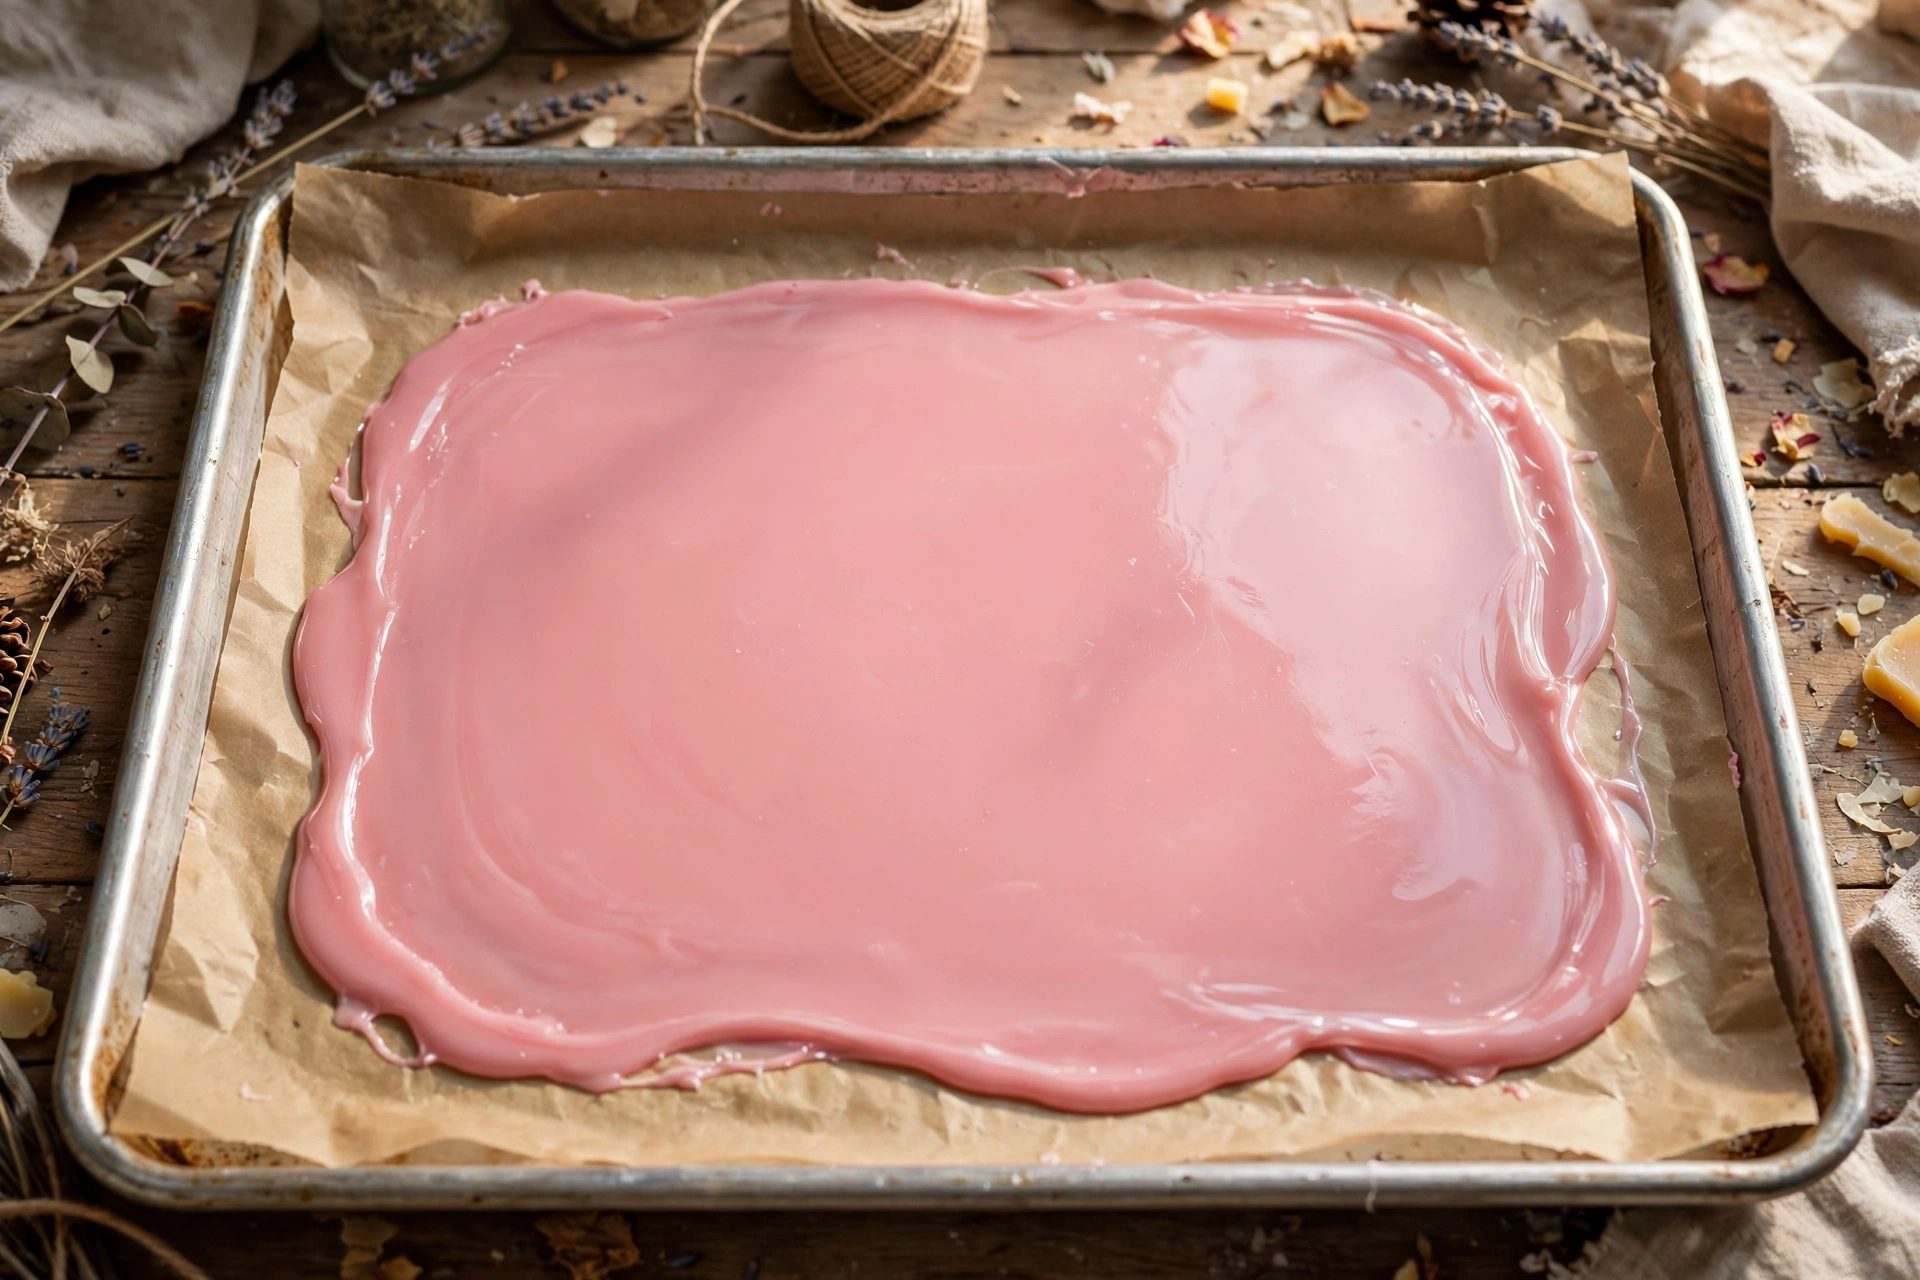
This is the workhorse method: fast, simple, and it makes the most sprinkles per pour. Line a baking sheet with parchment paper. Pour your melted colored wax onto the parchment in a thin, even layer — about 1/16 inch thick, roughly the thickness of a credit card. Tilt the sheet gently to spread the wax, then leave it alone until it is firm but not brittle. The window is short: too soft and it smears under the cutter, too hard and it shatters into shards.
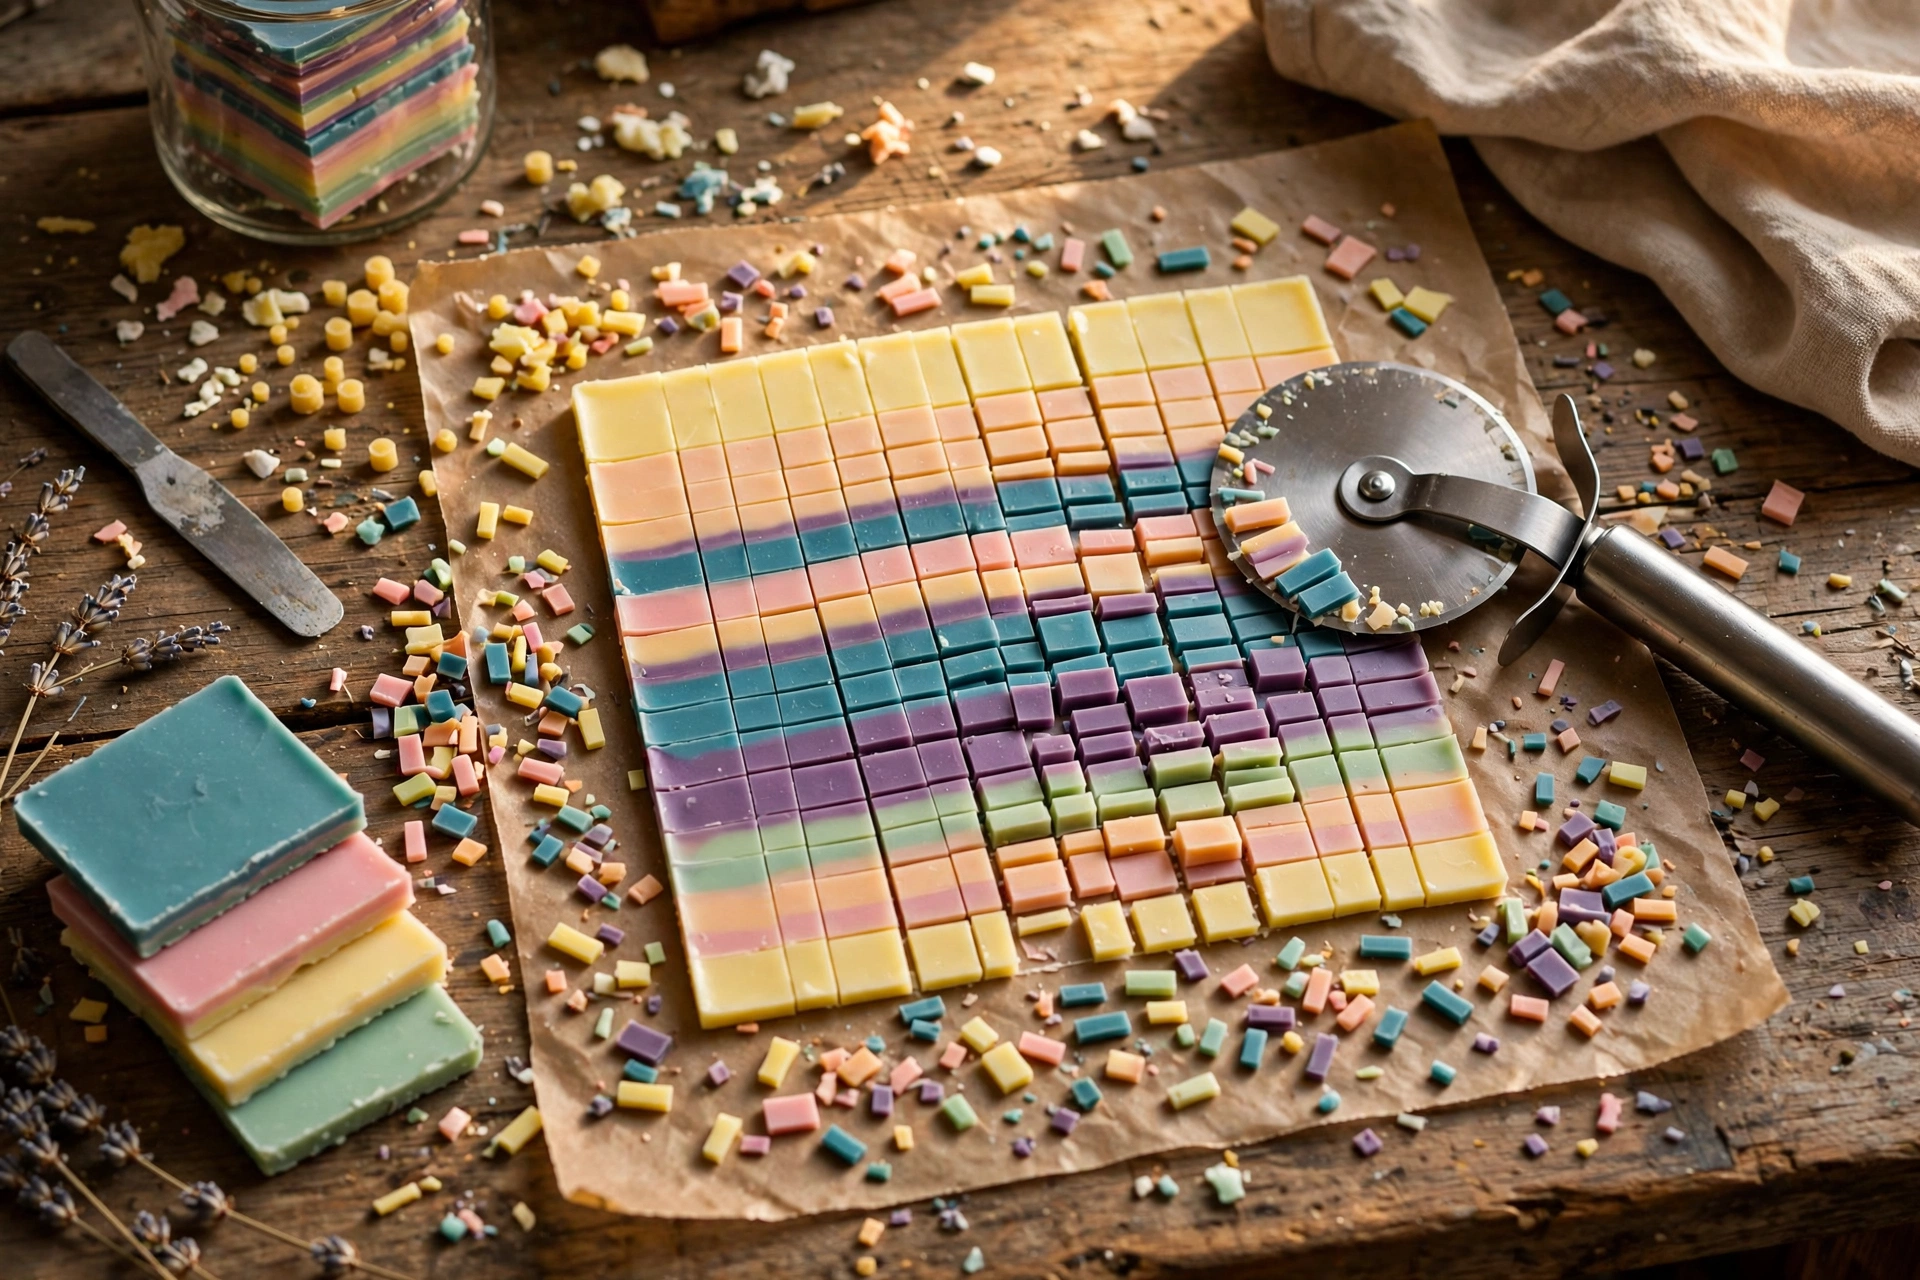
While the sheet is still slightly pliable, run a pizza cutter or bench scraper across it in parallel lines about 1/8 inch apart, then turn the sheet and cut across the other way. You now have a grid of tiny wax rectangles — classic jimmies. Let the sheet cool fully, then flex the parchment to pop the pieces loose. Break apart any pieces that are still joined.
3. Method 2 — Pipe and snap (most uniform jimmies)
For the most even, professional-looking sprinkles, pipe them. Let your melted colored wax cool until it thickens slightly — it should flow slowly off a spoon, not run like water. Load it into a piping bag with a small round tip, and pipe long, thin lines onto parchment paper, keeping the lines straight and evenly spaced. Let them harden completely, then snap or cut the lines into short pieces about 1/4 inch long.
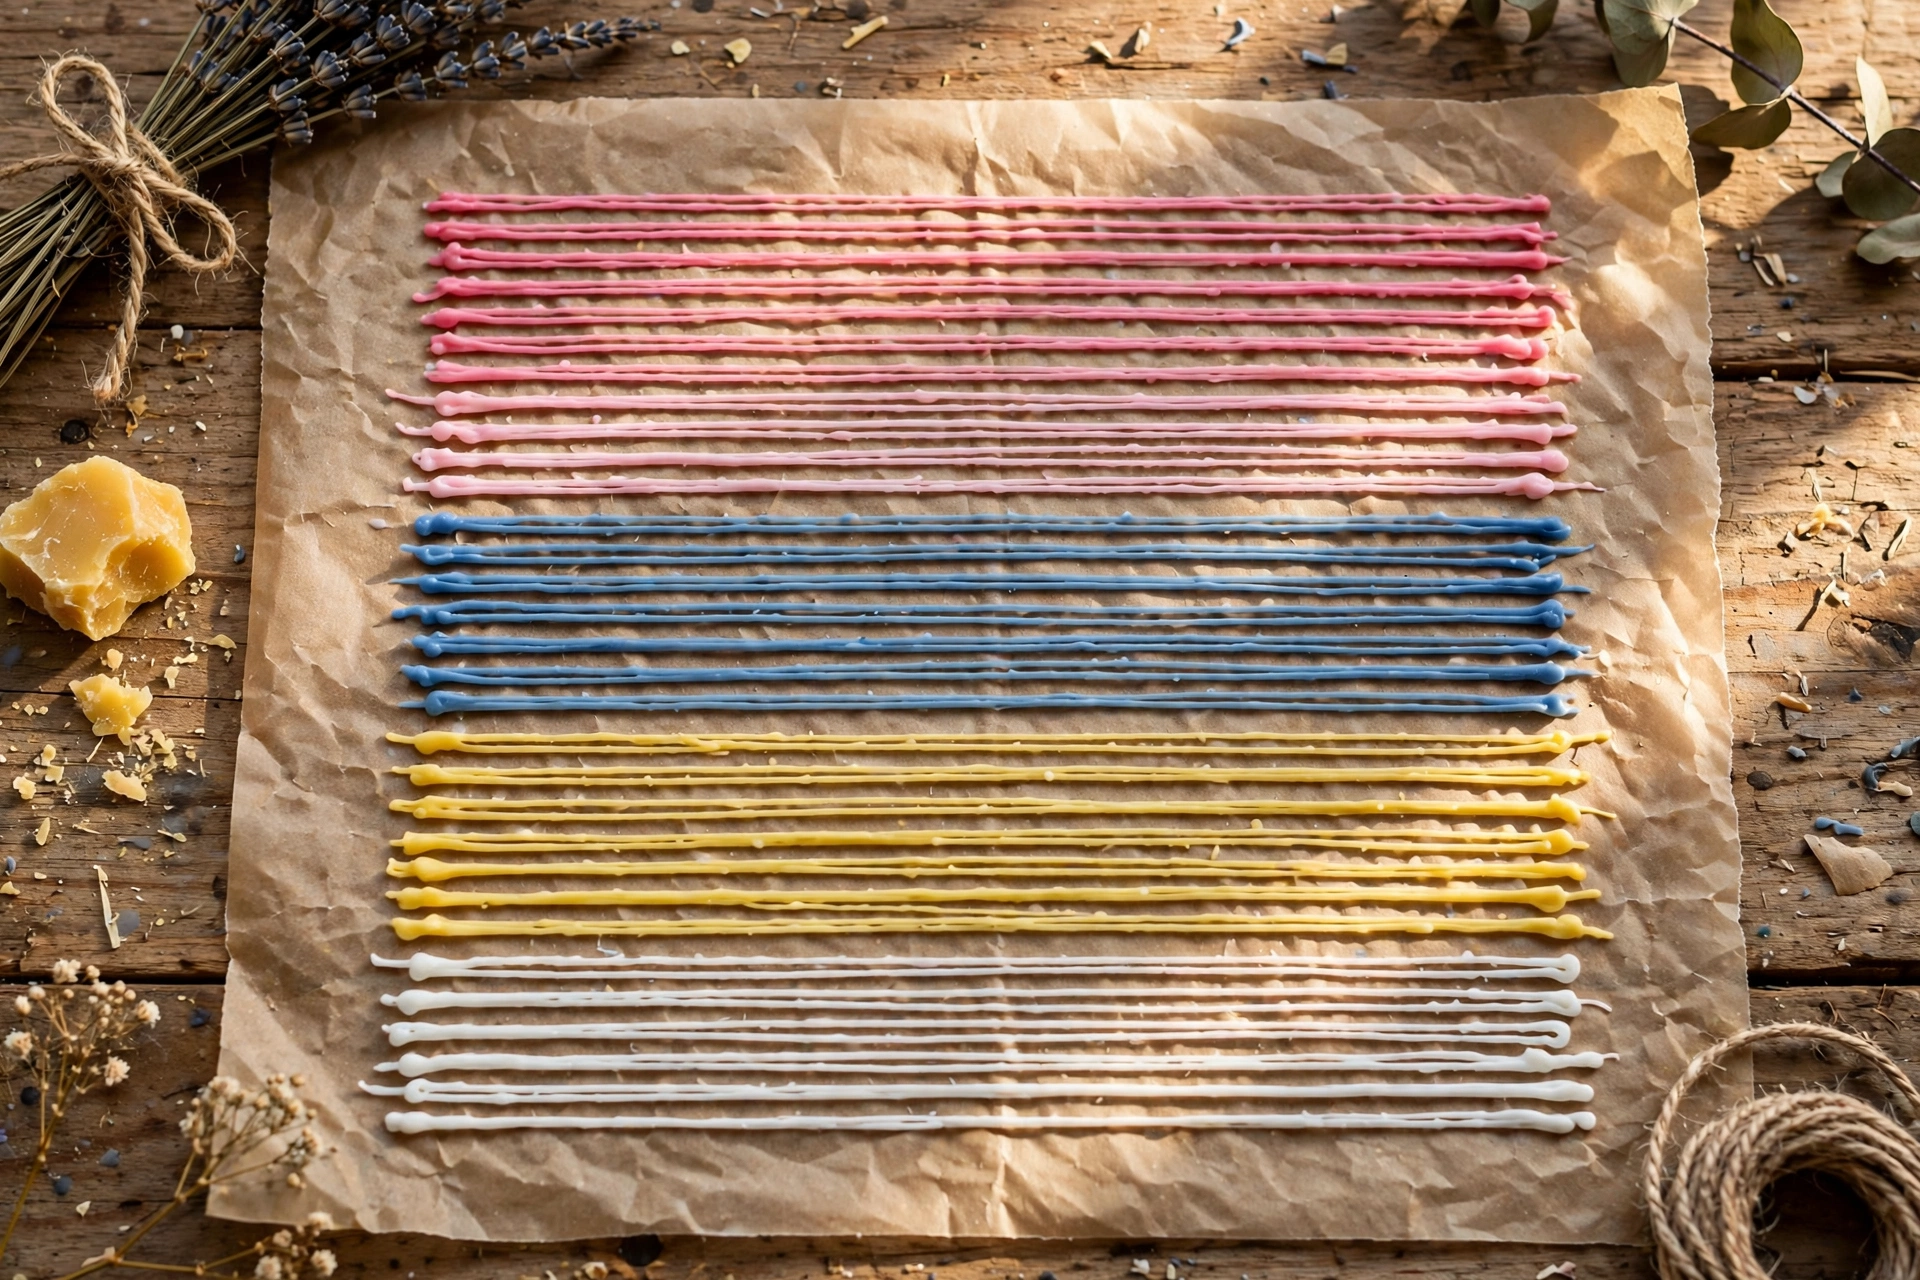
Piped sprinkles are the closest match to real bakery jimmies: round, smooth, and uniform. They take a bit more patience than the sheet method, but they photograph beautifully and look the most convincing on a finished candle. If your wax is too hot it will spread flat instead of holding a round line — wait for it to thicken. If it is too cool it will clog the tip — warm the bag gently in a bowl of warm water and try again.
4. Method 3 — Shave curls (fastest, most rustic)
For a fast, rustic sprinkle — especially chocolate shavings — pour your colored wax into a small container or silicone mold and let it harden completely into a solid block. Then drag a vegetable peeler firmly across the surface. The peeler shaves off thin curls and flakes that look exactly like chocolate curls or rustic sprinkles. Vary your pressure: a light pass gives delicate flakes, a firm pass gives chunky curls.
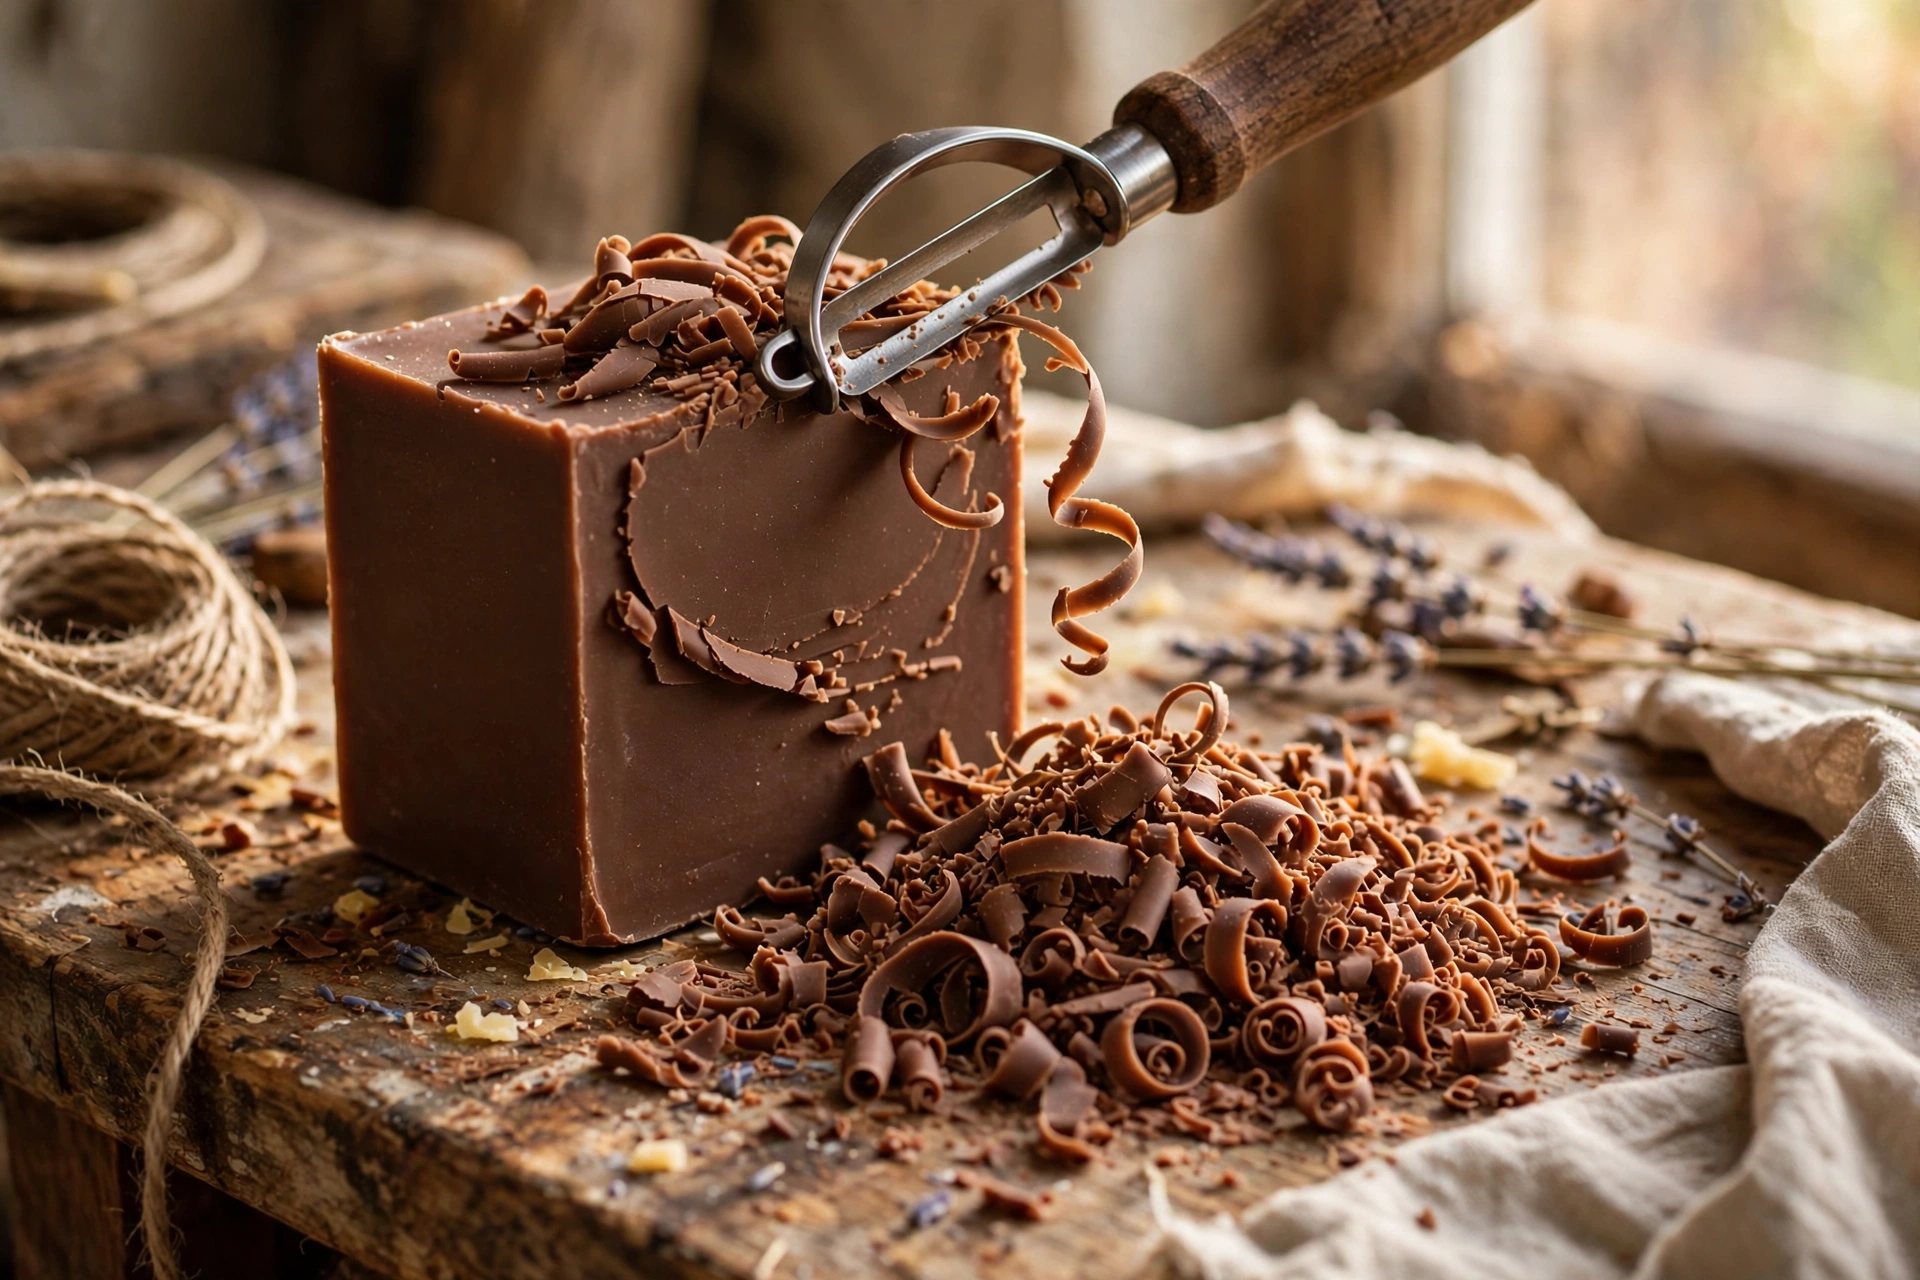
This is the same technique used for wax shavings in our donut candle tutorial, and it is the fastest way to get sprinkles when you only need a small amount. Brown wax shaved this way is the perfect chocolate sprinkle for ice cream, donut, and milkshake candles.
5. Cut, sort, and store
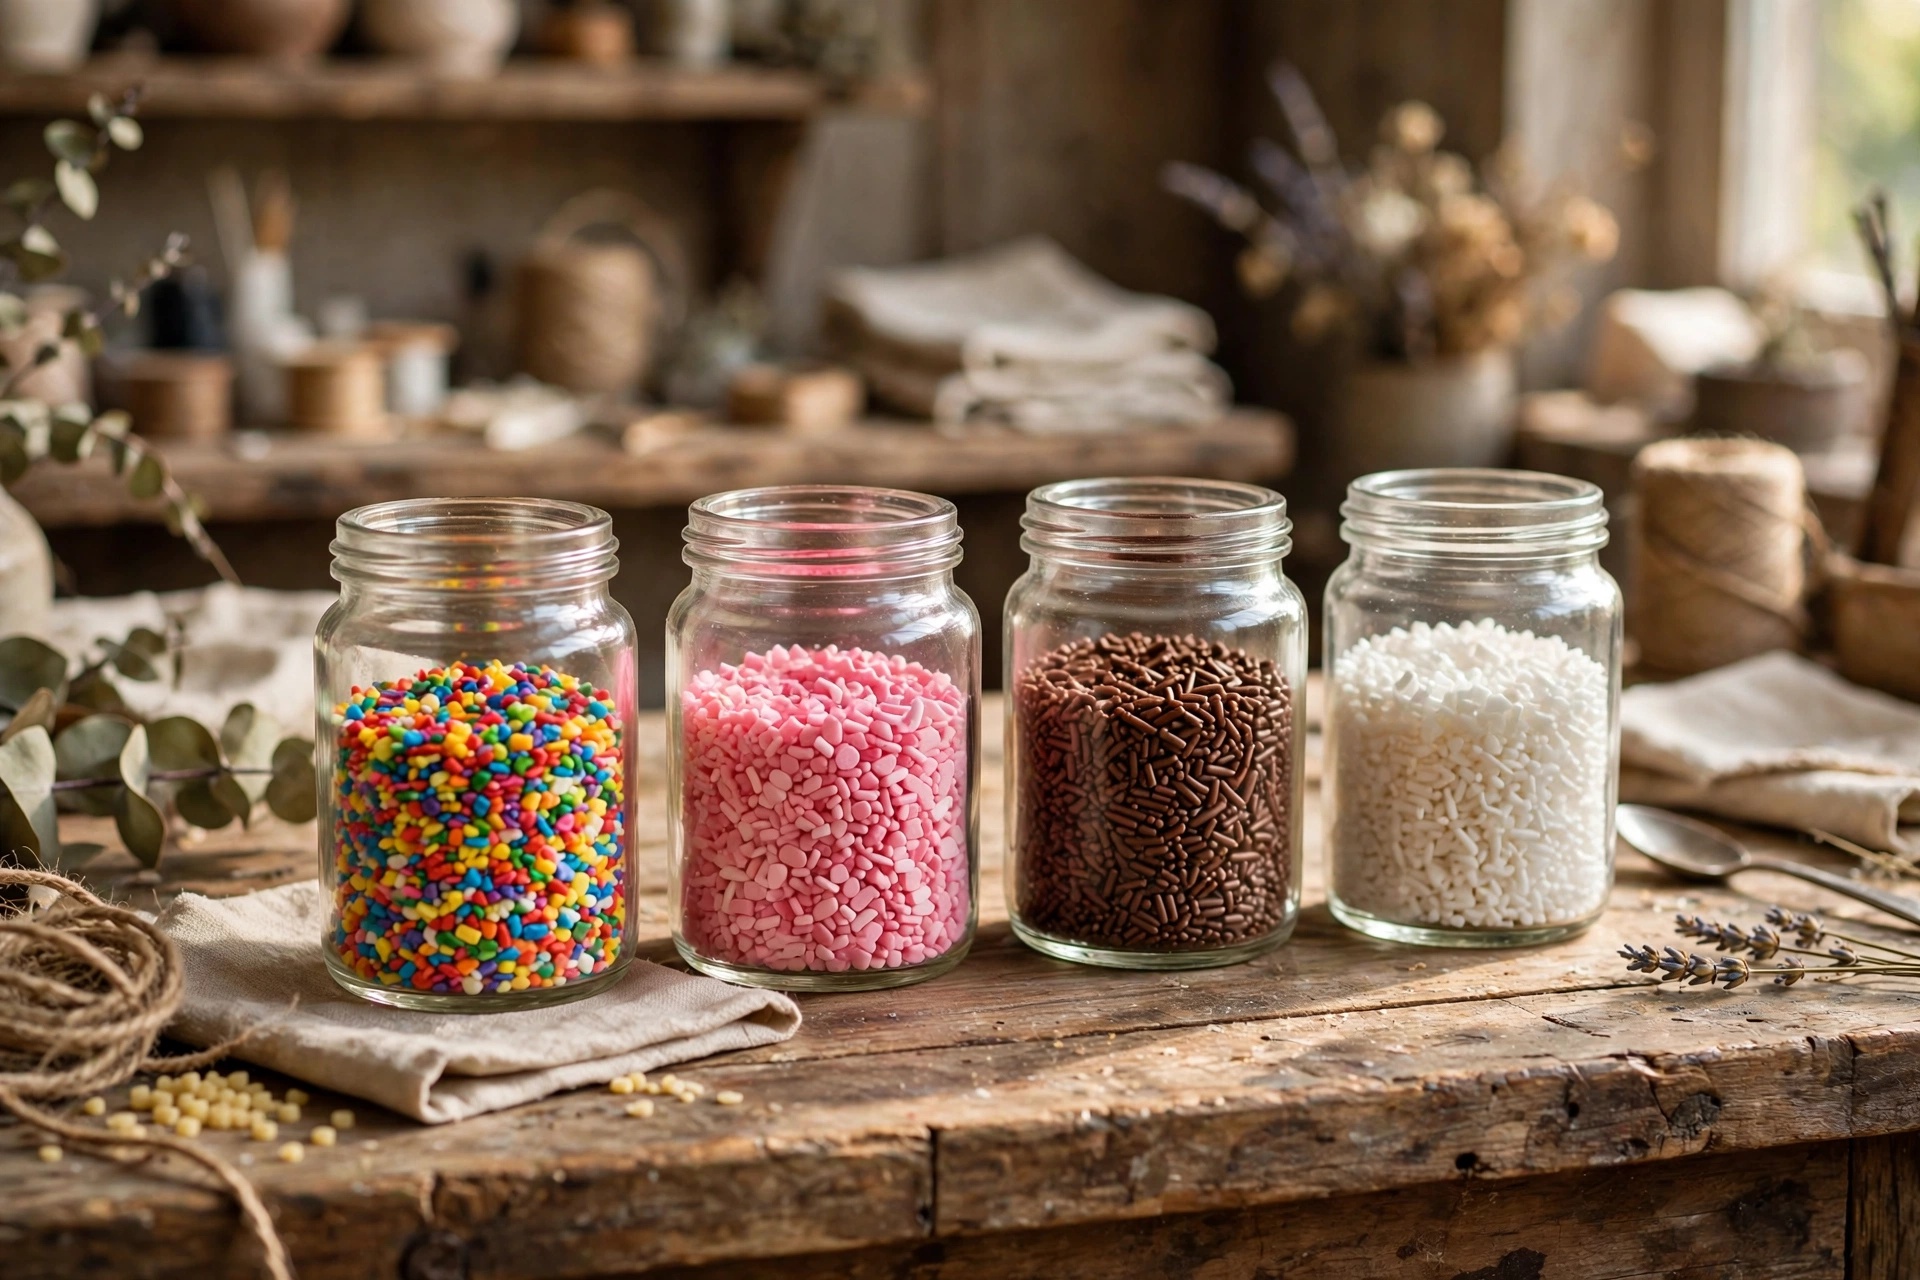
Once your sprinkles are cut or snapped, sort out the oversized pieces (chop them smaller or save them for confetti-style decoration) and the dust (it works fine as a fine topping, or just melt it back down). Store each color in its own small jar or zip bag, in a cool spot away from sunlight. Keep colors separate until you are ready to mix a blend — stored together, darker colors can transfer onto lighter ones over time.
6. Put sprinkles on a candle
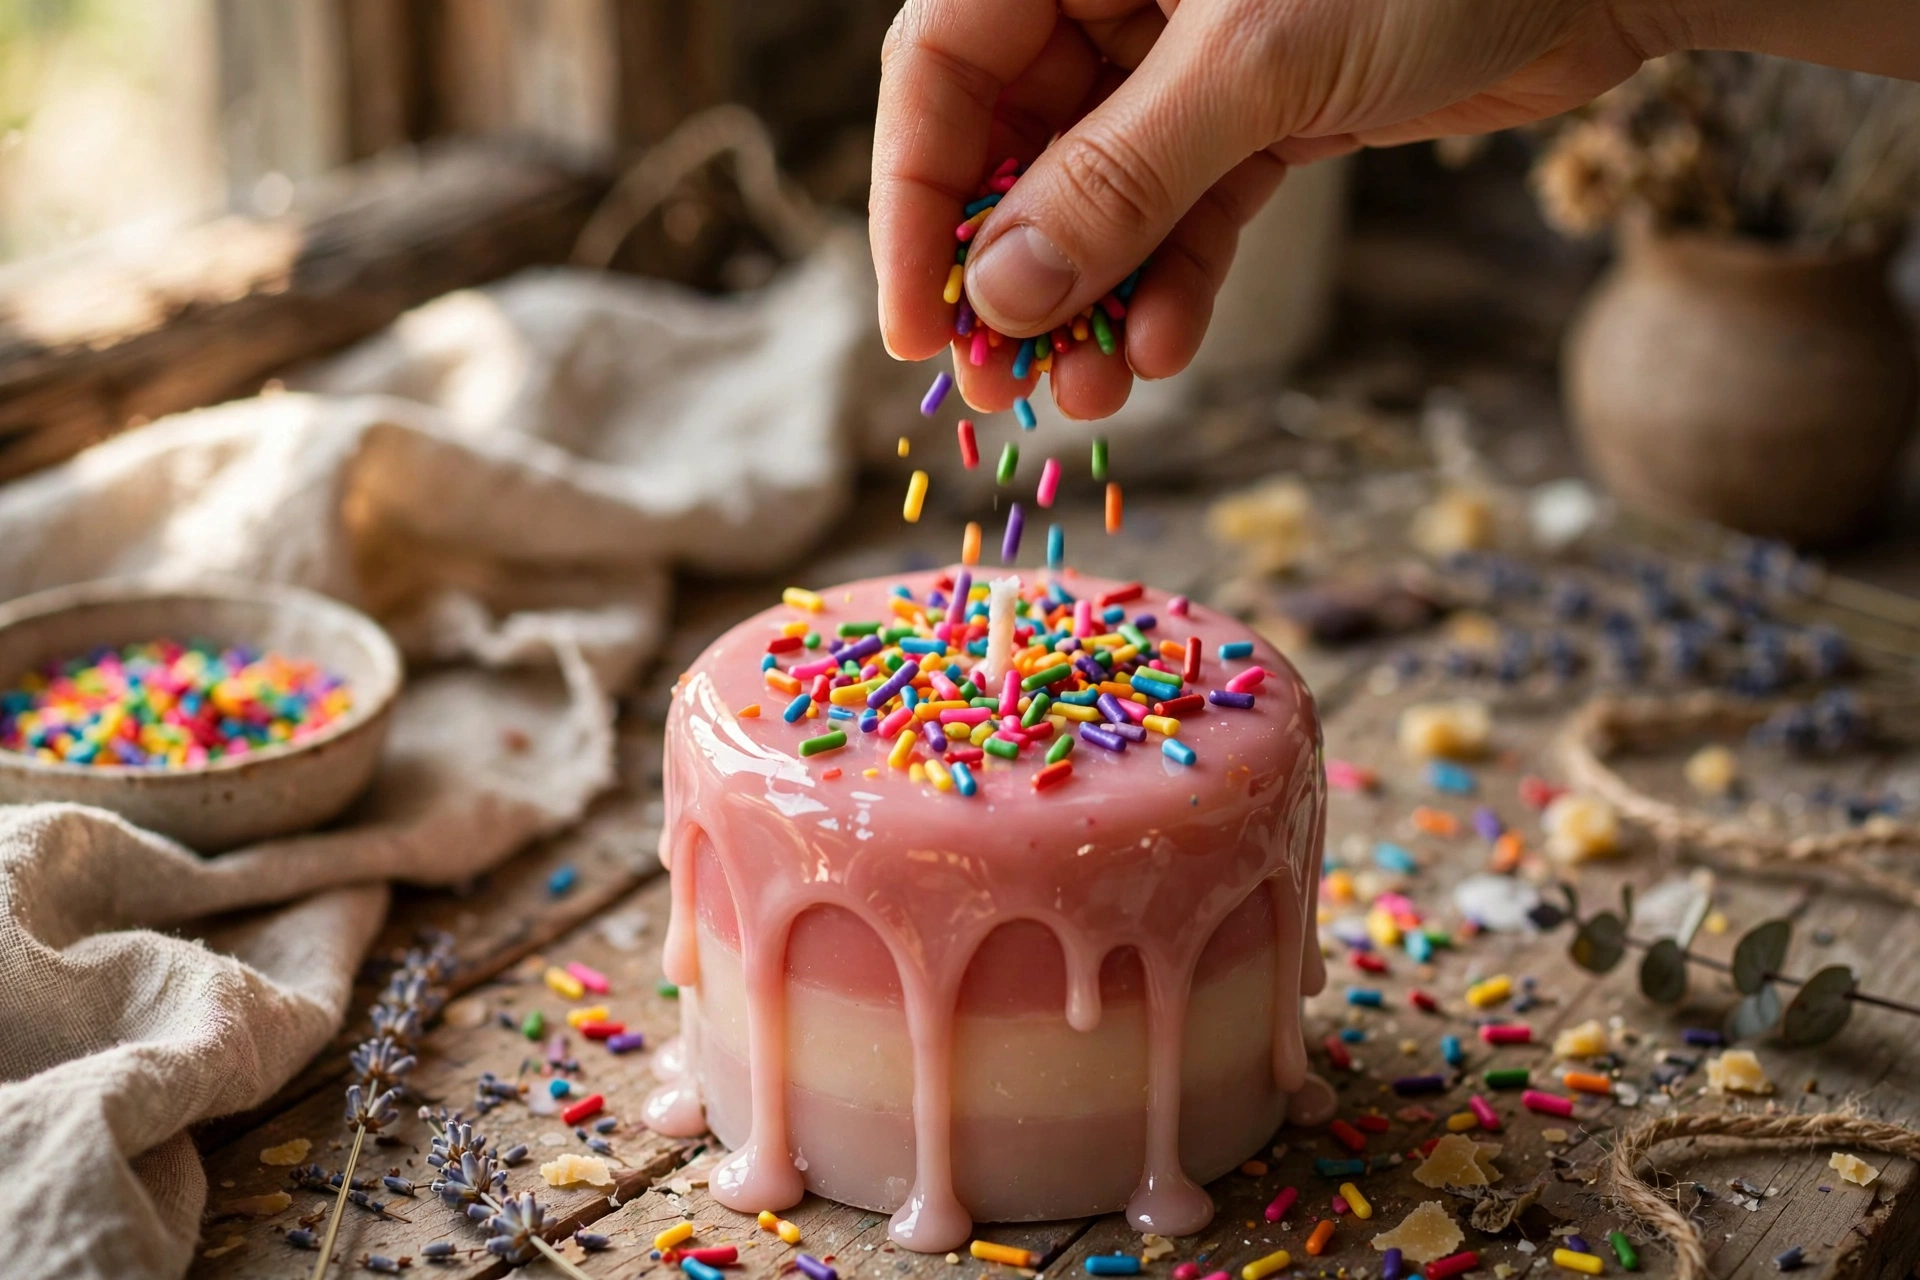
Sprinkles go on while the surface they are landing on is still tacky — not liquid, not set. On a glazed candle, scatter them within the first minute after pouring the glaze. On a whipped-wax candle, press them gently into the whipped peaks while the wax is still soft. Use a light scattering: a thin, even layer reads as sprinkles; a thick pile reads as clutter and can interfere with the burn.
Troubleshooting
Sprinkles sticking together in the jar? They went into storage before they were fully set, or the jar got warm. Spread them in a single layer on parchment for an hour to finish curing, then re-jar. Store in a cool spot — a warm craft room in summer is enough to make soft-wax sprinkles clump.
Sprinkles melting into the glaze and disappearing? The glaze was too hot when you scattered them. Wait until the glaze has lost its shine and turned tacky, then sprinkle. Room-temperature sprinkles on tacky glaze sit on top instead of sinking.
Sprinkles falling off after the candle sets? The surface was too firm when you applied them. Press them in while the glaze or whipped wax is still tacky, with the lightest touch — enough to seat them, not enough to push them through.
Sprinkles too thick and chunky? The sheet was poured too thick, or the piped lines were too fat. Aim for 1/16-inch sheets and a small round piping tip. Oversized pieces still work as confetti-style decoration — just call them that and use them sparingly.
Colors bleeding into each other? Colors were mixed while still soft, or stored together while warm. Let each color set fully before combining, and store blends in a cool place. Fragrance oil makes bleeding worse — another reason to keep sprinkles unscented.
Sheet shattering instead of cutting? You waited too long — the sheet went fully brittle. Cut earlier next time, while the wax is firm but still slightly pliable. Shattered pieces are still usable as confetti flakes.
Variations
Once you have the three methods down, these blends make every dessert candle look bakery-fresh:
Rainbow jimmies. Sheet-method sprinkles in red, orange, yellow, green, blue, purple, pink, and white, tossed together. The universal dessert-candle topper — it works on donuts, milkshakes, sundaes, and ice cream candles alike.
Chocolate sprinkles. Brown wax, shaved with a peeler into curls. Perfect on vanilla glaze, whipped cream tops, and anything meant to read as chocolate.
Nonpareils. Tiny dots instead of sticks: load melted wax into a squeeze bottle and dot it onto parchment in pinhead-sized drops. Let them harden, scrape them off, and scatter. Slow to make, gorgeous on small candles — save them for your best pieces.
Confetti flakes. Shattered or roughly chopped sheet wax in pastel colors. Chunky, playful, and the fastest “variation” of all — it is just the sheet method with bigger, irregular cuts.
Holiday mixes. Red + green + white for Christmas, orange + black for Halloween, pink + red for Valentine’s Day. Seasonal blends sell well at craft fairs because they make a plain dessert candle look instantly seasonal.
Safety first
They look like food. A candle covered in realistic sprinkles will fool a small child — and honestly some adults at a glance. Store finished dessert candles out of children’s reach, never leave one where kids play, and put a “do not eat — this is a candle” note on the label or packaging. The same rule applies to your sprinkle jars: keep them away from the kitchen and clearly labeled as wax, not candy.
Standard candle rules. Trim the wick to 1/4 inch before every burn, never leave a burning candle unattended, burn on a heat-safe surface, keep burns to 4 hours or less, and keep the candle away from drafts, pets, and anything flammable. Test burn every dessert candle before you sell or gift it — decorations change the burn, and the only way to know how is to burn one.
Get candle-making tips by email
Join the list for new tutorials, tools, and supplier deals — straight to your inbox.
Signed up between Oct 7 and Oct 28 and never heard from us? We fixed a glitch that was dropping signups — please sign up again!



