
How to Make Marble Candles (Easy Swirl Technique)
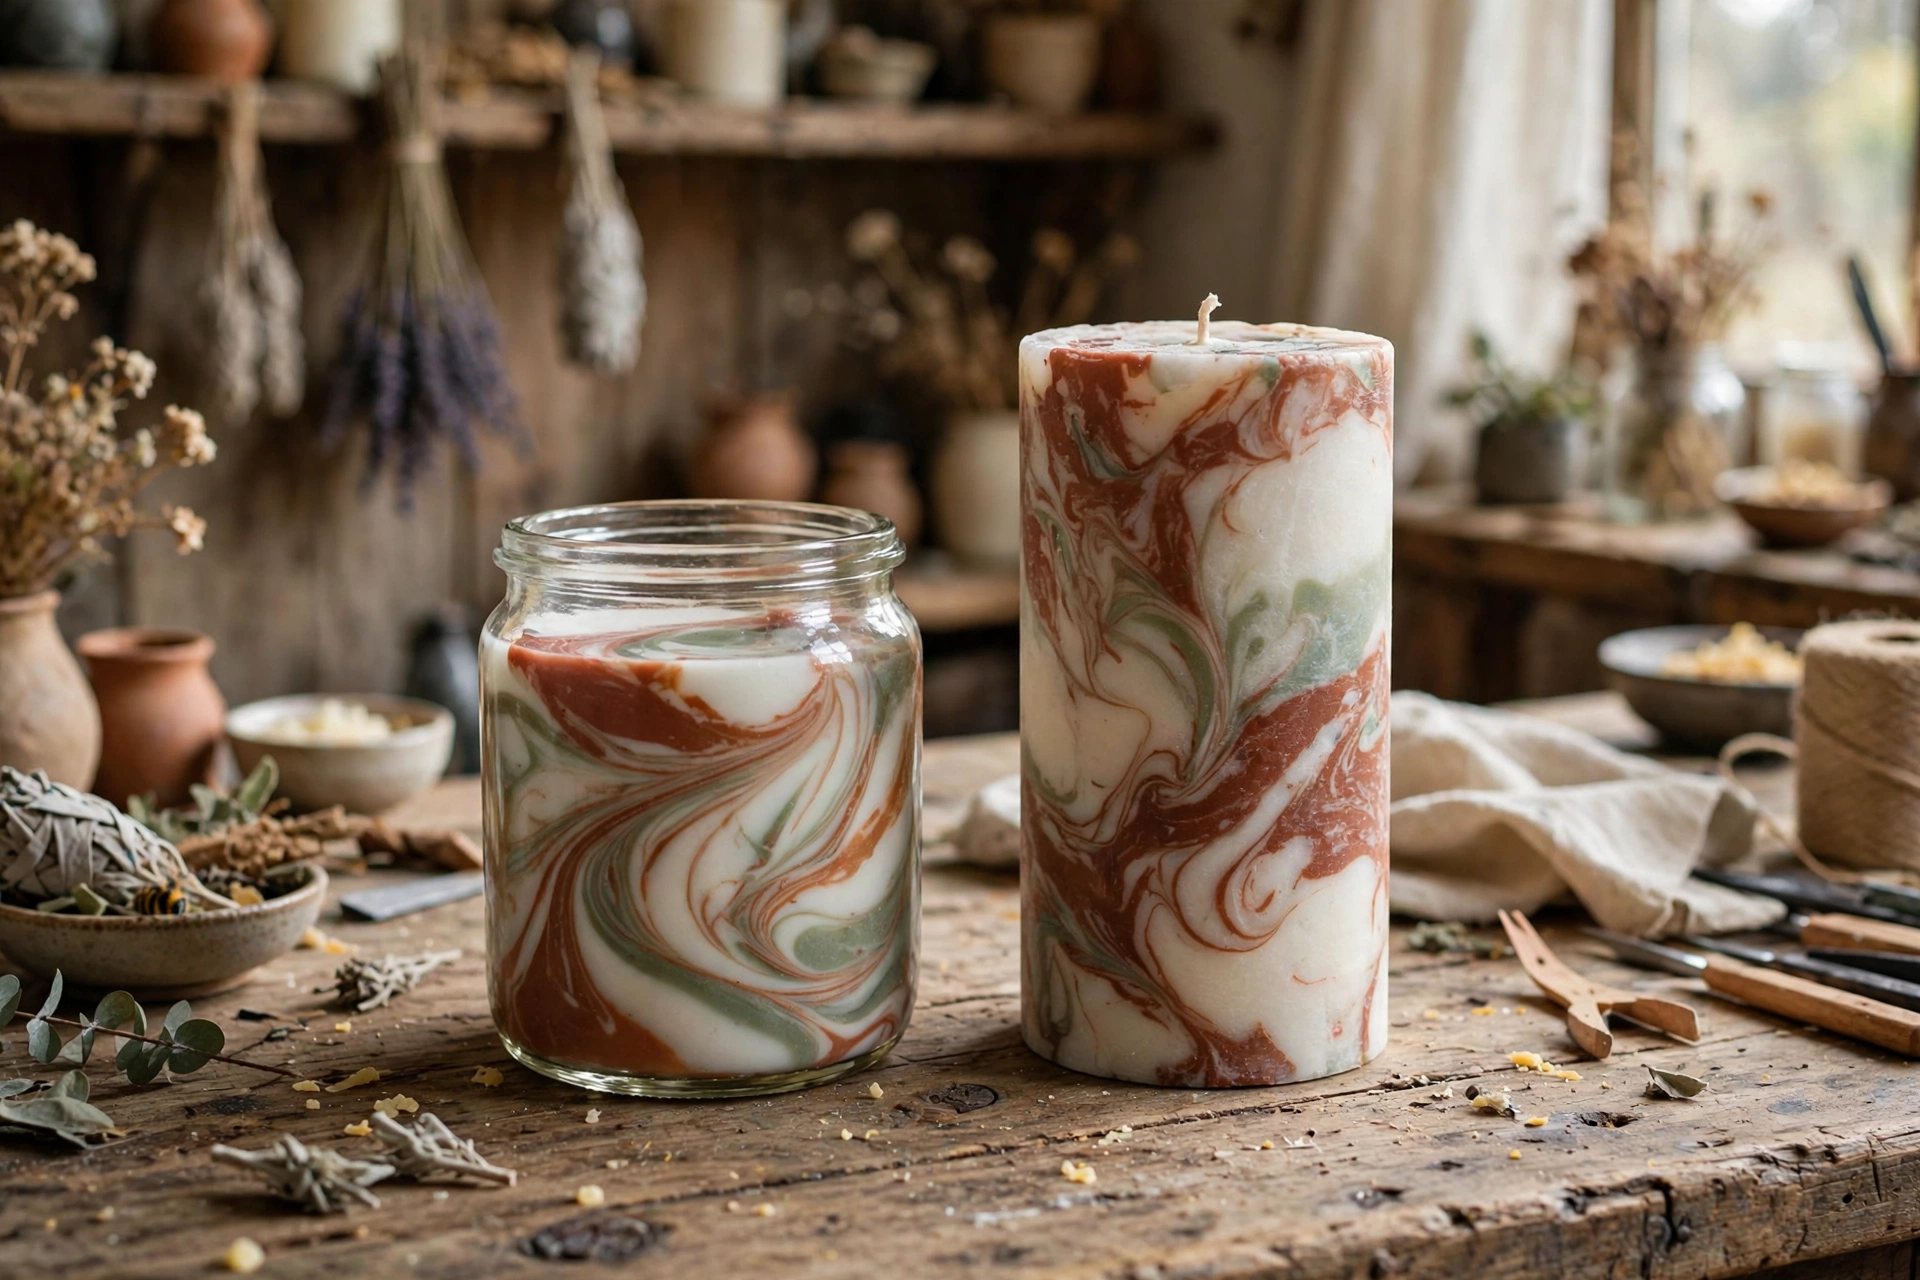
Marble candles look like they came out of a high-end boutique — swirling veins of color running through the wax, no two alike. They are far easier to make than they look. All you need is two colors of wax, a skewer, and a light hand. This guide walks you through the swirl technique step by step, for both jar candles and free-standing pillars.
How marbling works
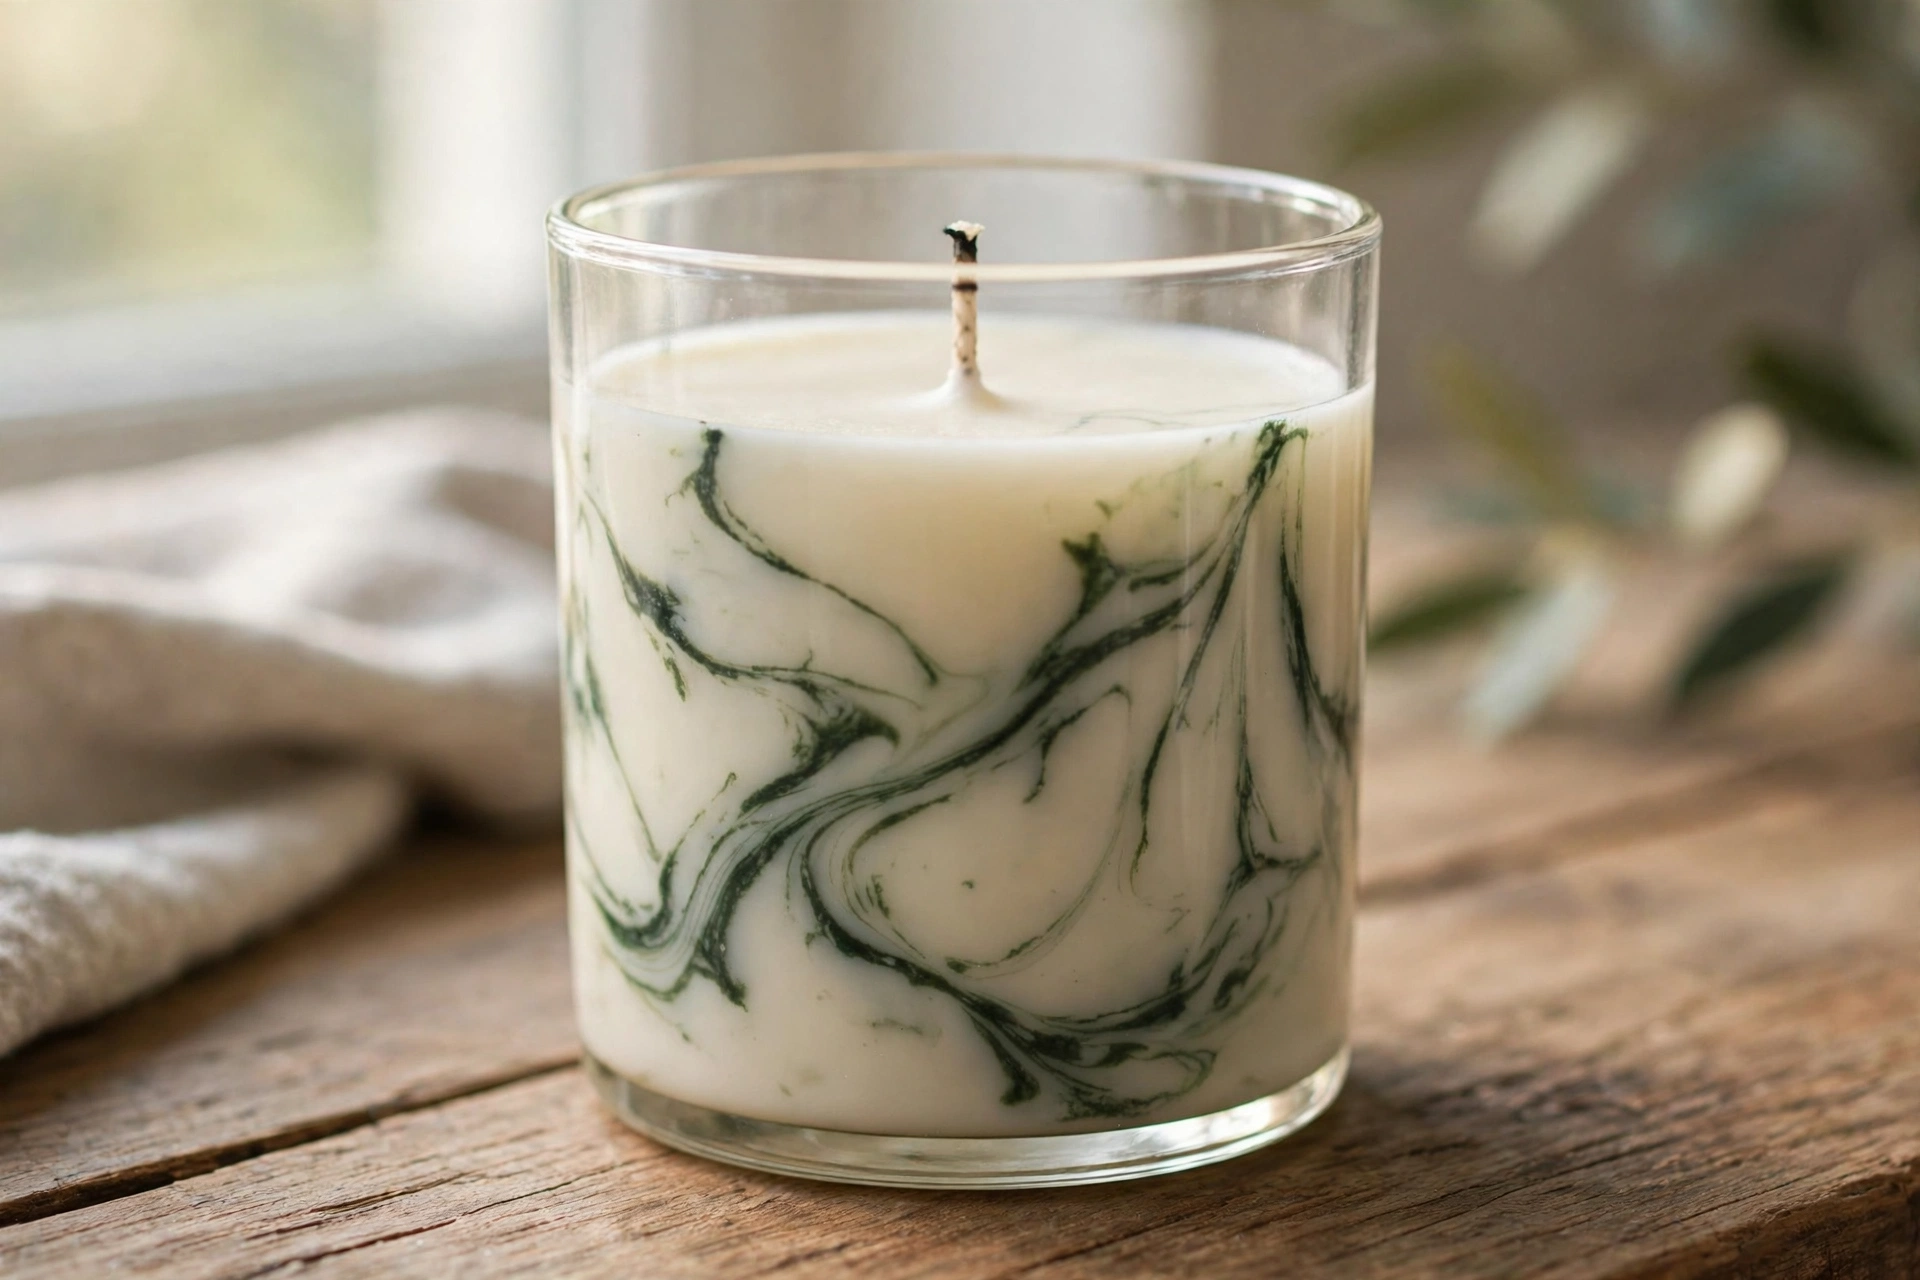
Marbling is controlled imperfection. You pour one color of wax, then drizzle a second color into it and drag a skewer through the two — just a few strokes. The colors stay mostly separate, folding into veins and ribbons instead of mixing into one muddy shade. The secret is restraint: three to five swirls gives you bold marble veins. Fifteen swirls gives you brown. Less is more, every time.
The same idea works in a jar or a mold. In a jar, you swirl from the top and the pattern shows through the glass. In a pillar mold, you swirl inside the mold and the pattern shows when you unmold. The steps below cover the jar method first, then the pillar variation.
What you’ll need
- Wax — paraffin or soy container wax for jars; paraffin or pillar wax for molded pillars. You need enough for two colors (roughly 80% base color, 20% accent color)
- Candle dye — liquid dye, dye blocks, or dye chips in two contrasting colors (a light base + a dark accent shows the marbling best)
- Fragrance oil, if you want a scented candle (follow your wax supplier’s recommended load — add the same fragrance to both colors so the scent stays even)
- A long wooden skewer, chopstick, or thin dowel for swirling
- Two heat-safe pouring jugs (one per color)
- A thermometer for the wax
- For jar candles: a clear glass jar (clear glass shows the marbling best) and a wick sized for the jar diameter
- For pillar candles: a pillar mold, mold release spray, and a wick sized for the pillar diameter
- A wick holder or clip to center the wick
- A double boiler or wax melter, and a work surface you don’t mind getting waxy
Method 1: Marble jar candle
Step 1: Melt and color two batches of wax
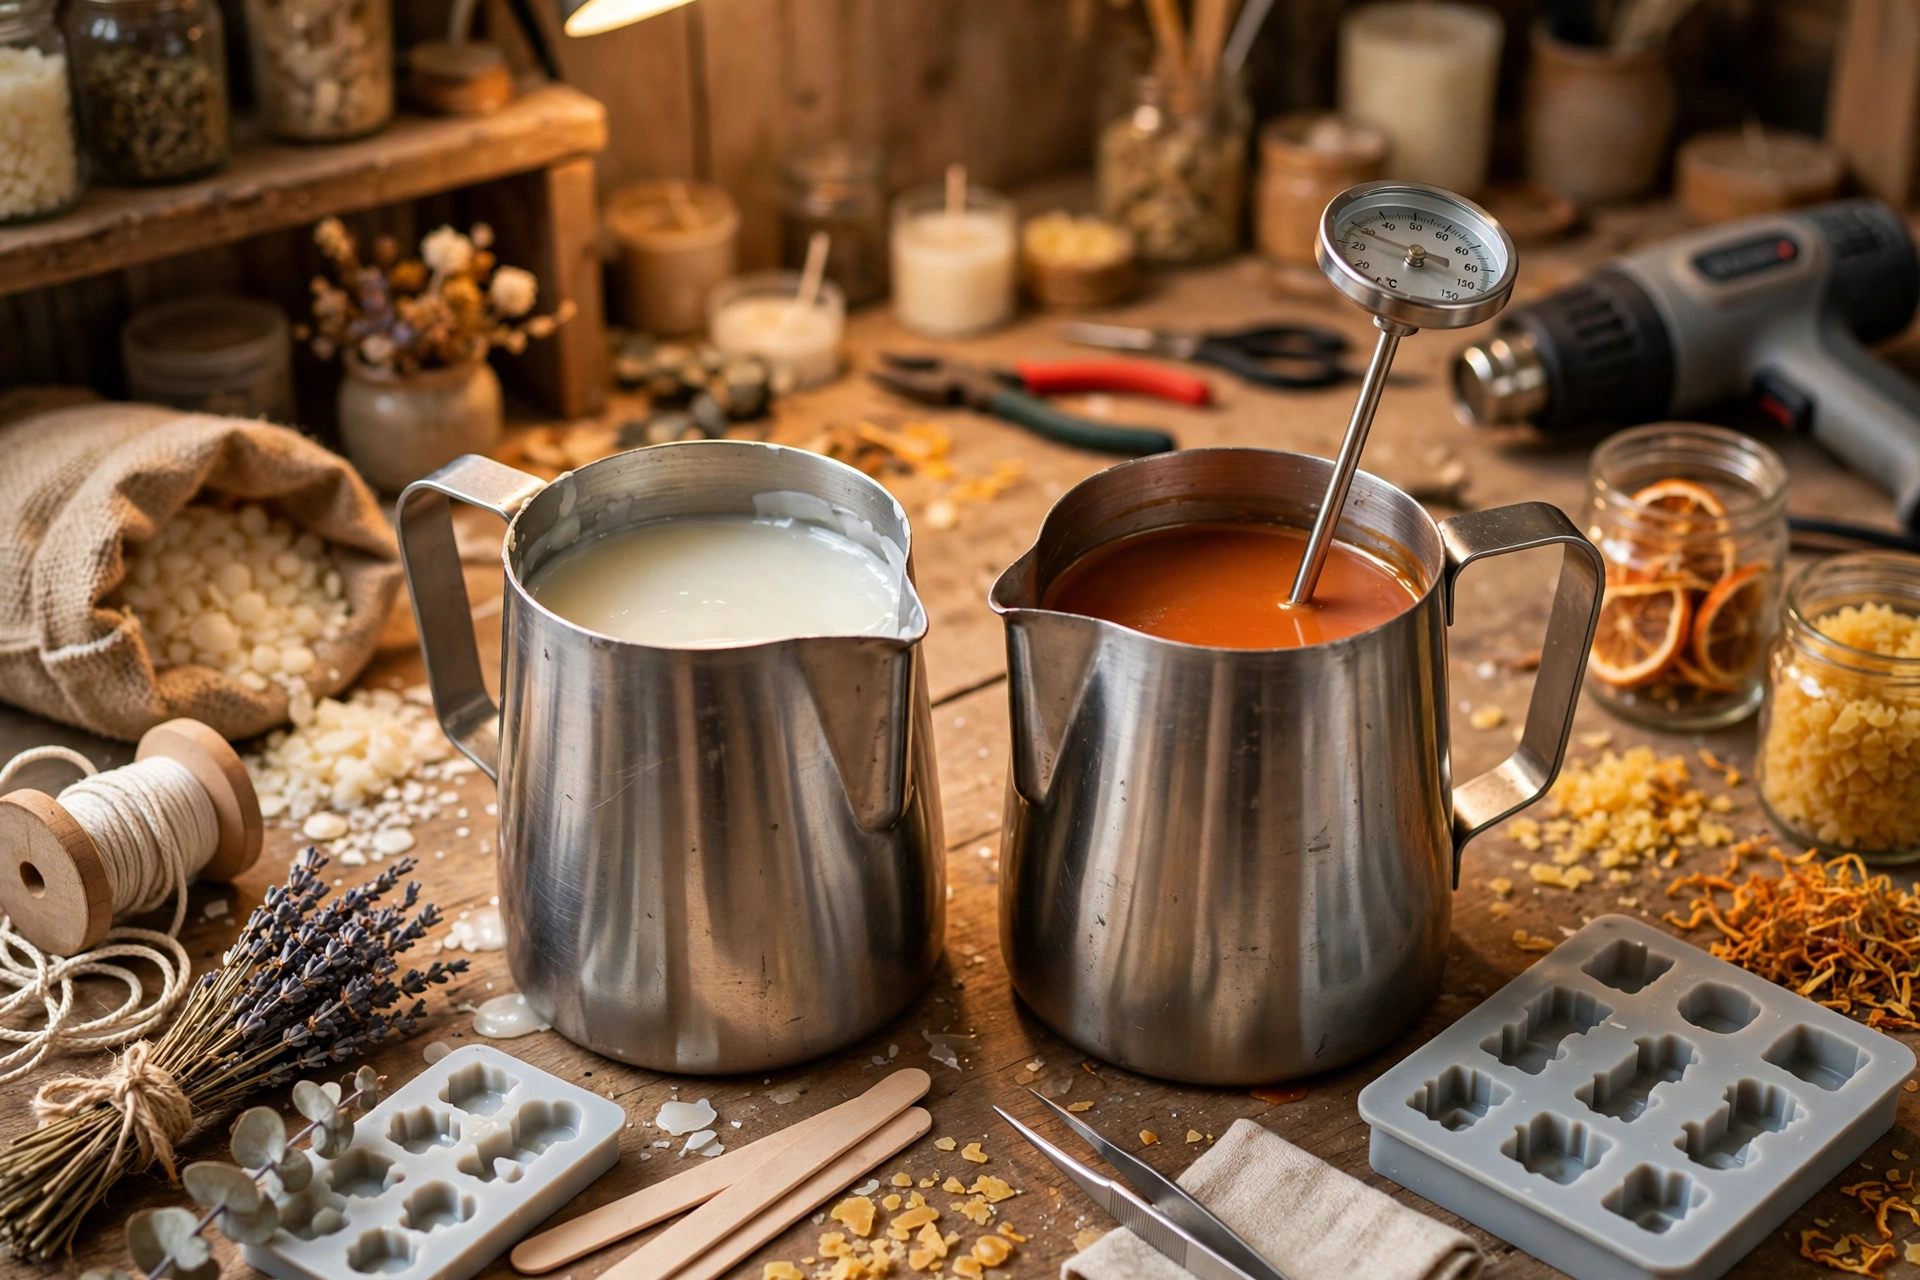
Split your wax into two jugs — about 80% for the base color and 20% for the accent. Melt both, then color them: a light base (white, cream, or pale blush) and a darker accent (terracotta, forest green, navy, or black) gives the most striking veins. Add fragrance to both jugs equally if you are scenting the candle. Bring both jugs to the same pouring temperature (follow your wax supplier’s guidance — usually around 170–185°F for container wax).
Step 2: Wick the jar
Center the wick in the jar and secure it with a wick holder or clip. A centered wick matters twice as much with marbling: an off-center wick melts one side first and drags the pattern sideways.
Step 3: Pour the base color
Pour the base color into the jar to about half an inch below the rim. Work slowly and steadily — a calm pour traps fewer air bubbles. Do not fill all the way to the top; you need a little headroom for the accent color.
Step 4: Drizzle the accent color
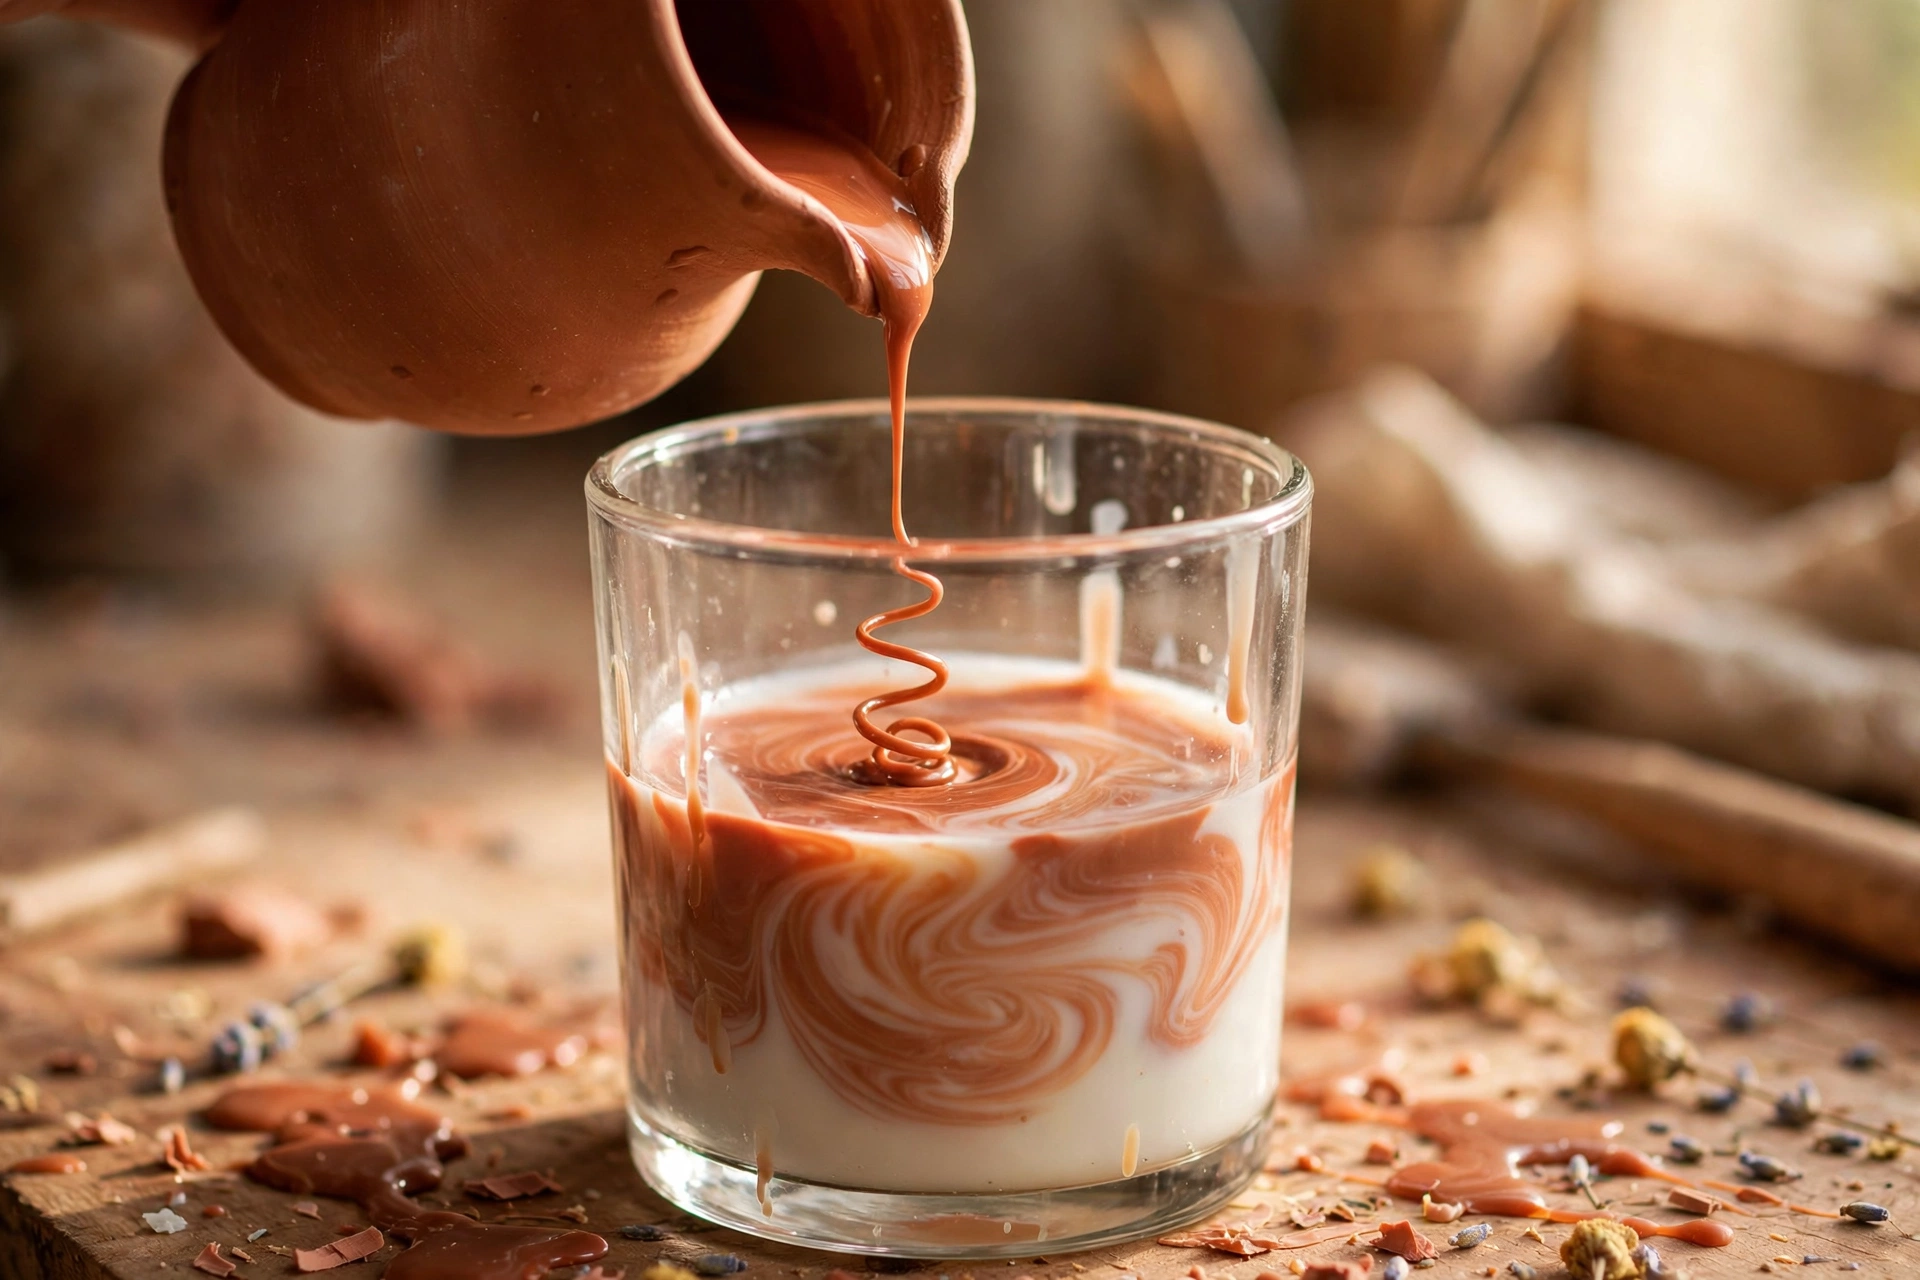
While the base is still fully liquid, drizzle the accent color over the surface in a loose spiral or zigzag — thin ribbons, not a solid pour. Use roughly a fifth as much accent as base. You are painting veins, not adding a layer.
Step 5: Swirl — lightly!
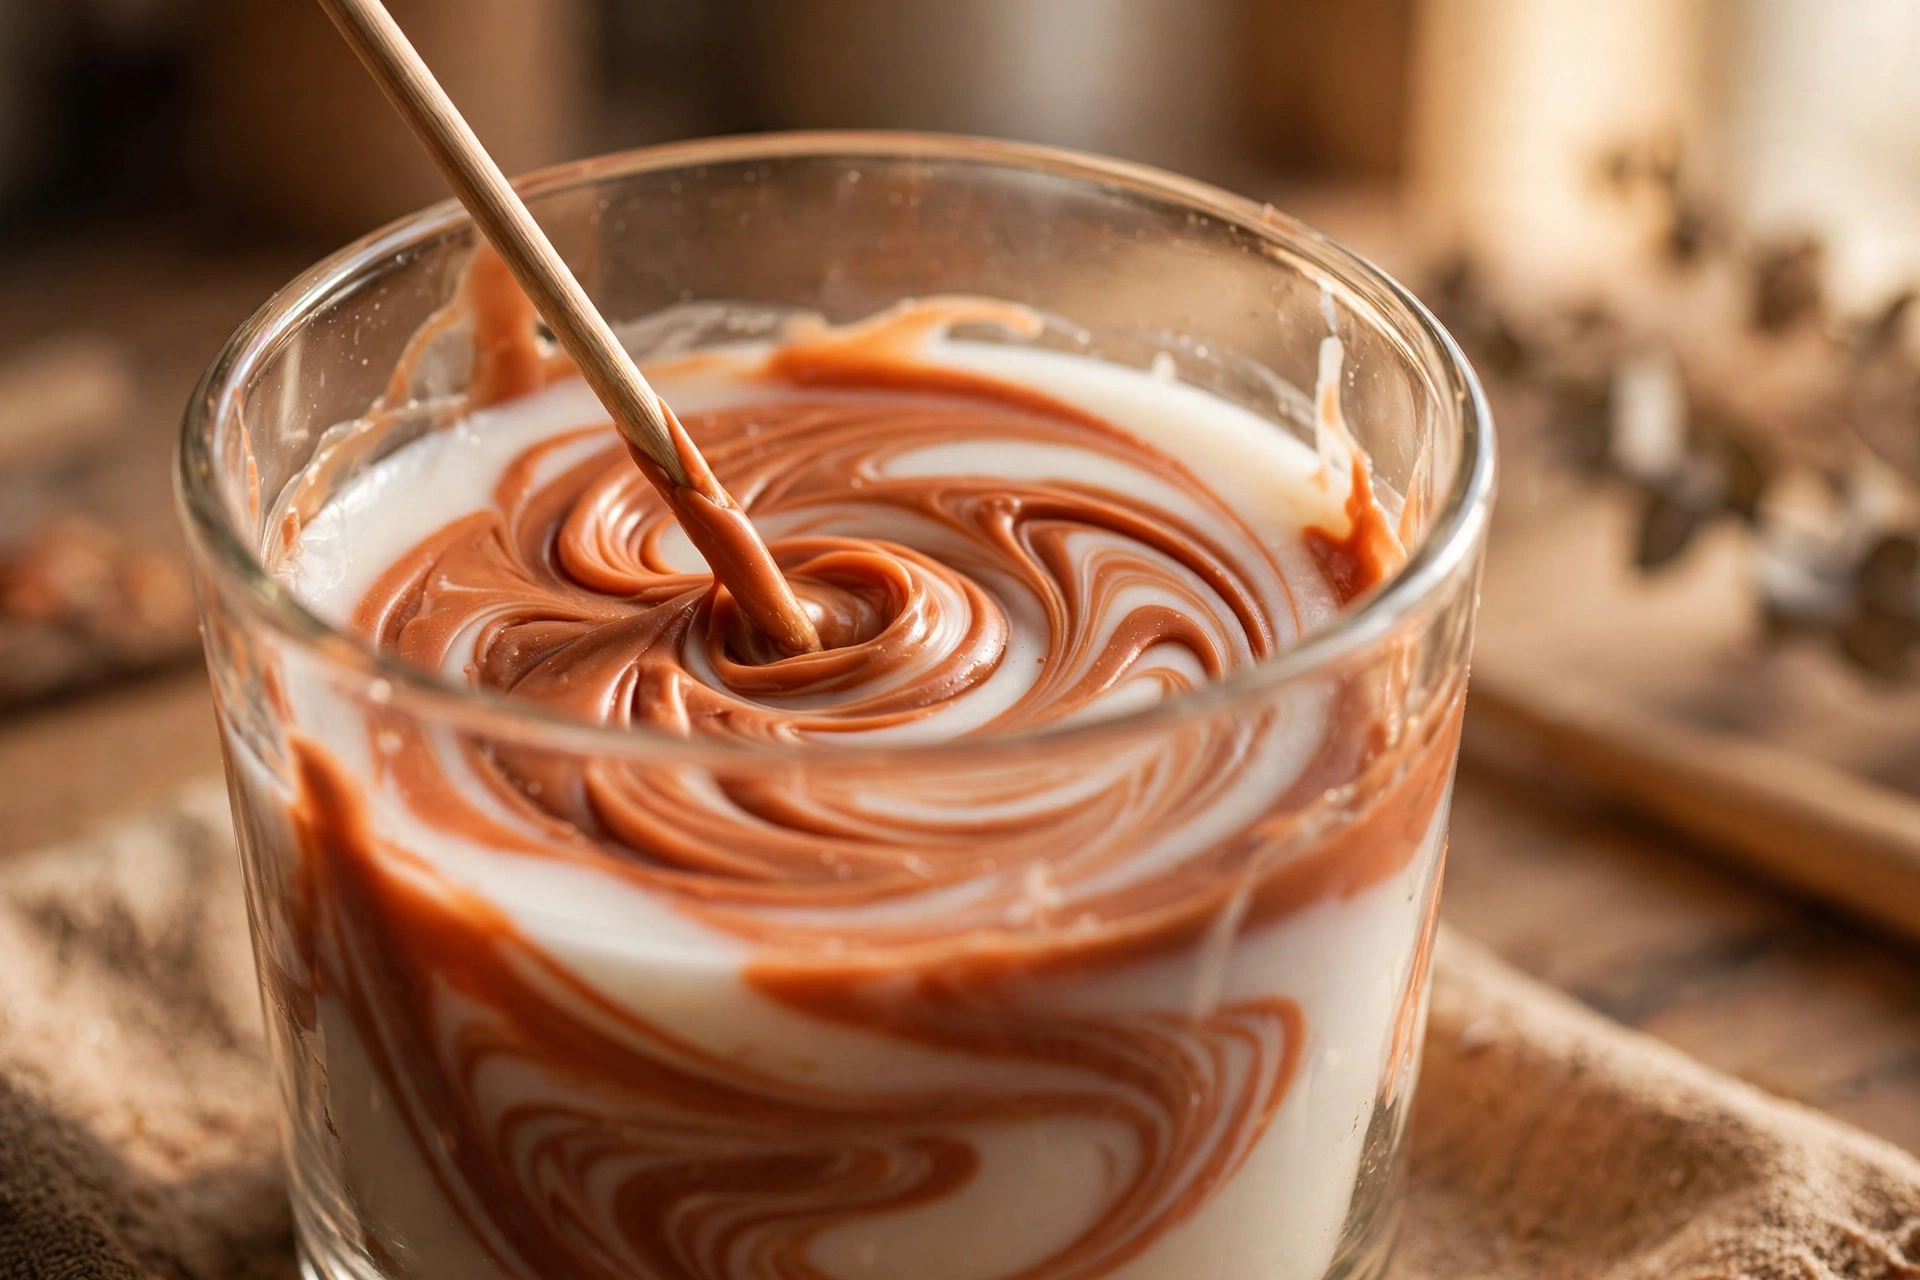
Now the fun part. Push the skewer down through the wax and drag it through the accent ribbons in slow figure-eights, spirals, or S-curves. Three to five strokes is plenty. Pull the skewer out slowly so you don’t drag wax up and over the rim. Then stop. Every extra stroke blends the colors further toward mud — the veins you see right now are the veins you keep.
Step 6: Cool, top up, and finish
Let the jar cool at room temperature, away from drafts. As the wax shrinks, a sinkhole may form around the wick — top it up with a small relief pour of the base color only (a relief pour of accent would cover your marbling). Once fully cool and hard, trim the wick to about 1/4 inch. Your marble jar candle is done.
Method 2: Marble pillar candle
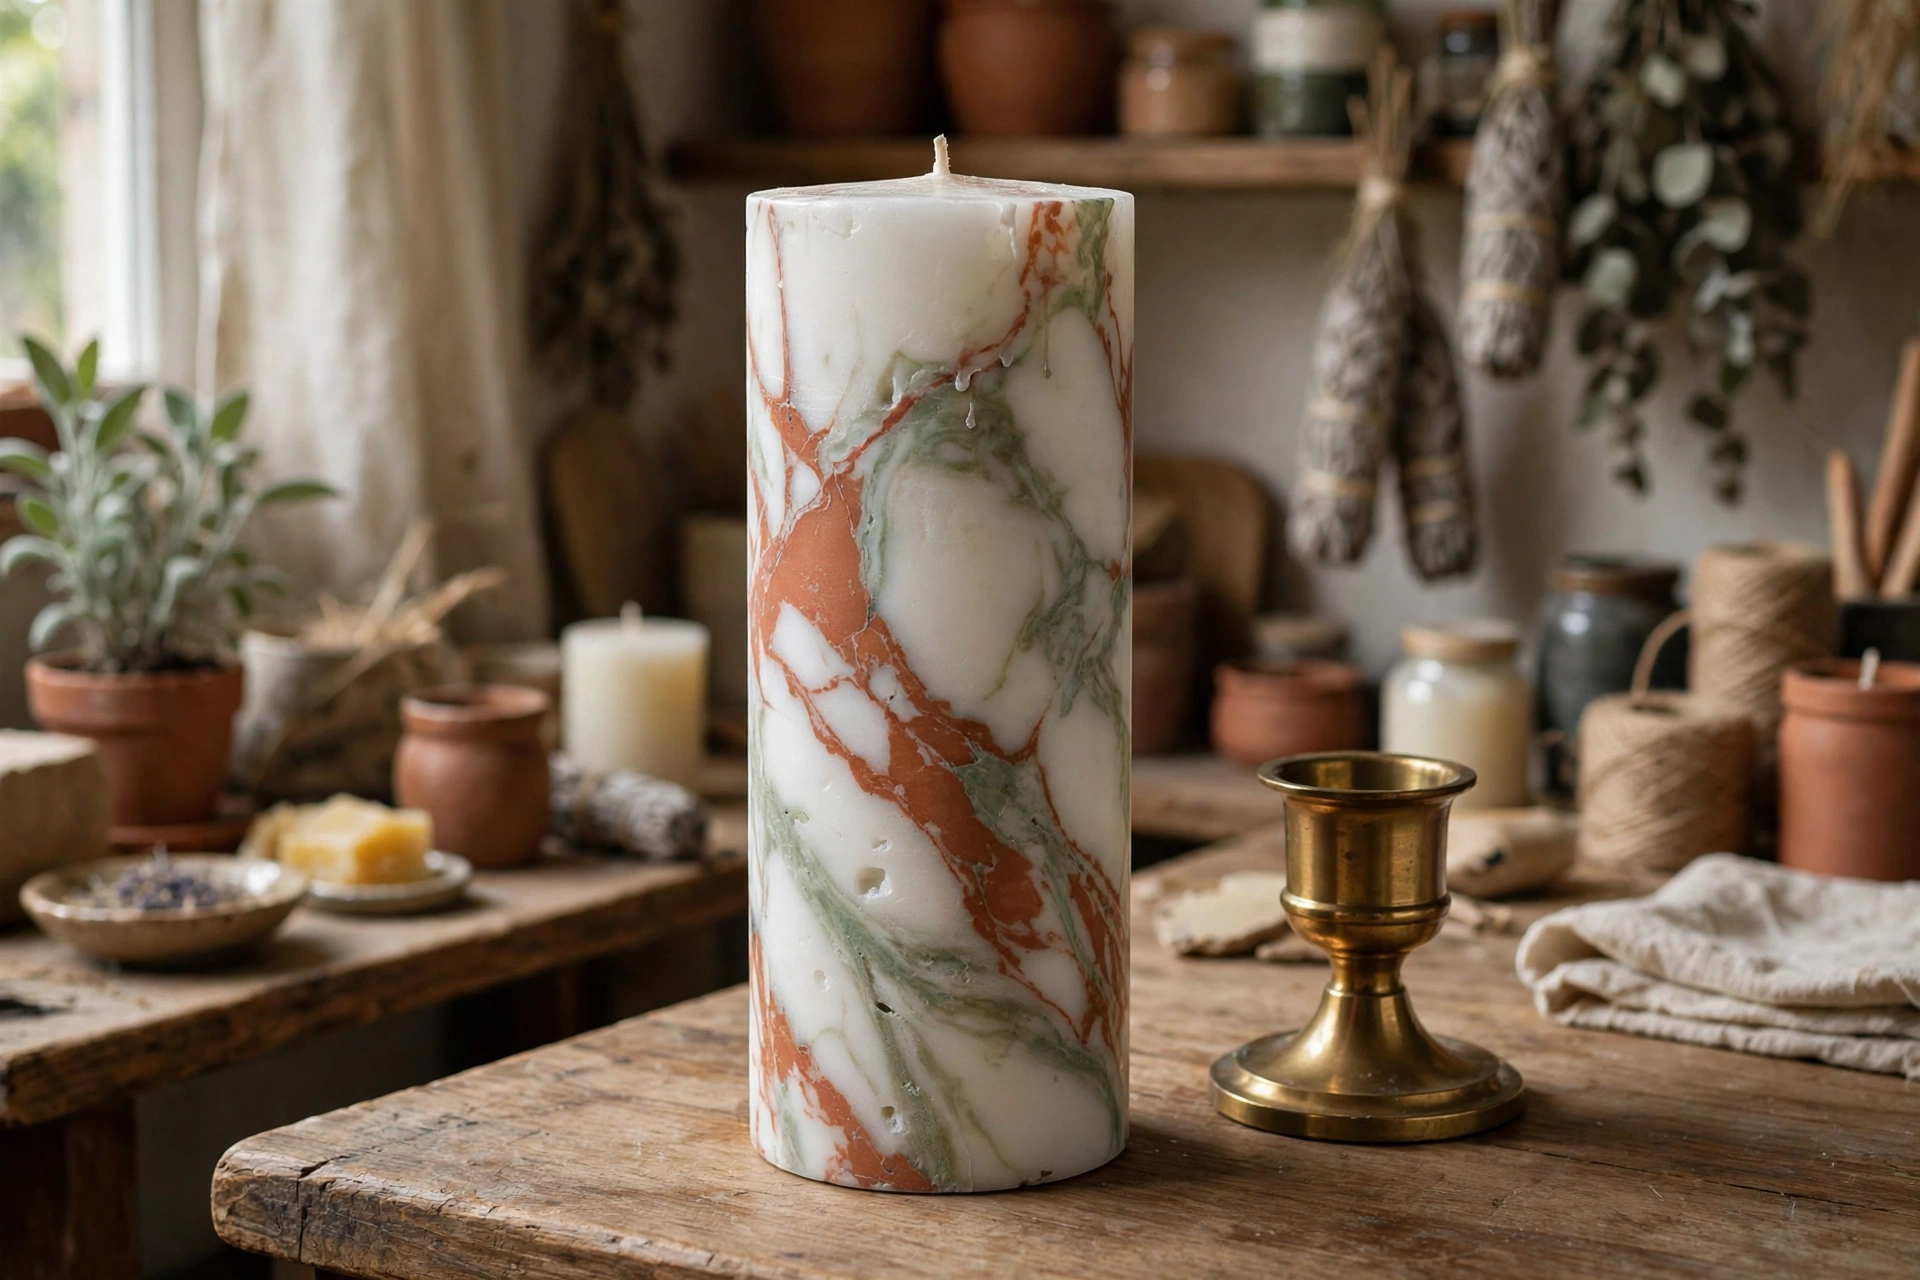
The pillar version uses the same swirl idea inside a mold. Prep the mold with release spray, thread and center the wick, and seal the bottom hole. Then pour the base color into the mold, drizzle the accent, and swirl with the skewer — same 3–5 strokes, same restraint. Let it cool at room temperature, do a relief pour of base color if a sinkhole forms, and unmold once fully hard (several hours). If it resists, 15–20 minutes in the fridge contracts the wax and it usually pops free.
Color combinations that work
Contrast is everything. White + terracotta, cream + forest green, blush + black, and sage + charcoal are all reliable winners. Two colors that are close in tone (light blue + medium blue) blend into a soft watercolor look — pretty, but less “marble.” Two dark colors (navy + black) barely show the pattern at all. When in doubt, go lighter on the base and bolder on the accent. For a three-color marble, add a tiny drizzle of a third color and one extra swirl — but stop there, or the colors muddy.
What to do when something looks wrong
Colors turned muddy or brown: too many swirls, or the two waxes were different temperatures and blended instead of layering. Use 3–5 strokes max, and keep both jugs at the same temperature.
No marbling visible: the accent was too close in tone to the base, or it was stirred in instead of swirled. Pick higher-contrast colors and use slow dragging strokes, not stirring.
Air bubbles or pits: poured too fast, or the wax was too cool. Pour slowly, keep temperatures up, and do a relief pour of base color to fill the sinkhole.
Marbling only on top: the skewer did not go deep enough. Push it about halfway down for pillars, and just below the surface for jars.
Cracking: cooled too fast. Cool at room temperature, away from drafts and cold surfaces — never the freezer.
Uneven burn or tunneling: usually a wick issue, not a marbling issue. Confirm wick size against your supplier’s chart and do a test burn — see our wick selection and test burn guide.
Next steps
Once you have the swirl down, try the same technique with three colors, or pair it with a layered candle for stripes-plus-marble. For the pouring fundamentals, see our first soy candle guide — and if you are making marbles to sell, test-burn every color combination first, since dye can shift how a wick burns.
Get candle-making tips by email
Join the list for new tutorials, tools, and supplier deals — straight to your inbox.
Signed up between Oct 7 and Oct 28 and never heard from us? We fixed a glitch that was dropping signups — please sign up again!



