
How to Make a Hidden Message Candle (Safe Reveal Method)
A hidden message candle looks like an ordinary jar candle — until it burns down and a secret message appears through the glass. It is a proposal candle, a pregnancy announcement, a birthday surprise, or just a “thinking of you” that reveals itself slowly. This tutorial shows the safe way to make one: the message lives on the glass, never in the wax, so nothing flammable ever gets near the flame.
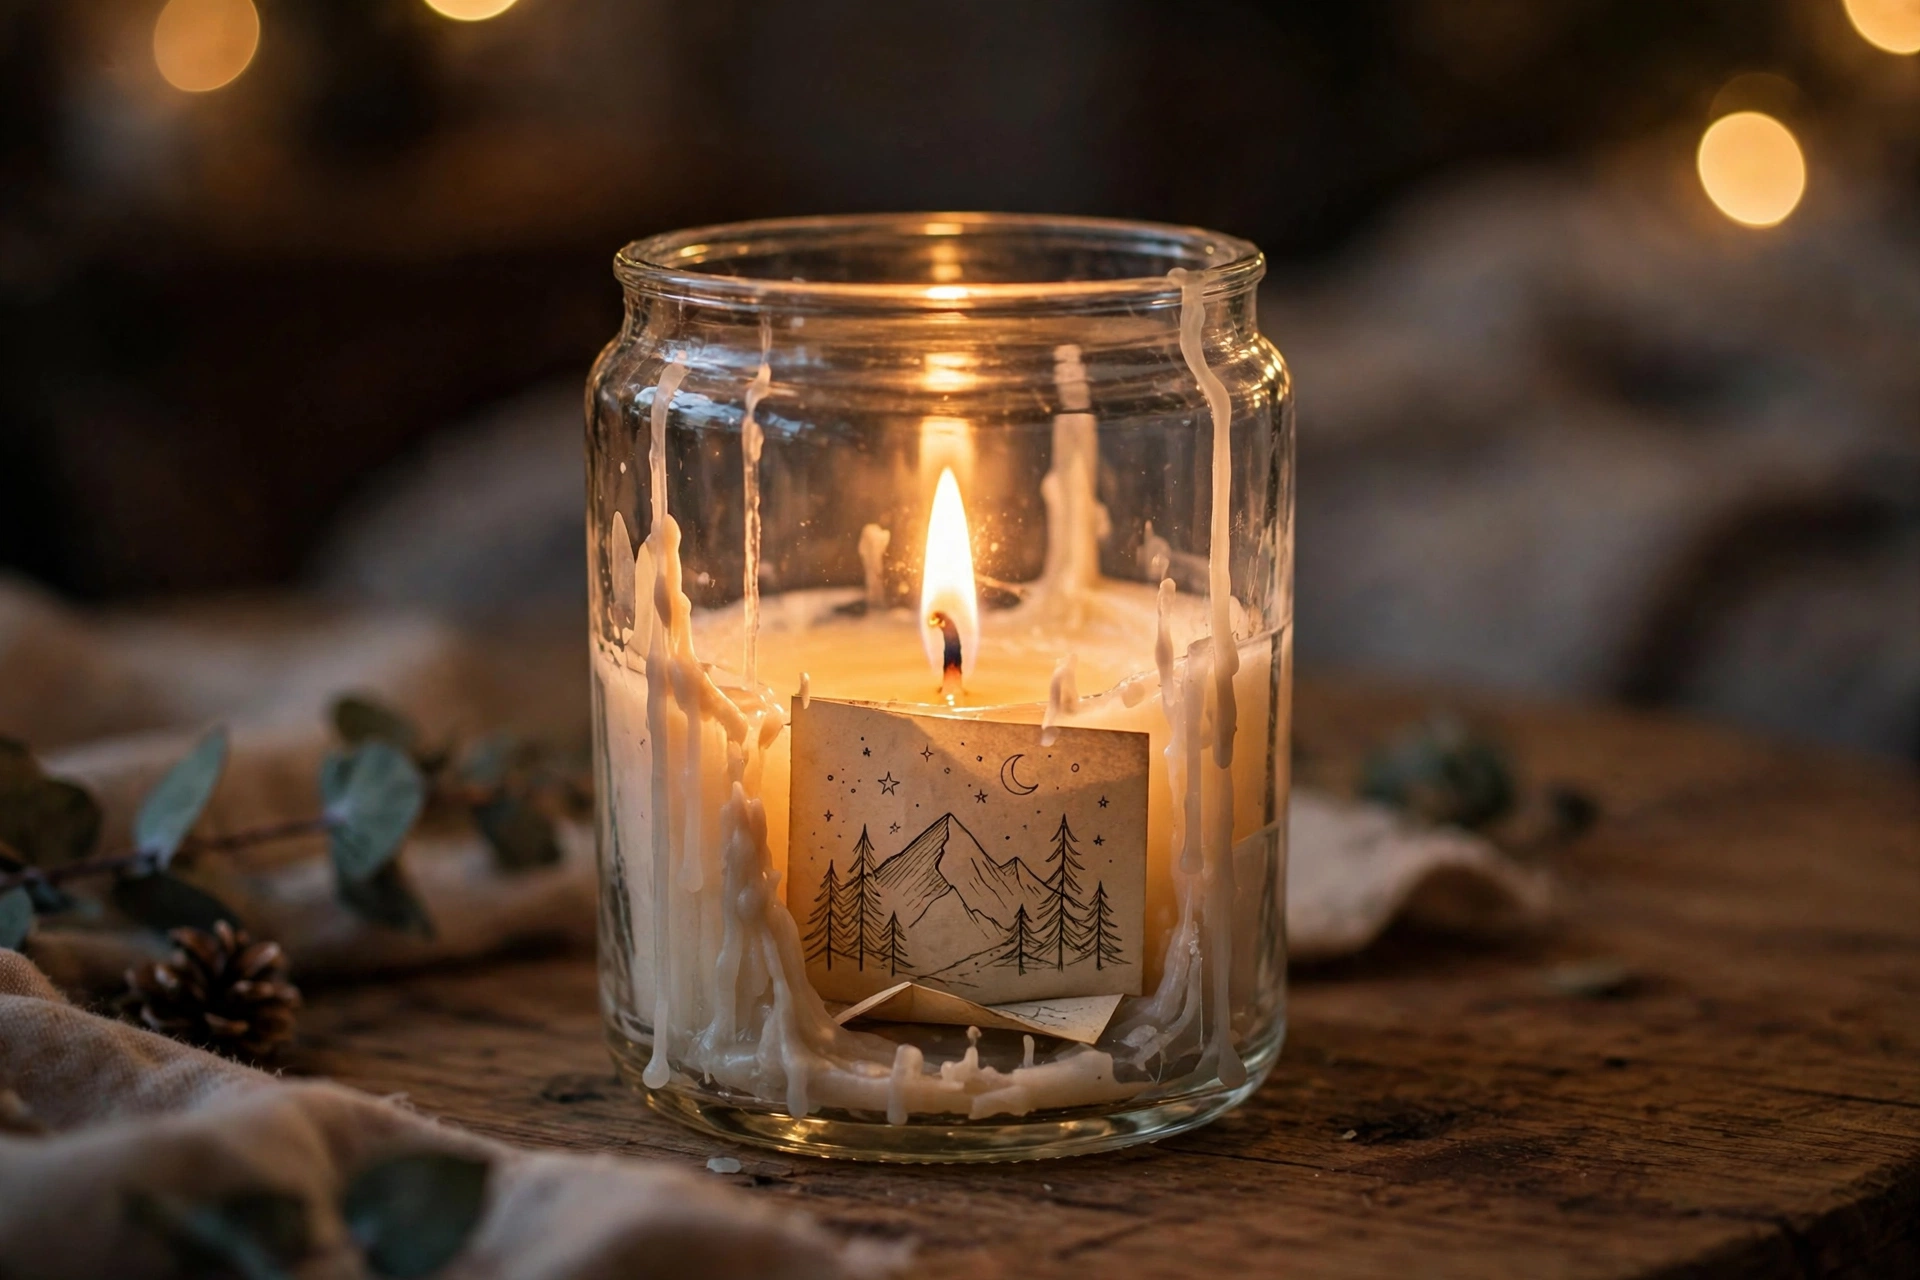
How the reveal works
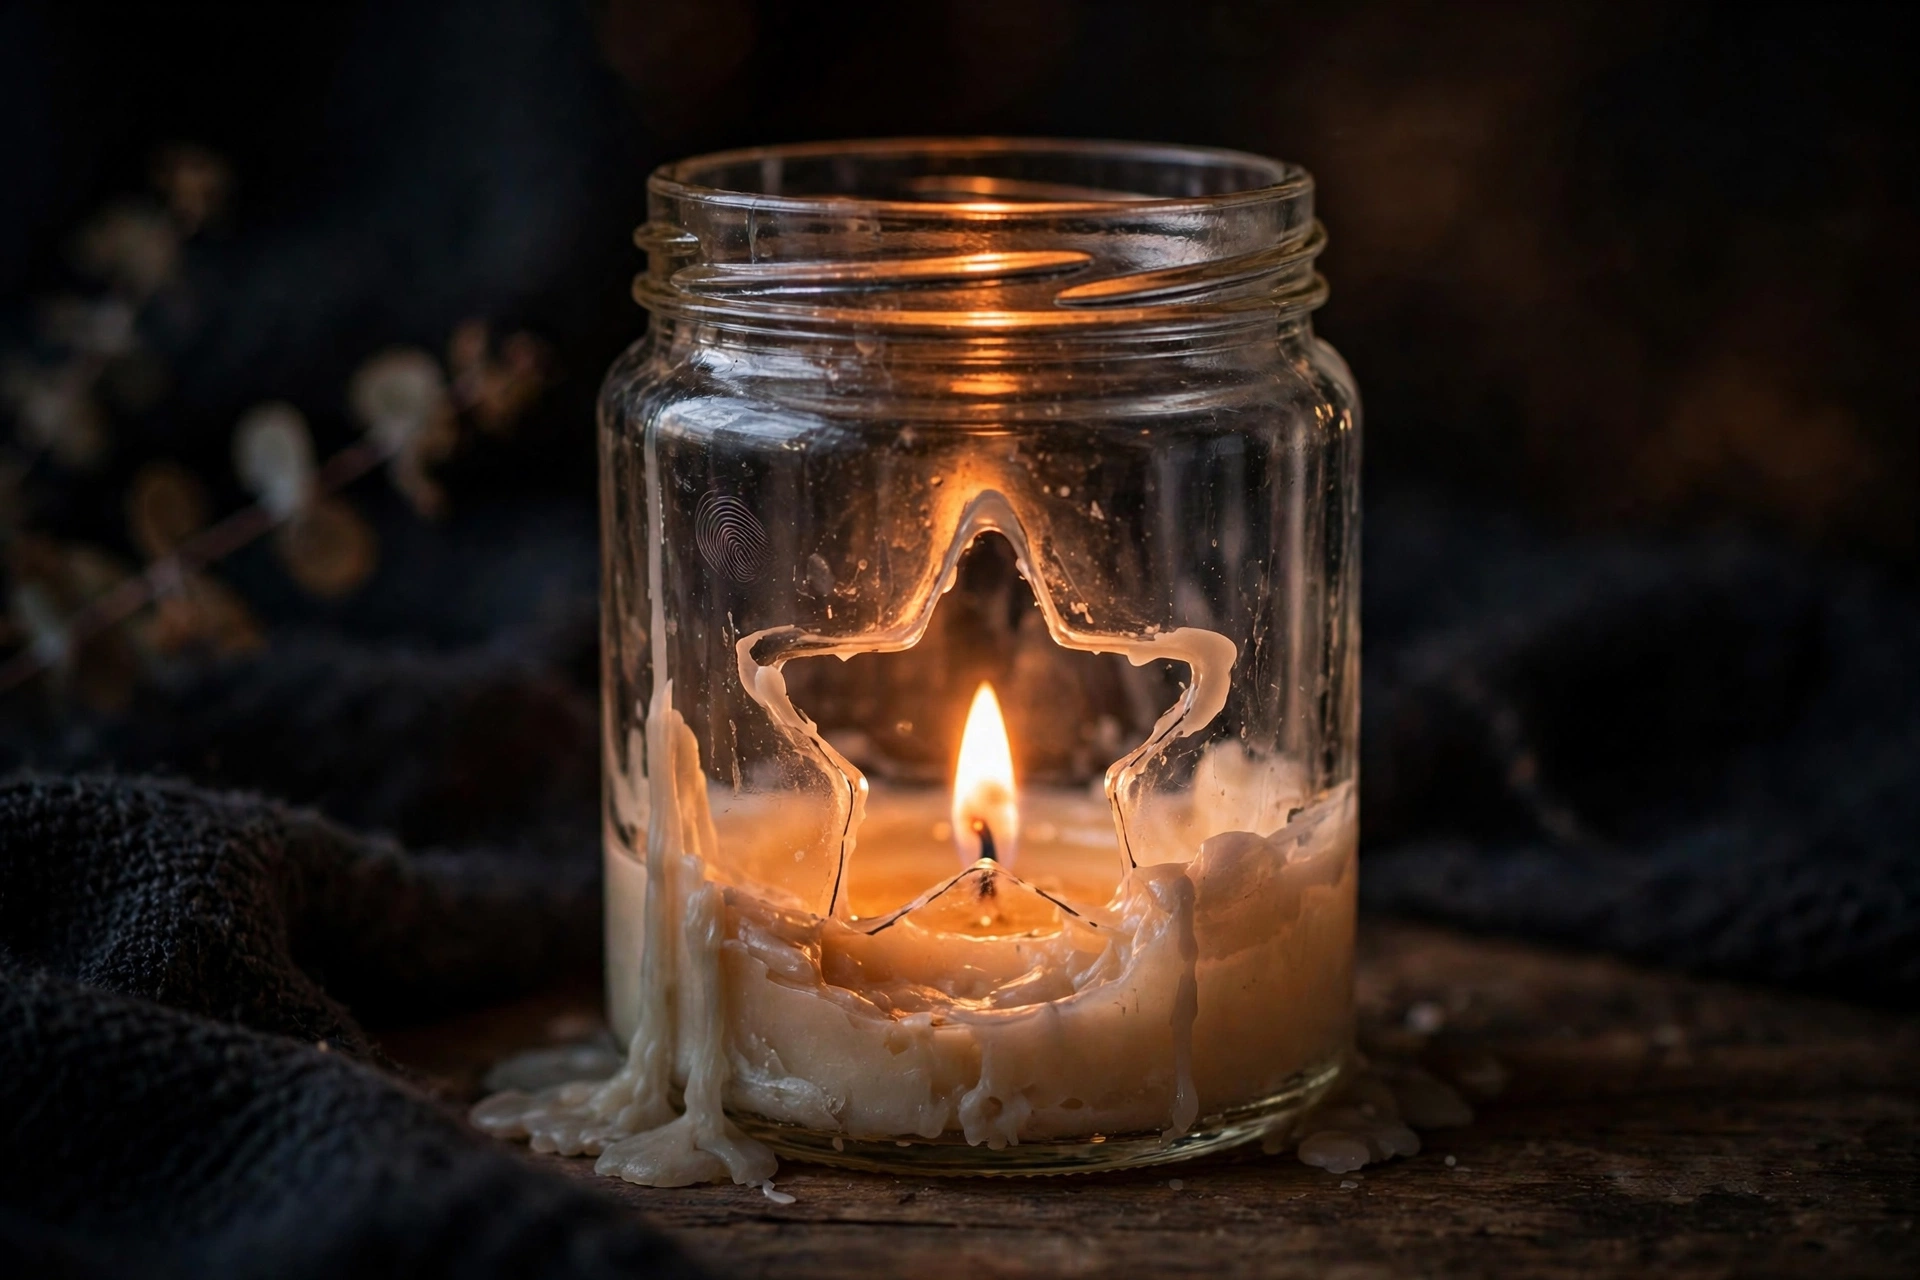
The trick is simple. You stick the message to the inside of a clear glass jar, printed side facing the glass, so it reads correctly from outside. Then you pour the candle as normal. The solid wax is opaque, so the message is completely hidden. As the candle burns and the wax level drops, the glass clears — and the message appears, line by line, as if by magic.
The candle itself is just a standard container candle. Everything special happens before you pour a single drop of wax. That is also what makes this method safe: the message is flat against the glass, fully adhered, and never touches the flame or the melt pool.
What you’ll need
- A clear, straight-sided glass jar (8–12 oz is a good size for a first one)
- Clear waterproof adhesive labels (clear sticker paper or clear laser/inkjet labels) — the message is printed on these
- A printer for the message (laser is best; if you use inkjet, let the print dry fully and test that it will not smear)
- Container candle wax (soy, paraffin, or a blend — any standard container wax works)
- Fragrance oil, if you want a scented candle (follow your wax supplier’s recommended load)
- Wick sized for your jar diameter — check your supplier’s chart, and confirm with a test burn
- A wick holder or clip to center the wick
- A thermometer, a heat-safe pouring jug, and a double boiler or wax melter
- Rubbing alcohol and a lint-free cloth for cleaning the glass
Step 1: Design the message
Keep it short — a jar wall only fits a few lines. “Will you marry me?”, “You’re going to be a dad”, “Happy birthday, bestie”, or a favorite quote all work. Set the text in a clear, bold font at a size you can read from a few feet away (about 16–24 pt for a standard jar). Print a test strip first and hold it against the jar to check the fit.
Orientation matters: the printed side of the label must face the glass, so the text reads correctly from outside. If your label stock prints on the adhesive side, print the text mirrored (reversed) so it reads correctly through the glass. Either way, check it before you commit — hold the label against the outside of the jar and read it from the other side.
Step 2: Apply the message to the inside of the jar
Clean the inside of the jar with rubbing alcohol and let it dry completely — any grease or dust will make the label peel later. Stick the label to the inside wall of the jar, printed side against the glass, positioned so it sits below the finished wax fill line (otherwise it is visible from the start and the surprise is ruined). Press it down firmly from the center outward, smoothing out every air bubble. The label must be fully adhered with no loose edges or corners.
Now check your work: look at the jar from outside. The message should read correctly — and then pour in a little water to the fill line to confirm the message disappears behind the “wax” and reappears as the water level drops. If it reads backwards, reprint it mirrored. If any edge lifts, replace the label.

Step 3: Wick the jar
Center the wick in the jar and secure it with a wick holder or clip. The wick must not touch the label — keep at least a finger’s width between the wick and the message. A centered wick also keeps the burn pool even, so the message reveals cleanly instead of one side melting first.
Step 4: Pour the wax
Melt your wax, add fragrance if you are using it, and pour at your supplier’s recommended temperature. Pour slowly down the side of the jar away from the label — a hard direct pour can lift a label edge. Fill to about half an inch below the rim, making sure the wax fully covers the message. Let it cool at room temperature, away from drafts.

Step 5: Cool, trim, and finish
Once the candle is fully cool and hard, trim the wick to about 1/4 inch. Do a final check from outside: the message should be completely invisible behind the solid wax. If you can see even a ghost of it, the wax layer over the label is too thin — that jar is a test candle now, not the gift. For gift candles, do a full test burn on one candle from the batch first to confirm the reveal works and the wick is sized right.
Step 6: Gift it without spoiling the surprise
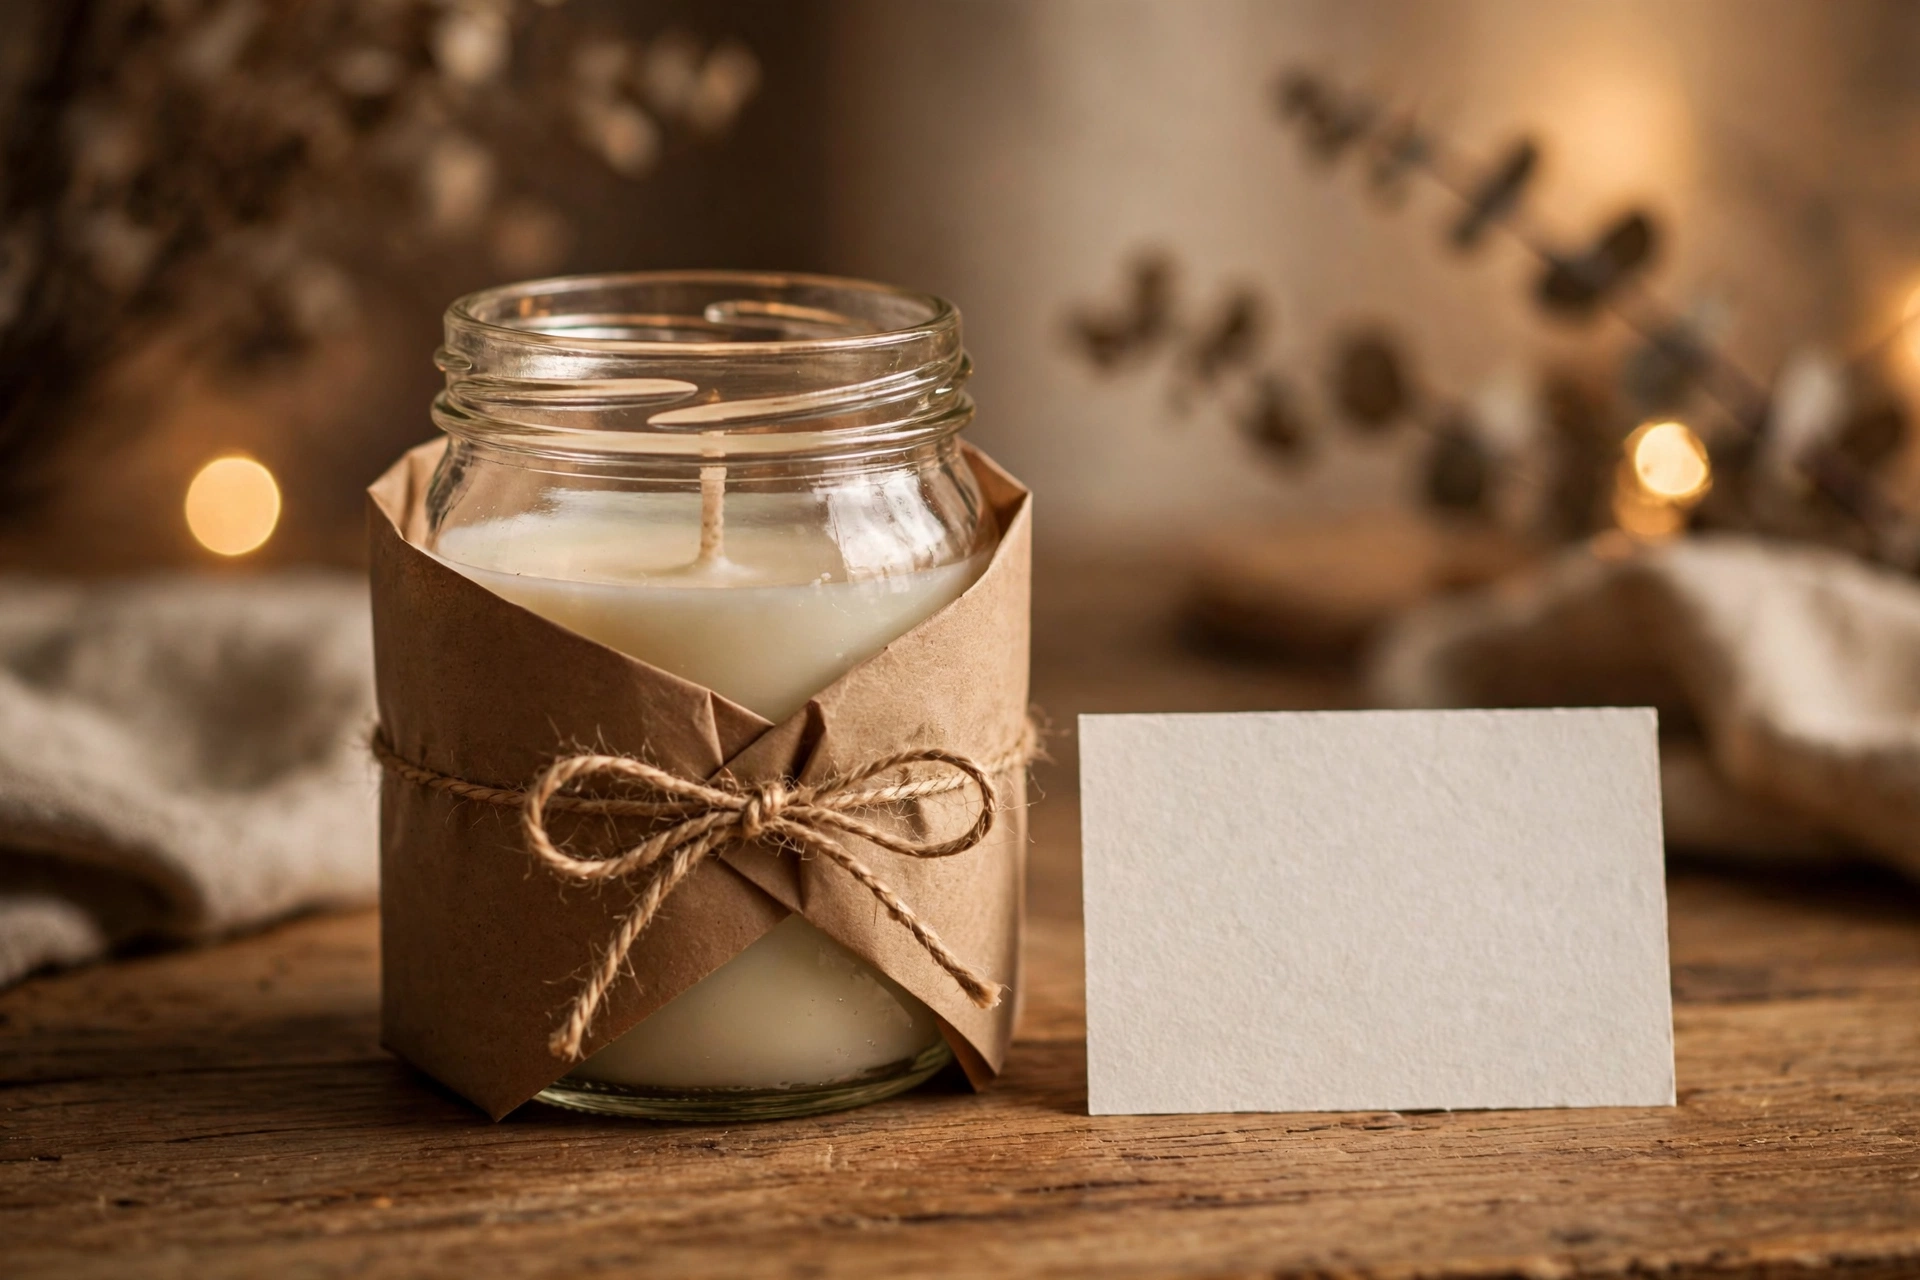
Do not tell the recipient there is a message — just say “burn it all the way down.” A small hint card (“burn me to the bottom”) keeps them from stopping early without giving away the secret. And remind them of the usual candle rules: trim the wick, never leave it burning unattended, and stop when about half an inch of wax remains.
Variation: message disc on the bottom
Want the message to appear at the very end of the burn? Instead of a wall label, place a small metal or ceramic disc engraved or printed with the message flat on the bottom of the jar before wicking. The wax hides it completely until the candle burns nearly to the bottom. The disc must be non-flammable, fully flat, and set where it cannot interfere with the wick. Same rule as the label: nothing loose, nothing flammable, nothing that can float into the melt pool.
⛔ What NOT to do — read this before you make one
Hidden message candles are all over social media, and some of the viral versions are dangerous. Do not do any of these:
- Never embed paper, photos, notes, dried flowers, herbs, or any flammable material in the wax or near the wick. Paper and dried botanicals in a melt pool can catch fire, flare up, and overheat or shatter the container. A “message in the wax” is a fire hazard, not a craft project.
- Never drop a loose note or photo into the candle — even “just for a second” or “it will burn away.” Loose flammable items in a burning candle are one of the most common causes of candle fires.
- Never use a message that can peel off into the wax. If a label edge lifts, the label can drift into the melt pool and burn. Fully adhered or not at all.
- Never use glitter, confetti, or decorative bits in or on the candle. Most are flammable or melt into the wax and interfere with the burn.
- Never sell a hidden message candle you have not test-burned. The reveal, the wick size, and the label adhesion all need a real burn test before anyone else burns one.
If a tutorial shows a paper note tucked into a candle, skip it. The safe version in this guide gives the same surprise with zero fire risk.
What to do when something looks wrong
Message reads backwards: the label orientation is flipped. Reprint mirrored (or flip which side faces the glass) and test against the jar before pouring.
Message visible before burning: the label sits above the wax fill line, or the wax layer over it is too thin. Reposition the label lower and fill the jar fuller.
Label peels or bubbles: the glass was not clean, or the label is not waterproof. Clean with rubbing alcohol, use waterproof clear labels, and press out all air.
Message reveals unevenly: the wick is off-center, or the jar sat in a draft. Center the wick and cool/burn away from drafts.
Wax pulls away from the glass: normal for some waxes as they cool — it is cosmetic and does not affect the reveal, but a relief pour can fix it if it bothers you.
Next steps
New to container candles? Start with our first soy candle guide for the pouring basics, then come back and add the hidden message. And if you are making these to sell, do a full test burn on every design first — see our wick selection and test burn guide for the process.
Get candle-making tips by email
Join the list for new tutorials, tools, and supplier deals — straight to your inbox.
Signed up between Oct 7 and Oct 28 and never heard from us? We fixed a glitch that was dropping signups — please sign up again!



