
Date your batches so you always know when they’re ready — or use our cure date calculator
How to Finish a Candle
The pour gets the glory, but the finish makes the sale. Trimming, cleaning, labeling, and curing — the unglamorous steps between a cooled candle and a professional product.

What you’ll need
- Wick trimmer
- Soft cloth or paper towels
- Rubbing alcohol (for glass cleanup)
- Labels — front label plus a safety label for the bottom
- Heat gun (optional, for smoothing tops)
Steps
1. Trim the wick
Trim every wick to 1/4 inch above the wax. A wick trimmer gives a clean cut and catches the clipping — scissors work but scatter bits everywhere. Trim before every sale and tell customers to trim before every burn.
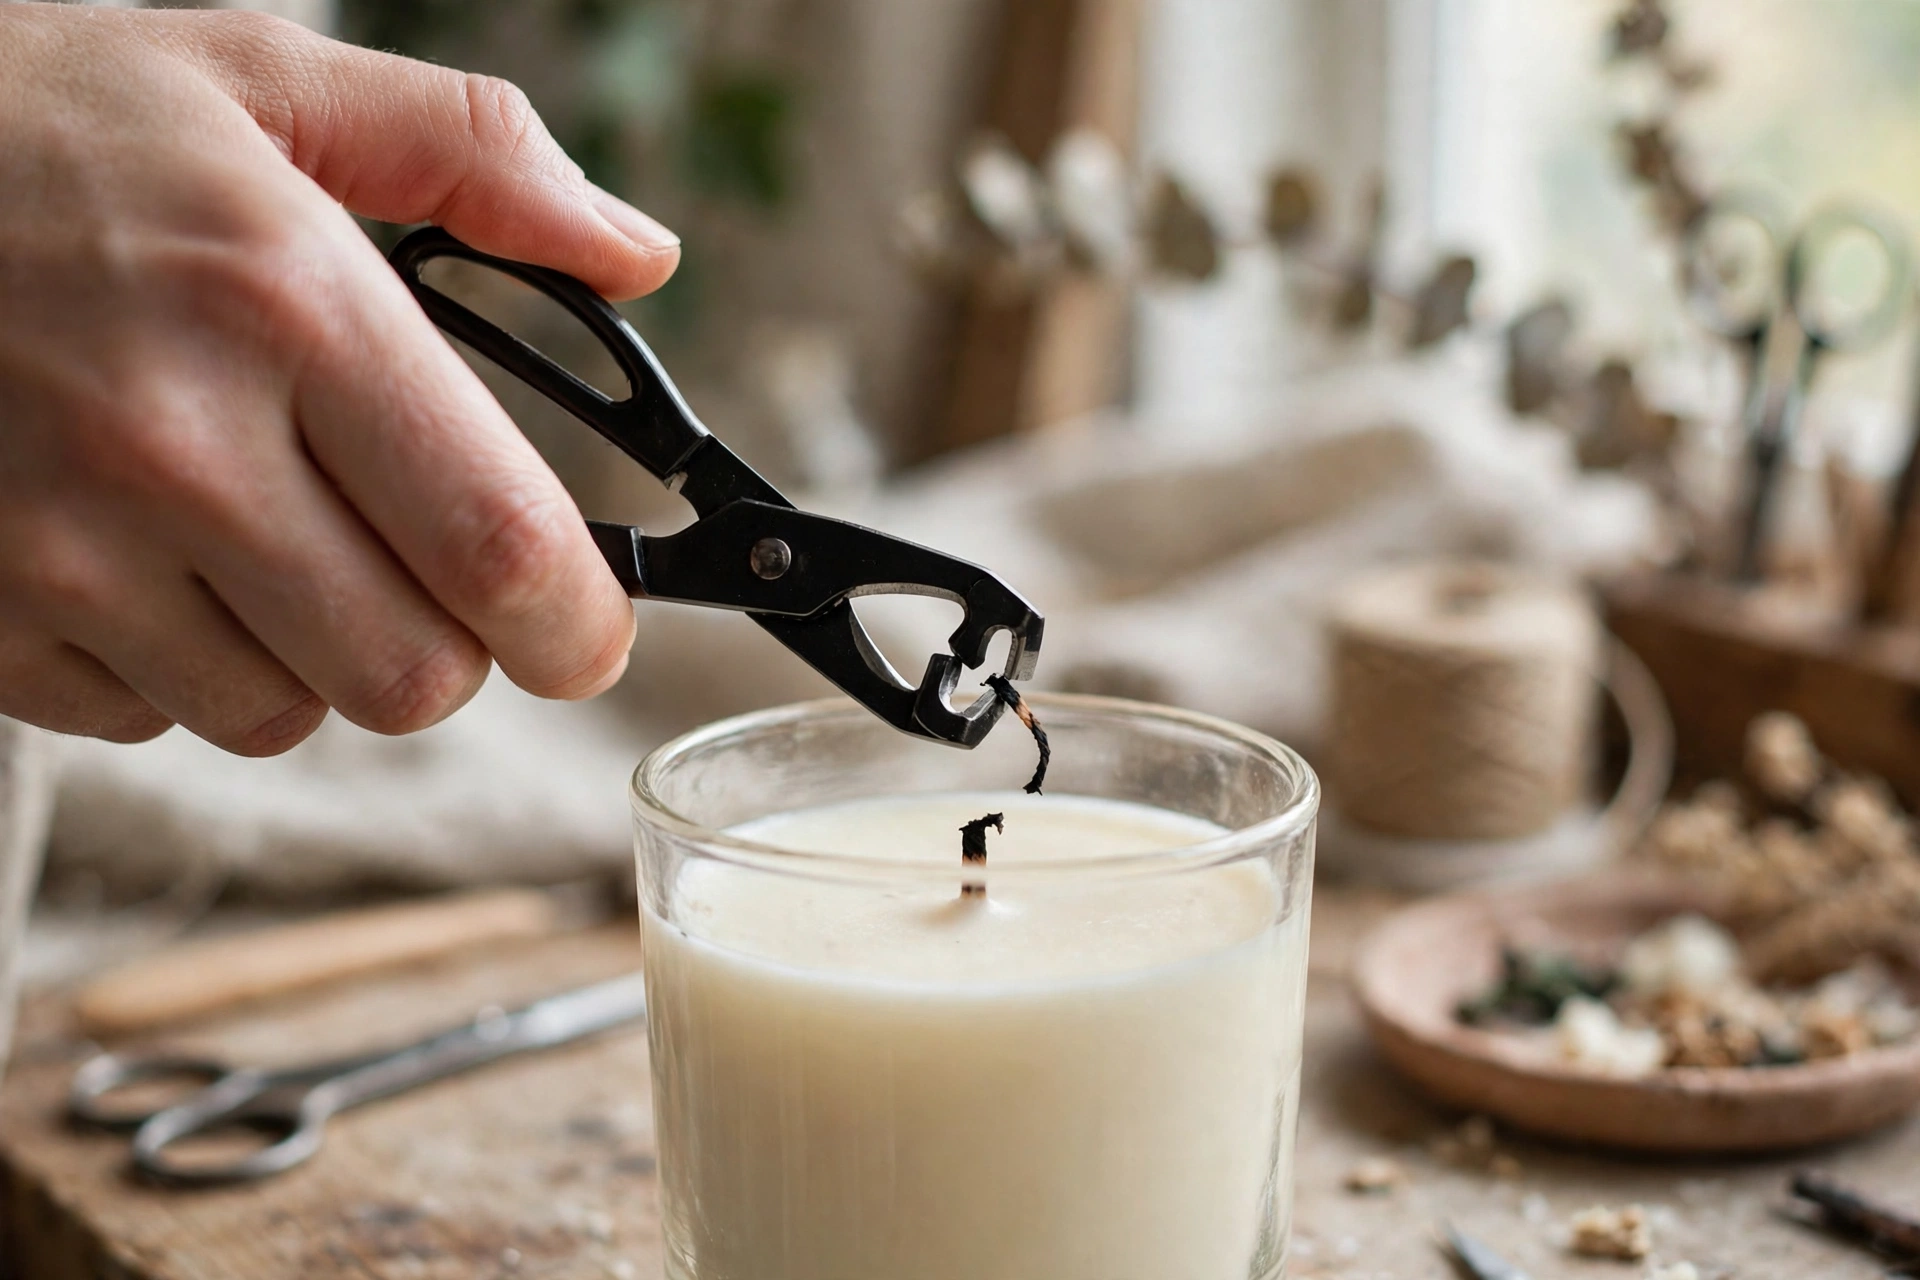
2. Clean the jar
Wipe the outside of the container with a soft cloth. For drips or smudges on glass, a dab of rubbing alcohol on the cloth takes them right off. Check the rim — wax on the rim looks sloppy and interferes with lids.
3. Label it right
Apply your front label straight — use the jar’s seam or a guide as reference. Then add the safety label to the bottom: burn instructions, warnings, and your business name. Required info varies, but warnings are non-negotiable.

4. Cure before selling
Soy candles need 7–14 days of curing before the scent fully develops. Selling (or burning) early means weak throw and disappointed customers. Date your batches so you always know when they’re ready — or use our cure date calculator.
5. Final inspection
Before a candle leaves your hands: wick centered and trimmed? Jar clean? Labels straight and complete? Top smooth? This 30-second check is the difference between “homemade” and “handmade.”
This tutorial contains affiliate links. As an Amazon Associate I earn from qualifying purchases — it helps keep these tutorials free, at no extra cost to you.



