
How to Make a Candle Advent Calendar
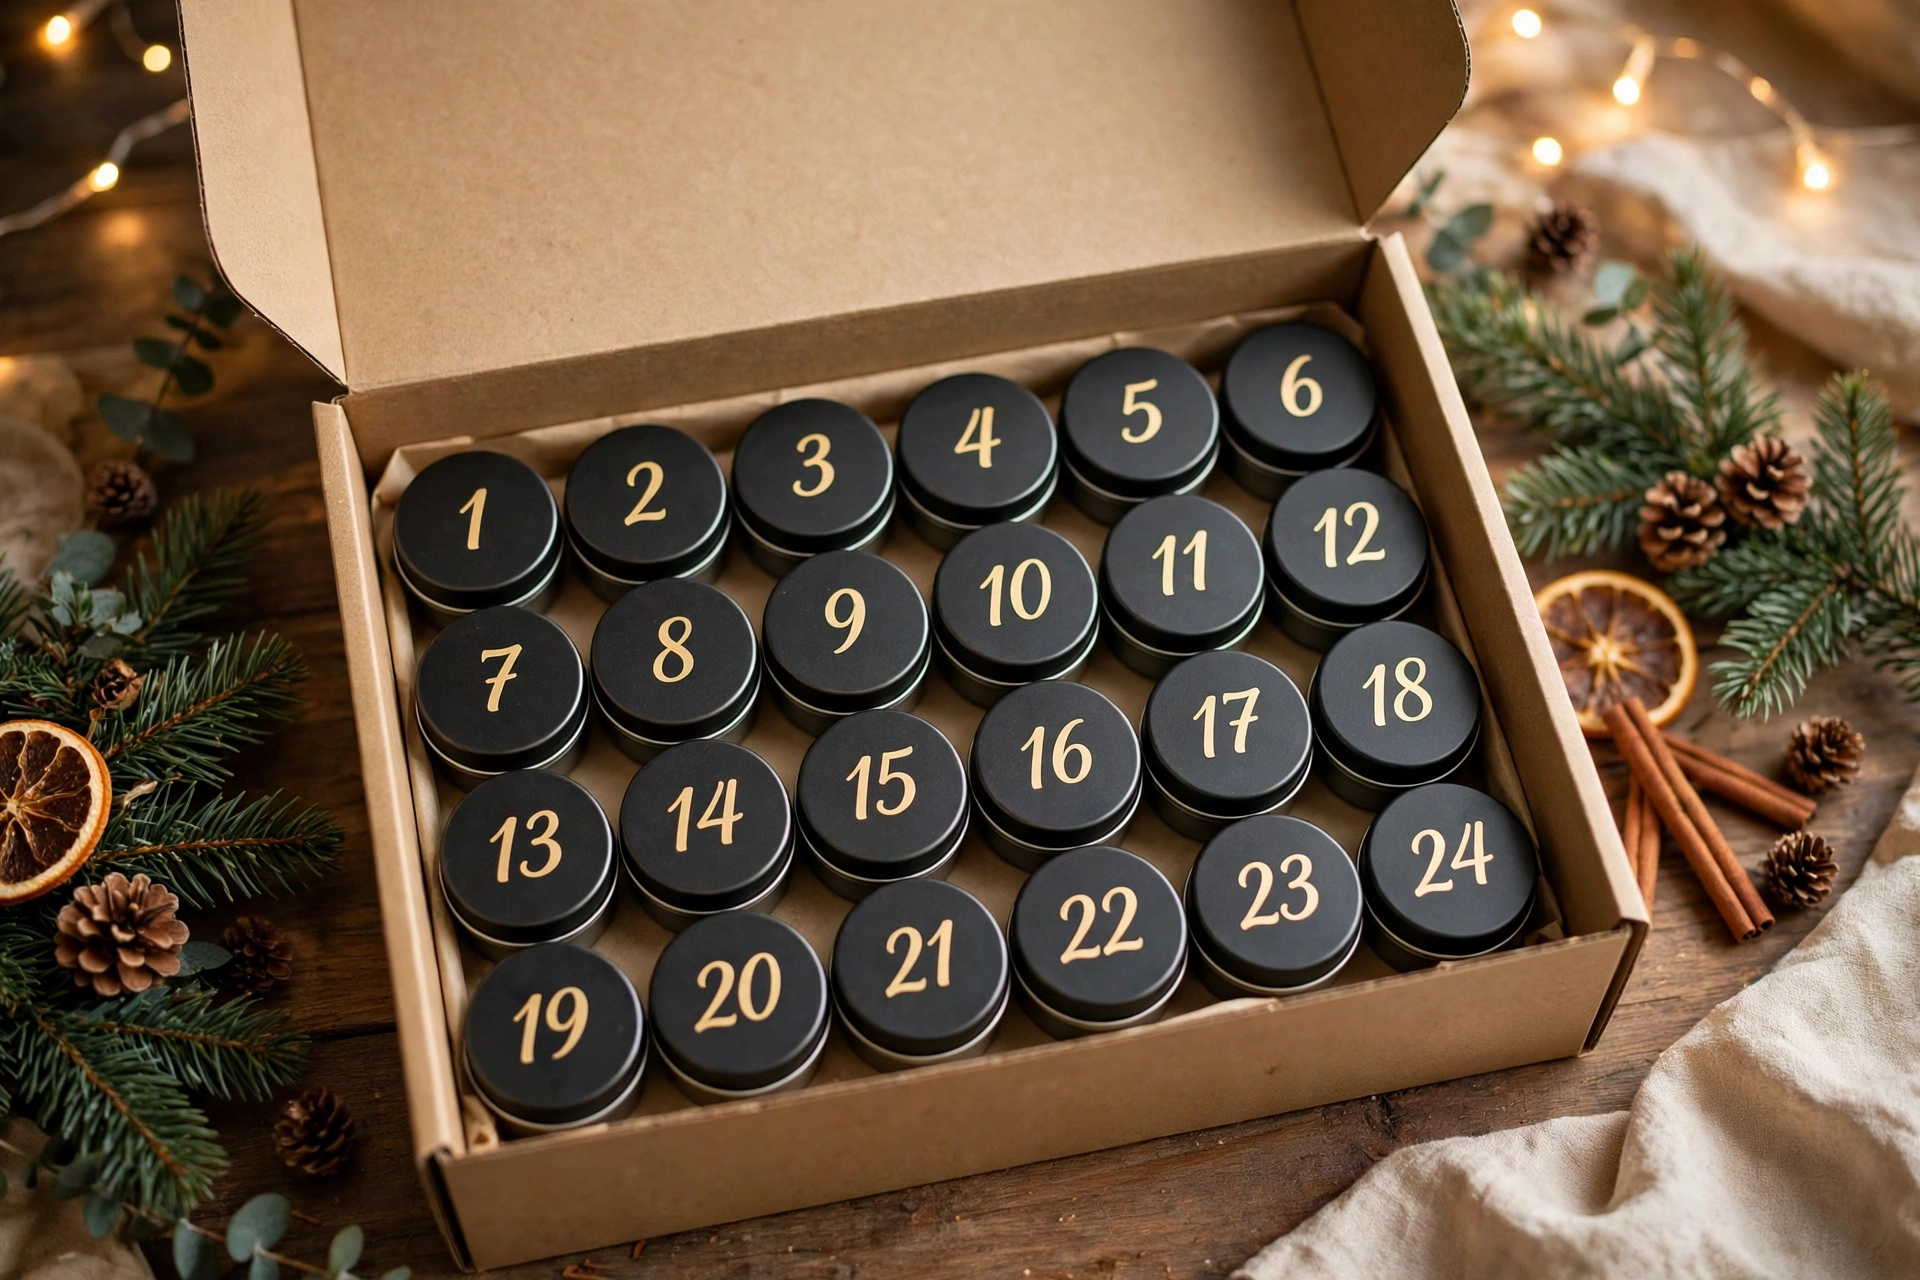
Twenty-four days, twenty-four candles. A candle advent calendar is the holiday gift that keeps opening — one little tin a day, each with its own scent, counting down to Christmas. It looks spectacular, it smells like December, and it’s far easier to make than it looks: you’re just pouring 24 small candles and numbering them.
Plan your 24 days
Before you melt anything, decide on your scent strategy. You have three good options:
One signature scent — simplest. Pick a beloved holiday fragrance (balsam fir, cinnamon vanilla, cranberry woods) and pour all 24 the same. The calendar becomes a month of your favorite candle.
Four scents × six days — the sweet spot. Four seasonal fragrances, six tins each, arranged in repeating order. Enough variety to feel like a countdown, sane enough to pour without losing your mind.
Twenty-four unique scents — the showstopper, and a genuine marathon. Only attempt this if you already own a fragrance library; buying 24 oils for one calendar gets expensive fast.
What you’ll need
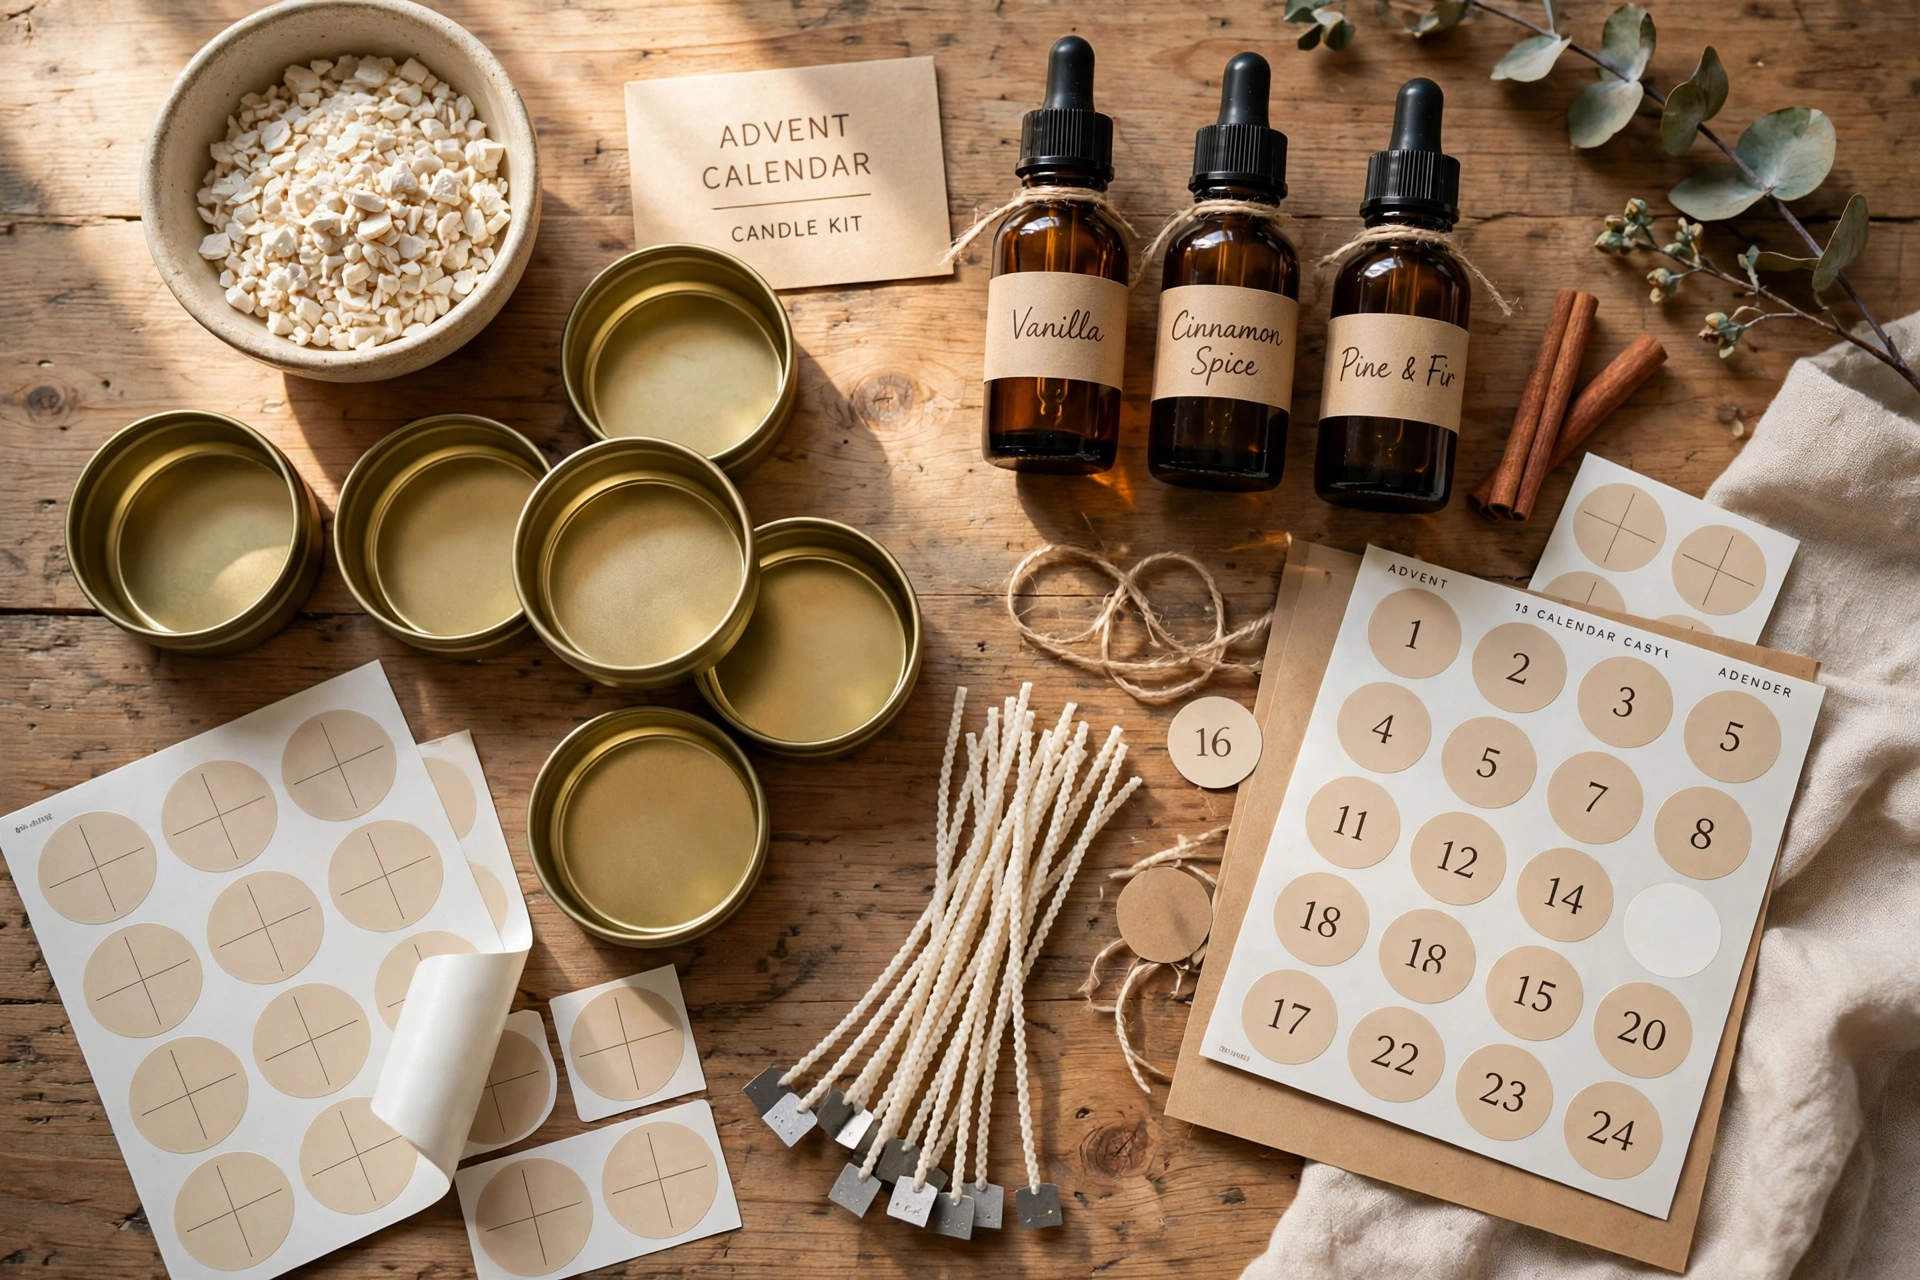
- 24 × 2 oz candle tins with lids (the classic shallow travel tin — about an 8–10 hour burn each, perfect for an evening)
- Soy wax or a soy-paraffin blend — roughly 3 lbs total for 24 tins
- Fragrance oils — one to four holiday scents, at your wax’s recommended load (usually 8–10%)
- Wicks sized for 2 oz tins — check your supplier’s chart for the diameter (test-burn one tin before pouring all 24)
- Wick stickers and wick holders or clothespins
- A large pour pitcher (you’ll melt in batches) and a thermometer
- Number labels 1–24 — printable sticker sheets, a number stamp with ink pad, or small kraft tags with twine
- A shallow gift box, wooden tray, or crate the tins fit in — measure first, buy the box to fit 24 tins, not the other way around
- Tissue paper or paper shred for nesting the tins
Steps: building your advent calendar
1. Test-burn one tin first
Pour a single tin with your chosen wax, wick, and fragrance, let it cure, and burn it all the way across. A wick that’s perfect in a 2 oz tin is often smaller than you’d guess — and discovering your wick is wrong after pouring 24 tins is the kind of heartbreak you only need once. Adjust the wick size now if the melt pool doesn’t reach the edges within two hours.
2. Wick all 24 tins assembly-line
Stick a wick sticker in the exact center of every tin, press the wick down firmly, and set a wick holder across each one to keep it centered and upright. Do all 24 before you melt anything — once wax is hot, you want pouring to be the only job. Line the wicked tins up in rows of six on a protected surface; you’ll pour them in batches.
3. Melt, scent, and pour in batches
Melt enough wax for 6–8 tins at a time (about 12–16 oz of wax per batch). Add fragrance at the right temperature for your wax, stir gently but thoroughly for a full two minutes, and pour each tin to just below the rim — leave the lids room to close. Work steadily down the row, then start the next batch. If you’re doing multiple scents, finish all tins of one scent before melting the next: clean the pitcher between fragrances so yesterday’s pine doesn’t haunt today’s vanilla.

4. Fix, cure, and wait
As the tins cool, check for sinkholes around the wicks — small tins are prone to them. A quick pass with a heat gun melts the tops smooth. Then the hard part: waiting. Let the full batch cure for up to two weeks (soy) so the fragrance binds properly and every single day of December smells its best. Store the curing tins somewhere cool, dark, and out of the way — with lids on.
5. Number the tins 1–24
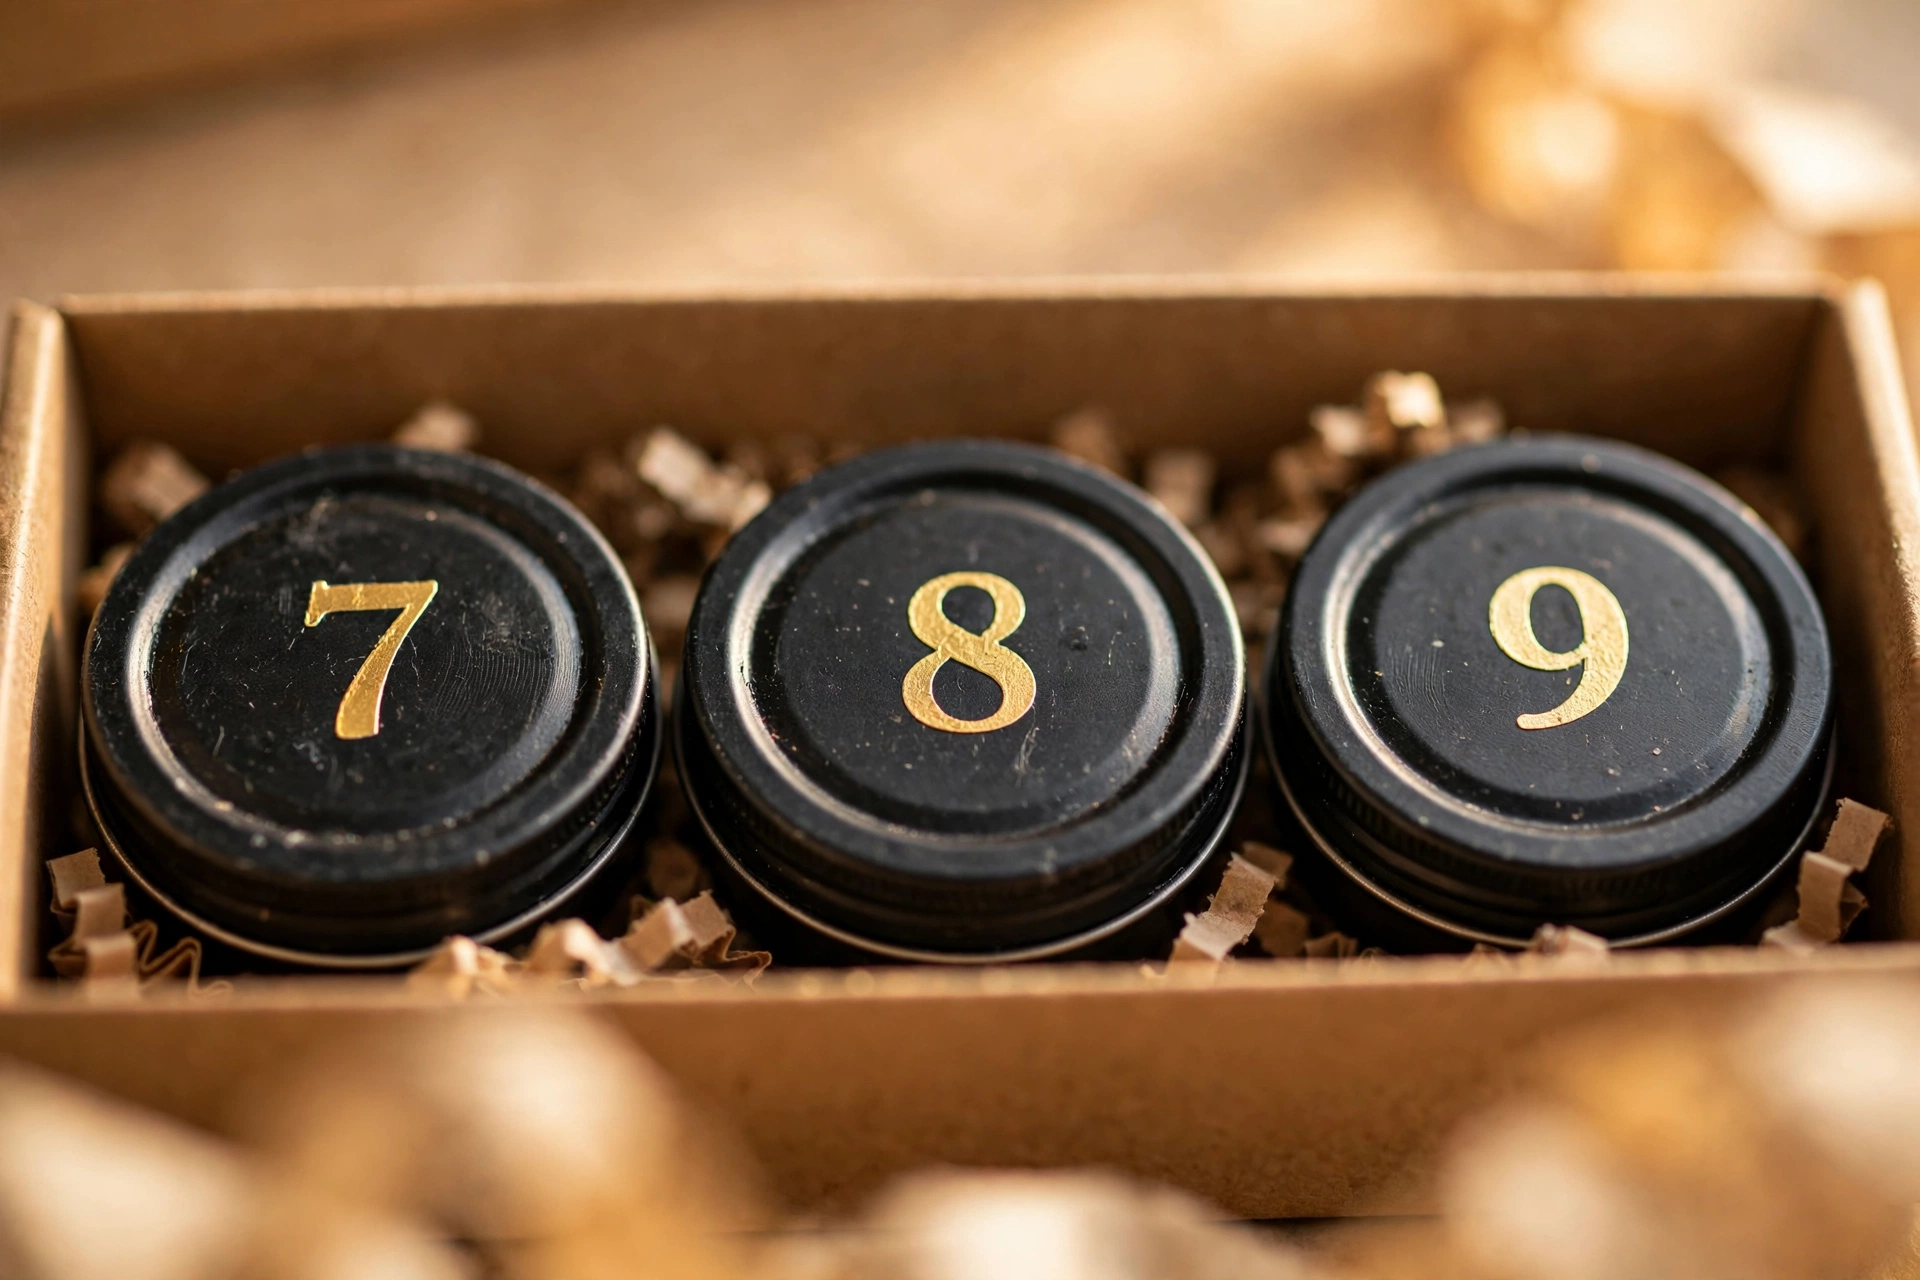
This is where it becomes an advent calendar. Stick or stamp the numbers 1 through 24 on the lids — or tie a numbered kraft tag around each tin with twine for a rustic look. Arrange the numbers in order in your box so the countdown reads naturally left to right, row by row.
6. Assemble and wrap the calendar
Nest tissue or paper shred in your box, set the 24 numbered tins in snugly so they don’t rattle, and close it up. Tie the whole box with ribbon, add a gift tag that says when to start (December 1st!), and you’re done. One box, twenty-four mornings of lighting a new candle.
Selling advent calendars
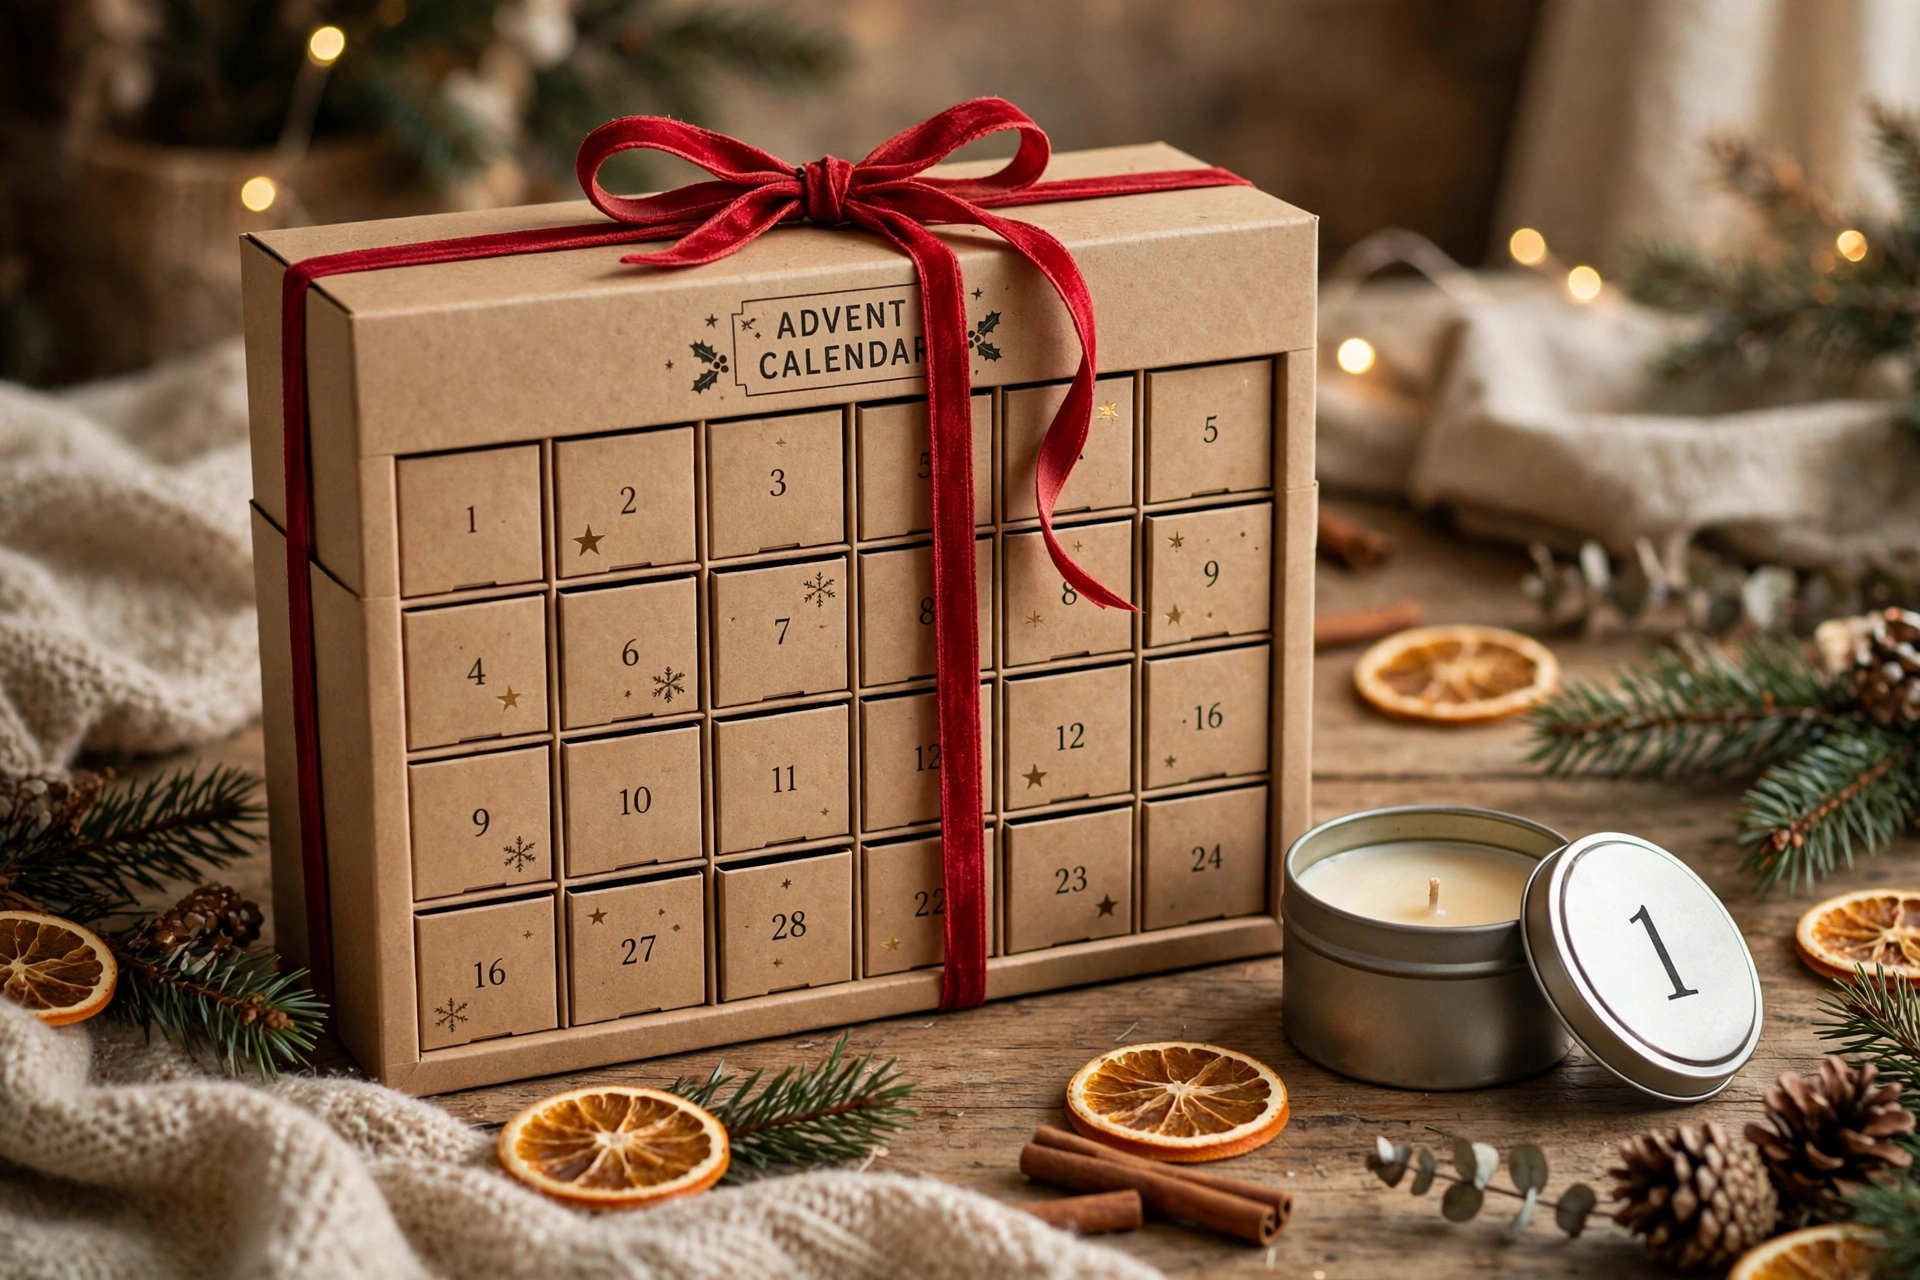
Advent calendars are premium holiday products — price them like it. Twenty-four hand-poured candles plus the box, numbering, and assembly is real labor: most makers land between $60 and $120 depending on tin size and packaging. Take pre-orders in October with a firm cutoff (you need the cure time), require payment up front, and cap the number you’ll make — 24 tins per calendar means even ten orders is 240 candles. Be honest in your listing about the scent lineup so buyers know what they’re counting down with.
What to do when something looks wrong
Sinkholes in the tins? Very common in small tins. A heat gun pass after cooling melts the tops flat — or do a relief pour (poke, second small pour) if you don’t have one.
Weak scent in some tins? Either under-cured (give it the full two weeks) or the fragrance wasn’t stirred long enough in that batch. Stir every batch a full two minutes.
Wicks mushrooming or smoking? The wick is too large for the tin — go one size down and re-test before the big pour.
Tins sweating or frosting? Usually temperature swings during cooling. Cool the batch somewhere with a steady room temperature, away from windows and drafts.
For the full problem index with fixes, see our candle troubleshooting guide.
Next steps
New to small-container pouring? Our first soy candle tutorial covers the fundamentals. And if you’re selling these, the wholesale vs. private label tutorial will help you think about holiday production like a business.
Discuss this tutorial in the group — share your scent lineups and show off your finished calendars.
Get candle-making tips by email
Join the list for new tutorials, tools, and supplier deals — straight to your inbox.
Signed up between Oct 7 and Oct 28 and never heard from us? We fixed a glitch that was dropping signups — please sign up again!



