
Reusable Beeswax Food Wraps
Replace plastic wrap with cotton, beeswax, and heat. These reusable wraps seal with the warmth of your hands, wipe clean with cool water, and last for months — a kitchen staple that costs pennies to make and keeps single-use plastic out of the trash.
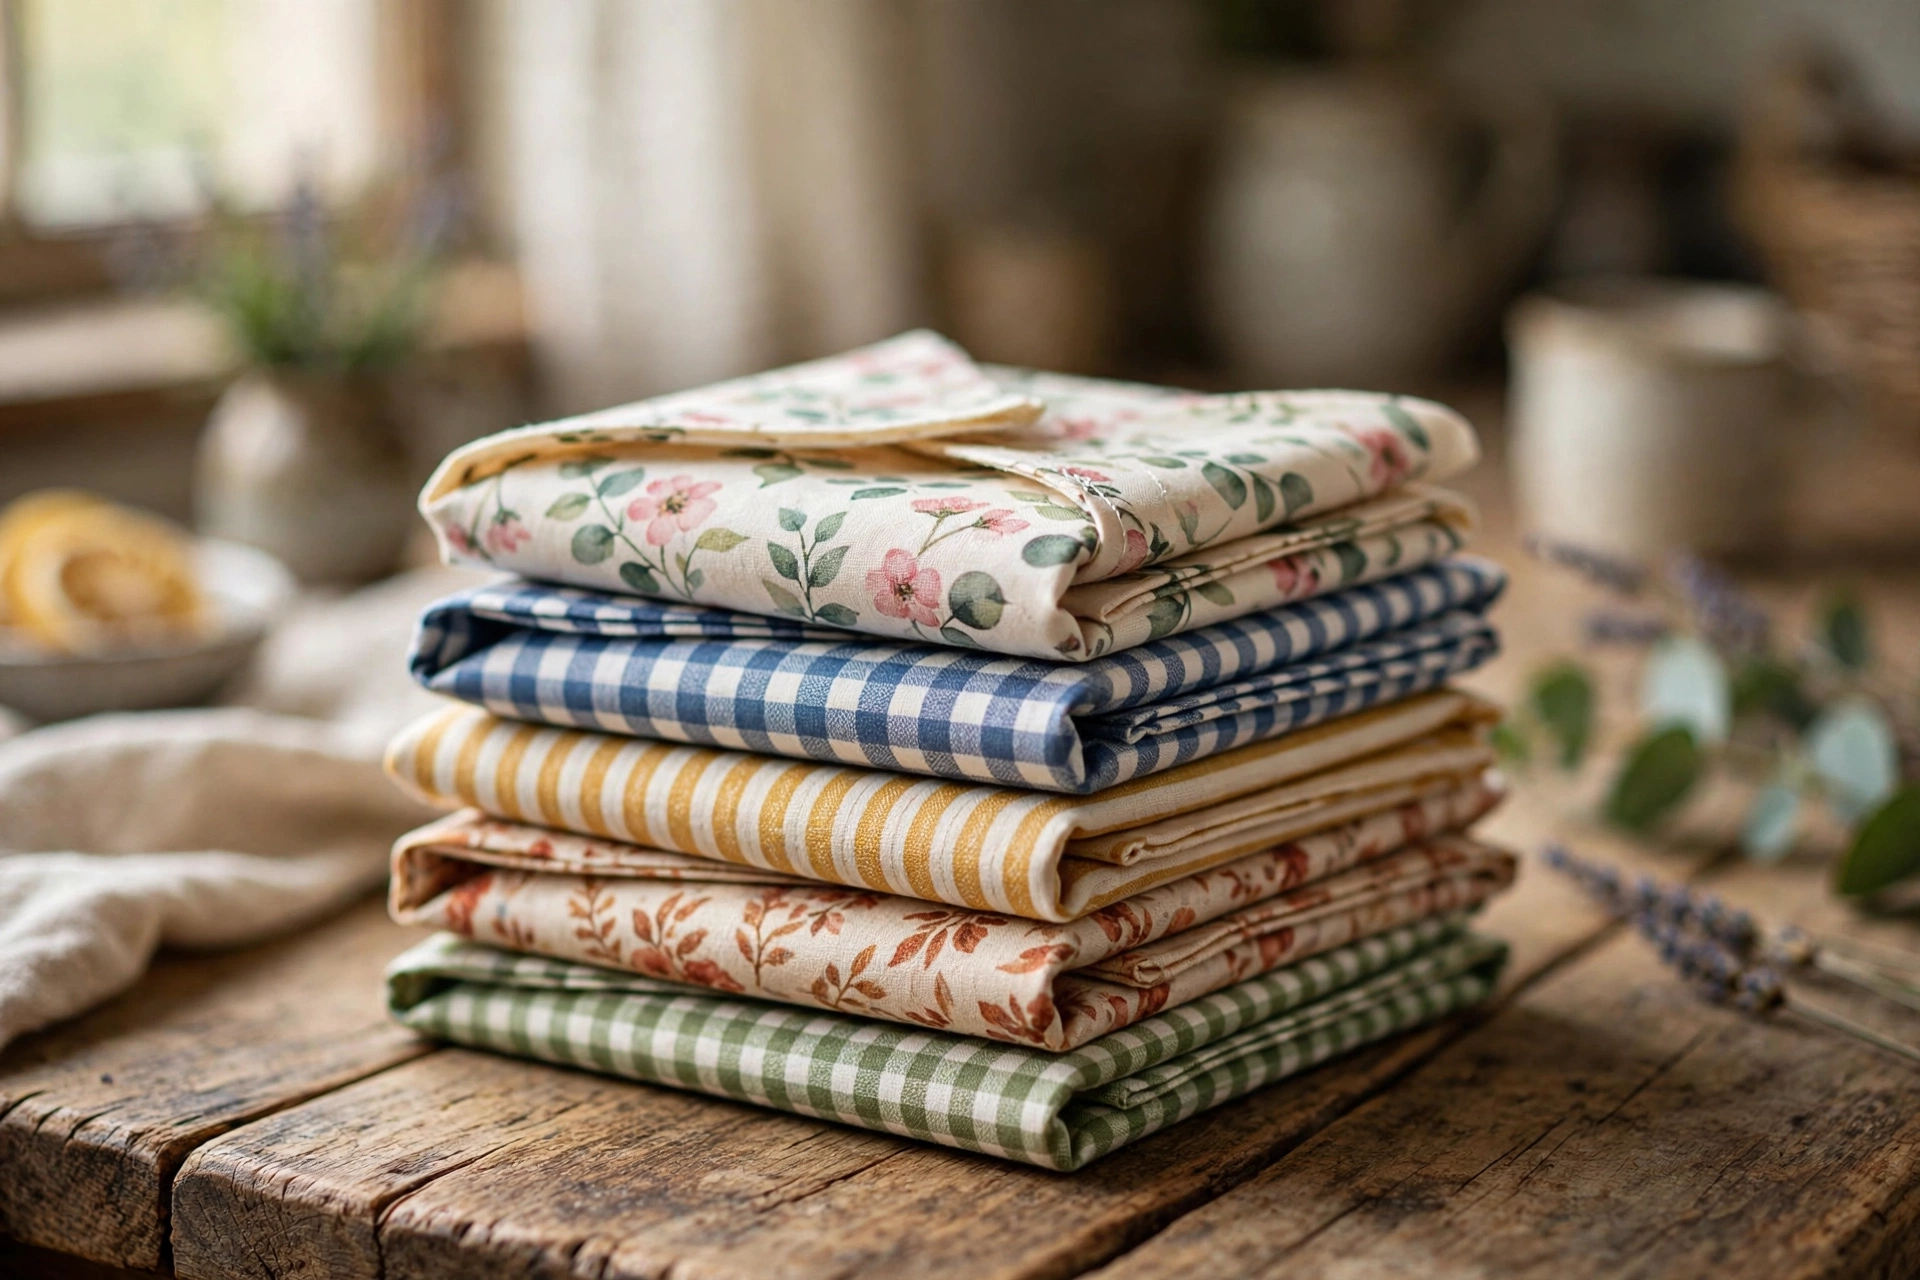
What are beeswax wraps?
A beeswax wrap is a piece of cotton fabric coated in a thin layer of wax. At room temperature it’s firm but pliable; press it with your warm hands and the wax softens just enough to cling to a bowl rim, fold around half an avocado, or seal over a sandwich. When you let go, it holds its shape. They’re breathable, washable, and reusable for months — the natural alternative to plastic cling wrap for everything from covering leftovers to packing a lunch.
Two methods, same result
You can melt the wax into the fabric with an oven or an iron. Both work well, so pick whichever suits your kitchen.
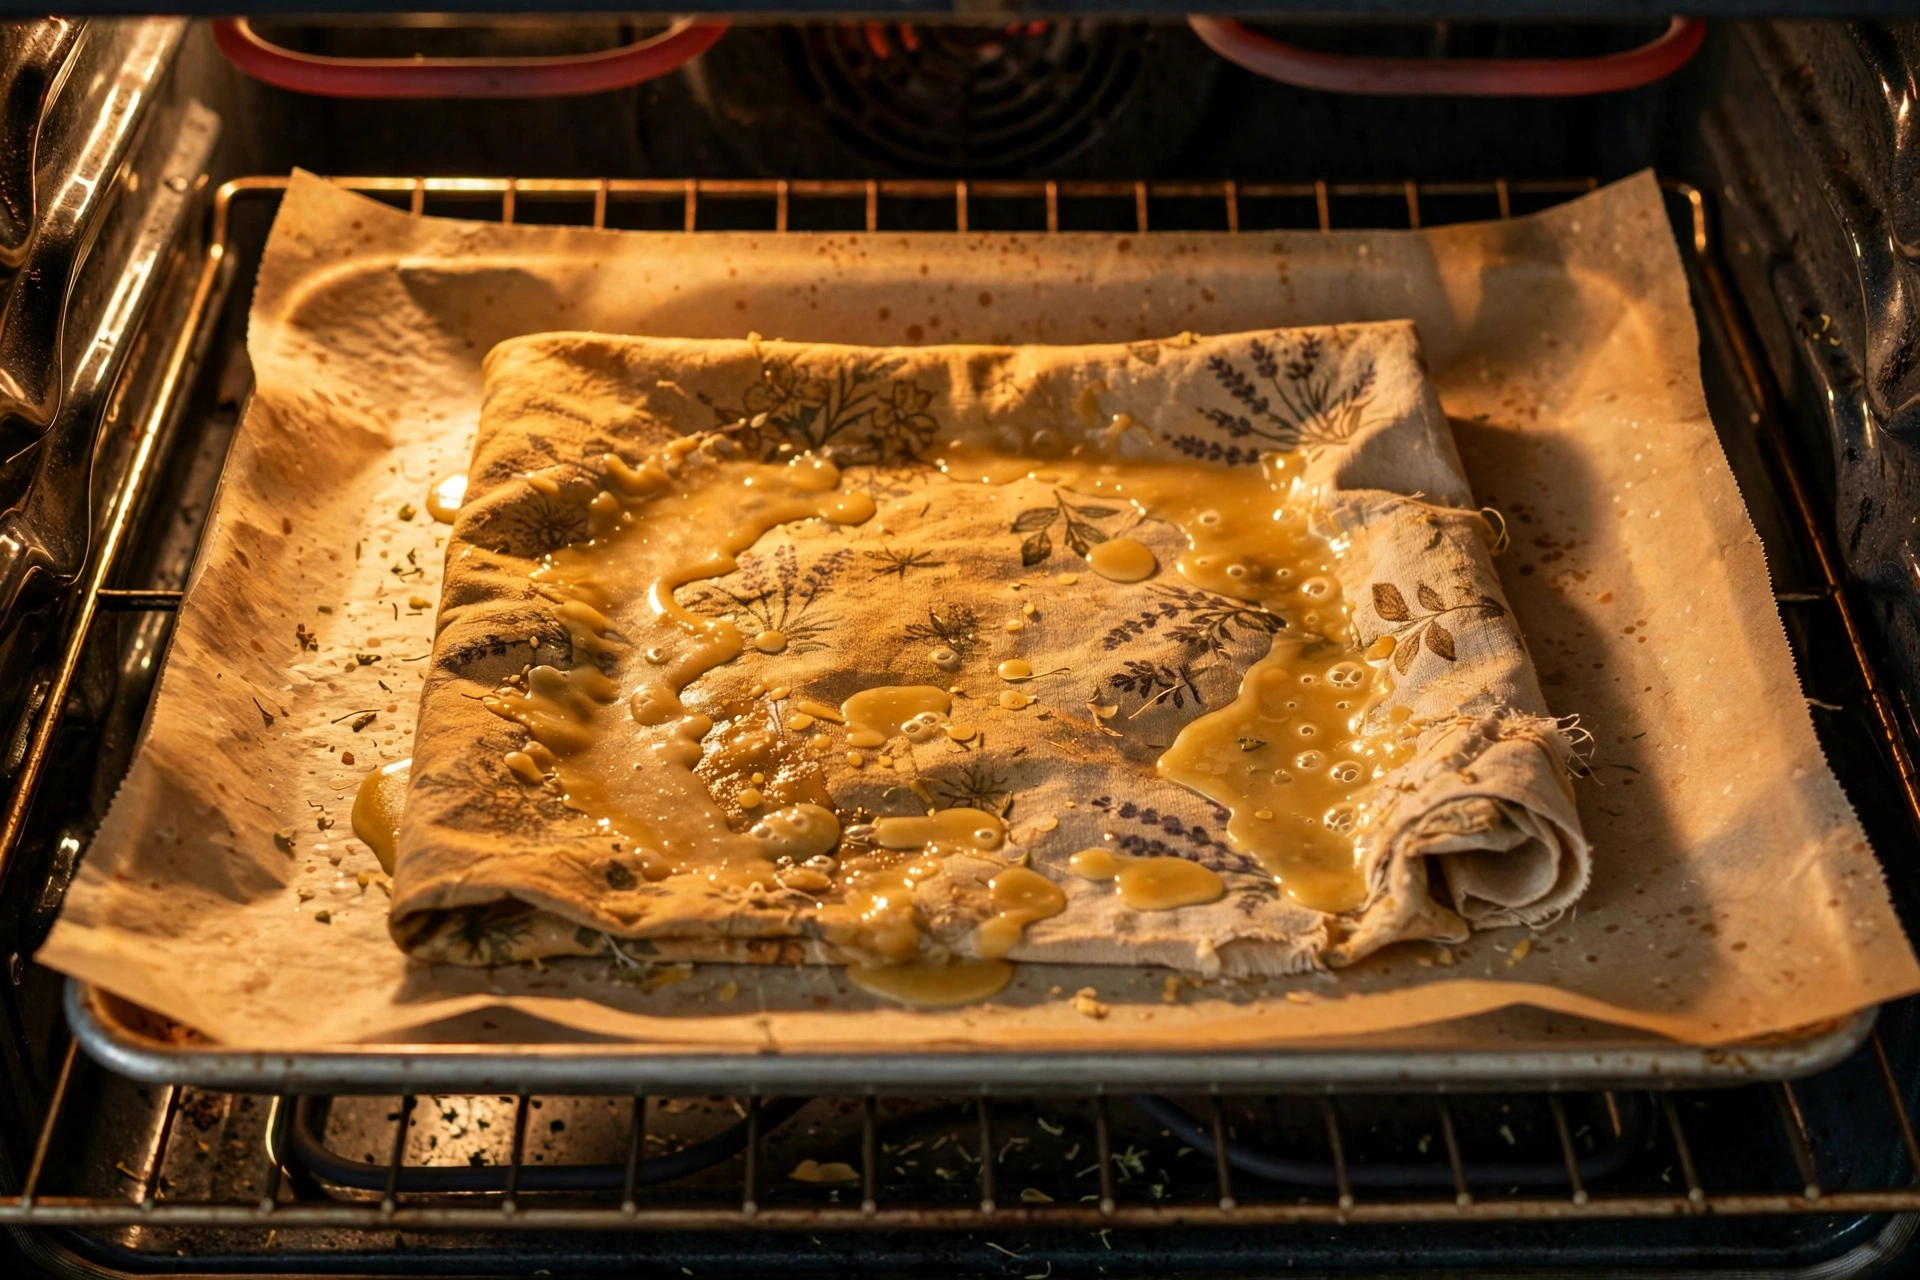
Oven method. Lay the fabric on a parchment-lined baking sheet, sprinkle grated wax evenly over it, and slide it into a low oven (around 200°F). In a few minutes the wax melts; pull the sheet out and spread the liquid wax with a brush to even out any bare spots, then hang the wrap to cool.
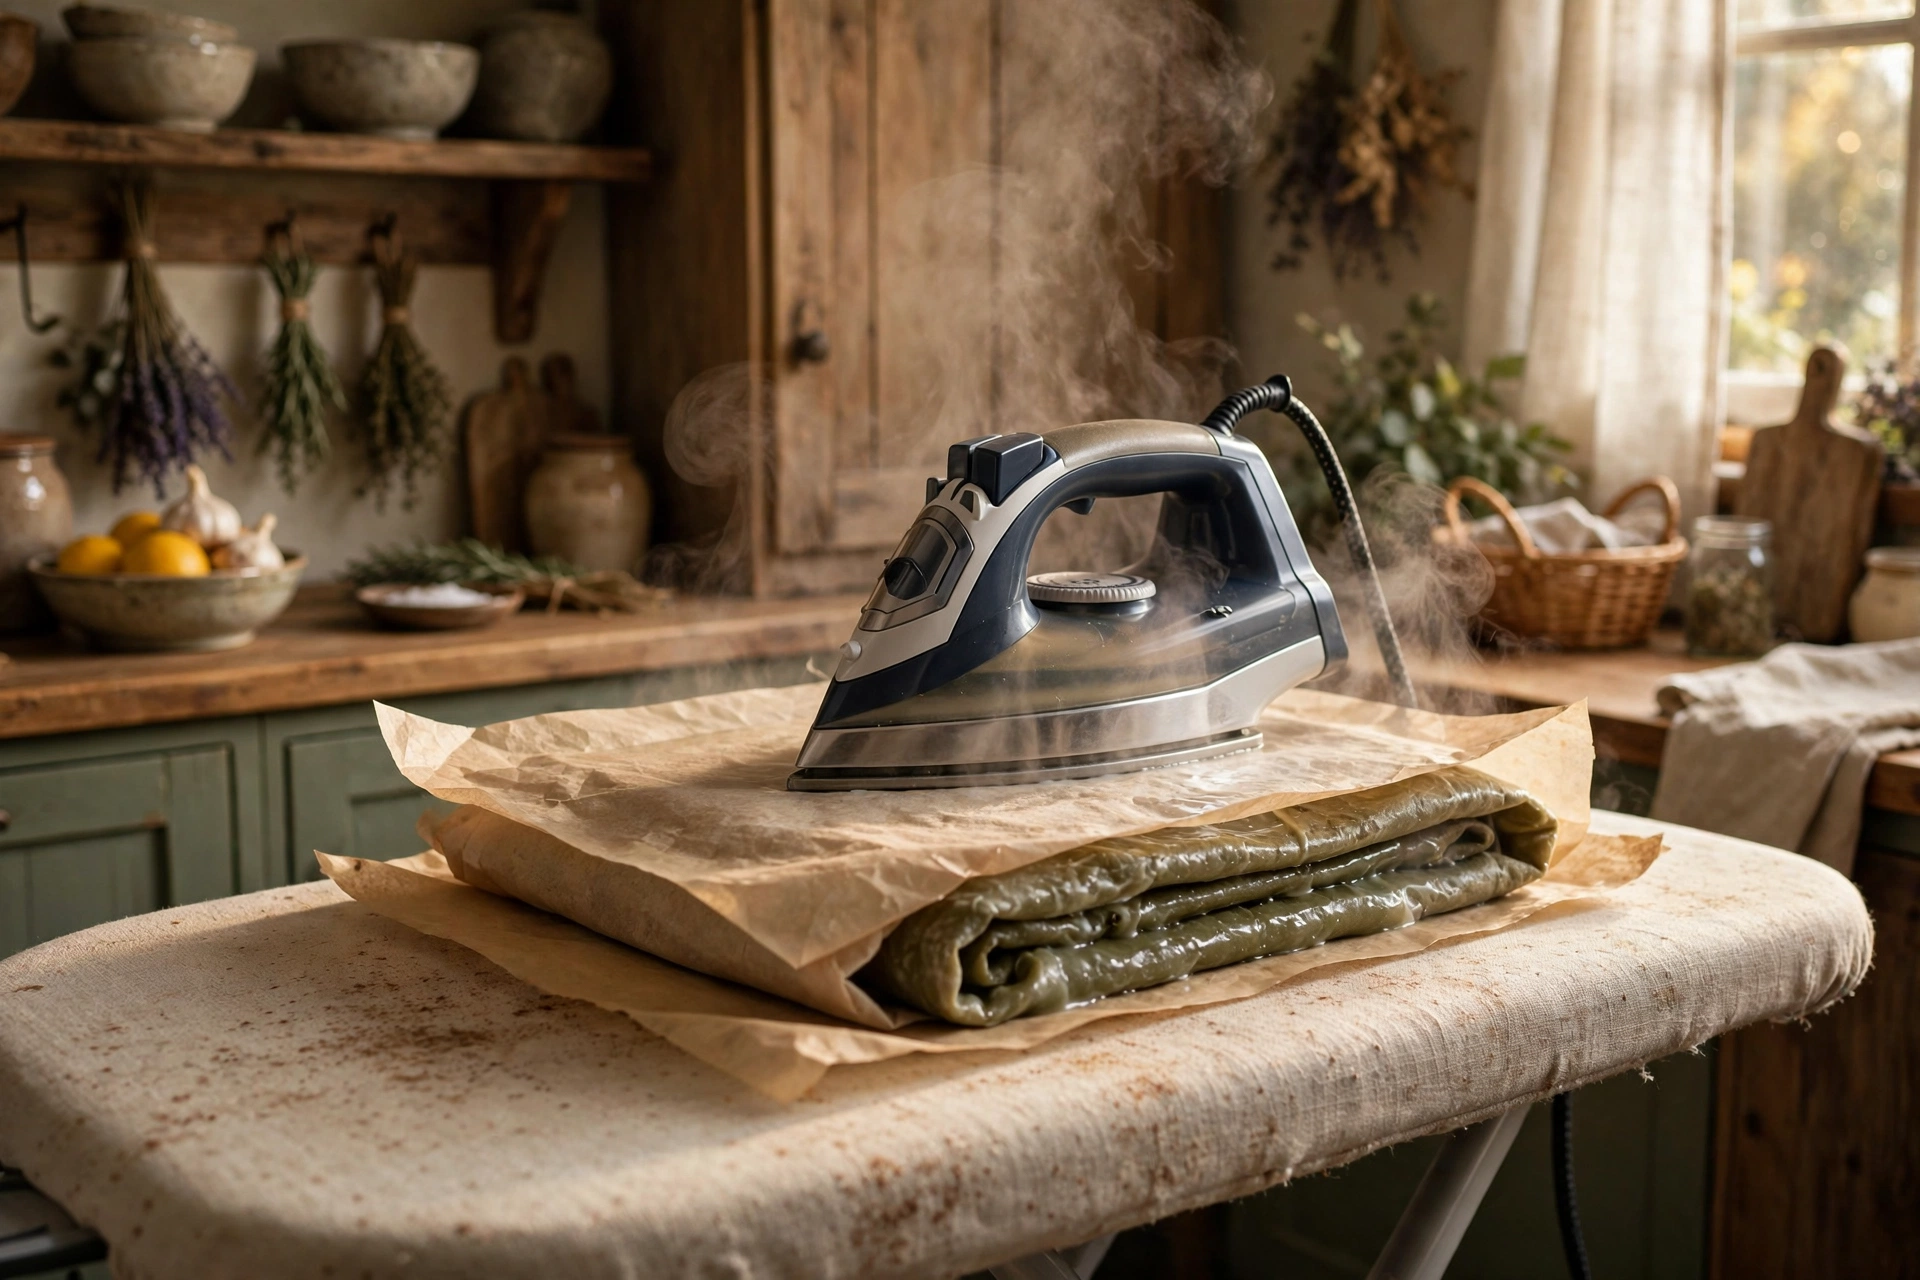
Iron method. Sprinkle grated wax over the fabric, then sandwich it between two sheets of parchment paper on an ironing board. Run a warm iron slowly over the top sheet — the heat melts the wax through the parchment and presses it into the fabric in one pass. Lift the parchment, check for dry spots, and re-press if needed.
What you’ll need
- 100% cotton fabric with a tight weave, prewashed and dried — quilting cotton is perfect
- Beeswax pellets or grated beeswax
- Optional: a small amount of pine resin for extra tack and a little jojoba oil for flexibility — use small amounts and follow your supplier’s guidance
- Parchment paper and a baking sheet
- Pinking shears
- A brush you dedicate to wax work (if using the oven method)
- Clothespins or a line for cooling
Steps
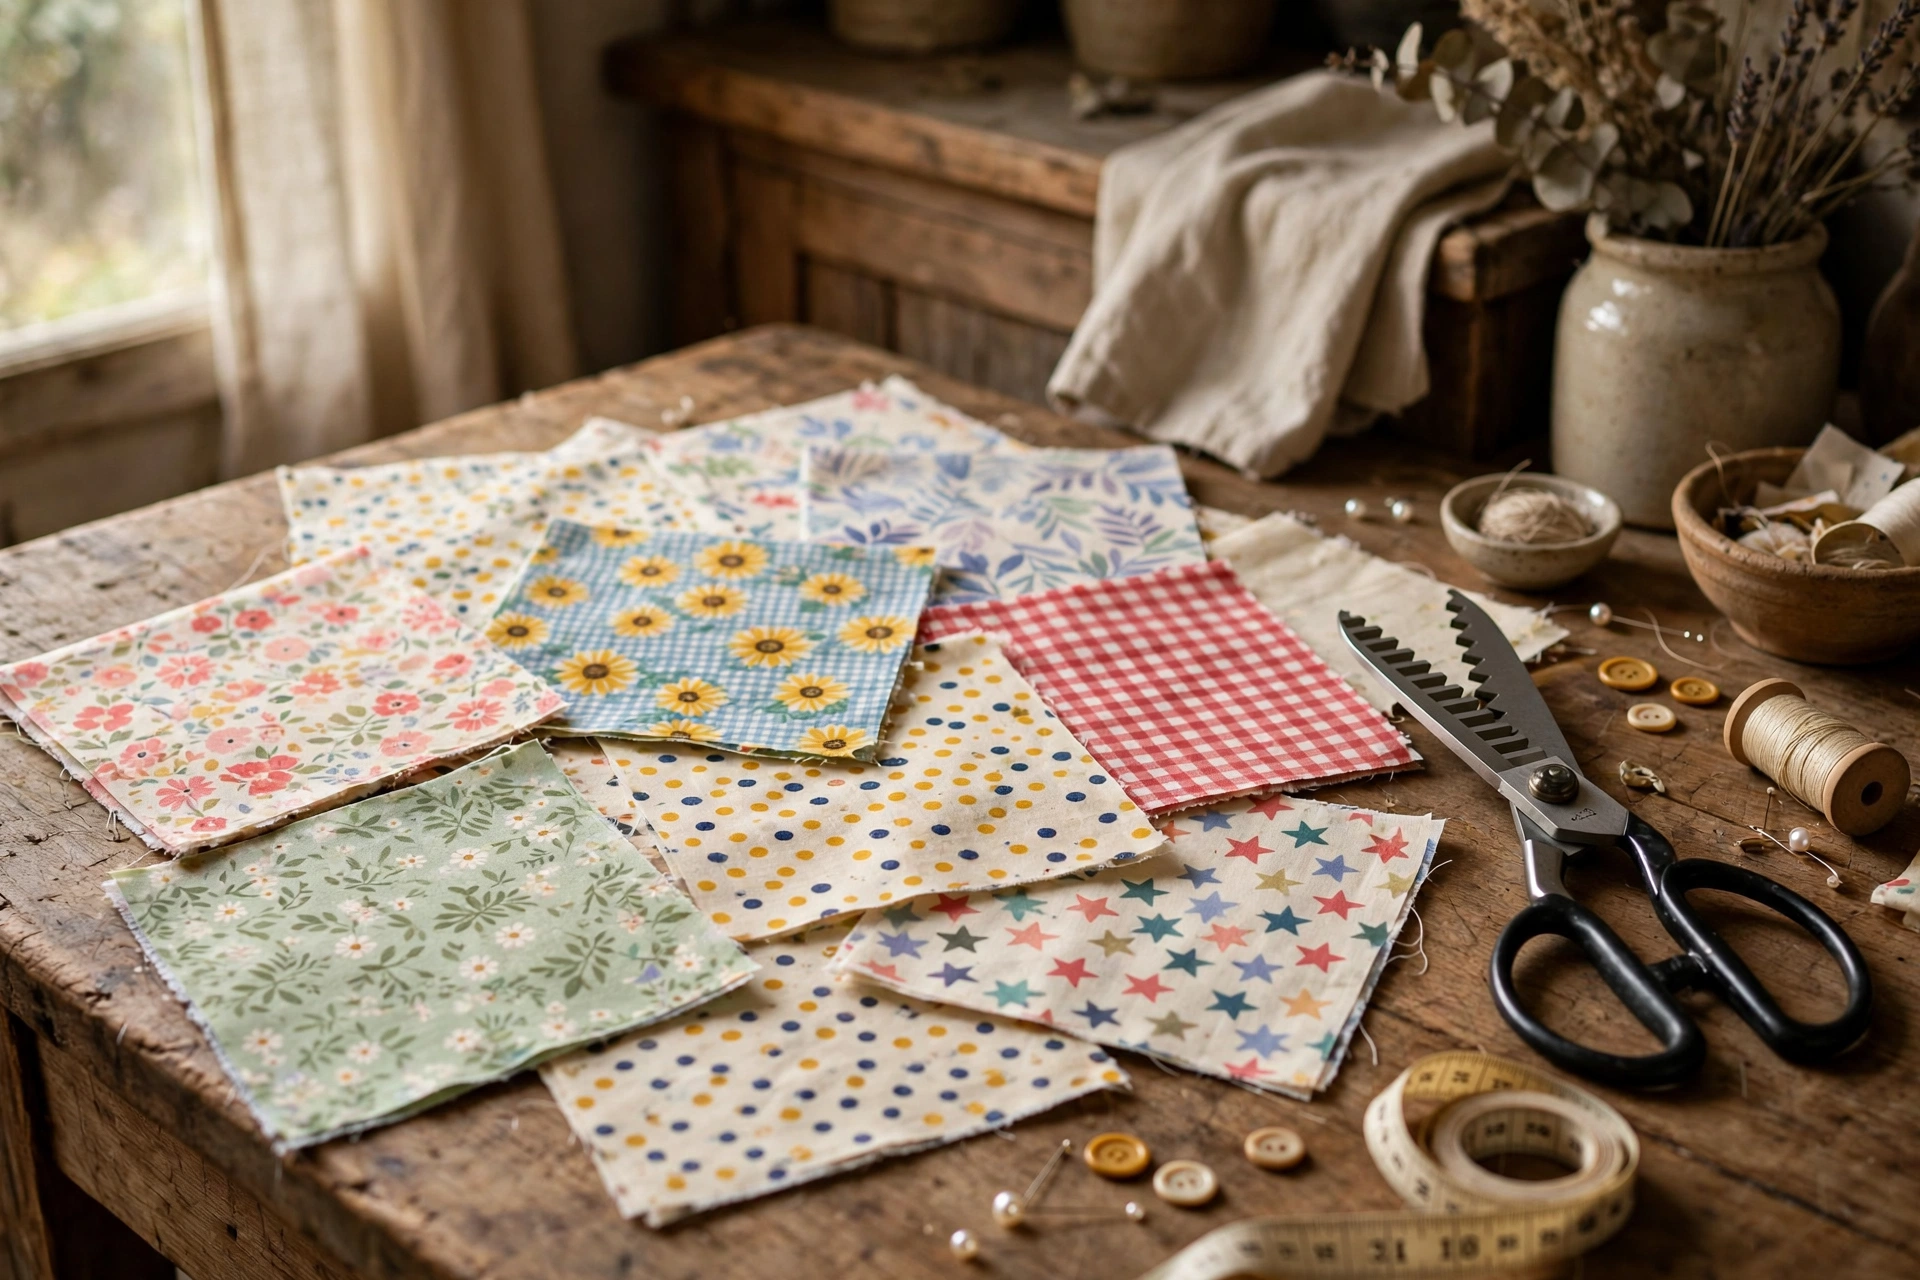
1. Cut the fabric to size
Cut a variety of sizes so you have a wrap for every job: small (about 7 inches square) for half lemons and jars, medium (about 10 inches) for cheese and sandwiches, and large (about 13 inches) for bowls and casseroles. There’s no rule — cut what you’ll actually use.
2. Trim the edges with pinking shears
Run pinking shears along every edge. The zigzag cut dramatically reduces fraying through months of washing, and it looks finished without any sewing. Take your time here — clean edges make the whole project look professional.
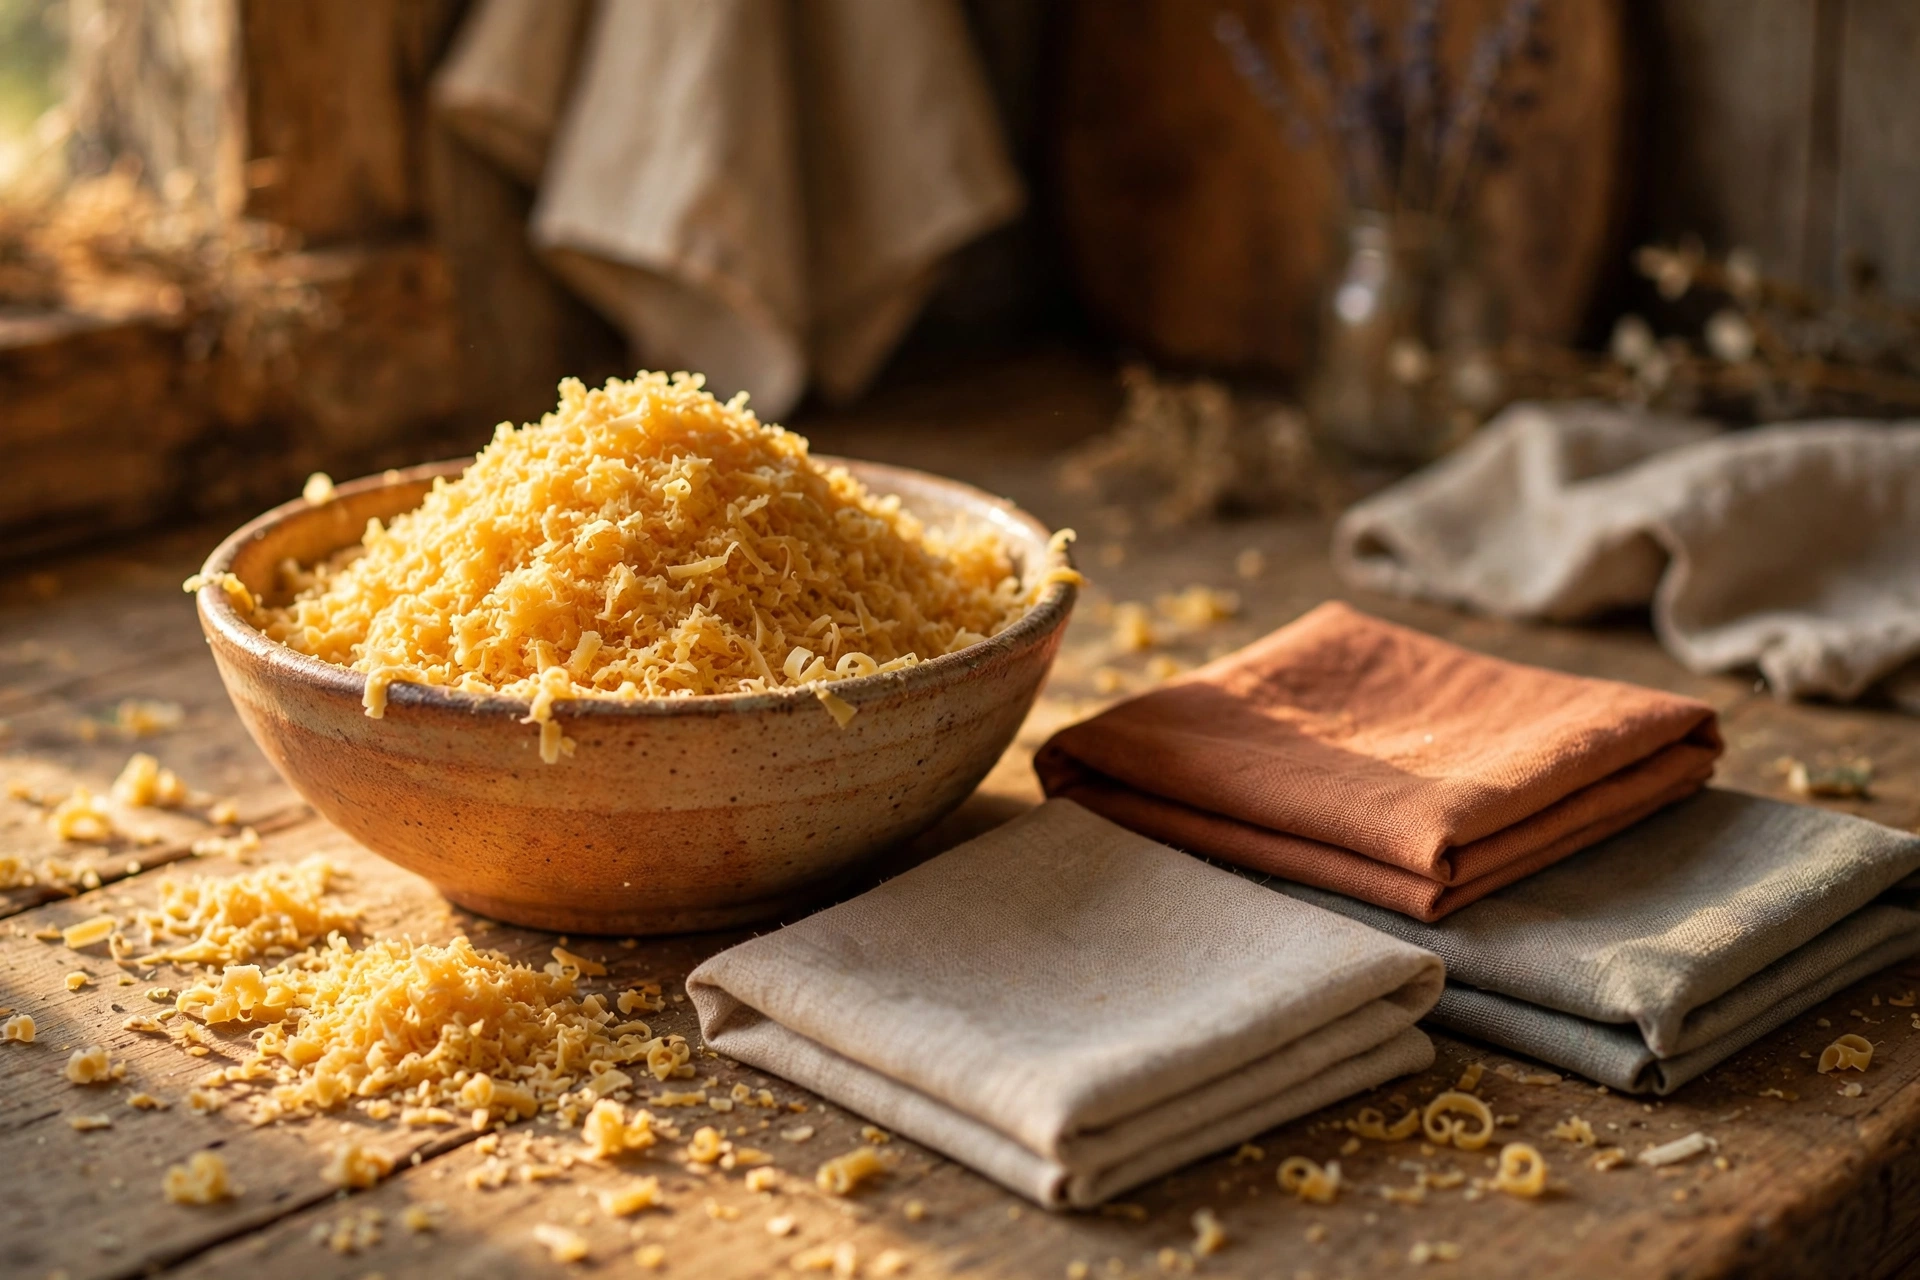
3. Sprinkle on the wax
Grate or sprinkle the beeswax evenly over the fabric. If you’re adding pine resin for tack or jojoba oil for flexibility, add them in small amounts now, distributed across the surface. Err on the side of less — you can always add more wax on a second pass, but excess wax is hard to remove.
4. Melt the wax into the fabric
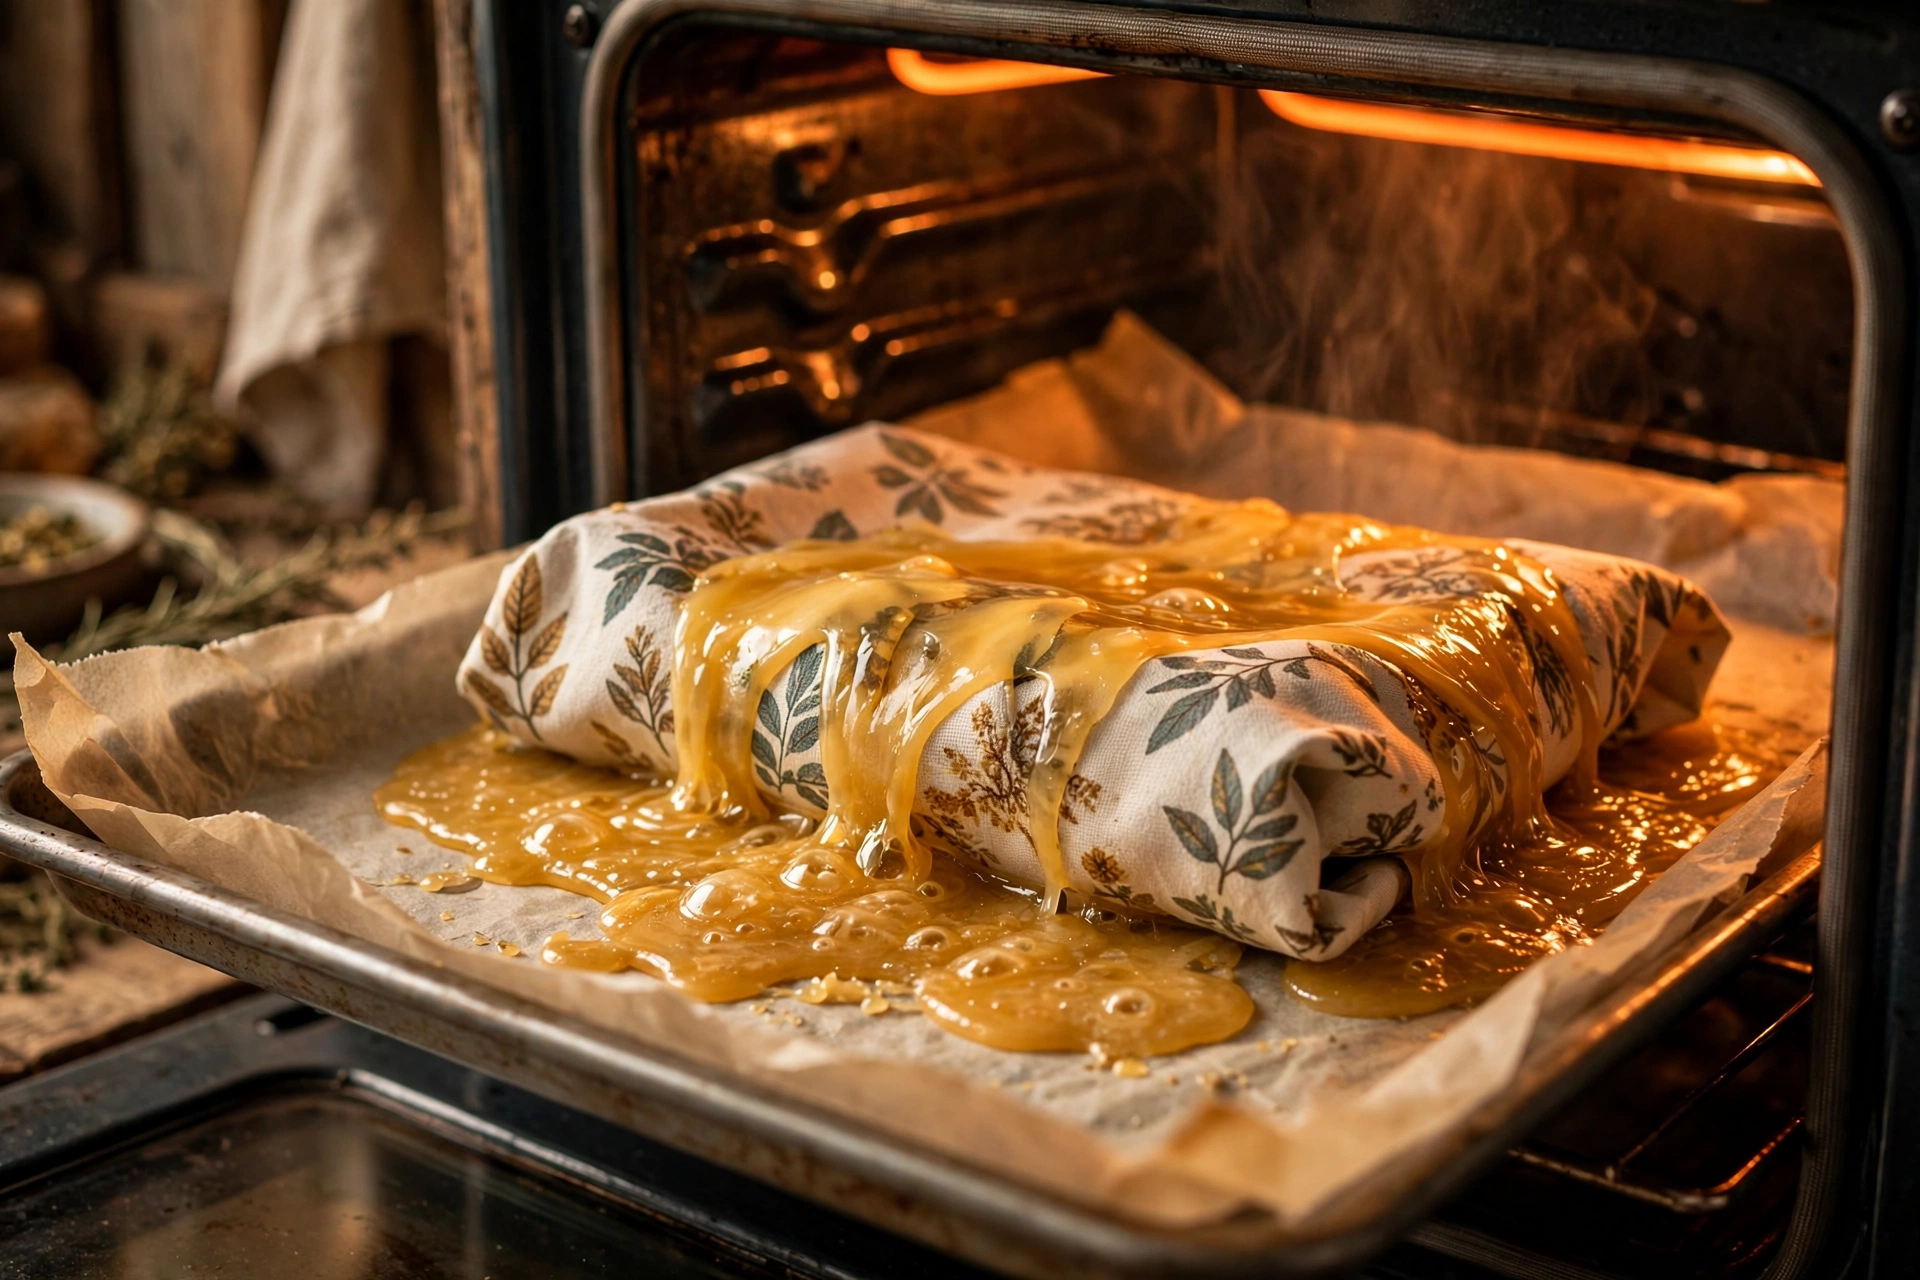
Oven method: Lay the wax-sprinkled fabric on a parchment-lined baking sheet and slide it into a low oven (around 200°F). Watch through the window — once the wax turns glossy and liquid, usually just a few minutes, pull the sheet out and spread the wax into any bare spots with your dedicated brush.
Iron method: Sandwich the wax-sprinkled fabric between two sheets of parchment and press with a warm iron, moving slowly so the heat melts the wax evenly into the fibers. Peek under the top sheet to check for dry patches and re-press those spots.
5. Cool the wrap
Pull the parchment off carefully and lift the wrap by a corner — it’s hot. Hang it on a line with clothespins or drape it over a drying rack. It stiffens and sets within a minute or two as it cools. If you spot a dry patch on the cooled wrap, just re-melt that spot — a quick press with the iron through parchment does it.
6. Wrap, seal, and store
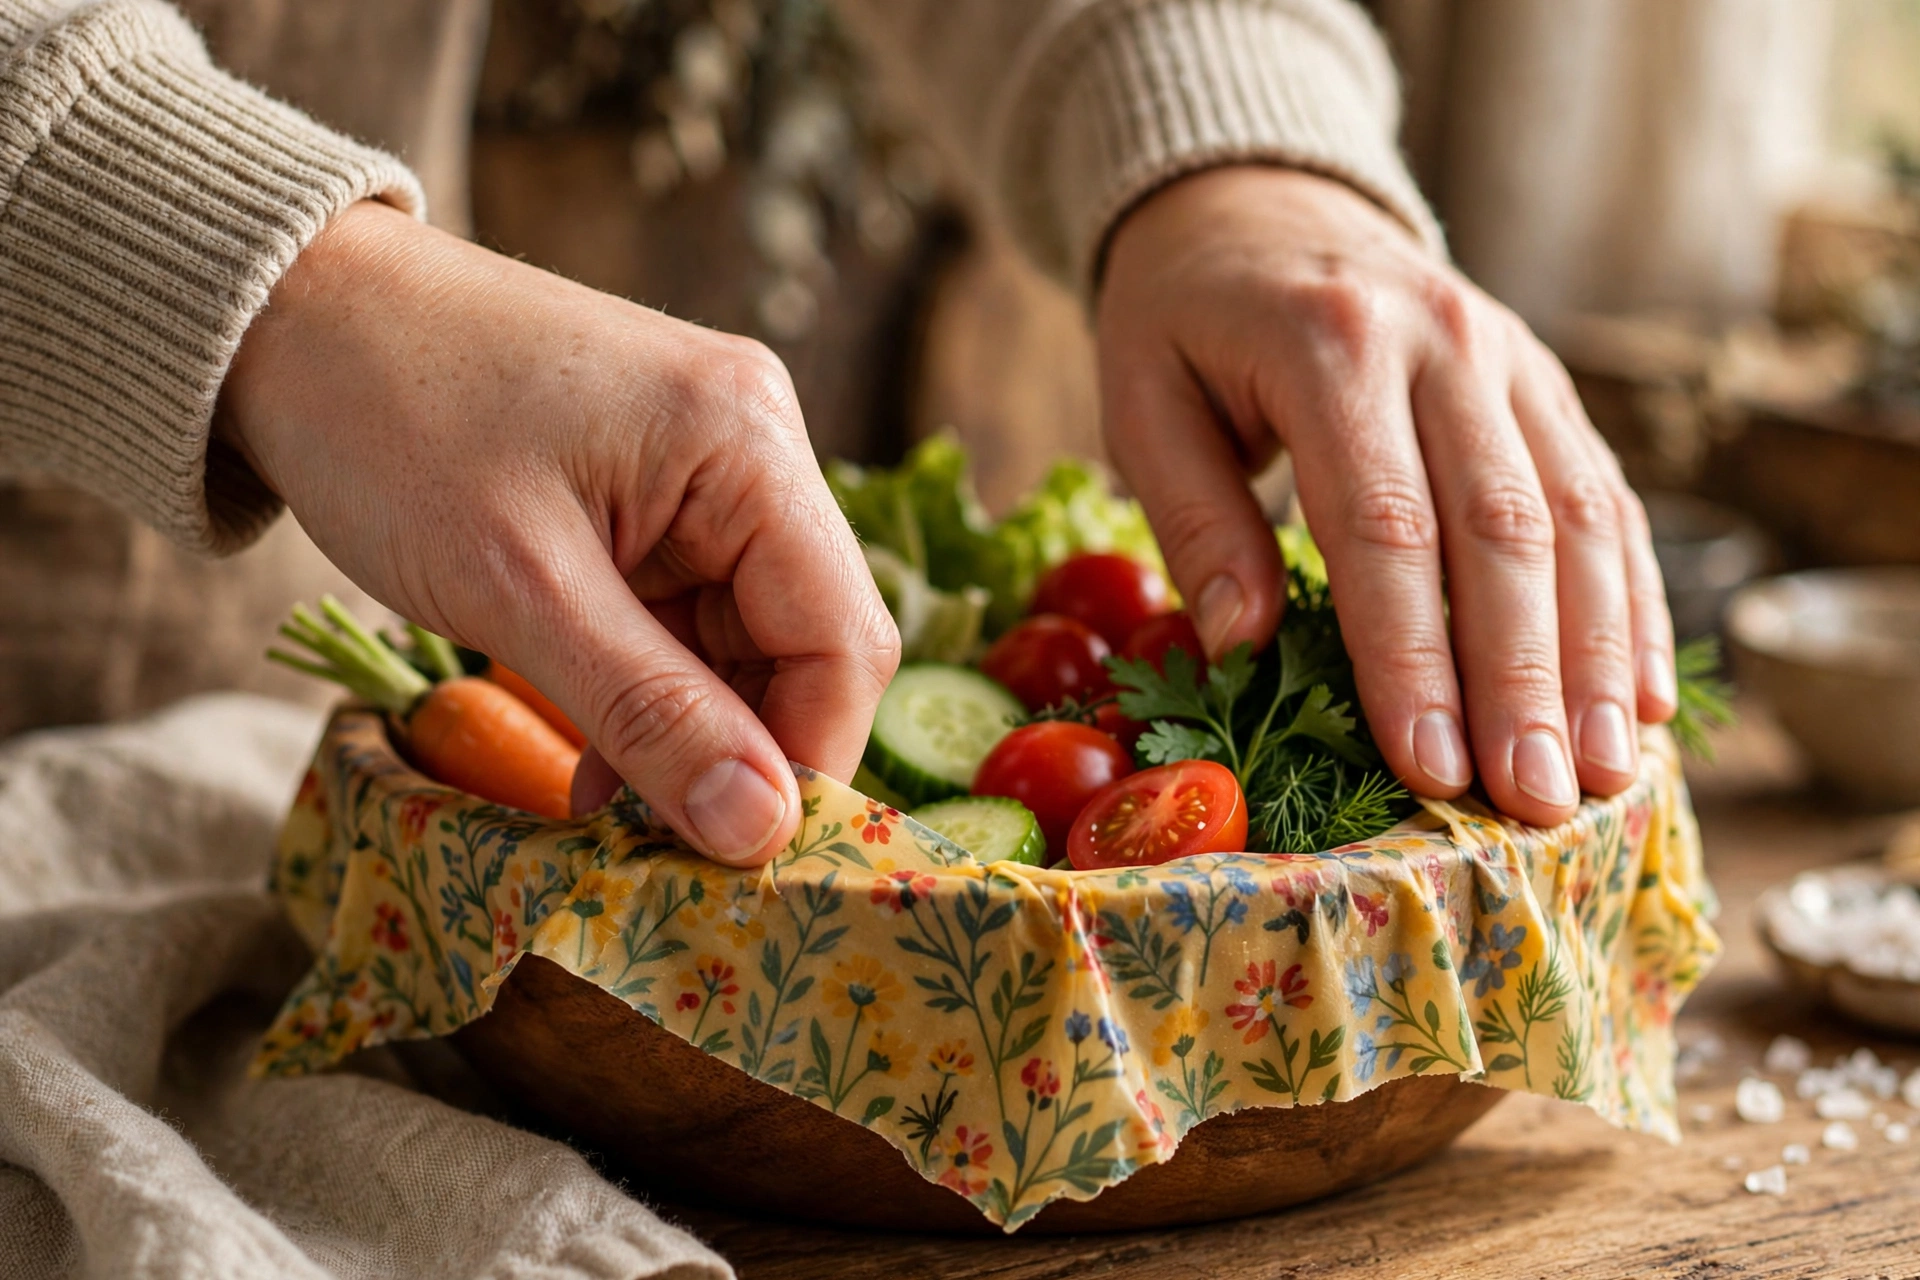
To use, drape the wrap over a bowl or around food and press with your hands. The warmth of your hands softens the wax so it seals to itself and the container — hold it for a few seconds and it sets in place. Wrap bowls, cover cheese and cut vegetables, and seal sandwiches and snack portions. Store wraps flat or rolled in a drawer, never crumpled.
Washing and care
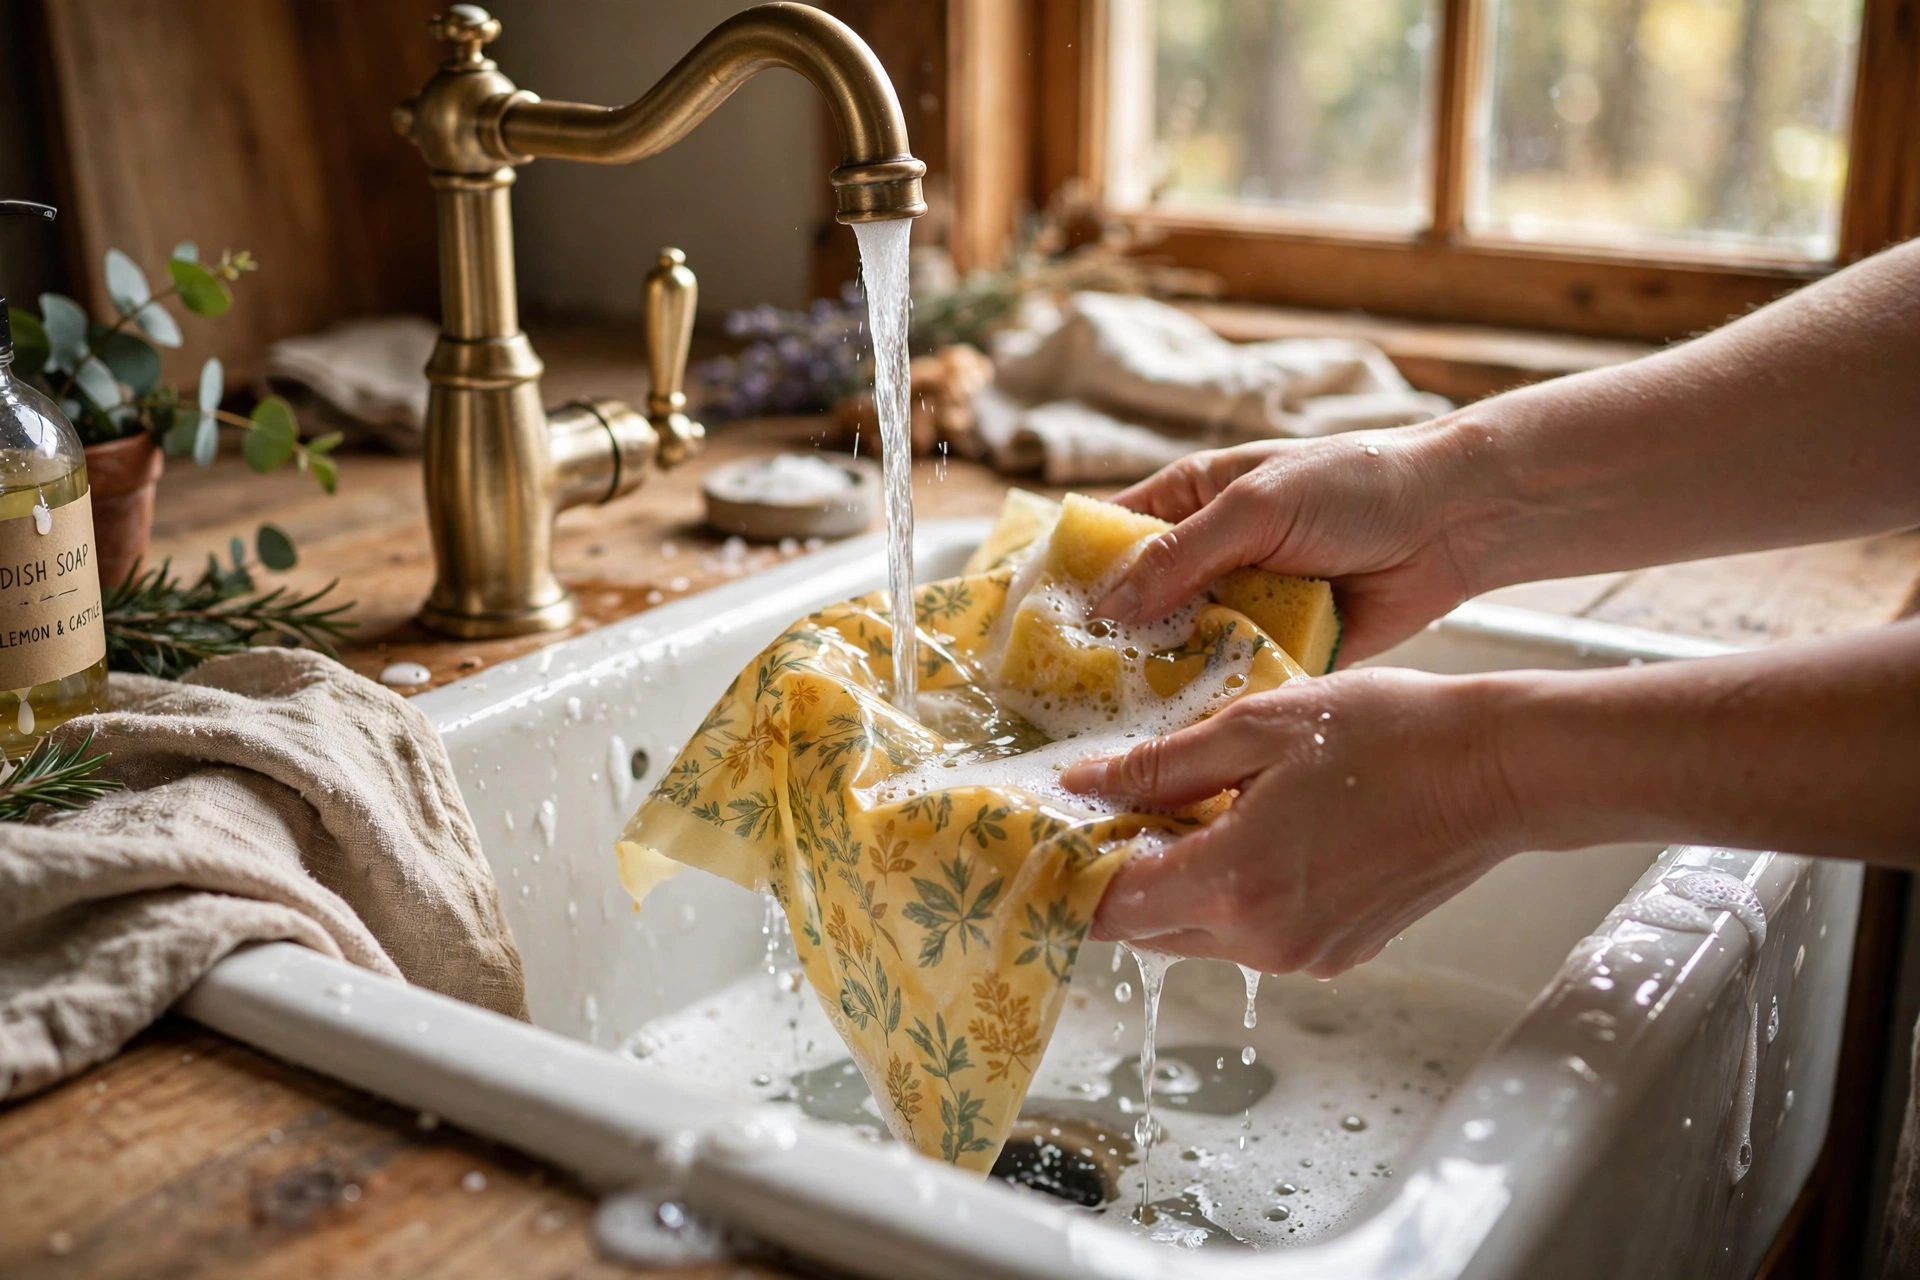
Wash wraps by hand in COOL water with mild soap — a soft sponge or your fingertips is all it takes. Rinse in cool water and air dry on a rack. That’s the whole routine.
Refreshing tired wraps
After months of use, wraps lose their tack and get a dull, creased look — that doesn’t mean they’re done. Lay a tired wrap on a parchment-lined baking sheet and give it a few minutes in a low oven. The heat redistributes the wax, melts it back into the fibers, and restores the seal. One refresh can buy you several more months of use.
Troubleshooting
Stiff and crackly? Too much wax on the fabric. Use less on your next batch, or add a touch more jojoba oil for flexibility — a small amount goes a long way.
Not tacky enough to seal? The fabric is under-waxed, or it needs a bit more tack. Sprinkle a little more wax over it (and a touch of pine resin if you use it) and run it through the oven or iron again.
Leaving waxy residue on dishes? There’s more wax than the fabric can hold. Next time, use less wax per square and spread it thinner — a barely-there coat seals better than a heavy one.
Edges fraying? Give them another trim with the pinking shears. Well-trimmed edges survive months of washing.
Next steps
Pair your wraps with other low-waste kitchen makes — beeswax pairs beautifully with the projects in our tutorials library. Making these as gifts? Bundle a few sizes with a handwritten care card and a few feet of cotton string — they’re a fast, cheap, and genuinely useful handmade gift.



