
Layered & Ombre Melt-and-Pour Soap (No Lye Needed)
Want the gorgeous striped and gradient look without touching lye? Layered and ombre melt-and-pour soap is the easiest intermediate win in soapmaking — crisp stripes or a smooth color fade, made with nothing more than a microwave, some base, and patience.
How layers stick (without lye)
Melt-and-pour layers bond with heat and texture, not chemistry. The secret is a three-part rhythm: pour each layer, let it form a skin, then spritz generously with rubbing alcohol before pouring the next. The alcohol does double duty — it pops surface bubbles and slightly melts the skin so the hot new layer fuses to it. Skip the spritz and your stripes will peel apart in the shower.
Temperature is the other half. Pour each new layer hot enough to bond (around 130–140°F works for most bases — hot to the touch but not steaming) but not so hot it melts through the layer below. And patience: each layer must skin over before the next pour, usually 10–20 minutes. Rush it and the colors bleed together.
What you’ll need
- Clear and/or white melt-and-pour soap base (white for pastel layers, clear for jewel tones)
- Soap-safe colorants: micas or liquid soap dyes
- Fragrance oil rated for melt and pour (optional)
- Silicone loaf mold or individual molds
- Microwave-safe measuring cups (one per color), spatulas, thermometer
- Rubbing alcohol (91%) in a fine-mist spray bottle — don’t skip this
- Kitchen scale
Steps: classic stripes
1. Plan and pre-measure
Decide your stripe sequence — 3–5 layers looks great. Cut your base into chunks and weigh out one portion per layer into separate cups. Pre-measure each colorant. With melt and pour, everything moves in quick bursts between cooling waits, so stage it all now.
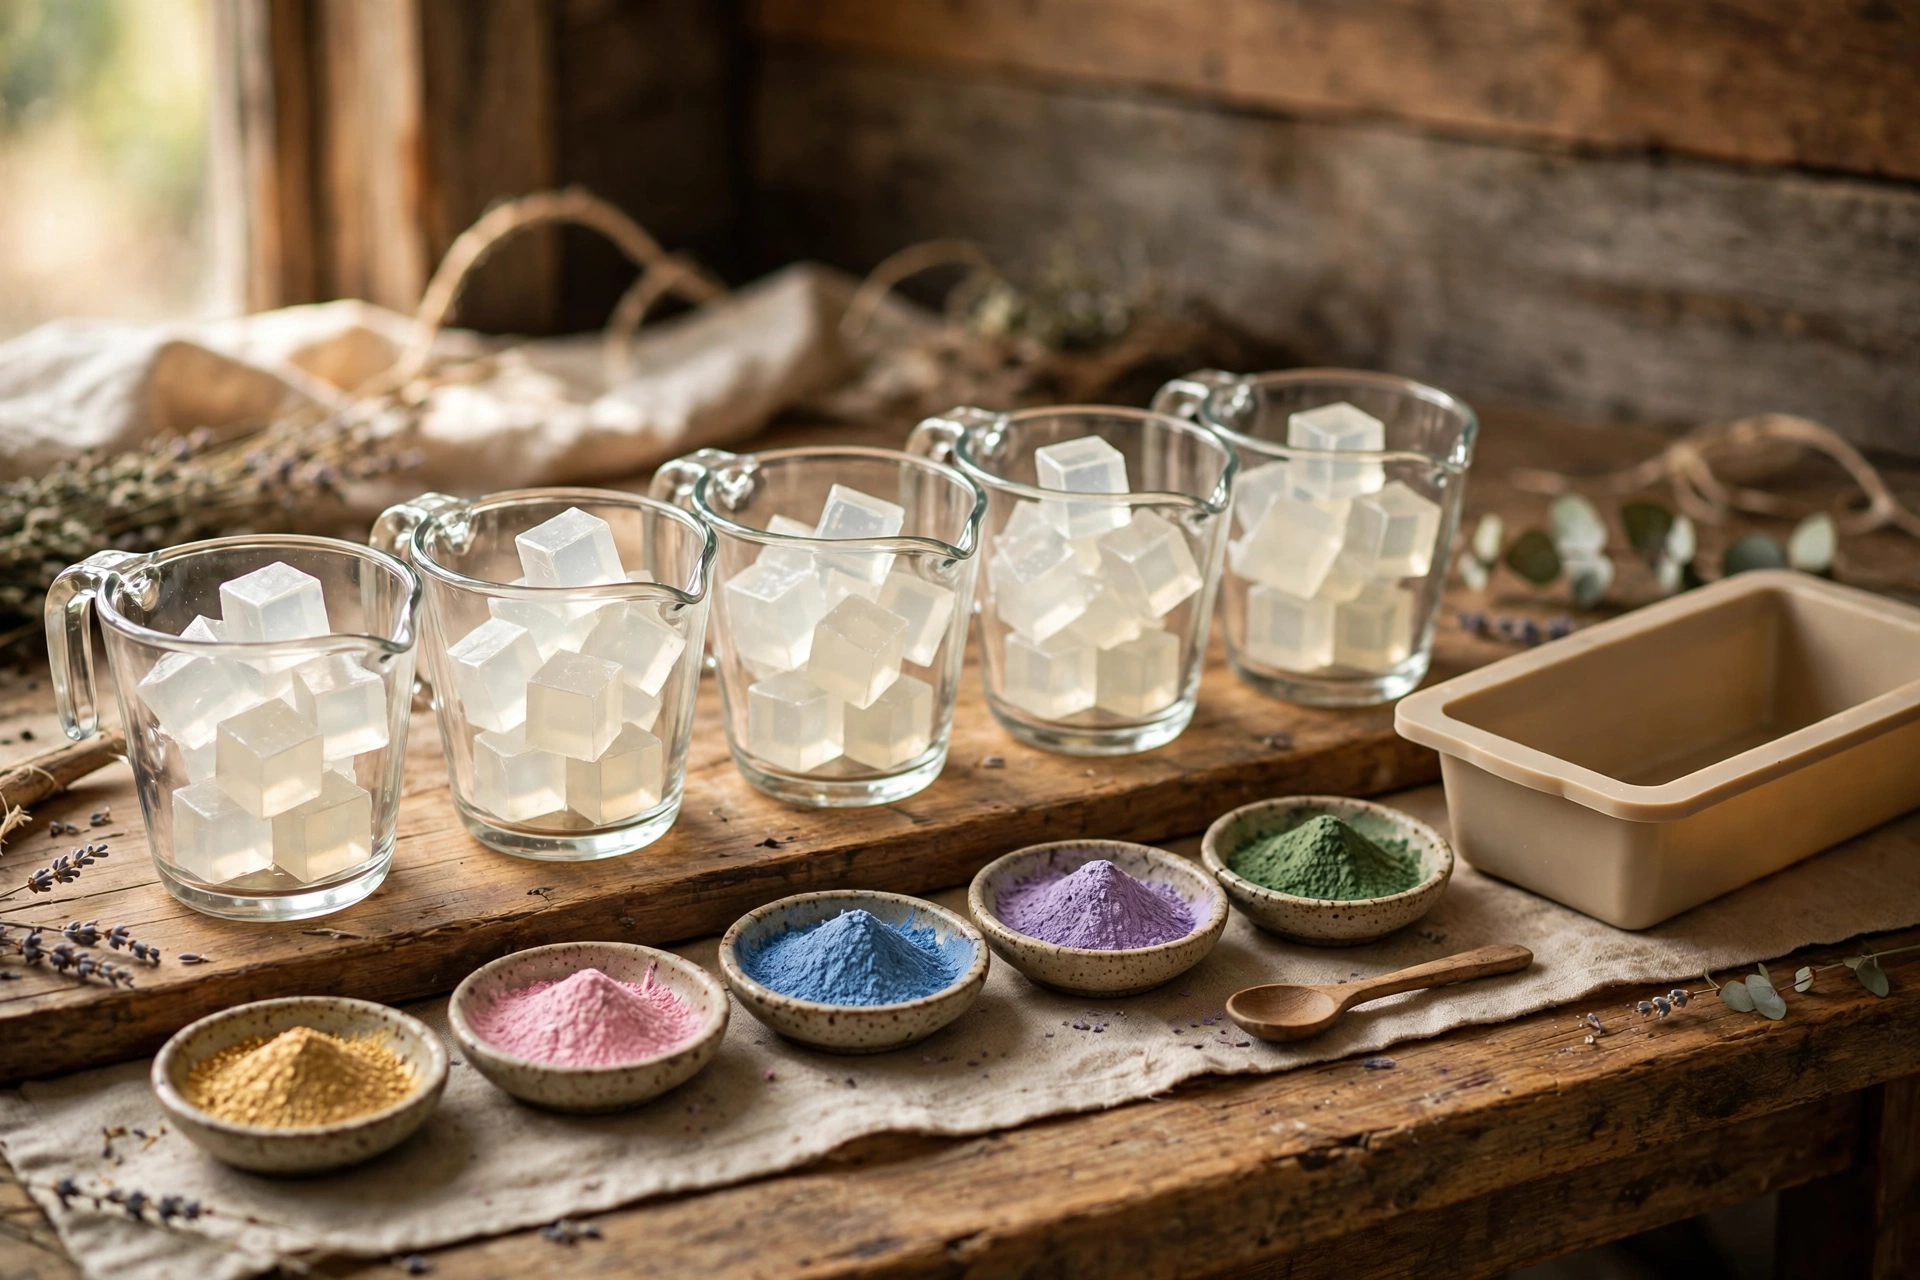
2. Melt, color, and scent layer one
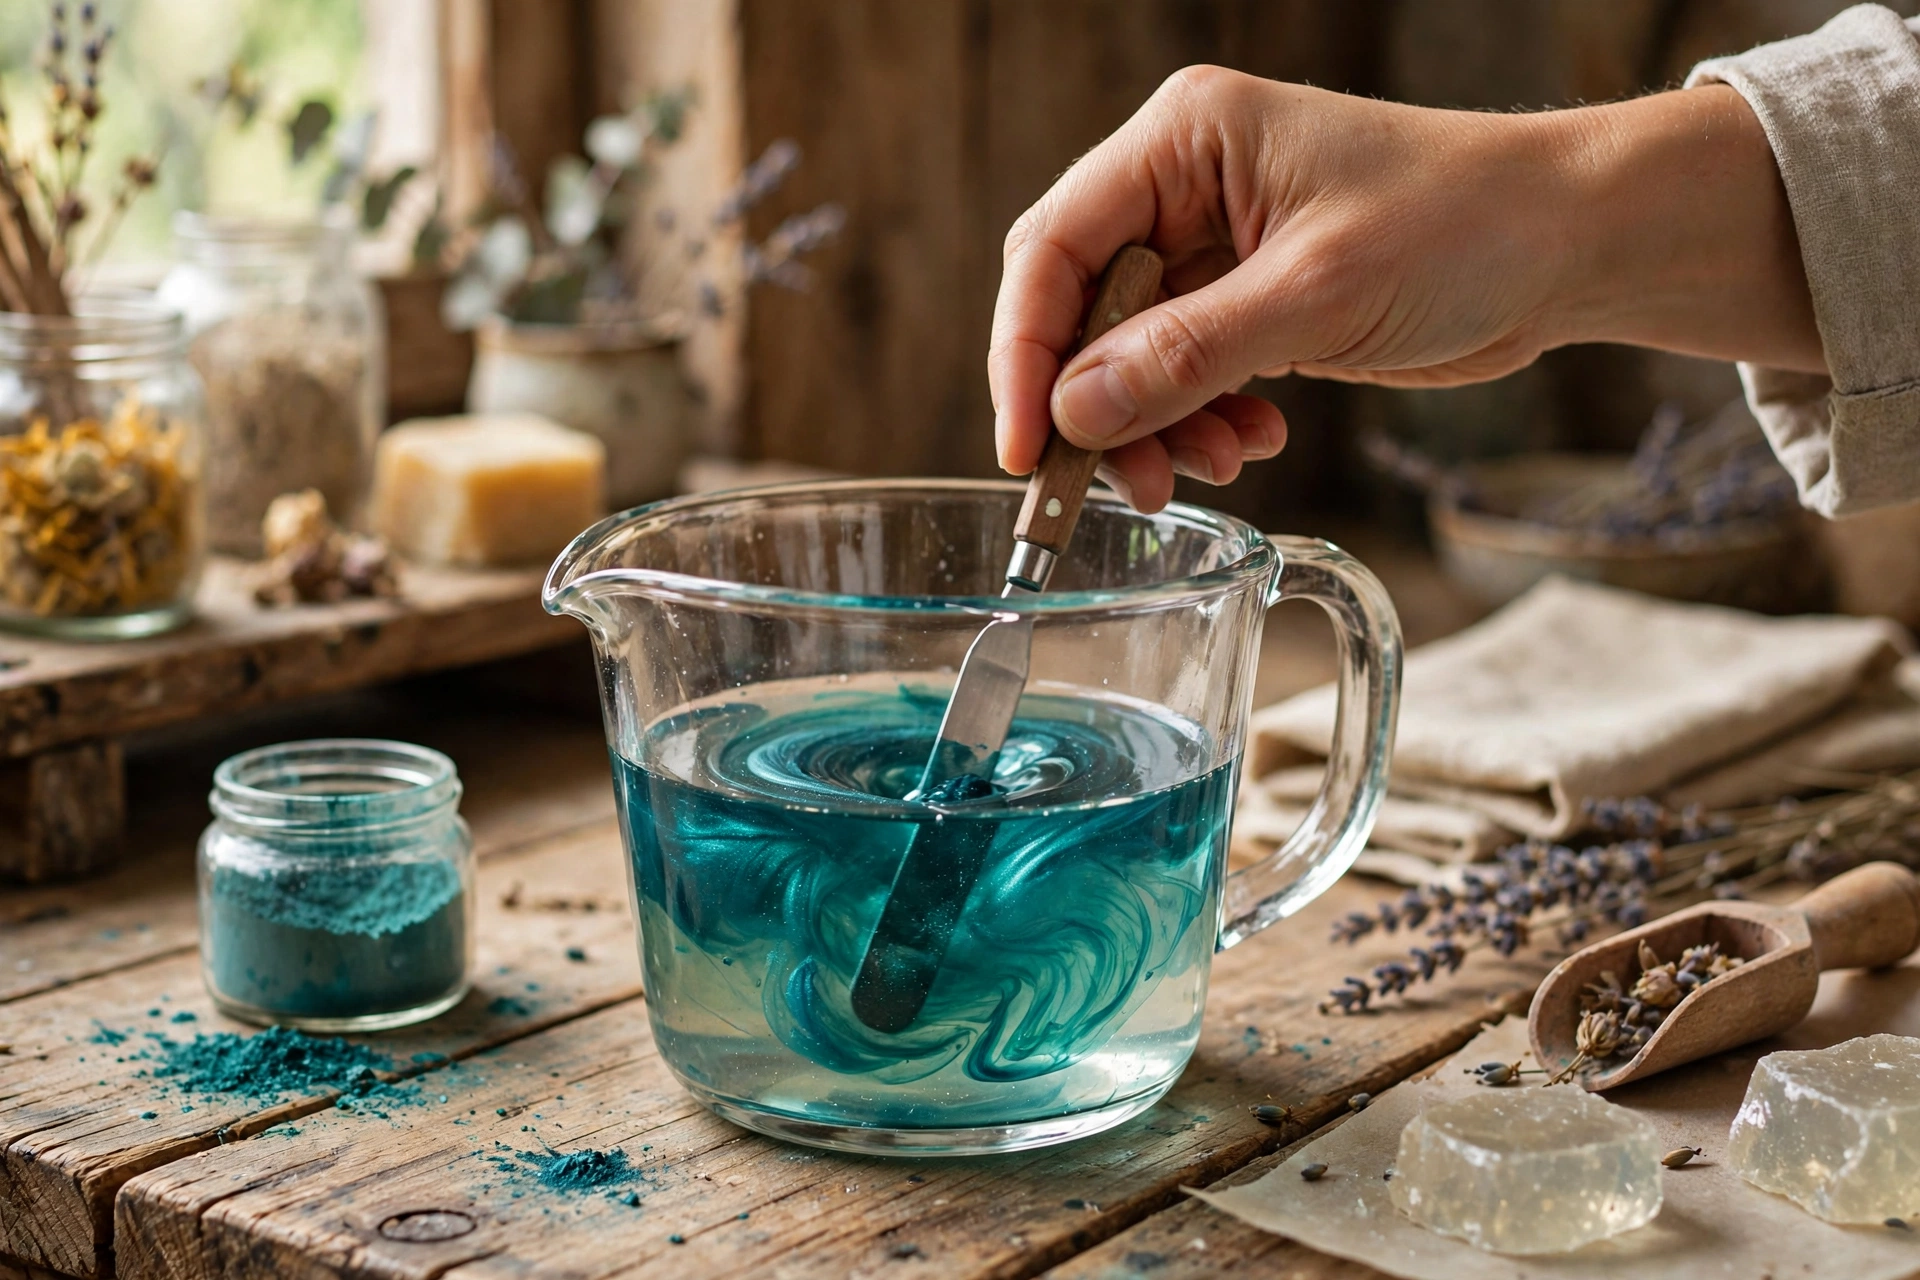
Microwave the first portion in short 20–30 second bursts, stirring between each, until just melted — overheating scorches the base and kills lather. Stir in colorant and fragrance (keep fragrance at or below the manufacturer’s recommended usage rate). Let it cool to around 130–140°F.
3. Pour layer one and wait
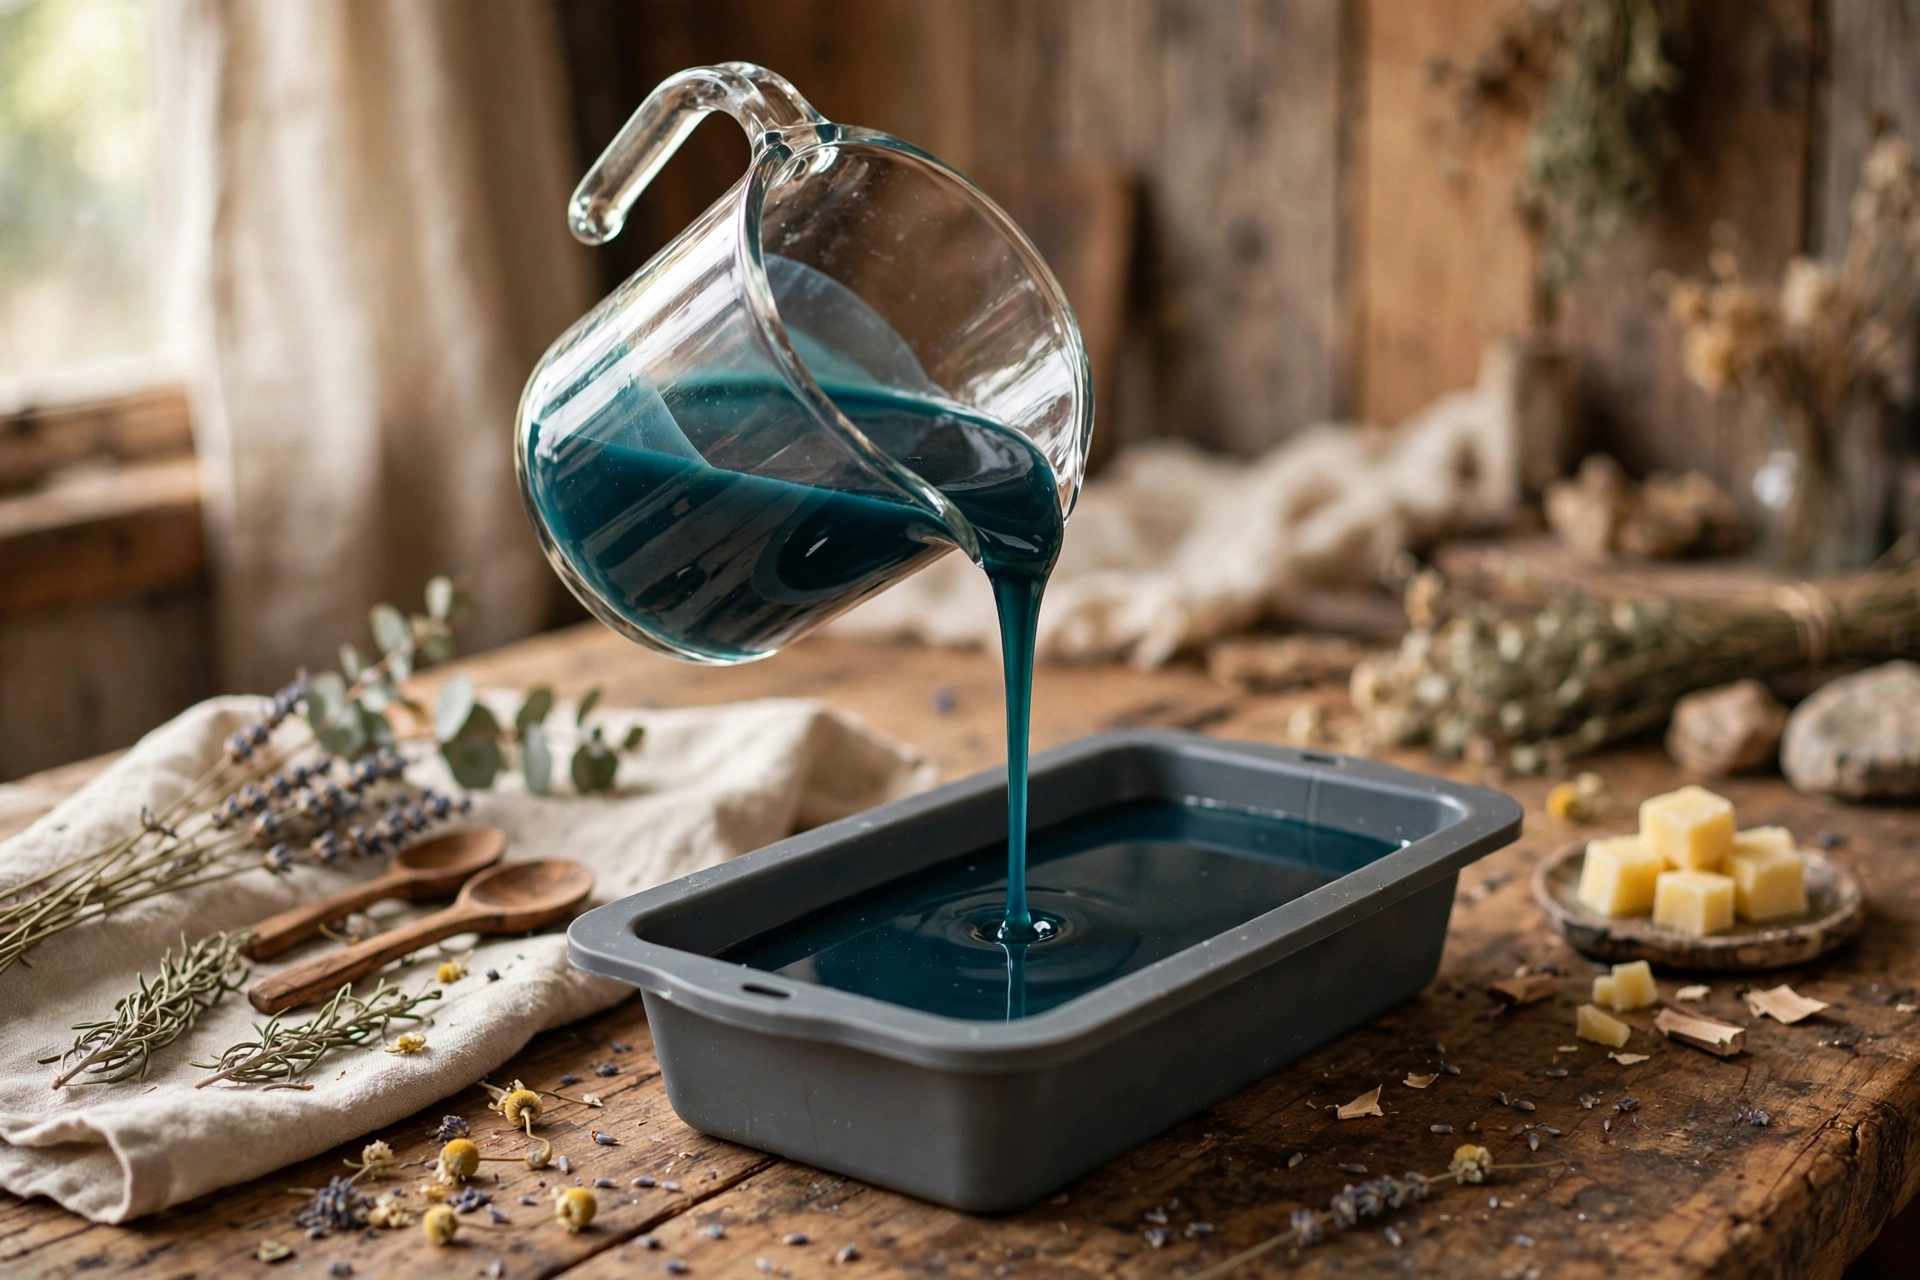
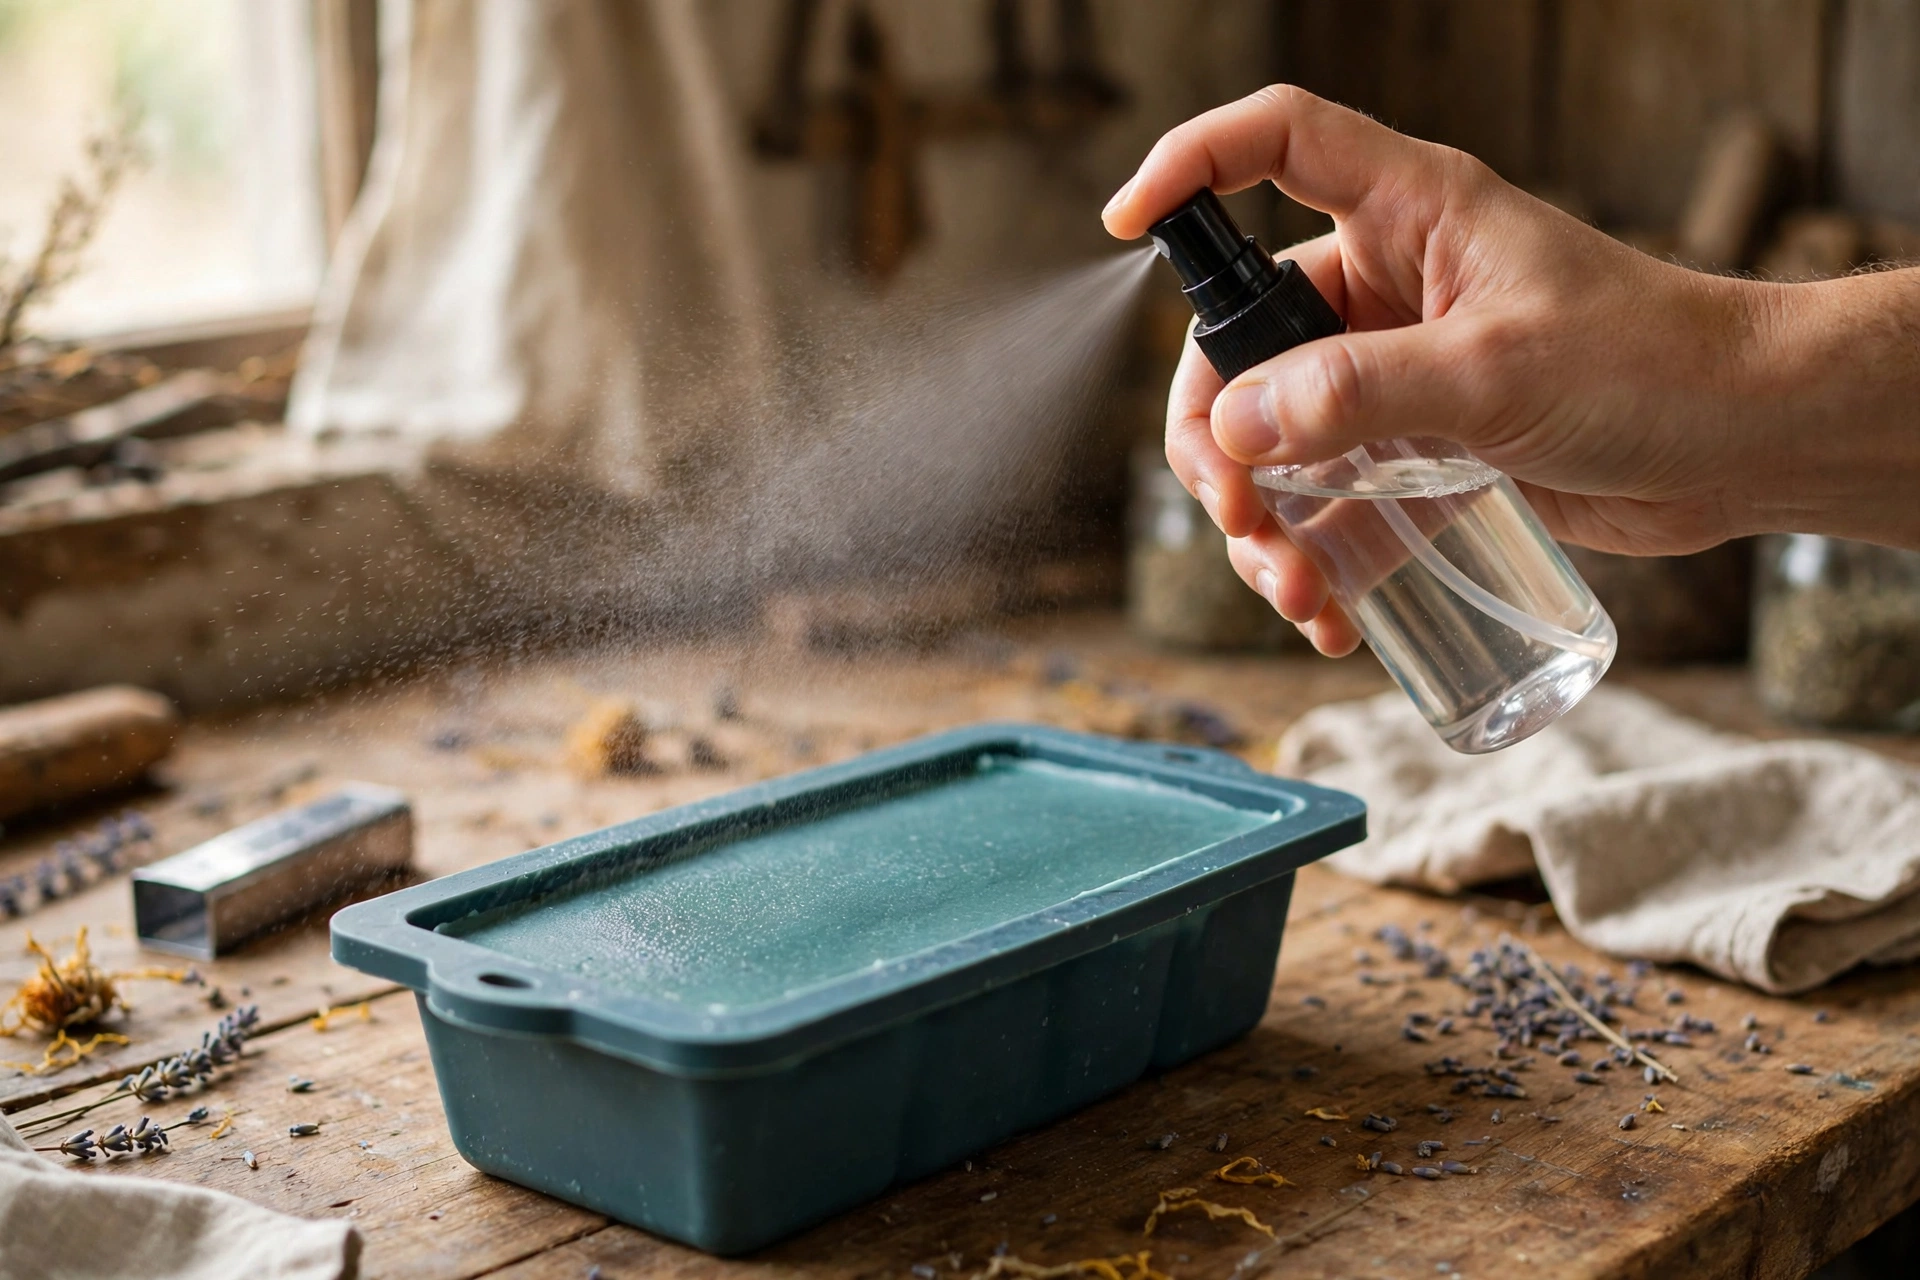
Pour into the mold and spritz the surface with rubbing alcohol to pop bubbles. Now wait until the layer forms a firm skin — press gently (clean finger); it should feel set with slight give underneath, usually 10–20 minutes. Don’t pour the next layer onto liquid.
4. Spritz and pour the next layer
Spritz the skinned surface generously with rubbing alcohol — this is the bonding step. Pour the next color slowly over the back of a spoon. Spritz again to pop bubbles. Repeat the wait-spritz-pour rhythm for every layer.
5. Finish, cool, and unmold
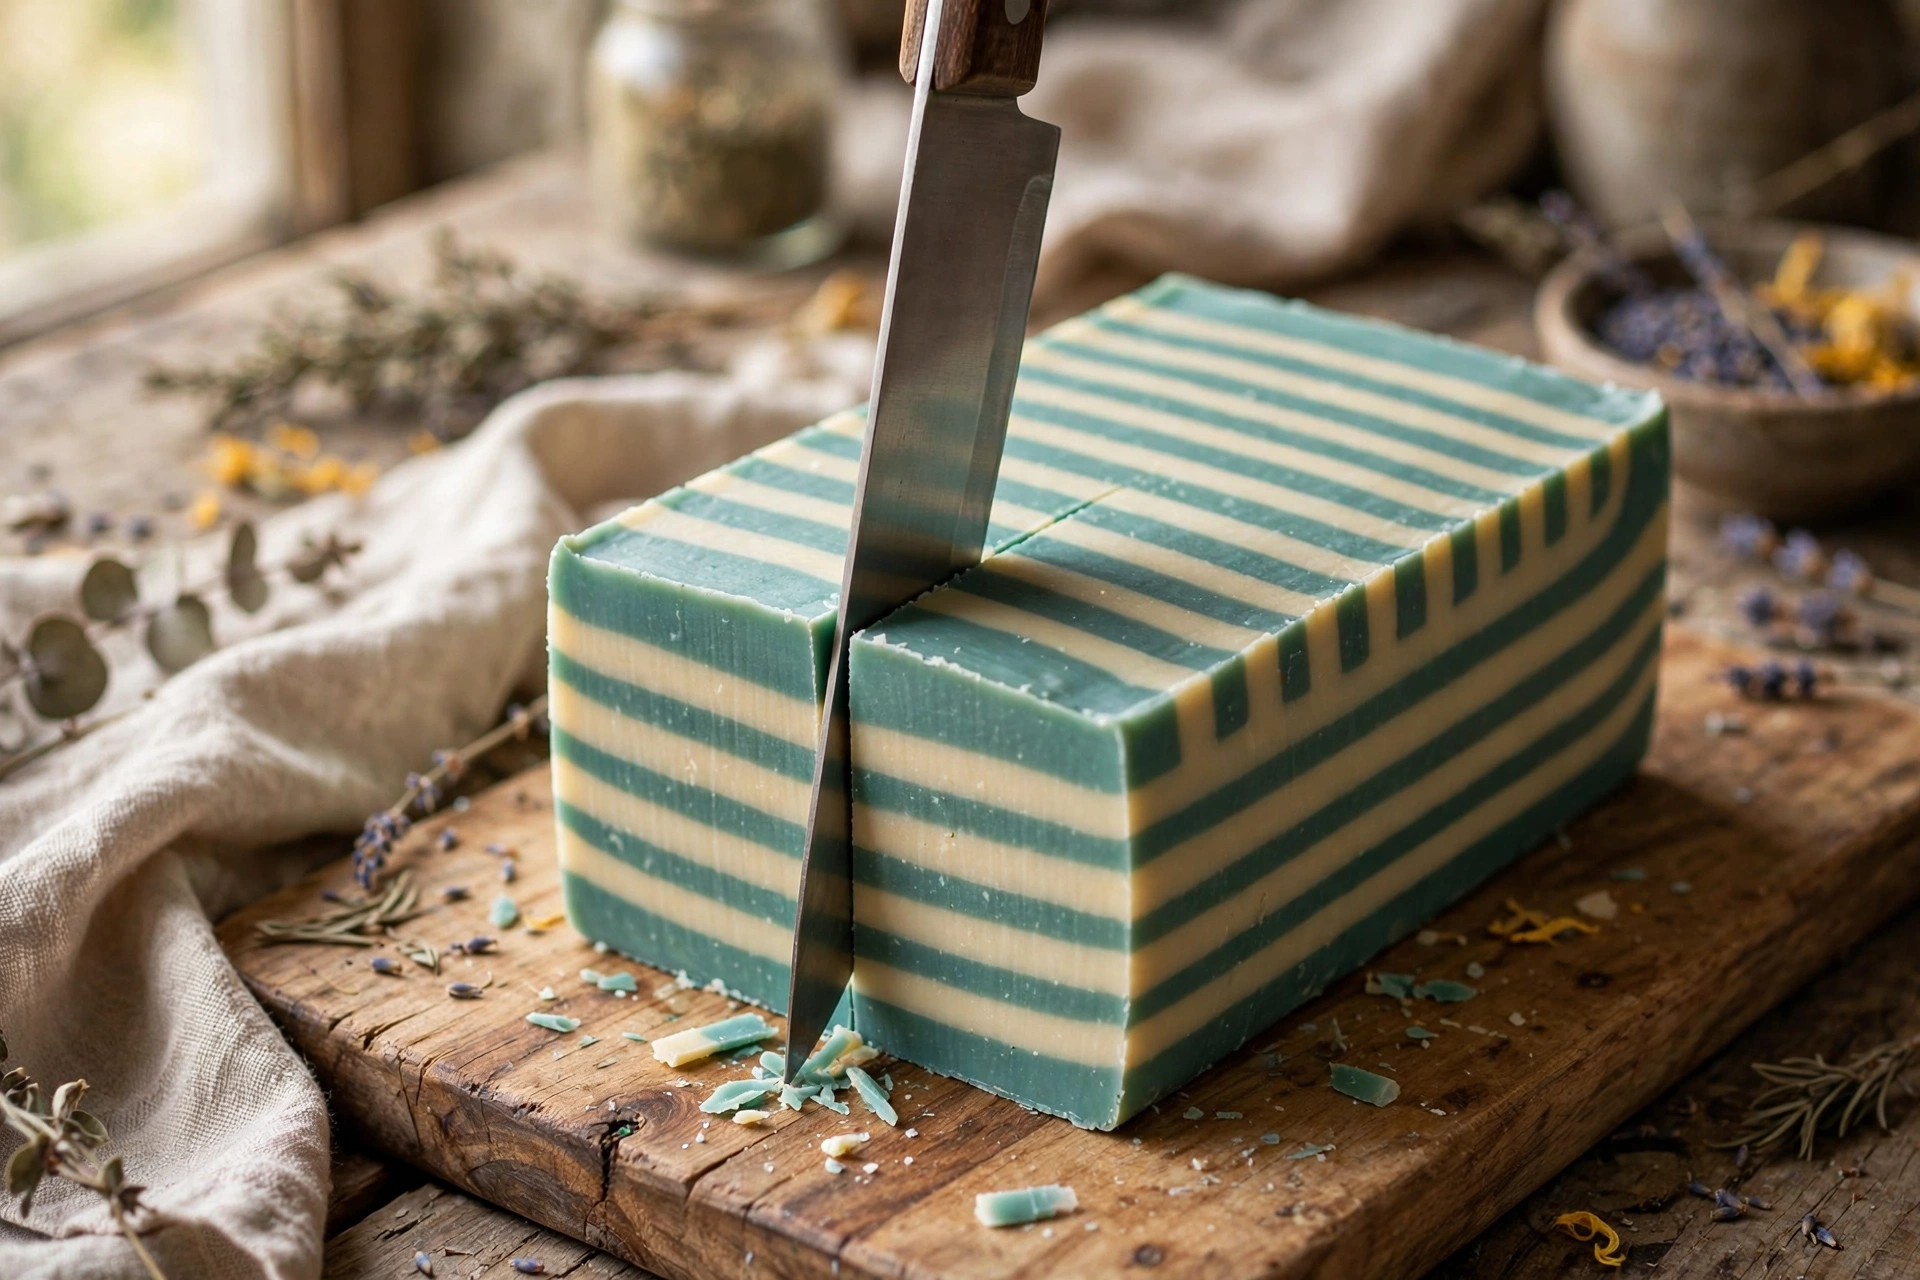
After the final layer, spritz once more and let the whole loaf cool completely — a couple of hours at room temperature. Unmold and cut with a straight-down motion. Melt-and-pour needs no cure: it’s ready to use as soon as it’s hard.
Going ombre: the gradient version
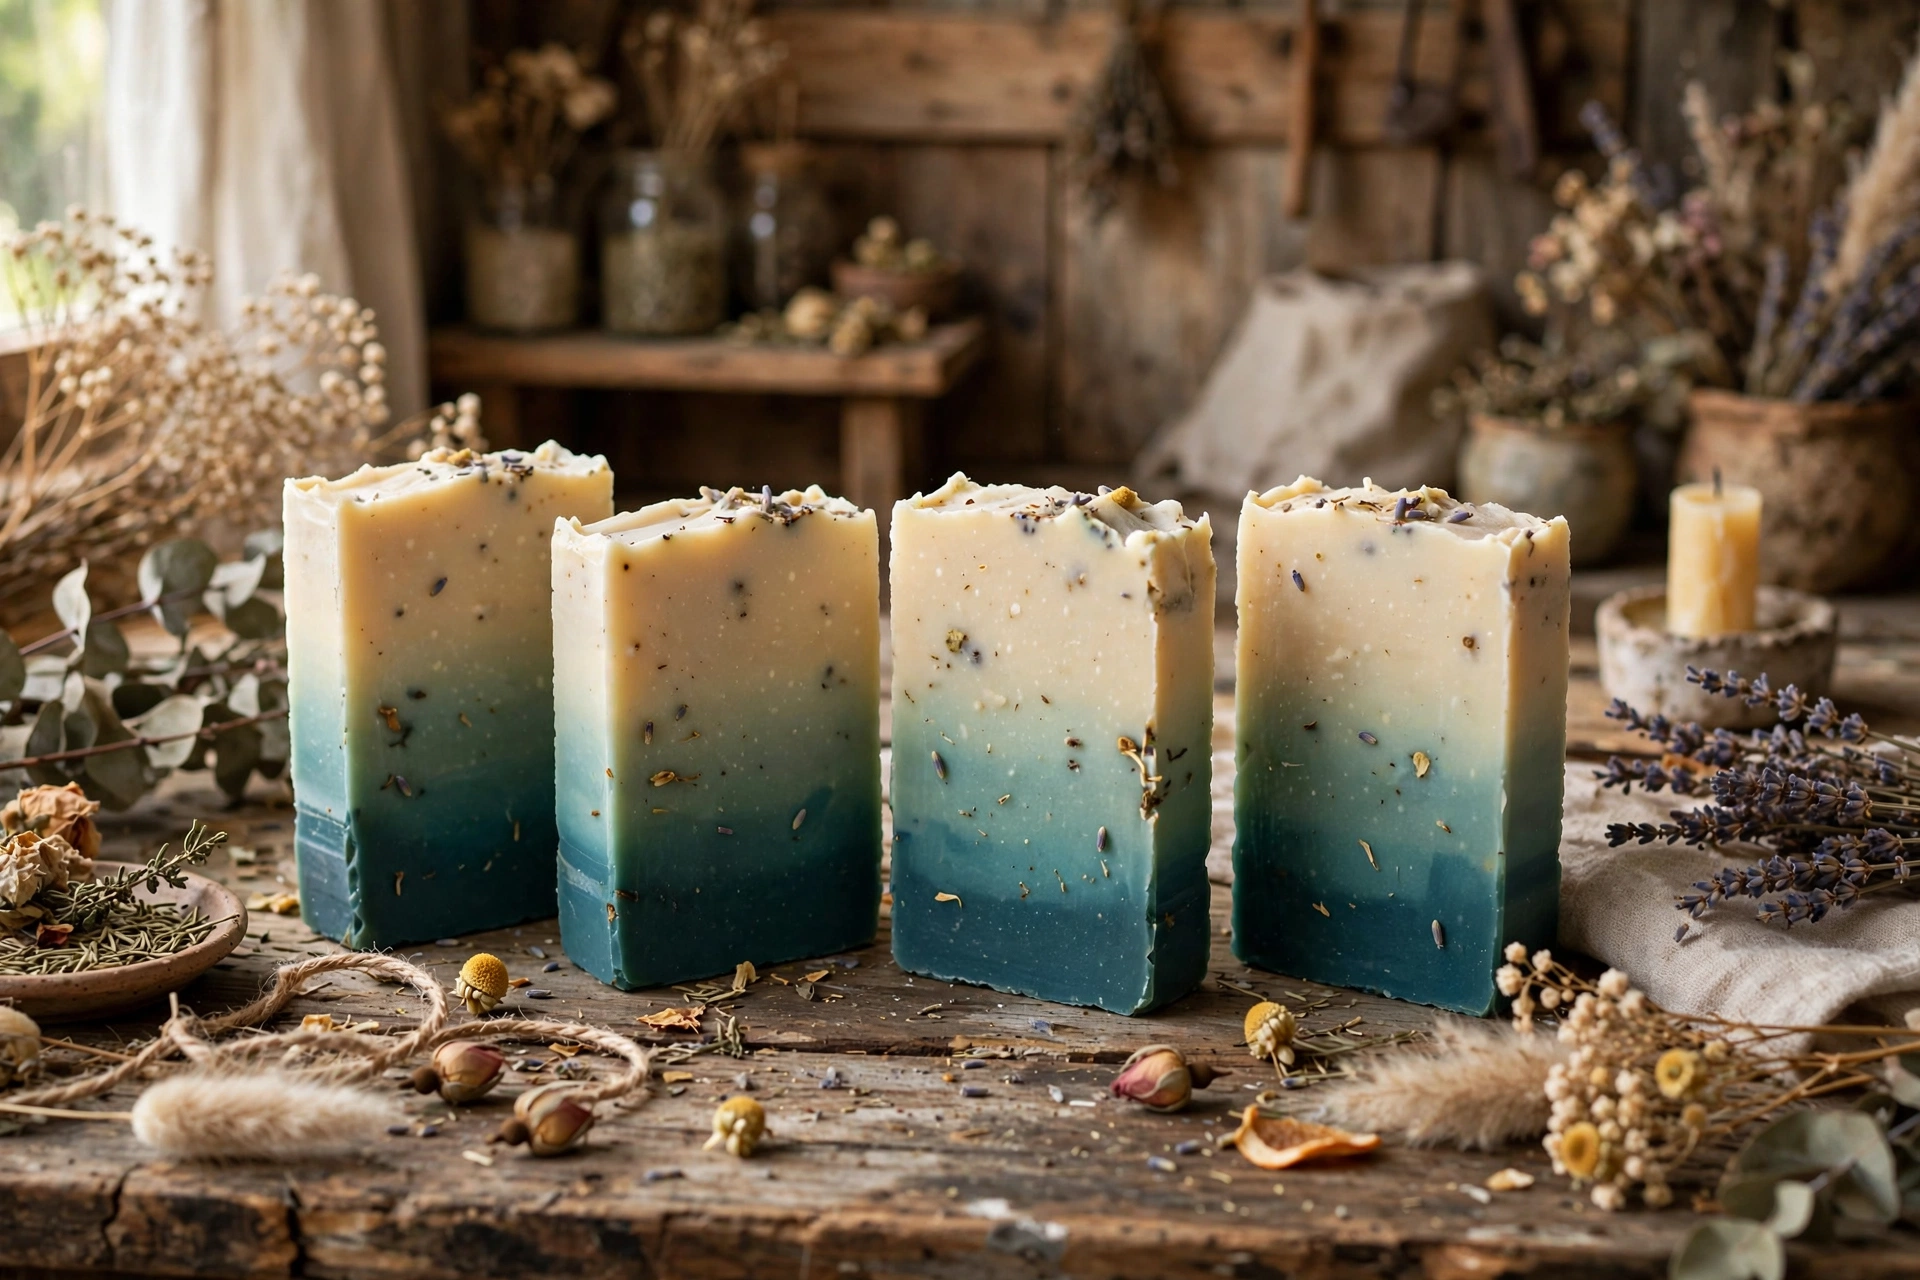
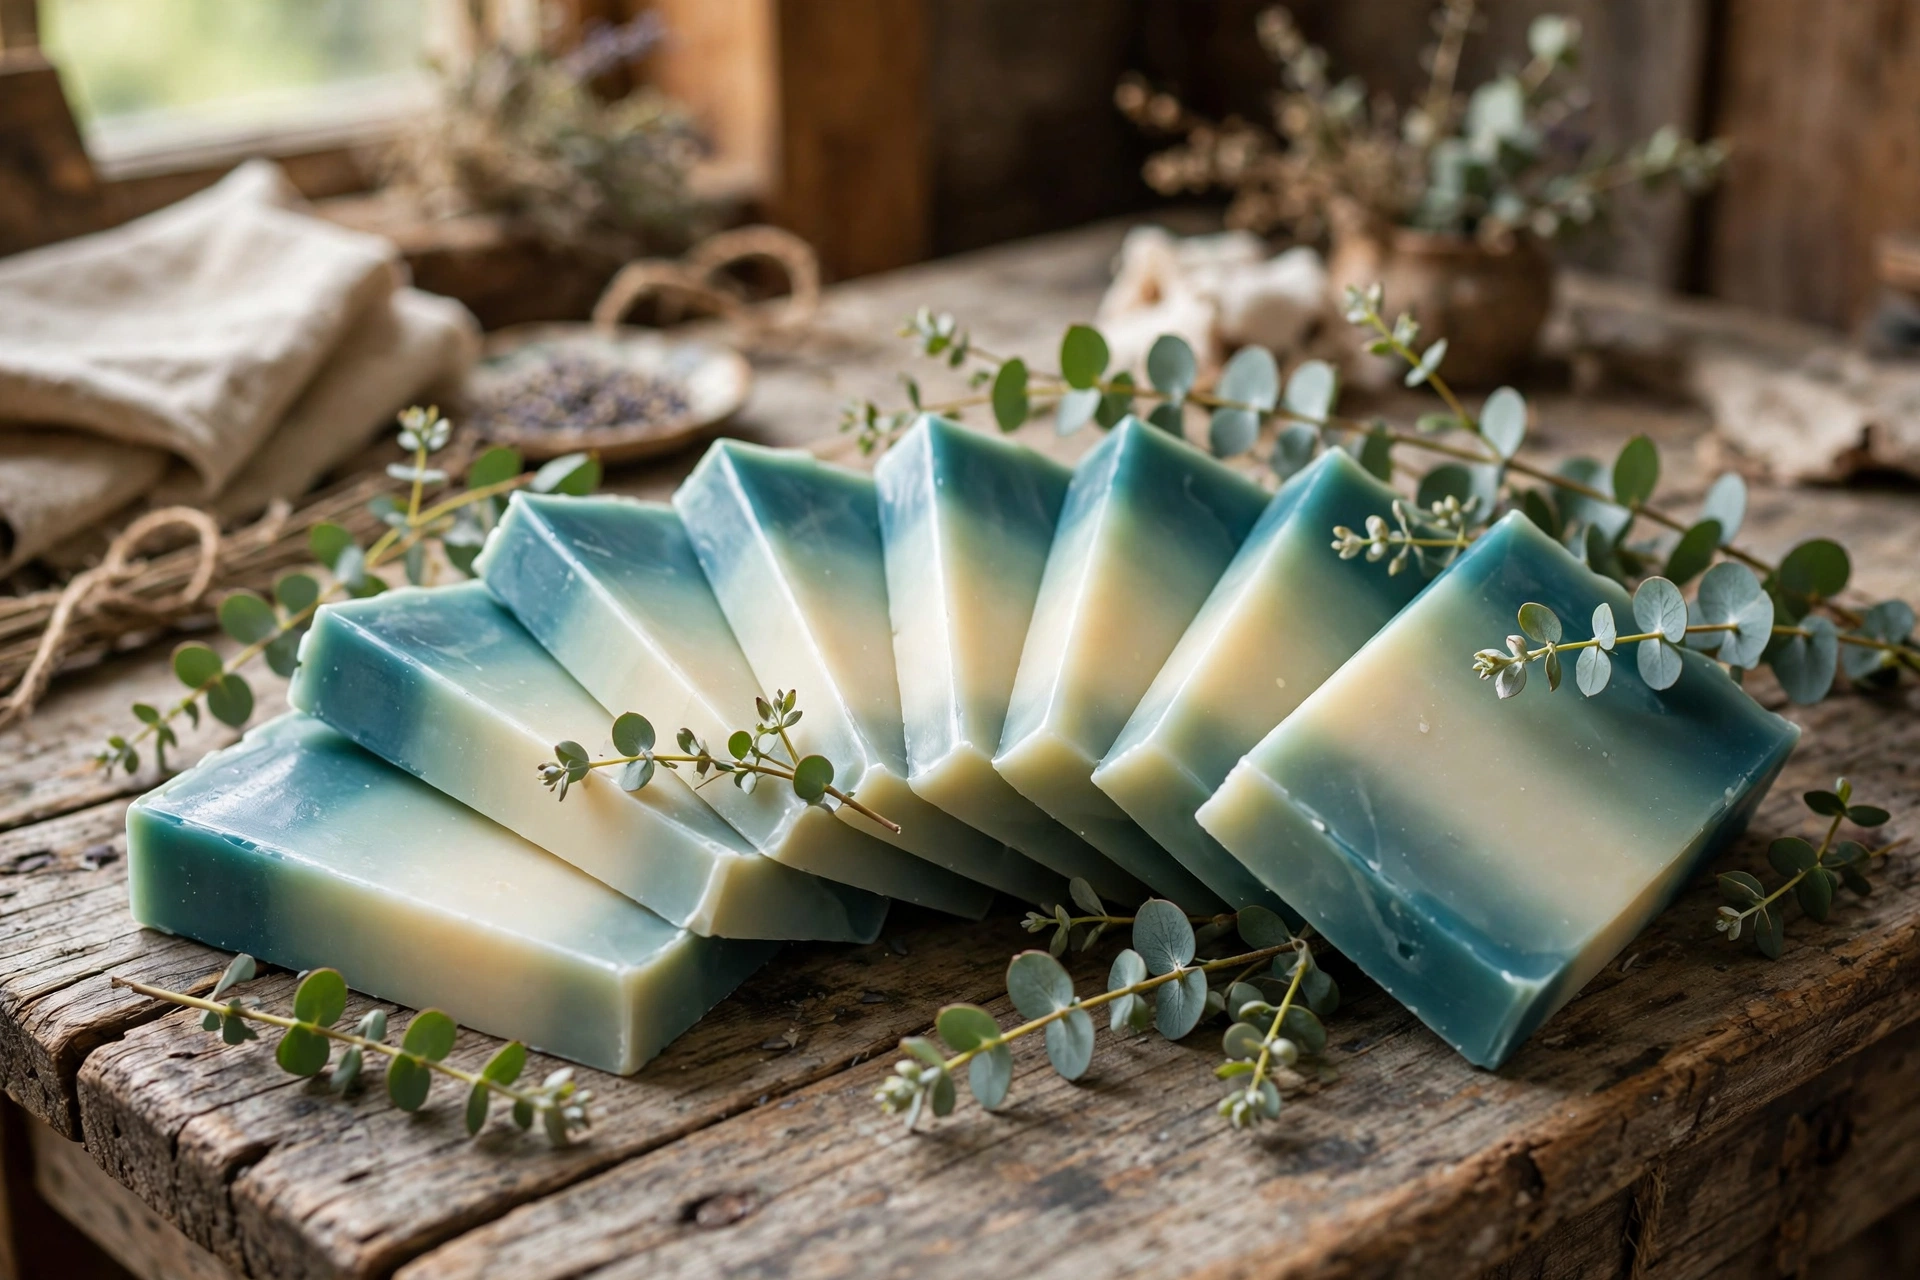
Ombre uses the same technique with a color twist: instead of distinct colors, you pour the same hue in graduating intensity — darkest at the bottom, fading to nearly white at the top. Melt all your portions, then add decreasing amounts of colorant to each cup: full strength, half, a quarter, a whisper. White MP base gives soft pastels; clear base gives jewel-tone fades. Pour in the same wait-spritz-pour rhythm, darkest first.
Troubleshooting
Layers peeling apart? You skipped (or skimped on) the alcohol spritz, or poured the next layer onto a fully cold, hard layer. Spritz generously every time; the layer below should still have a little warmth.
Colors bleeding together? The lower layer wasn’t skinned yet, or the new layer was poured too hot. Wait for a real skin and cool pours to the 130–140°F range.
Bubbles trapped between layers? Spritz after every pour, pour slowly, and tap the mold. Bubbles love to hide at the layer line.
Base looks scorched or rubbery? Overheated in the microwave. Short bursts, stir often, stop as soon as it’s melted.
Sweating bars (glycerin dew)? Melt-and-pour attracts moisture from the air. Wrap finished bars tightly in cling film and store somewhere cool and dry.
Next steps
Ready for the real chemistry? Our first cold process soap recipe teaches the lye-based method, and layered cold process soap takes stripes to the next level. For the basics refresher, revisit the first melt-and-pour recipe.



