
How to Make Cold Process Shampoo Bars
Ditch the plastic bottle: a well-formulated cold process shampoo bar gives rich lather, travels anywhere, and lasts for months. But hair is not skin, and a shampoo bar is not just a body bar with a new label. Here’s how to formulate one that actually works — plus the honest truth about the adjustment period.
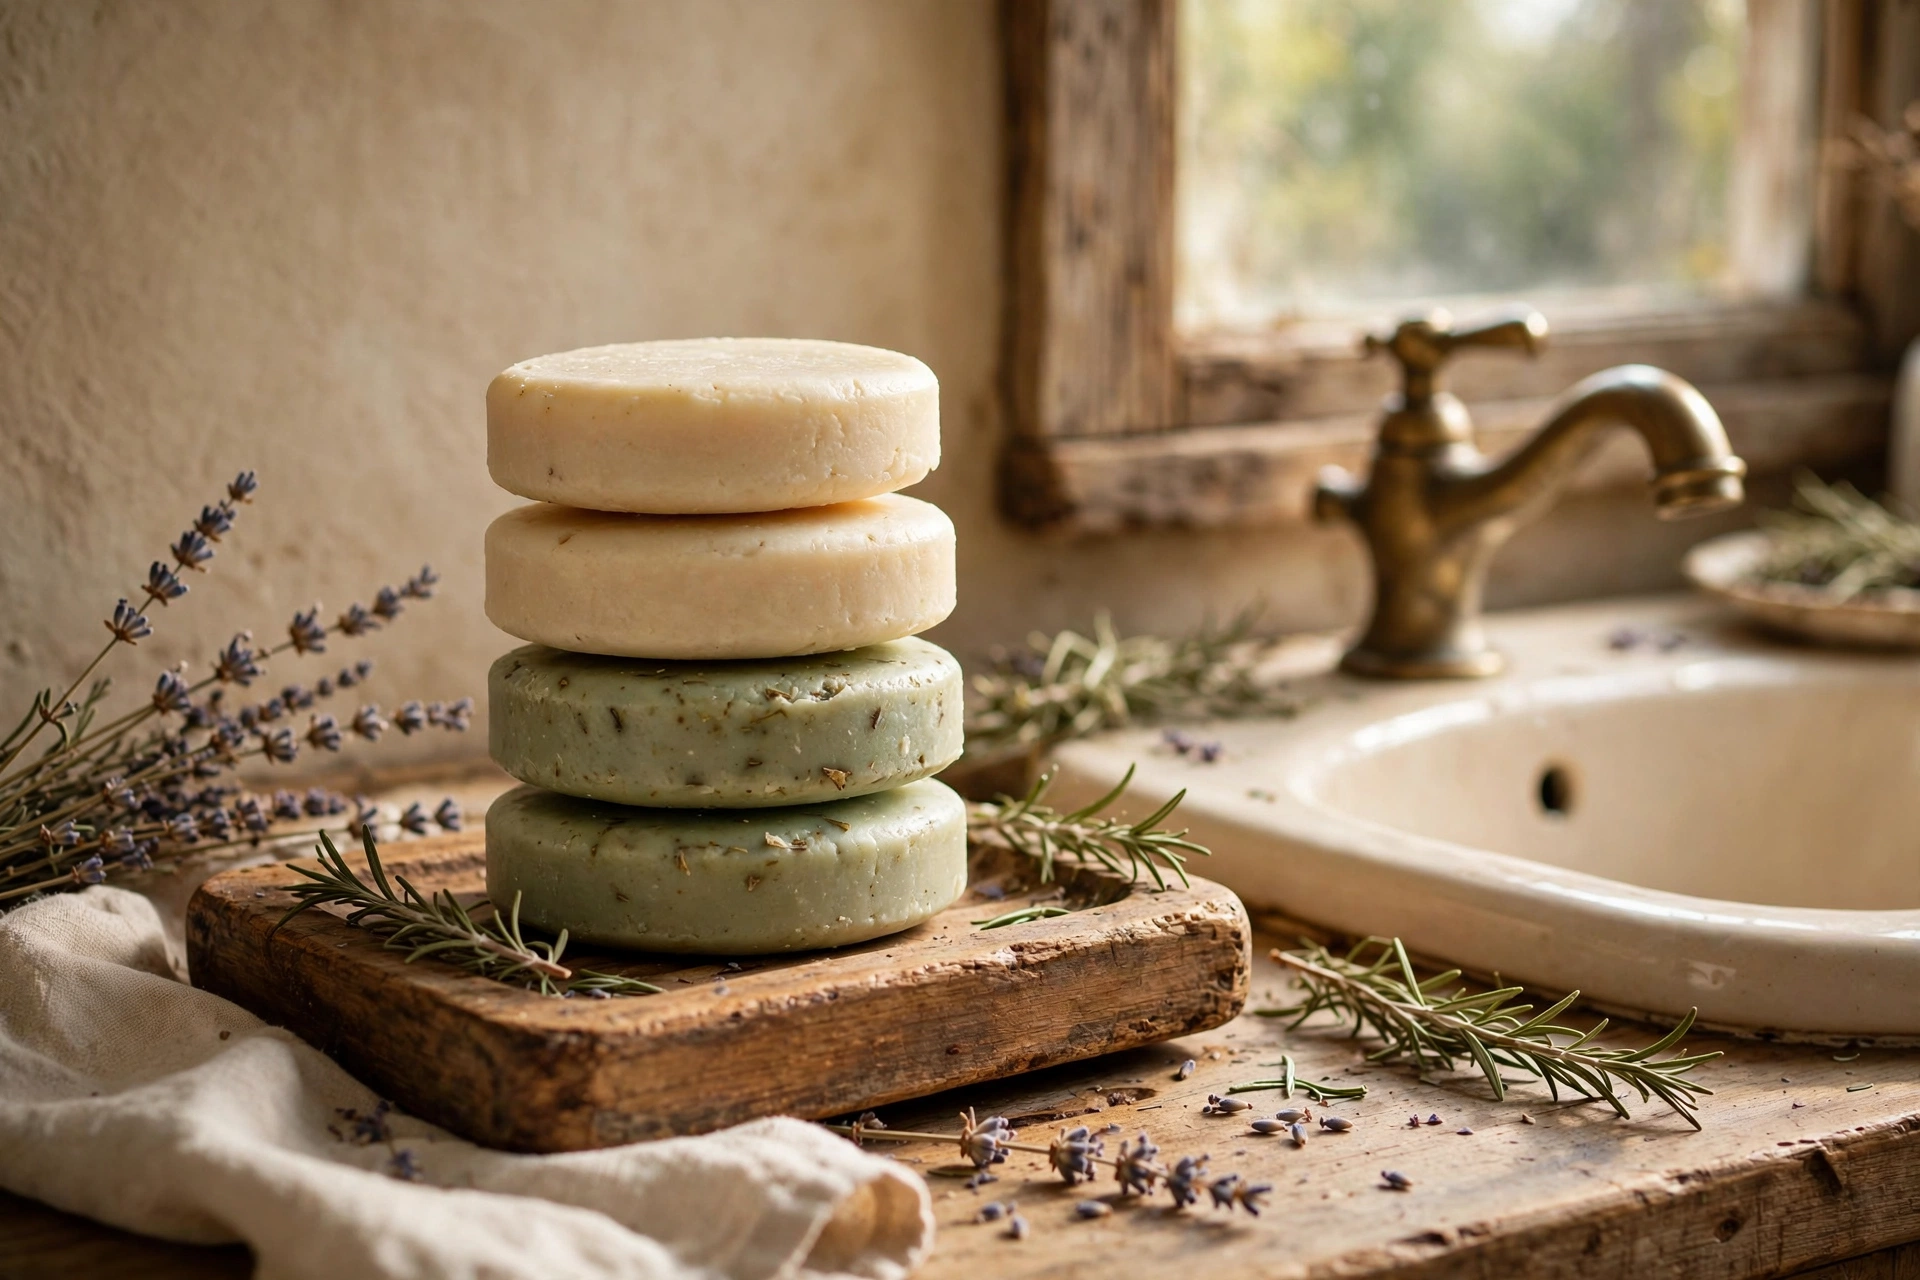
Formulating for hair, not skin
Three formulation principles separate shampoo bars from body bars. First, lather matters more — hair needs abundant, easy lather to feel clean, so lather-boosting oils earn a bigger share of the recipe. Castor oil is the classic choice: even a modest percentage noticeably boosts and stabilizes lather. Coconut oil contributes big bubbly lather too, balanced with conditioning oils so the bar isn’t stripping.
Second, keep the superfat moderate. Too much unsaponified oil leaves hair feeling coated and heavy; too little and the bar feels harsh. A middle-of-the-road superfat is the usual starting point — run your exact recipe through the Lye Calculator and adjust from there.
Third, keep additives simple. Clays (like rhassoul) and herbal infusions are popular, but heavy exfoliants, large botanical bits, and strong colorants don’t belong in a hair bar — they’ll end up tangled in hair or staining the shower.
What you’ll need
- Your shampoo-bar oil blend: a lather-forward mix with castor oil for lather boost, coconut for bubbles, and conditioning oils (olive, sweet almond, shea) for balance — calculate exact lye and water in the Lye Calculator
- Sodium hydroxide (lye) and distilled water, weighed per your recipe
- Optional: rhassoul or kaolin clay, herbal tea used as part of the water phase
- Essential oils or fragrance rated for soap (optional — keep scent light for a hair product)
- Oval or round individual cavity molds (recommended for glide)
- Stick blender, spatulas, thermometer, digital scale
- Chemical-splash goggles, nitrile gloves, long sleeves
- Apple cider vinegar (for the rinse — explained below)
Steps
1. Prep your additives
If using clay, whisk it into a little of your measured water (or into the warmed oils) so it disperses without clumps. If using an herbal infusion as part of your liquid, brew it strong, strain it well, cool it, and weigh it as part of your total water amount. Stage your molds.
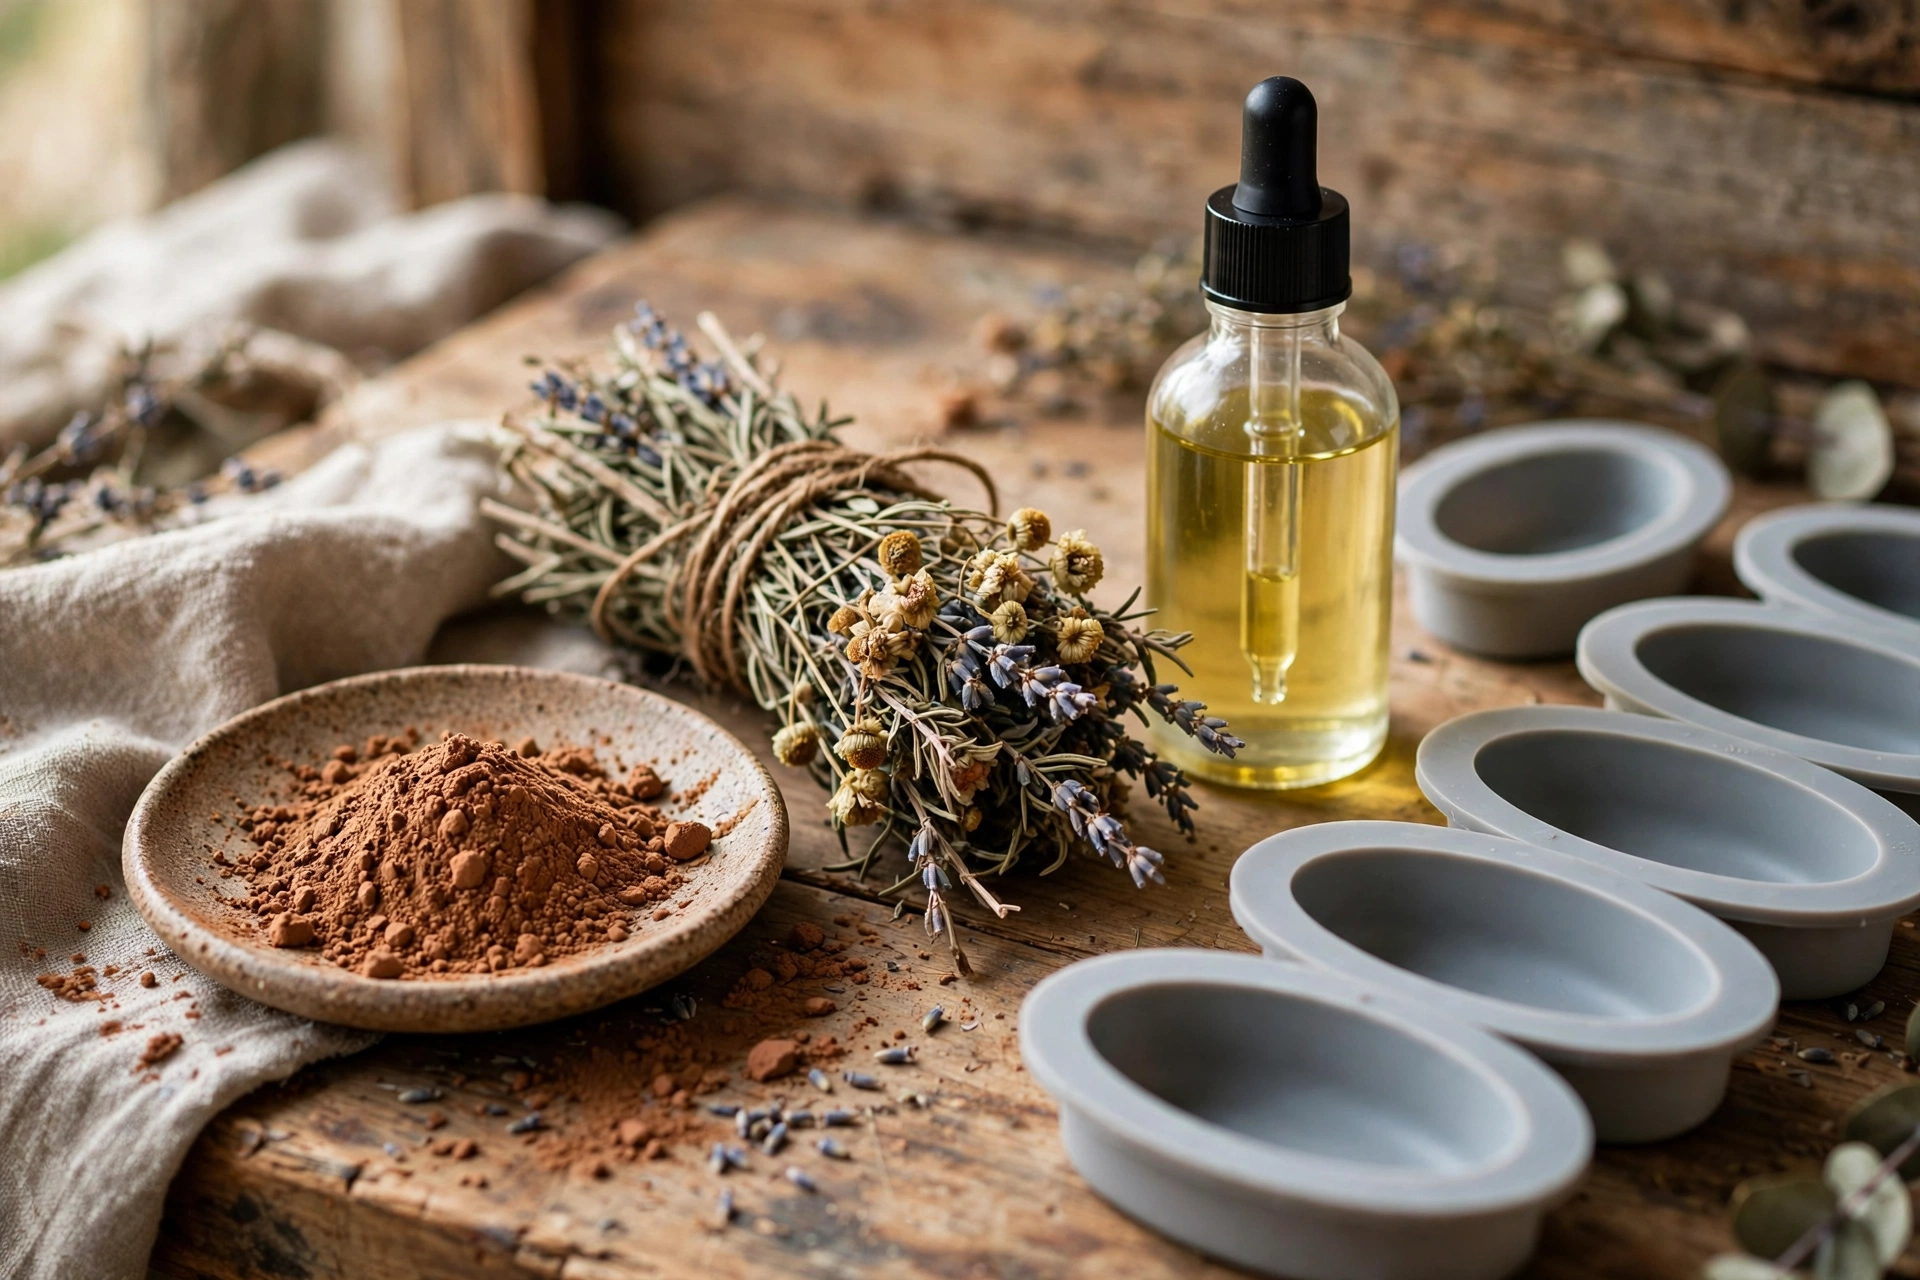
2. Make the lye solution and melt the oils
Gear up: goggles, gloves, long sleeves, ventilated area. Add lye to water (never the reverse), stir gently, set aside. Melt hard oils and butters, stir in liquid oils including the castor oil, and cool both phases to roughly 100–130°F.
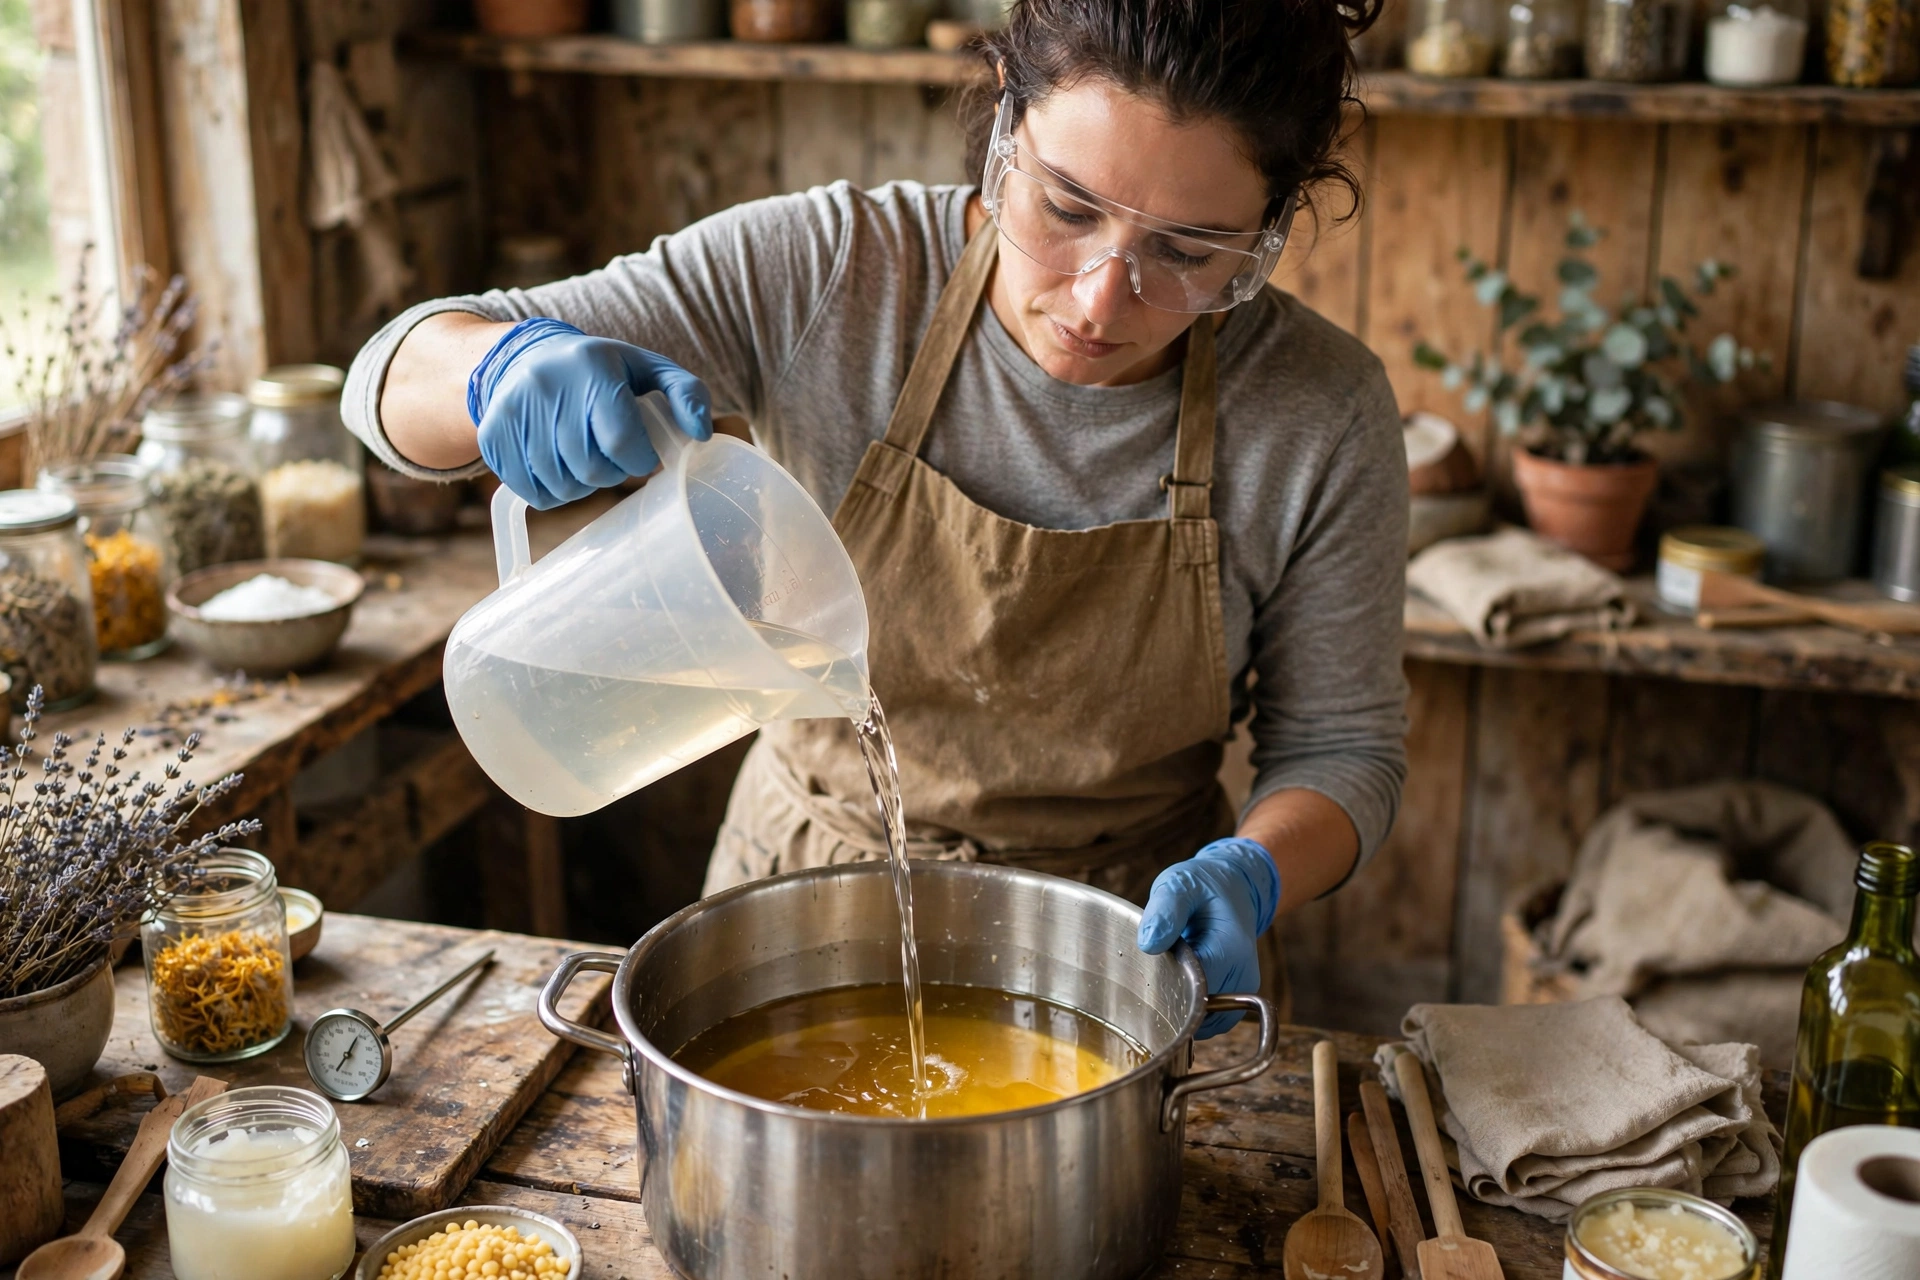
3. Blend to light-medium trace
Combine and stick-blend in short bursts to a light-to-medium trace. Shampoo bars pour best at a fluid but slightly thickened batter — thin enough to fill the molds cleanly, thick enough that clay and additives stay suspended. Stir in fragrance at trace.
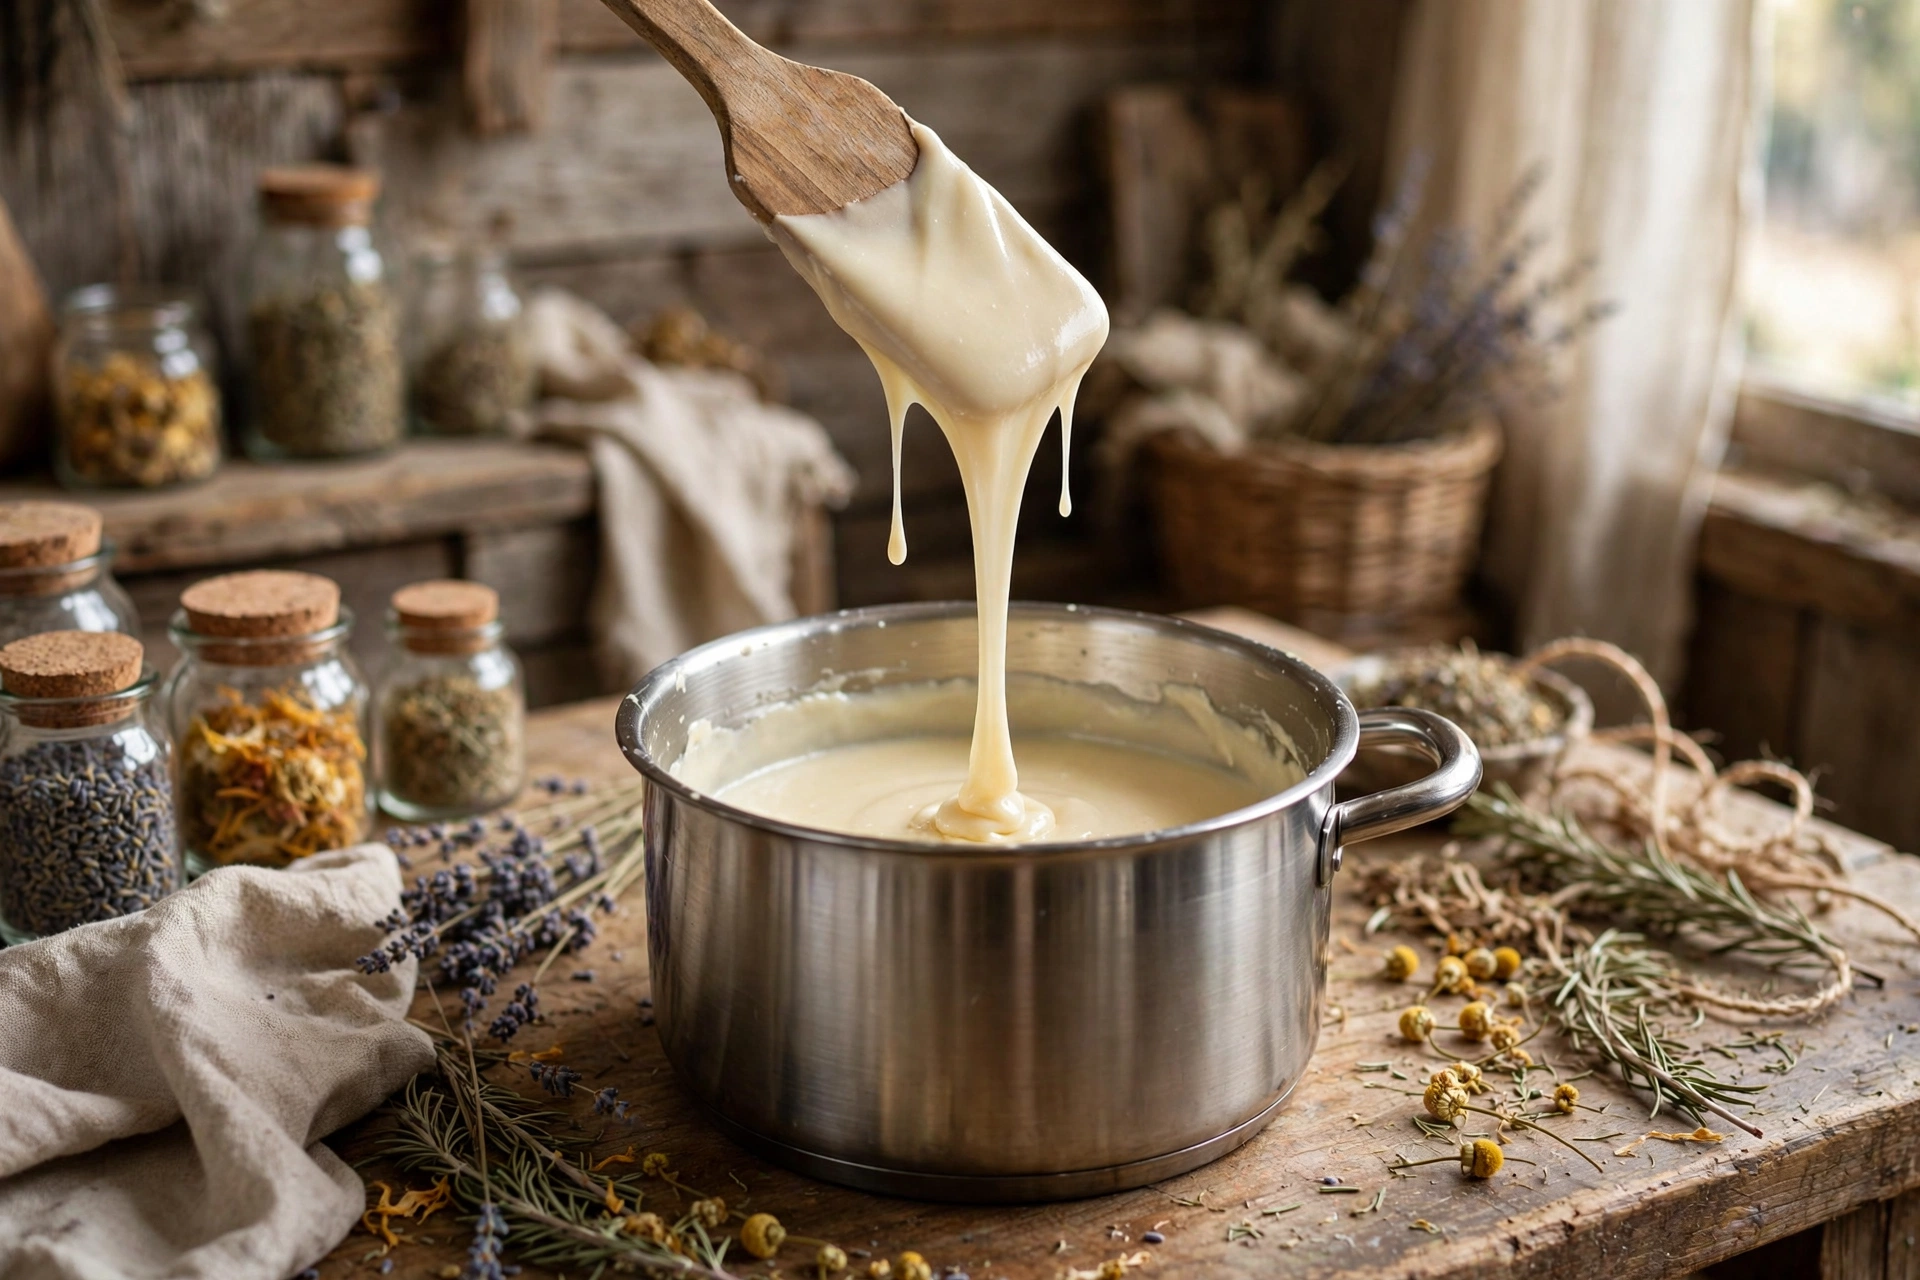
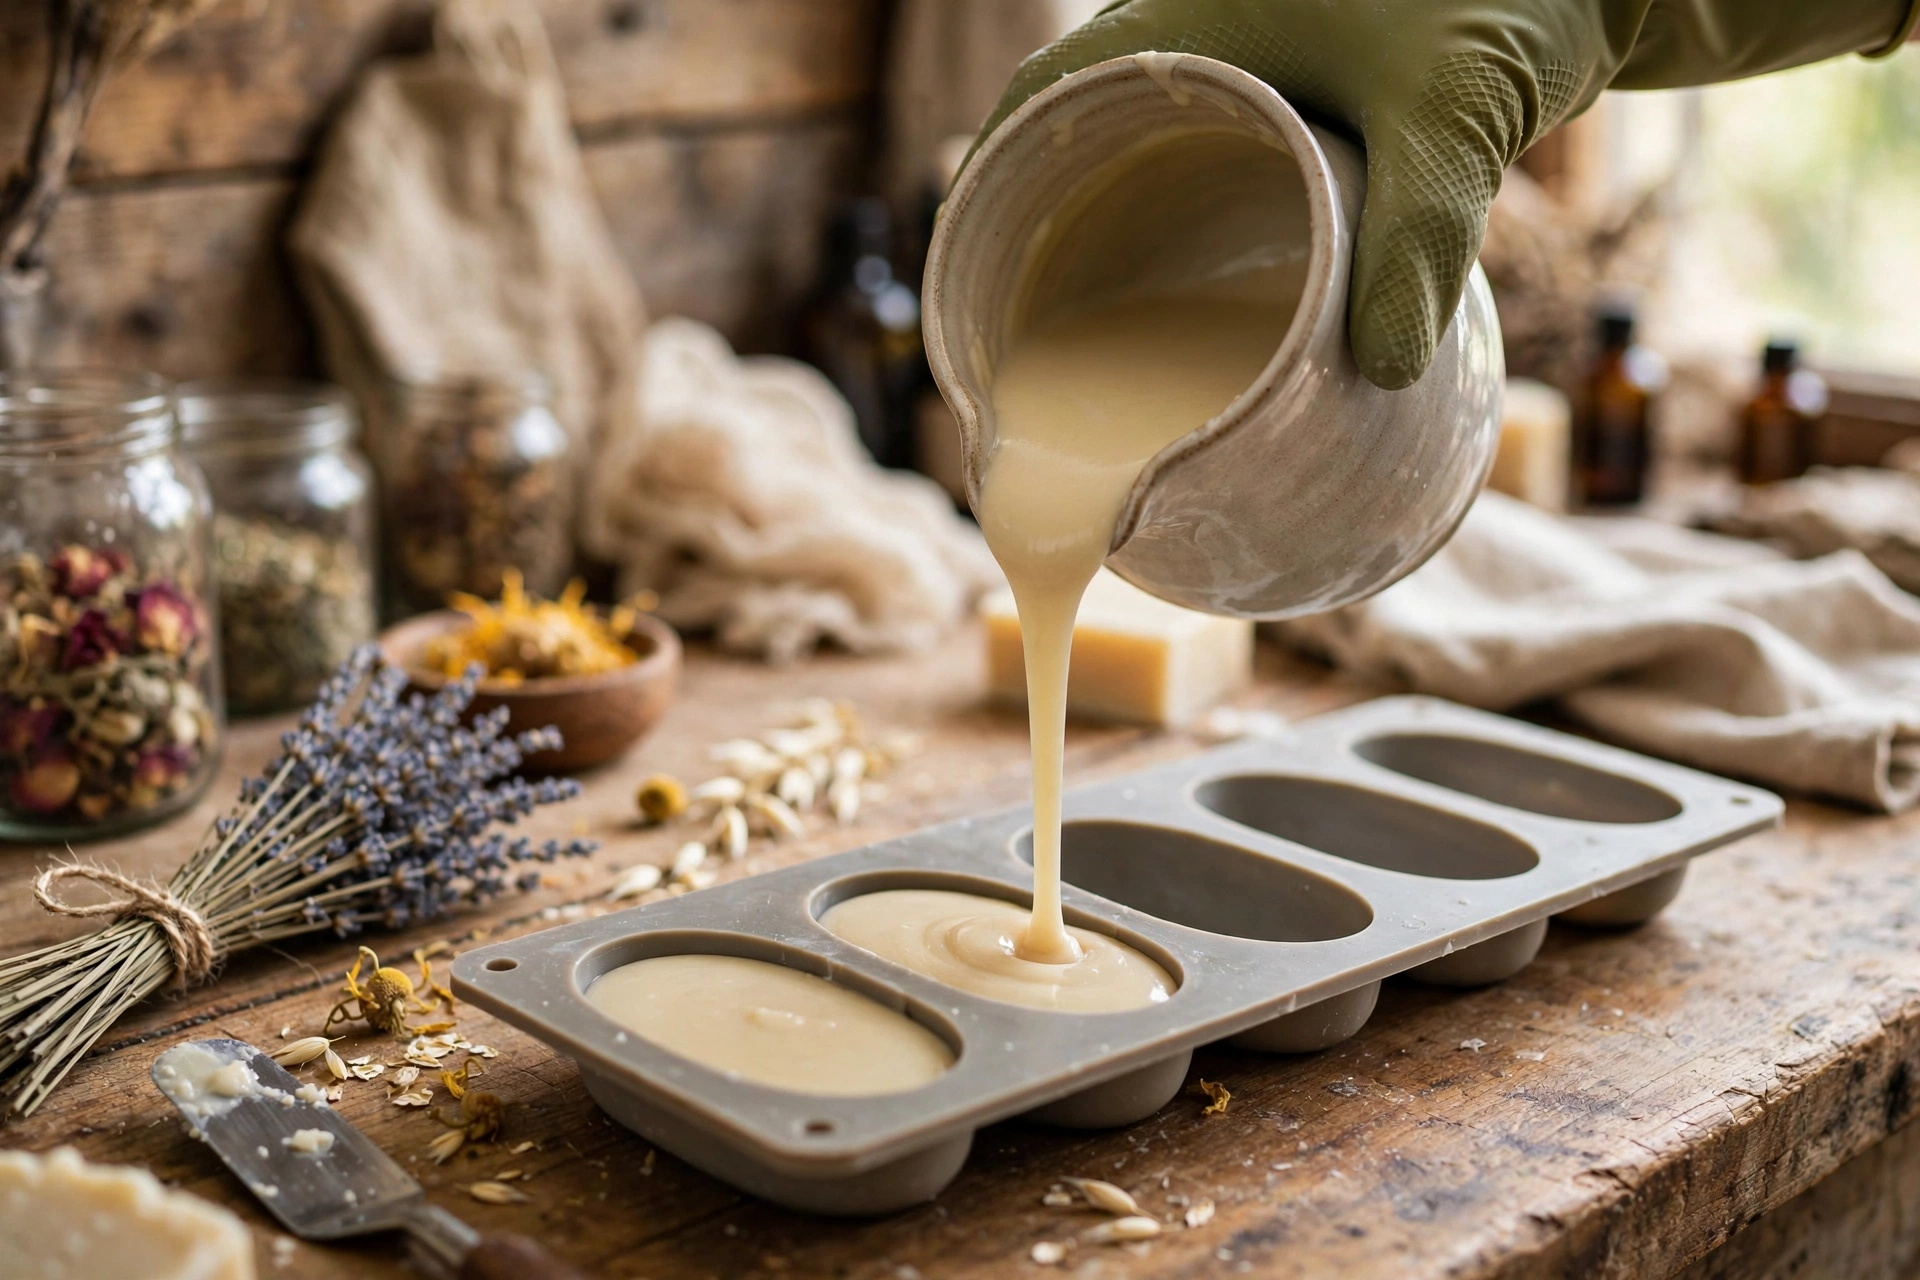
4. Pour into molds
Pour into your cavity molds and tap firmly on the counter to release air bubbles. Insulate lightly for 24 hours — a towel over the molds is plenty.
5. Unmold and bevel
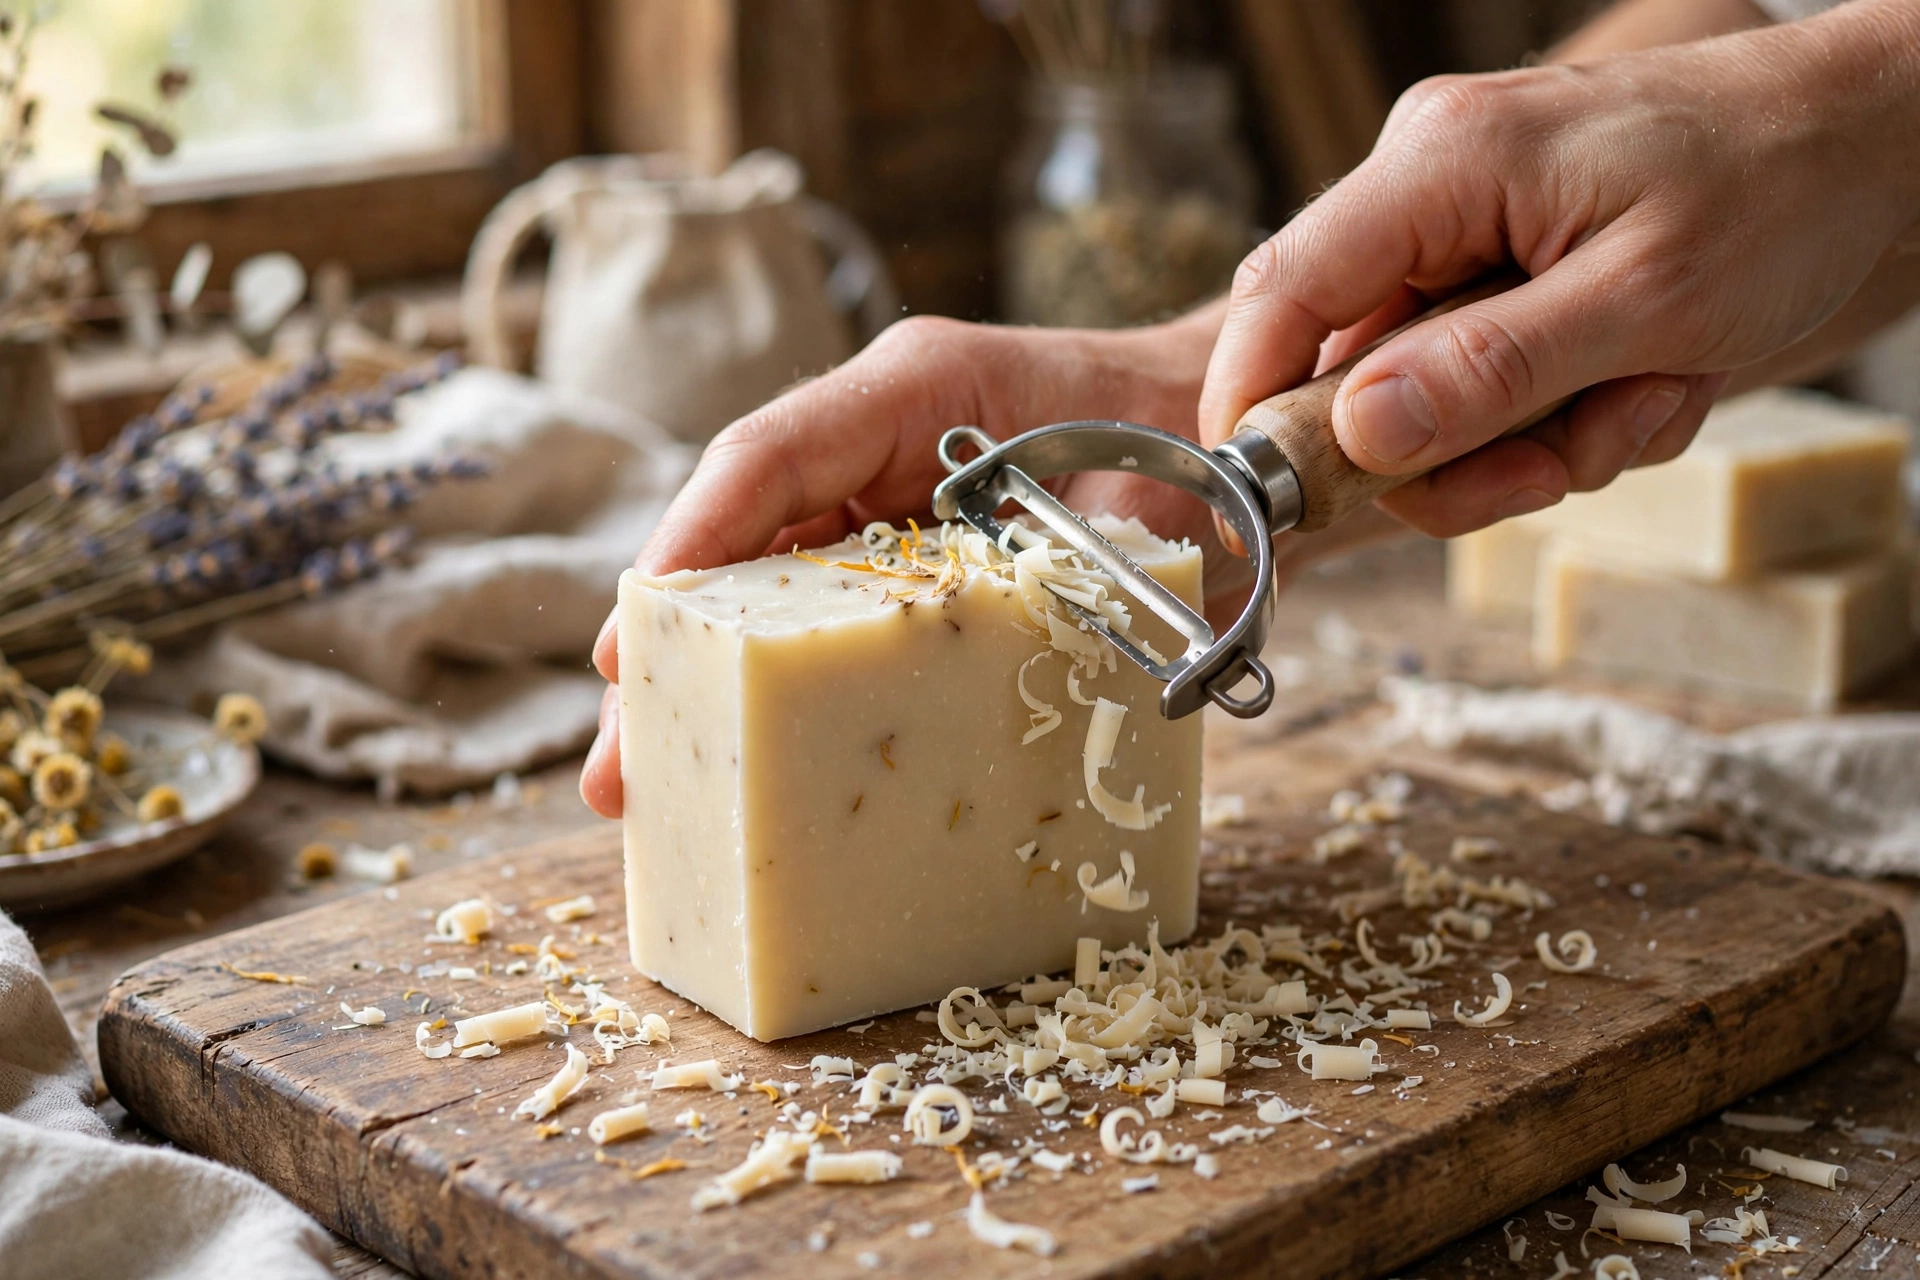
Unmold after 24–48 hours. If you used a loaf mold, cut bars and bevel the edges with a vegetable peeler or paring knife — rounded edges glide through wet hair instead of catching.
6. Cure fully — don’t rush this
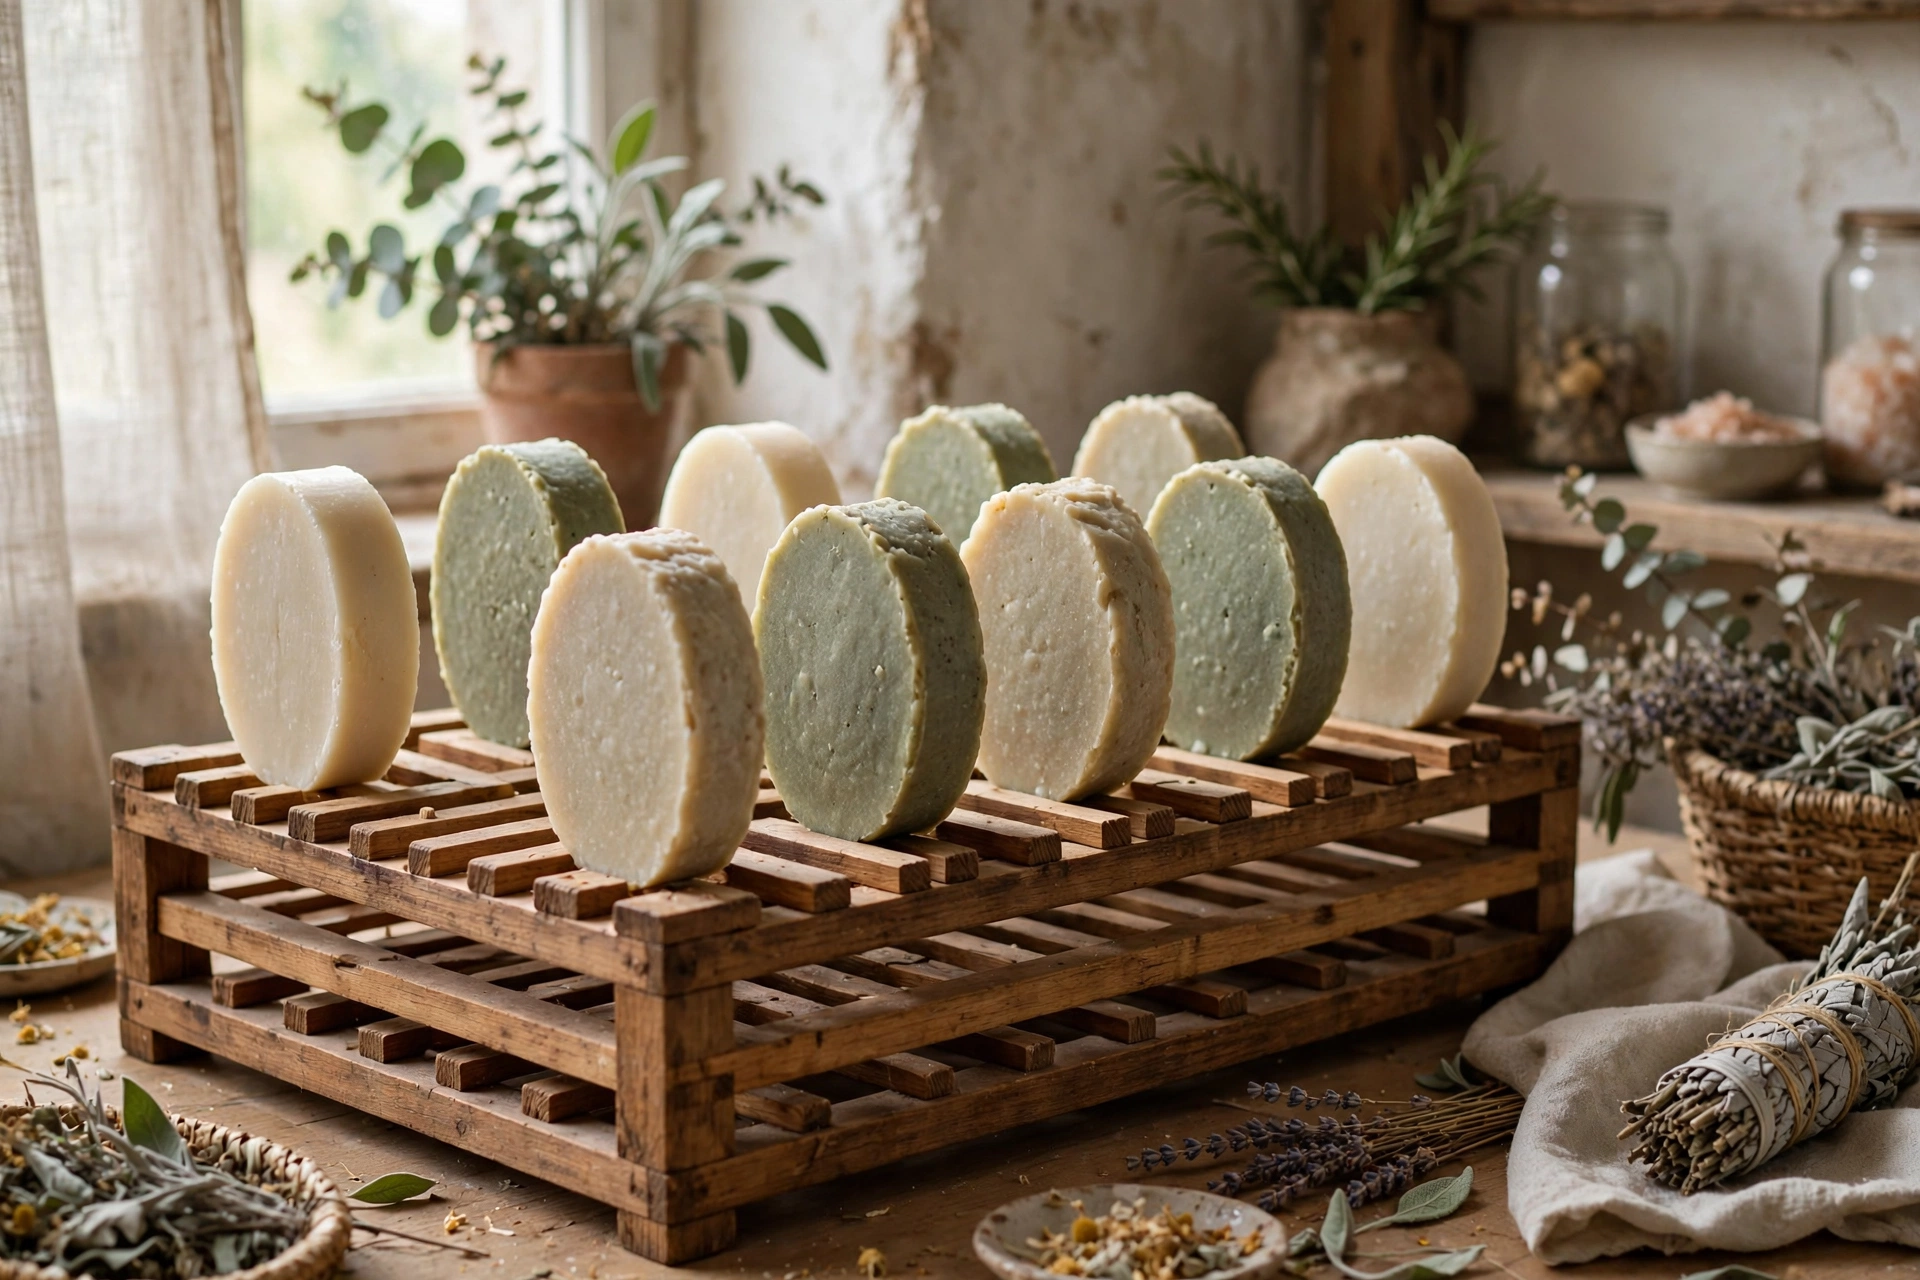
Cure 4–6 weeks minimum, 6–8 is better for shampoo bars. A full cure gives a harder, longer-lasting bar with richer lather and a milder feel. An under-cured shampoo bar feels harsh and melts away fast — the cure is not optional.
How to use a shampoo bar (and the ACV rinse)
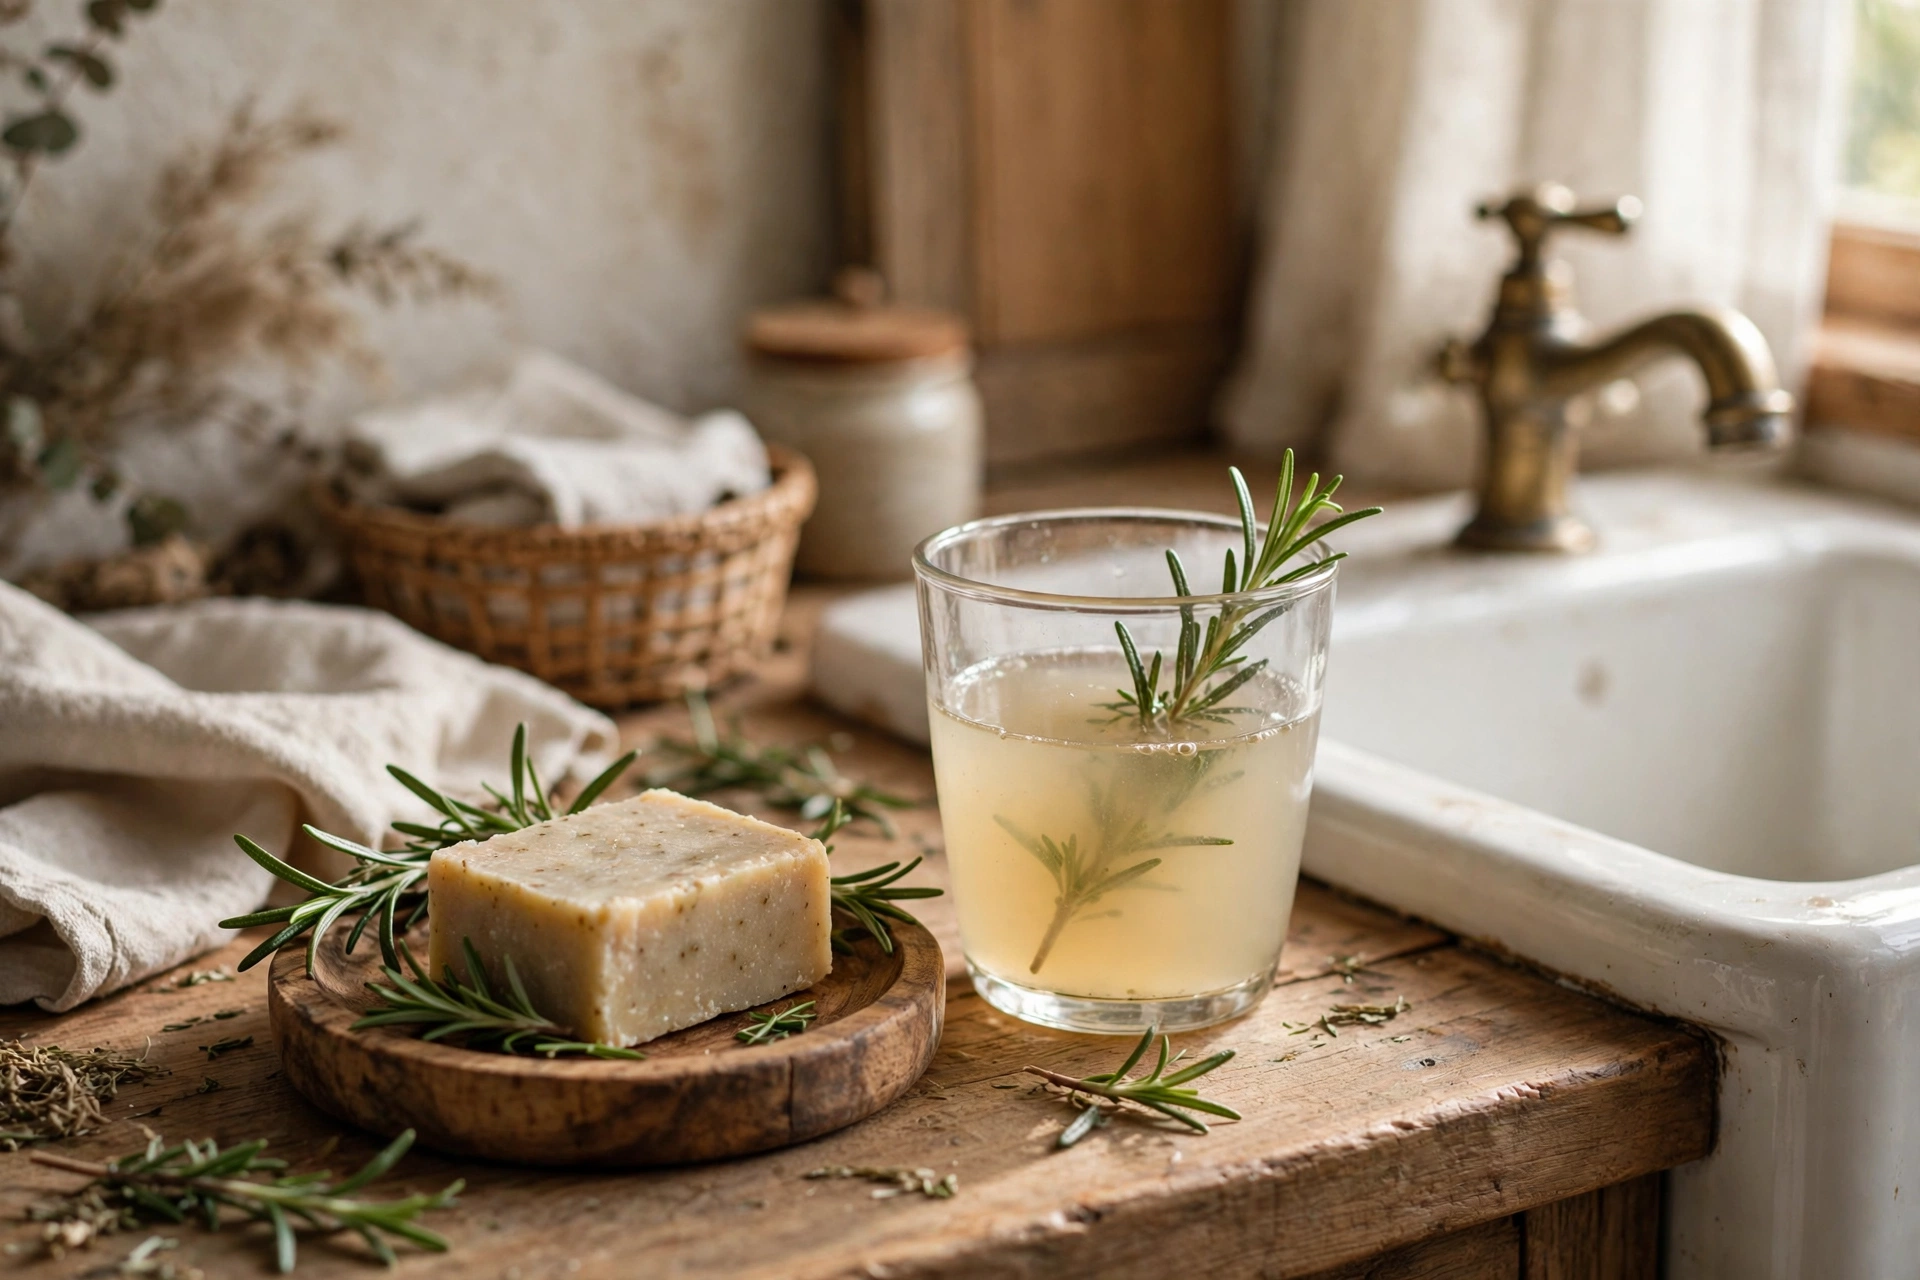
Wet hair thoroughly, rub the bar directly over your scalp in circles (or lather it in your hands first), massage, and rinse very well. Now the part everyone asks about: the apple cider vinegar rinse. Soap is naturally alkaline, and an acidic rinse helps smooth the hair cuticle afterward — many shampoo-bar users swear by it. Mix roughly a tablespoon of apple cider vinegar in a cup of cool water, pour it over your hair after rinsing out the lather, and rinse again lightly. The vinegar smell fades as hair dries.
The honest truth about the adjustment period
Here’s what the hype posts skip: hair that’s used to conventional shampoo often goes through an adjustment period of a week or two — hair can feel waxy, coated, or “not quite clean” while residue from old products works its way out and your scalp recalibrates. This is normal and temporary for most people. The ACV rinse helps a lot during this phase. But be honest with yourself too: very hard water, very fine hair, or color-treated hair sometimes just doesn’t love soap-based shampoo — and that’s okay. A shampoo bar is a wonderful option, not a universal one.
Troubleshooting
Weak lather? The bar may be under-cured, or the recipe needs more lather-building oils. Give it the full cure before judging.
Hair feels coated or waxy? Superfat may be too high for your hair type, or you’re in the adjustment period. Try the ACV rinse and give it two weeks.
Bar melts away fast? It’s under-cured, stored in water, or the recipe is very soft. Cure longer and keep it on a draining dish.
Scalp feels dry or itchy? Lower the cleansing oils slightly next batch, or try the bar only 2–3 times a week alternating with your regular routine.
Next steps
New to cold process? Start with our first cold process soap recipe to learn the basics before formulating for hair. Want a conditioning follow-up project? Our soap content library keeps growing — and keep the Lye Safety Checklist at your station for every batch.



