
How to Make Sea Salt Spa Bars (Cold Process Salt Bars)
Salt bars are the luxury outliers of the soap world: rock-hard, long-lasting bars with a creamy, lotion-like lather and a gentle exfoliating feel. They’re made with a huge proportion of fine sea salt — and that salt changes everything about how the soap behaves. Here’s how to make them successfully.
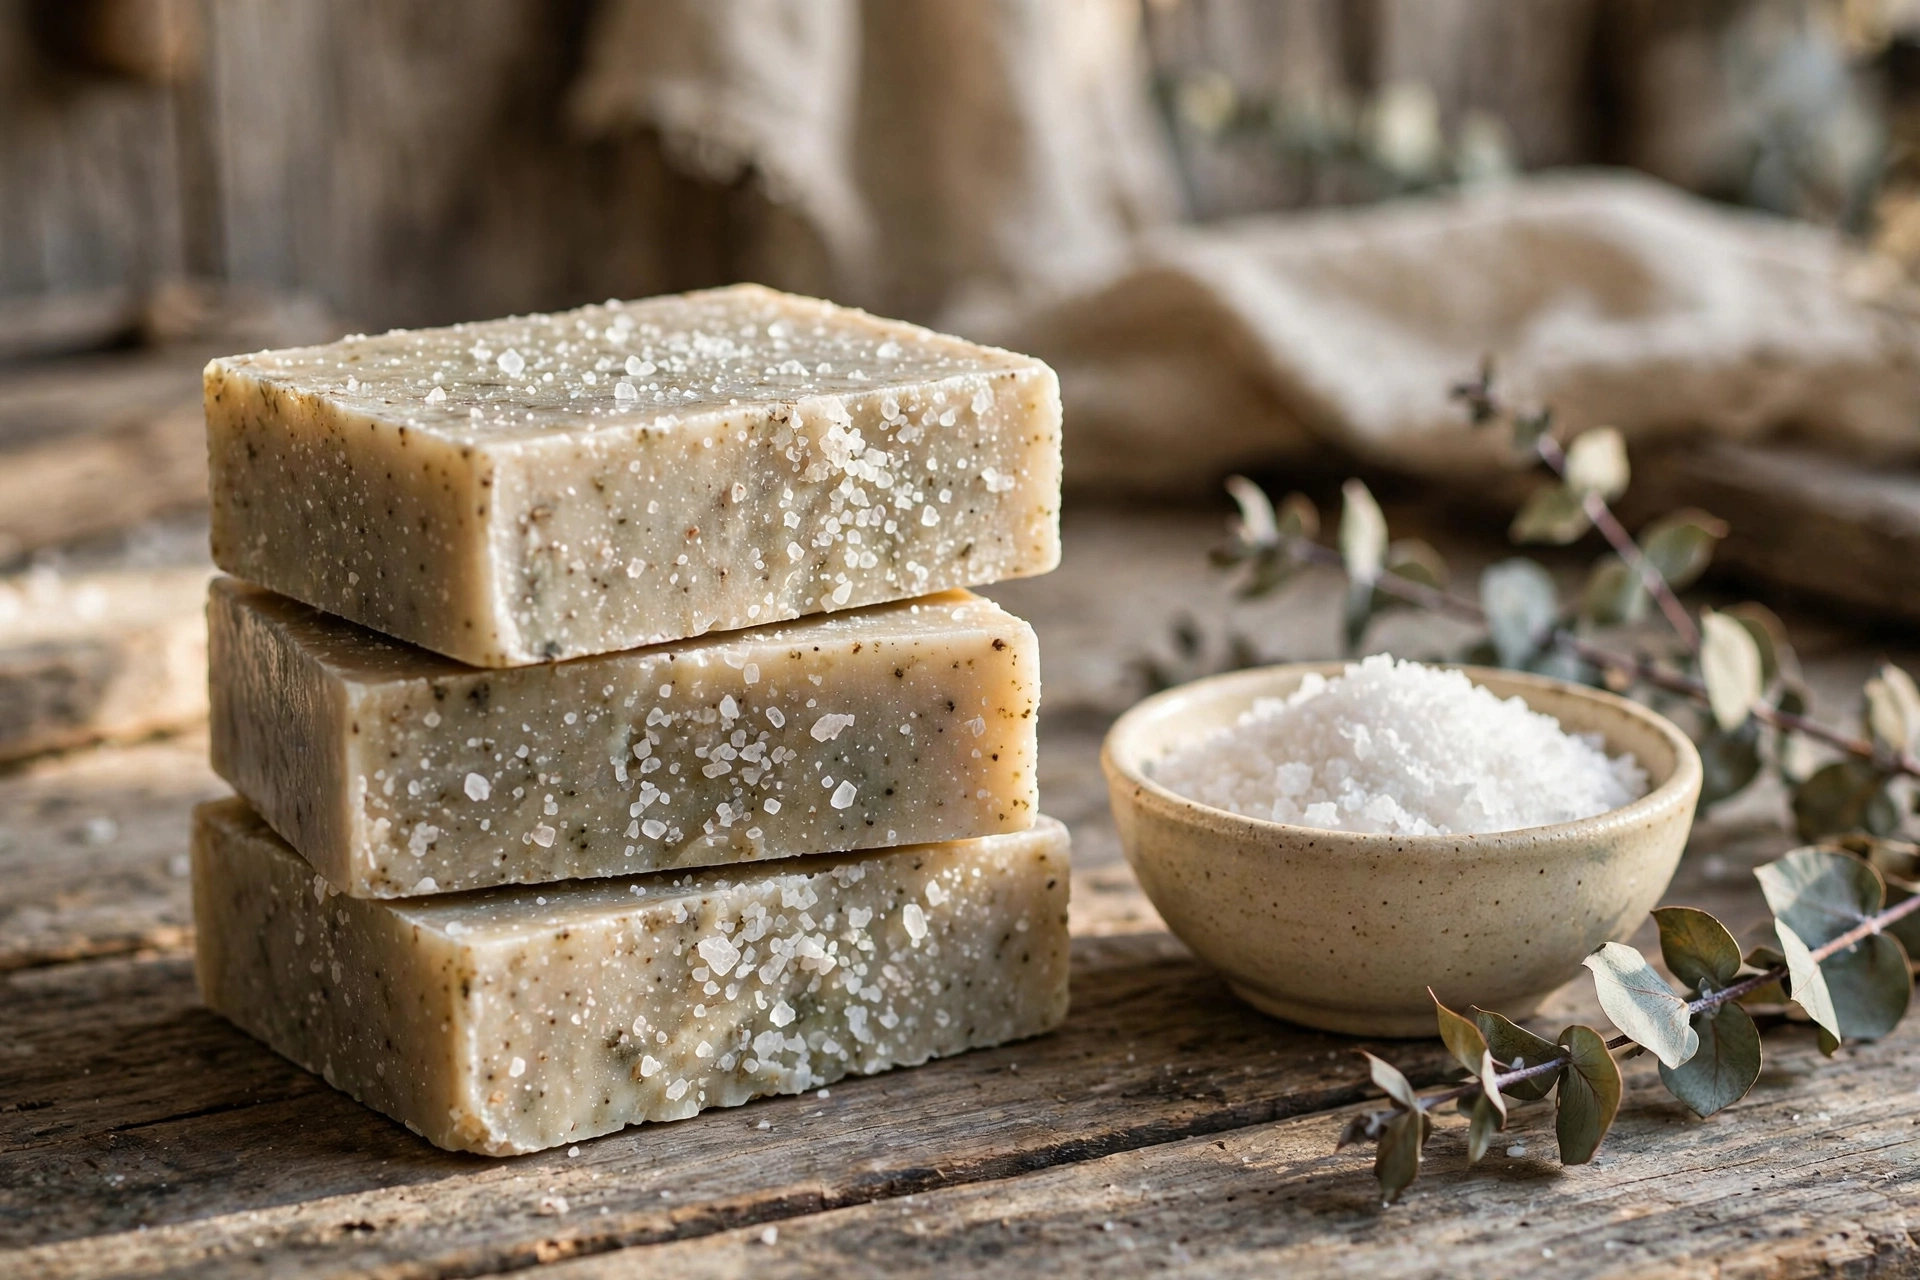
What makes a salt bar different
A salt bar is cold process soap with roughly half its weight in fine sea salt stirred into the batter — far more than any “exfoliating” soap you’ve made before. The classic approach pairs that salt with a high percentage of coconut oil, because coconut is one of the few oils that lathers well in salt water (salt suppresses lather in most oils). The result: a dense, polished-looking bar that lasts ages in the shower.
Two things catch first-timers off guard. First, salt bars need a high superfat — the extra unsaponified oil keeps the high-coconut base from feeling drying. Second, they harden shockingly fast — salt accelerates setup dramatically, so this is not a leisurely pour. Have everything staged before you blend.
What you’ll need
- Coconut oil as the majority of your oil blend, plus a smaller portion of conditioning oils (olive, shea, or castor) — run your exact blend through the Lye Calculator with a generous superfat
- Fine sea salt — roughly half the weight of your oils (a standard starting point in salt-bar practice)
- Sodium hydroxide (lye) and distilled water, weighed per your recipe
- Fragrance oil rated for cold process (optional — keep it simple; salt bars shine unscented too)
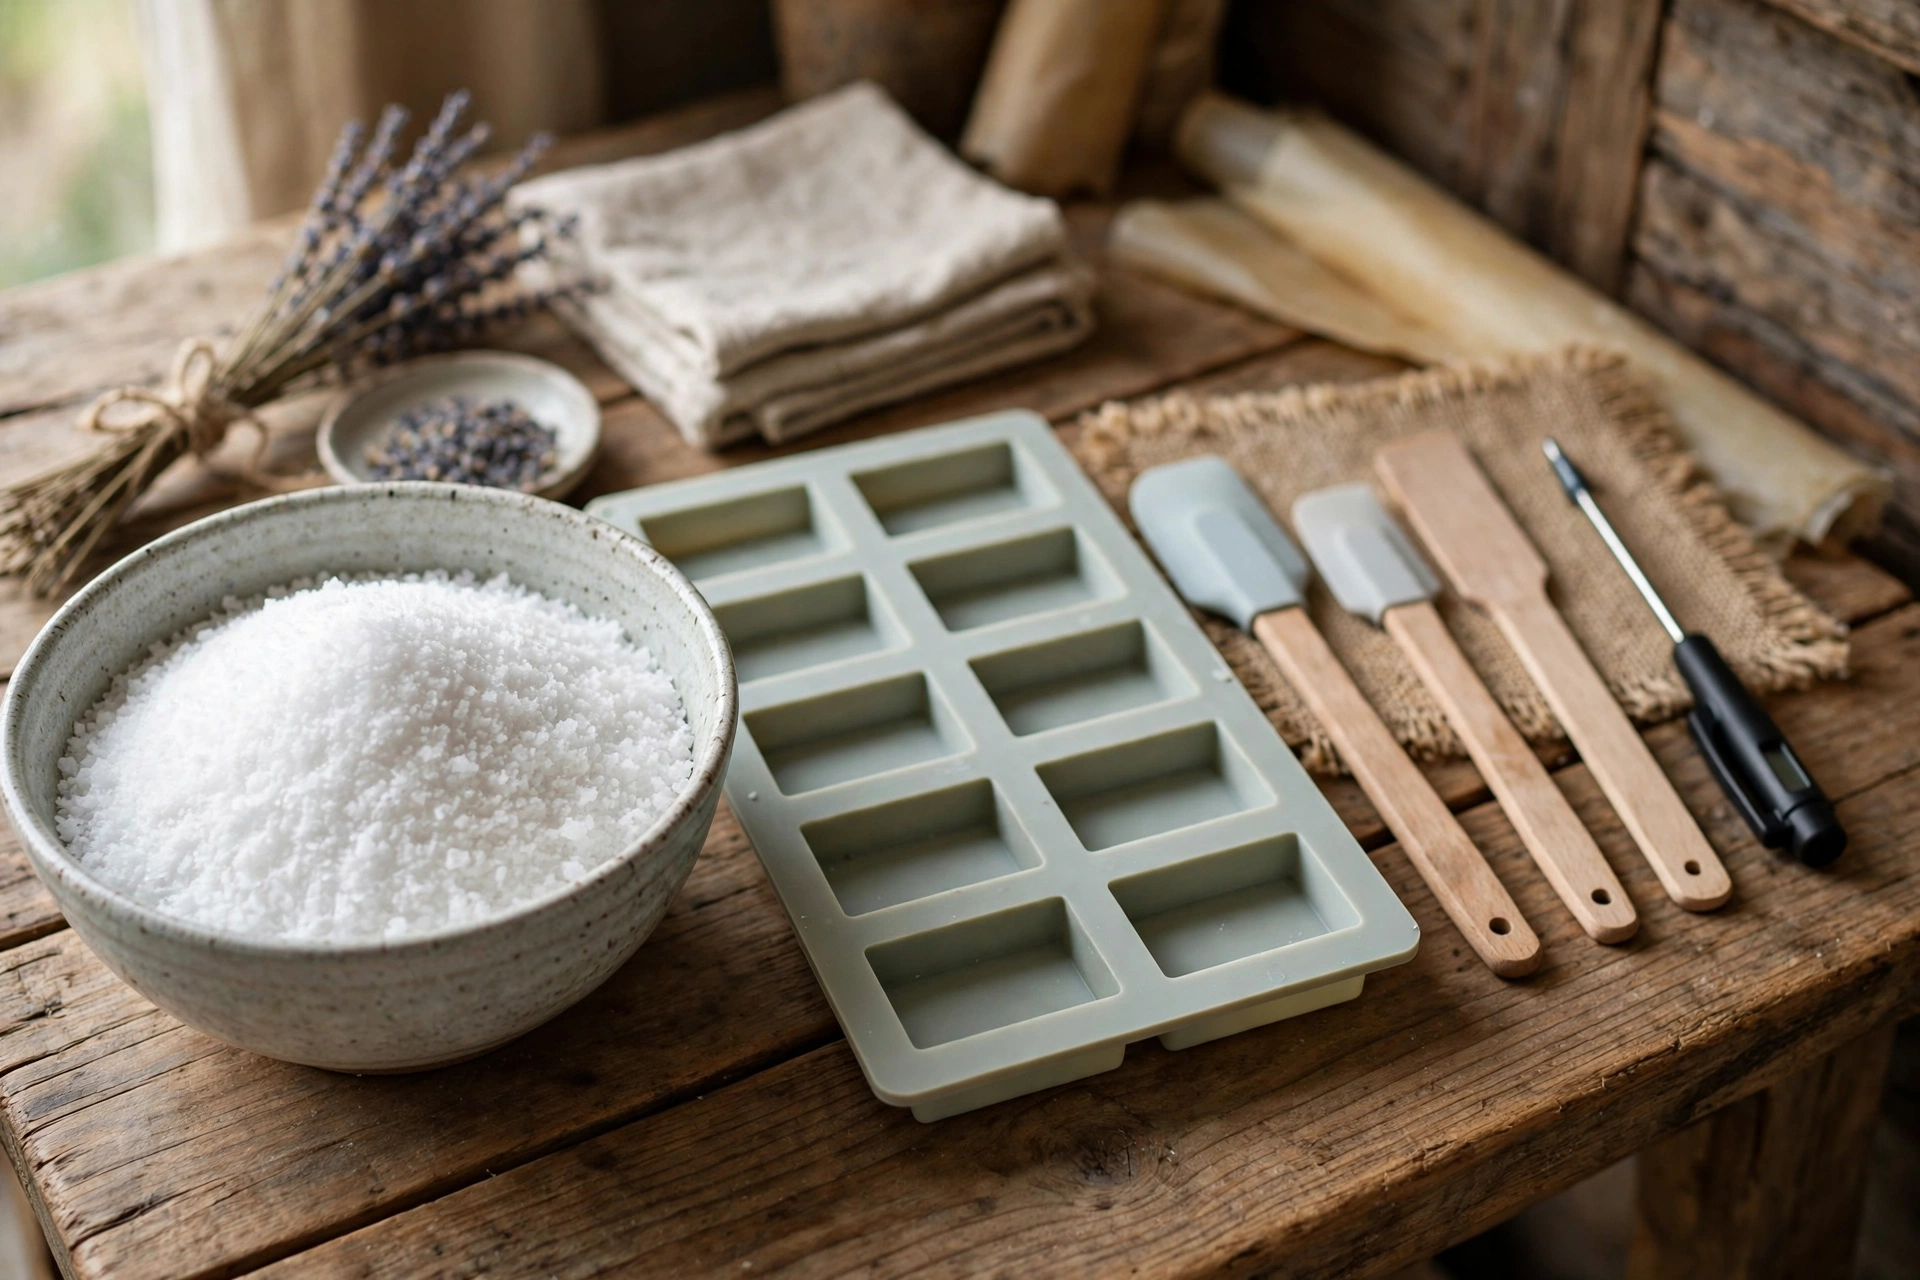
- Individual cavity molds (strongly recommended — see below)
- Stick blender, spatulas, thermometer, digital scale
- Chemical-splash goggles, nitrile gloves, long sleeves
Steps
1. Prep like it’s a race — because it is
Weigh your salt into a bowl and set it by the pot. Stage your molds, spatulas, and fragrance. Salt bars can go from fluid batter to unpourable in minutes once the salt hits, so every tool must be within arm’s reach before the lye goes in.
2. Make the lye solution and melt the oils
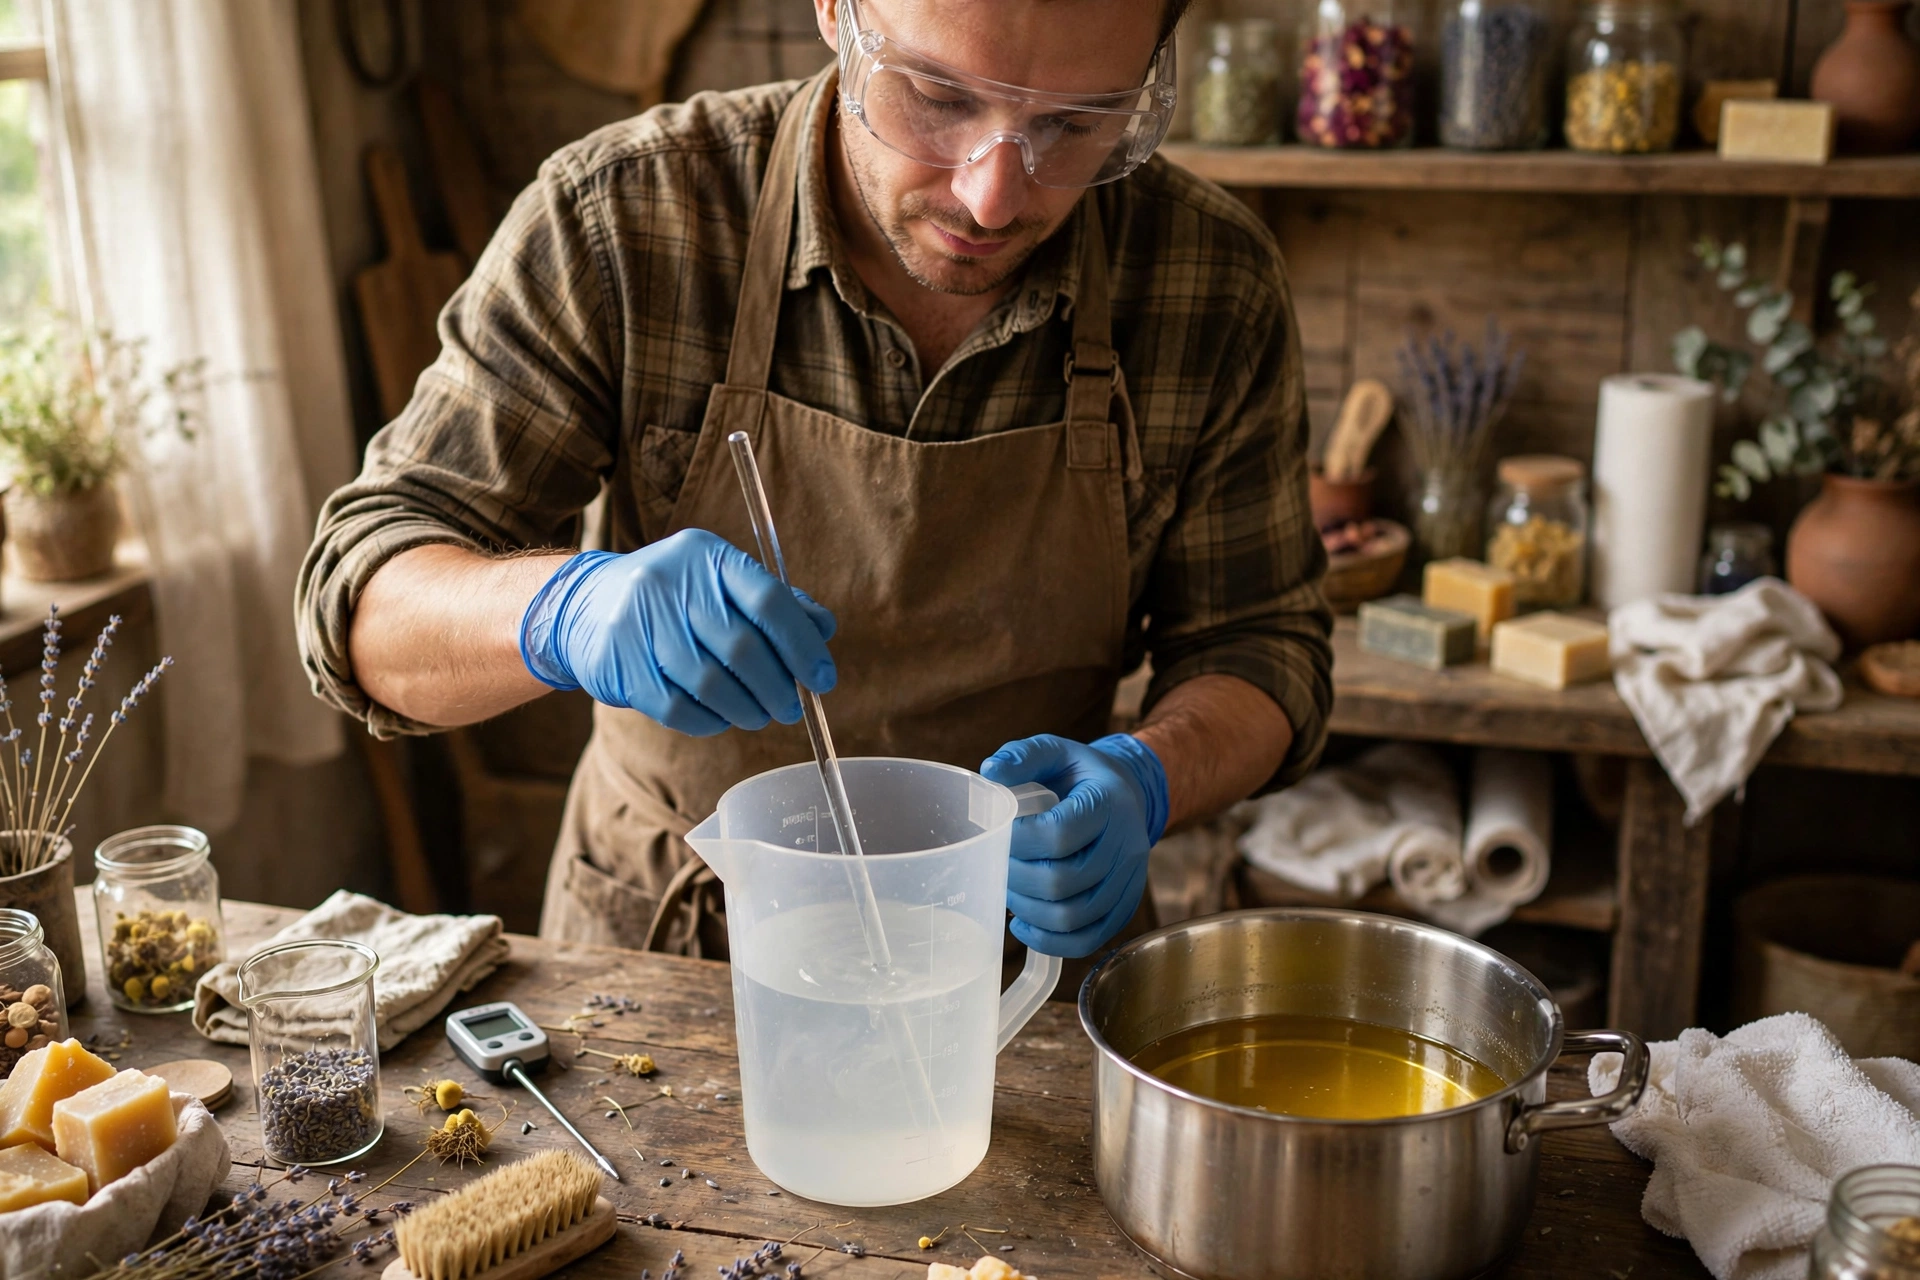
Gear up: goggles, gloves, long sleeves, ventilated area. Add lye to water (never the reverse), stir gently, and set aside. Melt the coconut oil and any butters, stir in liquid oils, and cool both phases to roughly 100–130°F. Salt-bar batter benefits from soaping on the cooler end of that range — heat plus salt equals instant concrete.
3. Blend to a thin trace
Pour the lye solution into the oils and stick-blend in short bursts to just a thin trace — barely thickened. Do NOT blend to medium trace here; you’re about to add a mountain of salt, and the batter will thicken fast on its own.
4. Stir in the salt
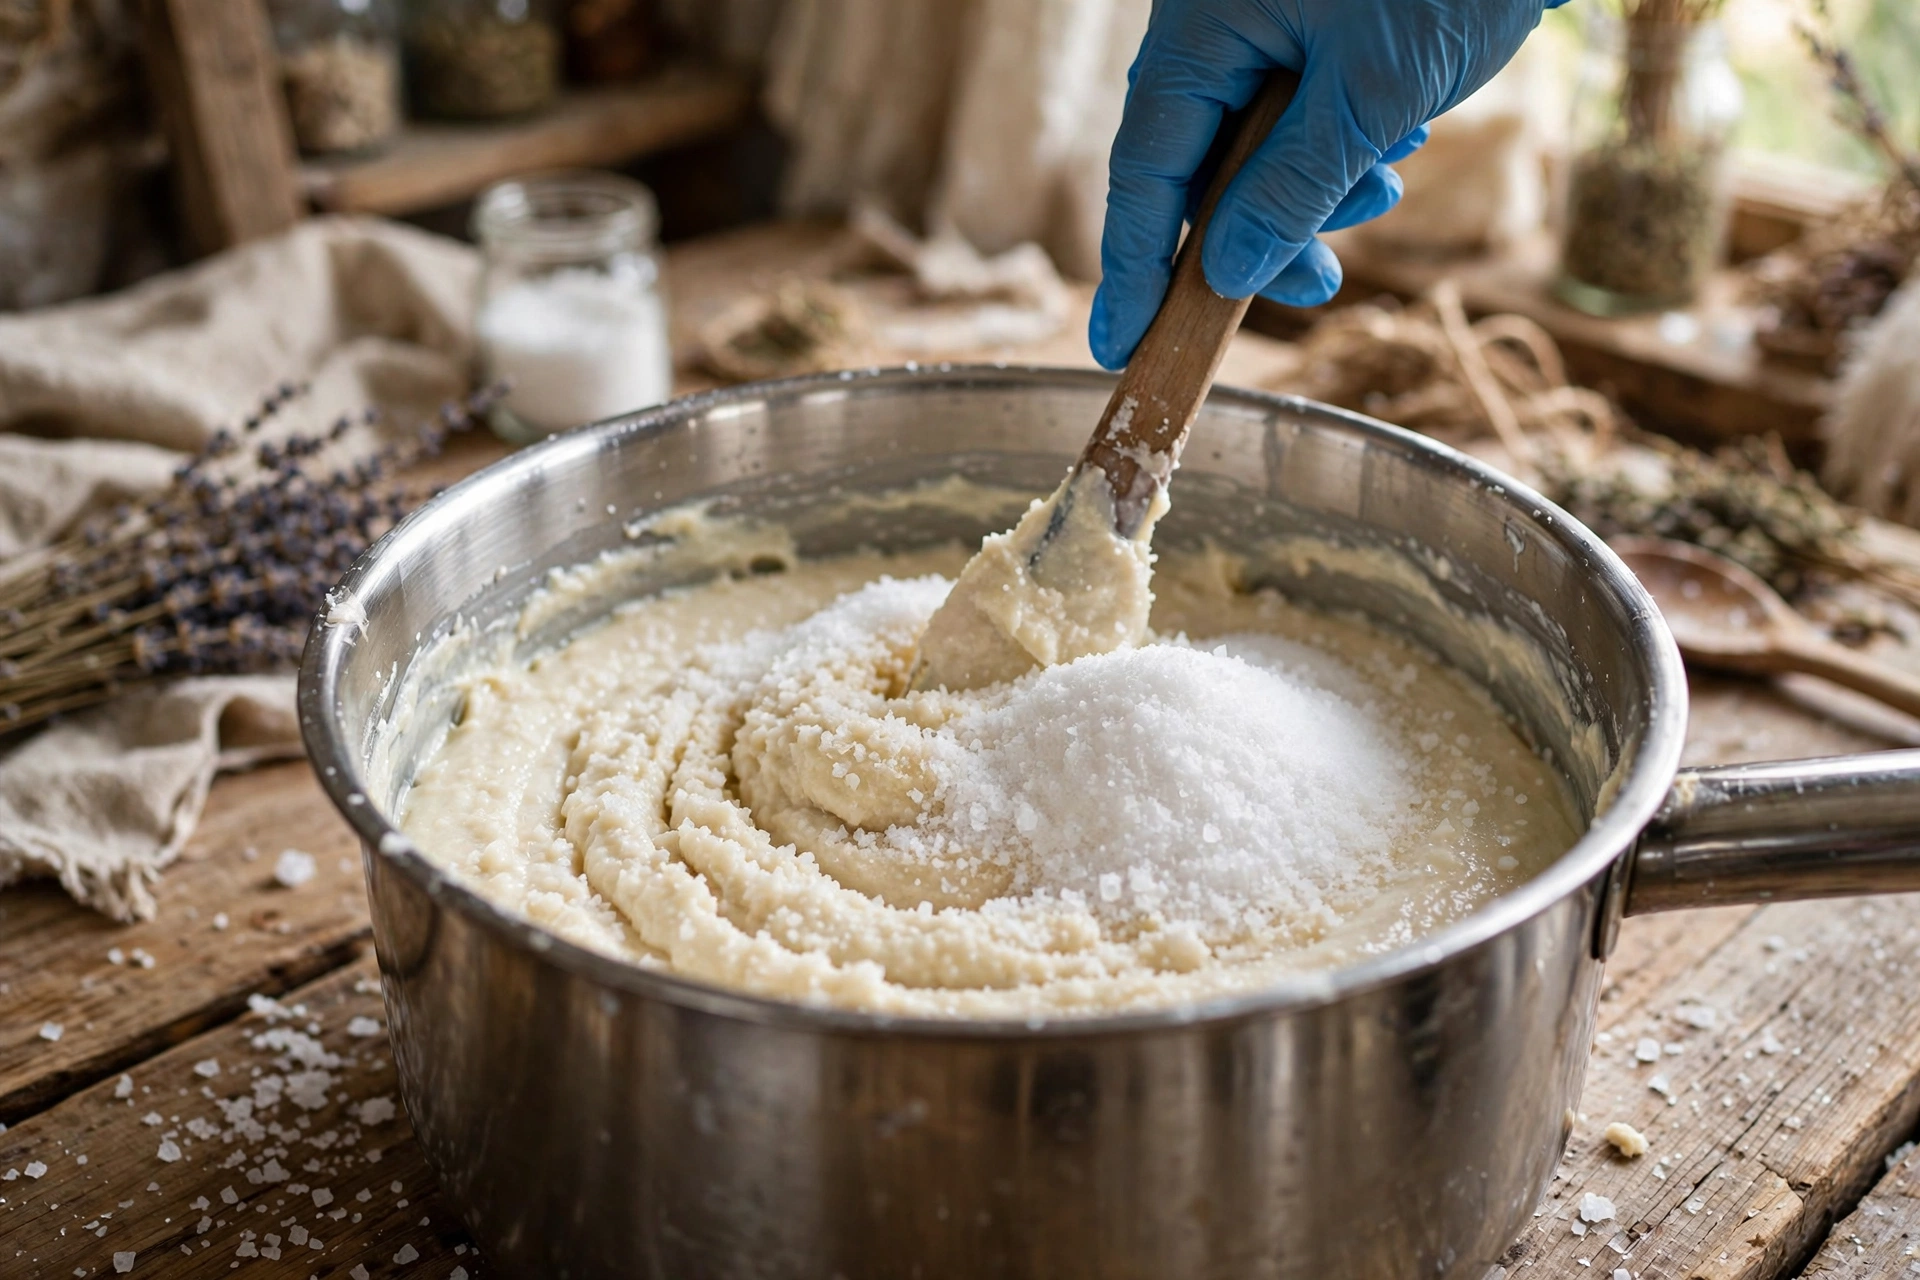
Dump in the fine sea salt and stir thoroughly by hand until every grain is coated and the batter is uniform. The mixture will turn thick and grainy — that’s correct. If you added fragrance, stir it in now, quickly.
5. Get it into the molds — fast
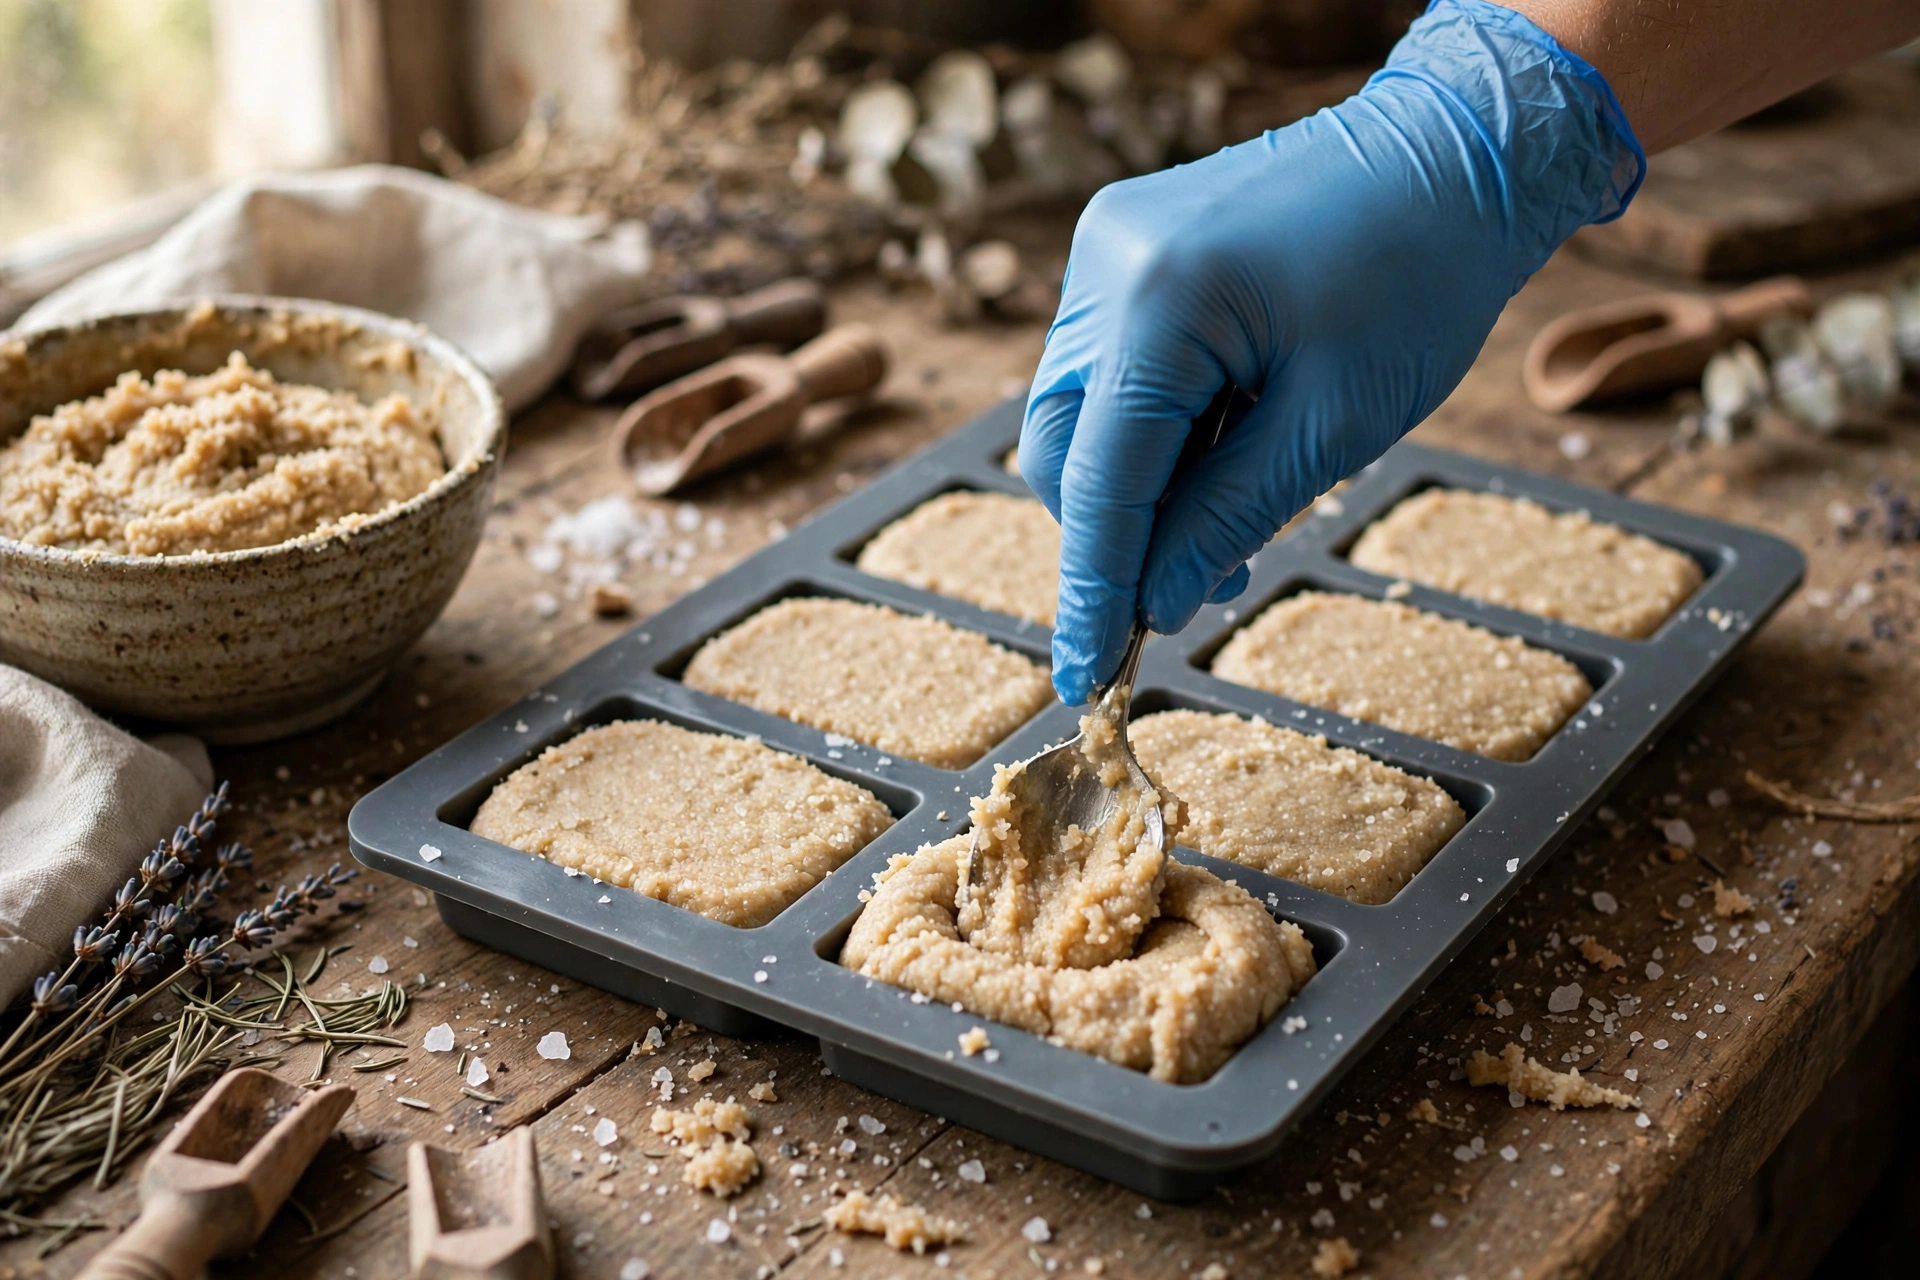
Spoon or glop the thick batter into your molds, pressing it in firmly to eliminate air pockets. Tap each mold hard on the counter. This is why individual cavity molds are the standard for salt bars: a loaf would need cutting within an hour or two before it turns to brick, while cavity molds need no cutting at all.
6. Unmold
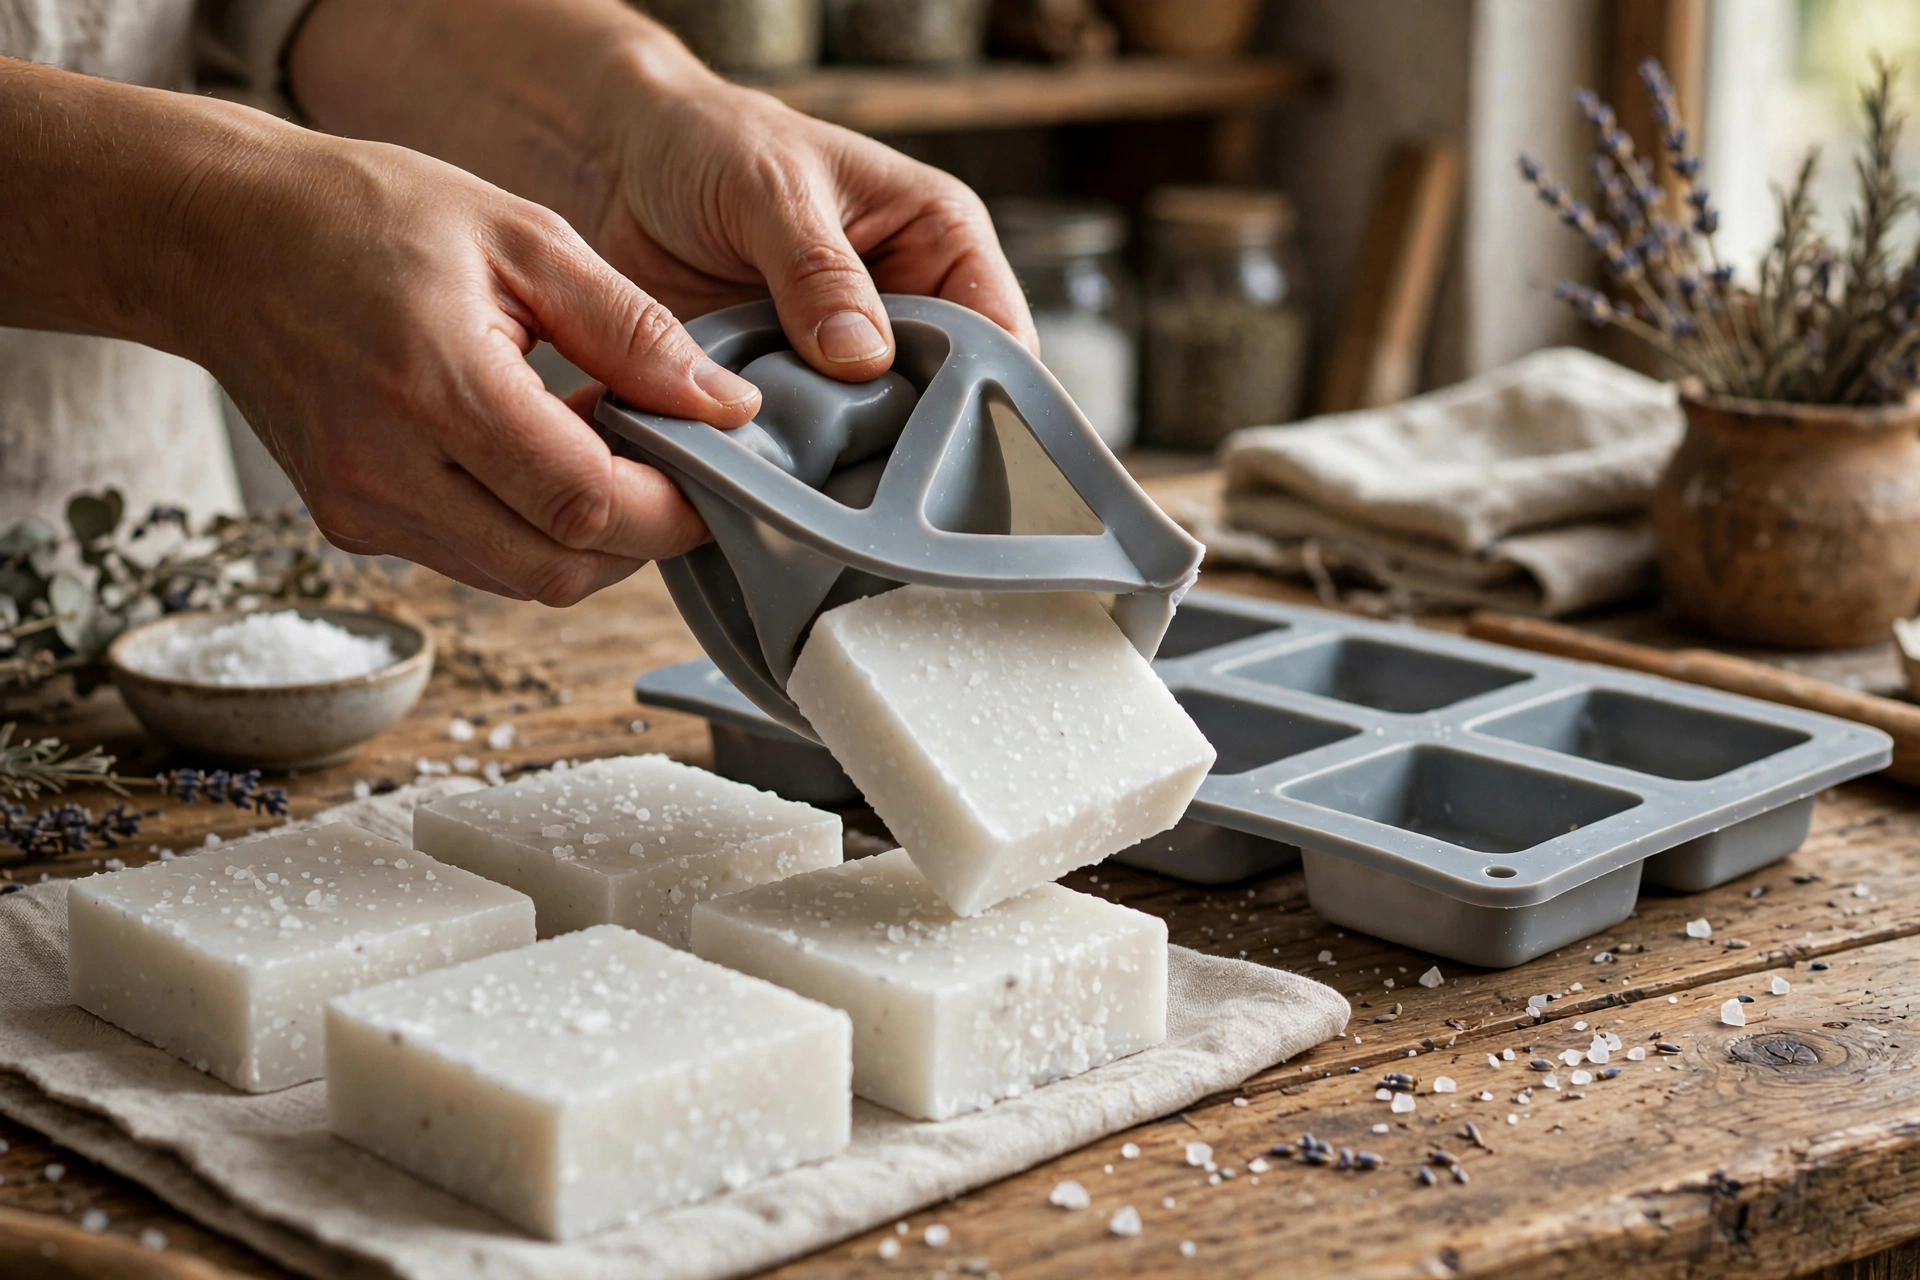
Salt bars firm up fast — most pop out of cavity molds within 12–24 hours. They’ll feel surprisingly hard already. That’s normal.
7. Cure long — longer than you think
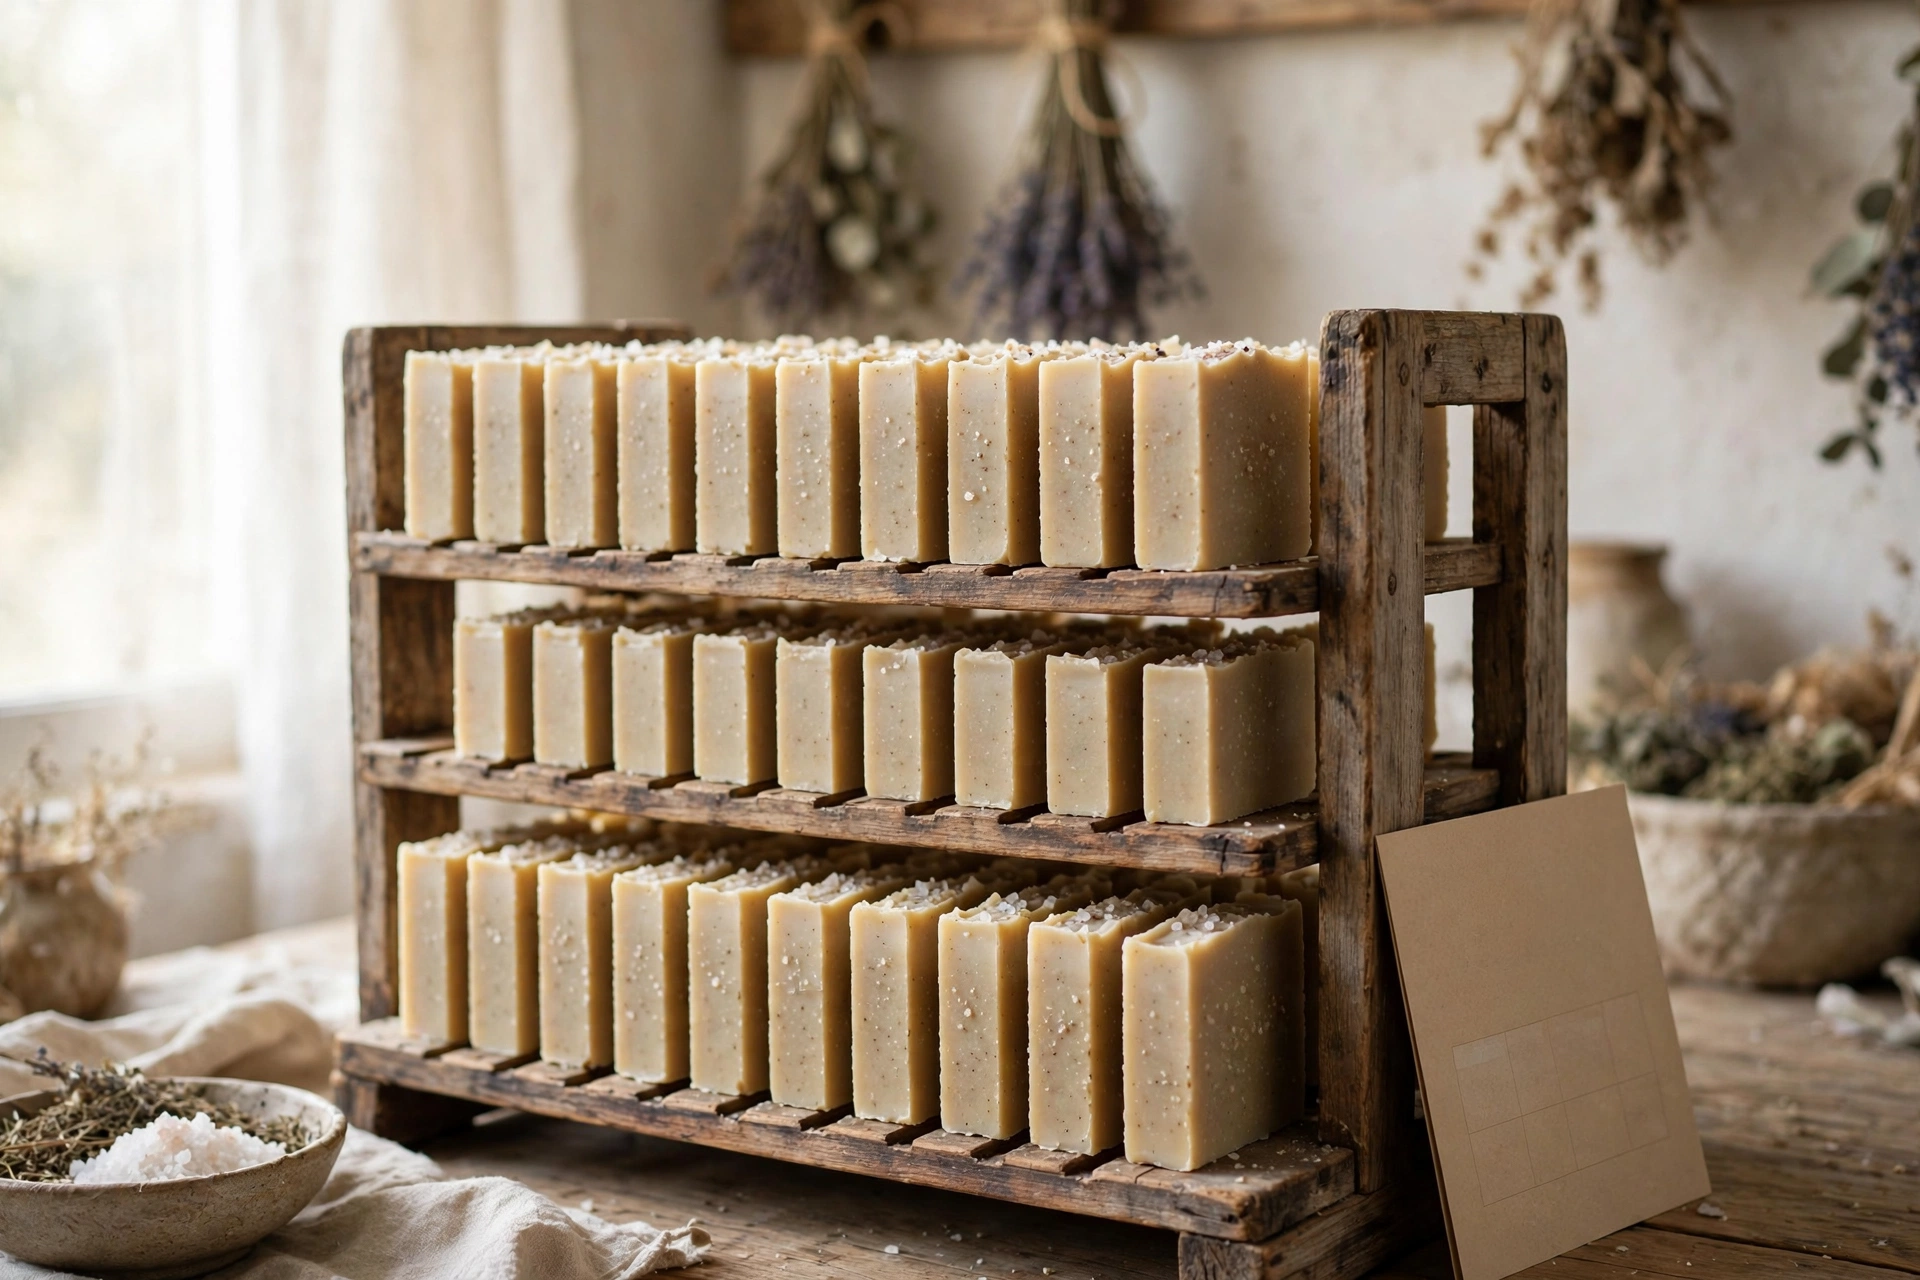
Here’s the patience part: salt bars need a long cure — a minimum of 8–12 weeks — to reach their best. Young salt bars can feel harsh or produce a thin lather; with a full cure they develop that famous creamy, lotion-like lather and become milder. Mark your calendar and wait. They’re worth it.
Troubleshooting
Batter seized before you could mold it? You blended too far before adding salt, or soaped too hot. Next time: thin trace only, cooler temperatures, salt in fast.
Crumbly bars? Too much salt for the recipe, or the batter was overworked. Keep salt around half the oil weight and stir just until uniform.
Bar feels drying? Salt bars need that high superfat — if yours feels stripping, raise the superfat in the calculator next batch. Also: use them, then moisturize; they’re an exfoliating treatment bar, not an everyday face bar.
White powder on the surface (soda ash)? Common on salt bars. It’s harmless — steam it off, wipe with a damp cloth, or just leave it for a rustic look.
Next steps
Want more intermediate cold process? Try layered cold process soap for striped bars, or go back to basics with our first cold process recipe. And keep the Lye Safety Checklist printed at your soaping station.



