
Cold Process Soap Swirls for Beginners
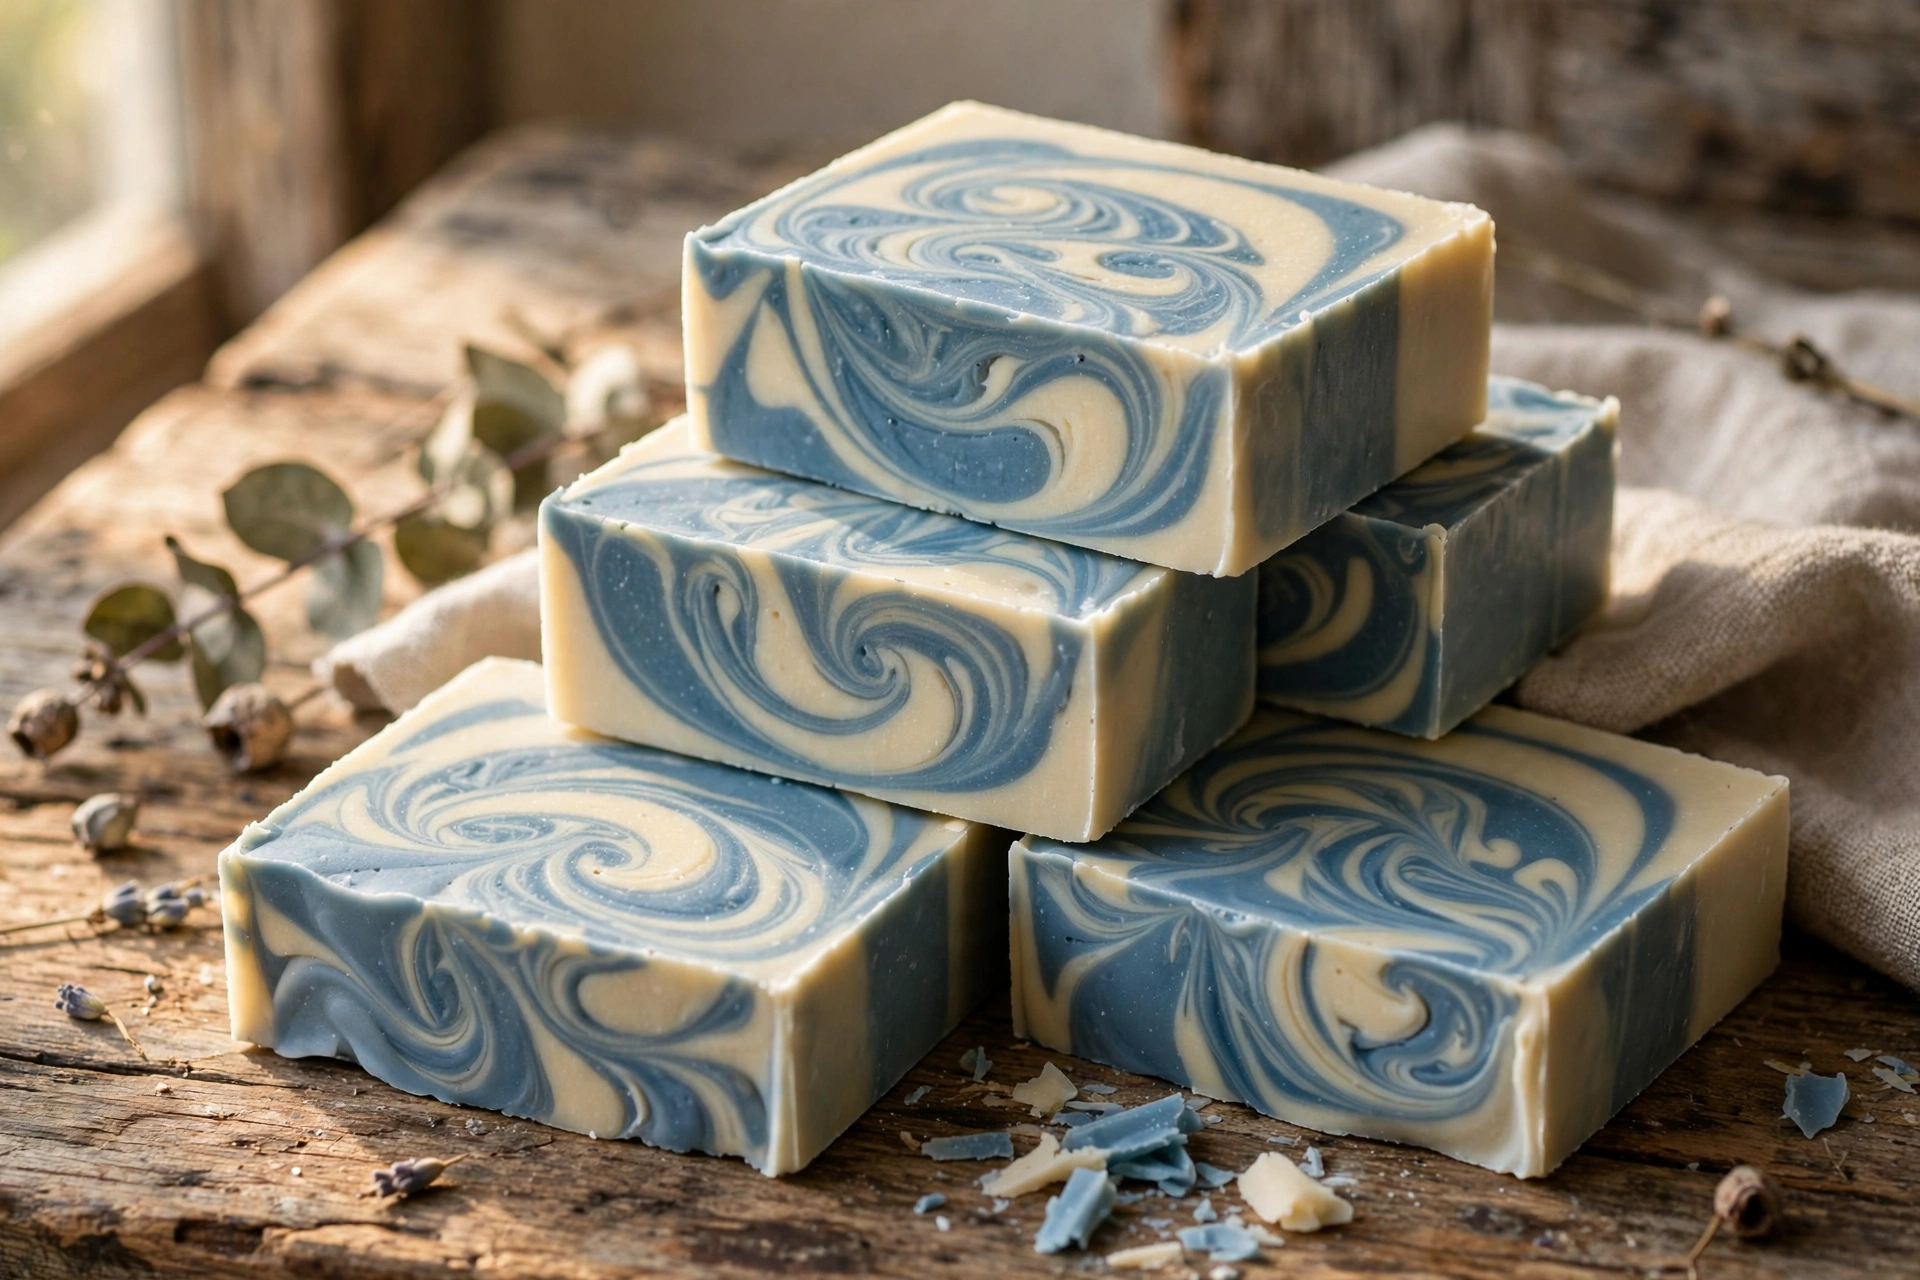
Swirls are the gateway skill of intermediate soapmaking — the moment your bars go from “homemade” to “how did you DO that?” Here are three beginner-friendly swirl techniques (in-the-pot, drop swirl, and hanger swirl), the light-trace method that makes them all work, and how to rescue batter when it thickens too fast.
Before you start: the prerequisites
Swirling assumes you can already make a basic cold process batch safely — mixing lye, reaching trace, molding, and curing. If that’s new, make our first cold process soap recipe first, then come back. For swirls, use a simple, slow-moving recipe (the plain base from that recipe is ideal) — fancy fast-tracing recipes and swirl techniques do not mix.
Lye safety — read this every time
Lye (sodium hydroxide) is a caustic chemical that causes serious burns. Respect it and it’s perfectly manageable; get casual and it will hurt you. Every swirl session starts here:
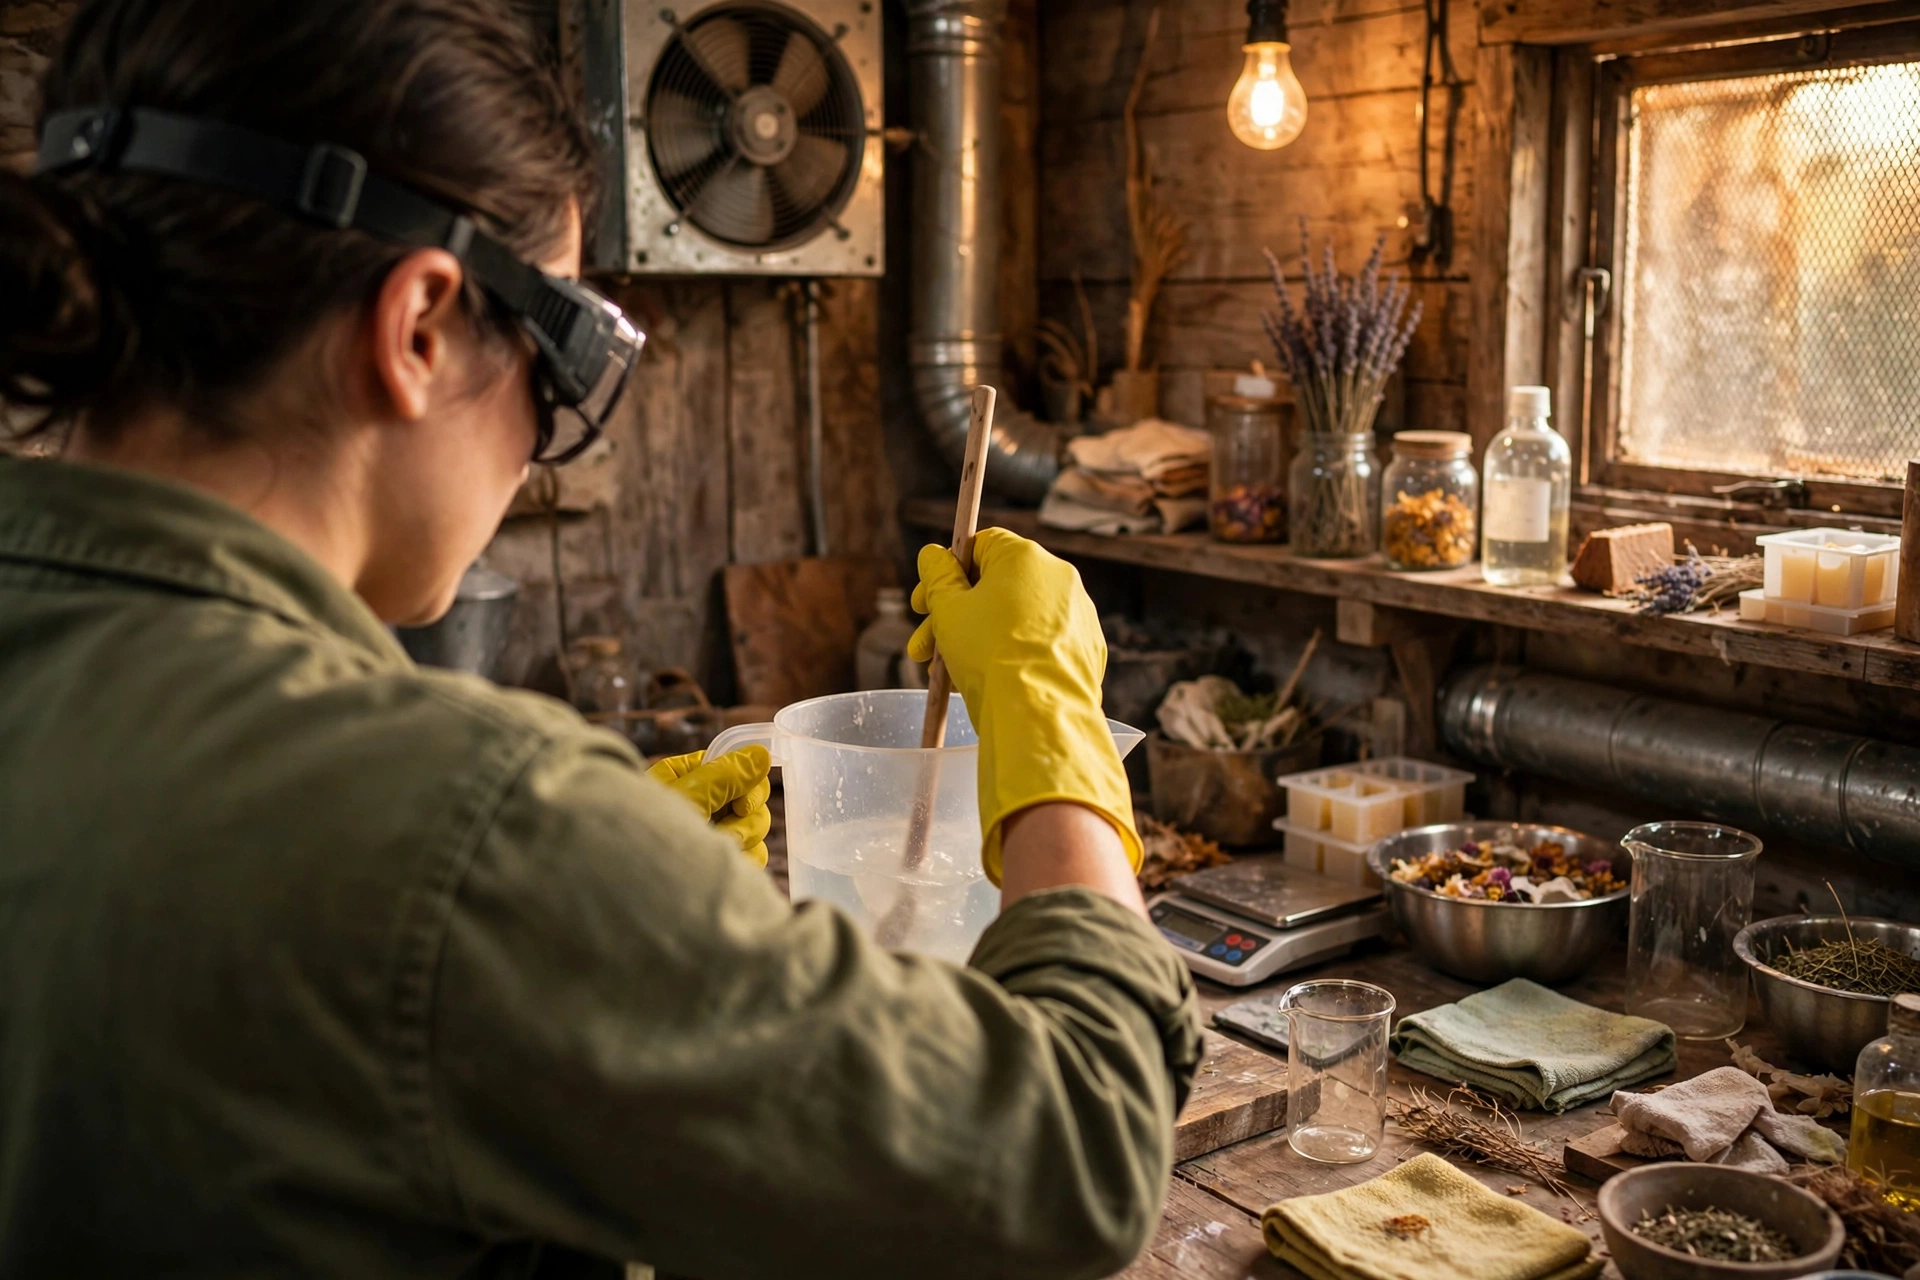
- Eyes: chemical-splash goggles — not glasses, goggles. Lye in the eyes is an emergency.
- Skin: long sleeves, chemical-resistant gloves, closed-toe shoes. No bare arms over a lye pitcher.
- Air: mix lye in a ventilated area and don’t breathe the fumes that rise in the first minute.
- The golden rule: always add lye TO water — never water to lye. Sprinkle slowly while stirring.
- On skin: rinse immediately with plenty of cool running water. Plain water only — ignore the old vinegar myth; vinegar on a chemical burn doesn’t help and wastes time you should spend rinsing.
- Around others: kids and pets out of the soap room until everything is cleaned up.
Print our Lye Safety Checklist and run the lye calculator for every recipe — never hand-calculate lye when a calculator exists.
What you’ll need
- Your trusted slow-moving cold process recipe, oils weighed
- Lye solution, mixed and cooled per your recipe
- Soap-safe colorants (micas, oxides, or natural colorants from your supplier)
- Stick blender, spatulas, 2–3 extra pitchers or cups for dividing batter
- Loaf mold
- A hanger swirl tool — or make one: bend a wire coat hanger into a flat loop with a handle
The #1 skill: working at light trace
Every swirl technique in this tutorial depends on one thing: thin, fluid batter. Light trace is the stage where the batter has just barely thickened — when you drizzle batter across the surface, it leaves a faint trace that sinks back in within a second or two. That’s your swirling window.
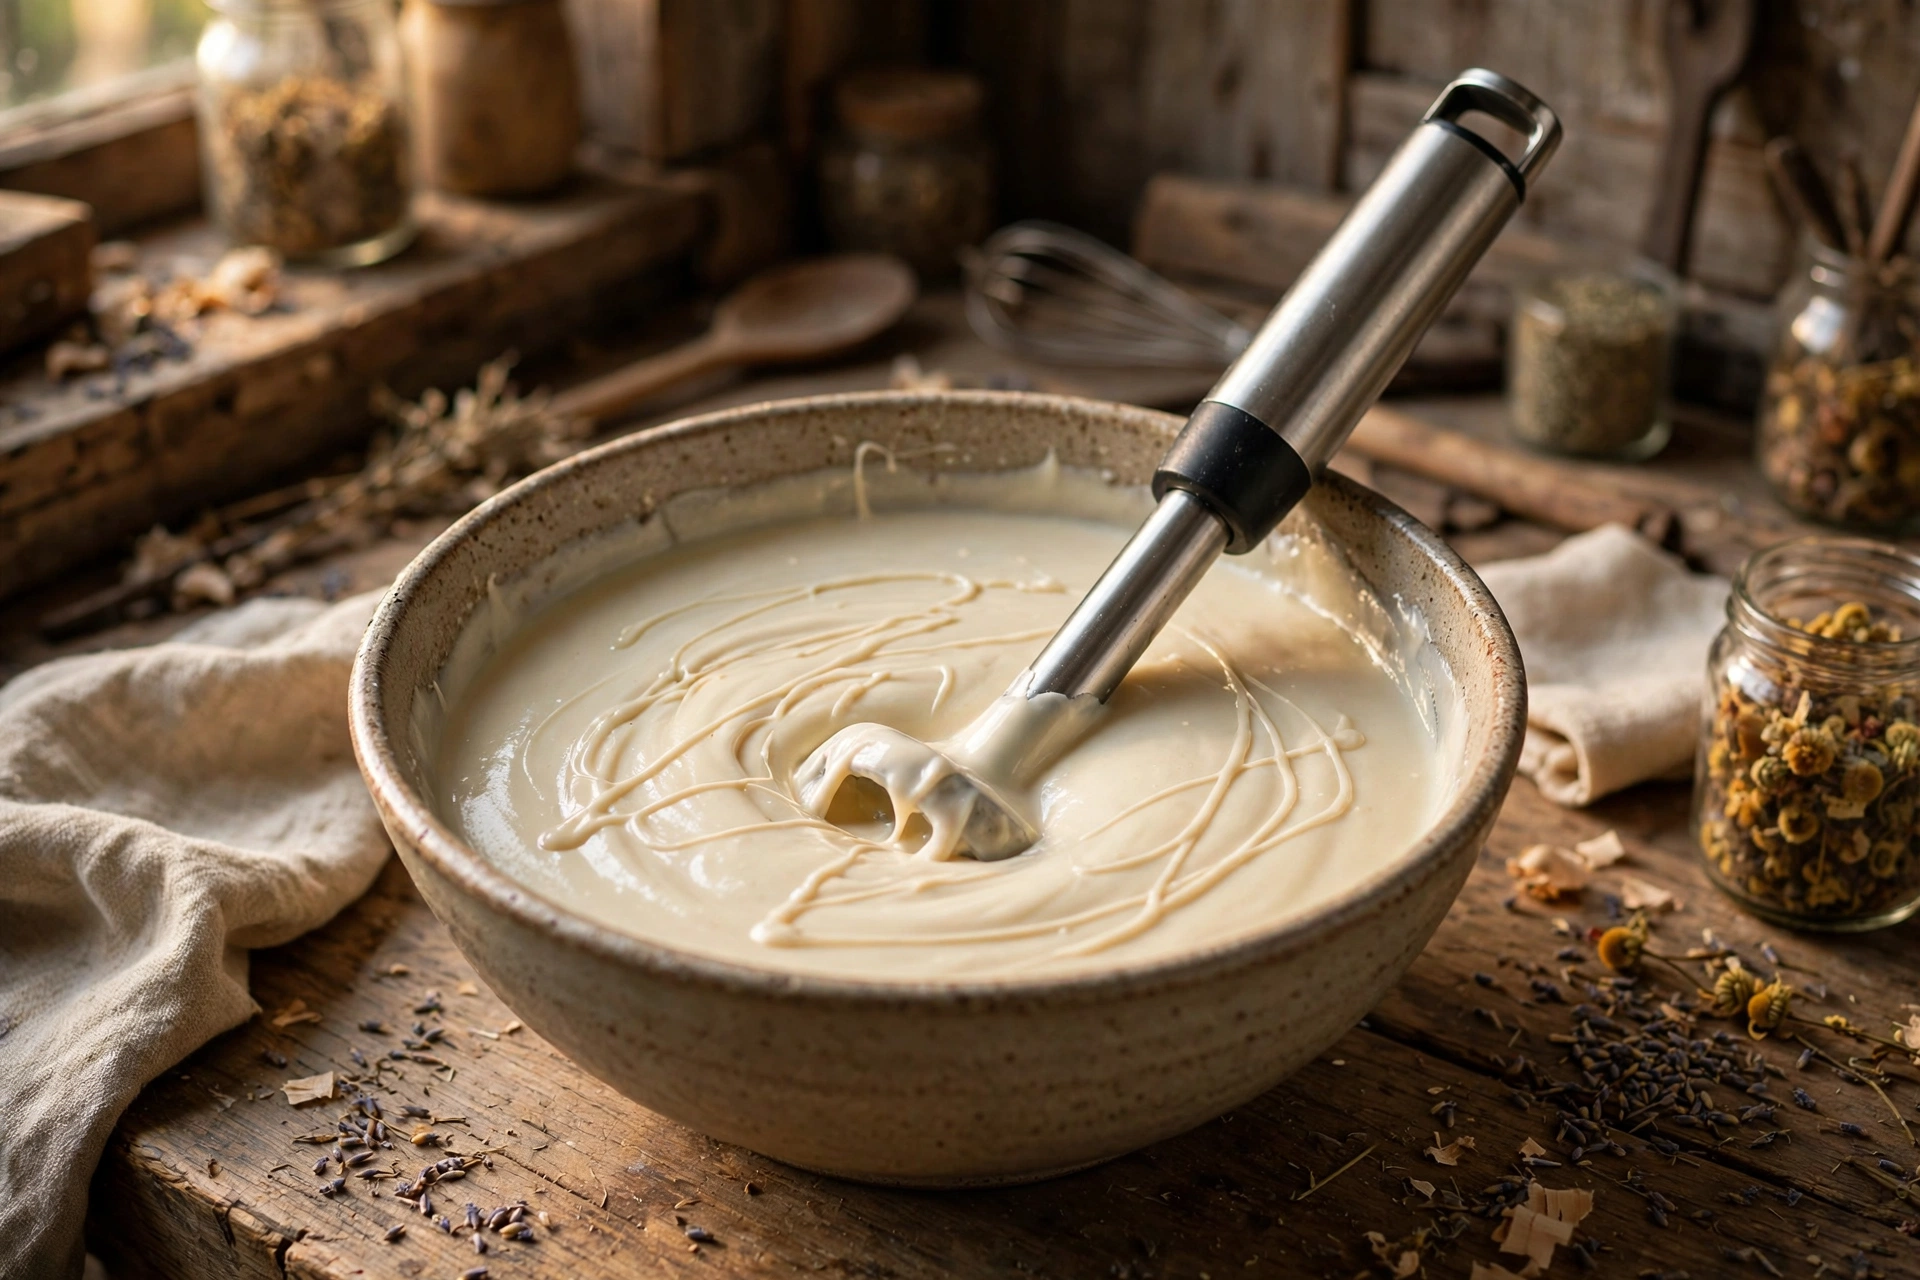
Get there with short stick-blender bursts (a few seconds), then stir by hand and check. The blender is a throttle, not an on-switch — most beginners over-blend because they hold the button down. Once you add colorants and especially fragrance, trace accelerates, so do your coloring at light trace, not after.
The three techniques
Technique 1: In-the-pot swirl (easiest)
Bring your whole batch to light trace. Pour portions into separate cups and color each one. Then pour the colors back into the main pot, one after another, in different spots — don’t stir. Give the pot one gentle swirl with a spatula, then pour the whole thing into your mold in one steady stream.
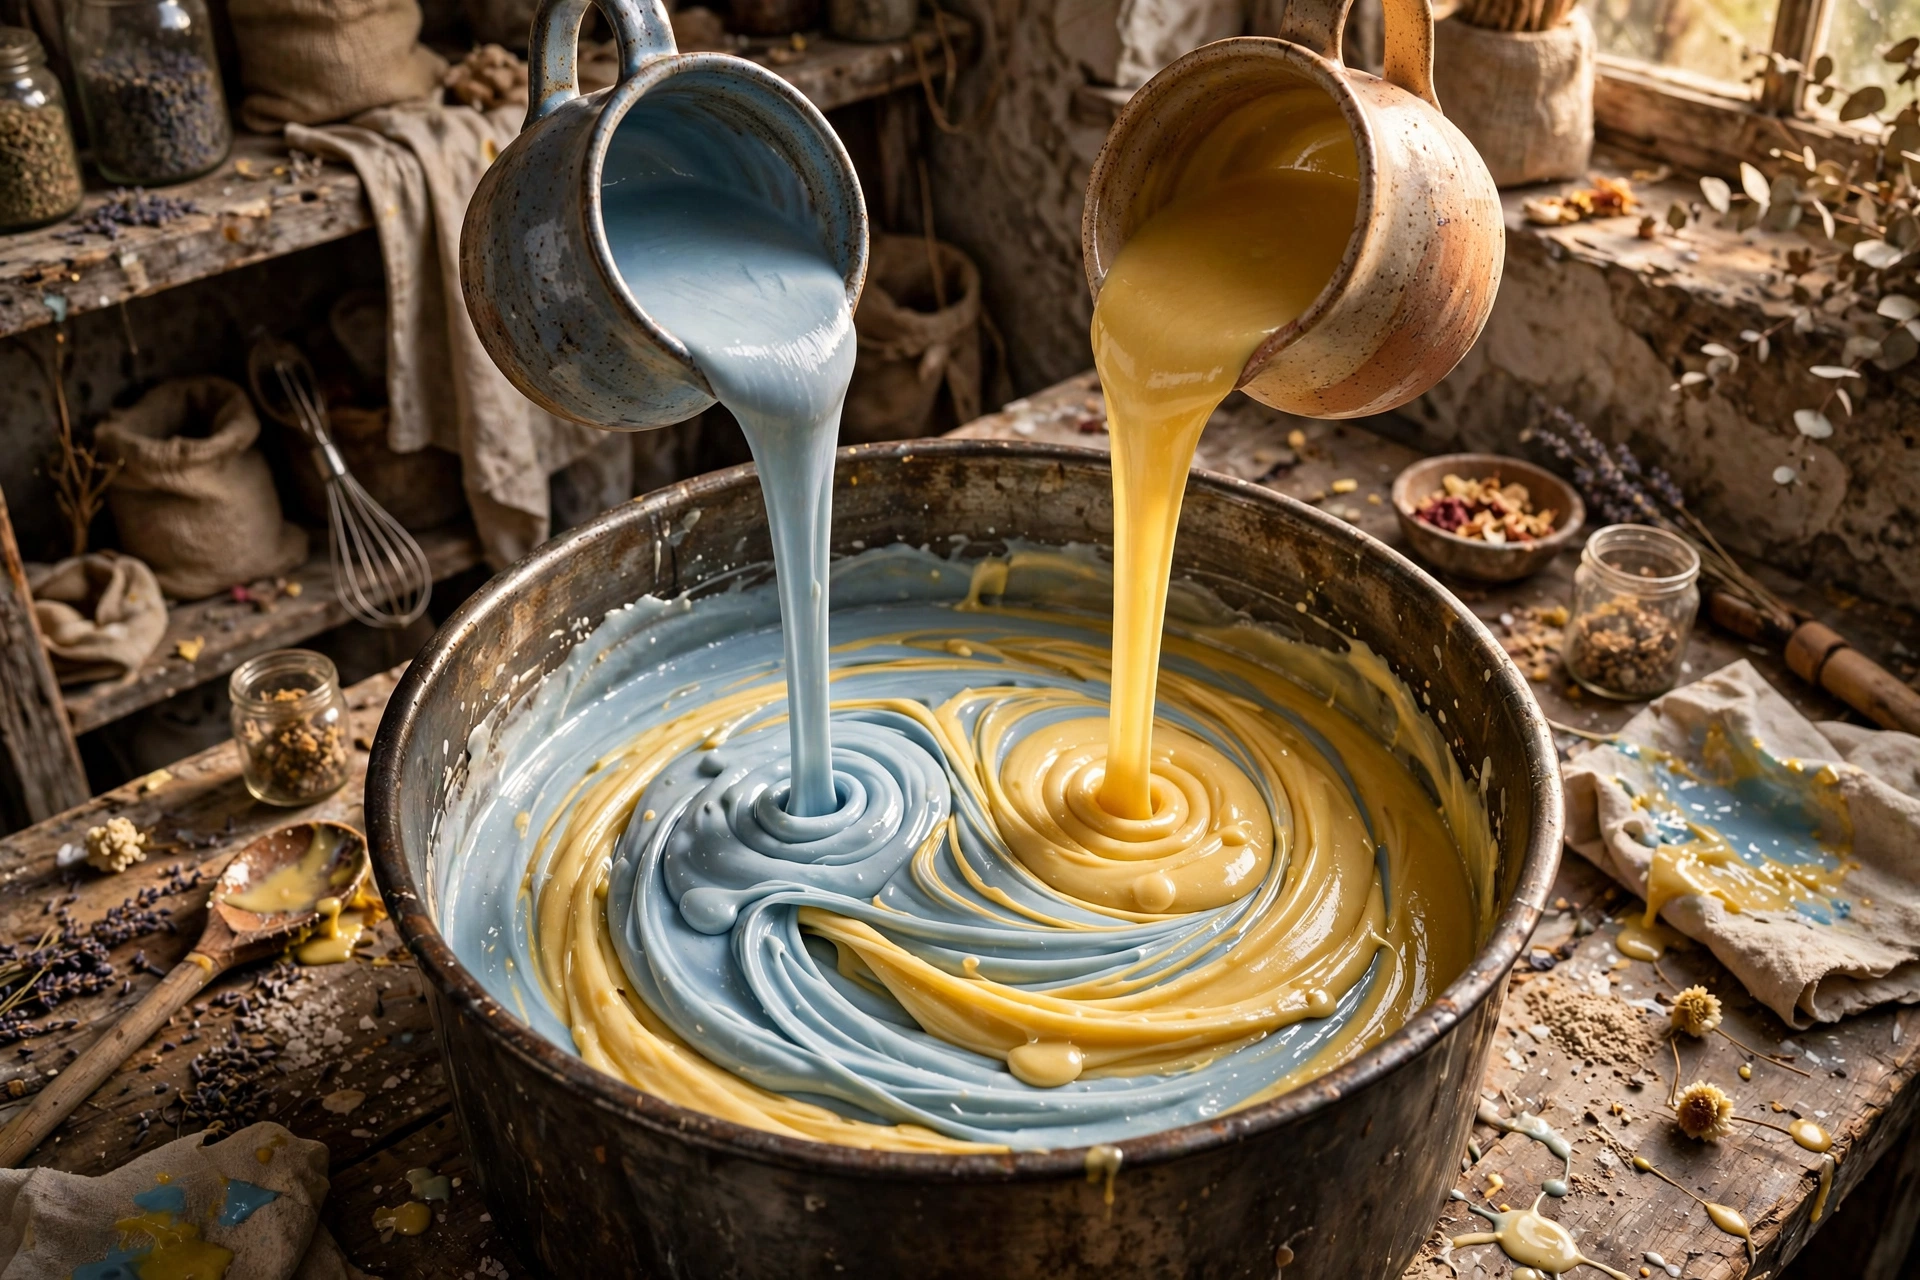
The magic happens in the pour: the colors fold over each other as they land. One spatula swirl is plenty — every extra stir muddies the pattern toward brown.
Technique 2: Drop swirl
Pour your uncolored (or base-colored) batter into the mold. Then drizzle your accent colors over the surface from a spoon or squeeze bottle, moving across the mold in lines or blobs. Drag a skewer or chopstick through the drizzles once in an S-pattern if you want movement — or leave them unswirled for a confetti look.
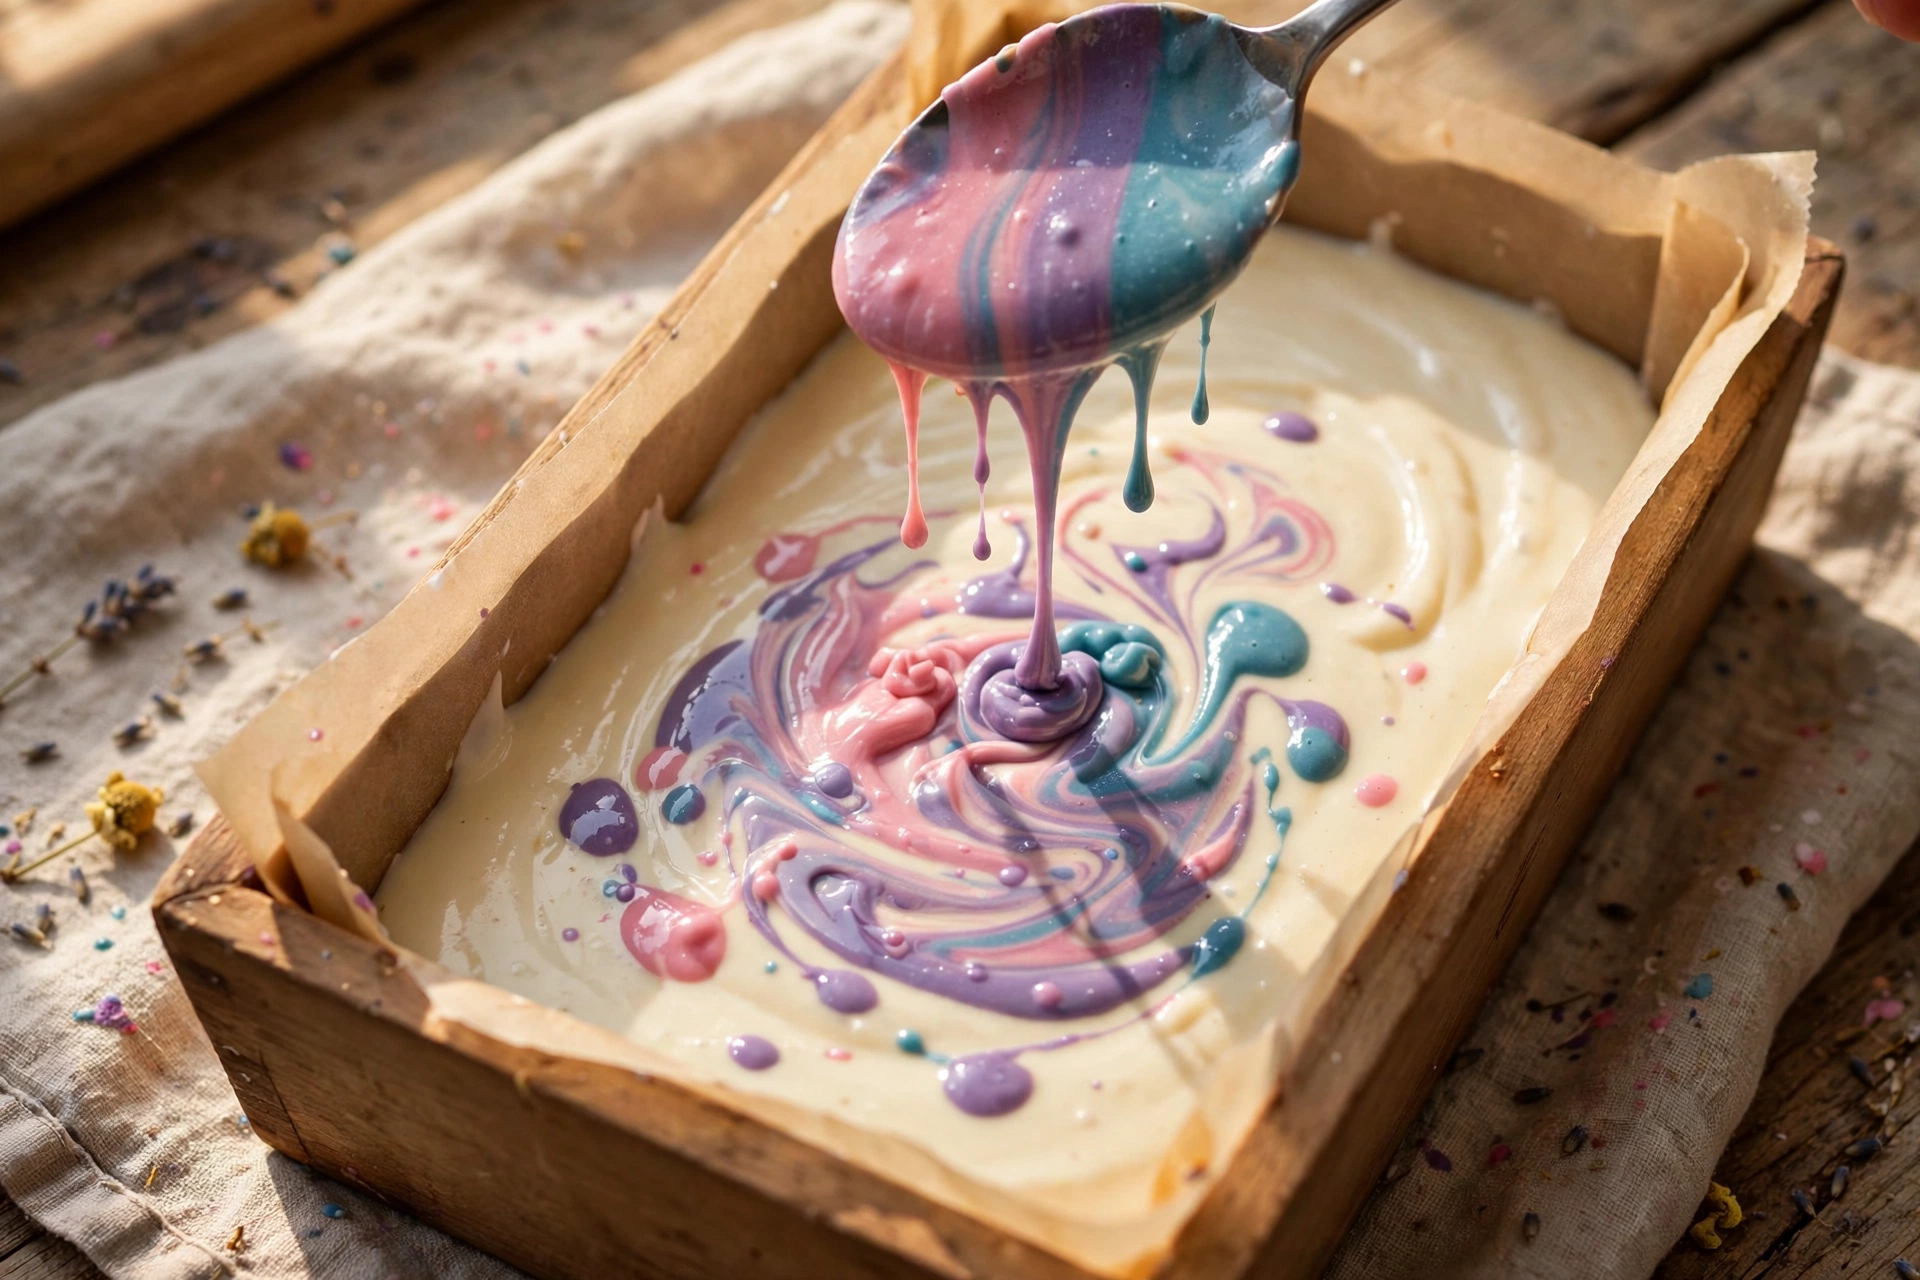
Technique 3: Hanger swirl
Pour your base batter into the mold, then pour or drizzle accent colors across the top in stripes. Take your hanger tool (or bent coat hanger) and pull it through the batter once — down one side, across the bottom, up the other side — in a single smooth motion. Then stop. Lift it straight out.
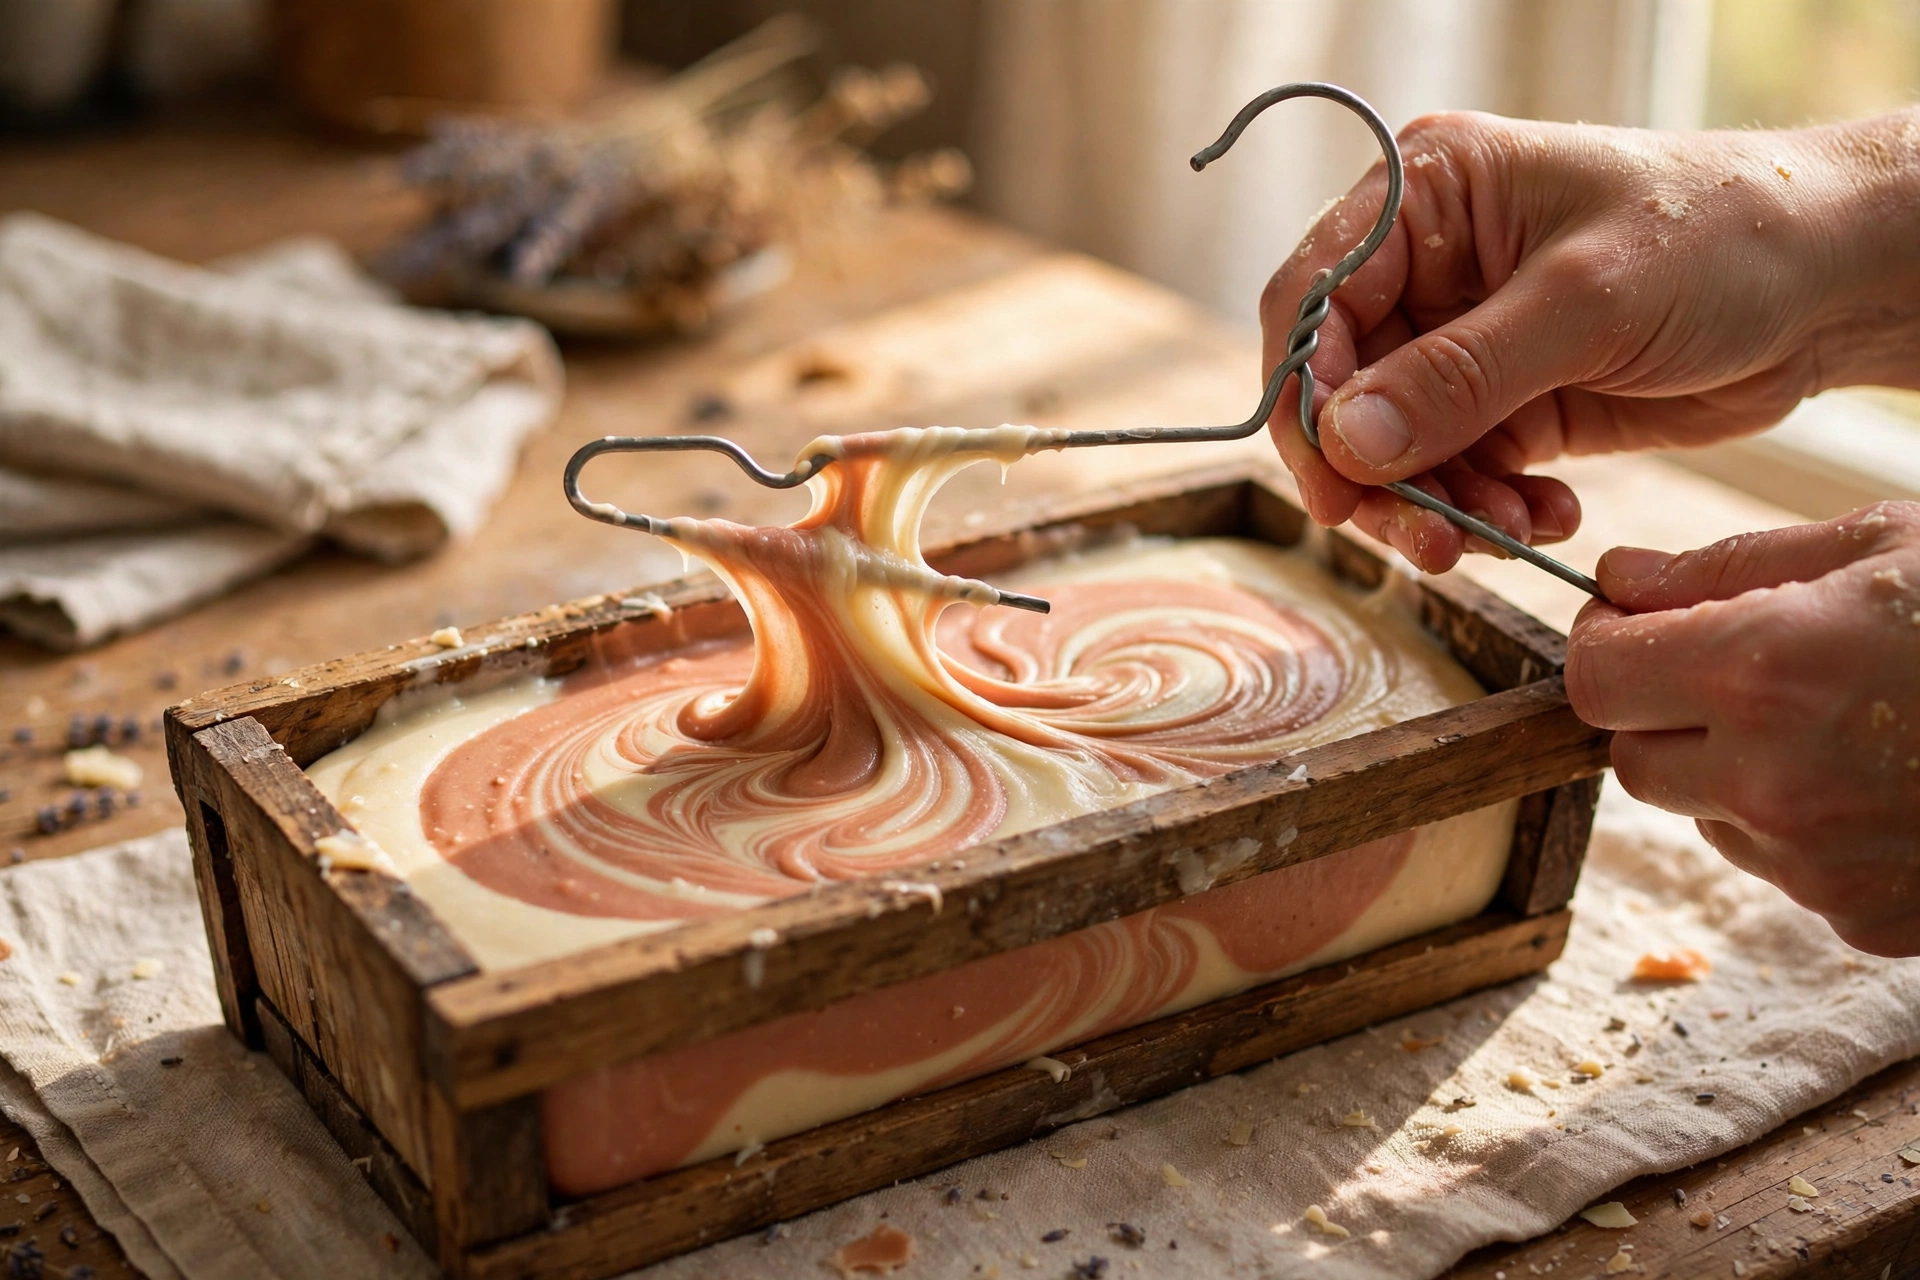
The classic beginner mistake is going back for “one more pass.” Don’t. Each pass blends the colors further, and pass three is where swirls go to die. One confident pull beats three hesitant ones.
The reveal: cutting your swirl
Let the loaf set 24–48 hours until firm enough to cut cleanly, then slice with a wire cutter, sharp knife, or bench scraper. Cut slowly and wipe the blade between cuts for the cleanest faces.
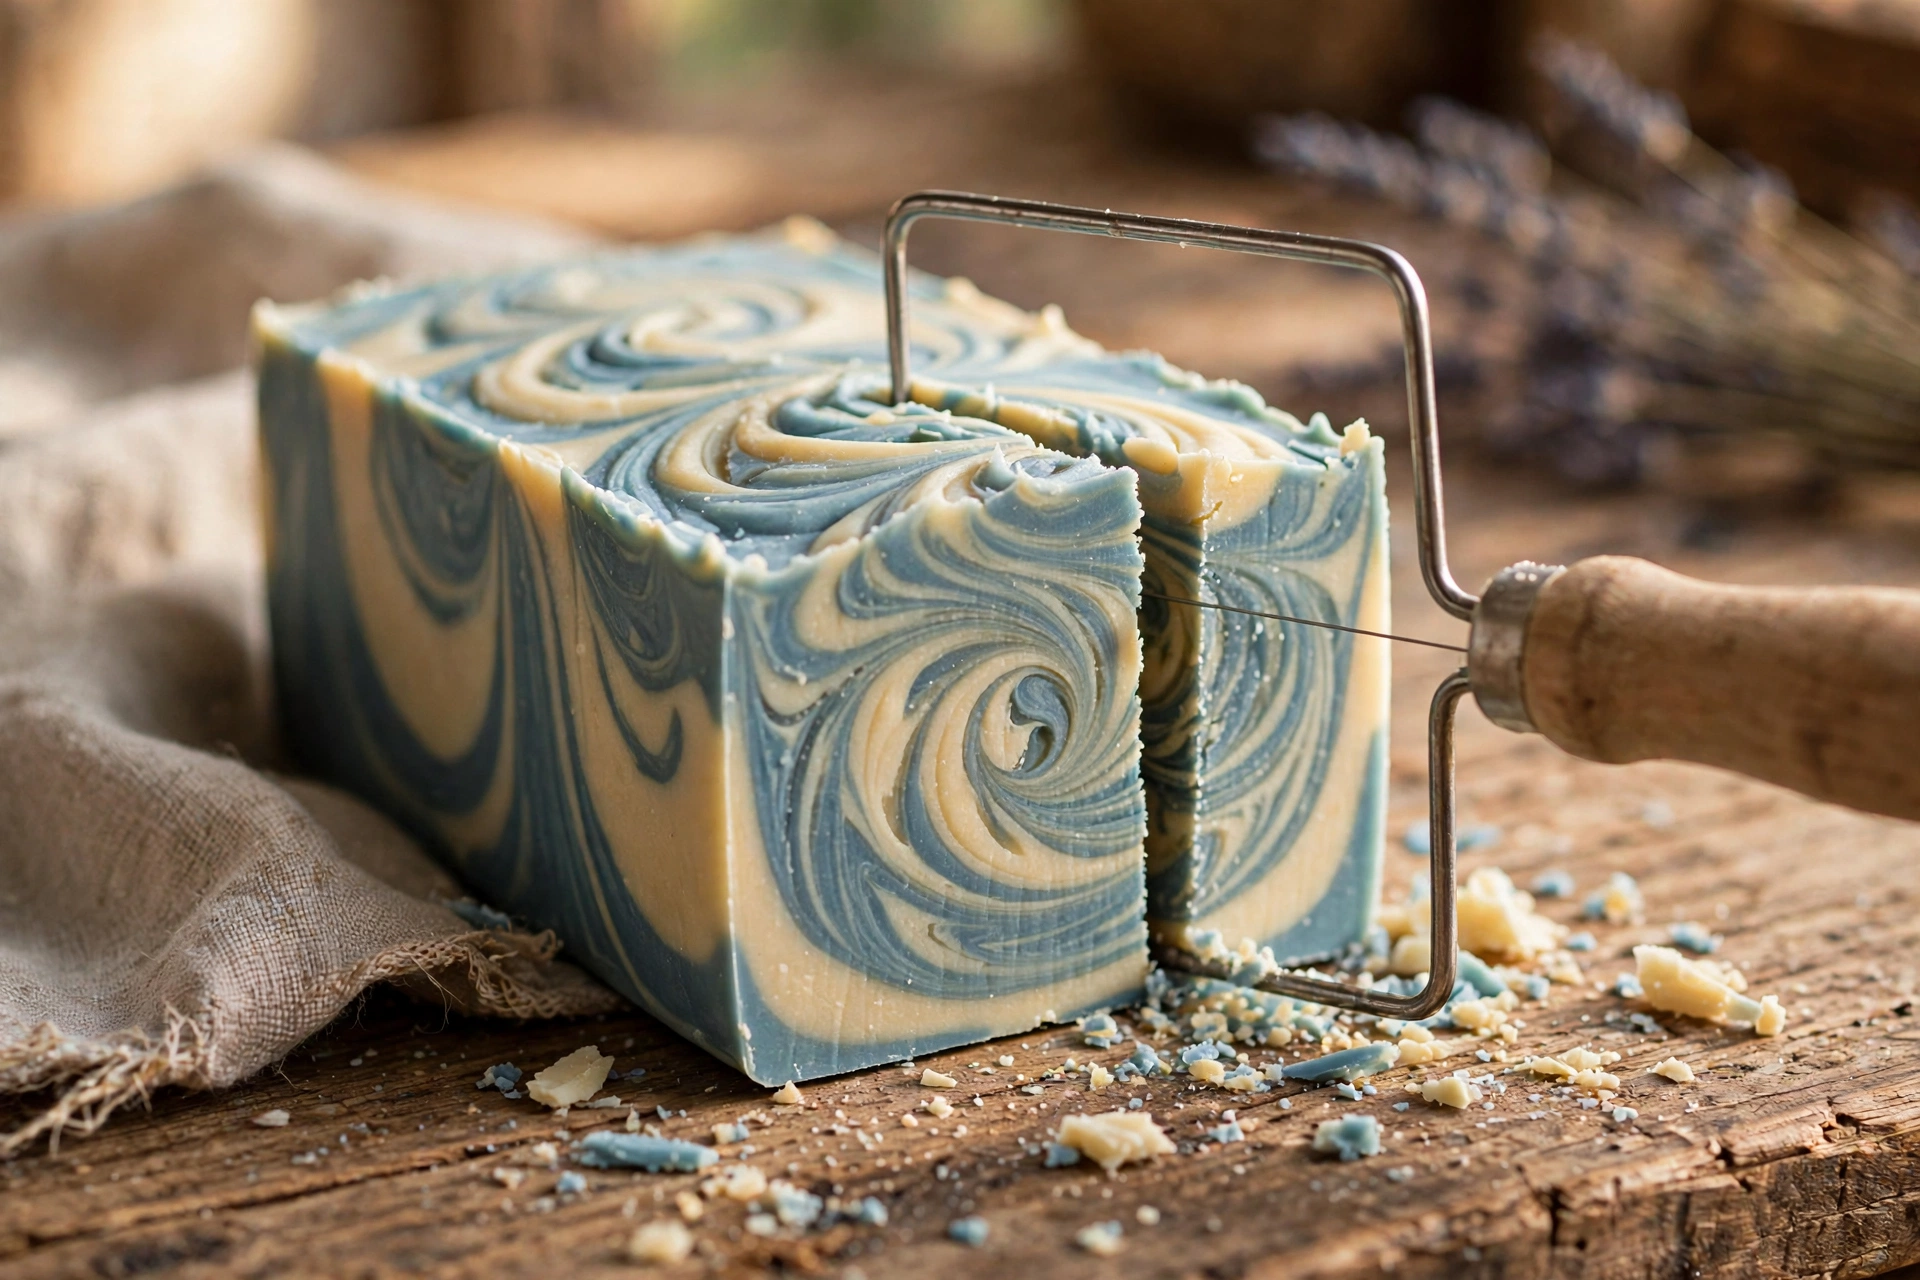
Then cure: cold process soap needs about 4–6 weeks of curing on a ventilated rack before use. The bars get harder, milder, and longer-lasting — and the colors often deepen beautifully.
Rescuing batter that’s too thick
It happens to everyone: you turn around and the batter went from fluid to mashed potatoes. Don’t panic and don’t throw it out — thick batter still makes perfectly good soap, just not poured swirls.
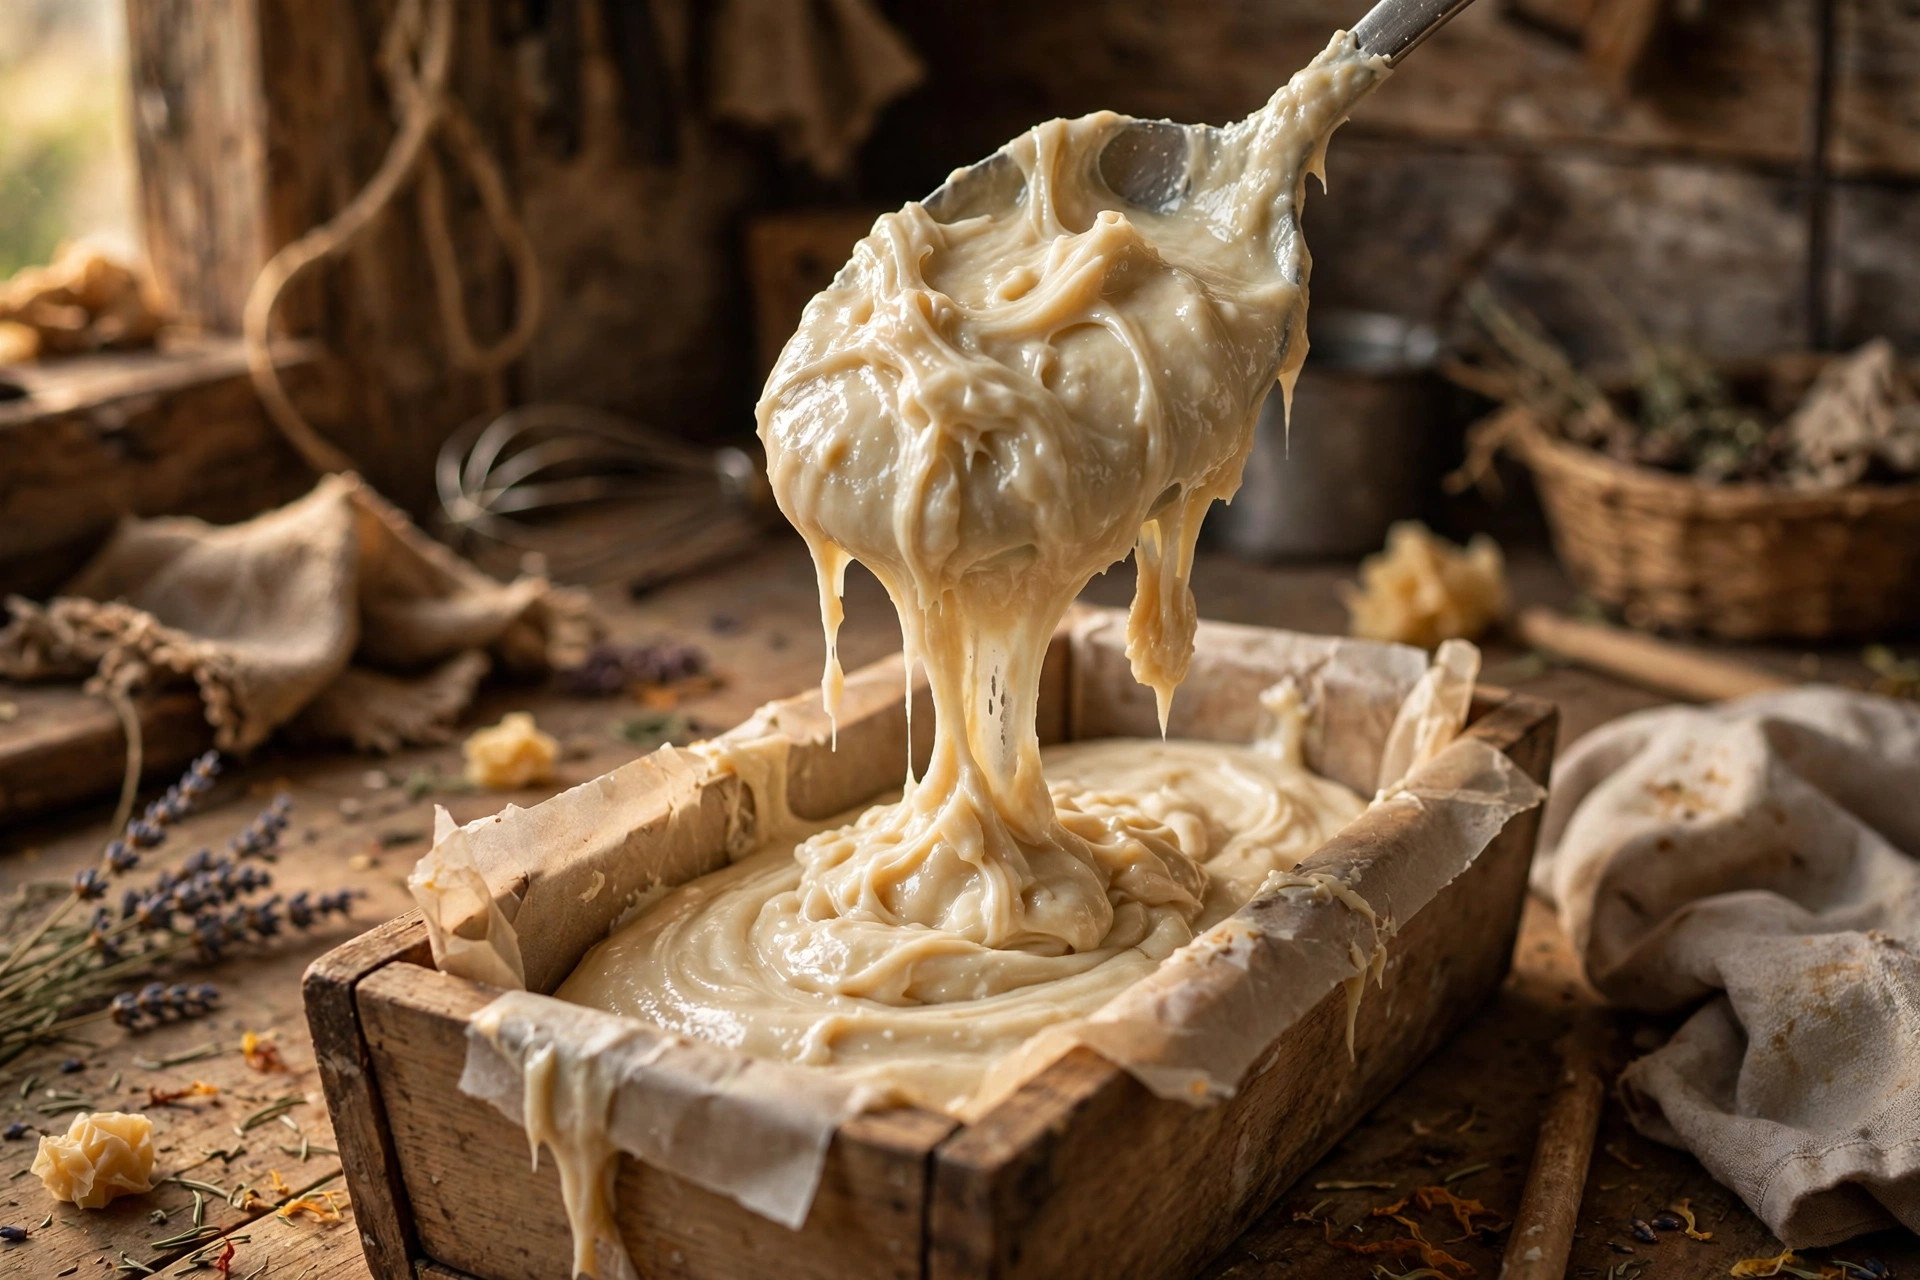
The rescue: spoon or glop the batter into the mold in alternating colors, layer by layer, then texture the top with the back of the spoon. You’ll get a rustic, chunky “plop swirl” that looks intentional. Bang the mold firmly on the counter a few times to settle out air pockets, and carry on with your cure.
Next steps
Comfortable with the basics? Revisit your first cold process recipe and run it through the lye calculator whenever you change a single oil. And keep the Lye Safety Checklist posted where you soap — the day you stop respecting lye is the day it reminds you.



