How to Host a Candle Making Party
A candle bar is the rare party idea that’s actually as fun as it sounds — guests leave with something they made and you might even make money. Here’s the real playbook: exact quantities, a minute-by-minute timeline, what goes wrong, and the math if you’re charging.
Shopping list (for 10 guests, one 8 oz candle each)
- Soy container wax — 5 lbs (each 8 oz candle takes ~7 oz of wax; buy 10% extra)
- Candle tins with wicks — 12 (10 guests + 2 spares for mistakes)
- Fragrance oil set — 10–12 scents for the scent bar (see step 3)
- Wax melter — one beats juggling five double boilers
- Pouring pitchers — 2 or 3, so guests aren’t queuing
- Thermometers — 2 (one per pitcher)
- Digital scale — for weighing wax and fragrance
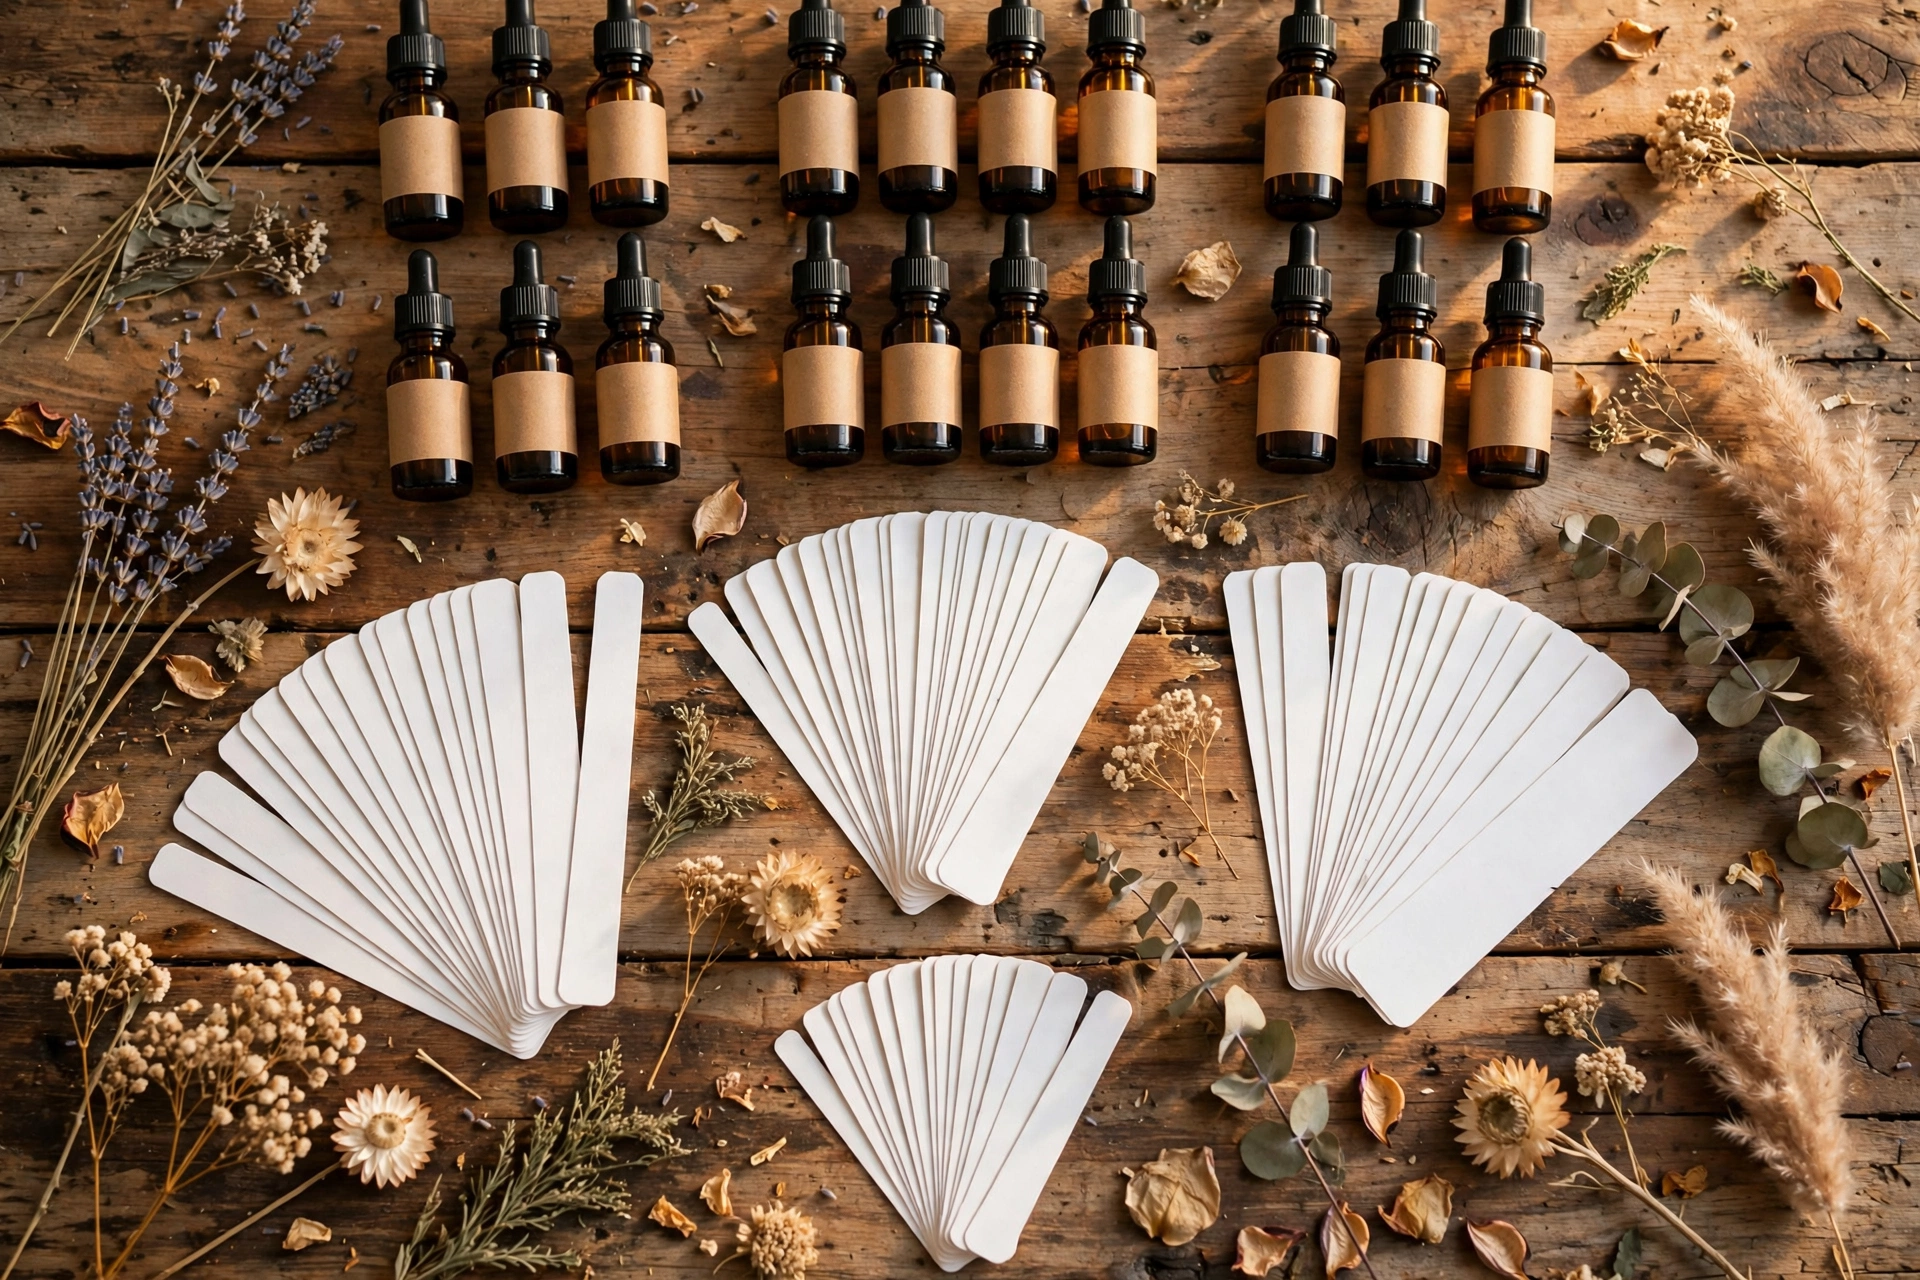
- Blotter strips (perfume test strips) for the scent bar
- Stir sticks, paper towels, trash bags, aprons
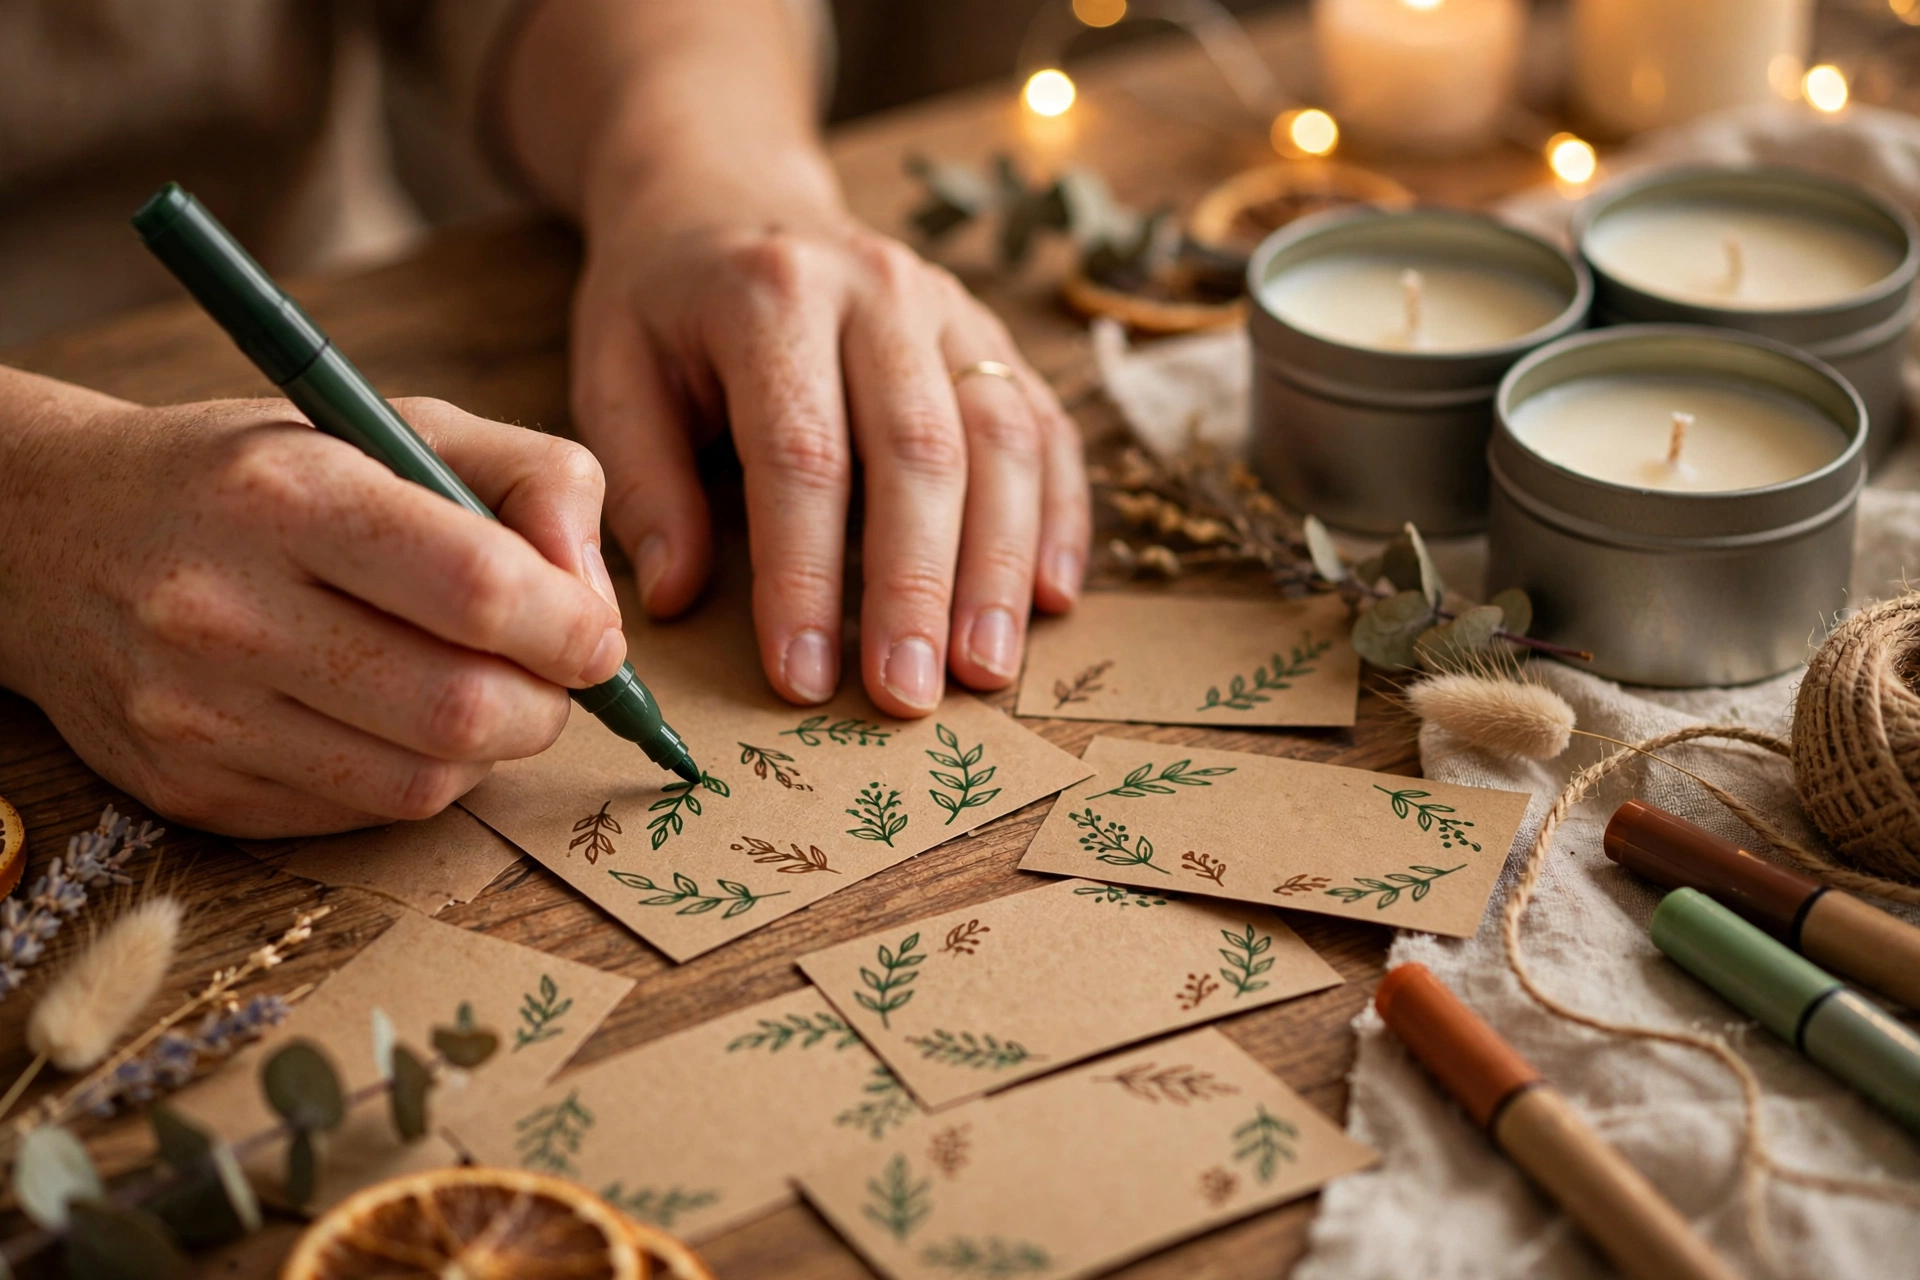
- Labels + markers for the label station
Steps
1. Pick your format (and your price)
Three formats work. A friends party is free — you cover supplies for the fun of it. A ticketed workshop ($35–65 per person) pays for itself and then some. A pop-up candle bar at a market or boutique charges per candle made on the spot.
2. Prep like a caterer the day before
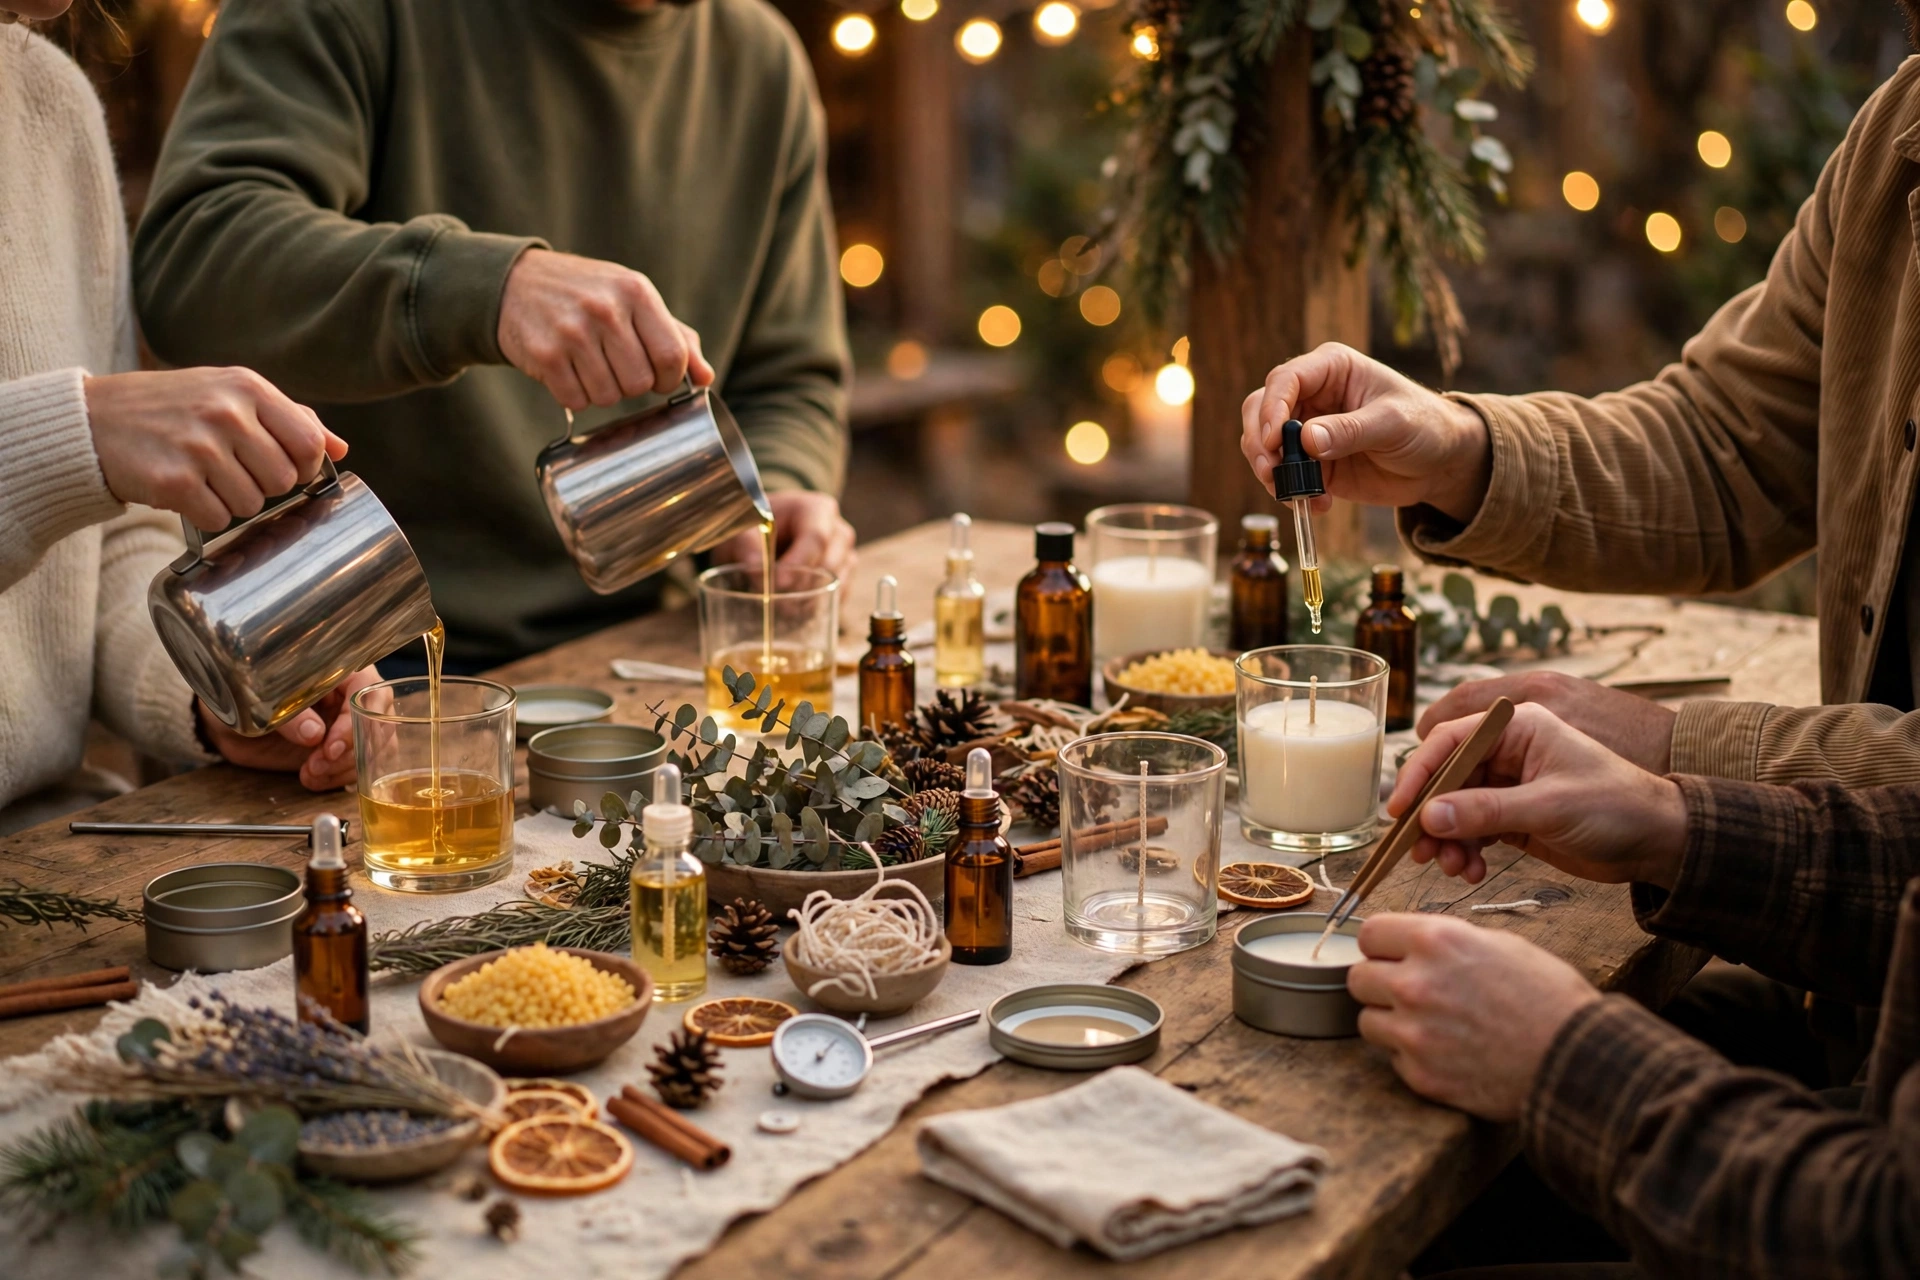
The golden rule: no measuring during the party. Pre-weigh wax into bags (7 oz per guest + a little extra), pre-wick every tin, lay out one workstation per 2–3 guests with a pitcher, thermometer, stir sticks, and paper towels. Start melting the first batch of wax 45 minutes before guests arrive — a full melter takes a while.
3. Build the scent bar
This is the centerpiece — give it its own table. Set out 10–12 fragrance oils (more than that overwhelms people), each with a blotter strip for smelling. Group them: florals together, bakery together, fresh/clean together. Write 3–4 suggested blends on a little card (“Vanilla + Sandalwood,” “Lemon + Eucalyptus”) so indecisive guests have a starting point.
4. Demo once, then let them pour
Gather everyone for a 5-minute demo: wax melts to 170–185°F, fragrance goes in around 150°F (about 1 oz per pound of wax for a 6% load), stir two minutes, pour at roughly 135°F into the wicked tin. Then turn them loose in small groups — you float, answering questions and watching temperatures. Refill the melter between rounds.
5. Fill the cooling hour
Candles need 1–2 hours before they can be moved, so plan for it: that’s when you do the label station (names, dates, doodles), serve food and drinks, take group photos, and teach wick trimming. This hour is what turns “craft activity” into “party” — don’t let it become dead air while everyone stares at cooling wax.
6. Send them home with instructions
Hand each guest a little card with their candle: don’t burn it for 48 hours (soy needs to cure), trim the wick to 1/4 inch before every burn, and the first burn should melt the wax across the whole surface — about 2–3 hours for an 8 oz tin. Pack candles in small gift bags so they travel safely.
This tutorial contains affiliate links. As an Amazon Associate I earn from qualifying purchases — it helps keep these tutorials free, at no extra cost to you.