
How to Make a Wood Wick Candle
Wood wick candles look beautiful, sound like a tiny fireplace, and sell at a premium — but they don’t behave like cotton wick candles, and treating them the same way is how you end up with a candle that won’t stay lit. The wick is a thin strip of wood, not a braided cord. It needs a different trim, a different first burn, and a different set of expectations. Here’s how to get it right.

How a wood wick is different
A cotton wick pulls melted wax up through braided fibers by capillary action. A wood wick does the same job through the grain of the wood — but wood is a slower, fussier fuel line. The flame sits on a flat wooden strip, so it spreads wide instead of tall, and the wick itself chars and burns away as the candle burns. That gives you the wide melt pool and the crackle people love — and it also means the wick can starve, drown, or burn unevenly in ways a cotton wick never does.
The crackle is real, but keep expectations honest. A wood wick does crackle — a soft, fireplace-like popping as the wood burns. It is not loud, it is not constant, and it varies from burn to burn depending on the wood, the wax, and the room. Some burns crackle steadily for an hour; some barely whisper. If you sell wood wick candles, describe the sound as a gentle crackle, not a roaring fire — buyers who expect a campfire will be disappointed, and buyers who expect a whisper will be delighted.
What you’ll need
- Wood wicks — sized to your container diameter (see your supplier’s chart; start there, then test)
- Wood wick tabs and clips (metal tabs sized for wood wicks, plus the small clips that hold the strip upright)
- A container (jar or tin) — wood wicks shine in wider containers with a good melt pool
- Container wax suited to your container (soy, coconut-soy, or paraffin-soy blend)
- Fragrance oil made for candles, within your wax’s rating
- Candle dye (optional)
- Pouring pitcher, thermometer, digital scale
- Wick centering device or wick holder
- Small scissors or nail clippers for trimming (you’ll trim very short)
- Heat gun (for surface fixes after pouring)
Steps
1. Choose the right wood wick
Wood wicks come in widths matched to container diameter, and your supplier’s chart is the starting point — not the final answer. A wick that is too narrow for the jar will tunnel and drown; a wick that is too wide will burn hot, mushroom, and smoke. Start with the chart’s recommendation for your container, then test burn before you commit to a batch.
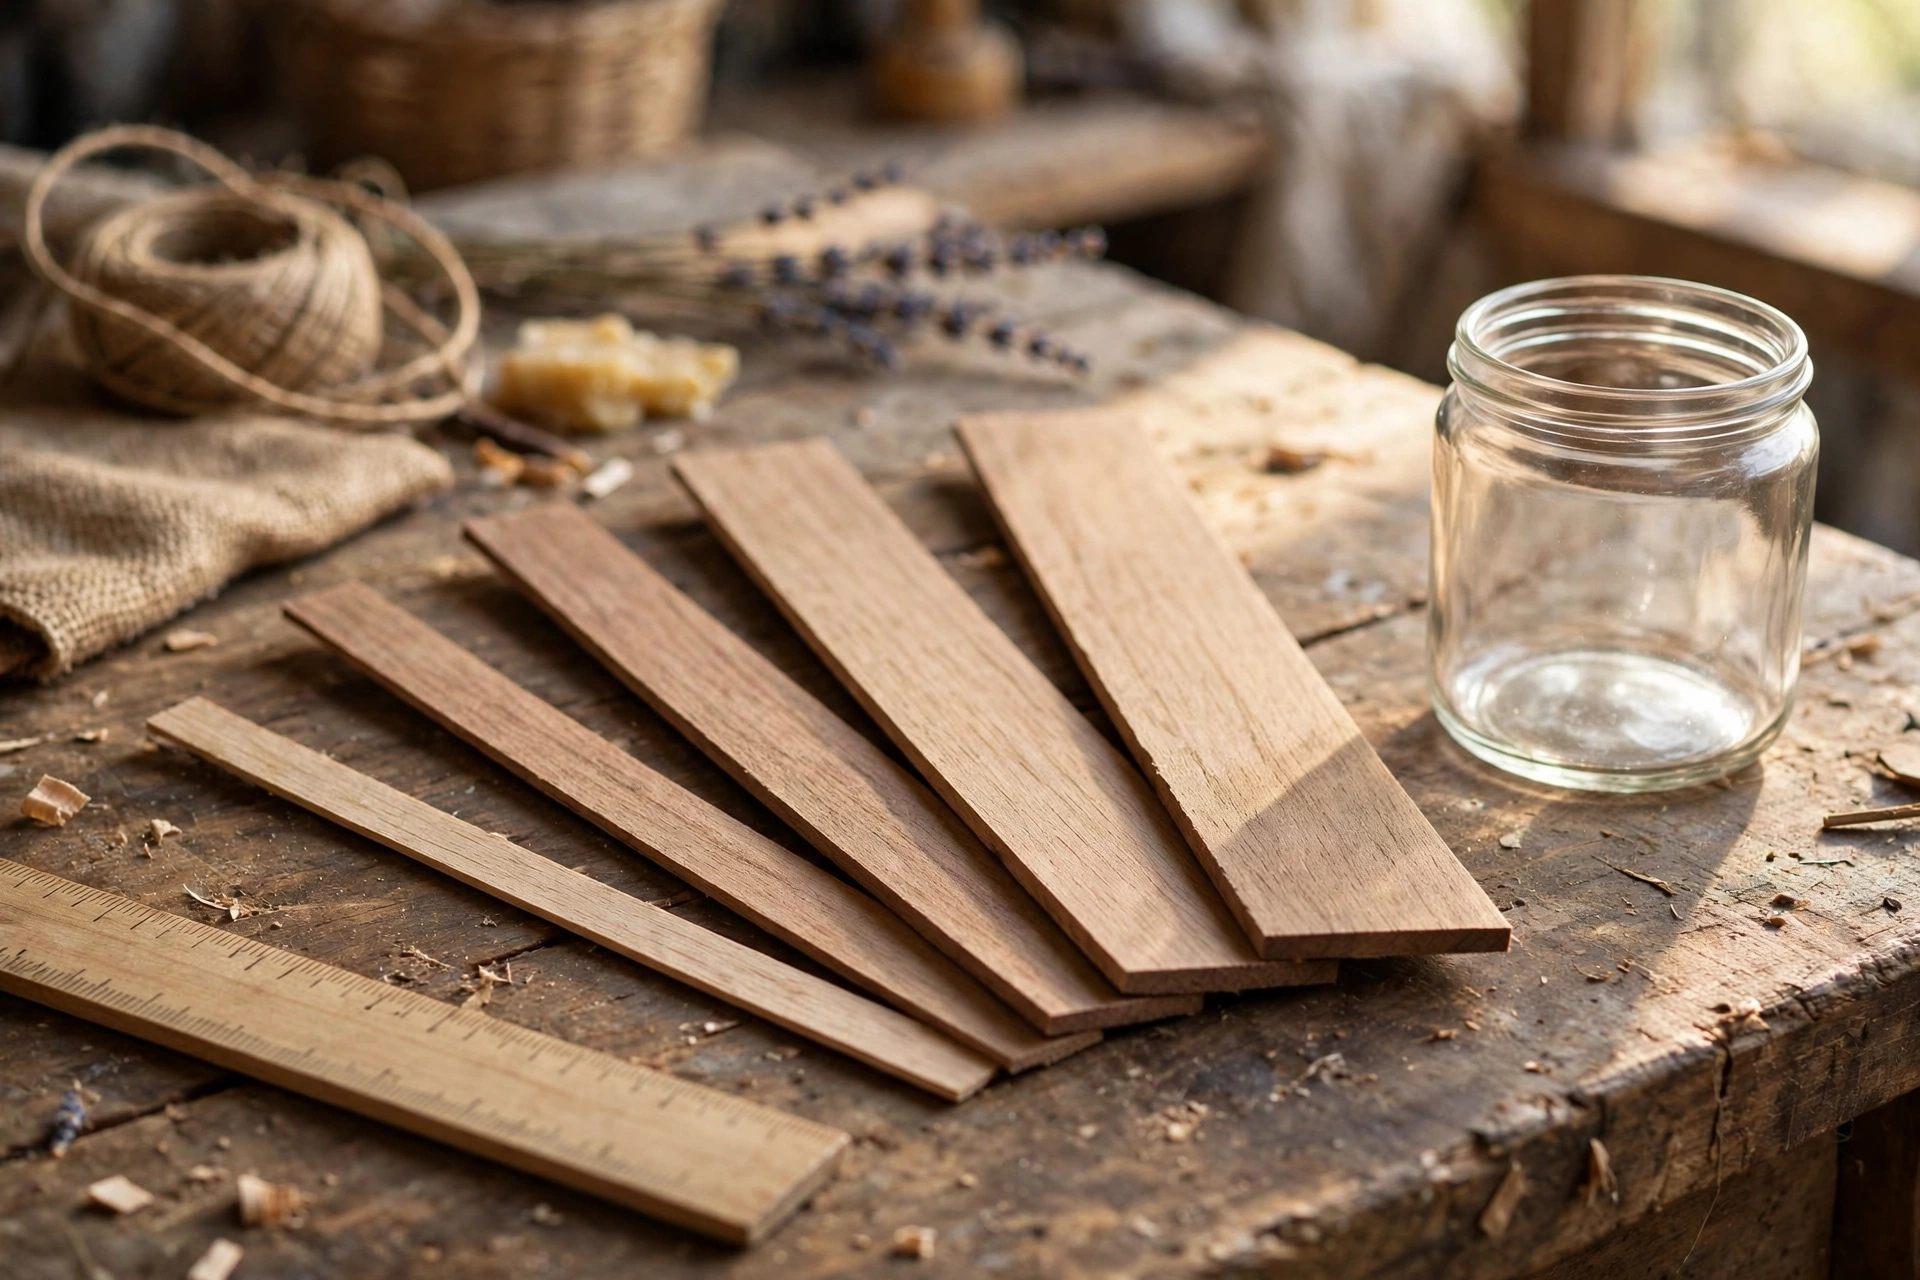
Booster and double-ply wicks. Some wood wicks are built with a second layer — a thin “booster” strip laminated to the main wick — to carry more fuel. In general terms, a booster helps in harder waxes, heavier fragrance loads, and wider containers where a single-ply wick starves. If your test burns keep dying despite correct sizing, a booster version of the same width is the next thing to try. Don’t jump to a wider wick first — try the booster.
2. Prime the wick (optional, but it helps)
Priming means coating the wood wick in wax before you pour, so the first light catches faster and the wick starts drawing fuel immediately. Dip the wick strip briefly in melted, unscented wax, let it cool, and repeat once for a thin, even coat. You are not trying to build up a thick layer — just seal the wood so it lights cleanly.
Some makers skip priming and get fine results, especially with pre-primed wicks from their supplier. If your wicks come pre-coated, don’t double-prime — a thick coat can make the first burn flare. Test both ways on your own setup: primed versus unprimed, same wax, same jar, same fragrance load.
3. Set the wick and pour
Secure the wood wick in its metal tab, press the tab to the center of the container bottom, and use a wick holder or centering device to keep the strip vertical and centered. Wood wicks are flat, so “centered” means centered in the jar AND facing the right way — the wide face of the strip should face the direction you want the flame to spread. In a round jar it doesn’t matter much, but in an oval or rectangular container, orient the strip along the long axis so the melt pool reaches the far ends.

Melt your wax, add fragrance oil and dye, and pour at your wax’s recommended temperature. Let the candle cool and set fully. Wood wick candles benefit from a second pour or a heat-gun pass on the surface to fix sinkholes and wet spots — same as any container candle.
4. Trim very short — shorter than you think
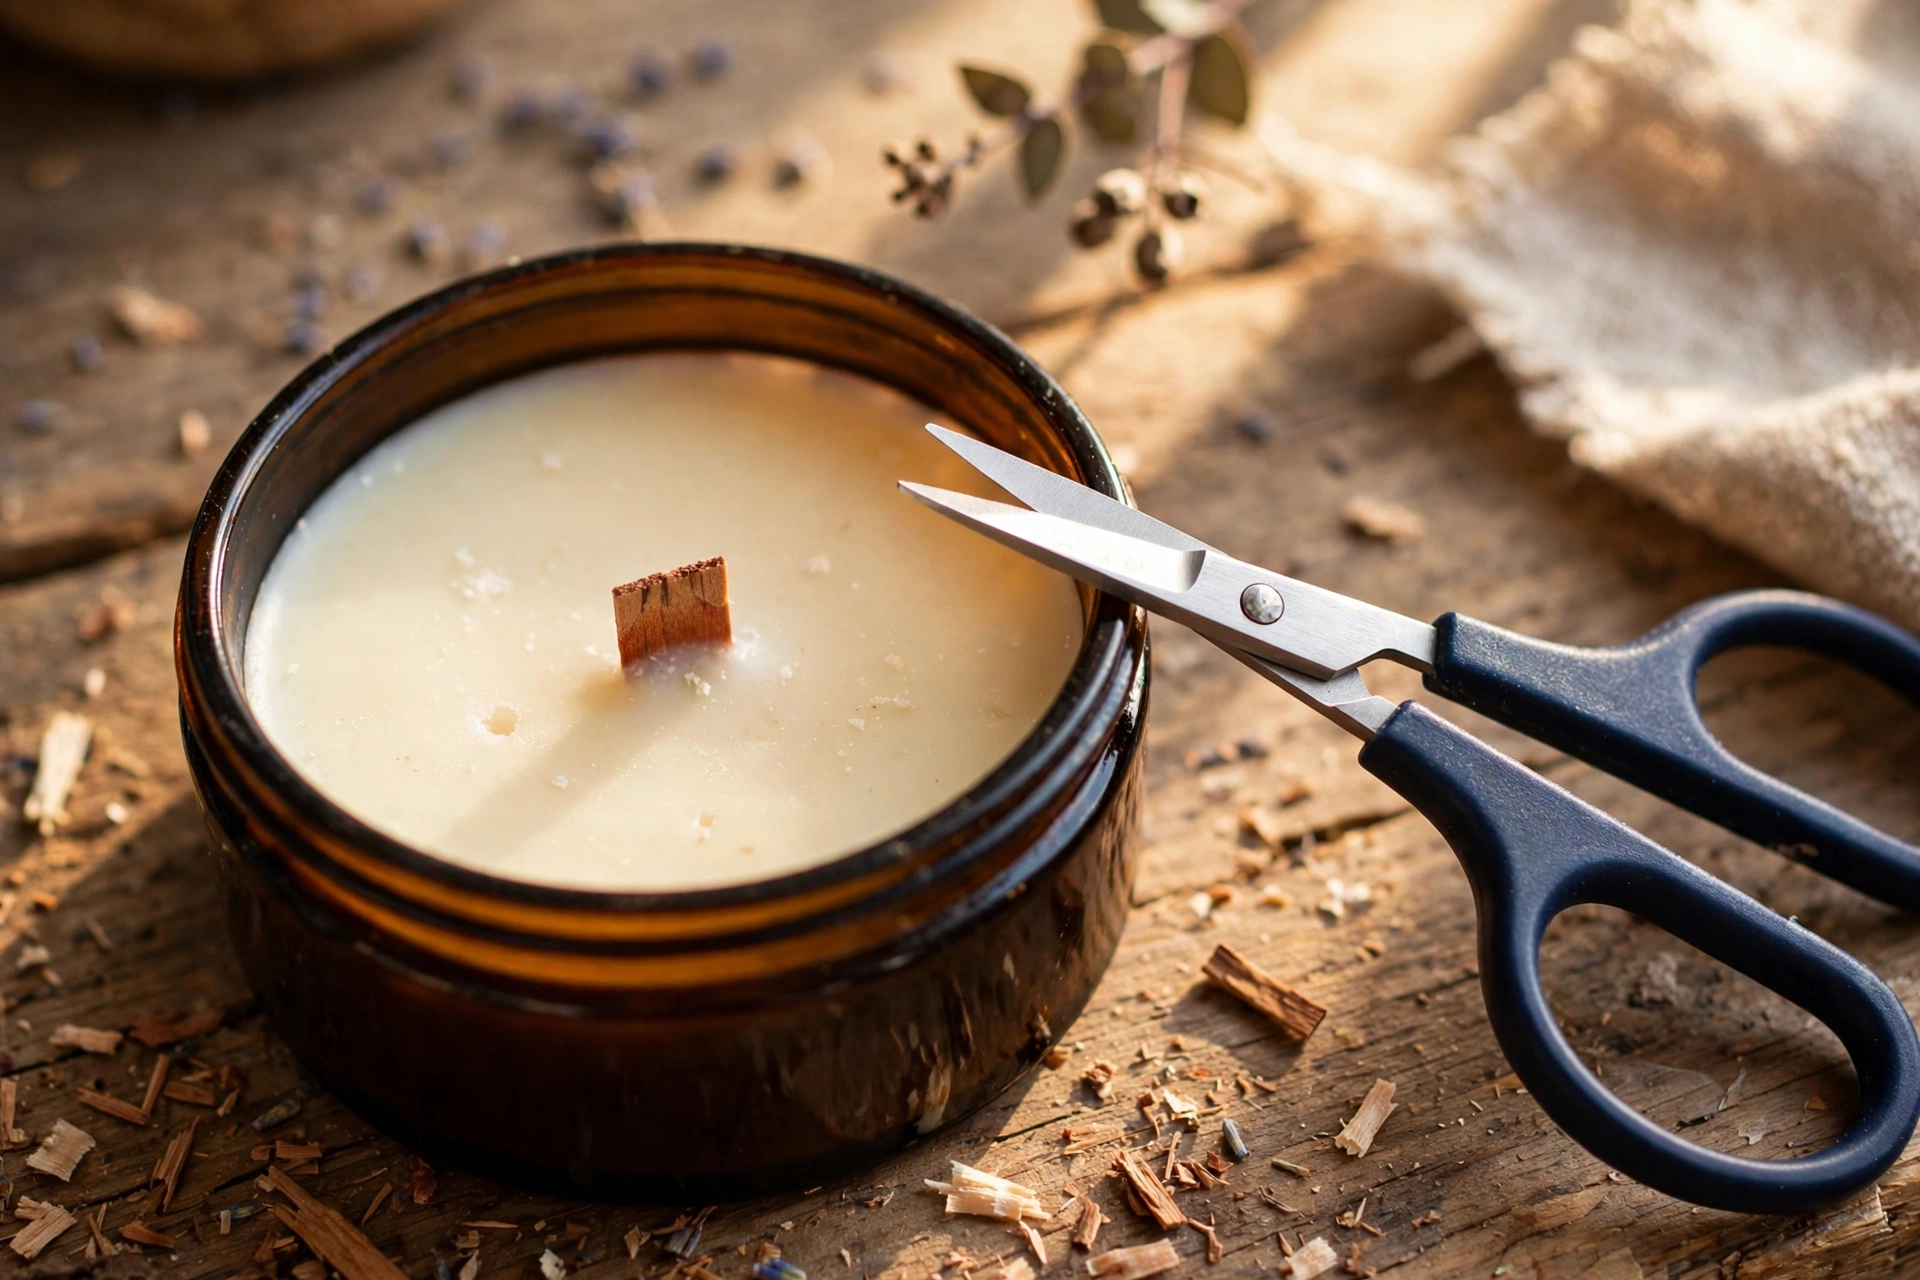
This is the step most people get wrong. A cotton wick gets trimmed to 1/4 inch. A wood wick gets trimmed much shorter: about 1/8 inch above the wax, sometimes less. A tall wood wick chars, mushrooms, and produces a tall, smoky flame that drowns in its own melt pool. A short wood wick burns with a wide, steady flame and a clean ember edge.
5. The first burn matters most
Light the candle and let it burn until the melt pool reaches the edges of the container — usually 2 to 4 hours for a standard jar, longer for wide ones. This first full melt pool sets the candle’s “memory.” Cut the first burn short and the candle will tunnel forever after; let it reach the edge and every later burn will follow the same wide pool.
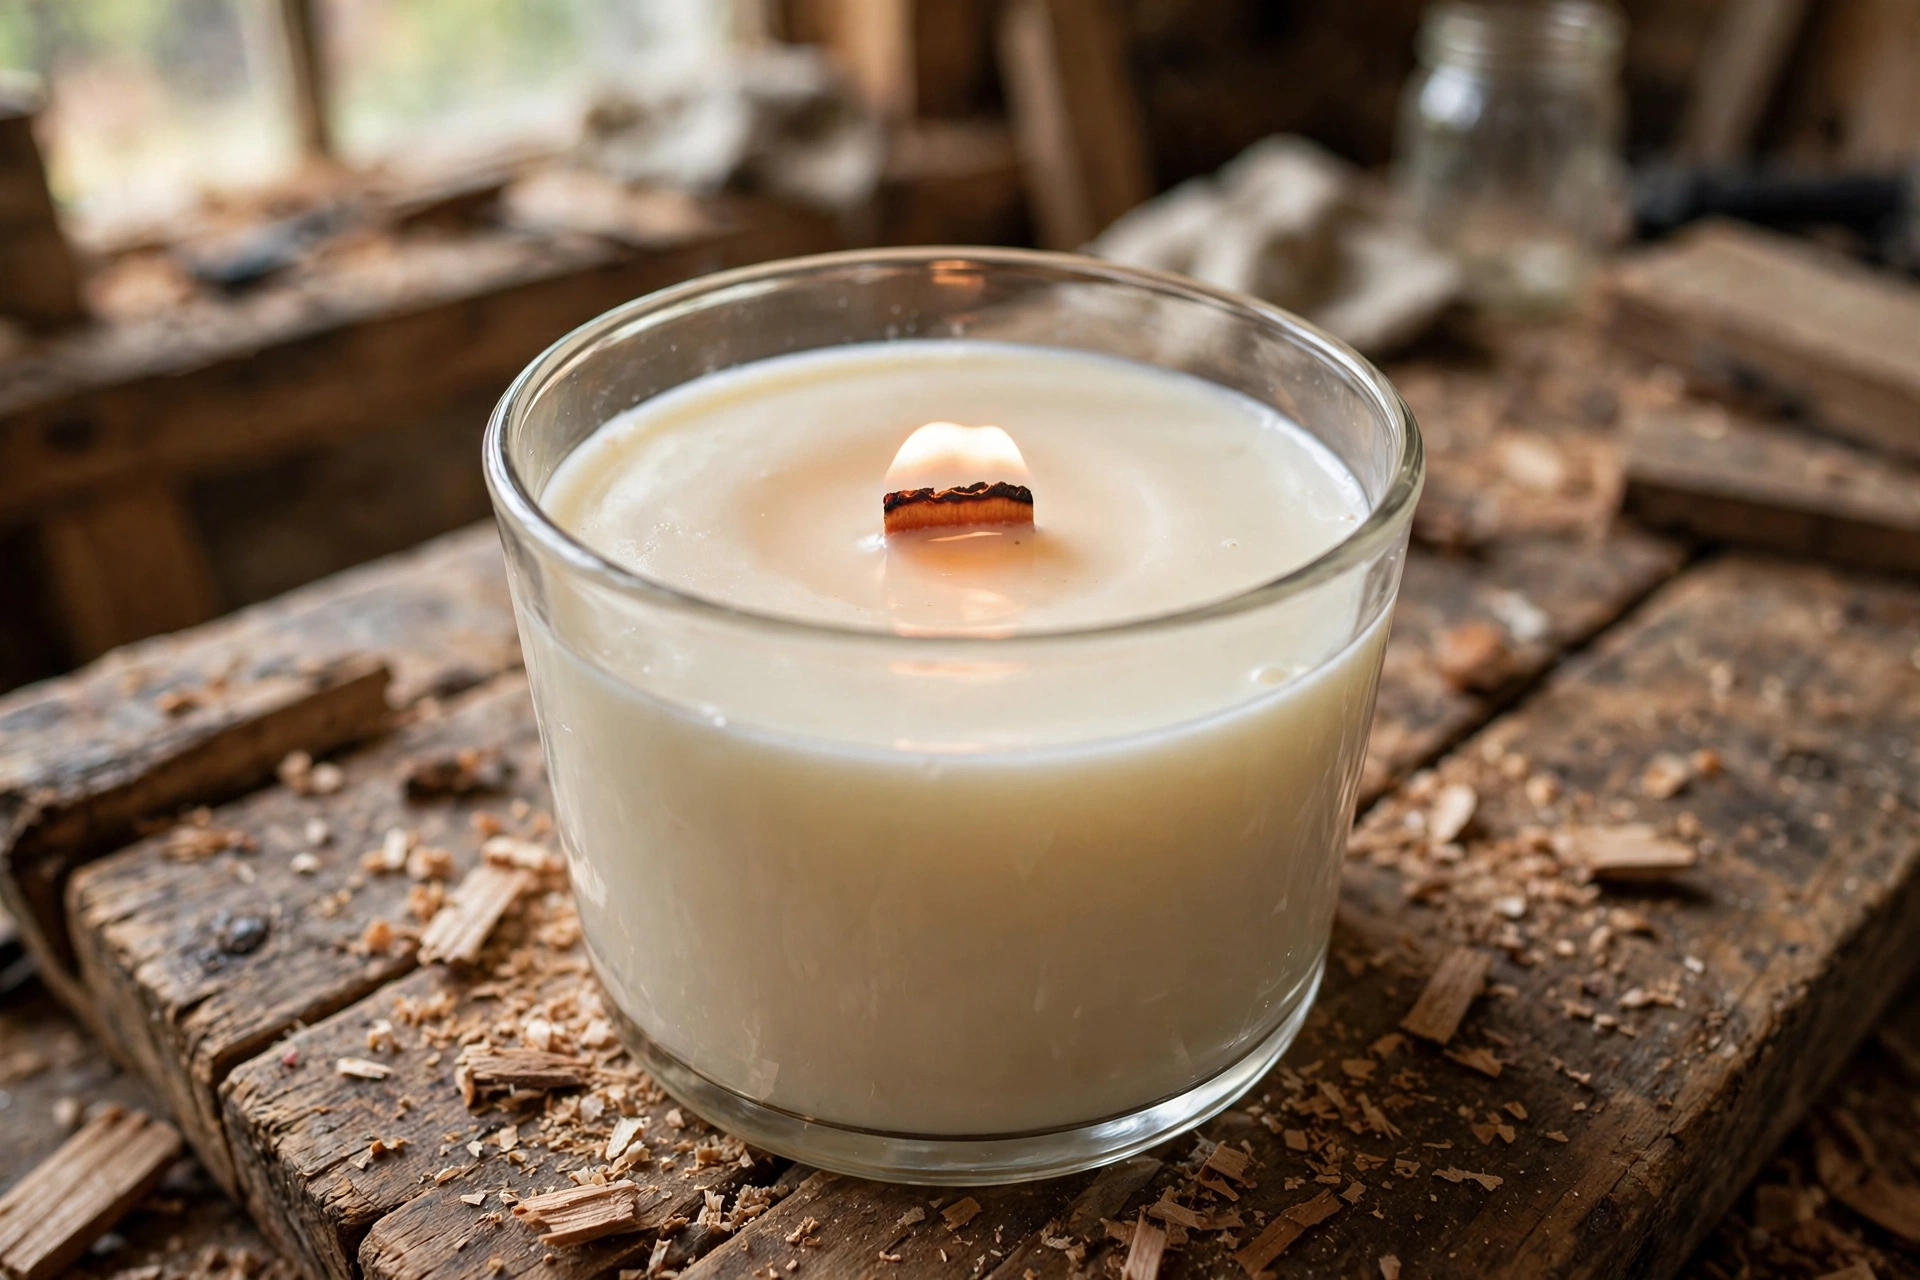
Watch the flame during that first burn. A healthy wood wick flame is wide and flat, roughly the width of the wick strip, with a steady glow. A flame that is tall, flickering, and smoking means the wick is too long or too wide — extinguish, let it cool, trim shorter, and relight. A flame that keeps dying means the wick is too narrow, the wax is too hard, or the fragrance load is too heavy — note it and adjust on the next test.
Troubleshooting
Won’t stay lit? The most common wood wick problem, and usually one of four causes: (1) the wick wasn’t trimmed — snap off the charred tip and trim to 1/8 inch; (2) the wick is too narrow for the container — size up, or try a booster version; (3) the wax is too hard or the fragrance load is too heavy — the wick can’t pull enough fuel; (4) the first burn was cut short and the candle tunneled. Work through them in that order.
Mushrooming (a black blob on the wick tip)? The wick is too wide, or it’s trimmed too long. Trim shorter first — if the mushrooming persists across burns, size down or switch to a single-ply wick if you were using a booster.
Drowning (flame sinks into the melt pool)? The melt pool is deeper than the wick can handle — usually a too-wide wick, or a candle burned too long in one session. Extinguish, let it cool, trim the wick short, and relight. Keep burns to 4 hours or less.
Sooting or smoking? Almost always a trim issue — the wick is too long. Trim to 1/8 inch before every burn. If it still smokes after trimming, the wick is too wide for the jar.
Tunneling (melt pool never reaches the edges)? The wick is too narrow, or the first burn was too short. Size up (or try a booster), and give the first burn the full time to reach the edge.
Uneven melt pool in an oval or rectangular container? The wick strip is oriented across the short axis. Re-orient along the long axis on the next pour. For very long containers, two wood wicks spaced evenly along the length burn more evenly than one.
No crackle at all? Some burns are just quiet — wood, wax, and room conditions all play a part. A missing crackle is not a defect, and a quiet burn with a good melt pool is a good candle. Don’t chase the sound at the expense of the burn.
Safety first
Standard candle rules, with one wood-wick addition. Trim to 1/8 inch before every burn, never leave a burning candle unattended, burn on a heat-safe surface, keep burns to 4 hours or less, and keep the candle away from drafts, pets, and anything flammable. The wood-wick addition: never relight a candle on a charred wick tip — trim the ash off first, or the flame can flare unpredictably when it finally catches.
Sell only what you’ve test burned. Wood wicks are less forgiving than cotton, and a candle that burns beautifully with one fragrance can fail with another. Burn at least one full candle from every batch before it goes to a customer.
Affiliate disclosure: this tutorial contains an affiliate link to Norden Candle Supply. If you buy through our link, we may earn a commission at no extra cost to you — it helps keep our tutorials free.
Get candle-making tips by email
Join the list for new tutorials, tools, and supplier deals — straight to your inbox.
Signed up between Oct 7 and Oct 28 and never heard from us? We fixed a glitch that was dropping signups — please sign up again!



