
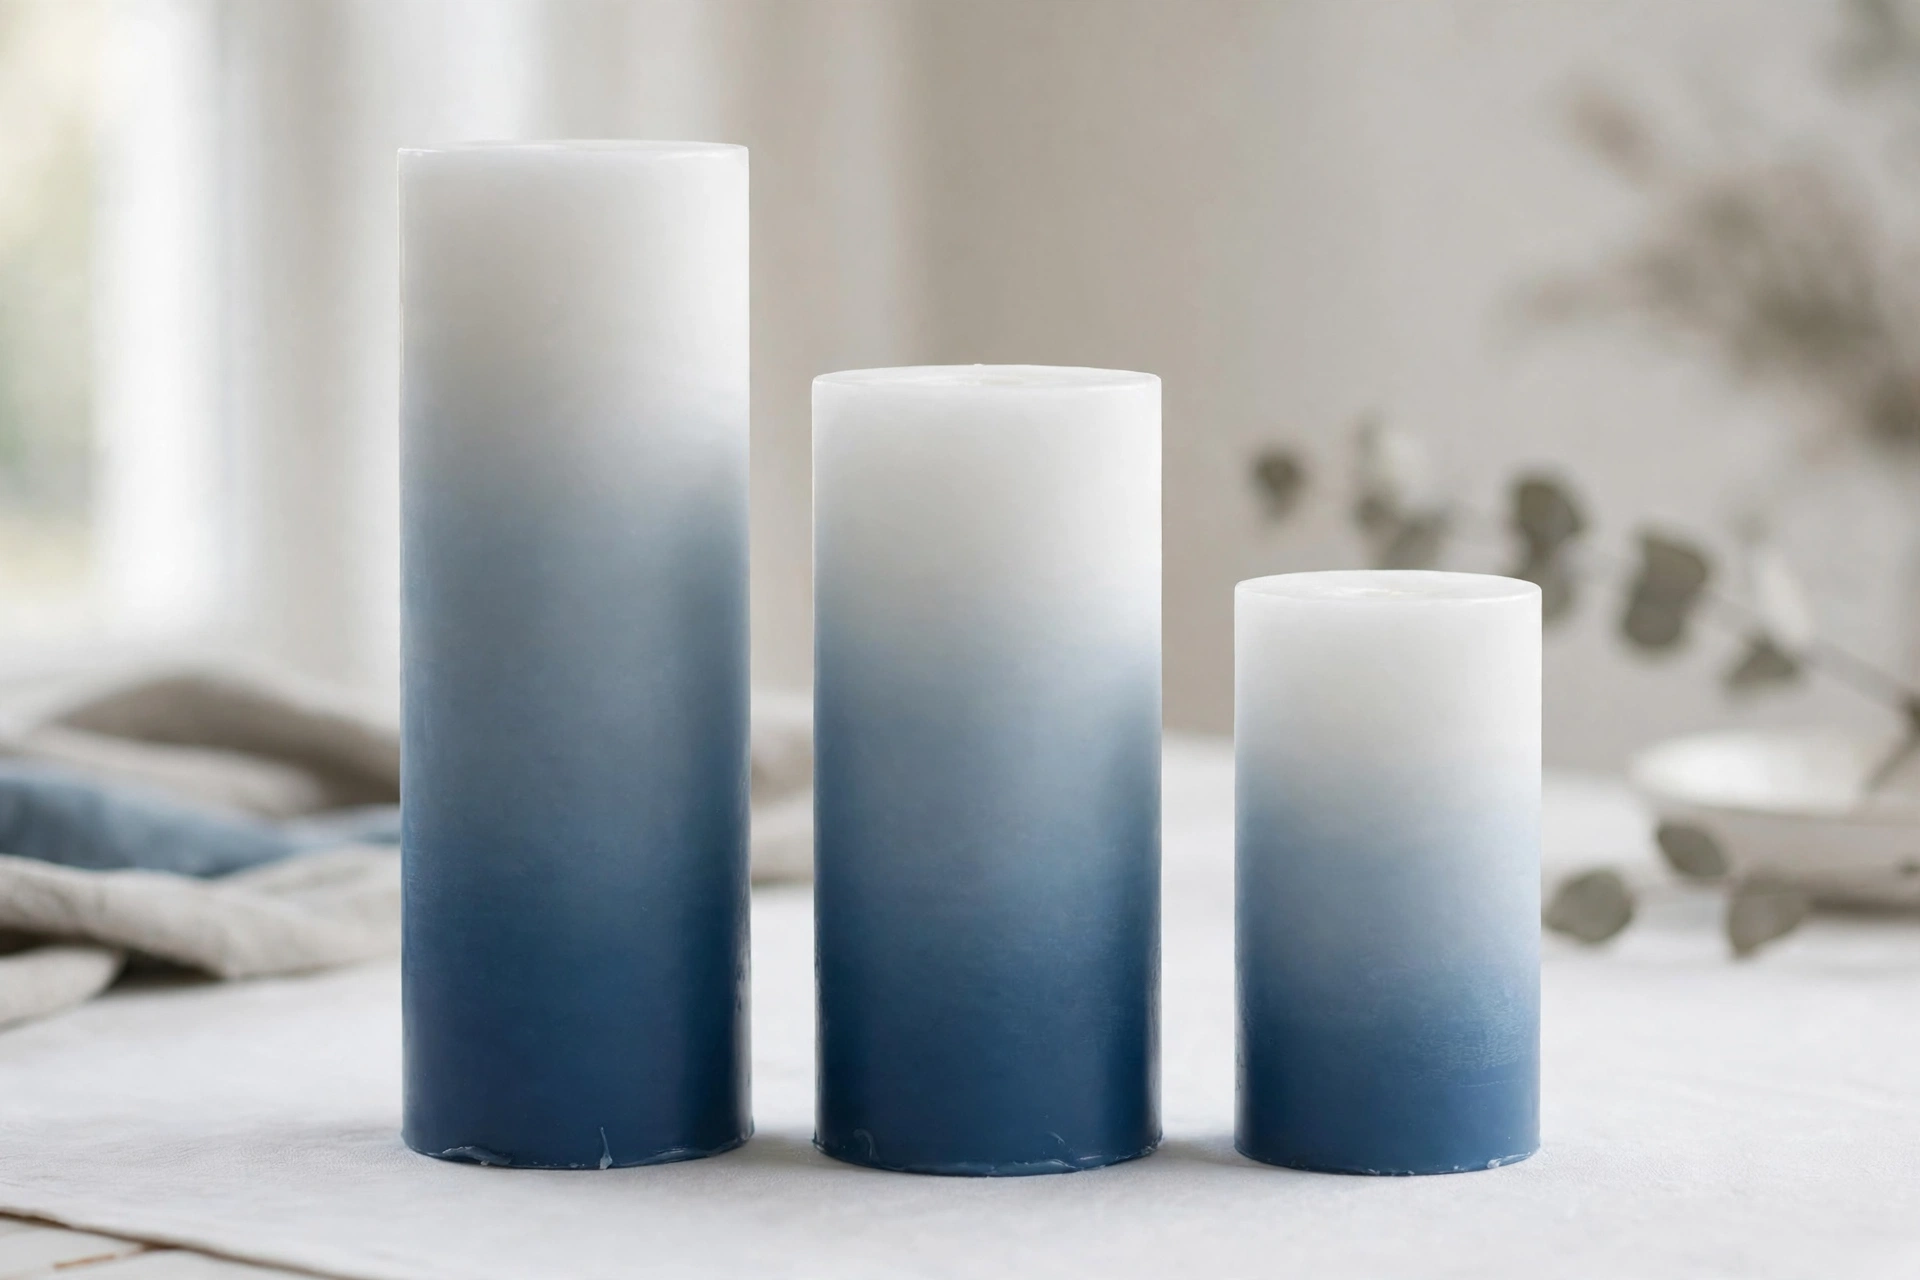
Ombre pillar candles look like they came from a boutique — a smooth gradient fading from deep color at the base to white at the top. The technique is surprisingly simple: you dip a plain white pillar into colored wax in stages, letting each layer build the gradient. No special equipment, and every one comes out a little unique.
What You’ll Need
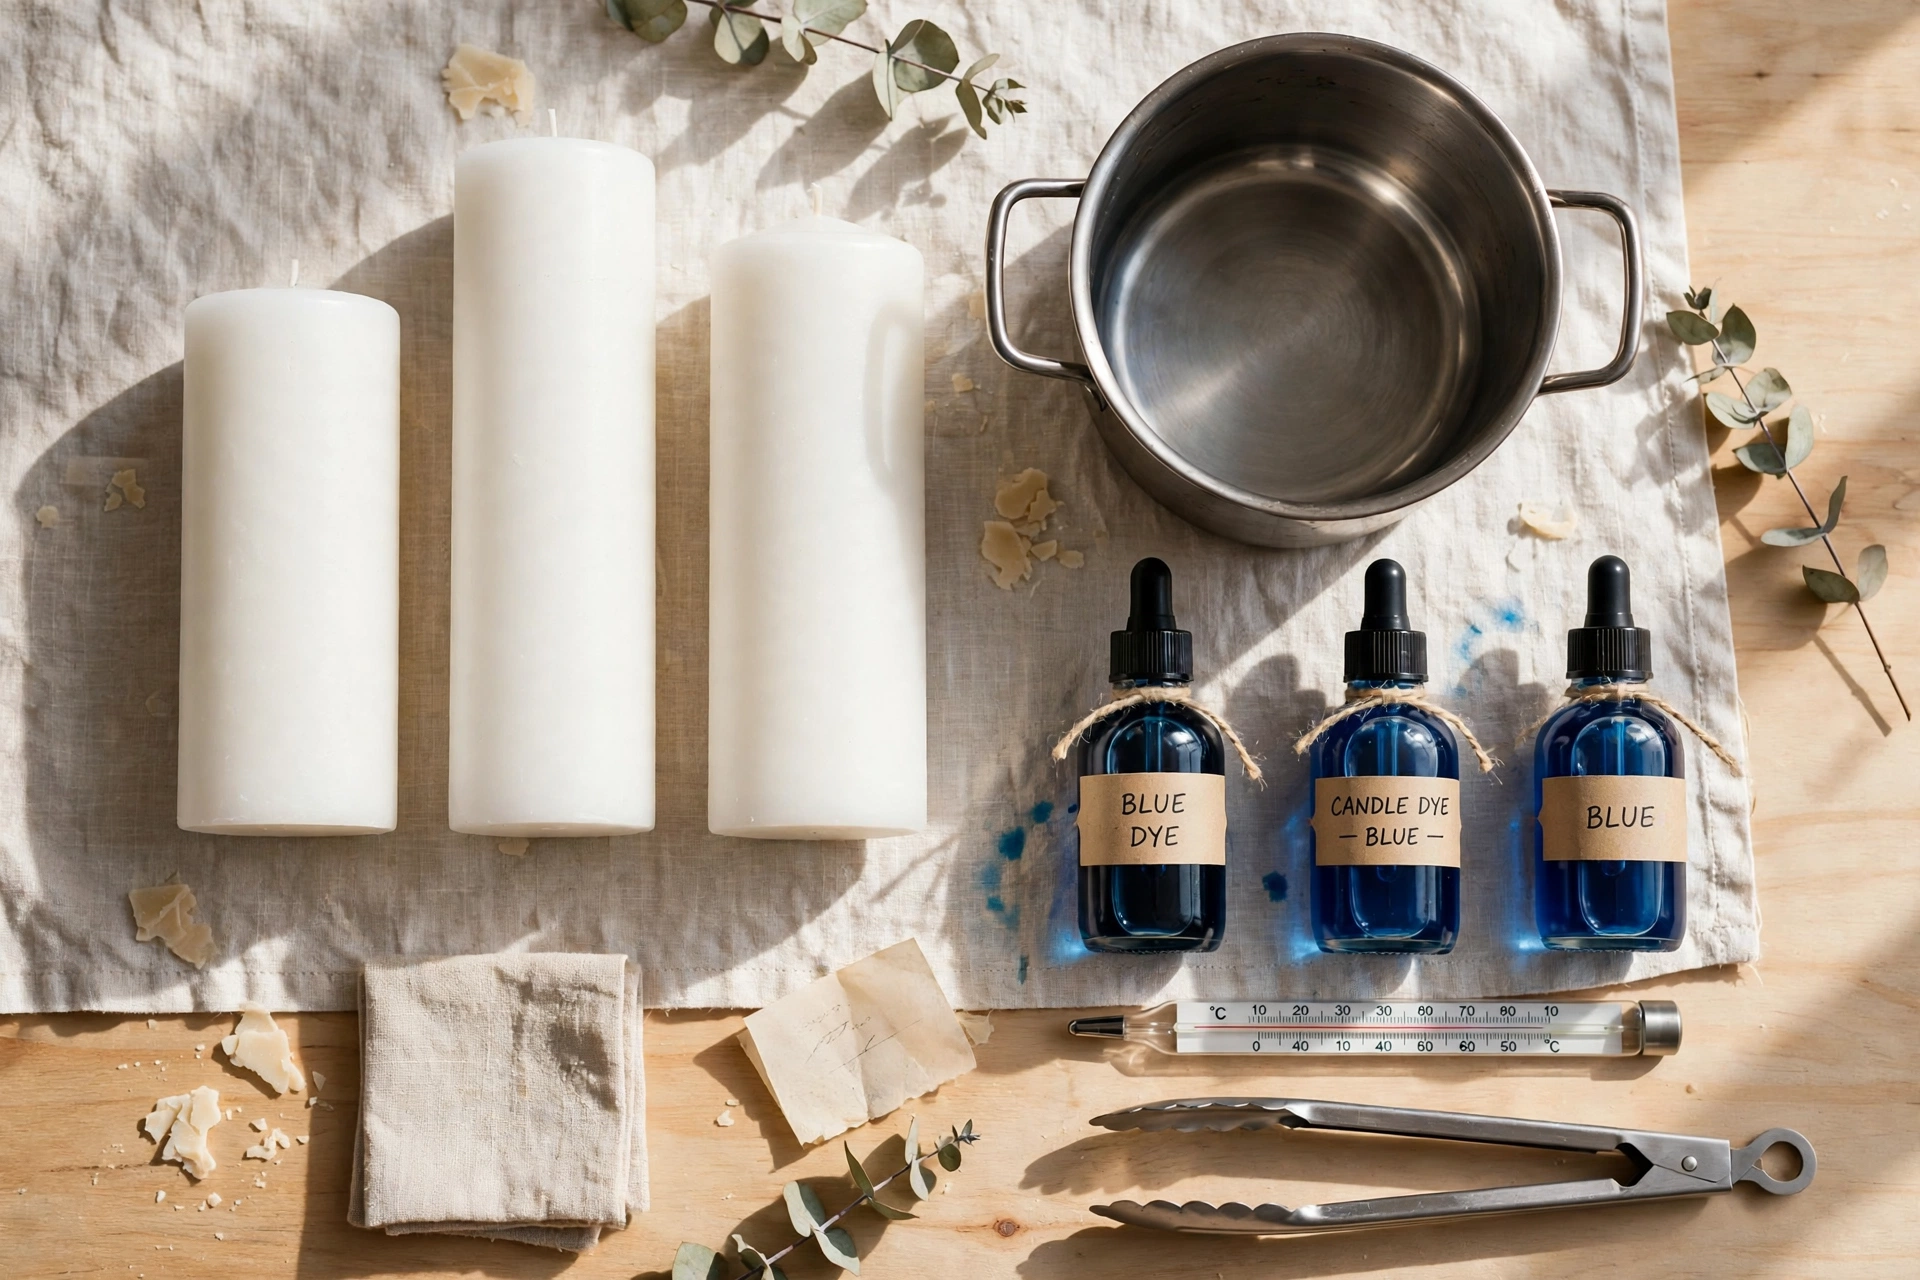
- Plain white pillar candles (3×6 inch is a great size — homemade or store-bought)
- Pillar-blend or paraffin wax for dipping (about 1 lb)
- Candle dye in one color (liquid dye works best for dipping — try dusty blue, blush pink, or sage)
- A deep, narrow melting pot or double boiler (tall enough to dip two-thirds of your pillar)
- Thermometer
- Dipping wire, tongs, or a wick-holder to grip the pillar
- Foil-lined tray for cooling
Step 1: Prep Your Pillars
Start with clean, smooth white pillars. Trim the wick to 1/4 inch and wipe off any dust — the dye layer is thin, so every bump shows. If you’re making your own pillars, let them cure fully first.
Step 2: Melt the Dye Wax
Melt your dipping wax to about 160°F and stir in the dye. Go bolder than you think — the color lightens as it cools on the pillar. Test by dipping a white spoon: what you see is close to what you’ll get.
Step 3: First Dip — Two-Thirds Down
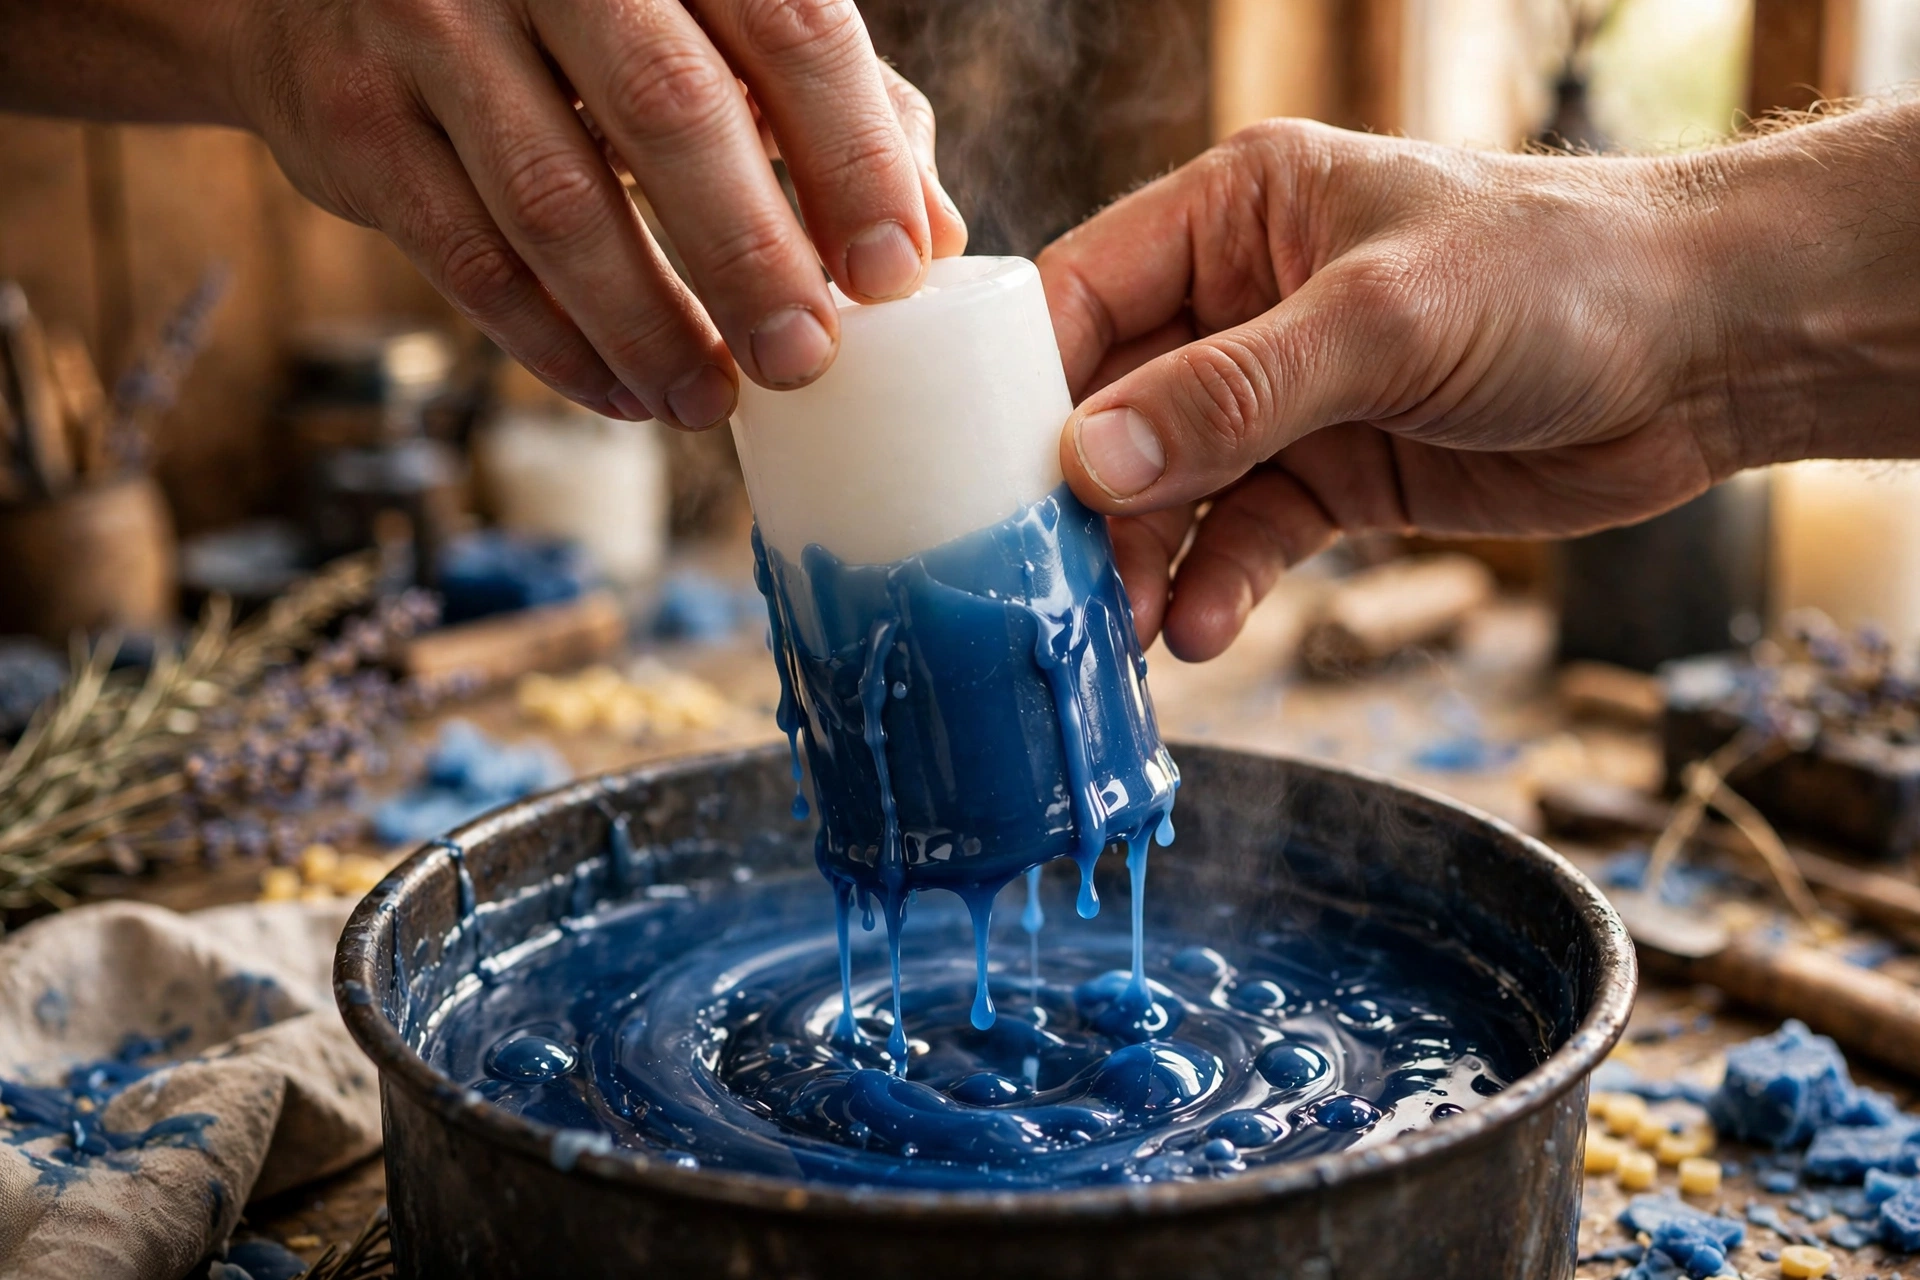
Grip the pillar by the wick end and dip it smoothly into the dye wax until two-thirds is submerged. Pull it straight out in one steady motion — don’t swirl. Let the excess drip for a few seconds, then stand it on the foil tray to cool for 5–10 minutes until the layer is set.
Step 4: Second Dip — Halfway Down
Dip again, this time only halfway down. The bottom third now has two coats (darker), the middle has one. Cool again until set.
Step 5: Third Dip — Bottom Third
One last dip, just the bottom third. This section gets three coats — the deepest color. Let it cool completely, about 20 minutes.
You should now see a smooth gradient: darkest at the base, fading to white at the top.
Step 6: Finish
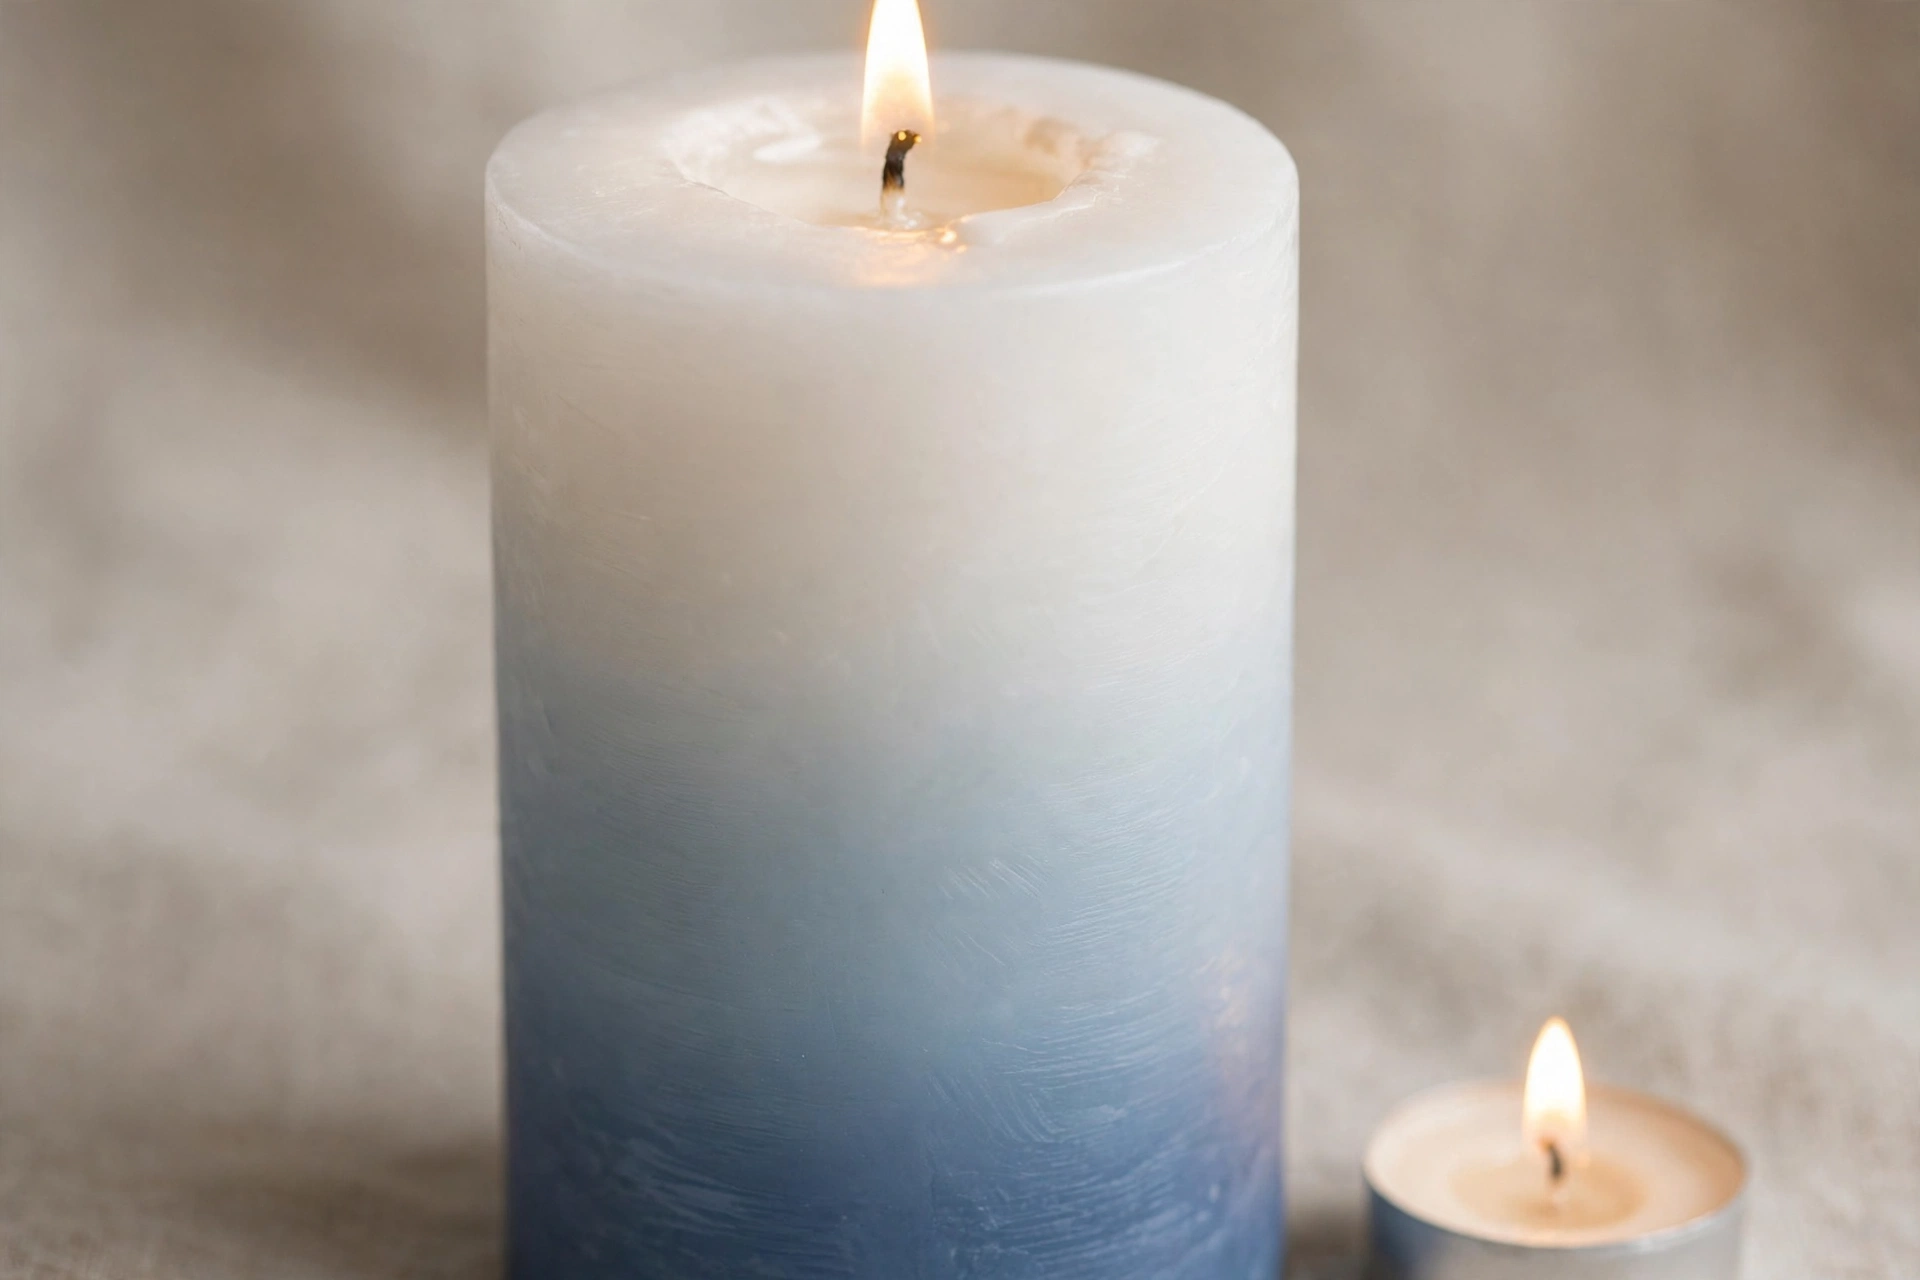
Trim any drips from the base with a warm knife so the pillar sits flat. Trim the wick to 1/4 inch. The dipped layer is thin, so cure as you normally would for your pillar wax — then light it and watch the gradient glow.
Tips for a Smooth Gradient
- Keep the temperature steady. If the dye wax cools too much, the coats go on thick and streaky. 160°F is the sweet spot — reheat as needed.
- Quick, confident dips. Hesitating or re-dipping the same section melts the coat you just put on.
- Cool fully between dips. If the last coat is still soft, the next dip slides right off.
- Practice on one pillar first. Dial in your color and timing before doing a batch.
- Try two-tone. Dip the top half in a second color after the first gradient sets — pink-to-blue fades are gorgeous.
- Sell them as a set. A trio of ombre pillars in graduated sizes (3×4, 3×6, 3×9) easily sells for $70–$85 as a gift set.
Safety
Never leave melting wax unattended, and keep a thermometer in the pot — wax that’s too hot is a fire risk. Dip over the pot, not over the counter. Burn finished pillars on a heat-safe dish (pillars need a holder to catch melting wax), trim the wick to 1/4 inch before each burn, and never leave a burning candle unattended.
Get candle-making tips by email
Join the list for new tutorials, tools, and supplier deals — straight to your inbox.
Signed up between Oct 7 and Oct 28 and never heard from us? We fixed a glitch that was dropping signups — please sign up again!



