
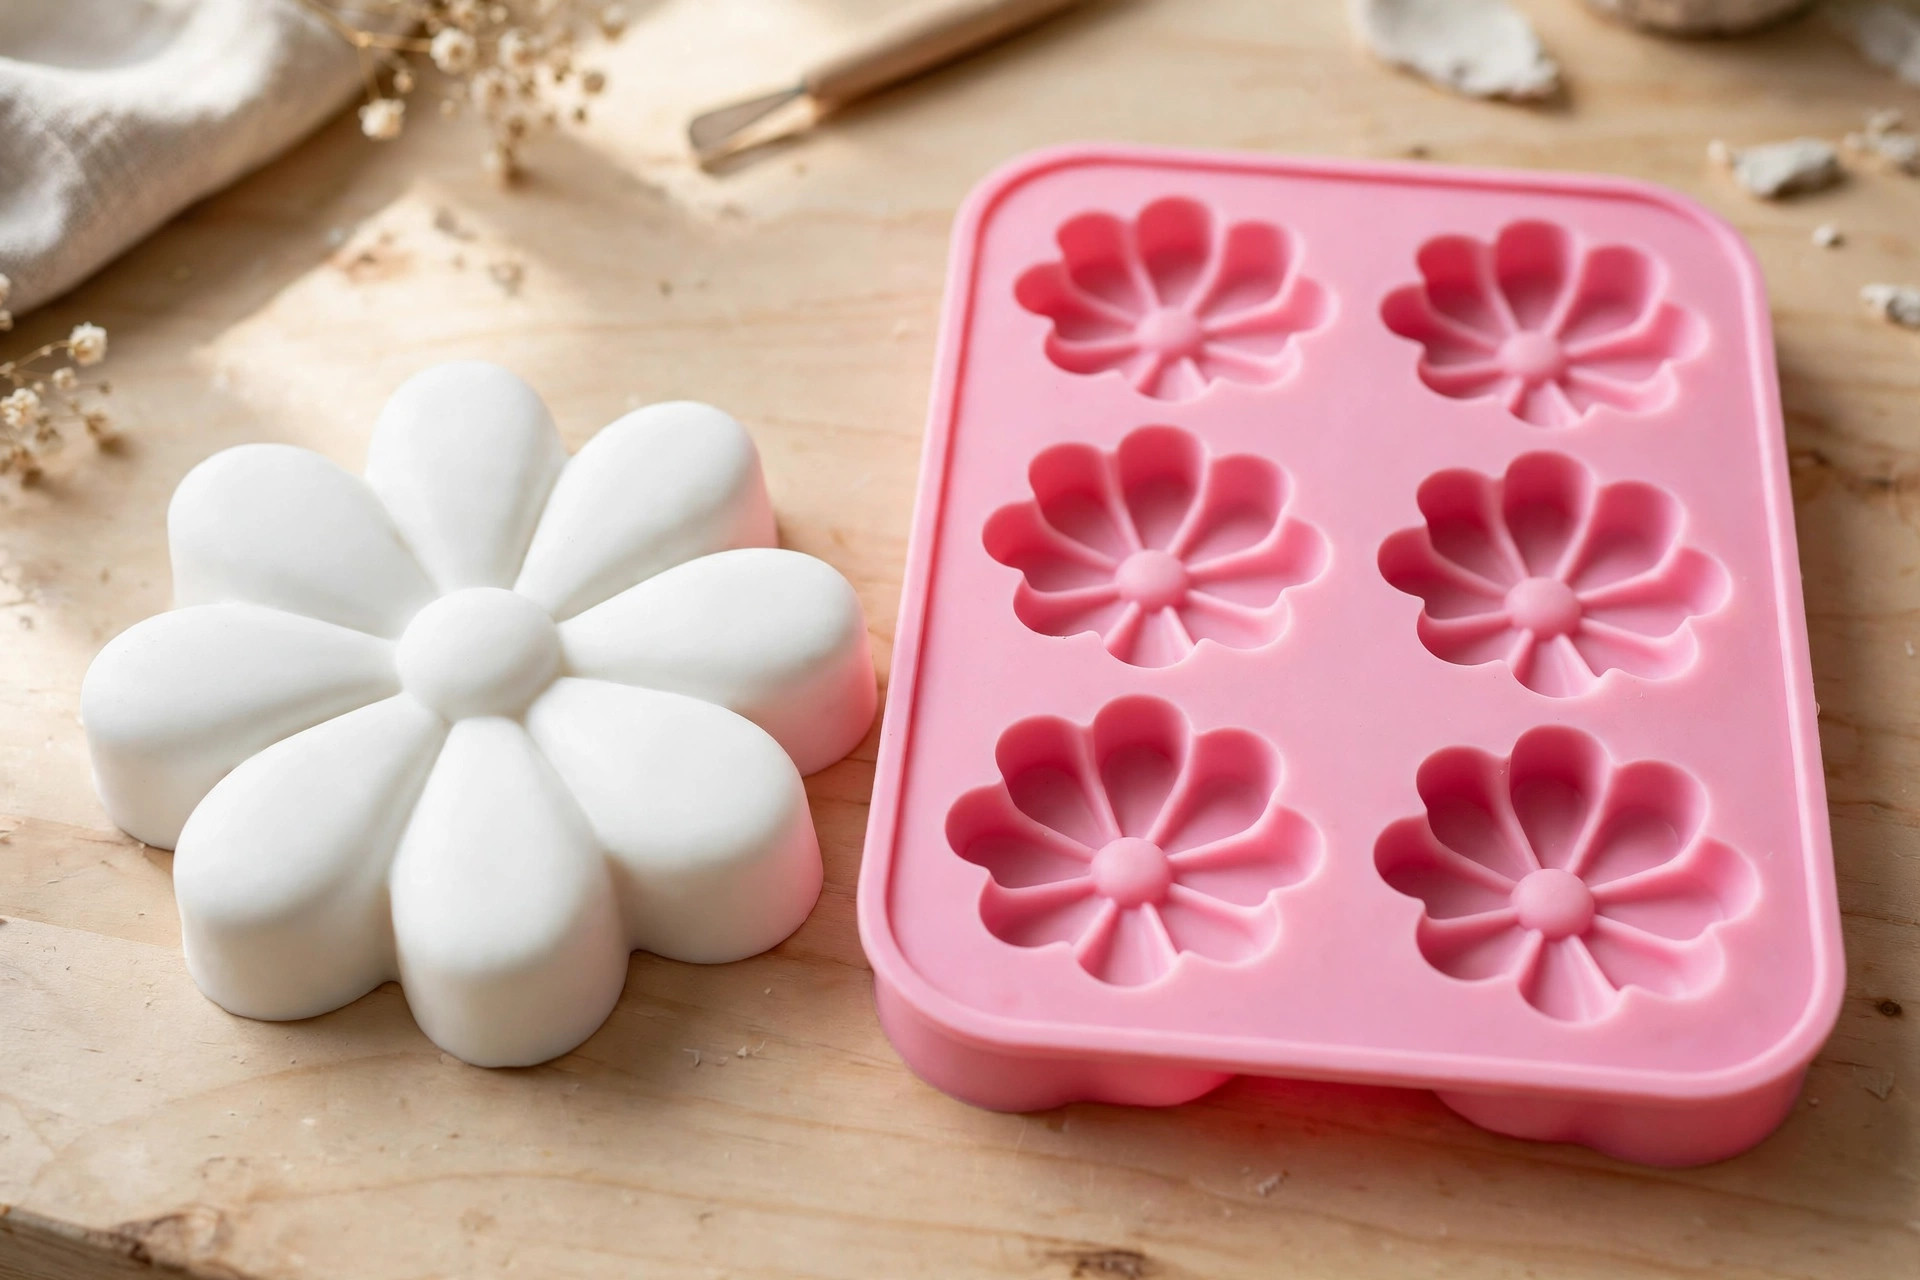
Store-bought freshie molds come in plenty of shapes, but the shapes that sell best at your market table are usually the ones nobody else has. Making your own silicone mold takes one afternoon and a little patience: you make a master shape, build a box around it, pour silicone over it, and once it cures you have a reusable mold you can bake in again and again. The key decision is the silicone itself — get that right and the rest is straightforward.
Tin-Cure vs Platinum-Cure: Which Silicone?
There are two families of mold-making silicone, and the difference matters for freshies:
- Tin-cure is cheaper and forgiving — it tolerates sulfur and unknown master materials that would ruin platinum. The trade-offs are shrinkage (sources report anywhere from 0.5 to 1% up to 1 to 3%) and a shorter mold life, roughly 10 to 15 pours.
- Platinum-cure is the premium option: about 0.1% shrinkage, 20 or more pours, and finer detail. But it is poisoned by sulfur and latex — a sulfur-based clay master or latex gloves can stop it curing entirely. Use nitrile gloves and test your master material first.
For freshies, platinum is the recommended default, with one condition: the datasheet must rate it for oven use. Smooth-On Mold Star, for example, is rated to 450°F, well above the 325 to 350°F freshie bake, and mixes 1:1 by volume — Mold Star 15 cures in about 4 hours, Mold Star 30 in about 6 hours. A tin option like Mold Max 30 mixes 100 parts A to 10 parts B by weight, has a 45-minute pot life, and cures in 24 hours. For a first mold, a beginner-friendly hardness around Shore A 20 to 25 is a good target.
One caution the research was clear on: not every tin silicone is rated for repeated oven use, so check the datasheet before you bake in any mold you make. If the datasheet does not rate it for your baking temperature, do not bake in it.
What You’ll Need
- Mold-making silicone (platinum-cure recommended, oven-rated on its datasheet)
- A master shape: a 3D print or a non-sulfur clay sculpt
- Mold box material: foam board, acrylic, coated MDF, LEGO bricks, or a plastic tub
- Hot glue gun and tape (for sealing box seams)
- Nitrile gloves (especially important with platinum silicone)
- Silicone-safe mold release spray (optional but recommended as insurance)
- Shellac or Mod Podge (only if your master is porous and needs sealing)
- Mixing cups, stir sticks, and a scale
Step 1: Make and Finish Your Master
Your master is the shape the silicone will copy — and silicone copies about 99% of it, flaws included. So finish the master properly before you pour. For a 3D print, resin prints come out smoother than FDM; if you print FDM, sand and prime it smooth. Wash resin prints in isopropyl alcohol and fully UV-cure them, and consider a clear seal coat. For a clay sculpt, use non-sulfur clay only — sulfur poisons platinum silicone. Whatever the material, the master should look exactly like the freshie you want, because every scratch and bump will show up in every freshie that mold makes.
Step 2: Build the Mold Box
Build a box around the master with at least 1/2 inch (10 to 15 mm) of space for silicone on all sides, and about 1 cm of headroom above the tallest point of the master. Foam board, acrylic, coated MDF, LEGO bricks, or a plastic tub all work. Seal every seam with hot glue or tape so silicone cannot leak out, and glue the master to the base of the box so it cannot float when you pour.
Step 3: Seal and Release (If Needed)
For a simple one-part mold from a smooth, non-porous master, mold release is not strictly required — but most guides recommend a light mist of silicone-safe release spray, left to dry about 10 minutes, as cheap insurance. It is required in practice in two cases: porous masters, which must be sealed first with shellac or Mod Podge before any release goes on, and two-part molds, where silicone would otherwise bond to silicone.
Step 4: Mix and Pour
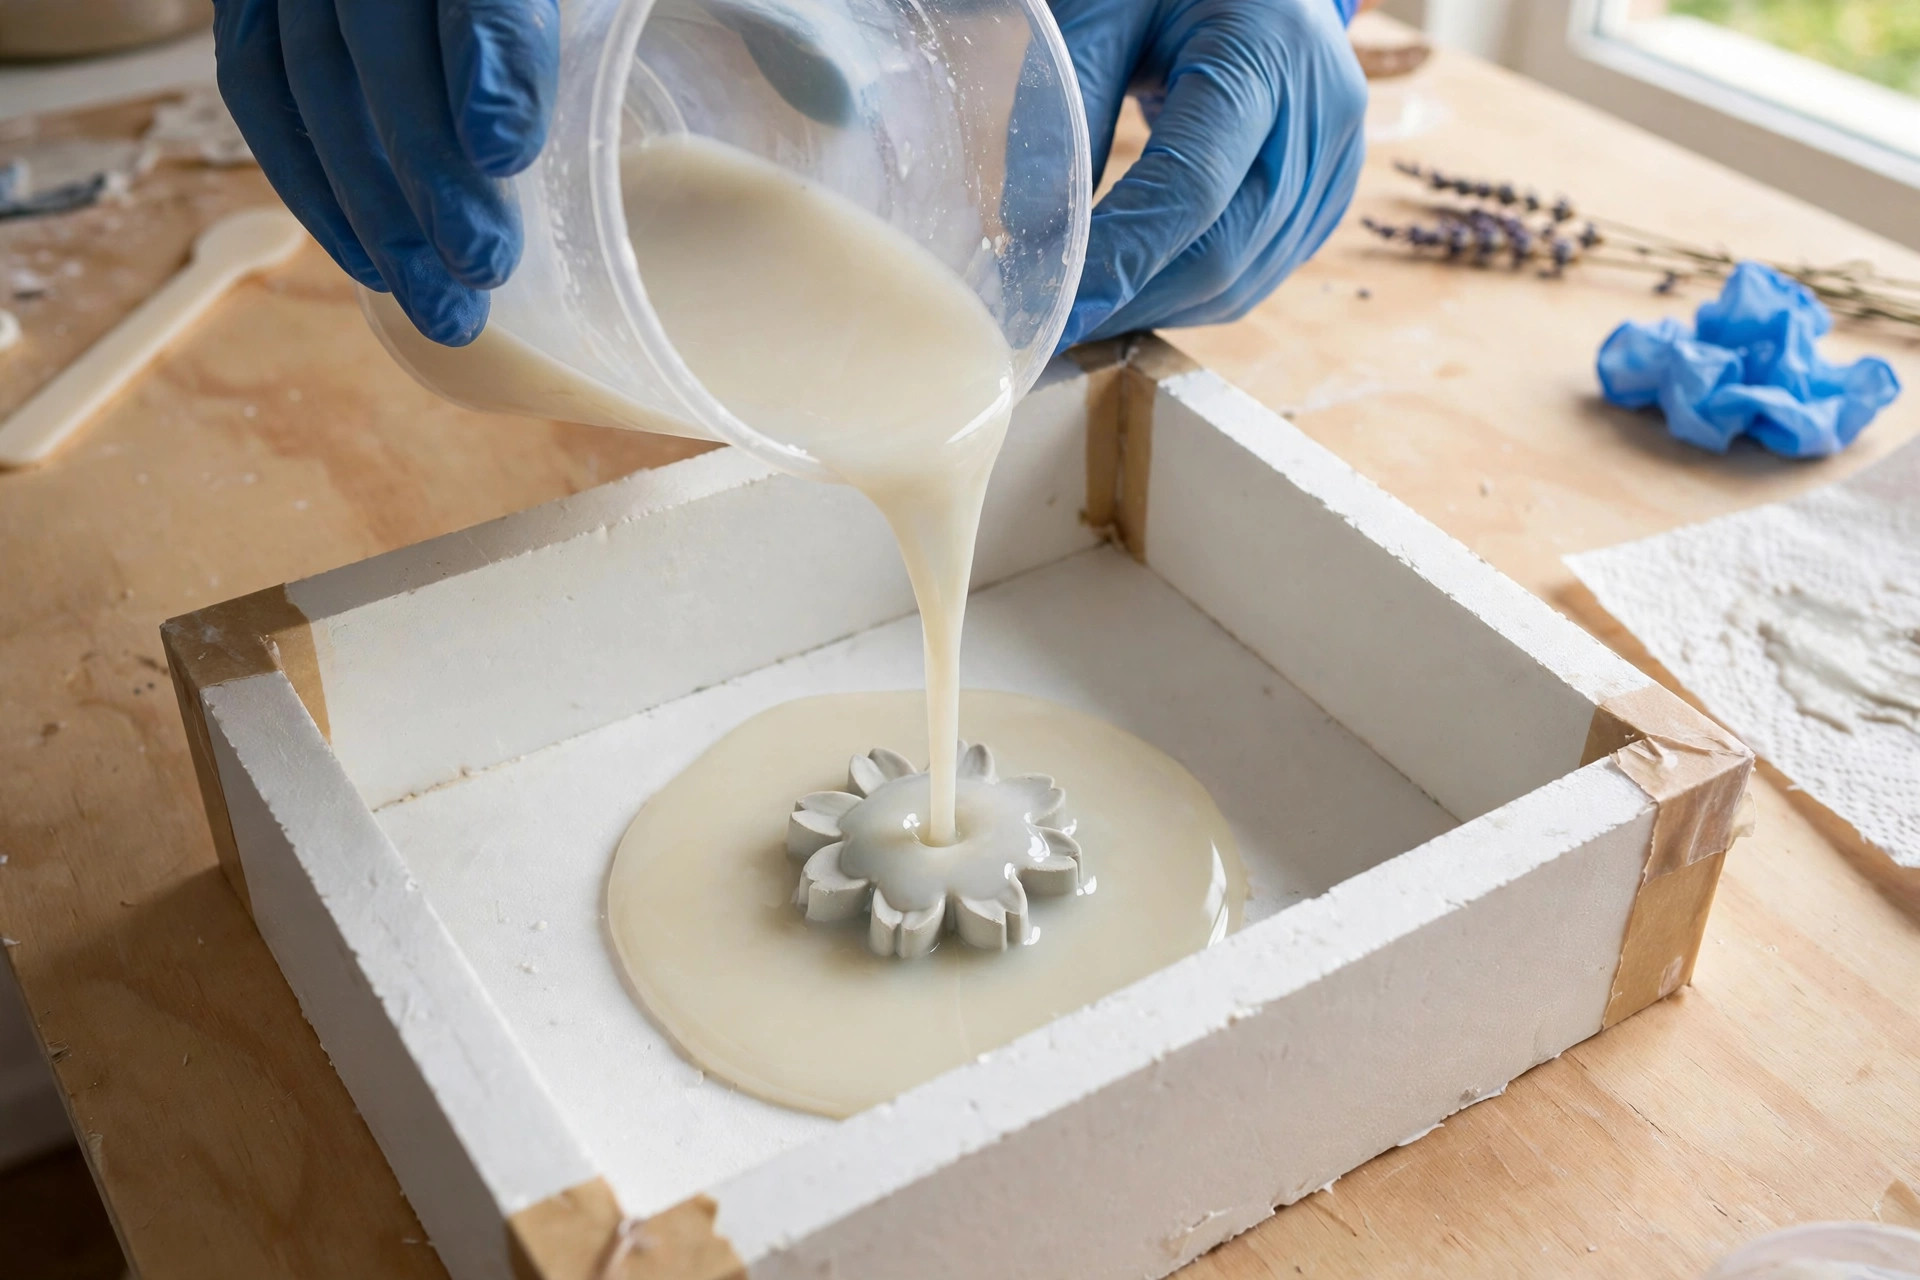
Mix the silicone exactly per its datasheet — ratios, pot life, and cure time all come from the datasheet, not from memory. Mold Star mixes 1:1 by volume; Mold Max 30 mixes 100 to 10 by weight, so weigh it. Stir thoroughly, then pour slowly over the master, letting the silicone flow around it and fill the box. Work within the pot life: 45 minutes for Mold Max 30, less for faster platinums.
Step 5: Cure
Let the mold cure at room temperature, about 70 to 75°F, until it is firm and not tacky — generally 4 to 24 hours depending on the product (Mold Star 15 about 4 hours, Mold Star 30 about 6 hours, Mold Max 30 about 24 hours). Do not rush it. A mold that still feels tacky is not done, and demolding early tears the detail you worked to preserve.
Step 6: Demold and Test
Peel the box away, flex the silicone gently, and lift out your master. You should have a clean negative of your shape. Before a full batch, bake one test freshie in the new mold at your usual temperature and check two things: that the mold holds up to the heat (per its datasheet rating) and that the freshie releases cleanly once cool. Remember the cooling rule from the freshie guide — let a silicone mold cool completely and firm before you pull a freshie out of it.
Is DIY Worth It?
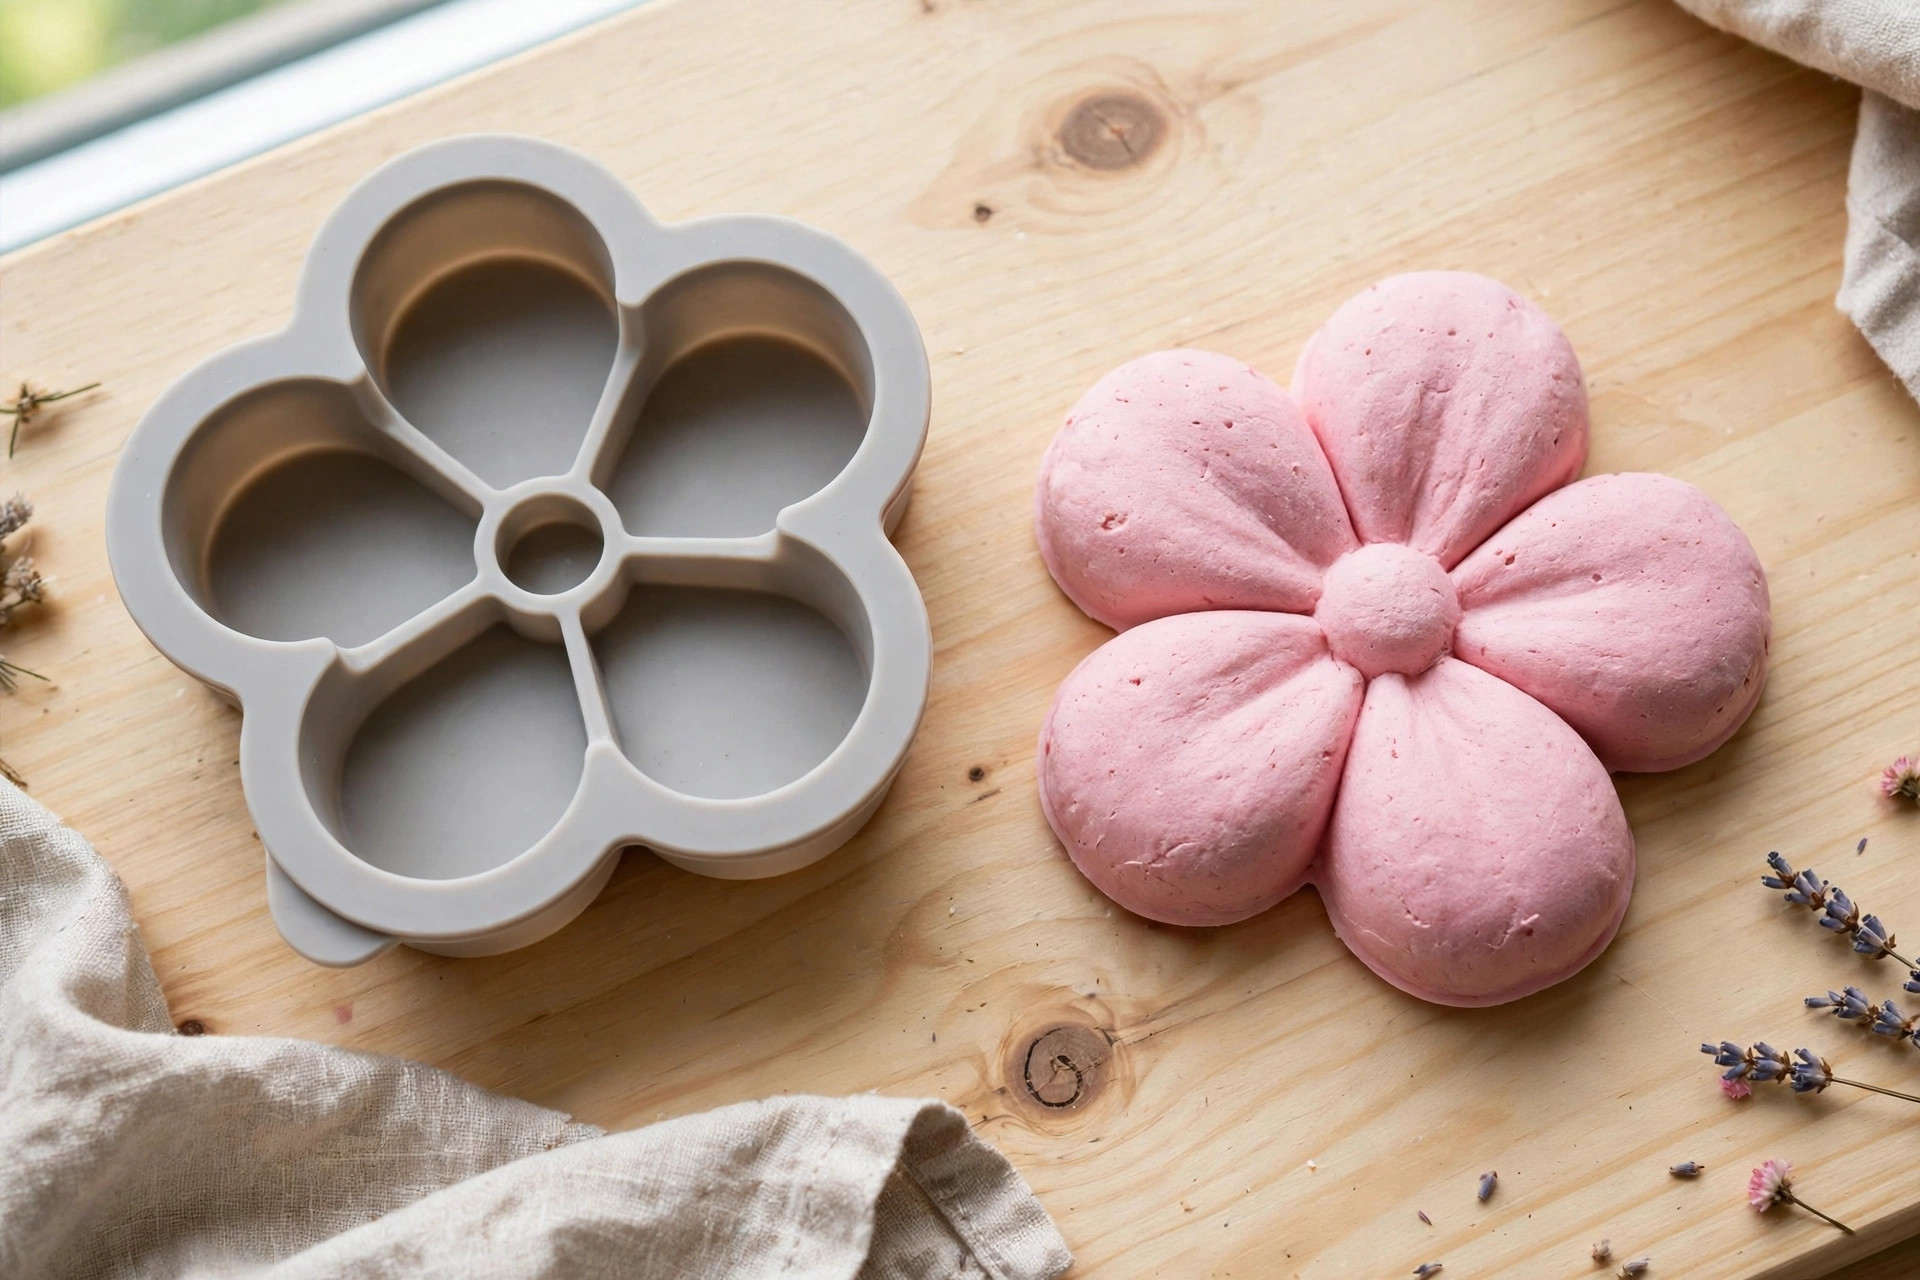
Honest answer: only for custom designs or repeated reuse. A ready-made freshie mold runs about $11 to $20, while a 2-pound trial kit of mold silicone runs about $52 to $60 (Mold Star trial sizes, October 2026) and a gallon runs into the hundreds. If you want a shape you can buy, buy it. If you want your own design — your logo, a local landmark, a shape nobody else sells — one homemade mold pays for itself after a few dozen freshies, and you own a shape nobody can copy.
Tips for a Mold That Lasts
- Finish the master first. Silicone copies flaws faithfully. Sand, seal, and inspect before you pour, not after.
- Test for poisoning. If you are using platinum silicone, test a small pour against your master material first. A failed test costs a little silicone; a failed full pour costs the whole kit.
- Glue the master down. A floating master makes a mold with thin walls on one side and a ruined shape.
- Follow the datasheet, not a video. Ratios, pot life, cure time, and oven ratings vary by product. The datasheet for your exact silicone wins over any generic guide.
- Store molds flat and cool. Stacked or sun-baked molds warp, and a warped mold makes warped freshies.
Safety
Use nitrile gloves with platinum silicone — latex can poison the cure. Work in a ventilated space and follow the silicone manufacturer’s safety guidance. Never bake in a homemade mold unless its datasheet rates it for oven use at your baking temperature. Keep silicone, masters, and finished molds away from children and pets, and keep curing molds somewhere they will not be disturbed until fully firm.
Get candle-making tips by email
Join the list for new tutorials, tools, and supplier deals — straight to your inbox.
Signed up between Oct 7 and Oct 28 and never heard from us? We fixed a glitch that was dropping signups — please sign up again!



