
A plain pillar candle becomes a gift-shop treasure the moment a brush touches it. Hand-painted candles sell for the look, not the scent — and if you can hold a paintbrush, you can make them. Here is the full process: materials, technique, design ideas, fixes for the usual mistakes, and the safety rules that matter.

Why Painted Candles Sell
Most candles compete on scent. Painted candles compete on sight — which puts them in a different market: gifts, home decor, seasonal displays, wedding favors. A customer who would never pay extra for “another vanilla candle” will happily pay for a pillar painted with eucalyptus sprigs to match her living room.
For makers, the appeal is practical. You do not need new wax, new vessels, or new fragrance oils. You need plain pillars — the ones you already know how to make — plus craft paint and brushes. It is one of the cheapest product lines to start, and every piece is one of a kind, which is exactly what gift buyers want.
What You Need
- Plain pillar candles. Smooth, solid-color pillars in white, cream, or soft pastels take paint best. Let them cure fully first — paint on a soft, fresh candle will not behave.
- Acrylic craft paints or multi-surface acrylics. Standard water-based craft acrylics work well on wax. Multi-surface formulas add extra adhesion if you want it. Stick to non-toxic, water-based paints (more on why in the safety section).
- Soft brushes in a few sizes. A flat wash brush for backgrounds, a medium round for petals and leaves, and a small detail brush or liner for fine lines. Soft bristles leave fewer marks on the slick wax surface.
- Optional: clear water-based acrylic sealer. A light coat protects the finished design from scuffs in handling and shipping. Matte or satin looks best.
- A cup of water and paper towels. For rinsing brushes between colors and blotting excess paint. Change the water when it gets murky — dirty water dulls light colors fast.
Prep: Set Yourself Up for Clean Work
Wax is a slick, non-porous surface, so preparation decides whether your paint glides on or fights you the whole time.
- Wipe each candle down. A soft, dry cloth removes dust and the faint oily film that can sit on stored pillars.
- Work at room temperature. Cold wax can make paint bead up; warm wax gets soft under your hand.
- Protect your table. Acrylic paint washes out of brushes with water, but it will stain a wood table the second it dries. Wax paper or a silicone craft mat under each candle saves regret.
- Thin your paint slightly. Craft acrylics straight from the bottle are often thick for wax. A drop or two of water per brushload gives smoother coverage. You are aiming for the consistency of heavy cream, not toothpaste.
Painting, Step by Step
1. Base coat (optional). If you want a tinted background — a soft sage pillar, a blush pillar — brush on one thin, even coat and let it dry completely. Most designs skip this and paint straight onto the candle’s own color. Either way, keep coats thin; thick paint is what cracks later.
2. Sketch the design lightly. Use a soft pencil or a watercolor pencil in a light shade to sketch your layout directly on the wax. Keep it faint — you are making a map, not a drawing. On dark candles, a white watercolor pencil shows up well and disappears under paint.
3. Paint in layers, light to dark. Lay down your lightest colors first, then mid-tones, then darkest details last. This one habit separates clean-looking painted candles from muddy ones. Let each layer dry to the touch before adding the next — usually 10 to 20 minutes depending on thickness and humidity.
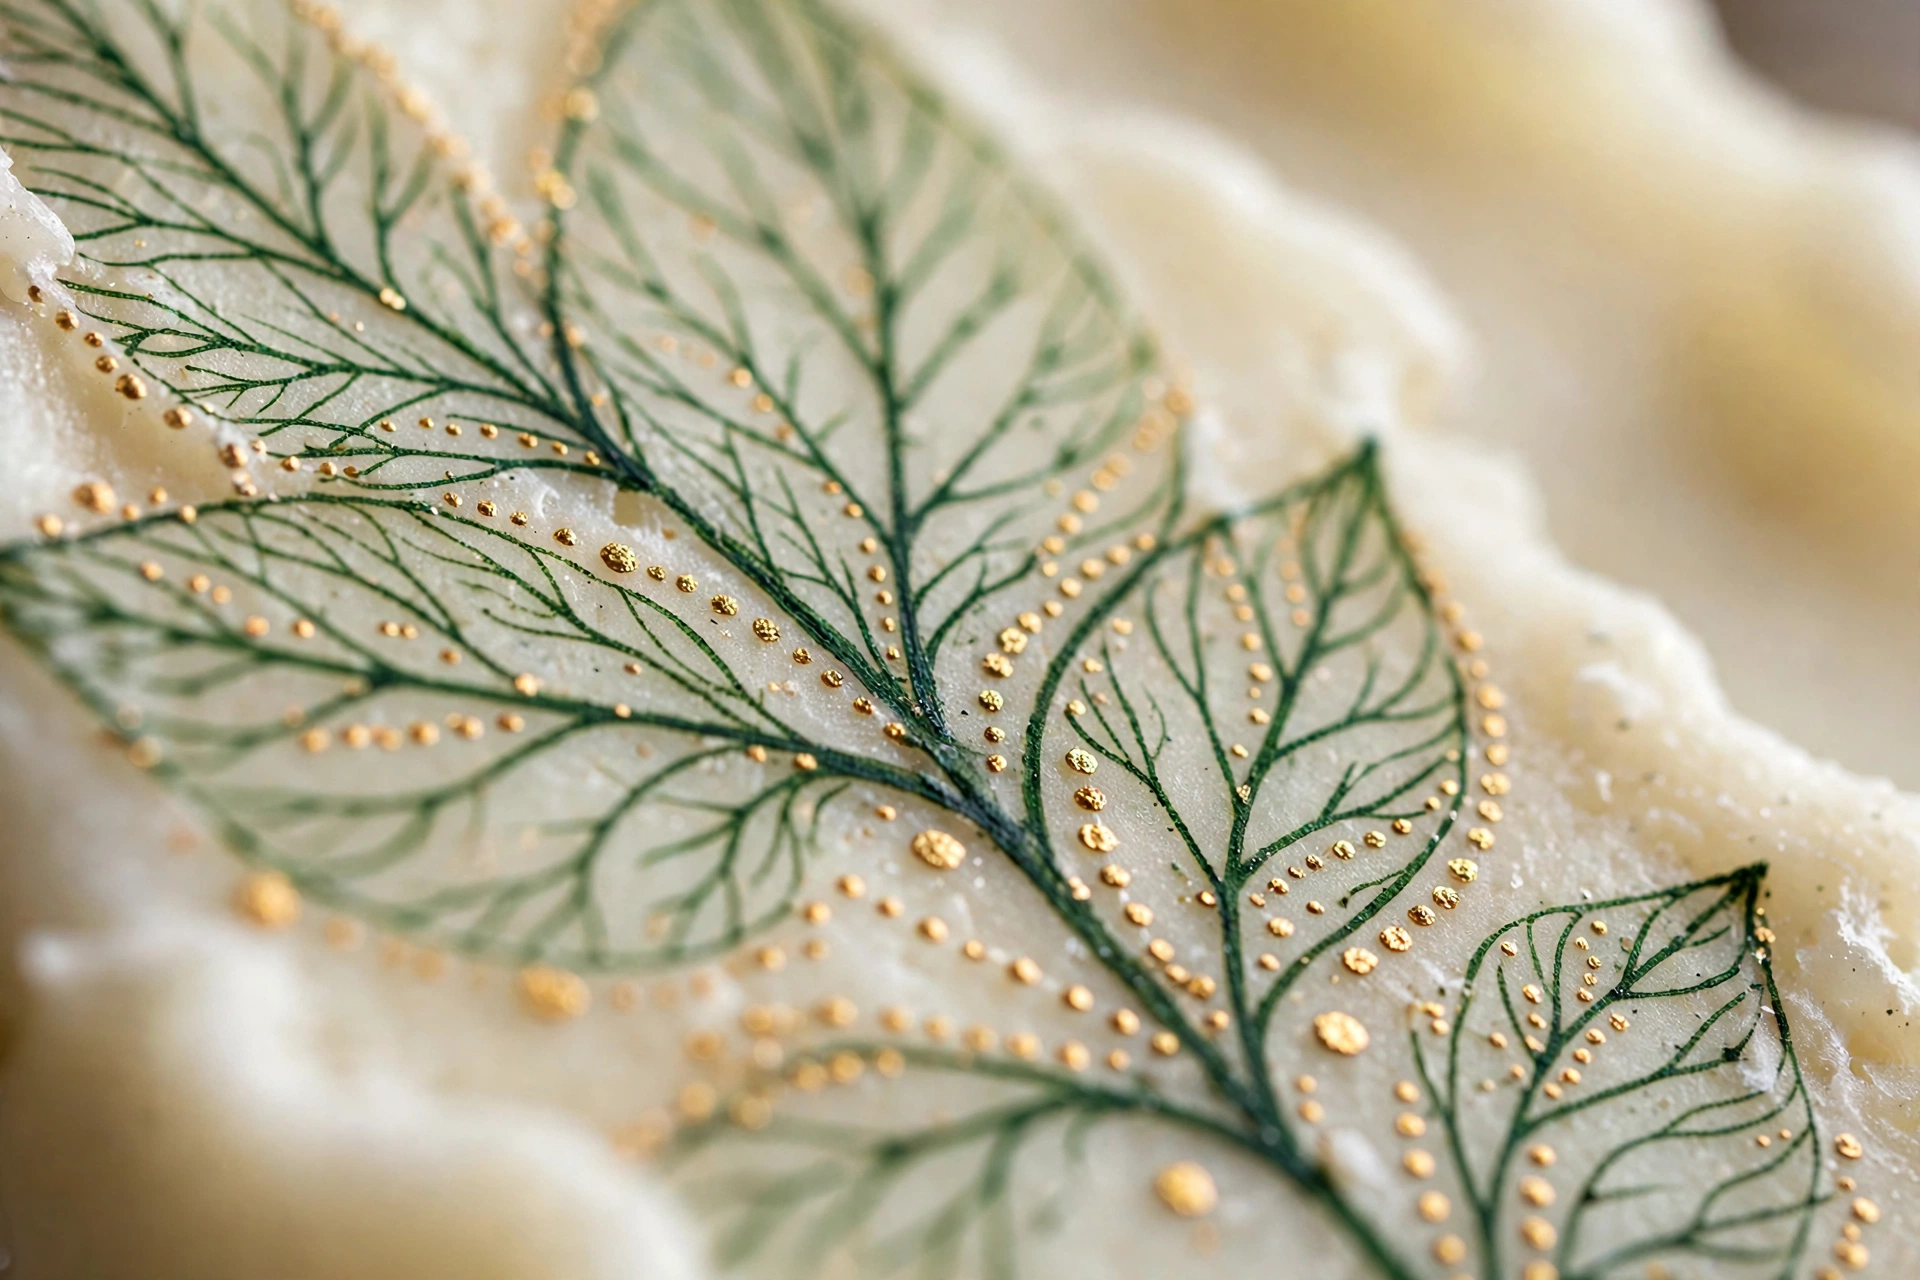
4. Add the details. Once the main shapes are dry, come back with the small brush: vein lines on leaves, centers on flowers, outlines, tiny dots. Details are what make a candle look hand-painted in the good way rather than unfinished.
5. Dry fully, then seal (optional). Give the finished candle a full 24 hours before handling much. If you are sealing, use light, even passes of clear water-based sealer and let it cure per the bottle’s directions before wrapping or boxing.
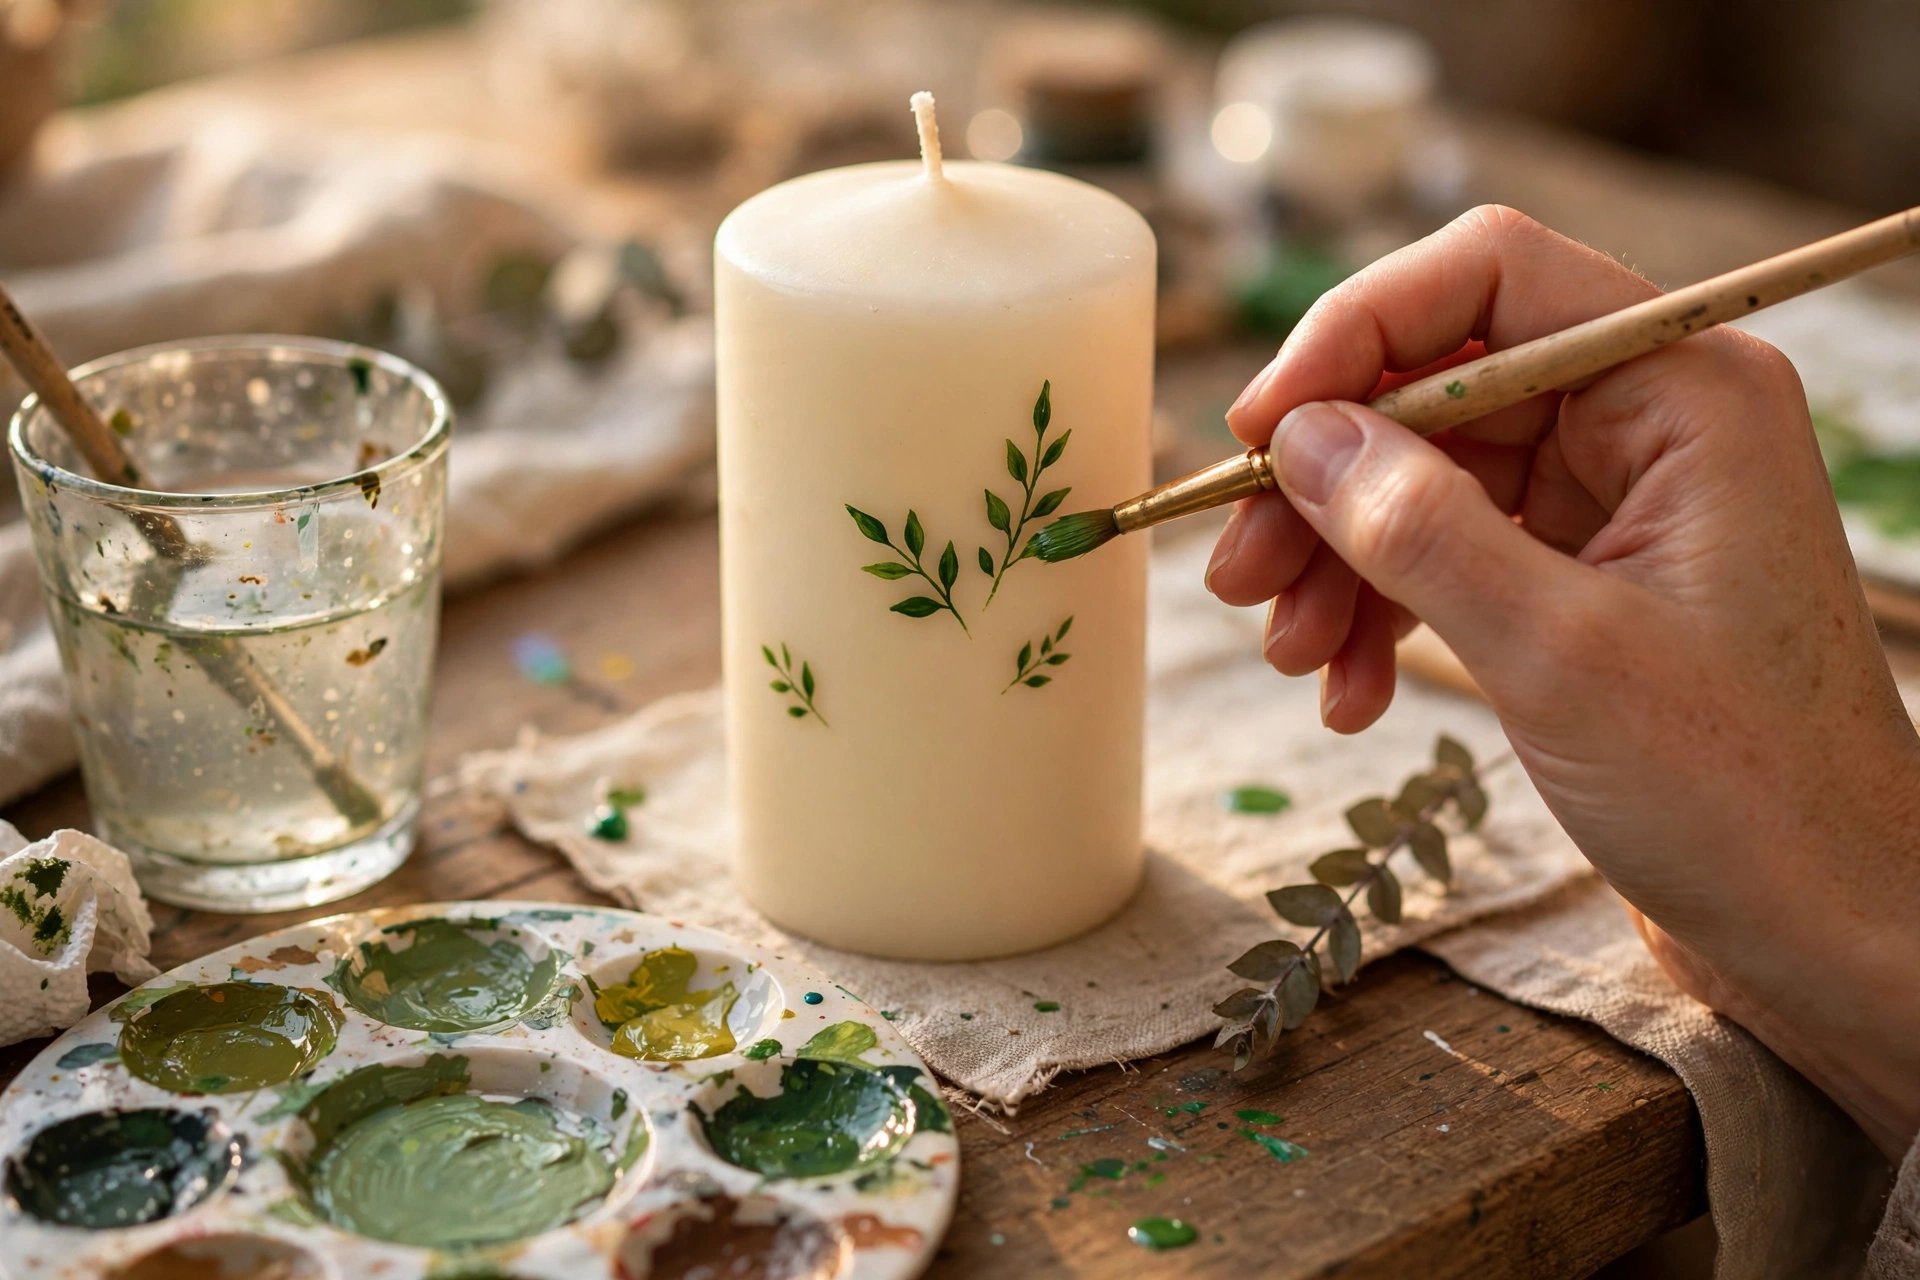
4 Design Ideas, Easiest First
Botanical sprigs — easy. Simple stems with oval leaves, painted in two greens. This is the best first project: forgiving, fast, and it sells year-round. Vary the sprig direction around the pillar so it looks designed from every angle.
Abstract washes — easy. Loose brushstrokes, color blocking, or a soft ombre fade in two or three tones. No drawing skill needed, and the handmade look is the point. These pair well with modern decor and make great sets of three in graduated colors.
Holiday motifs — medium. Pine branches, holly, snowflakes, pumpkins. The shapes are simple but placement matters — a repeating band around the pillar reads more professional than one lonely motif. Pour extra plain pillars in fall; these are your seasonal money-makers.
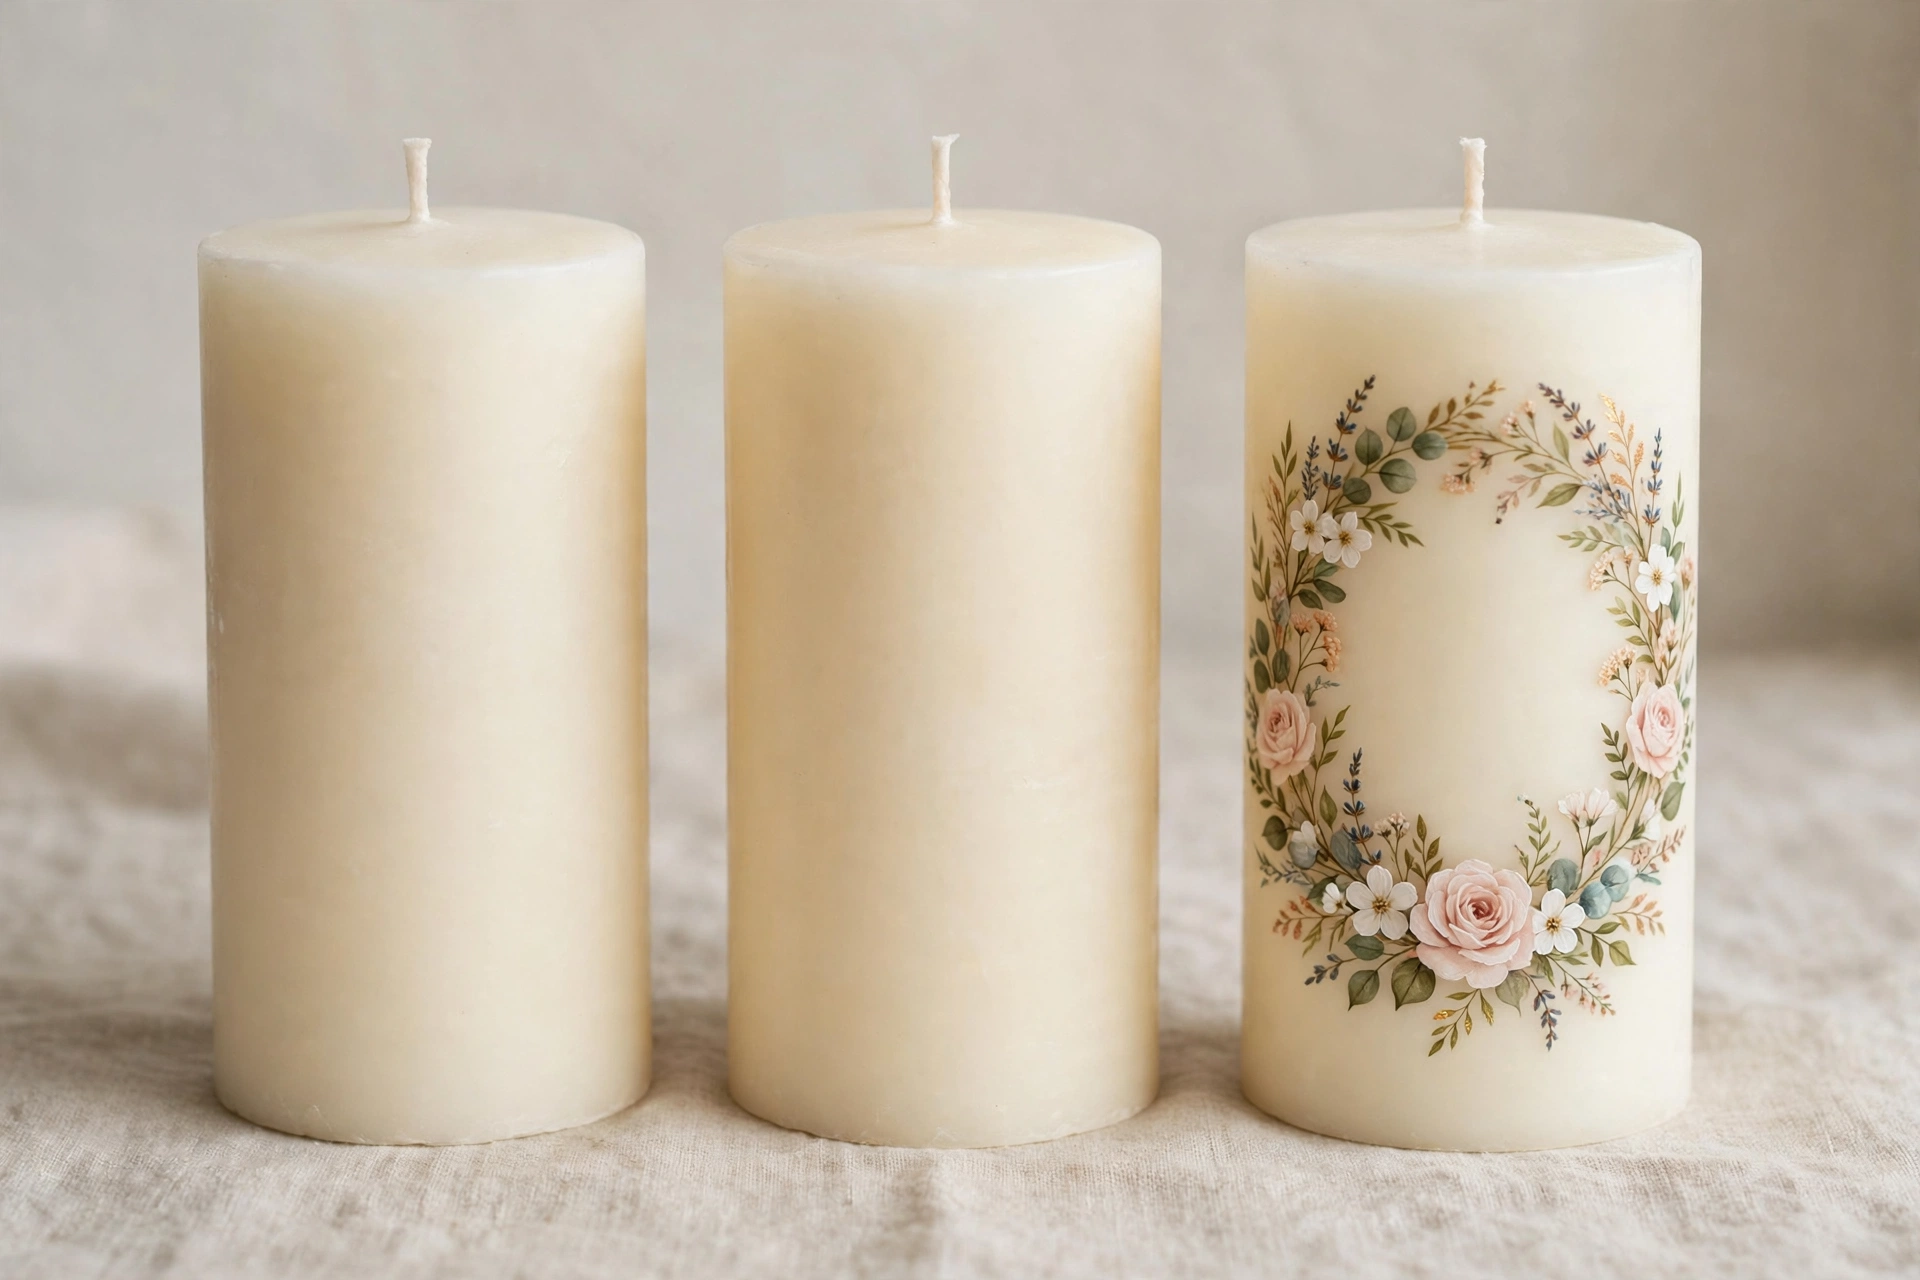
Detailed florals and wreaths — advanced. Layered petals, shaded leaves, full wreath compositions. These take practice, but they command the highest prices and photograph like art.
Fixes for the Usual Mistakes
Paint streaks. Almost always caused by paint that is too thick or a brush that is too dry. Thin the paint a little more, load the brush fully, and use long, confident strokes instead of scrubbing back and forth. Two thin coats beat one thick coat every time.
Smudges. You touched a layer that was not dry yet. Let it dry completely, then paint neatly over the smudge with the background color — on wax, touch-ups blend invisibly because the surface is so smooth. Patience is the entire fix.
Visible brush marks. Switch to a softer brush, thin the paint slightly, and brush in one direction. For large areas, a flat wash brush laid almost flat against the candle lays down the smoothest coat. If marks are already dry, a light second coat in the same direction usually levels them out.
Paint not sticking. The candle surface had residue on it, or the paint is old and separated. Wipe the candle down and stir the paint well. In stubborn cases, a very light scuff with fine sandpaper on the area to be painted gives the acrylic something to grip — then wipe away the dust before painting.
Safety: Read This Before You Sell a Single One
Painted candles are beautiful, and they come with real responsibilities. These rules are non-negotiable:
- Paint the exterior only. Never paint the top of the candle near the wick, and never paint anywhere the flame or the melt pool will reach. Keep all paint well below that zone, on the sides of the pillar only.
- Use non-toxic, water-based acrylics only. No oil-based paints, no spray paints, no mystery craft supplies. Water-based acrylics are the standard for this craft for a reason.
- Never embed flammable materials. Dried flowers, leaves, and botanicals pressed into or glued onto candles are a fire hazard, full stop. Painted designs give you the botanical look with none of the risk — that is one of the selling points, so say so in your listings.
- Treat painted candles as decorative. Advise your customers accordingly. Include a short burn-safety note with every sale: trim the wick to a quarter inch before lighting, never leave a burning candle unattended, keep it away from drafts and flammable objects, and discontinue use when the wax level gets low. A printed card tucked into the packaging costs pennies and protects both of you.
- Sealer goes on the sides only, too. The same exterior-only rule applies to clear coat. Nothing but wax and wick belongs near the flame.
Turning Practice Into a Product Line
Start with one design in a small batch — six to twelve pillars — and see what sells before you invest weekends in inventory. Photograph each design against a plain background the day you finish it, while the paint looks its best. Price for your time honestly: the candle itself is the cheap part; the hand-painted artwork is what the customer is buying.
Seasonal rotations keep the line fresh without constant reinvention. Botanicals and abstracts sell all year; swap in holiday motifs from October through December and pastels in spring.
Get candle-making tips by email
Join the list for new tutorials, tools, and supplier deals — straight to your inbox.
Signed up between Oct 7 and Oct 28 and never heard from us? We fixed a glitch that was dropping signups — please sign up again!



