
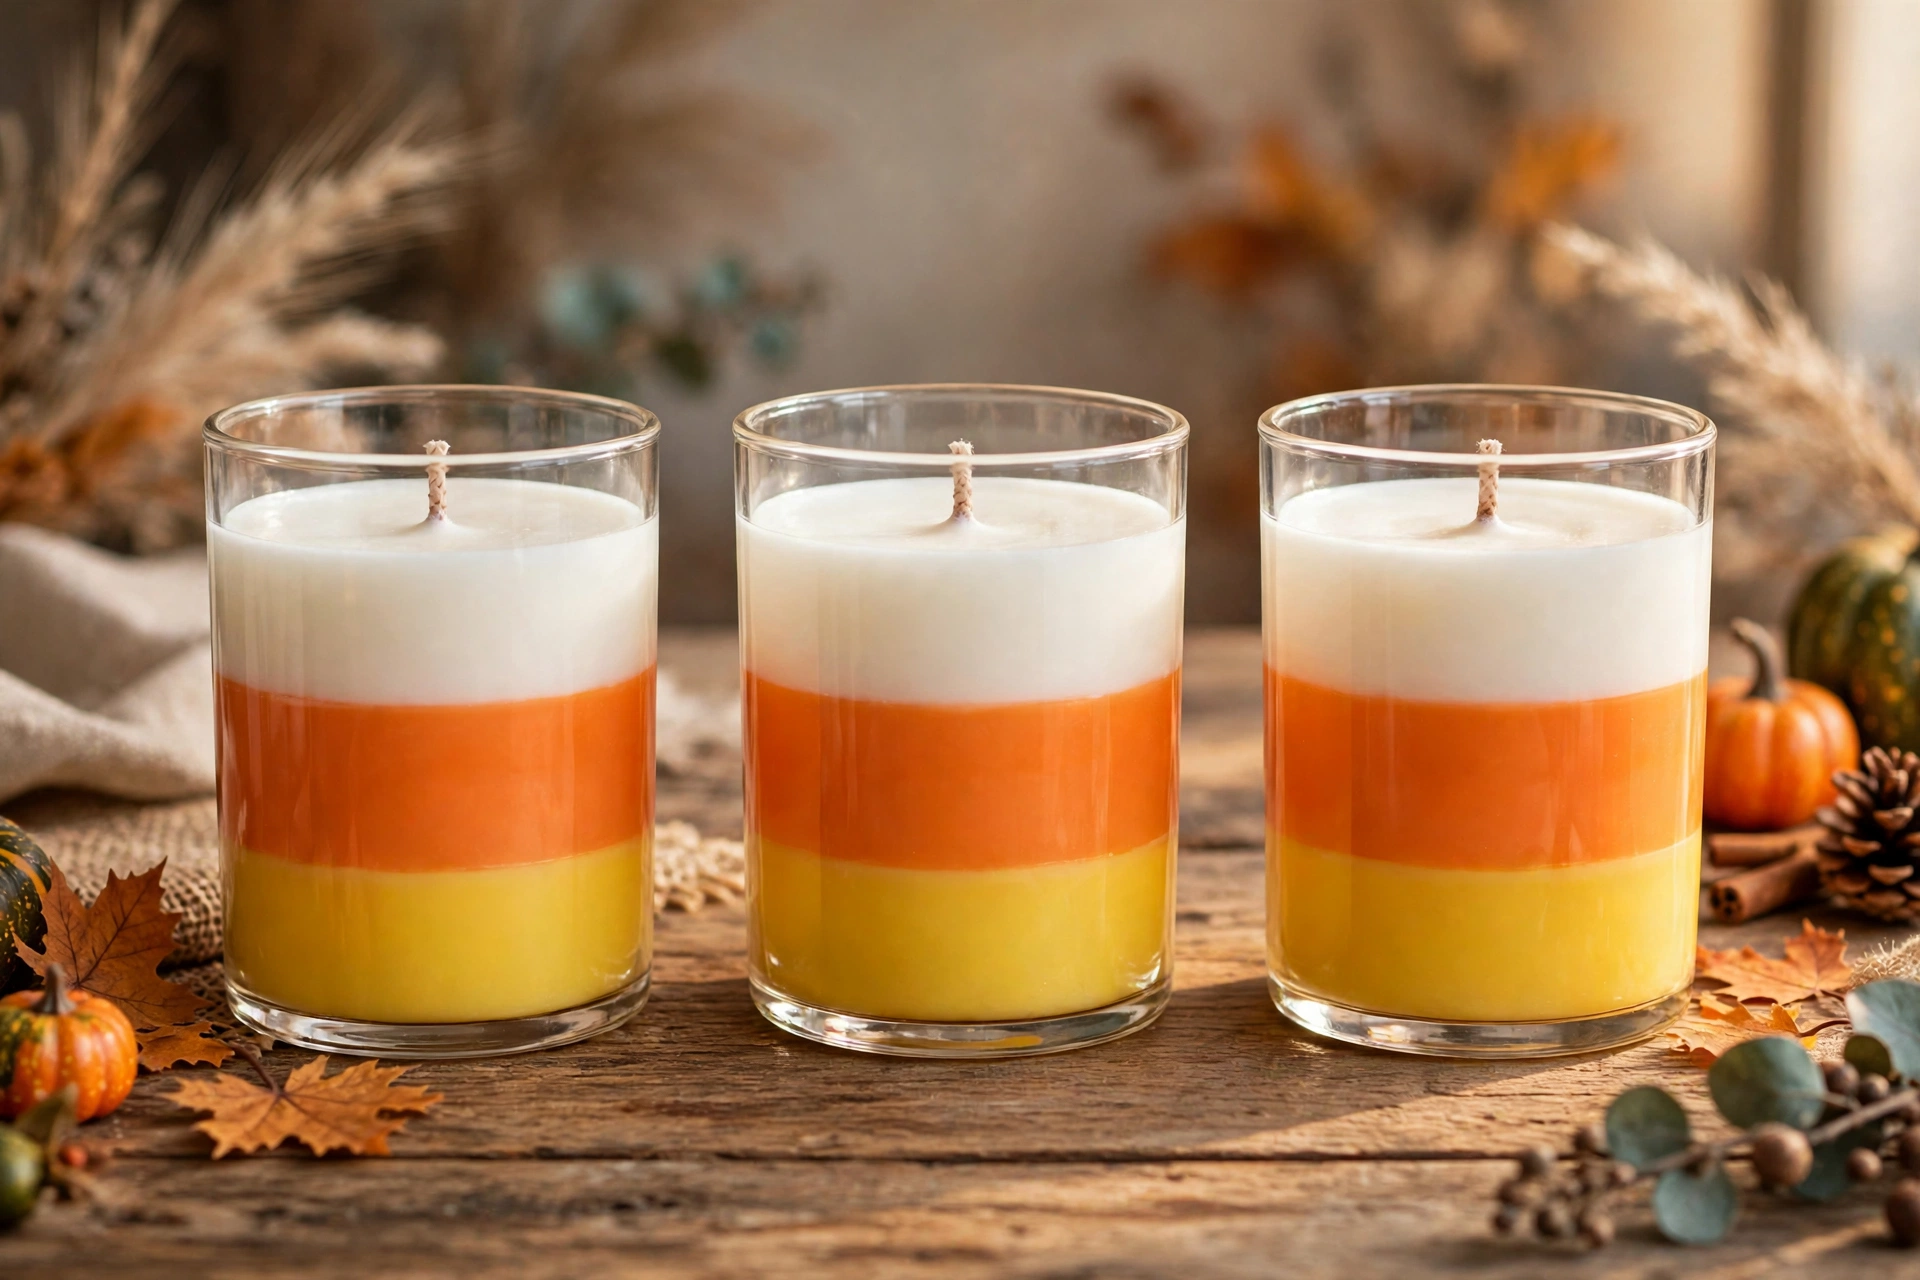
Candy corn candles are one of those makes that looks impressive and sells itself — three clean layers of yellow, orange, and white, just like the Halloween candy. They’re just container candles with a little patience between pours, and they fly off tables at fall markets.
What You’ll Need
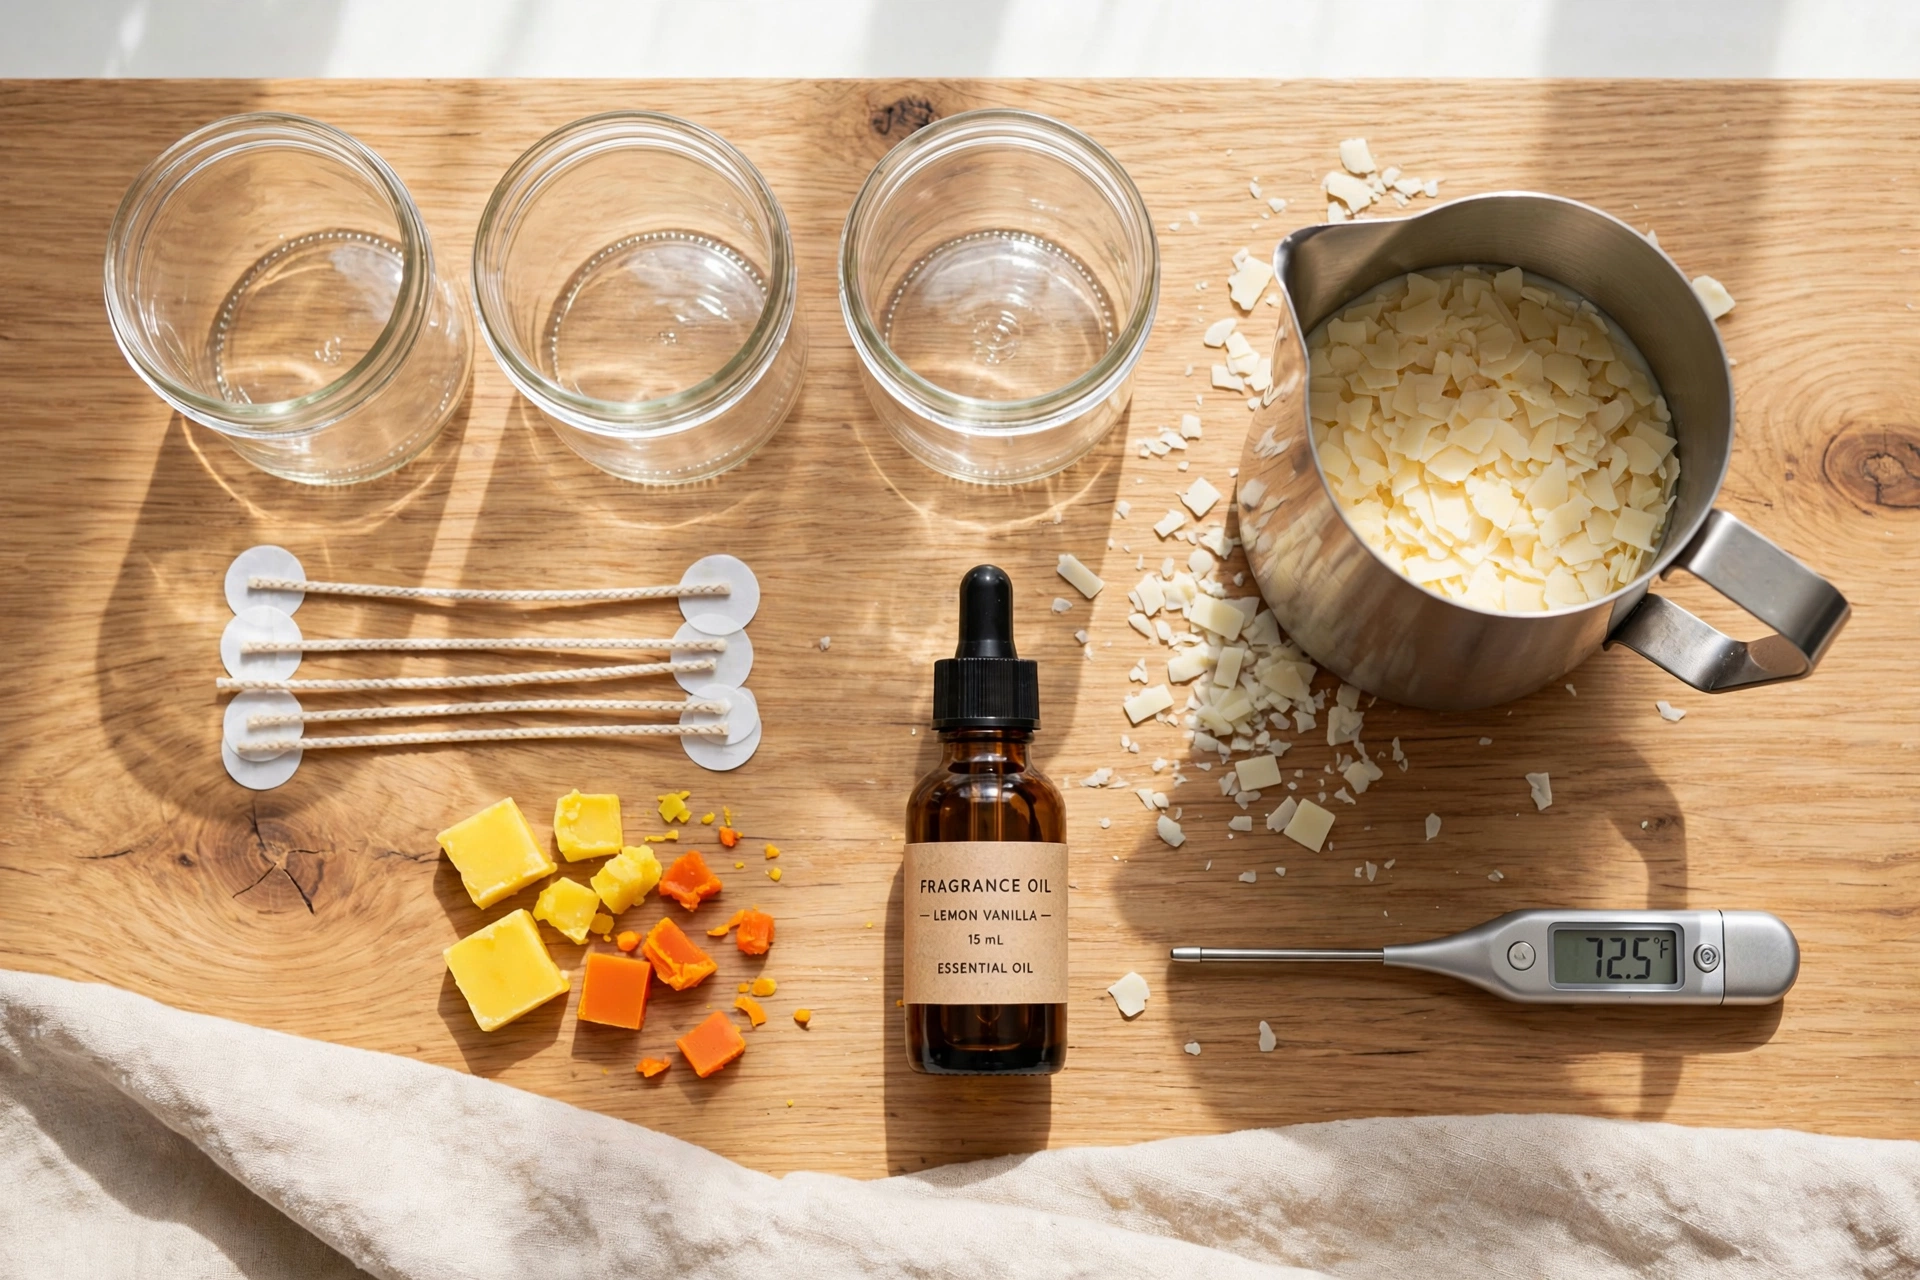
- Heat-safe containers (8 oz tins or glass jars work great)
- Soy wax or soy blend (about 8 oz per candle)
- Candle wicks + wick stickers or hot glue (CD or ECO series for soy)
- Candle dye: yellow and orange (liquid dye or dye chips)
- Fall fragrance oil (pumpkin spice, vanilla, or caramel are crowd favorites) — 1 oz per pound of wax
- Pouring pitcher, thermometer, scale, wick holders
Step 1: Prep Your Containers
Stick a wick in the center of each container with a wick sticker or a dab of hot glue. Thread the wick through a wick holder or lay a pencil across the top to keep it straight and centered. Line up your containers — you’ll be pouring three rounds, so an assembly line saves time.
Step 2: Pour the Yellow Base Layer
Melt one-third of your wax (about 2.5 oz per candle) to 185°F. Add yellow dye — a little goes a long way; dip a white paper towel in to check the color. Let the wax cool to about 135°F, stir in your fragrance oil for a full two minutes, then pour the yellow layer into each container, filling about one-third of the way.
Let the yellow layer set until it’s firm but still slightly warm — about 30–45 minutes. You want it solid enough to hold the next layer, not stone cold.

Step 3: Pour the Orange Middle Layer
Melt the next third of your wax. Add orange dye and check the color the same way. Cool to 135°F, add fragrance, and pour gently over the back of a spoon onto the yellow layer — this keeps the pour from punching through. Fill to the two-thirds mark.
Let it set again, 30–45 minutes. While you wait, the layers below stay crisp as long as you poured at the right temperature.
Step 4: Pour the White Top Layer
Melt the last of your wax with no dye at all. Cool, fragrance, and pour the final layer, leaving about half an inch of headspace at the top. Straighten your wicks one last time while the wax is still soft.
Step 5: Cure and Finish
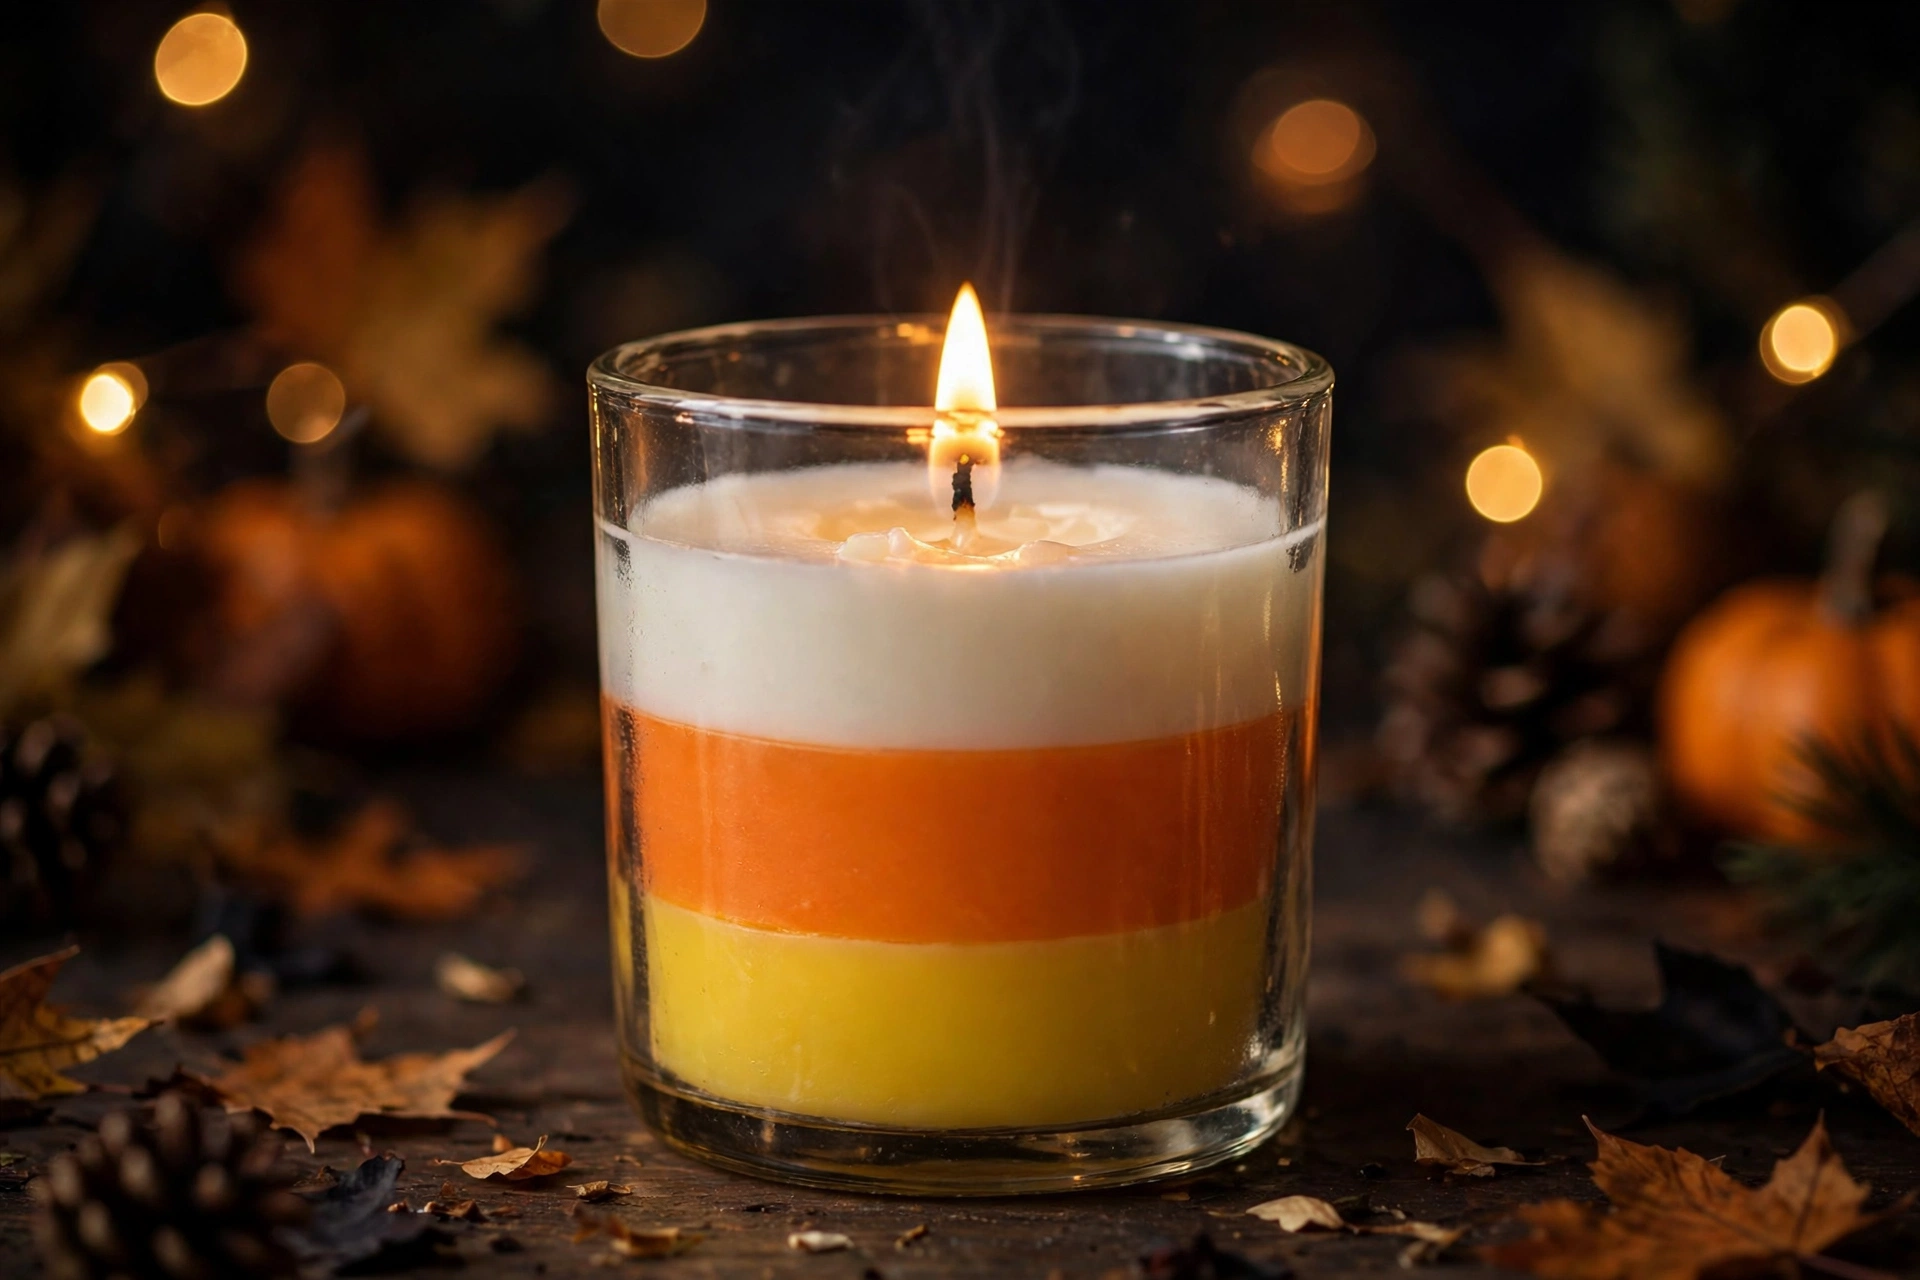
Trim wicks to 1/4 inch after the candles cool completely. Let them cure 7–14 days for the best scent throw (soy needs the time — don’t skip it). Then light one up and enjoy the best-smelling Halloween decoration on the block.
Tips for Clean Layers
- Temperature matters. Pouring too hot melts the layer below and muddies the line. 135°F is the sweet spot.
- Don’t rush the set. If the layer below is still soft, the colors bleed. Firm but warm is what you’re after.
- Pour gently. The back-of-a-spoon trick is the difference between crisp stripes and a swirl.
- Weigh your wax. Dividing it into three equal portions before you start keeps the layers even.
- Sell them as a set. A trio of 8oz candy corn candles in a gift box easily sells for $60–$75 at fall markets.
Safety
Never leave melting wax unattended, and keep a thermometer in the pitcher — wax that’s too hot is a fire risk. Burn finished candles on a heat-safe surface, trim the wick to 1/4 inch before each burn, and never burn a candle for more than 4 hours at a time. Keep candles away from kids, pets, drafts, and anything flammable.
Get candle-making tips by email
Join the list for new tutorials, tools, and supplier deals — straight to your inbox.
Signed up between Oct 7 and Oct 28 and never heard from us? We fixed a glitch that was dropping signups — please sign up again!



