
Starting candle making feels like it needs a lot of gear. It does not. A first candle takes a short list of basics, and most of the rest can wait until you know you love the hobby. This guide walks through every item, what it actually does, and what you can skip for now — so you buy once, buy right, and spend your money on wax and fragrance instead of gadgets.
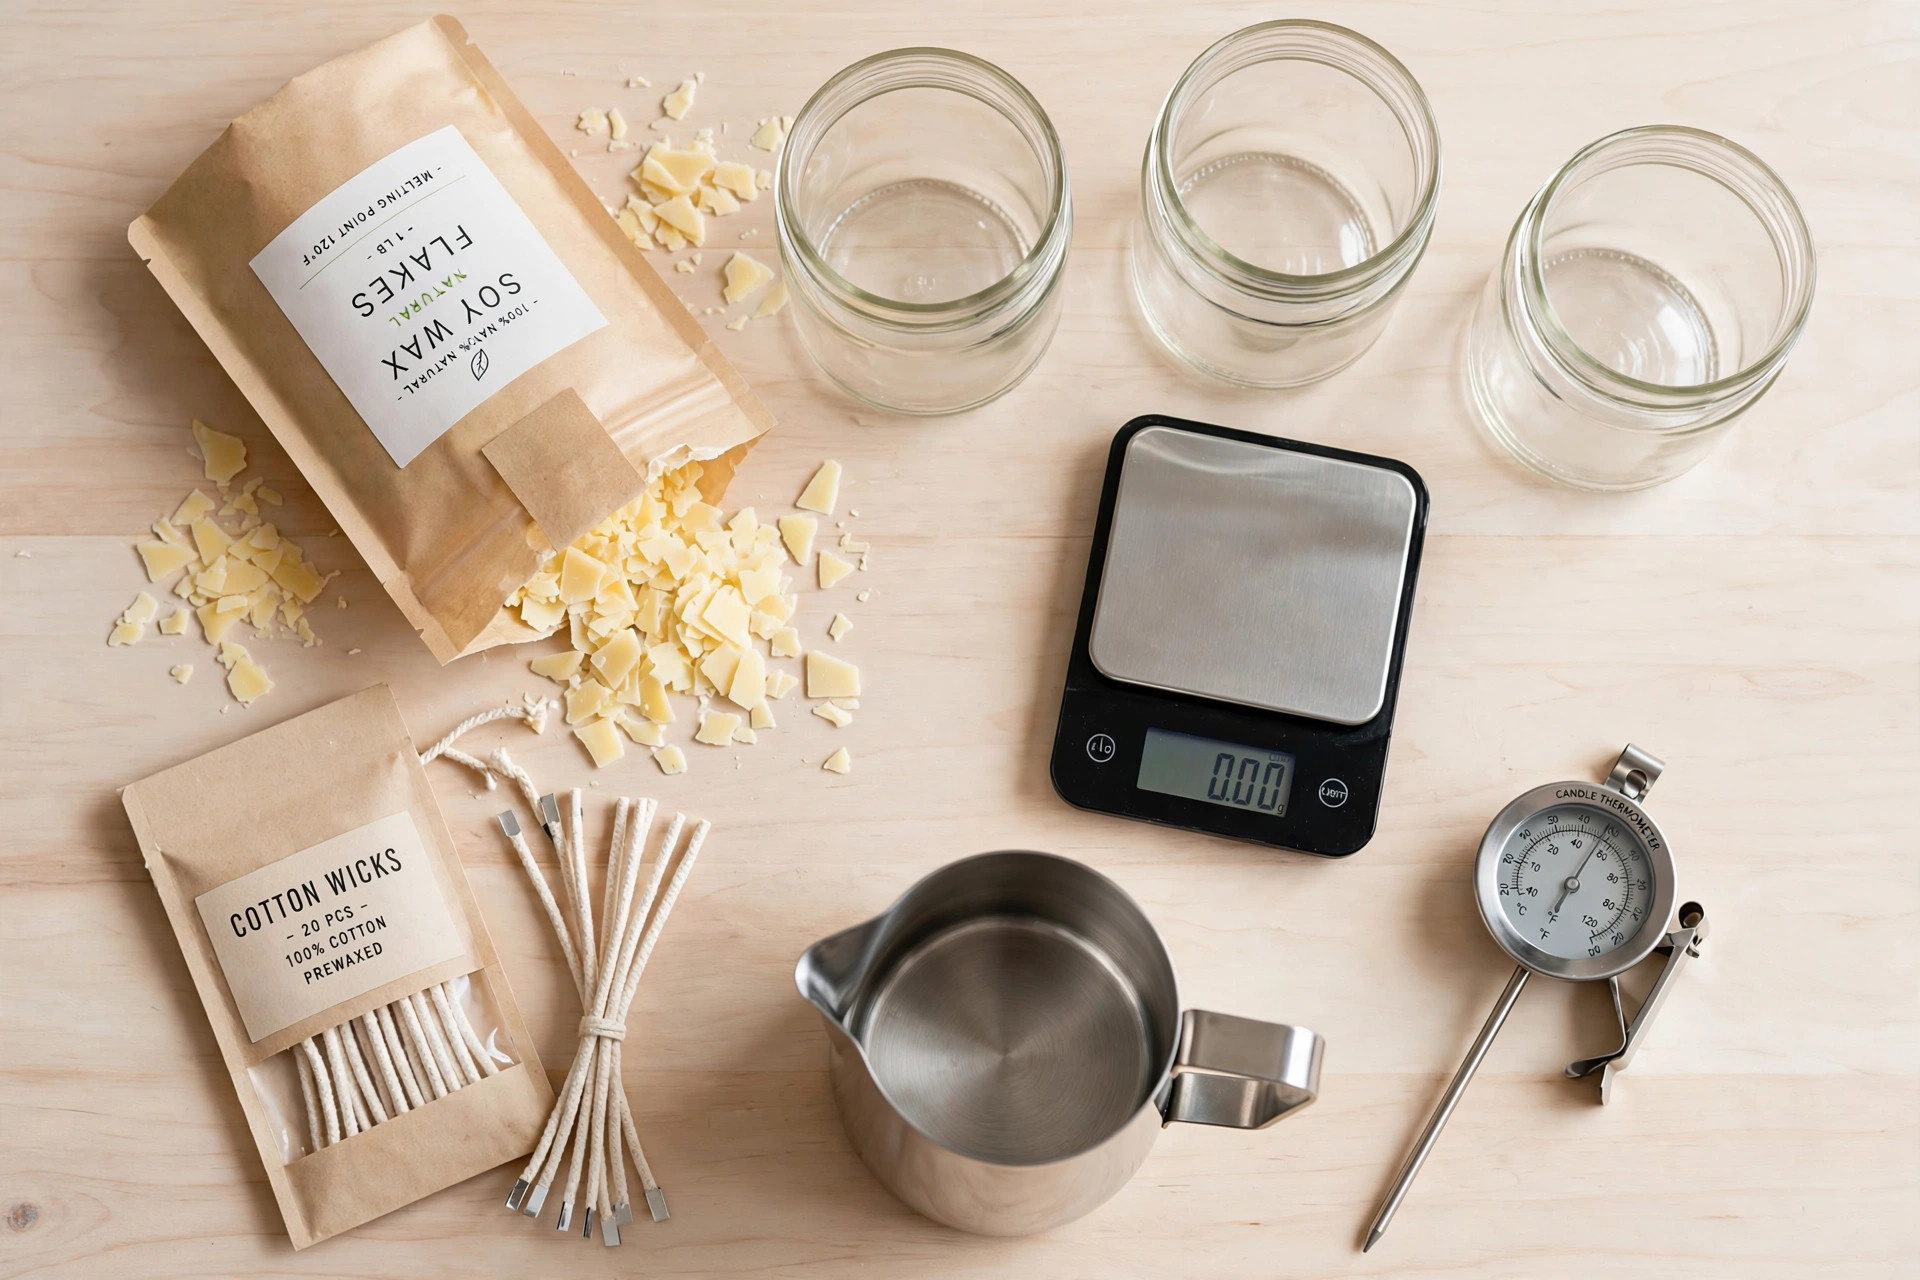
What You’ll Need
- Wax made for candles (a soy container wax is the classic first choice)
- Wicks sized for your containers, plus wick stickers
- Heat-safe containers (jars or tins made for candles)
- Fragrance oil made for candles
- A kitchen scale that measures in ounces and grams
- A candle thermometer
- A heat-safe pouring pitcher
- A pot for a double boiler (any pot the pitcher can sit in)
- A wick holder, centering device, or a pair of chopsticks
- A stir stick or old spoon
- Oven mitts or heat-resistant gloves
The Essentials, Explained
Wax. The main ingredient and the biggest choice you will make. Buy wax made for candles, in the form that matches your project: container wax for jars and tins, pillar wax for free-standing candles. A full comparison lives in our guide to which wax you should use. For a first candle, a soy container wax is the forgiving choice.
Wicks. Wicks are not one-size-fits-all. A wick that is too small will not melt the wax all the way to the edges, and one that is too large will burn too hot and smoke. Wicks are sized to the diameter of your container, so note your jar width before you order. Cotton wicks are the standard starting point. Wood wicks are a separate skill with their own trimming and sizing rules, so leave them for later.
Containers. Use jars and tins made to hold hot wax. Kitchen glasses, wine glasses, and thin decorative glass are not candle containers: they can crack under heat. Check that your container is heat-safe, has no chips or cracks, and sits flat without wobbling.
Fragrance oil. Use fragrance oil made for candles, and check the oil’s safety sheet for its maximum usage rate. Perfume and cologne are not candle-safe: they are alcohol-based and can be a fire hazard in hot wax. Essential oils are a separate topic with their own limits, so start with a candle-grade fragrance oil.
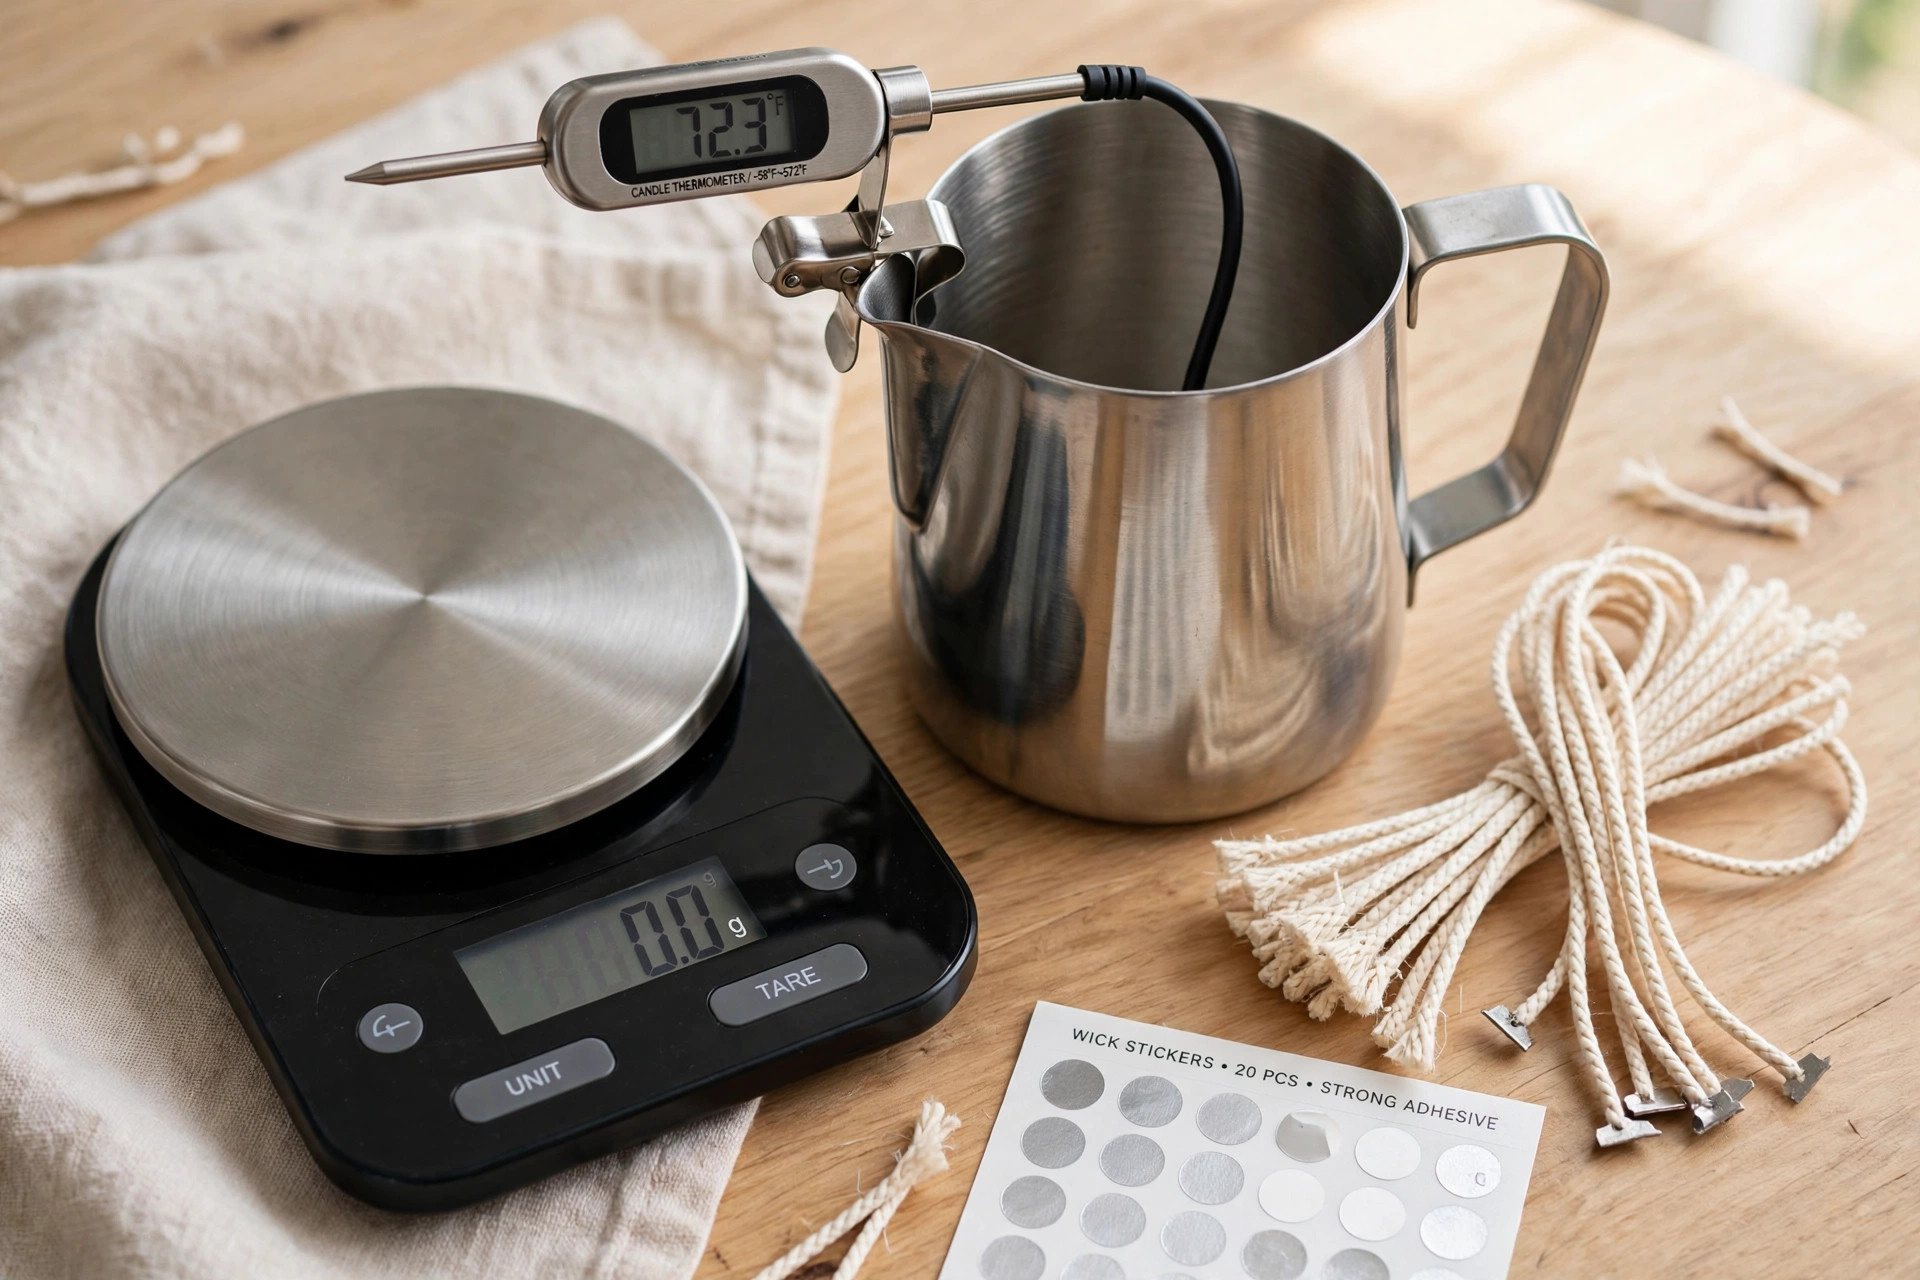
Scale. This is the tool beginners skip and regret skipping. Candle making works by weight, not volume. A cup of wax flakes does not weigh the same as a cup of melted wax, and fragrance is measured as a percentage of wax weight. A basic kitchen scale keeps every batch repeatable.
Thermometer. You cannot judge wax temperature by looking at it. A candle thermometer clipped to your pouring pitcher tells you when to add fragrance and when to pour, and keeps you from overheating the wax. Never guess at temperature.
Pouring pitcher and double boiler. Wax is always melted in a double boiler: a heat-safe pouring pitcher set inside a larger pot of simmering water, never placed directly on a burner. The pitcher is also what you pour from, so one with a spout earns its place fast.
Wick stickers and a holder. A wick sticker is a small adhesive disc that fixes the wick tab to the bottom of the container so it stays put while you pour. A wick holder, centering device, or a pair of chopsticks laid across the top keeps the wick straight and centered while the wax sets. An off-center wick is the most common beginner flaw, and these two cheap items prevent it.
What Beginners Can Skip at First
- Candle dye. Color is fun, but it adds a variable to your first batches. Learn a clean, well-scented candle first, then add dye.
- A heat gun. Useful later for smoothing tops and fixing small flaws. Not needed for a first candle.
- Fancy molds and embeds. Dried flowers, fruit slices, and other decorations set into wax can catch fire near a flame. Skip them entirely until you understand wick safety, and never sell a candle with flammables in the wax.
- A second wax. Master one wax before you collect others. Every wax has its own temperatures and habits.
- A dedicated wax melter. A pot and a pitcher do the same job for your first dozen candles.
- Labels and packaging. Nice for gifts later. Your first candle needs a test burn, not a label.
Tips for Buying Smart
- Start with one container size. One jar, one wick size, one wax. Changing three things at once makes it impossible to know what went wrong.
- Buy wicks for your exact jar. Wick sizing starts with container diameter, so measure before you order.
- Read the wax bag before you buy. The bag or product page lists the wax type, fragrance load limit, and pouring temperature. Those three numbers drive everything else.
- Keep a notebook. Write down the wax, wick, fragrance, and amounts for every batch. When a candle burns beautifully, you want to be able to make it again.
Safety
Hot wax burns. Wear oven mitts when you handle the pitcher, keep your workspace clear of clutter and flammables, and never leave melting wax unattended. Read the full safety guide before your first melt — it covers heat safety, fragrance handling, and what to do if something goes wrong.
Next up: which wax should you use? Soy, paraffin, beeswax, and coconut compared, with a clear pick for your first candle.
Affiliate disclosure: this tutorial contains an affiliate link to Norden Candle Supply. If you buy through our link, we may earn a commission at no extra cost to you — it helps keep our tutorials free.
Get candle-making tips by email
Join the list for new tutorials, tools, and supplier deals — straight to your inbox.
Signed up between Oct 7 and Oct 28 and never heard from us? We fixed a glitch that was dropping signups — please sign up again!



