
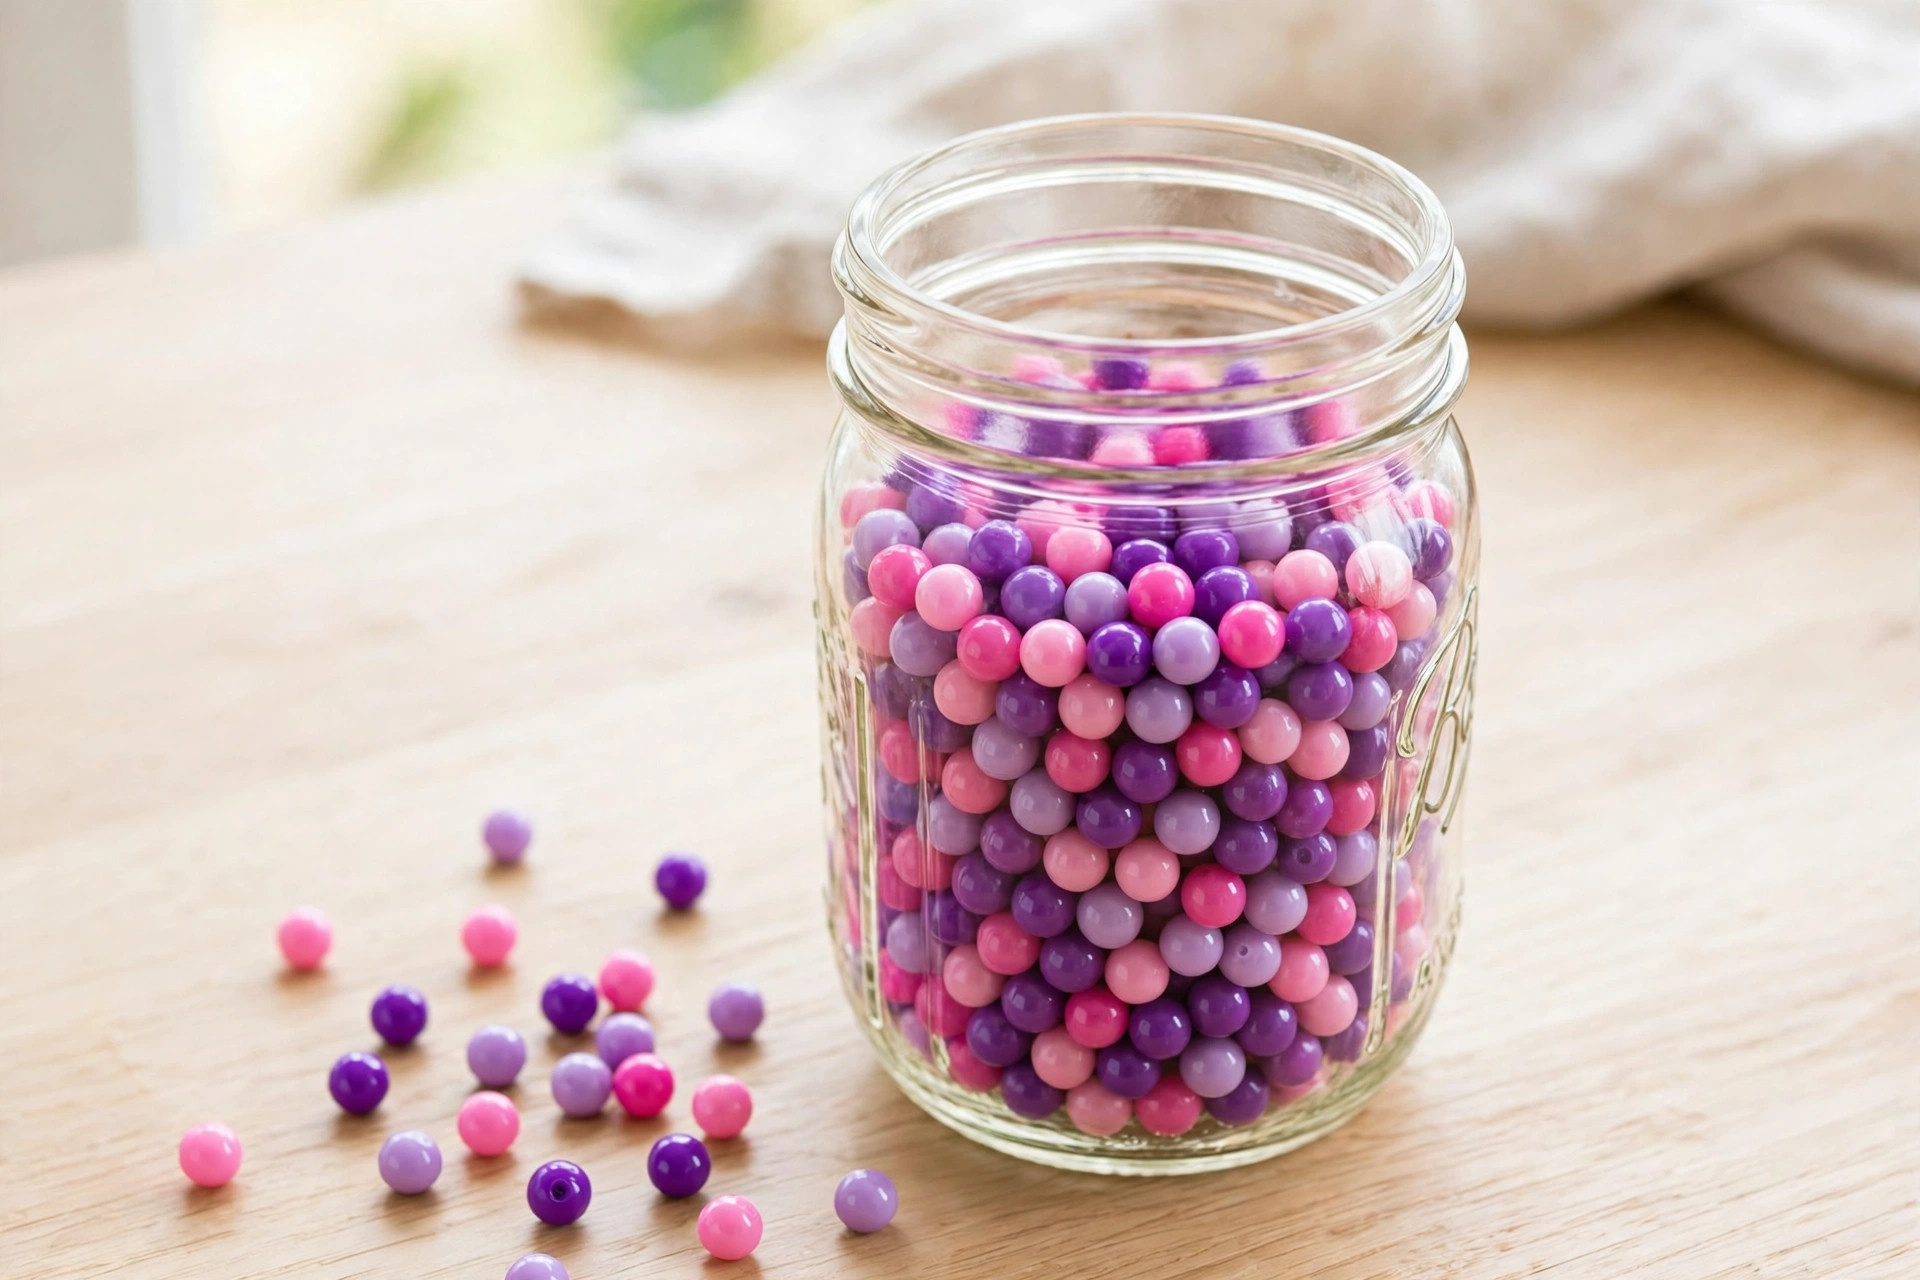
Aroma beads are the starting point for every freshie — little unscented plastic pellets that soak up fragrance oil and release it slowly over weeks. Scent them right and your freshies smell strong from the first day; rush the process and the scent fades fast or the beads won’t fuse in the mold. This guide covers the whole prep: how much oil to use, how to color the beads, and how long to let them absorb and cure before you bake.
What You’ll Need
- Unscented aroma beads (EVA pellets)
- Fragrance oil — 1 to 2 oz per 8 oz of beads for freshies
- Liquid candle dye (for coloring — food coloring and soap dye will not work)
- A glass jar with a tight lid (mason jar works great)
- Kitchen scale
- Disposable gloves and eye protection
- A spoon or stir stick for mixing
Step 1: Measure Your Beads and Oil
Weigh your beads first — ratios work by weight, not volume. For freshies, the most commonly used recipe is 1 to 2 oz of fragrance oil per 8 oz of beads. That is a 1:8 ratio at the lighter end and 1:4 at the strong end. If you are scenting your first batch, start at 1 oz per 8 oz. You can always add more oil to a batch that smells too light, but you cannot take oil back out of beads that are already soaked.
Some guides start even lighter, at 1 oz per 16 oz of beads, and work up. For freshies specifically, 1:8 to 1:4 is where most makers land, because a freshie hangs in a car and needs to throw scent in open air.
Step 2: Color the Oil First (If You Want Color)
If you want colored beads, mix liquid candle dye into the fragrance oil before it ever touches the beads — about 2 to 3 drops per batch, roughly 1 drop per oz of oil. Stir until the color is even. The beads will take on the color as they absorb the oil.
Do not use food coloring or soap dye. They will not bind to the beads and will leave you with blotchy, wet beads that never dry properly. A very small amount of mica or pigment added after curing can work for a shimmer effect, but go easy — too much mica on the surface keeps the beads from fusing together when you bake them into a freshie.
Step 3: Combine and Shake
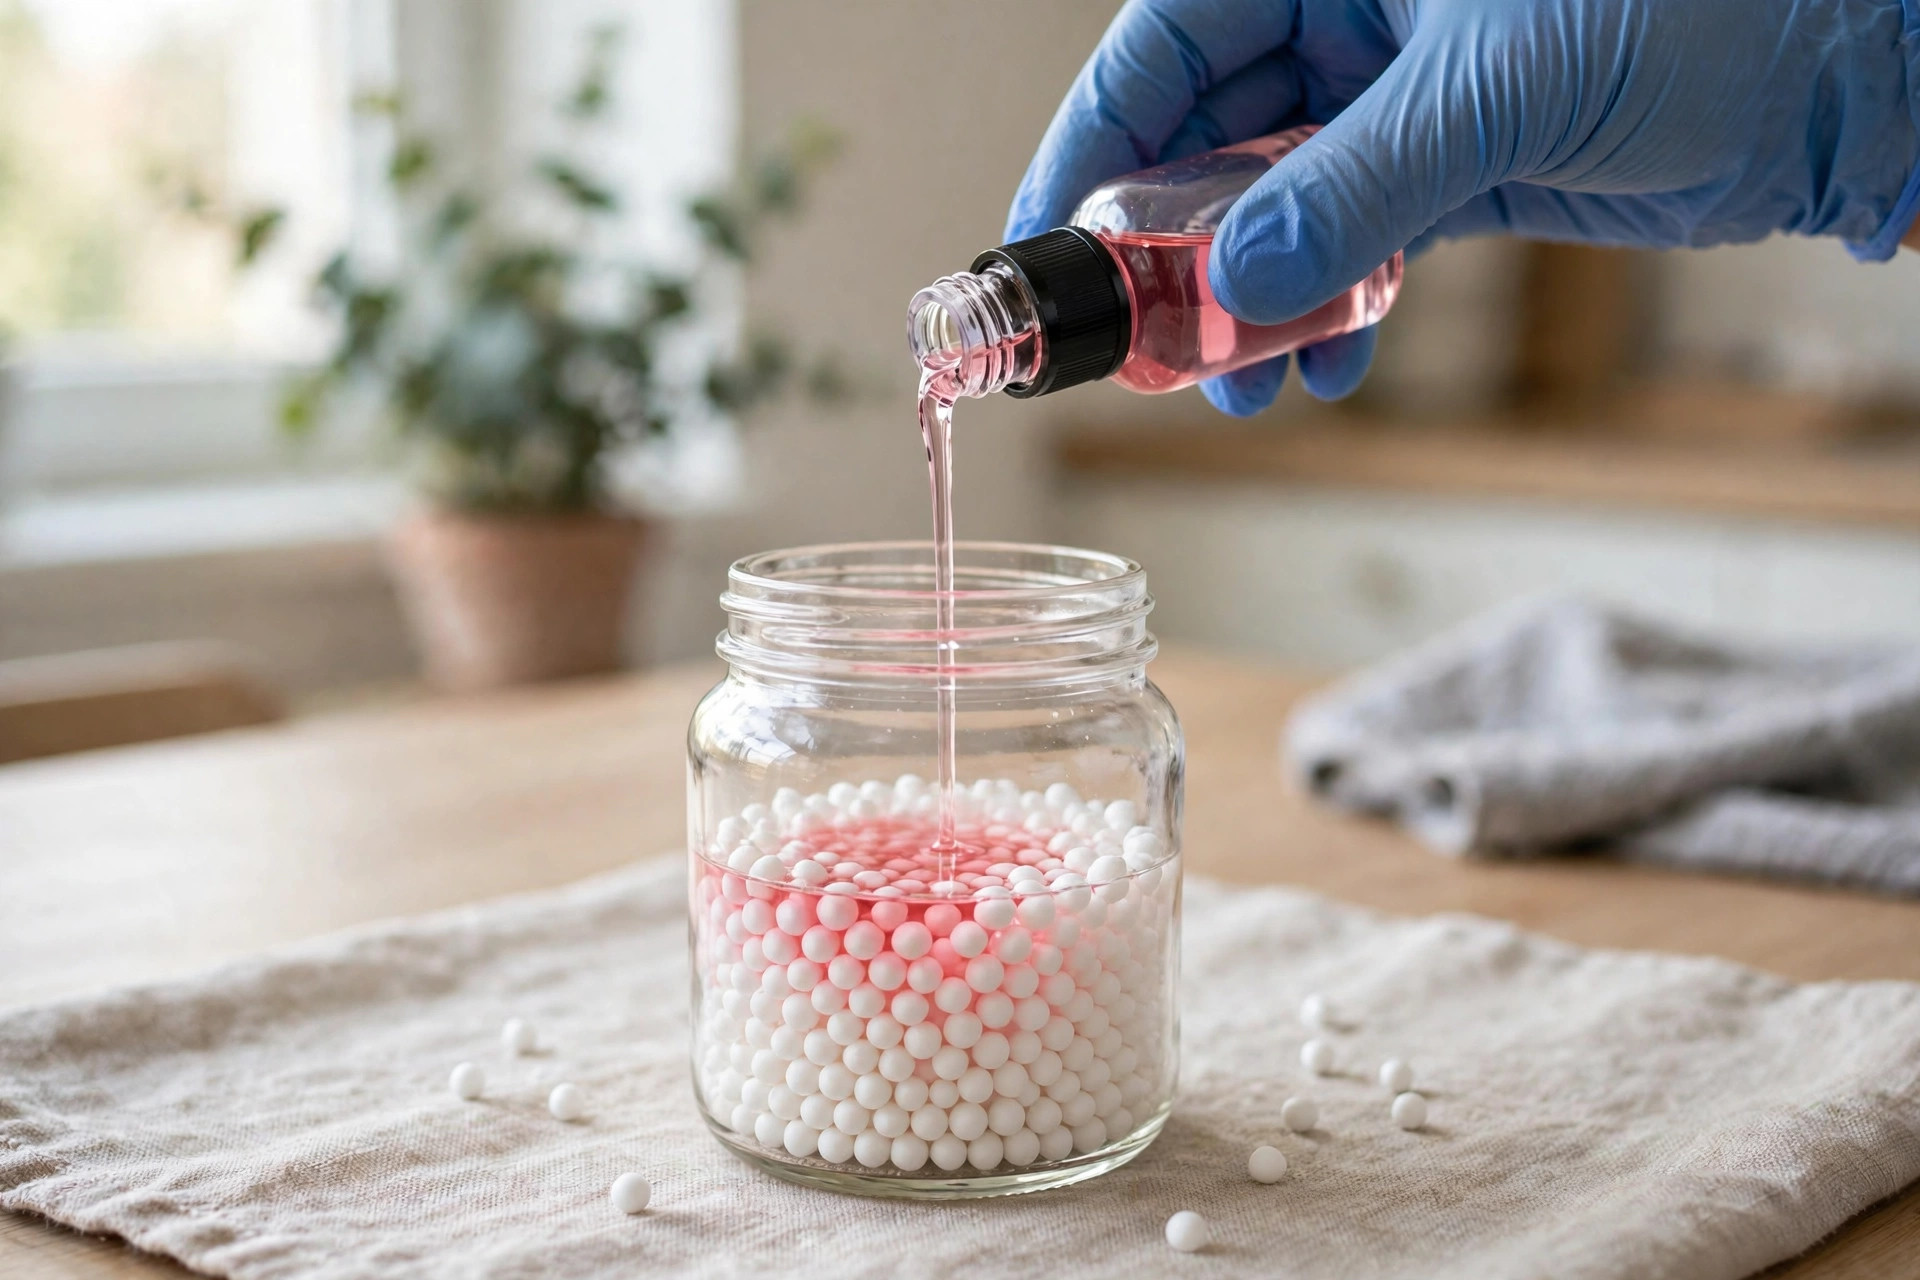
Pour the beads into your jar, pour the (dyed) oil over them, seal the lid, and shake well so every bead gets coated. Set the jar somewhere room temperature and out of direct sunlight.
Step 4: Let Them Absorb (1 to 7 Days)
Shake or flip the jar at least once a day. The beads will slowly drink up the oil — this takes 1 to 7 days depending on how much oil you used and the fragrance. The batch is done absorbing when the beads feel dry to the touch, not wet or sticky. If they still feel wet, give them more time and keep shaking. Wet beads will not bake into a clean freshie.
Step 5: Cure for at Least 7 Days
Once the beads feel dry, they still need to cure — at least 7 days, with 7 to 10 days the usual recommendation, before you bake them into freshies. Curing lets the fragrance settle all the way into the beads instead of sitting on the surface, which is what gives a freshie its long scent life. All told, plan about two weeks from jar to bake: up to a week absorbing, then a week curing.
Keep the jar sealed while the beads cure. Label it with the scent name and the date you mixed it, especially if you run several scents at once — unscented-looking beads all look alike, and a mystery jar is no fun at bake time.
Step 6: Check and Store
Finished beads should feel dry, smell strong even through the jar, and hold their color evenly. Store them sealed at room temperature until you are ready to bake. Properly cured beads keep for months, so you can scent big batches ahead of a market season and bake freshies as you need them.
Tips for Strong, Even Beads
- Start at 1:8. One oz of oil per 8 oz of beads is the safe first batch. Move toward 1:4 only once you know how a fragrance behaves.
- Weigh, don’t eyeball. A cup of beads weighs about 5.5 oz, so volume measures drift. The scale keeps every batch repeatable.
- Shake daily. Beads left sitting in a puddle of oil absorb unevenly — the bottom ones get soaked and the top ones stay dry.
- Don’t rush the cure. Beads that smell strong in the jar but skipped curing lose their scent fast once baked. The second week is what makes the scent last.
- Keep scents separate. One jar per fragrance, labeled with scent and date. Mixed jars make muddy-smelling freshies.
- Break up clumps. If beads stick together during absorbing, shake harder or stir them apart. Clumps bake into lumps.
Safety
Wear gloves and eye protection when handling fragrance oil — it can irritate skin and trigger allergic reactions, and every oil is different, so read that oil’s safety data sheet before you start. Wash your hands after handling beads and oil. Keep beads and finished freshies away from children and pets: they are not edible, they are a choking hazard, and they are not toys. Store curing jars sealed, at room temperature, and away from heat.
Next up: turn these beads into a finished car freshie — molds, baking, and hangers.
Get candle-making tips by email
Join the list for new tutorials, tools, and supplier deals — straight to your inbox.
Signed up between Oct 7 and Oct 28 and never heard from us? We fixed a glitch that was dropping signups — please sign up again!



