
Most beginner candle mistakes are the same handful, made by nearly everyone, and all of them are avoidable once you know what they are. This guide collects them in one place: the habits that make good candles, and the shortcuts that ruin them. If you read one page before your first melt, make it this one — and the safety guide that goes with it.
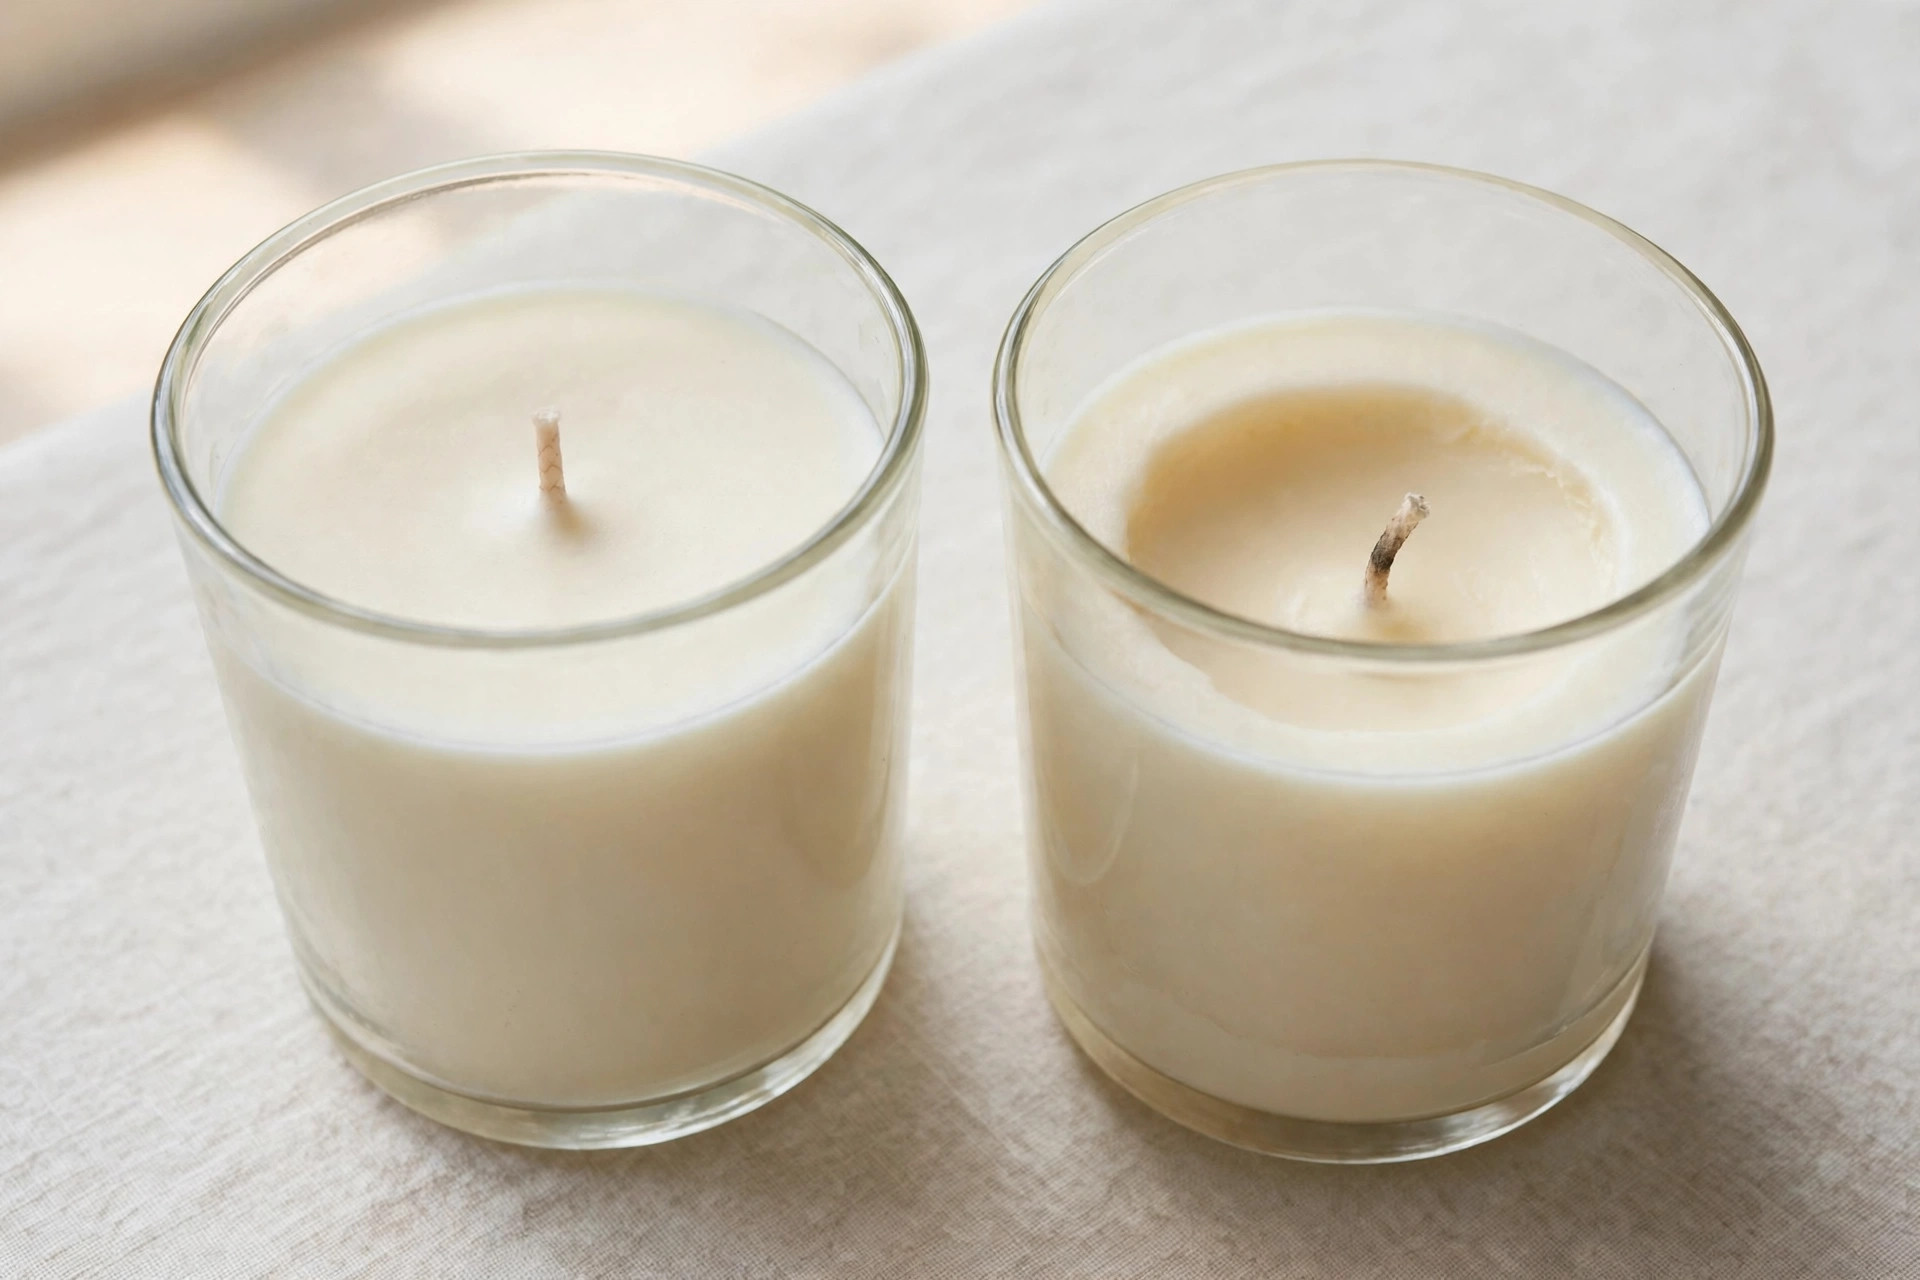
Do: Weigh Everything
Wax and fragrance are measured by weight, every time. Volume measures drift — a cup of flakes does not weigh the same as a cup of melted wax — and drifting measurements are how batches stop being repeatable. A kitchen scale is the cheapest upgrade in the hobby.
Don’t: Guess at Temperature
You cannot judge wax temperature by looking at it. Use a thermometer for melting, for adding fragrance, and for pouring. Every temperature in candle making exists for a reason, and guessing is how fragrance gets cooked off, tops crack, and wax overheats.
Do: Follow Your Wax’s Sheet
Your wax’s product page lists its fragrance limit and pouring temperature. Those numbers beat any generic chart, because temperatures vary by product even within one wax family. Read the sheet before you melt, not after something goes wrong.
Don’t: Melt Wax Over Direct Heat
Always use a double boiler: a pouring pitcher inside a pot of simmering water. Direct heat is hard to control and can push wax toward temperatures where its vapors can ignite. The same goes for the microwave, which heats unevenly and creates hot spots you cannot see.
Don’t: Leave Melting Wax Unattended
Not for a phone call, not for a quick errand. If you must step away, turn off the heat first. Melting wax deserves the same attention as a pot on the stove — because that is what it is.
Do: Test Burn Before You Gift or Sell
Every new combination of wax, wick, container, and fragrance needs a test burn by you, before anyone else burns it. Watch the melt pool: it should reach the edges of the container. Watch the flame: steady, not tall or smoking. Watch the scent: judge it after curing, not on pour day. A candle you have not test-burned is a guess, not a product.
Don’t: Judge a Candle on Pour Day
Candles need to cure. Wait at least 48 hours before a test burn, and know that soy scent keeps improving for up to two weeks. The candle that smells light on day one is often a different candle on day ten.
Do: Give the First Burn Time
Let the melt pool reach the edges of the container on the first burn — usually two to four hours depending on size, or roughly one hour per inch of container diameter. Short first burns cause tunneling, where the candle burns a hole down the middle and leaves a ring of wasted wax around it. Tunneling is the most common complaint about container candles, and it is almost always preventable.
Don’t: Use the Wrong Materials
Use wax, fragrance oil, and dye made for candles. Perfume and cologne are alcohol-based and can be a fire hazard in hot wax. Kitchen glasses are not candle containers and can crack under heat. And never set dried flowers, fruit, or other decorations into wax near a flame — anything in the wax can become fuel.
Do: Keep the Wick Centered and Trimmed
Center the wick before you pour, check it while the wax is still liquid, and trim it to one quarter inch before every burn. An off-center wick melts one side faster, overheats one side of the container, and wastes wax. A long wick smokes, soots, and burns too hot. Two small habits prevent both problems.
Don’t: Rush the Cool-Down
Let candles cool undisturbed at room temperature, away from drafts and cold surfaces. Fridge and freezer cooling causes cracking and wet spots. Moving a candle while it sets disturbs the surface. Slow cooling is part of a clean finish.
Don’t: Burn Too Long, or Too Low
Keep burns to about four hours at a time, then let the candle cool completely before relighting. Stop using a container candle when one half inch of wax remains — burning to the bottom can overheat and crack the container. And never burn a candle in a chipped or cracked container at all.
Do: Keep Notes
Write down the wax, wick size, container, fragrance, and amounts for every batch, plus what the test burn showed. Notes turn a lucky candle into a repeatable one, and turn a failure into a lesson instead of a mystery.
Quick Checklist
- Weighed the wax and fragrance, and wrote them down
- Checked the wax sheet for its fragrance limit and pour temperature
- Double boiler set up, thermometer on, lid nearby
- Wick centered and secured before pouring
- Poured at the right temperature, cooled undisturbed, cured before burning
- Test burn done, melt pool watched, wick trimmed to one quarter inch
Safety
Every rule on this page sits on top of the safety basics: double boiler only, thermometer always, never leave melting wax or a burning candle unattended, and never use water on a wax fire. Read the full candle making safety guide before your first melt.
Next up: the candle glossary — every term a beginner meets, from melt pool to mushrooming, in plain language.
Get candle-making tips by email
Join the list for new tutorials, tools, and supplier deals — straight to your inbox.
Signed up between Oct 7 and Oct 28 and never heard from us? We fixed a glitch that was dropping signups — please sign up again!



