
Melting wax is the heart of candle making, and it is also the step where beginners make the most avoidable mistakes: overheating the wax, adding fragrance at the wrong temperature, or pouring too hot or too cool. The method itself is simple — a double boiler, a thermometer, and patience — but the temperatures matter, and they change with your wax. This guide walks through the full process, with a worked example using a classic beginner soy wax.
What You’ll Need
- Wax made for candles (container wax for jars and tins)
- A heat-safe pouring pitcher
- A pot the pitcher can sit in, for the double boiler
- A candle thermometer
- A kitchen scale
- Fragrance oil made for candles
- A stir stick or old spoon
- Containers with wicks already centered and secured
- Oven mitts
Step 1: Weigh Your Wax and Fragrance
Everything is measured by weight. Weigh your wax flakes first. For fragrance, a good starting point is 1 ounce of fragrance oil per pound of wax, which is about 6 percent by weight. Many makers go up to 2 ounces per pound for a stronger scent, but never exceed your wax’s stated fragrance limit or the fragrance oil’s own maximum usage rate — check both before you start. Weigh the fragrance separately so the amount is exact.
For a single 8 ounce candle at 1 ounce of fragrance per pound of wax, you would weigh about 7.5 ounces of wax and 0.5 ounces of fragrance oil. The habit matters more than the arithmetic: weigh, write it down, repeat it.
Step 2: Set Up the Double Boiler
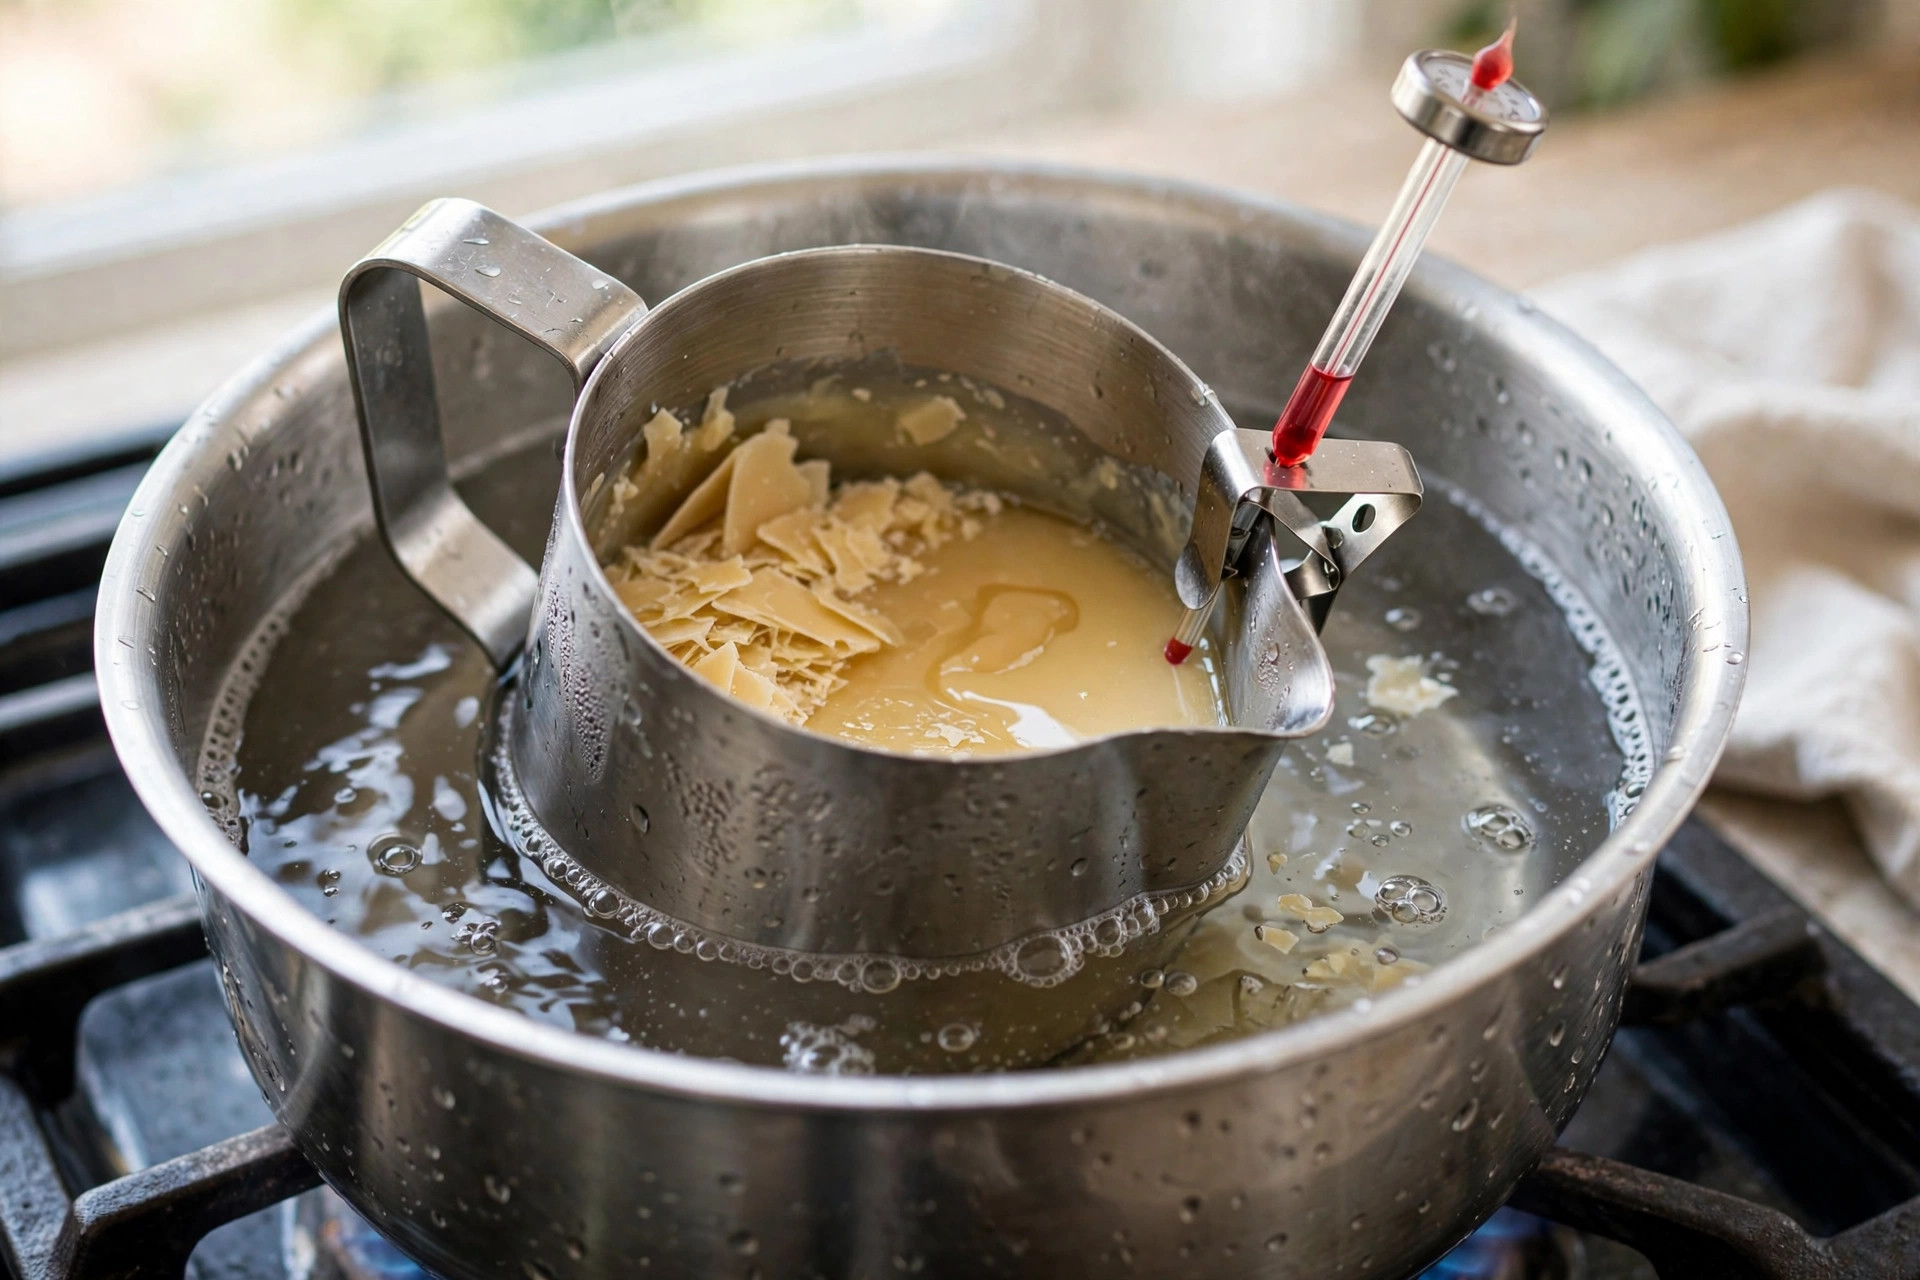
Fill the pot with a few inches of water — enough to heat the pitcher, not so much that the pitcher floats. Set the pitcher inside, add your weighed wax flakes, and put the pot on low to medium heat. Clip the thermometer to the pitcher so you can read it without holding it. Keep the water at a gentle simmer, never a rolling boil, and top it up if it gets low so the pot never boils dry.
Never melt wax directly on a burner, and never leave melting wax unattended. If you must step away, turn off the heat first.
Step 3: Melt Fully and Watch the Temperature
Stir occasionally while the wax melts, and wait until every flake is liquid and the wax looks uniform. Do not rush this with high heat: overheated wax can lose fragrance quality, discolor, and, at the extreme, reach temperatures where its vapors can ignite.
Temperatures vary by wax, so your wax’s product sheet is the authority. As a worked example, a classic beginner soy container wax (the 464 style) is typically heated to about 150 to 160 degrees Fahrenheit. Other soy waxes melt and pour much cooler, beeswax melts near 144 to 147 degrees and pours near 175, and a common container paraffin pours near 170. Same skill, different numbers — which is why the sheet matters.
Step 4: Add Fragrance and Stir for Two Minutes
When the wax reaches the temperature on its sheet, take the pitcher off the heat and add your weighed fragrance oil. For the 464-style soy example, that is about 150 degrees Fahrenheit. Stir slowly and steadily for a full two minutes. This is not a quick swirl: steady stirring binds the oil into the wax so the scent is even through the whole candle. Stirring too fast whips in air, which shows up as bubbles and an uneven top.
If you are using dye, add it during melting and stir until fully dispersed, before the fragrance step. Keep dye out of your first batches if you want one less variable.
Step 5: Cool to Pouring Temperature
Let the wax cool, stirring occasionally, until it reaches the pouring temperature on its sheet. For the 464-style soy example, that is near 135 to 140 degrees Fahrenheit. Pouring too hot can cause sinkholes, cracking, and frosting on the top. Pouring too cool makes the wax lumpy and reluctant to stick to the container. The thermometer decides, not the clock.
Step 6: Pour Slowly and Steadily
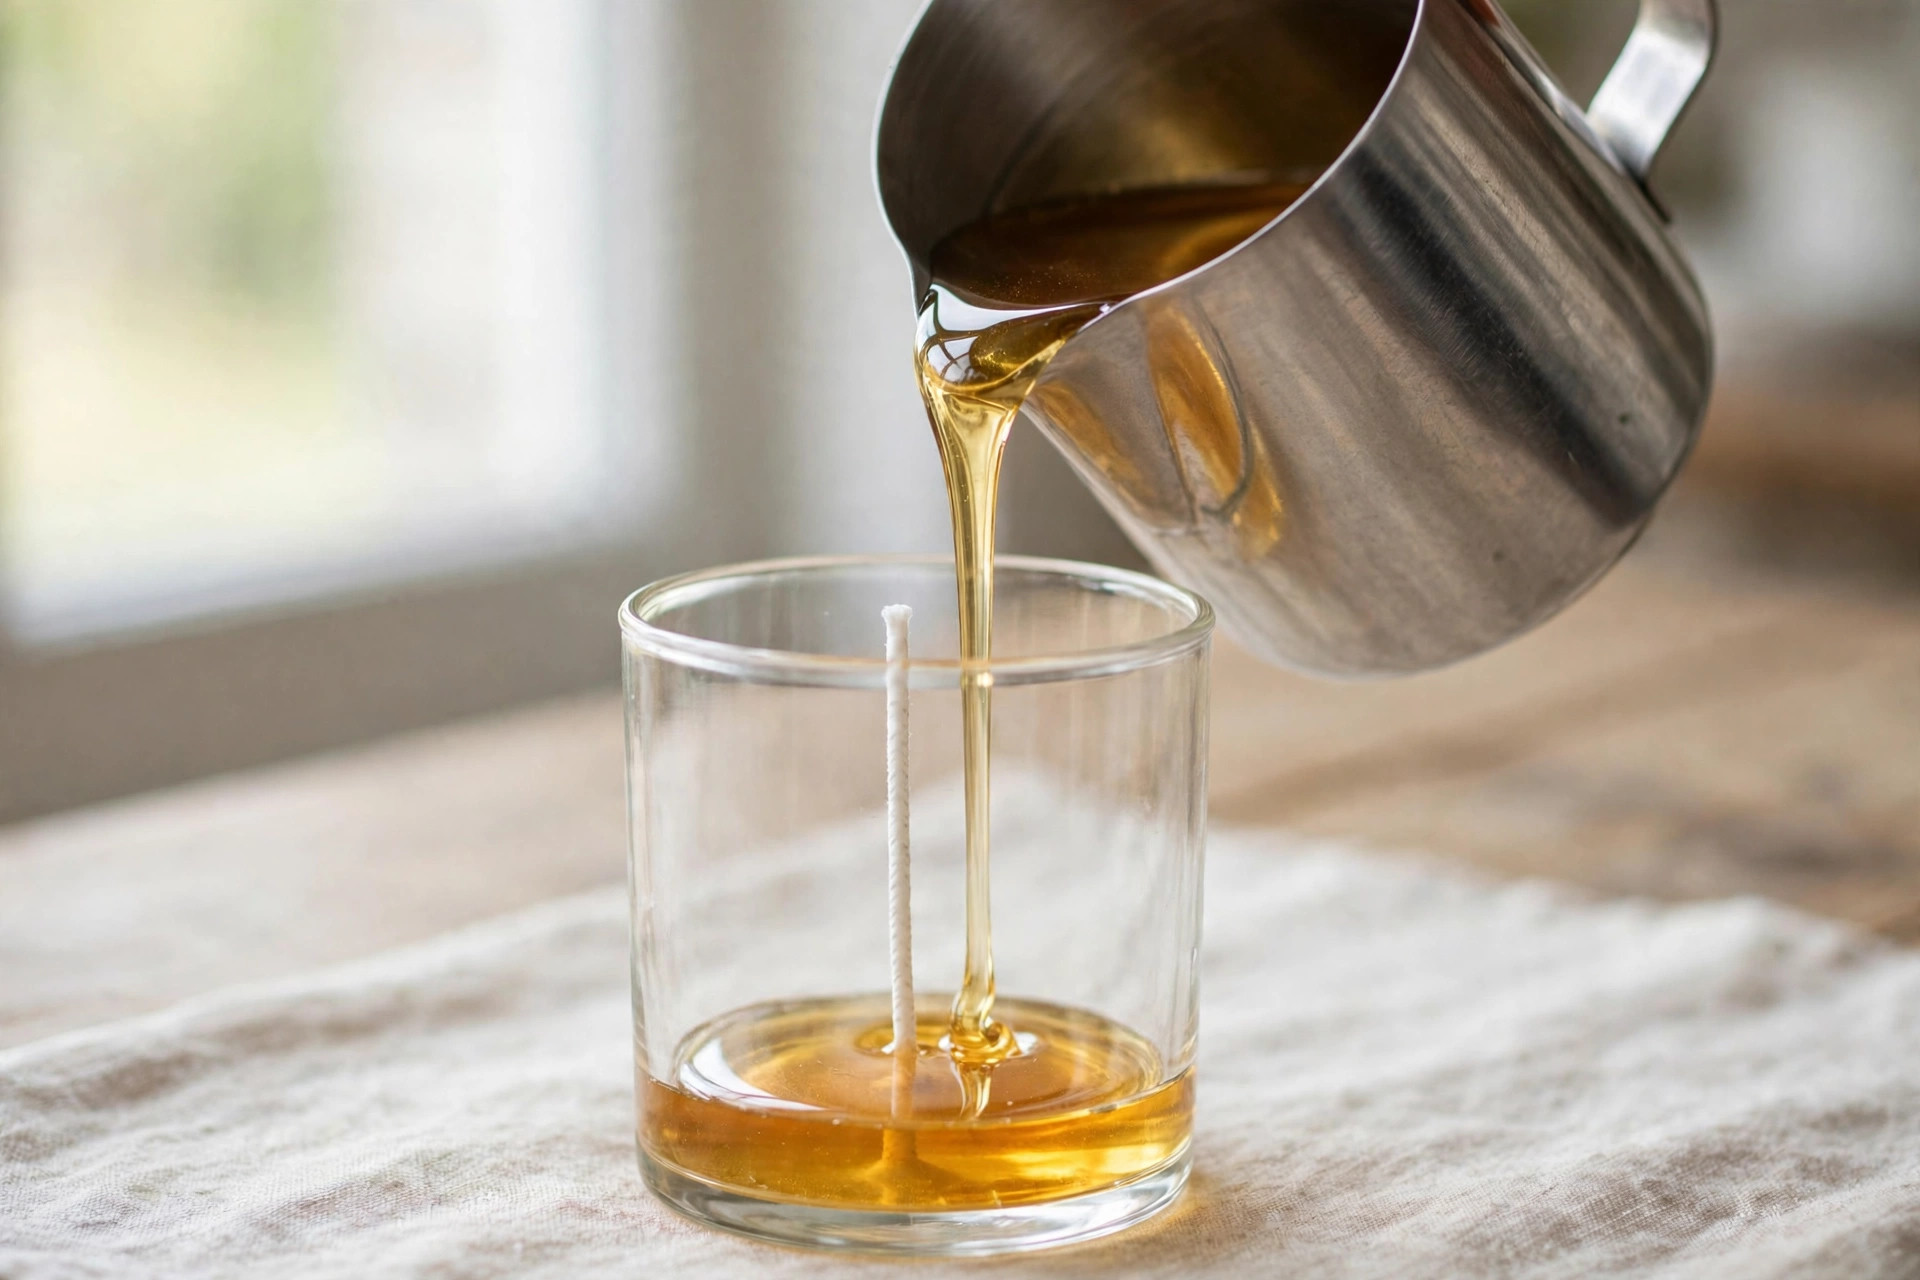
Pour slowly into the center of the container, letting the wax rise up the sides rather than aiming at the rim. Fill to about one half inch below the top to leave headspace. Give the container a gentle tap on the work surface to release trapped air bubbles. Check that the wick is still centered, and nudge it straight with a chopstick while the wax is still liquid if it drifted.
Step 7: Cool Undisturbed, Then Cure
Leave the candle to cool at room temperature, away from drafts, cold surfaces, and fans. Do not move it while it is setting, and do not put it in the fridge or freezer to speed things up — fast cooling causes cracking and wet spots. Once the wax is hard and opaque, trim the wick to one quarter inch.
Then wait before you judge it. Let the candle cure for at least 48 hours before a test burn, and know that soy scent keeps improving for up to two weeks. A candle that smells light on day one can smell wonderful on day ten. Patience is part of the recipe.
Tips for a Clean Pour
- Warm the containers slightly. Room-temperature containers are fine, but a cold jar can cause the wax to pull away from the glass. Do not use a hot container — warm to the touch is enough.
- Pour in one steady stream. Stopping and starting traps air and leaves lines in the wax.
- Do a second pour if the top sinks. A small dip in the center as the candle cools is normal, especially with soy. A thin second pour at the same pouring temperature, just enough to level the top, fixes it. This is the same fix used for sinkholes.
- Keep notes. Wax, temperatures, fragrance amount, and the result. When a pour comes out perfect, you want the exact record of how you did it.
Common Pouring Problems
- Sinkholes or a deep dip in the center: usually poured too hot or cooled too fast. Level it with a second pour, and slow the cooling next time.
- Frosting, a white crystalline pattern: common with soy, cosmetic only, and does not affect the burn.
- Wet spots, where wax pulls away from the glass: usually a cold container or fast cooling. Warm the container next time and cool away from drafts.
- Bubbles in the wax: stirred too fast or poured too fast. Stir slowly, pour slowly, and tap the container to release air.
Safety
Double boiler only, thermometer always, never leave melting wax unattended, and keep a metal lid nearby to smother any flare. Never pour water on a wax fire. Full rules are in the candle making safety guide.
Next up: how to center a wick — stickers, centering devices, chopsticks, and how to fix a crooked wick.
Get candle-making tips by email
Join the list for new tutorials, tools, and supplier deals — straight to your inbox.
Signed up between Oct 7 and Oct 28 and never heard from us? We fixed a glitch that was dropping signups — please sign up again!



